
You are using an out of date browser. It may not display this or other websites correctly.
You should upgrade or use an alternative browser.
You should upgrade or use an alternative browser.
Disassembly for rebuild has started.
- Thread starter jimbo486
- Start date
")
jimbo486
New member
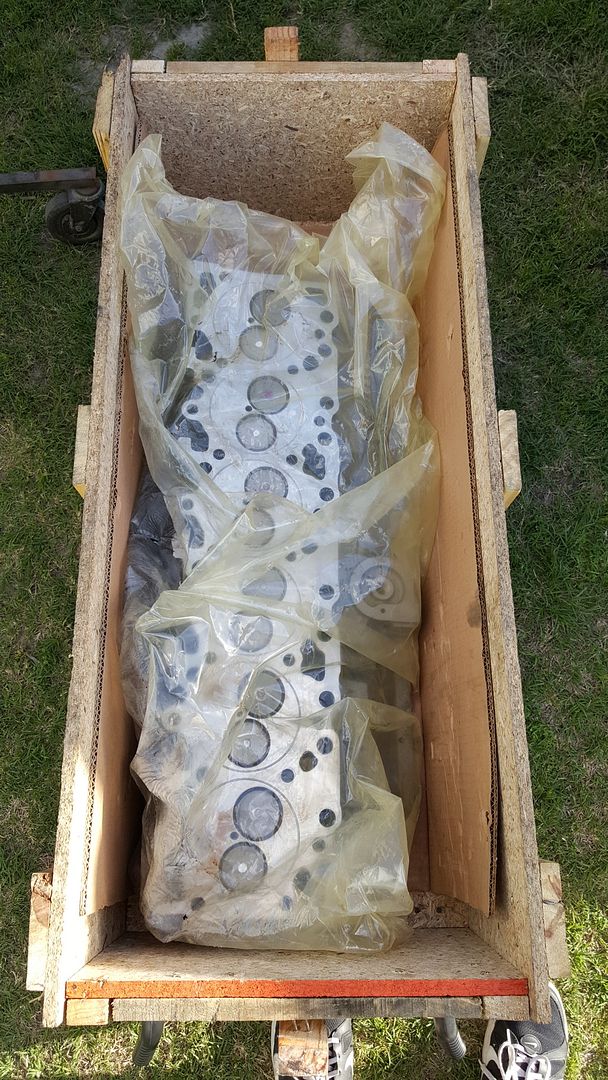
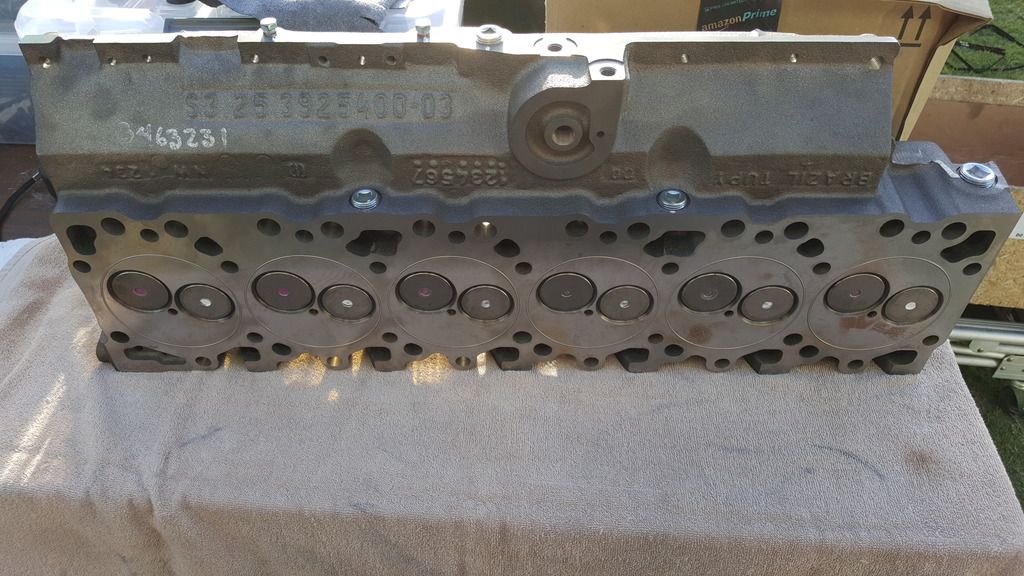
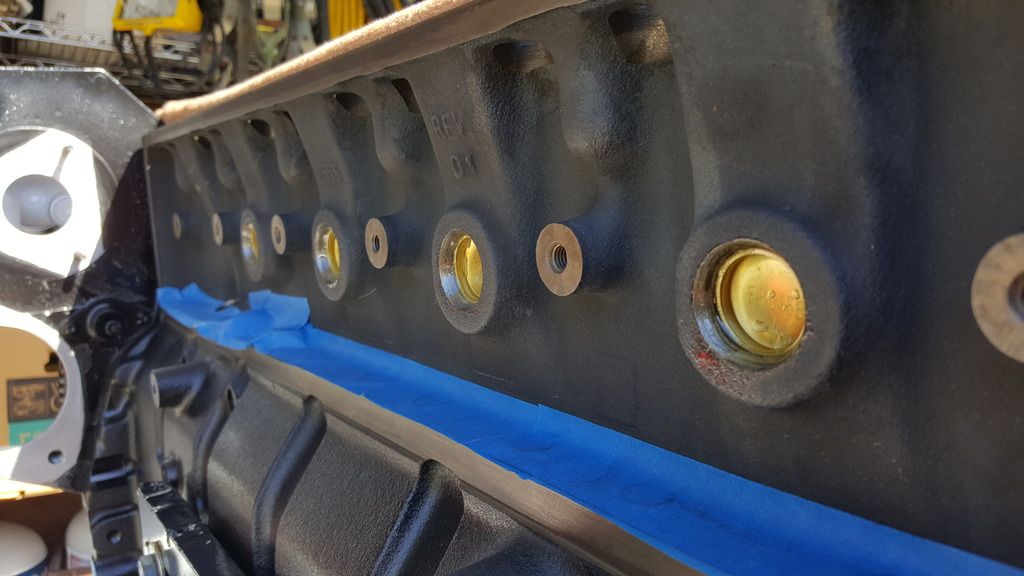
The reman'd Cummins cylinder head from Eric at Hungry Diesel finally arrived yesterday. Although it wasn't packaged the way Eric had initially packed it. The lid wasn't fastened to the crate and was only held down by two steel straps. Found the head upside down and the wrapping torn open as evidenced by the superficial rust on 5 and 6 :doh:. Why the crate wasn't built to a size only slightly larger than the head, I dunno. I sure wouldn't have built it smaller.
.062" stainless steel wire with .012" protrusion.
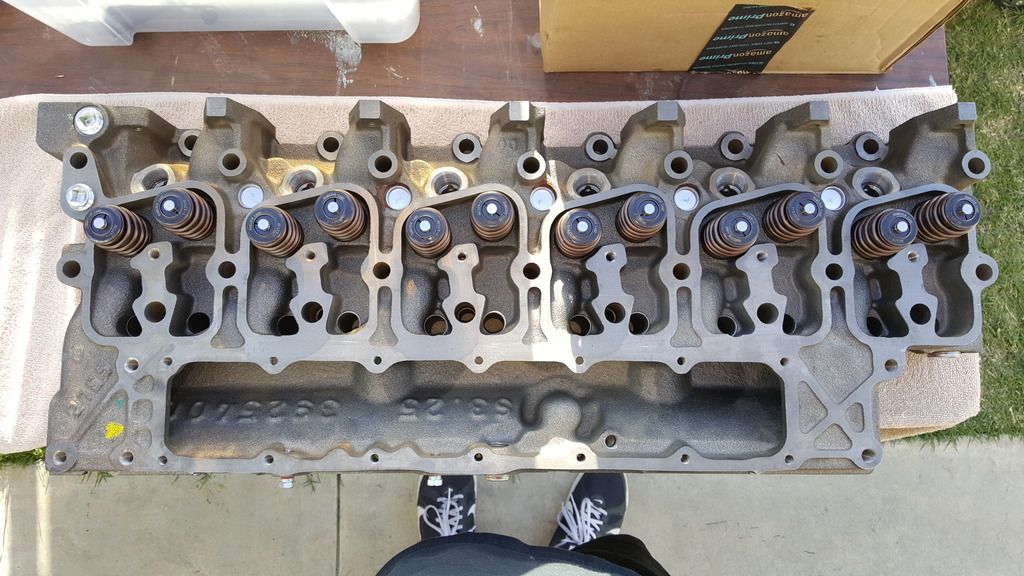

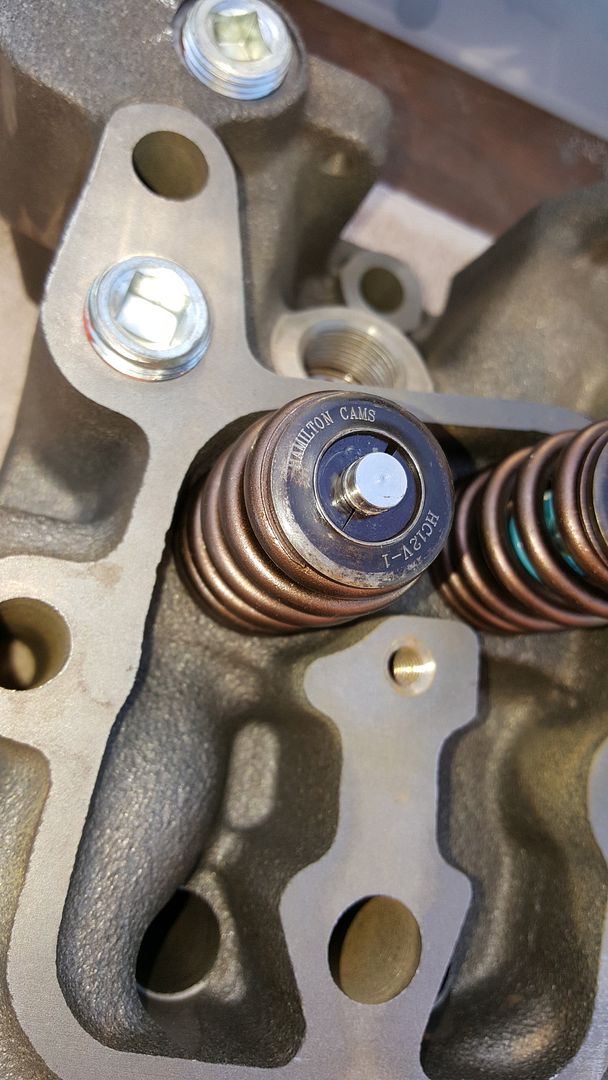
The extent of the "damage" that I can see with my naked eye is a little scuffing on #1 intake valve spring retainer.
I'm not sure what the chances are of any stems being bent from the abuse. But, for what I've got in this motor up to this point, I'm not risking anything. I'm getting this thing to a local machine shop to have the valves pulled and checked.
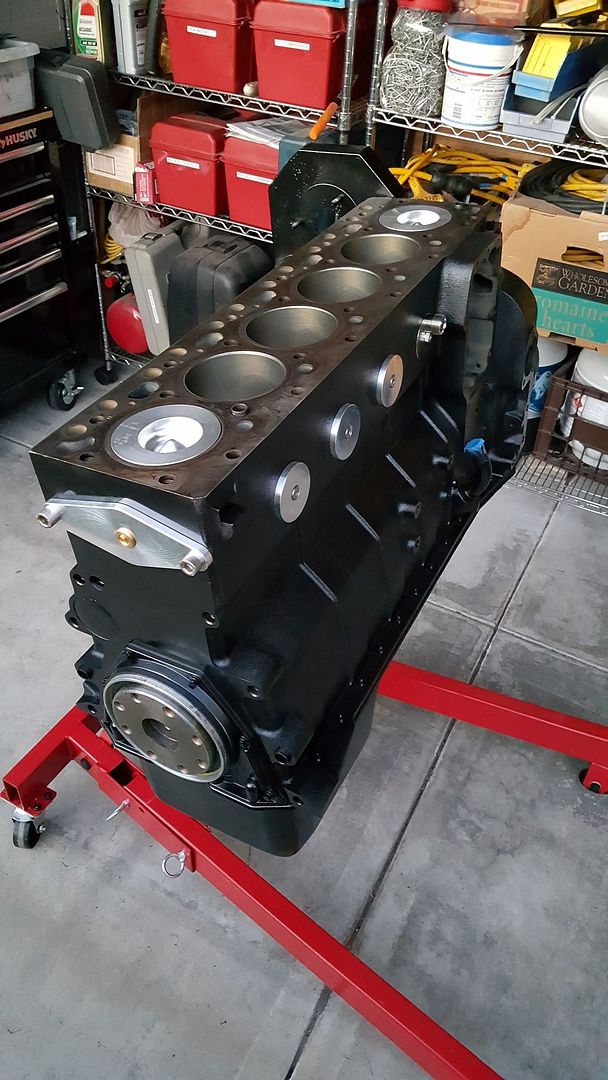
I also got word from the machine shop that the shortblock is complete and ready to go. It won't be until Monday when I can go get it. I still have a few more parts to order but that will happen shortly.
.062" stainless steel wire with .012" protrusion.
The extent of the "damage" that I can see with my naked eye is a little scuffing on #1 intake valve spring retainer.
I'm not sure what the chances are of any stems being bent from the abuse. But, for what I've got in this motor up to this point, I'm not risking anything. I'm getting this thing to a local machine shop to have the valves pulled and checked.
I also got word from the machine shop that the shortblock is complete and ready to go. It won't be until Monday when I can go get it. I still have a few more parts to order but that will happen shortly.
Last edited:
jimbo486
New member
The head and valves checked out perfect. The machine shop I brought it to was very impressed with the work and was very thorough in their inspection. Along with checking the stems for any bends, they checked the stem lengths, spring heights and rates. Stems were all identical and all springs were very close to one another, 163-165lbs. Happy with my patience, they didn't even charge me for the 1 hour of work.
I took today off of work to pick up the shortblock and bring 'er back home.

I took today off of work to pick up the shortblock and bring 'er back home.
fatty
VE
Mind sharing what that head cost you?
As far as bottom tapping goes, the only reason it needs to be done is so the valve covers fit on. I don't remember the exact number but something like 70 percent of the clamping force is on the first thread. Another 20 or so is on the second thread. The bottom threads of the stud are doing nothing as far as clamping force.
Again, my numbers may be off somewhat but the point is still the same.

SKYNYRD
"Drunkard"
The reason for bottoming the stud then backing it out 1-2 turns is so that if the stud turns while tightening it won't bottom out against the block. If the stud bottoms out and you keep tightening it then if could give you and false clamping force on the head or the stud can break.
Ram12vcummins
New member
Bottom tapping holes on a motor your rebuilding shouldn't be a questions of do I need to do it. It's the same as cleaning the oil galley. Should be done on all holes. Why not clean the crap falls in them and clean the threads.
Big Blue24
Comp Diesel Sponsor
The reason for bottoming the stud then backing it out 1-2 turns is so that if the stud turns while tightening it won't bottom out against the block. If the stud bottoms out and you keep tightening it then if could give you and false clamping force on the head or the stud can break.
I've installed quite a few sets of head studs in the past year, and I've never had a stud that was "properly" backed off a turn or so, that didn't immediately turn back in and bottom out in the block by the time torque on the nut above hit 75 ft lbs or so. I now just lightly snug all the studs to about 10 ft lbs or so and usually have very little stud movement during the torque process.
If you think about it, the top of the stud has the fine threads that will develop much more clamping force from a given torque than the bottom coarse threads. I also think a stud bottoming out on the threads that aren't fully cut puts less thread pulling force on the block threads than a fully tapped stud hole that bottoms out on the bottom of the block.
You don't commonly hear about thread failures so it probably doesn't matter how the install is performed as far as block thread failure.
jimbo486
New member
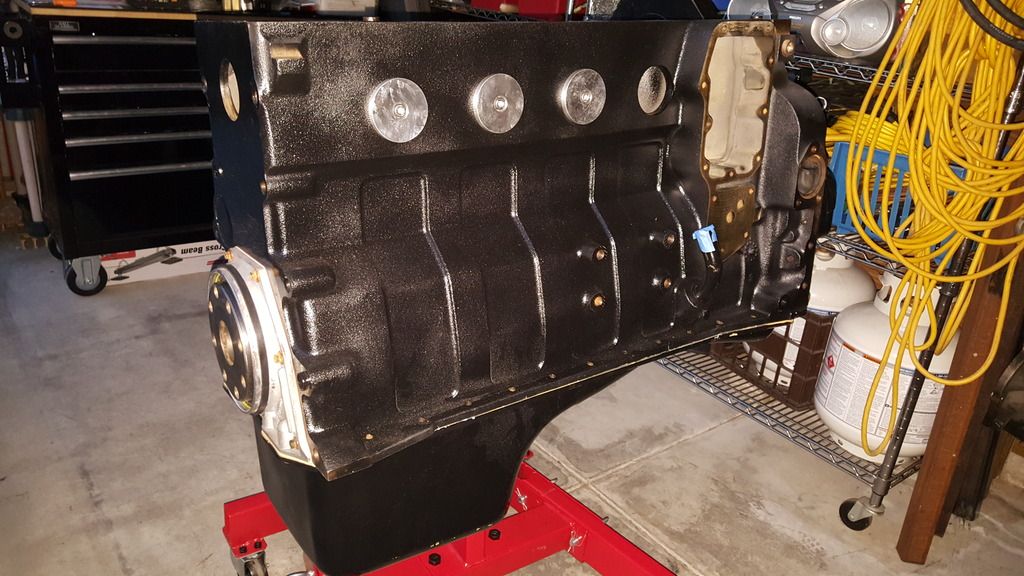
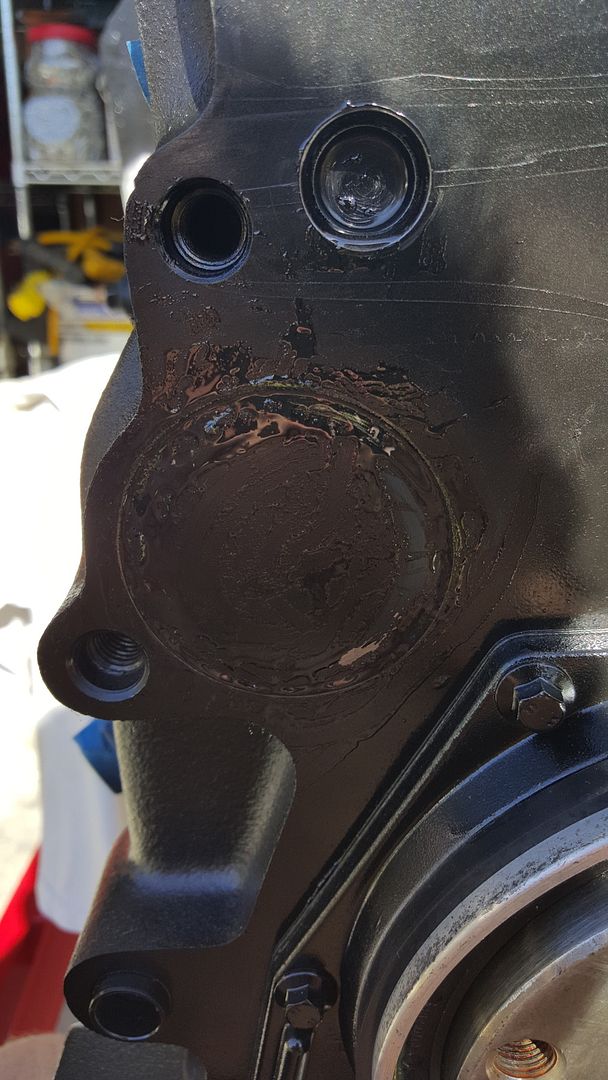
I checked the torque on all of the mains and rod cap bolts. Installed the oil sump pick up tube and then put the oil pan on. Once all the bolts were torqued, I sprayed it and the bolt heads with some gloss black. Next plan is to JB Weld the perimeter of all of the expansion plugs.
My original oil pump part number was superceded by the later pump #4939587. Running with it.
New block heater.
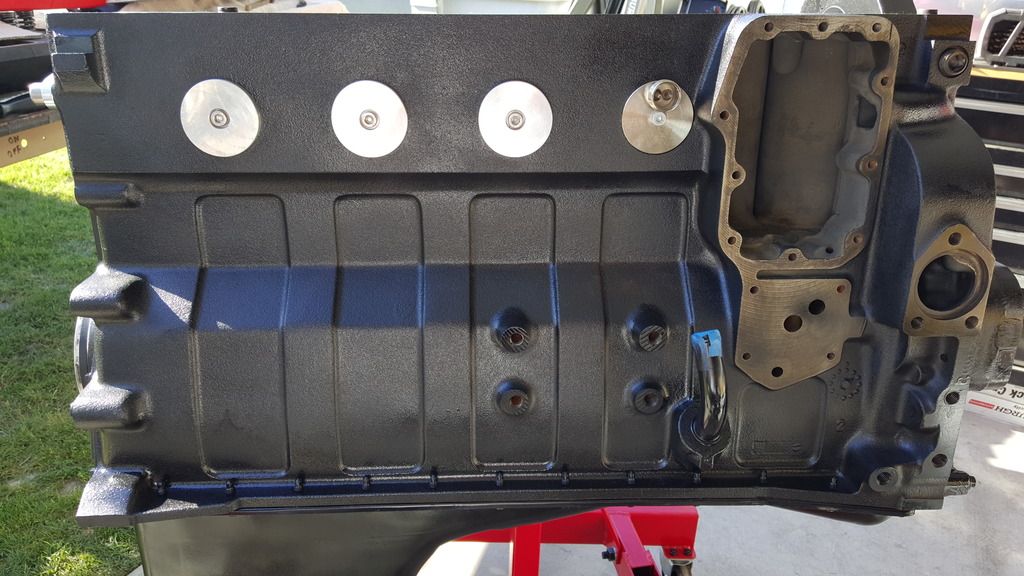
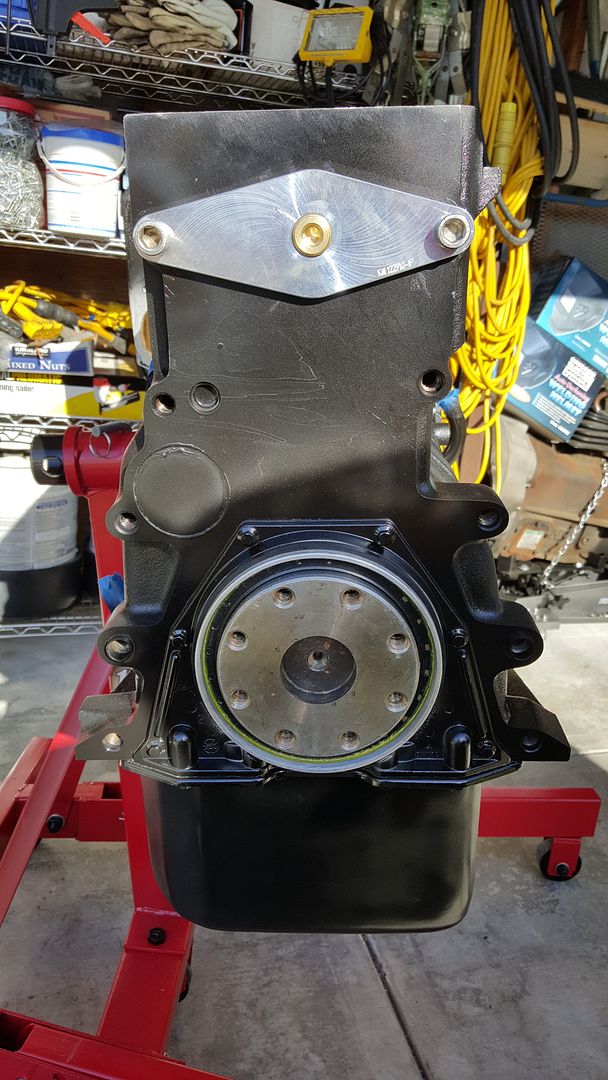
Keating rear plate.
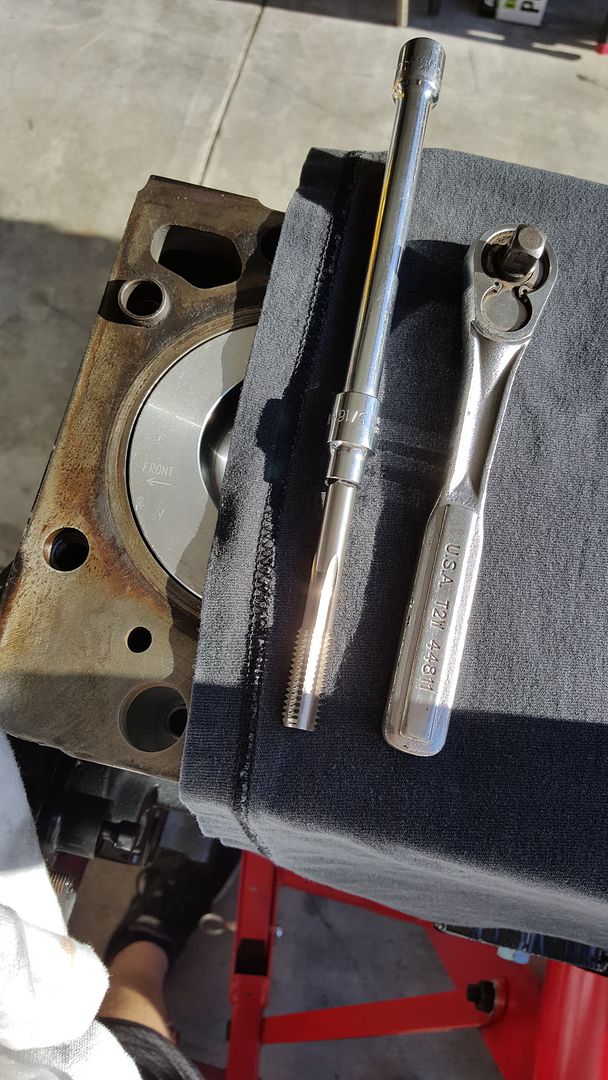
Bottom tapping the threads in the block was easier than I anticipated.
My original oil pump part number was superceded by the later pump #4939587. Running with it.
New block heater.
Keating rear plate.
Bottom tapping the threads in the block was easier than I anticipated.
Last edited:
jimbo486
New member
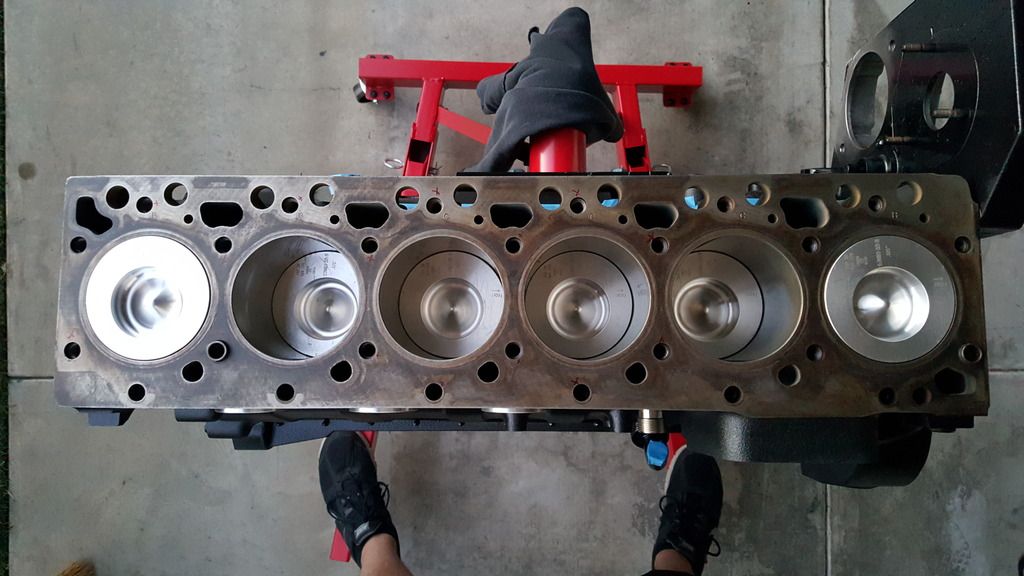
Forgot to mention that piston protrusion came to .024-.025" and valve recession is at least .045". Ryan at Hamilton says that a standard head gasket will be fine to run with the 182-214 cam and those dimensions. In fact, those numbers are right at the maximum and minimum for their cams to be 100% bolt-in for a 12 and early 24 valve (VP) engines.
jimbo486
New member
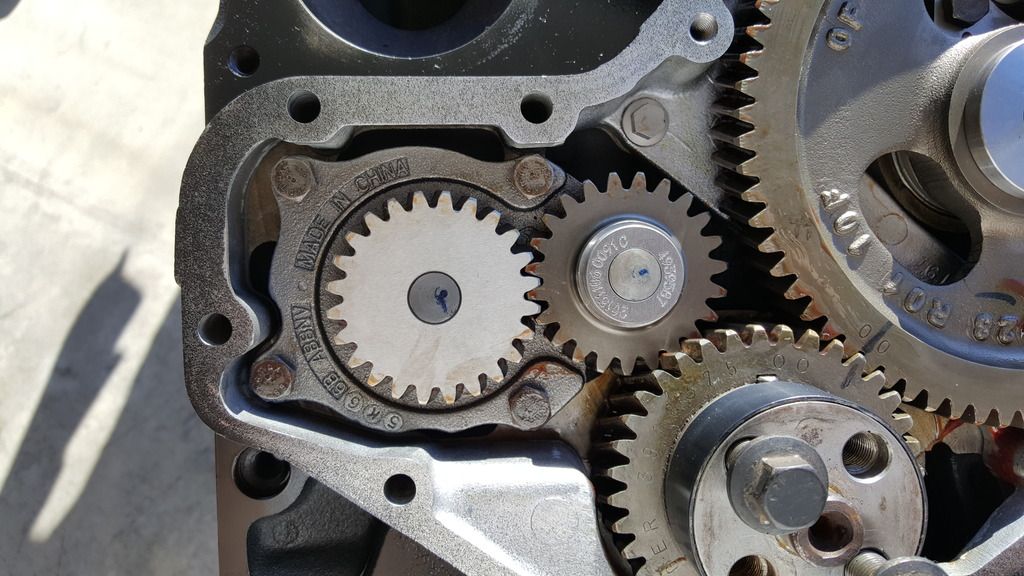
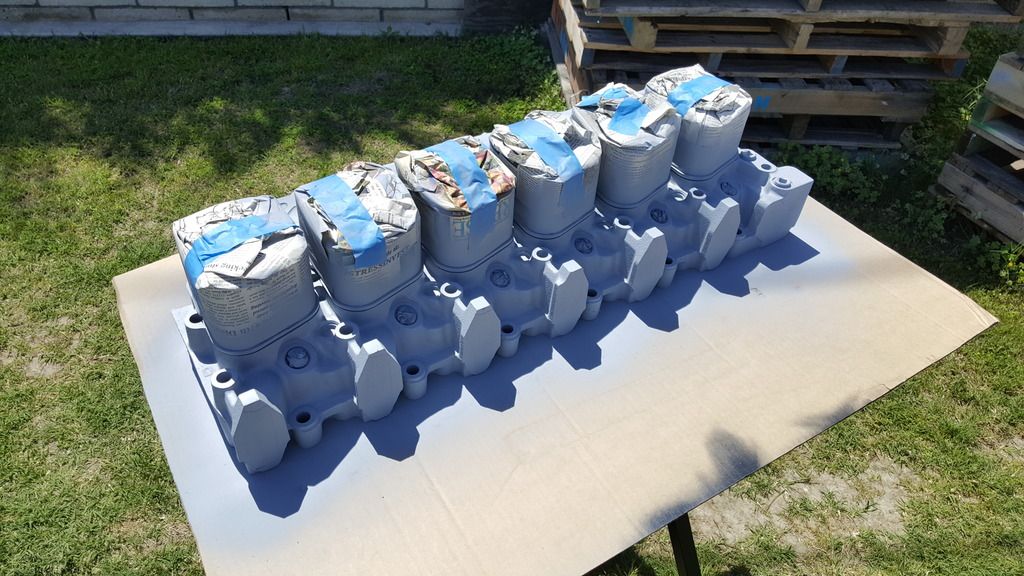
Primed and painted the new head today with VHT. Rated for up to 2000 degrees.

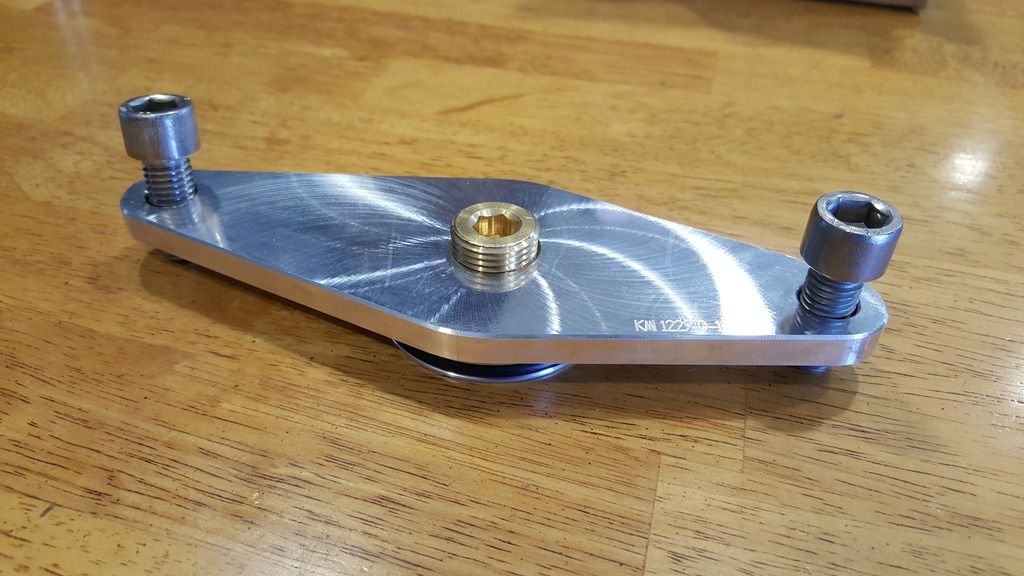
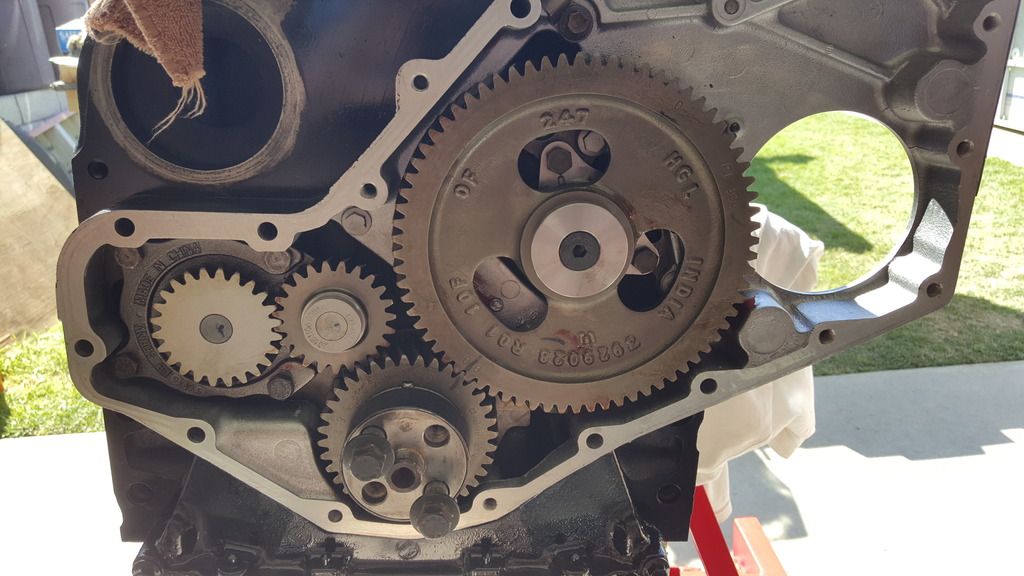
The cam gear was treated to a retainer from Hamilton.
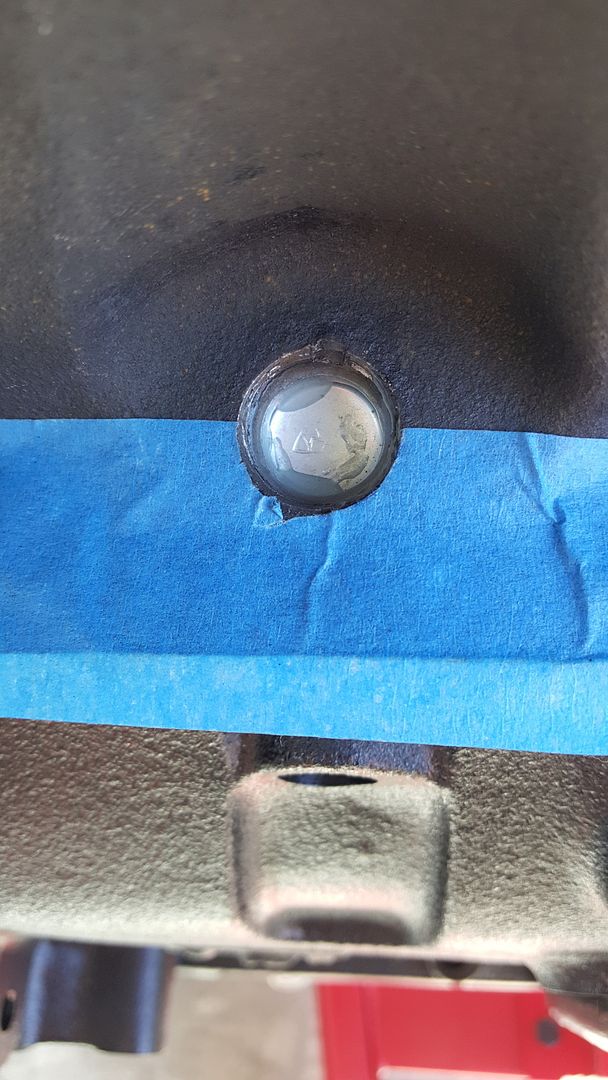
Applied JB Weld to the remaining expansion plugs; oil rifle and coolant plugs in the tappet valley, oil rifle and cam plug at the rear of the block.
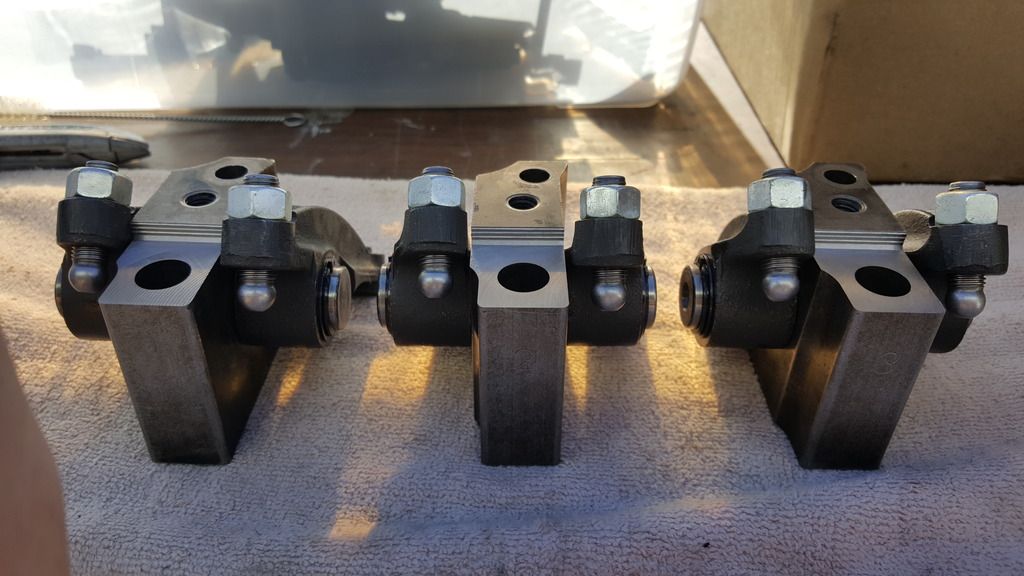
I also bought new rocker levers, thrust washers and retaining rings. New levers weren't necessary as the existing levers were fine but a new set wasn't that expensive. However, Cummins only had half of the retaining rings on hand so I'll have to wait until next week to assemble the remaining 3. All of the rocker shafts maintained the maximum specified diameter of .747".
The cam gear was treated to a retainer from Hamilton.
Applied JB Weld to the remaining expansion plugs; oil rifle and coolant plugs in the tappet valley, oil rifle and cam plug at the rear of the block.
I also bought new rocker levers, thrust washers and retaining rings. New levers weren't necessary as the existing levers were fine but a new set wasn't that expensive. However, Cummins only had half of the retaining rings on hand so I'll have to wait until next week to assemble the remaining 3. All of the rocker shafts maintained the maximum specified diameter of .747".
Last edited:
STROKETHISF350
New member
I use them at 800+ hp with no issues
Sent from my iPhone using Tapatalk
Sent from my iPhone using Tapatalk