WUnderwood
Moderator
absolutely AMAZING work and fabrication!

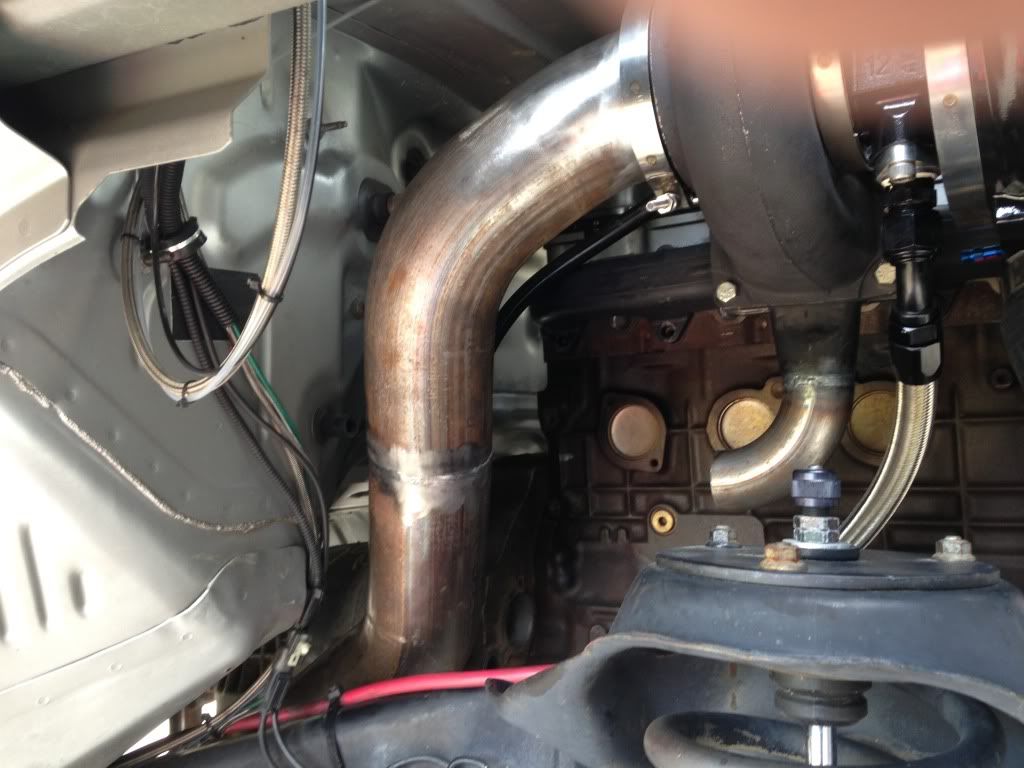
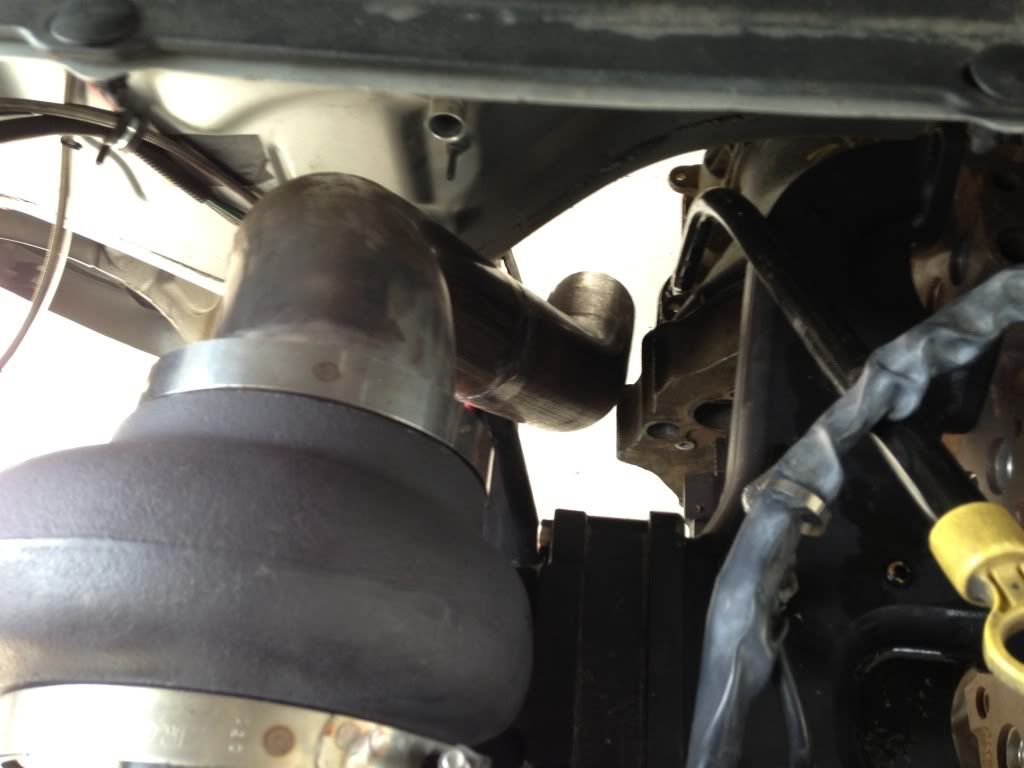
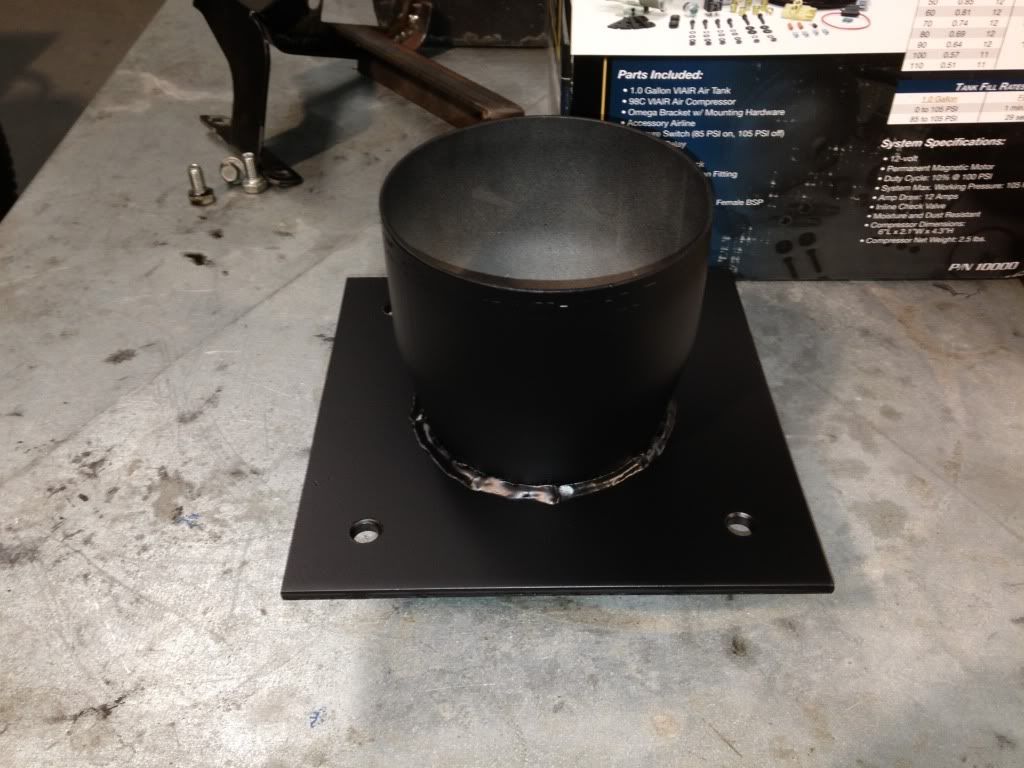
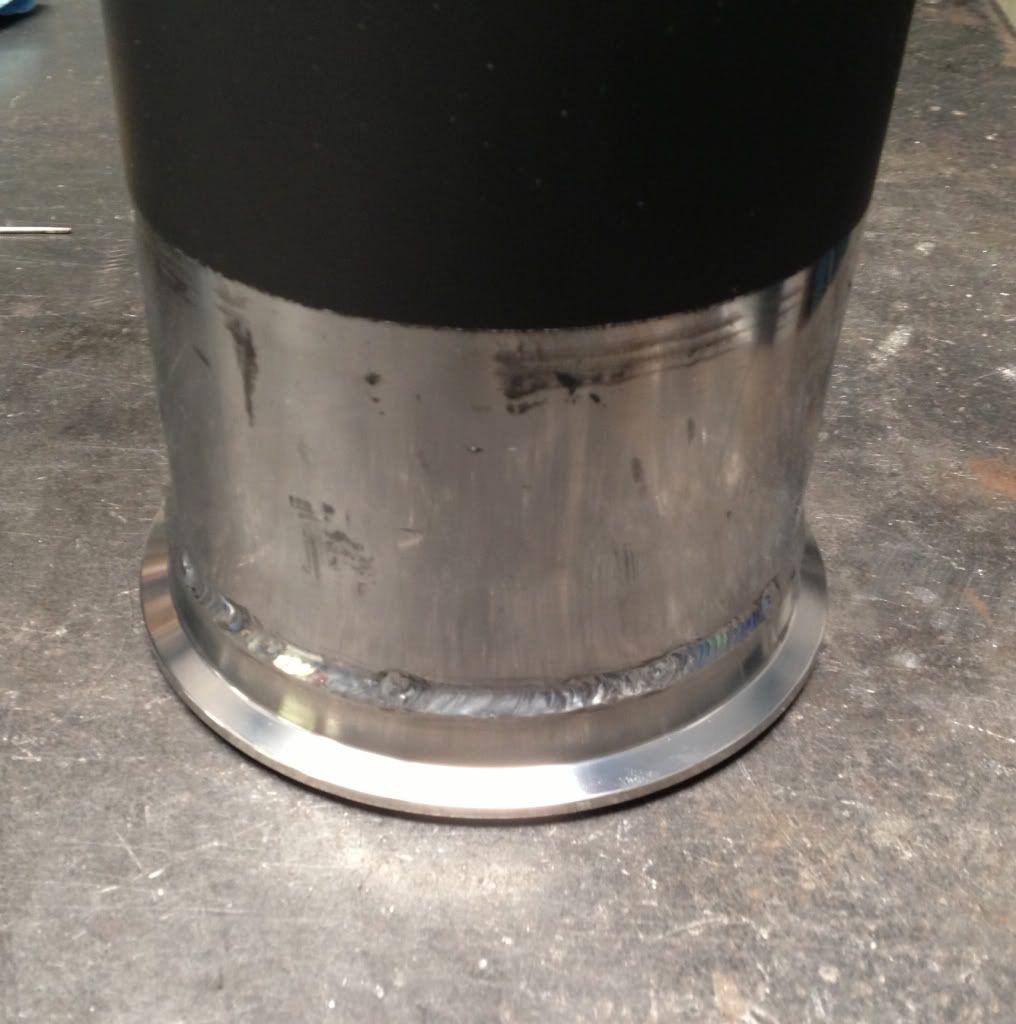
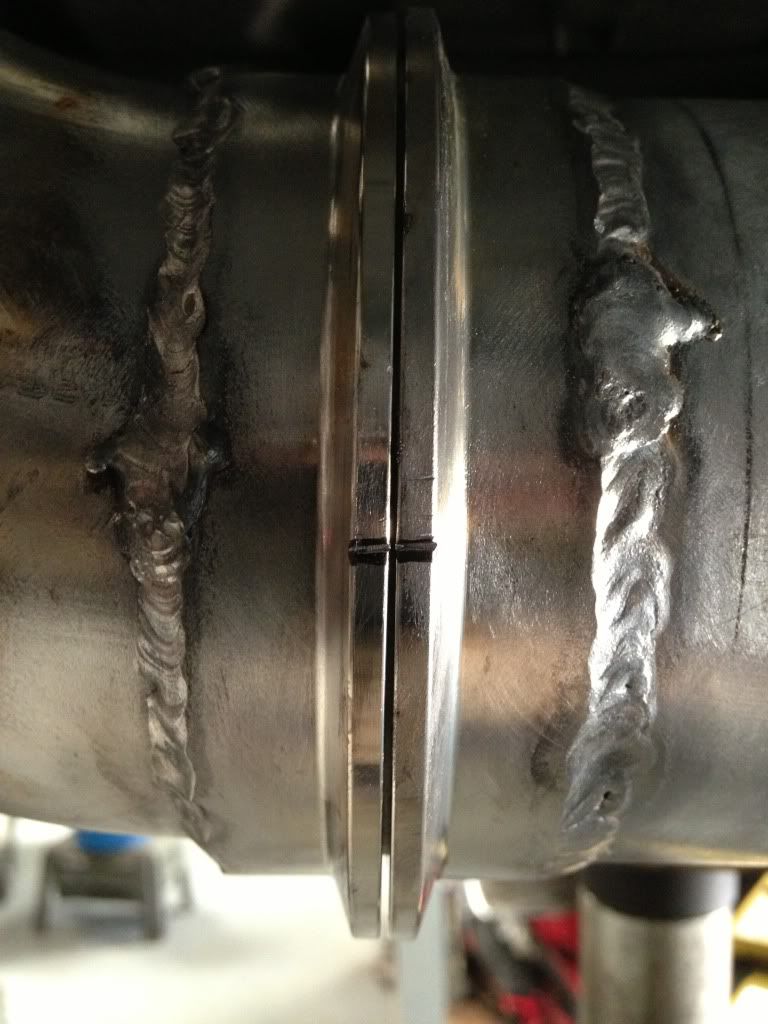
Well, it ain't leaking, that's for sure. It's welded inside and out. It damn sure ain't winning any beauty contests though. All of you actual welders out there, close your eyes, this might hurt......
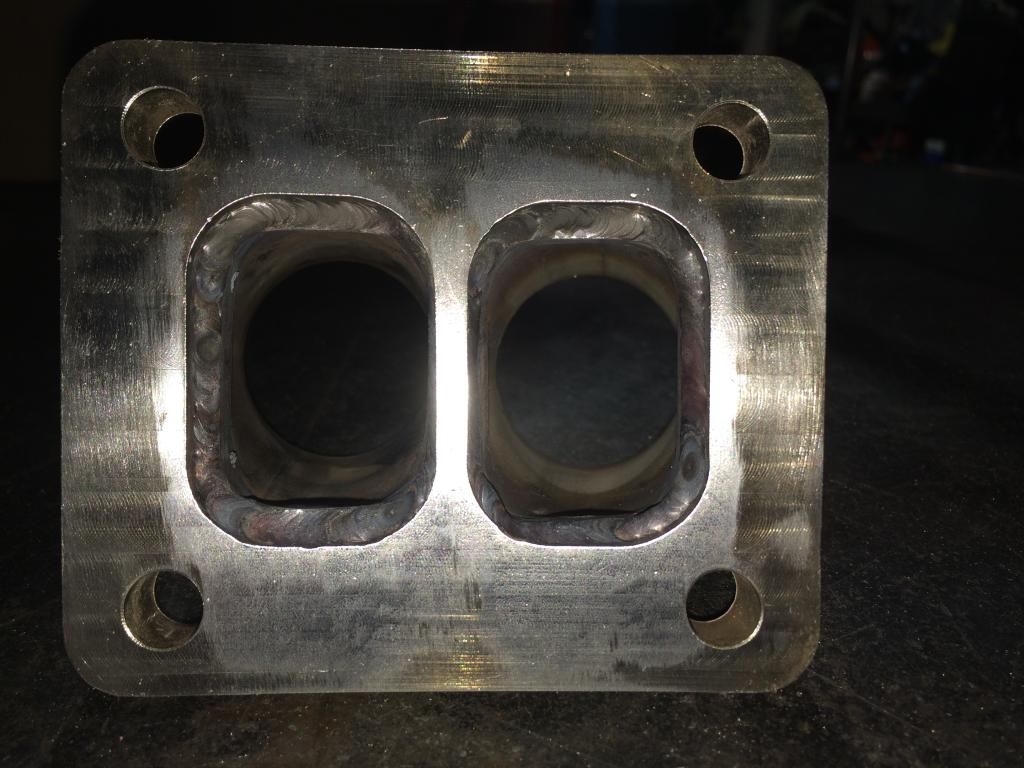
My TIG is an older SynchroWave 180. It doesn't have any frequency control.
I'm by no means blaming the welder, it was 100 percent operator. I just put too bit of a gap between the pieces. That and I really should have warmed up the flange a little bit. Going from 1/2" flange to .110 pipe while filling that gap just made for some ugly welding.
I know better than to eye ball the measurement, I just got sloppy. 100% my fault.
It's got amperage control, I had it at 135 on this. It was too cold for the 1/2", shoulda brought it up around 170 and feathered the pedal. But, I still should have fit the parts tighter....I just got lazy.
The plan is to run the exhaust out to the existing stack.
You do realize that I'm the guy that will pull the motor because a wire is out of place and pissing me off? :hehe:
I'm a "bit" OCD in the engine bay.
absolutely AMAZING work and fabrication!
didn't 1320 video do a spot on him last year or something?
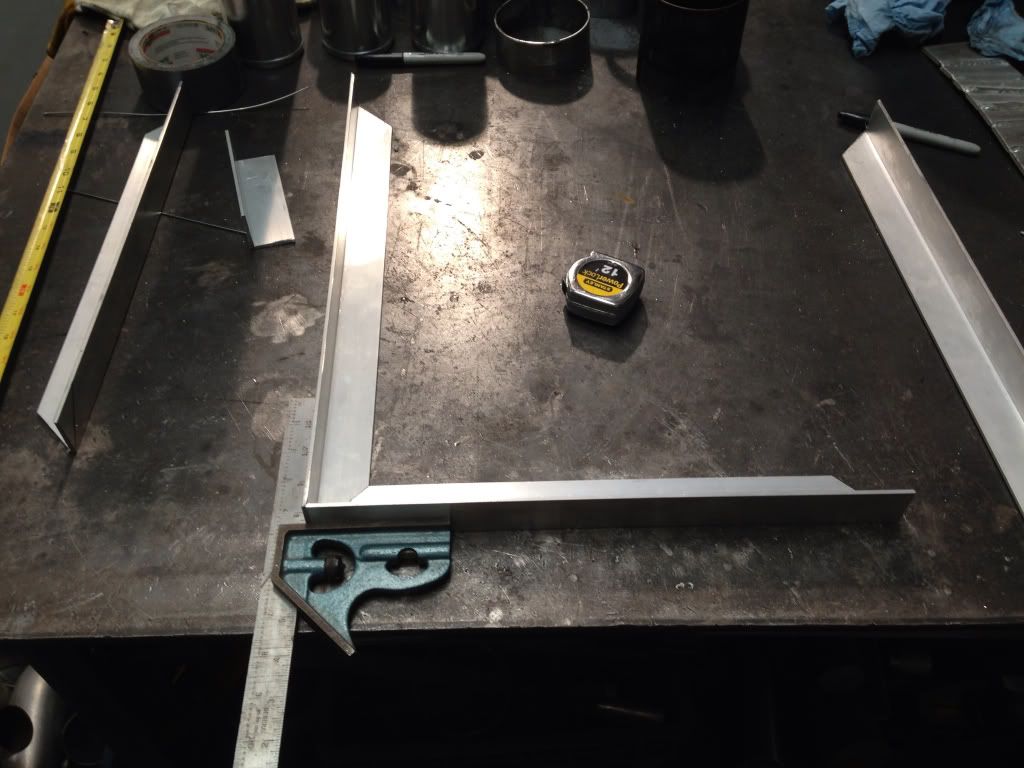
Here's a crap load of pictures from all the work that went into it this time.....
EGT's?....... :hehe:
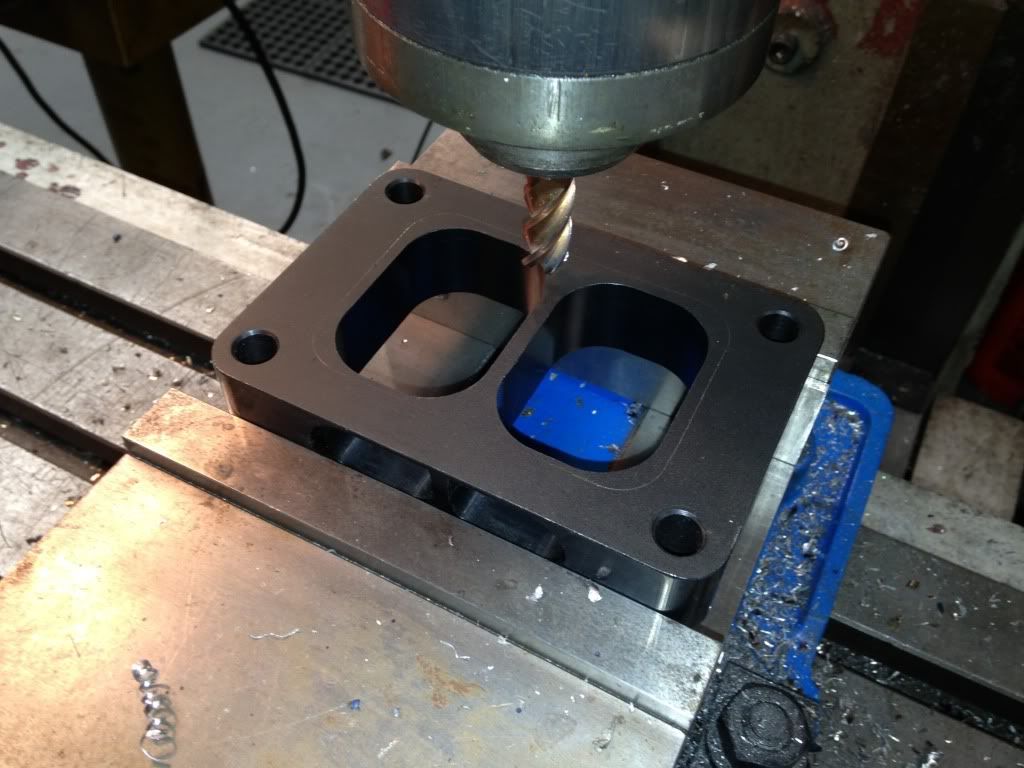
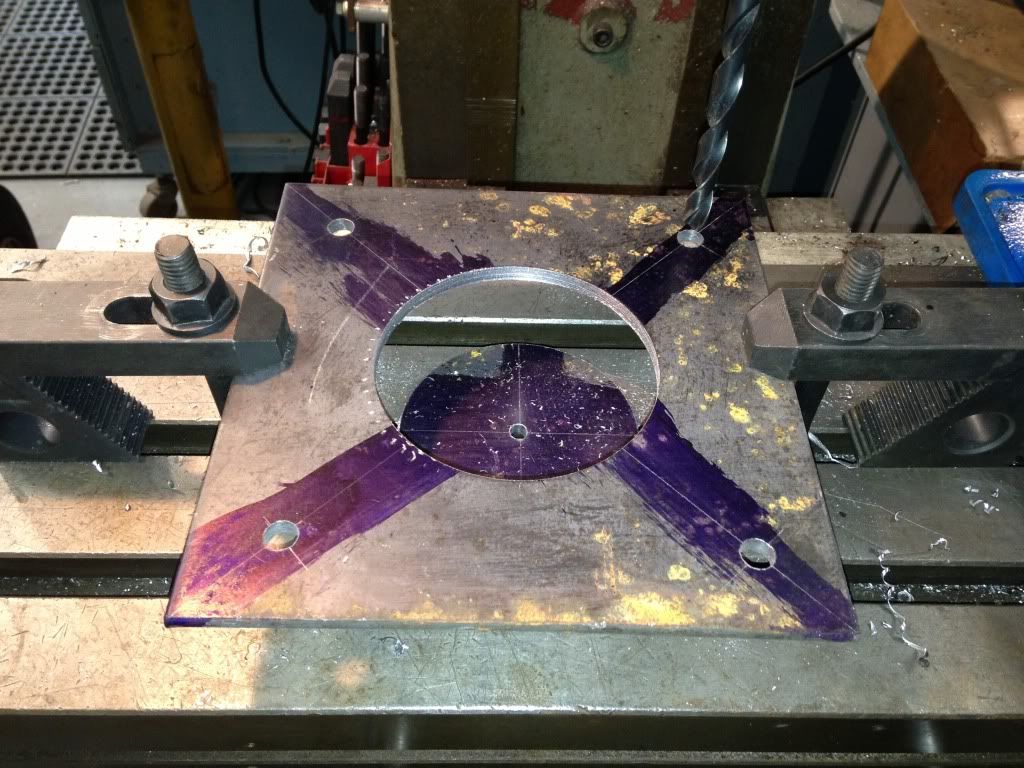
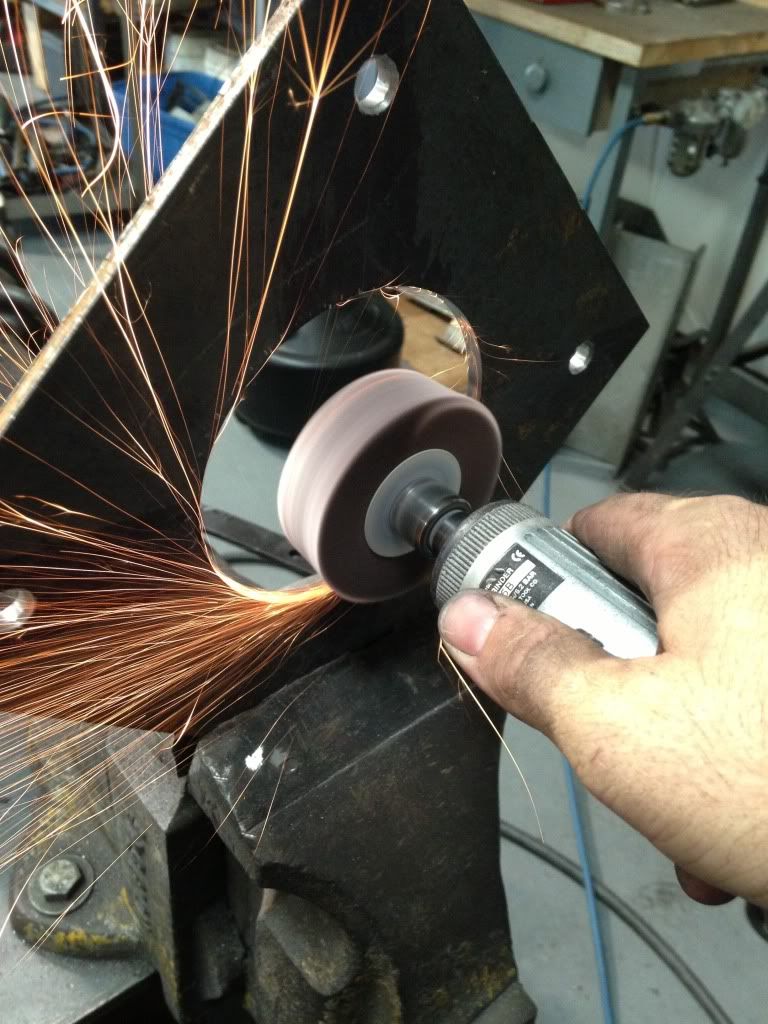
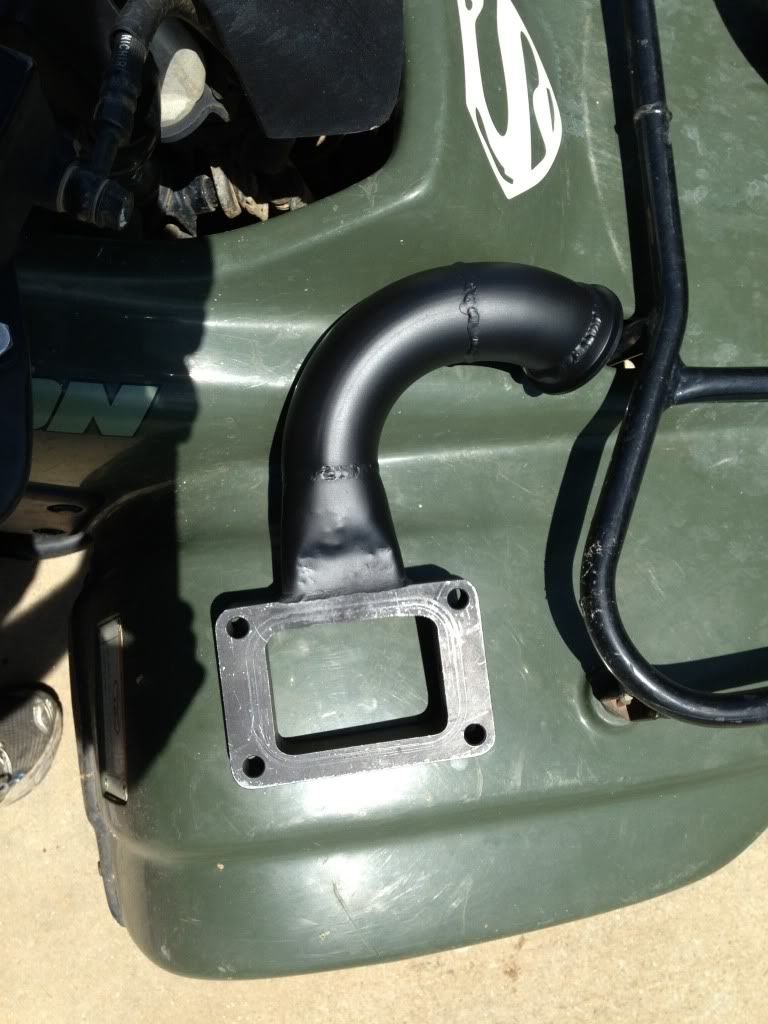
Milling out the gate plate for the undivided housing....
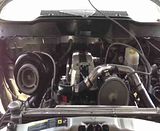
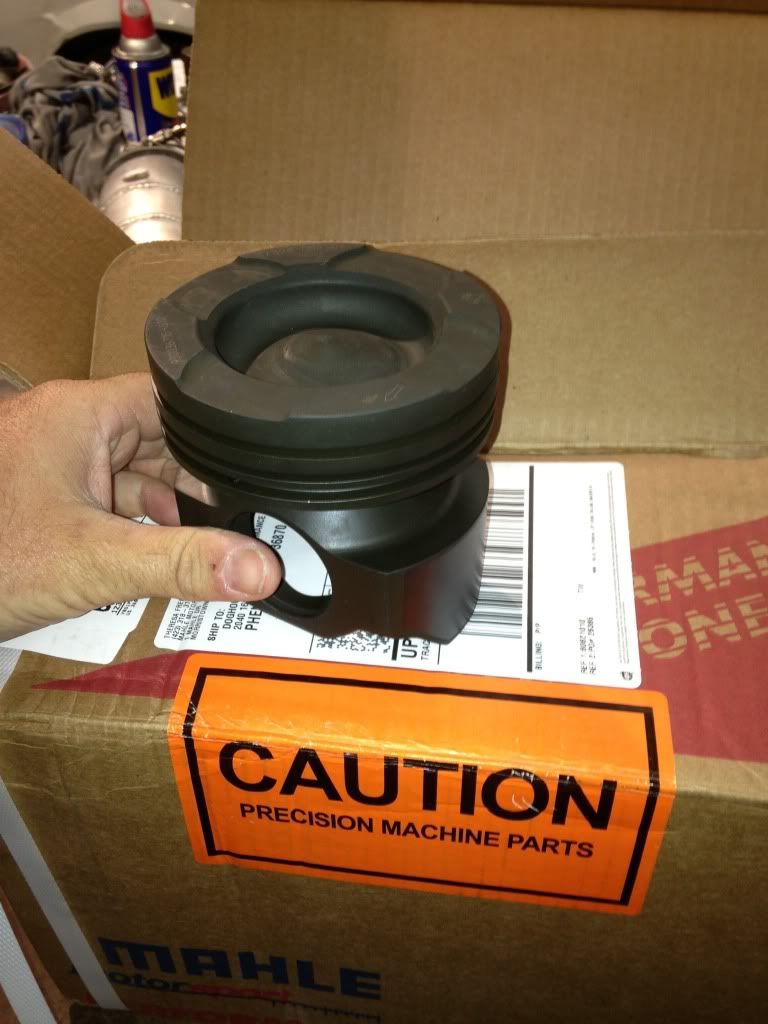
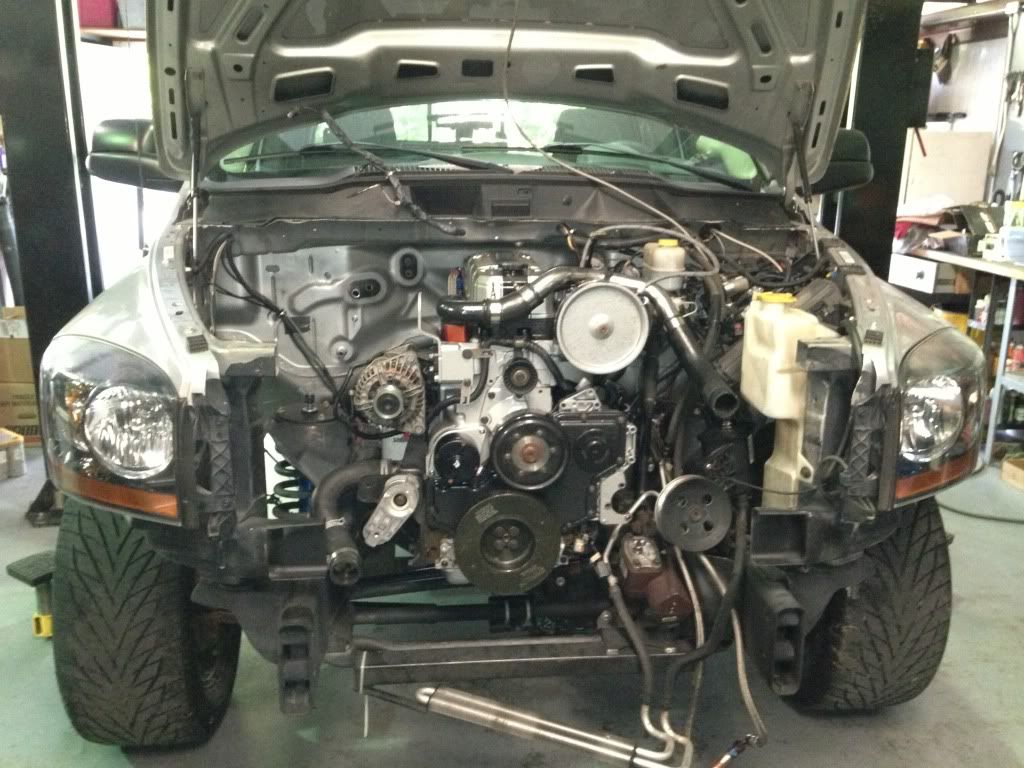
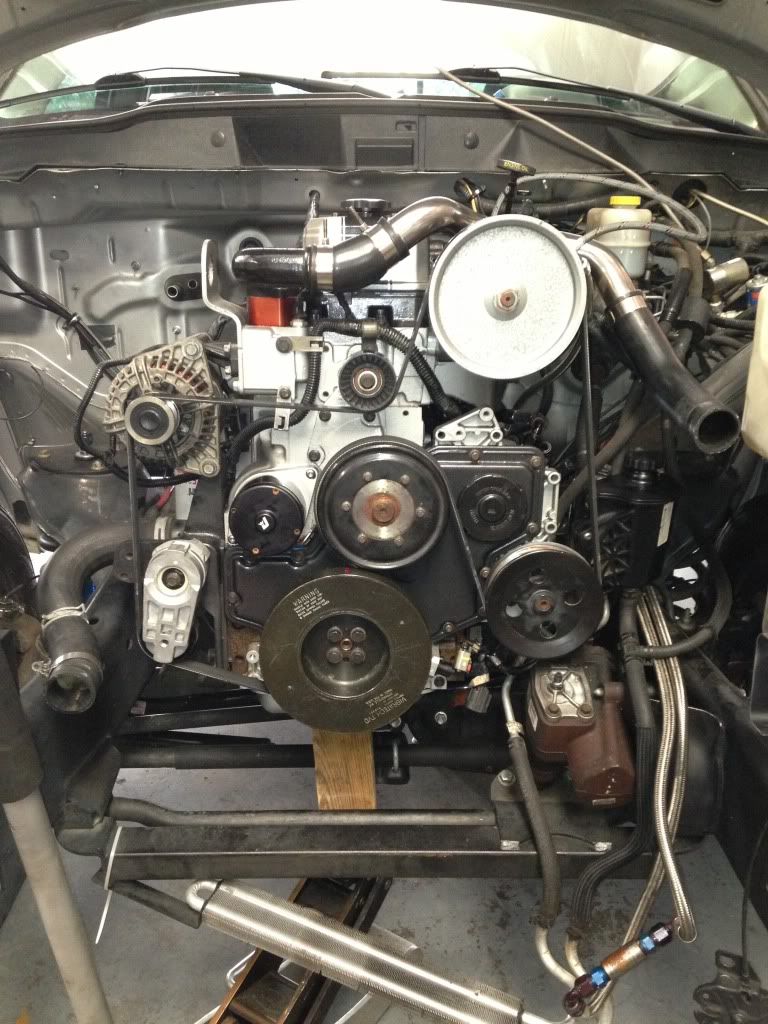
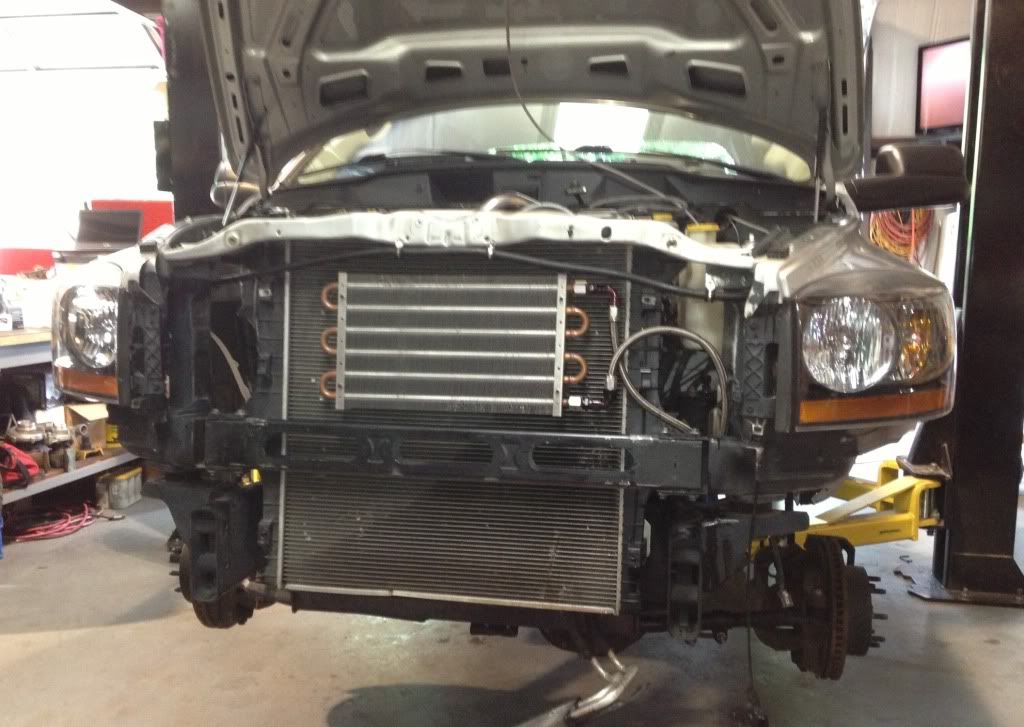
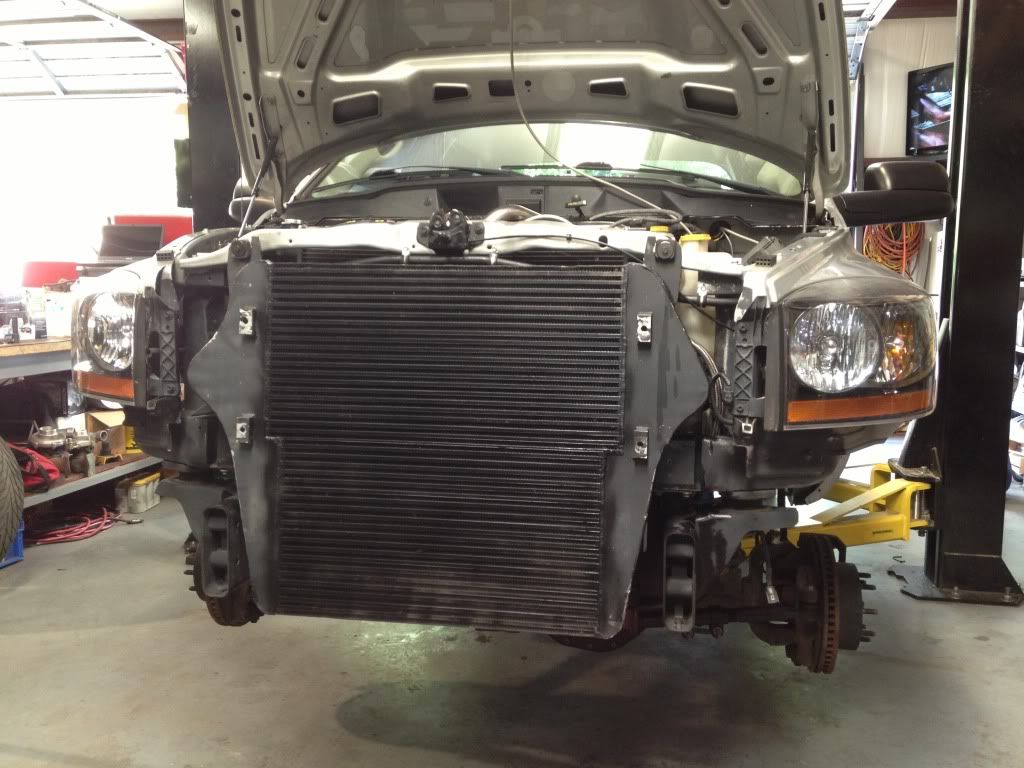
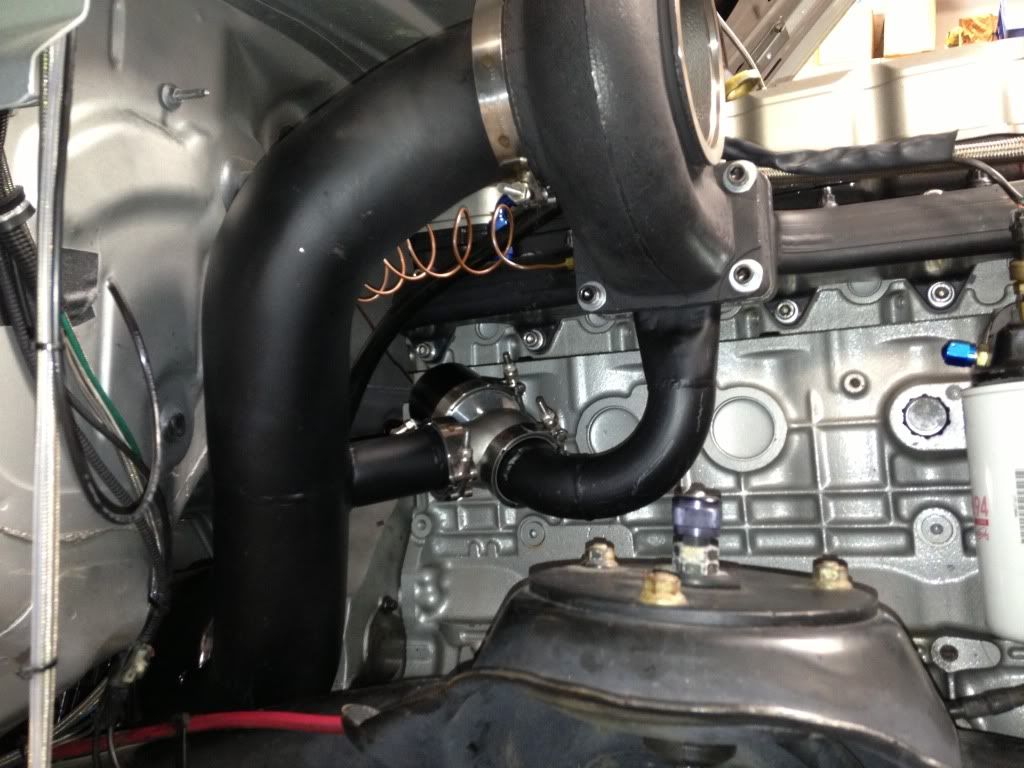
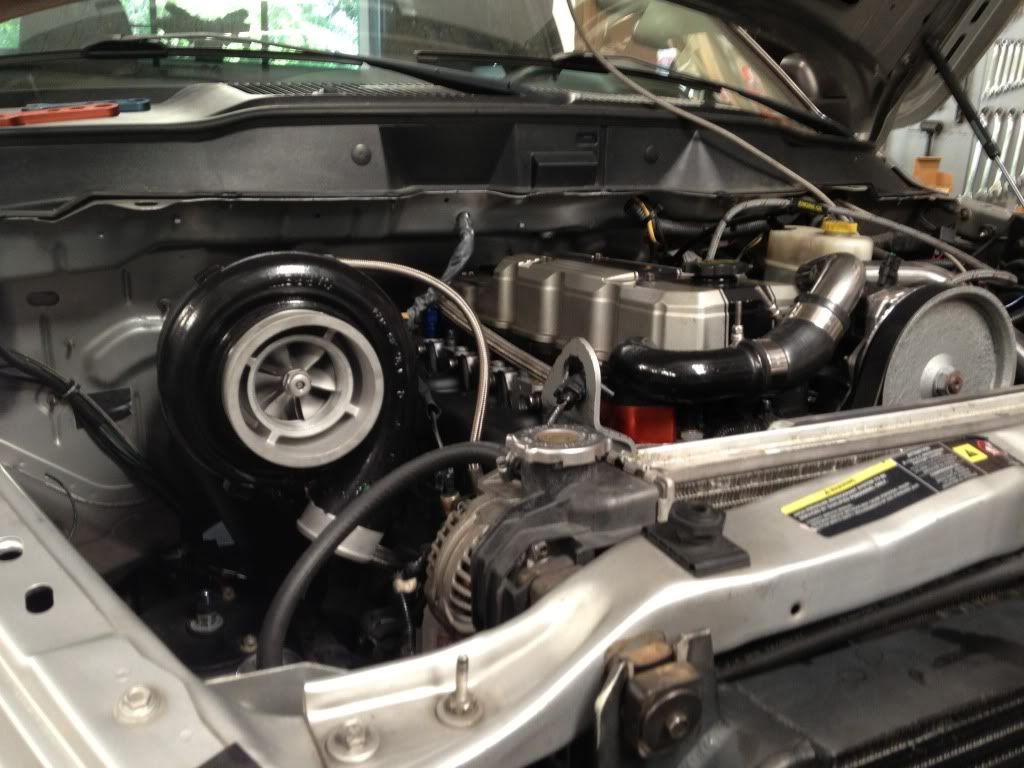
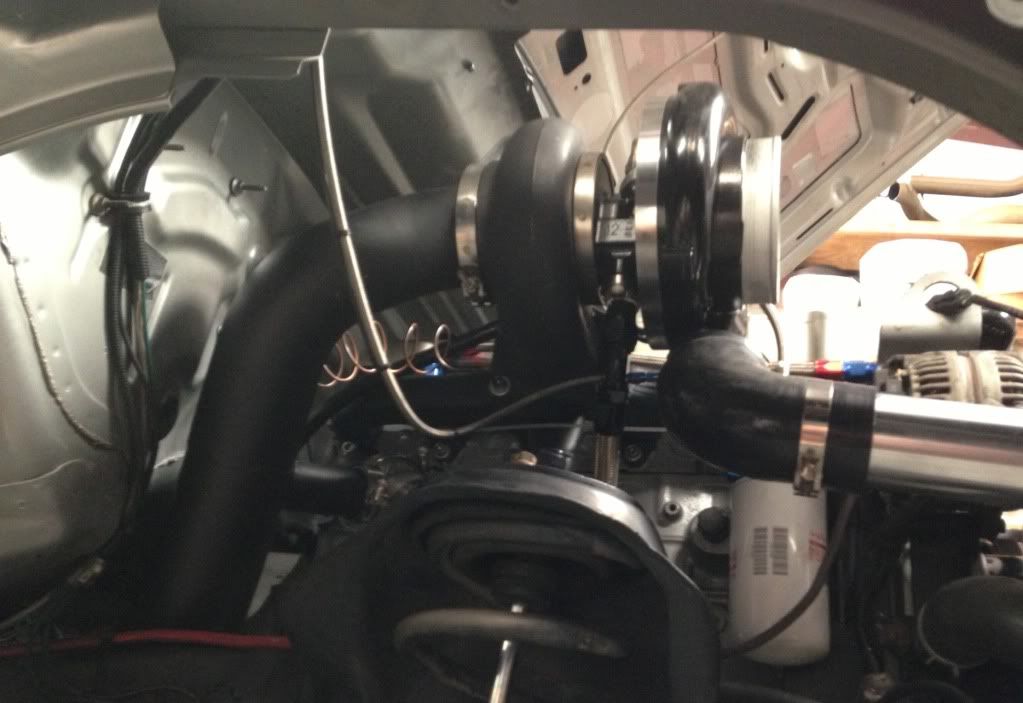
Mocking everything up for the single GT4718....
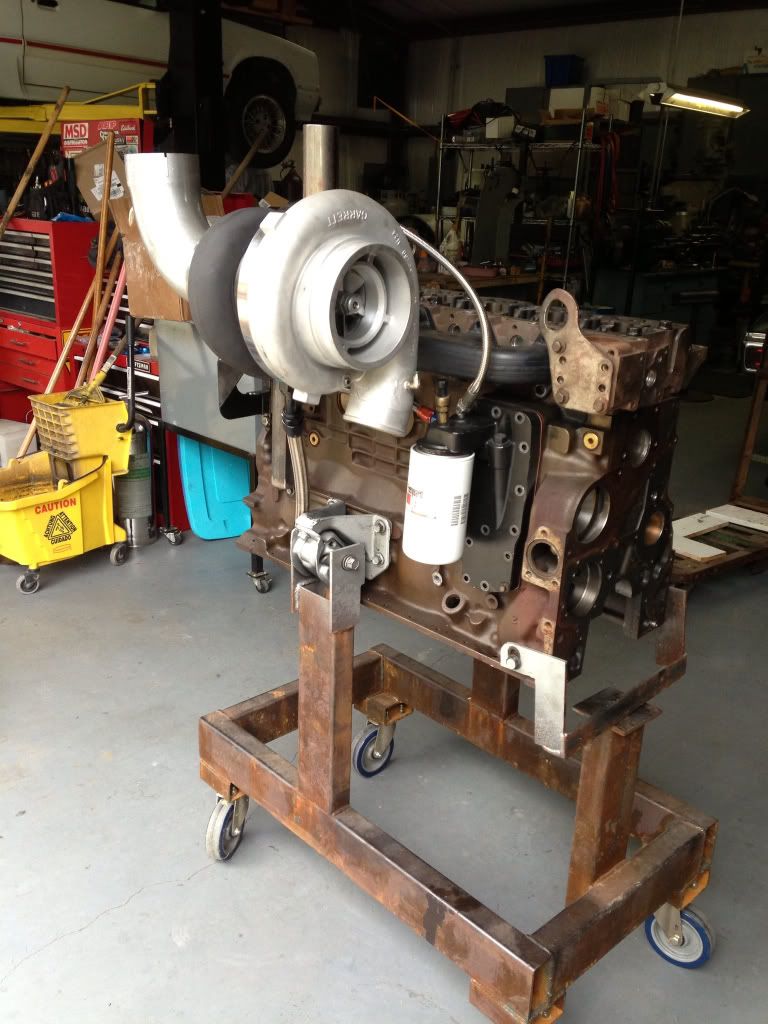
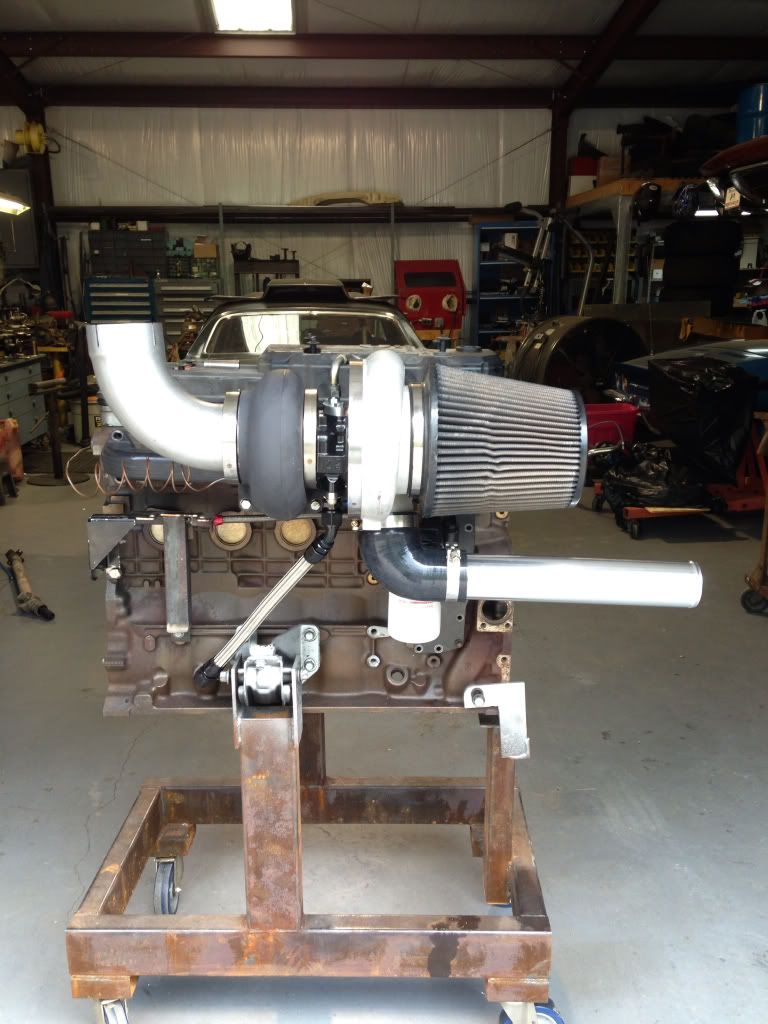
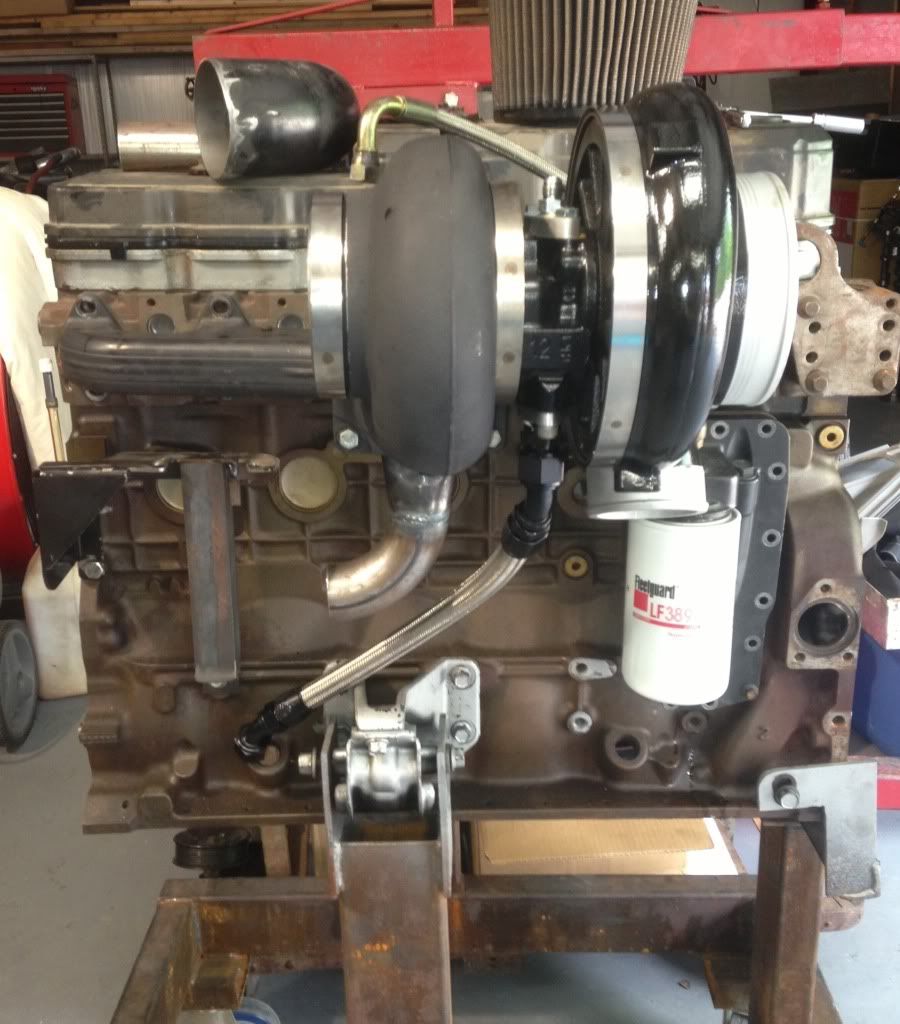
Stuffed in the with the mock up motor....
Continued.....
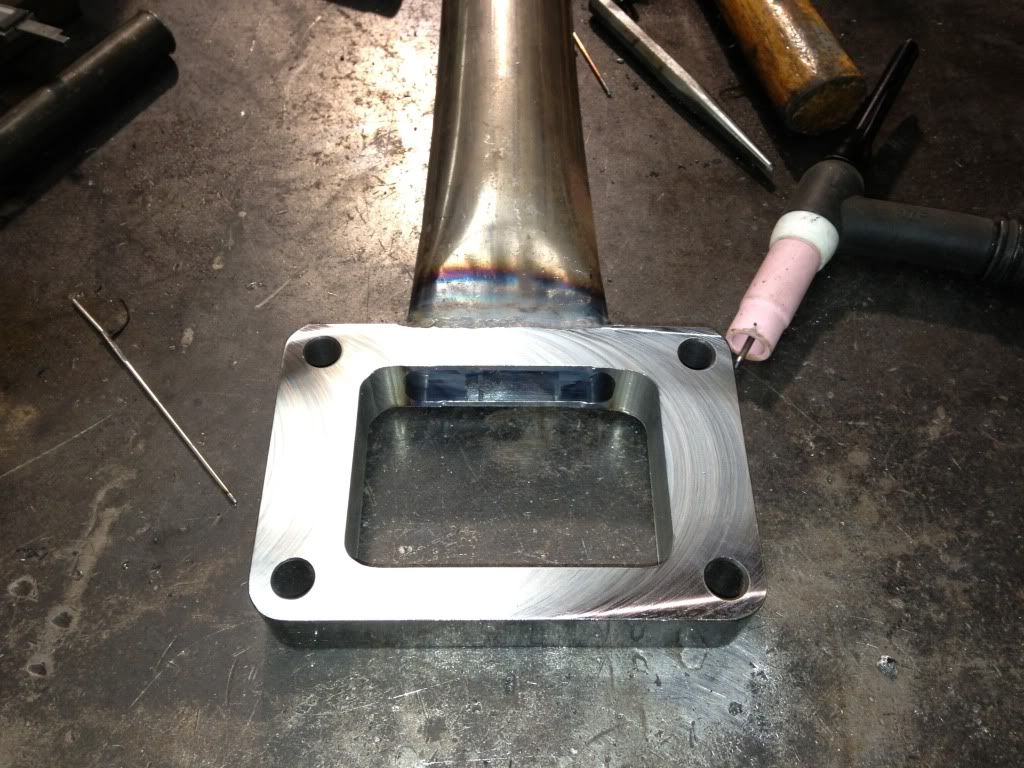
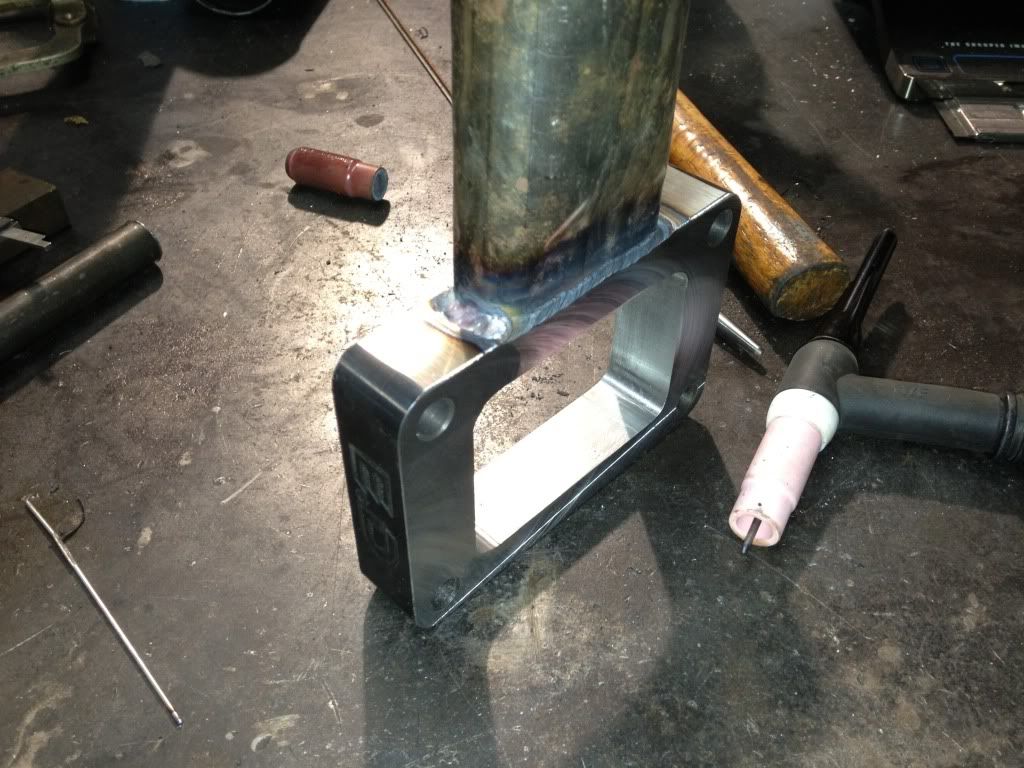
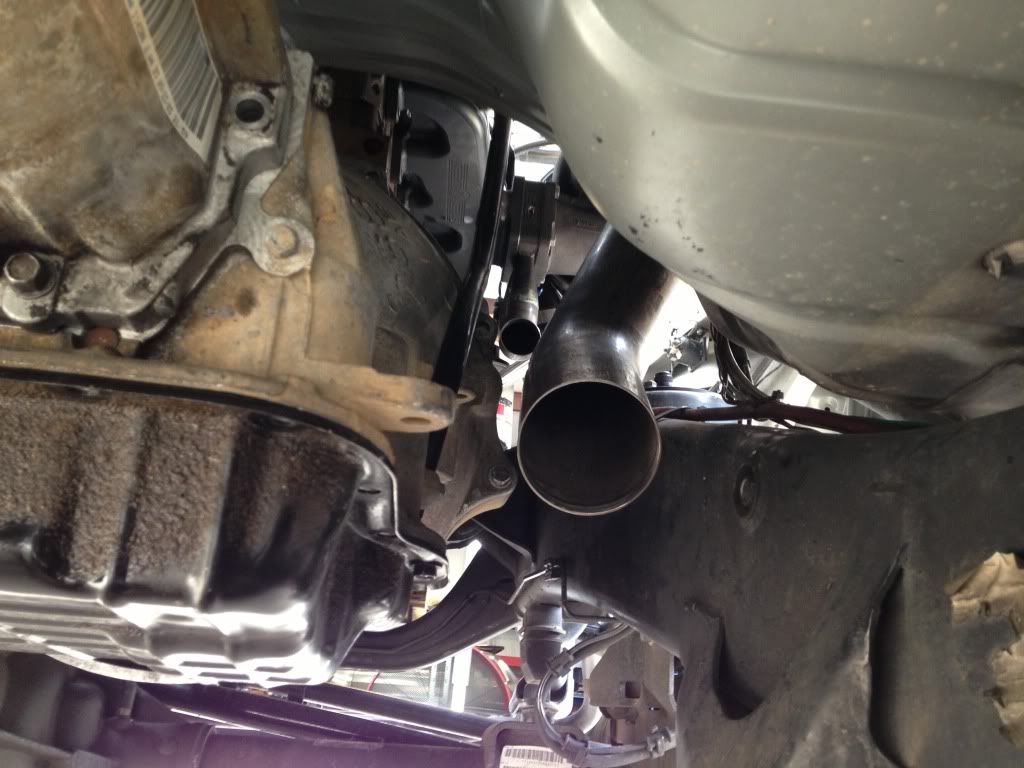
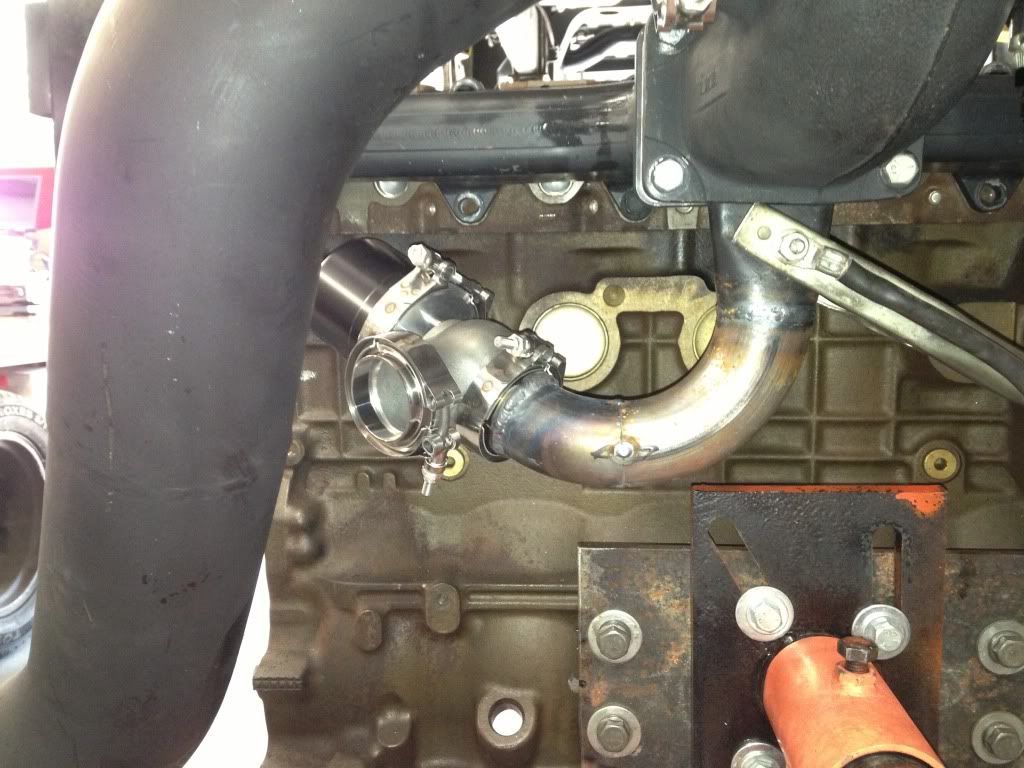
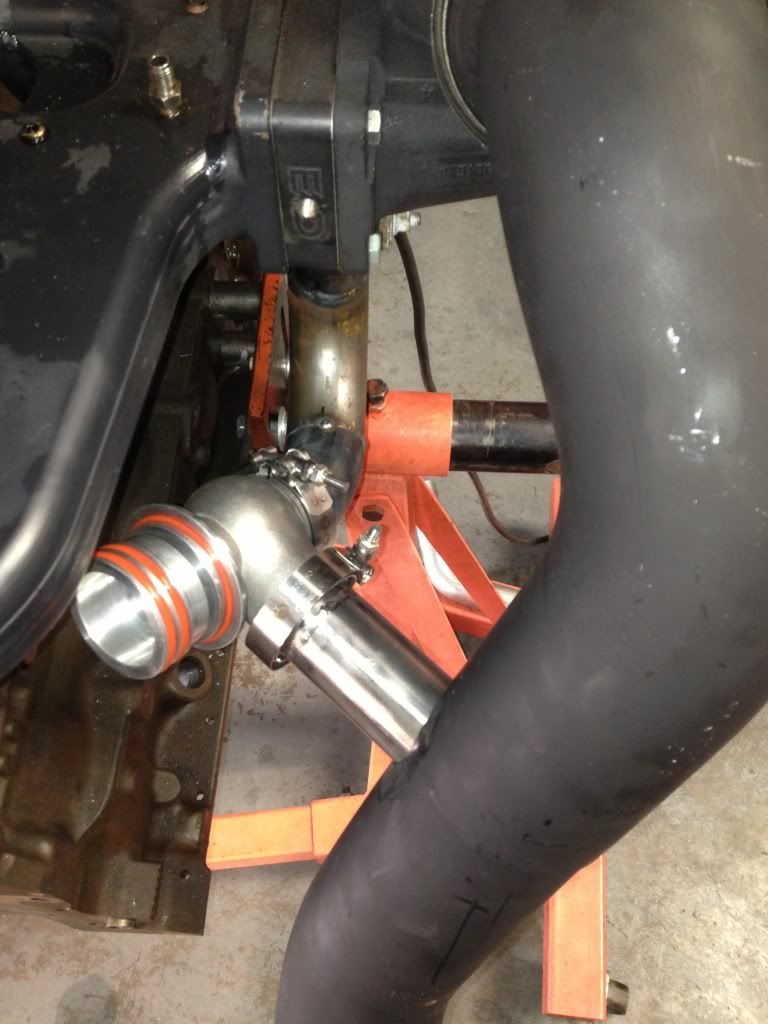
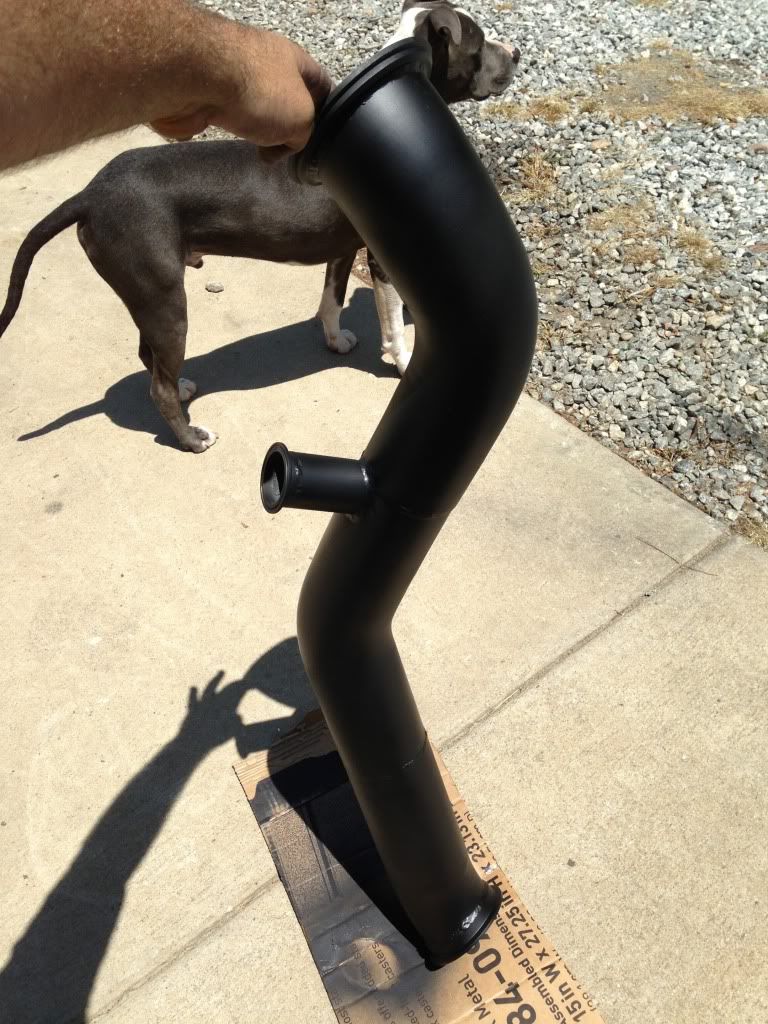
Downpipe that I fabbed up for it.....
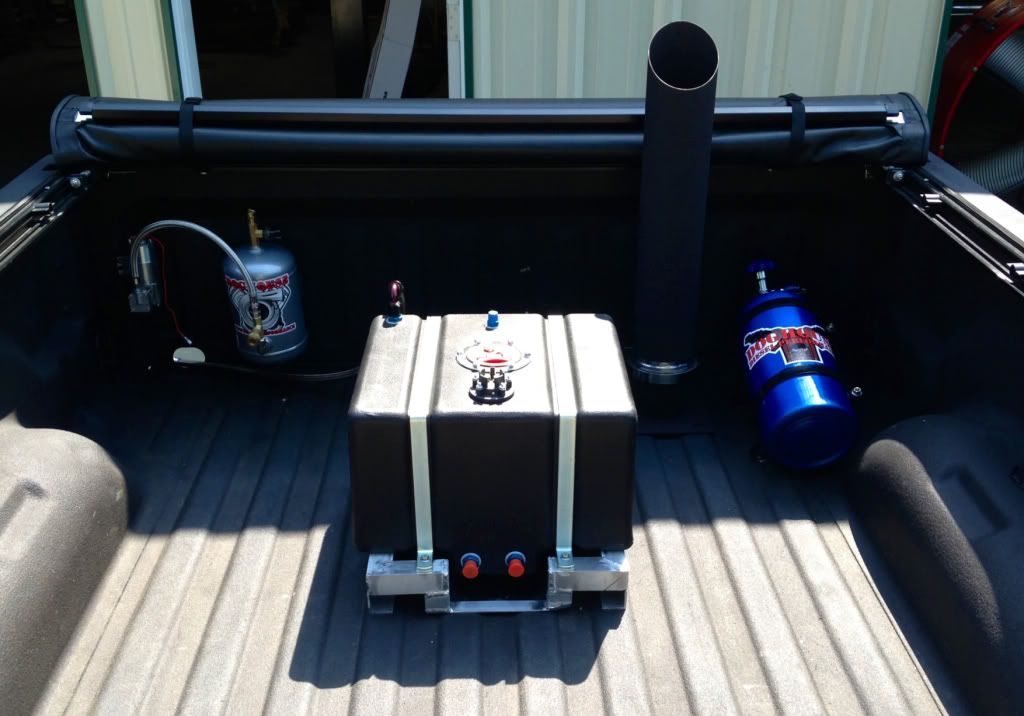
Making the adapter for the single stack.....
My stack is simply parts of the old exhaust....
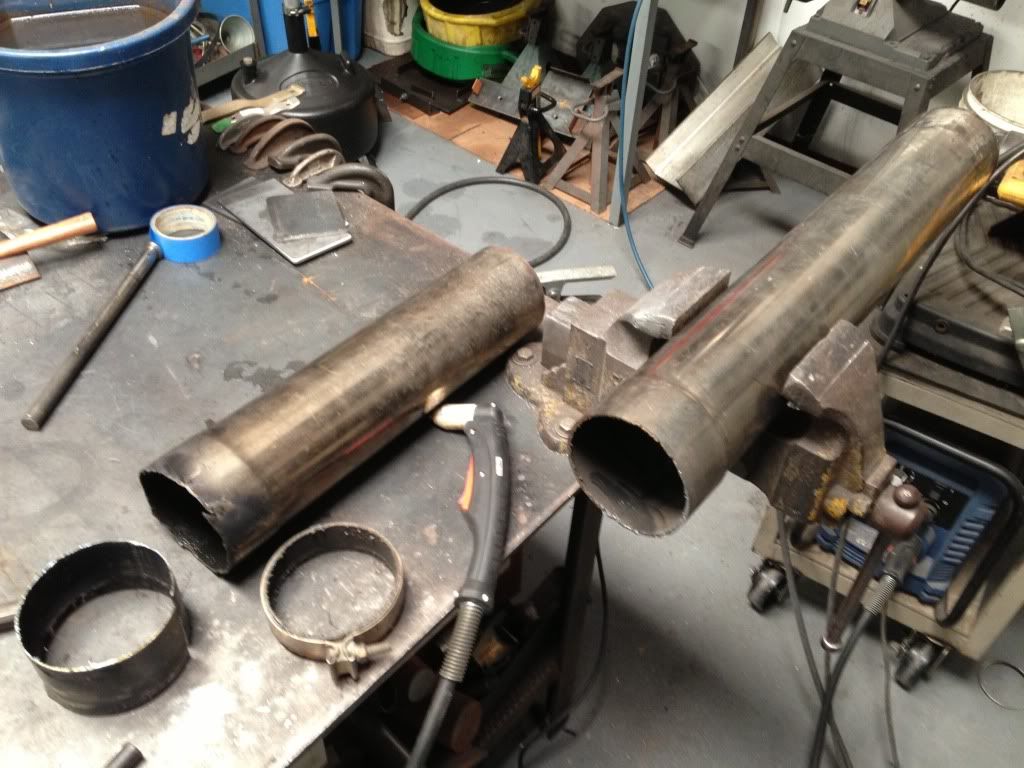
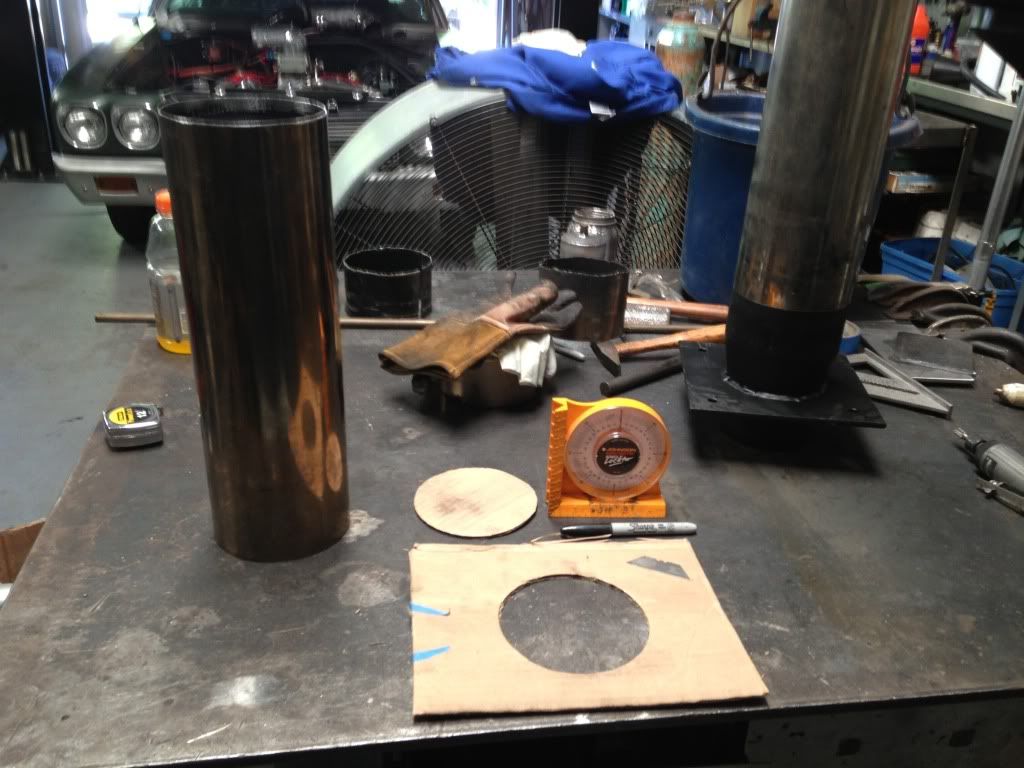
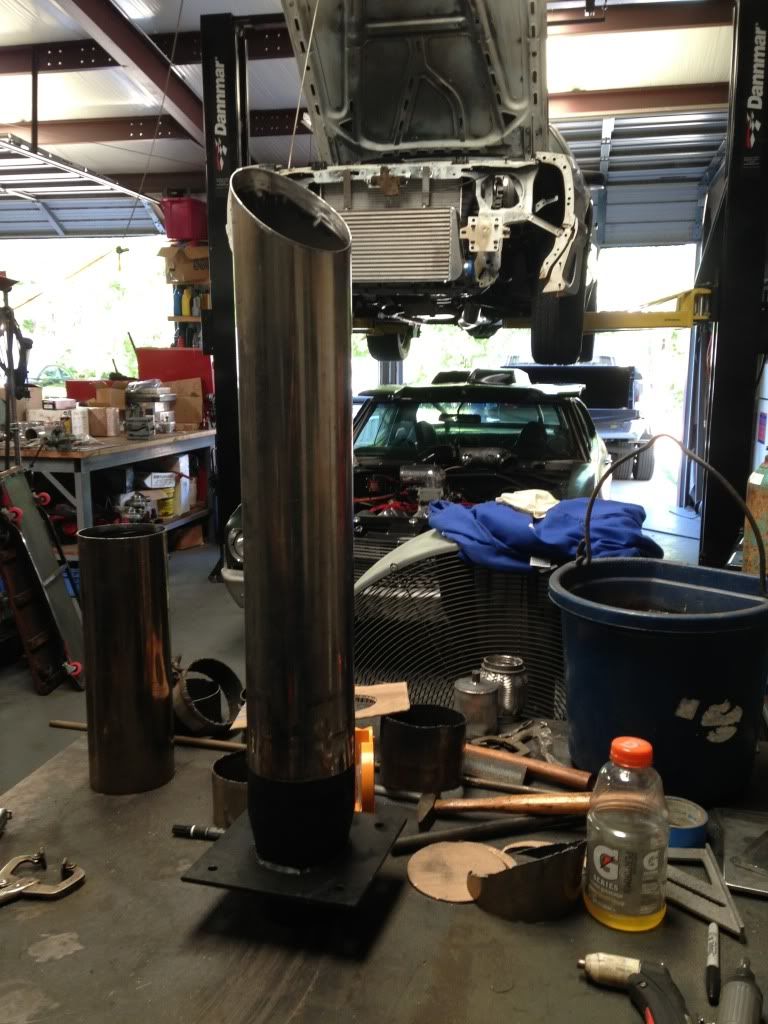
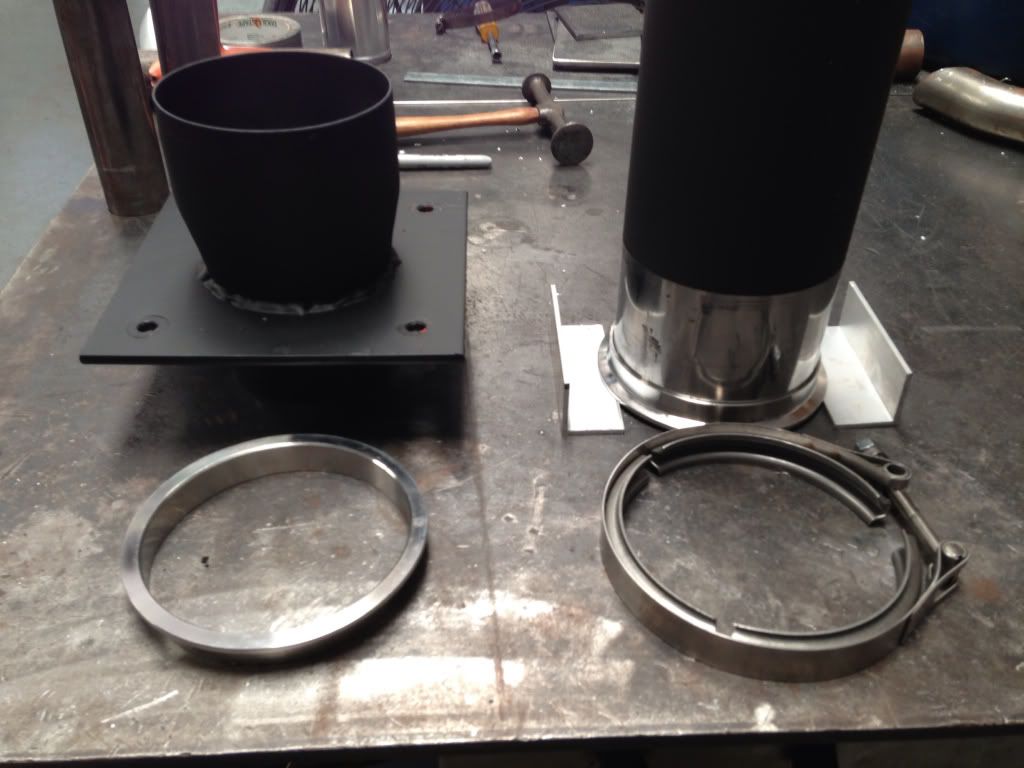
Continued....
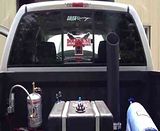
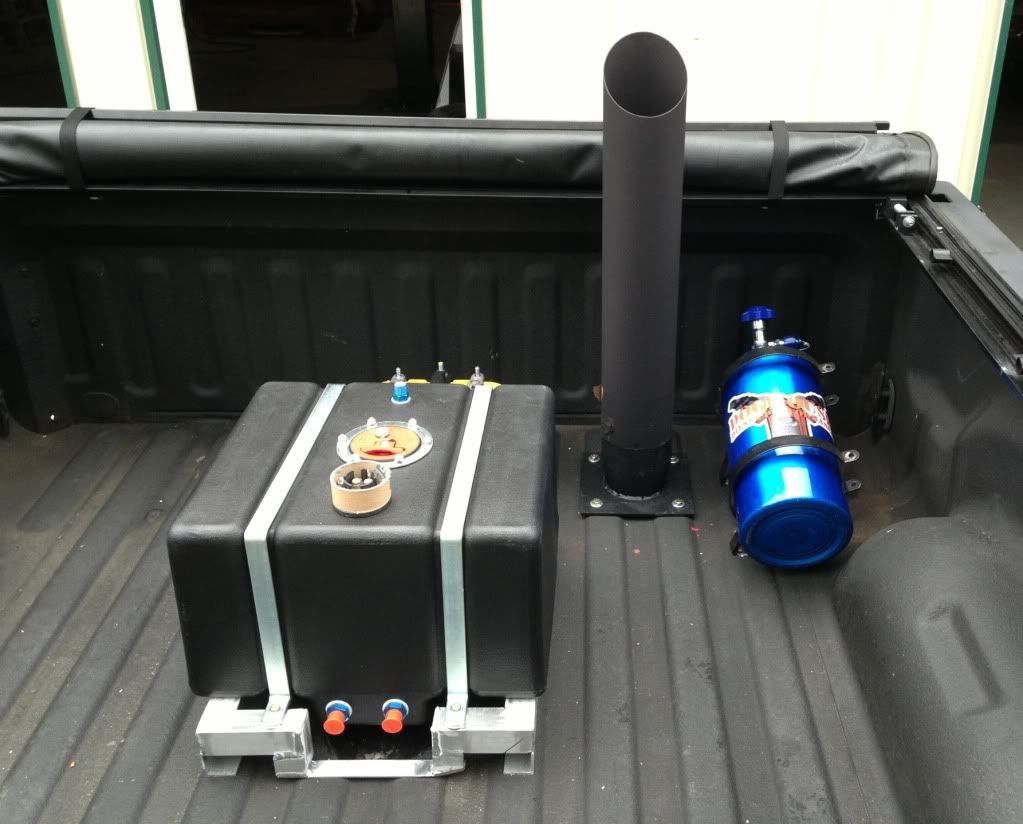
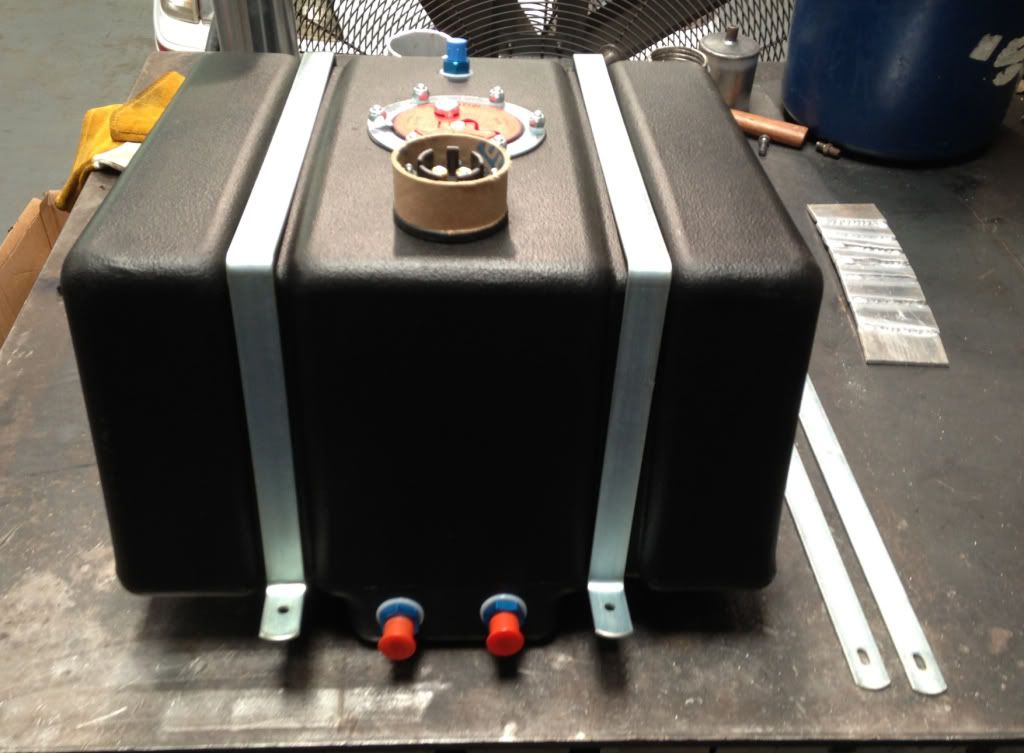
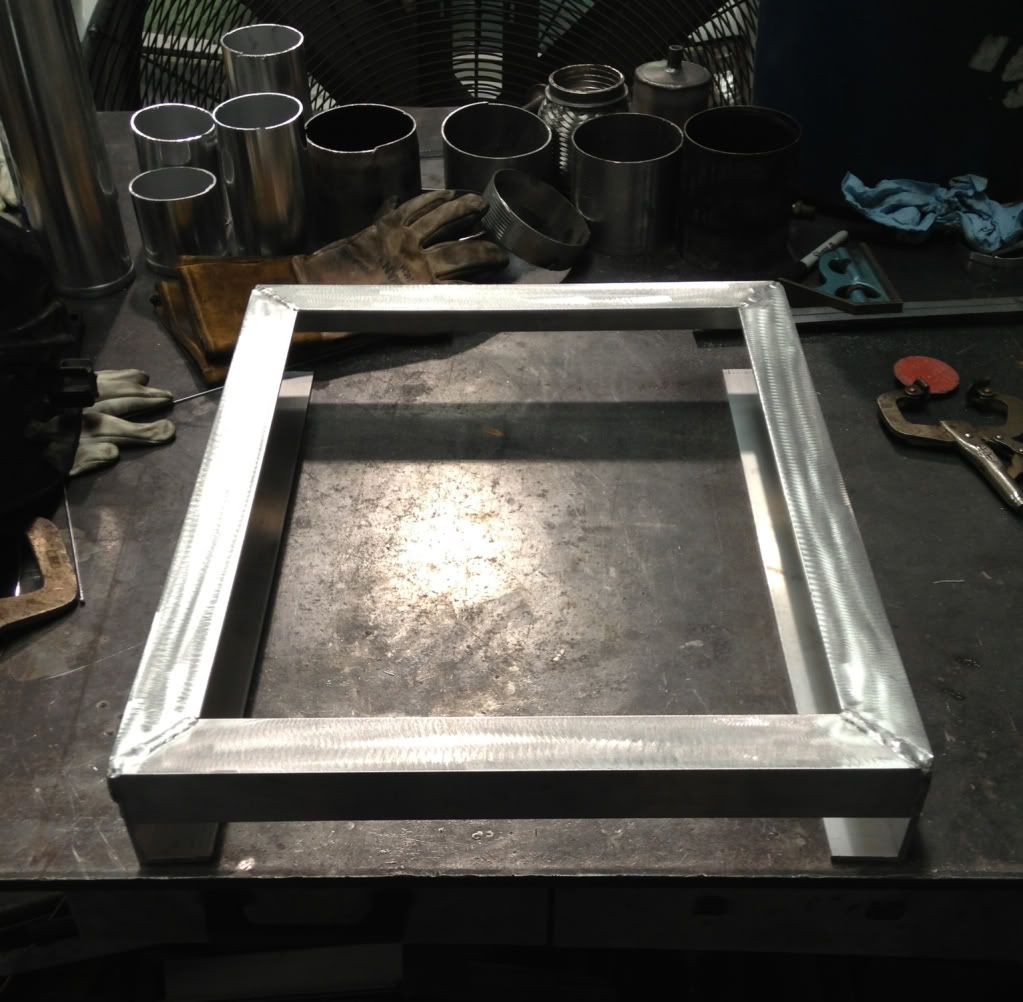
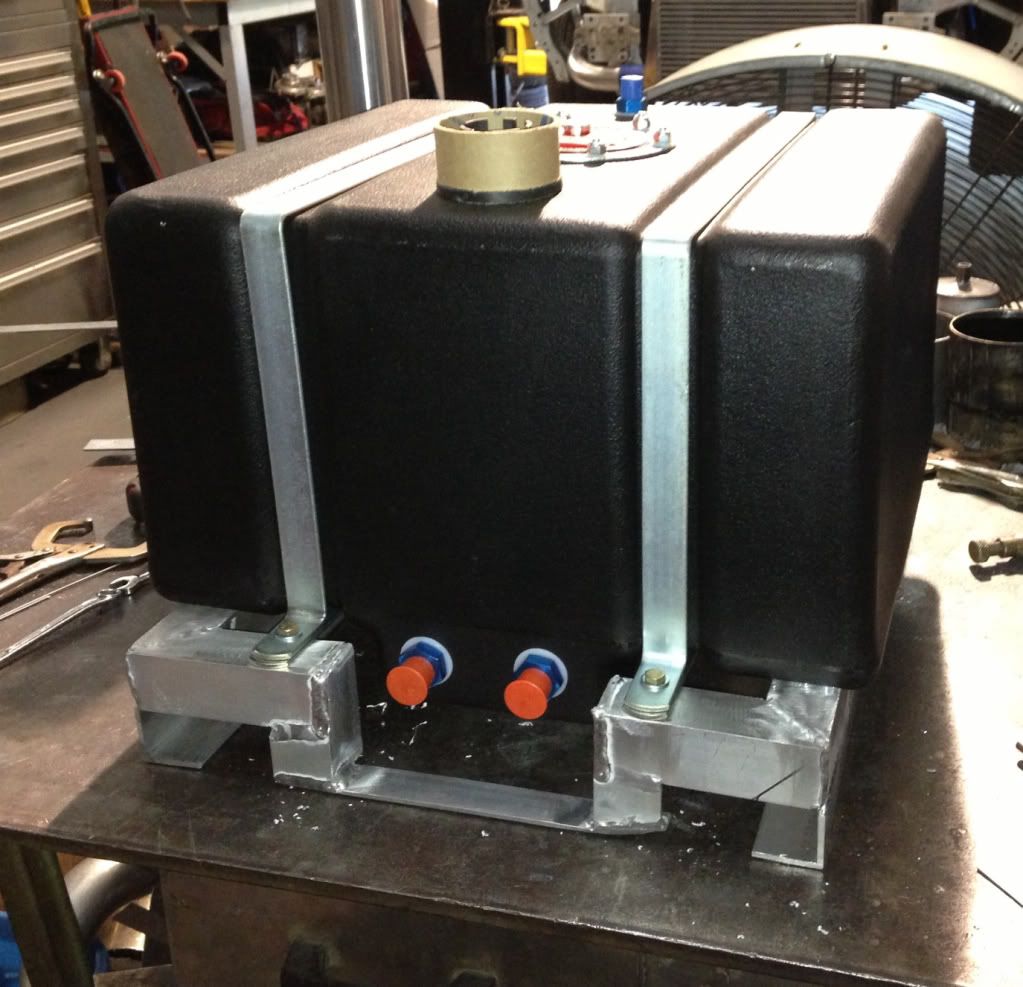
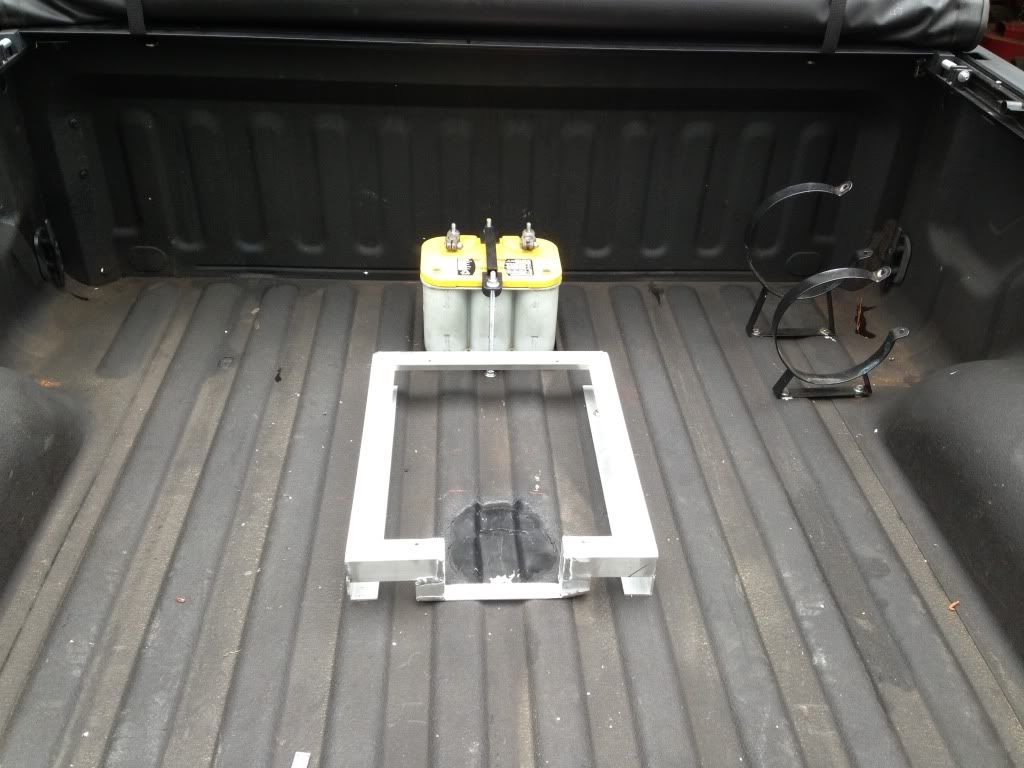
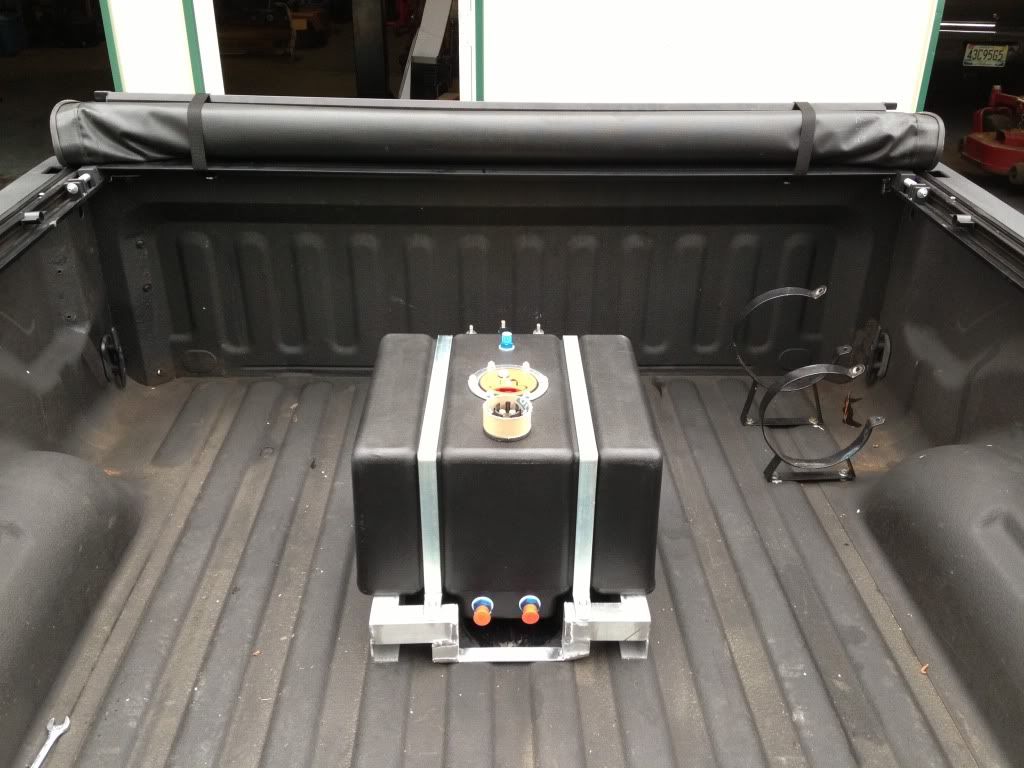
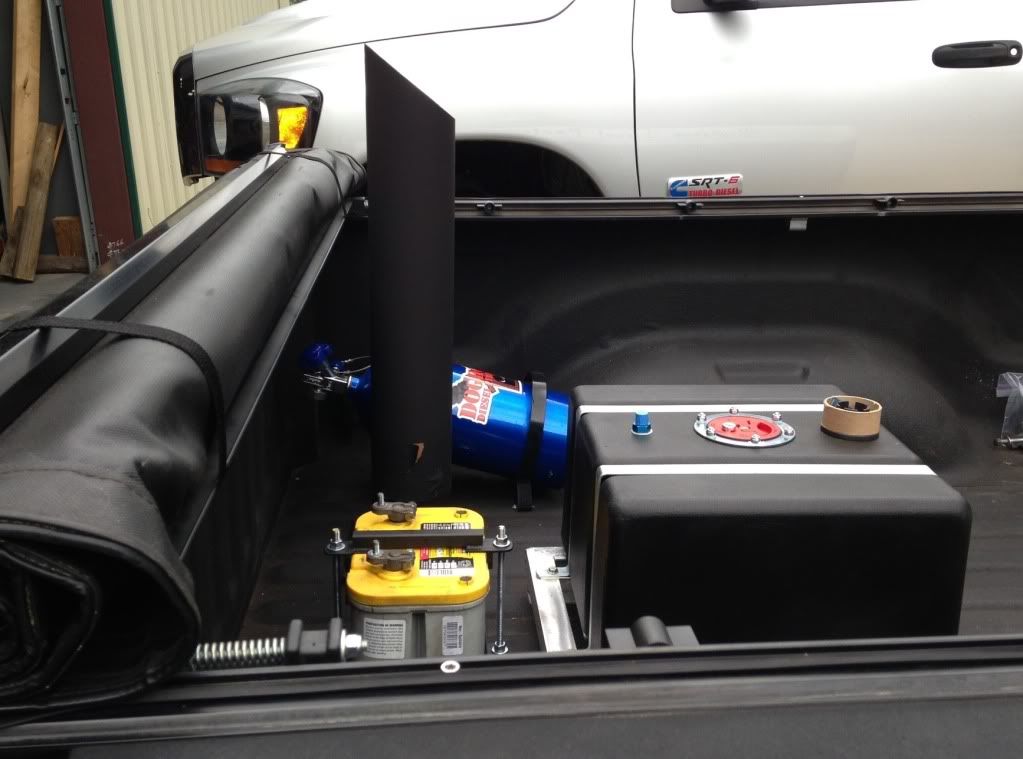
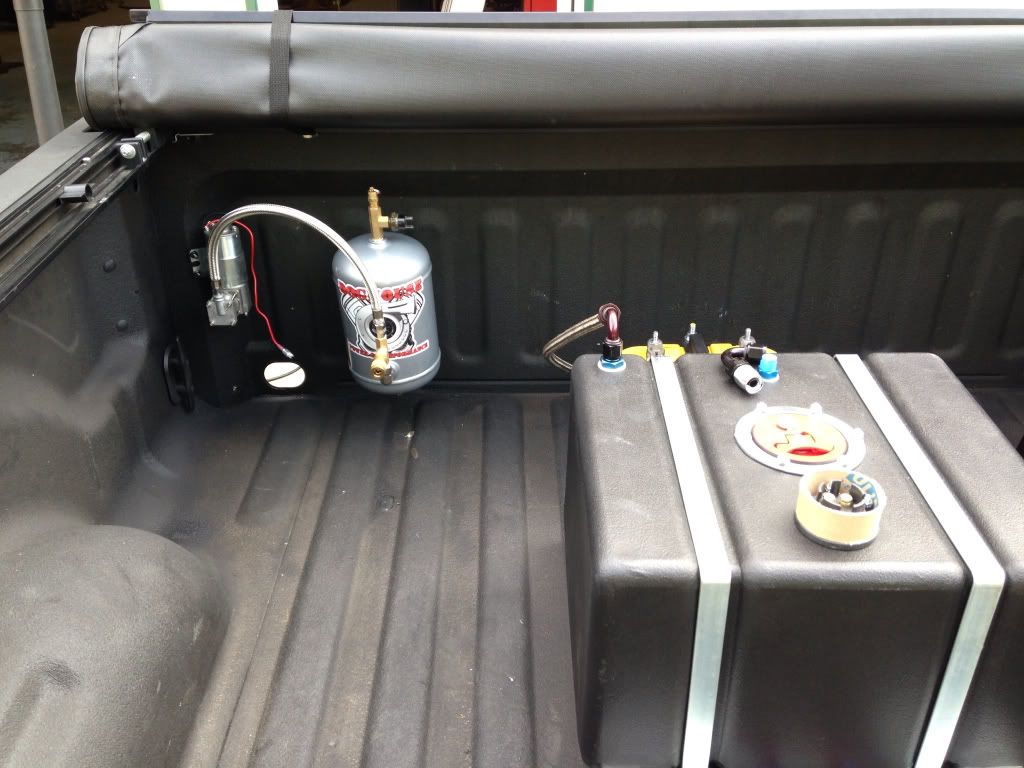
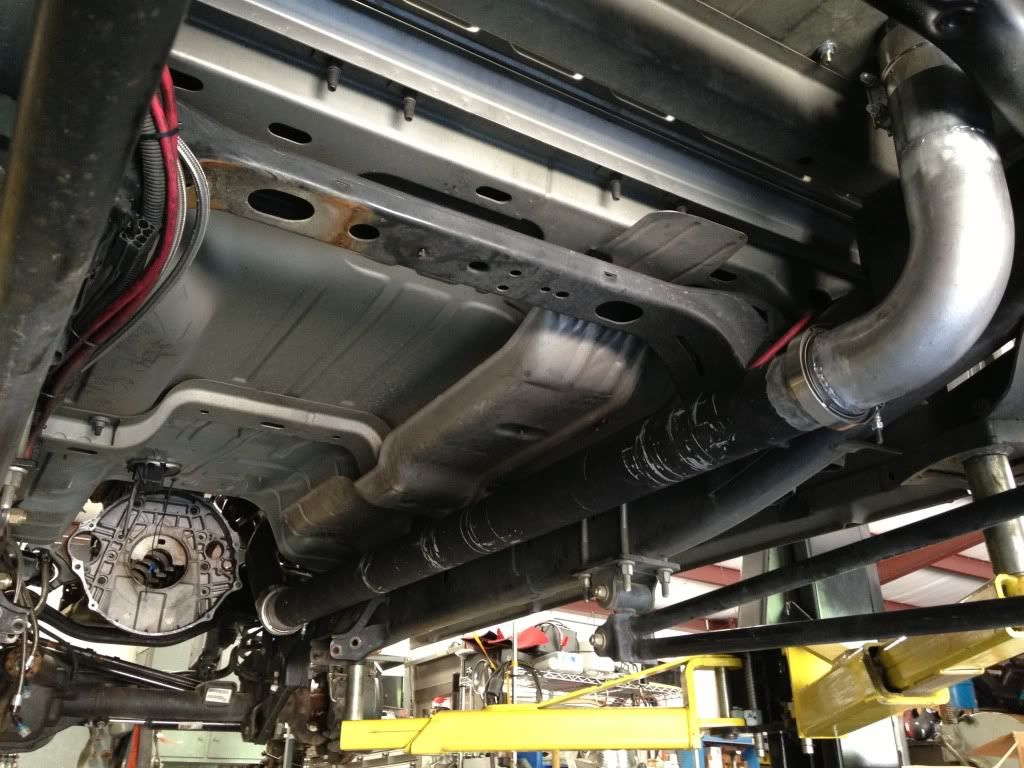
Mounting the fuel cell.....
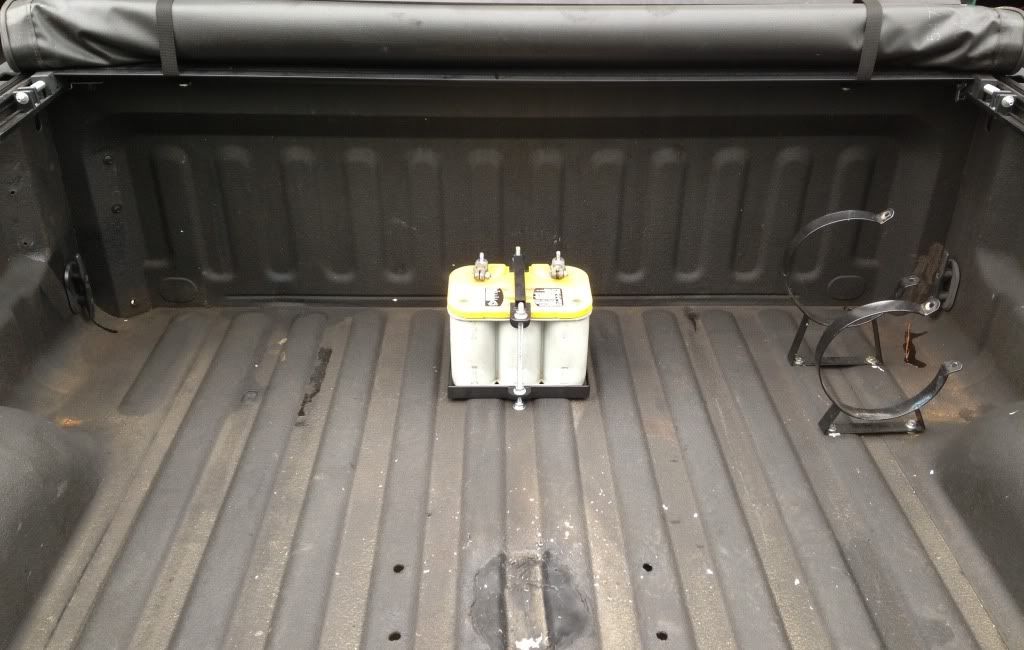
Took the 2 batteries out from underneath and am using a single up in the front of the bed to move some weight forward....
Time to un"F" the wiring and cut some weight out of the back.....
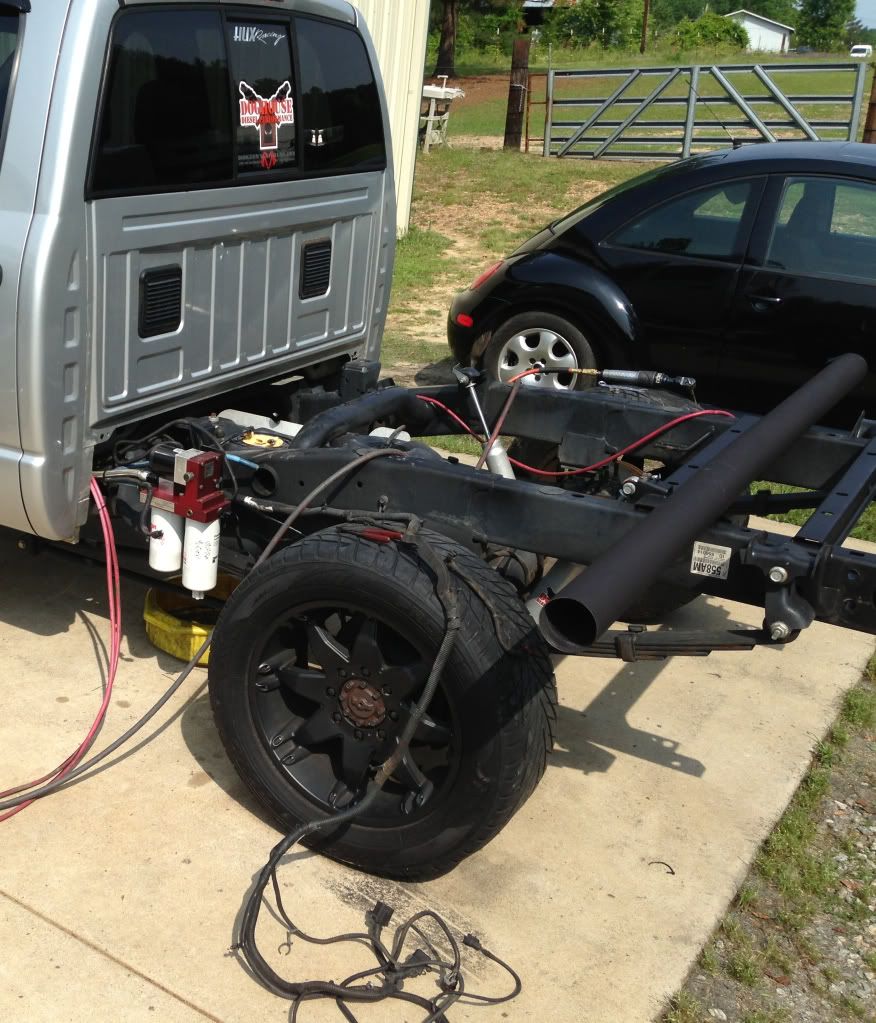
No more OEM fuel tank.....
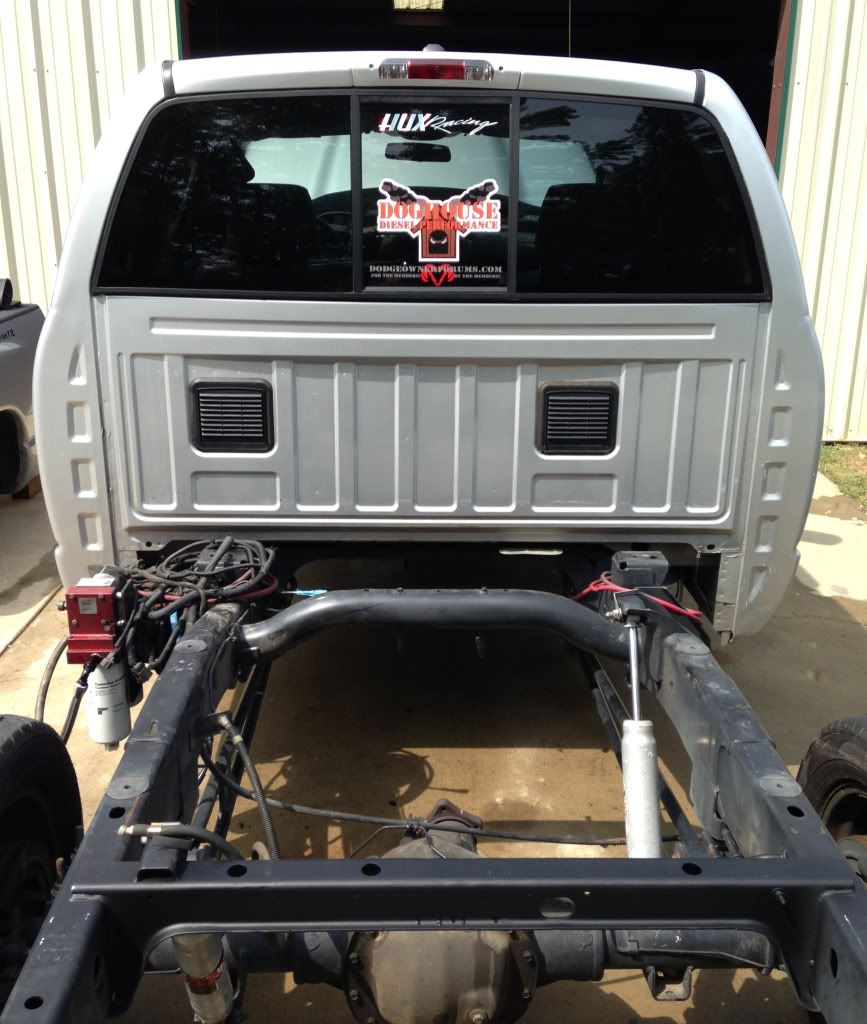
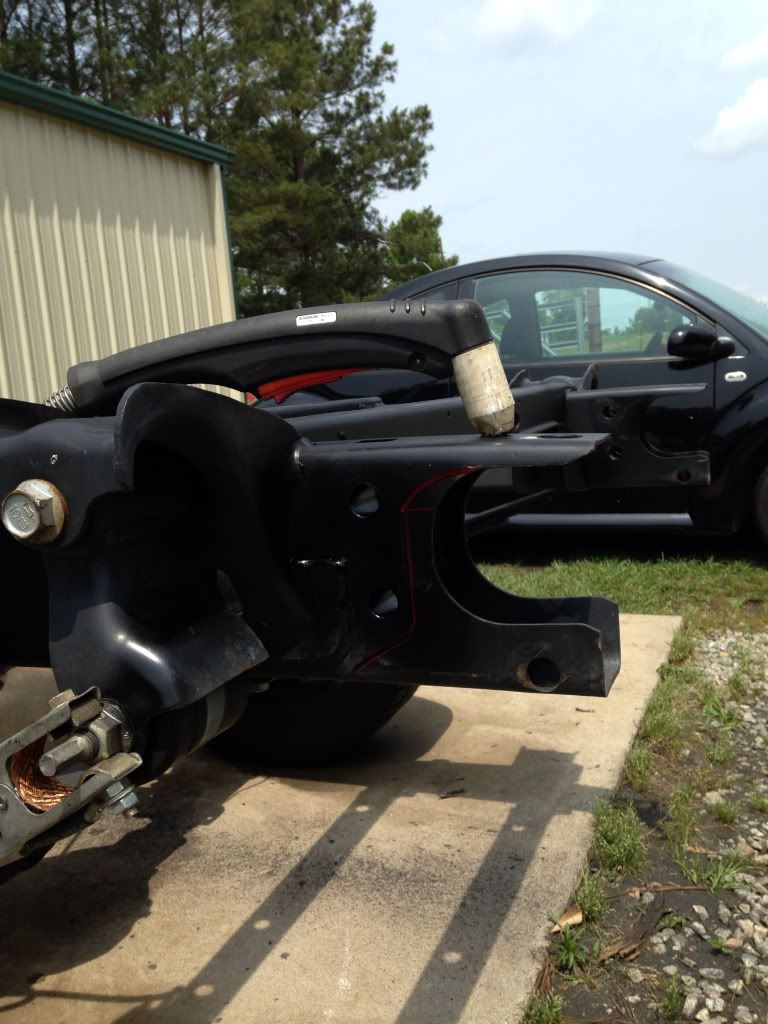
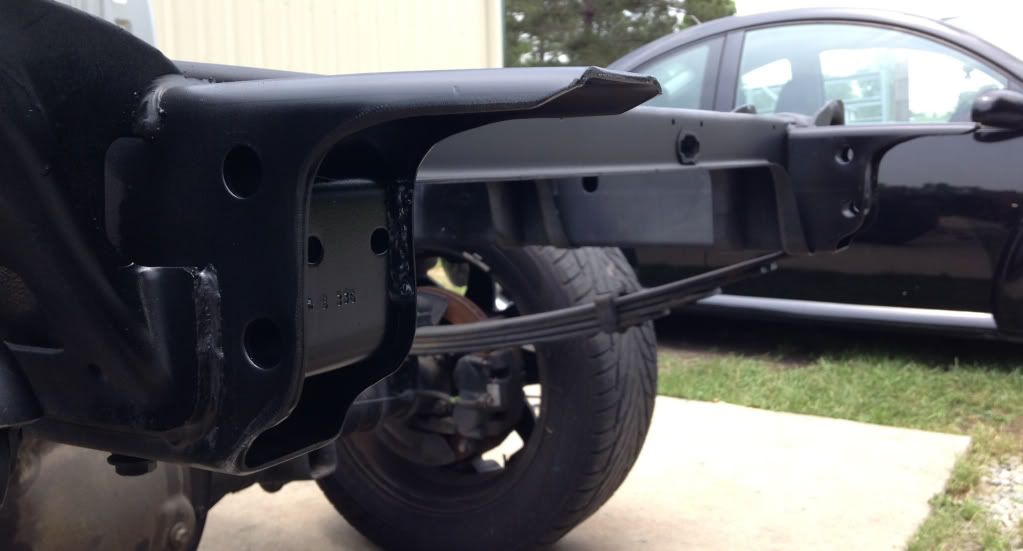
Cutting anything that doesn't need to be there.....
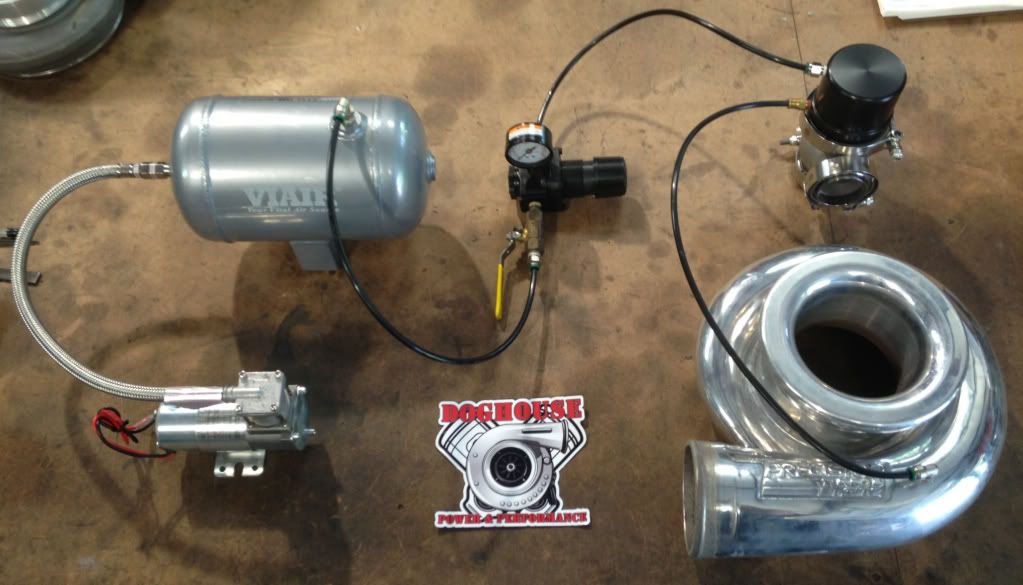
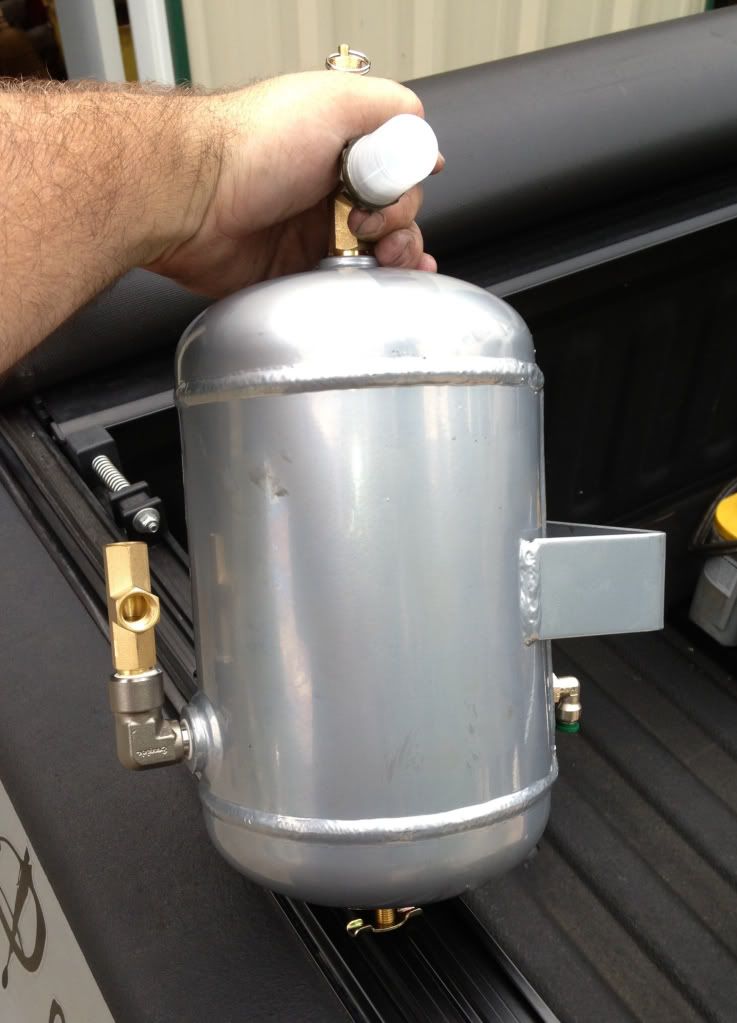
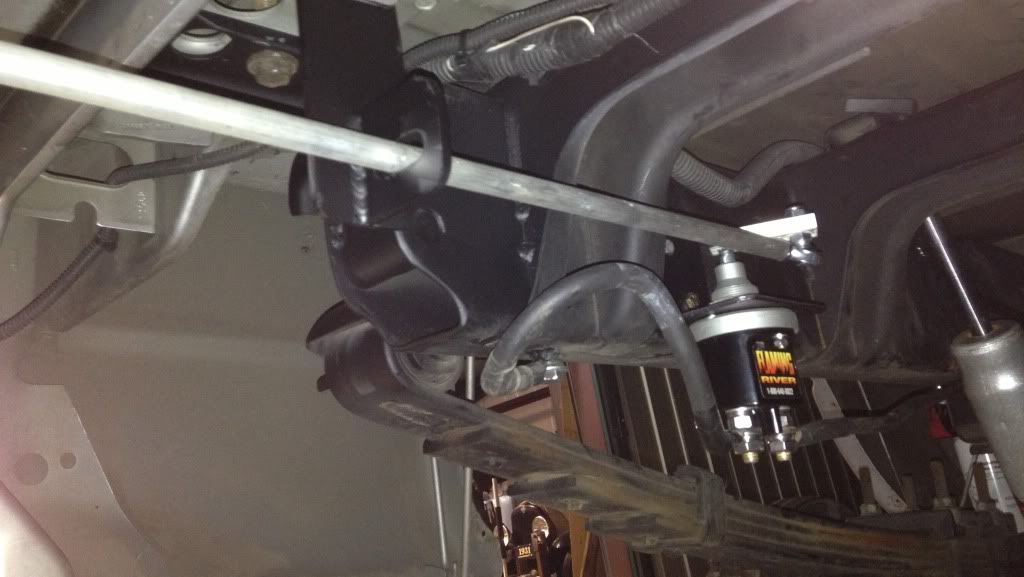
Making my air system for the wastegate controls.....
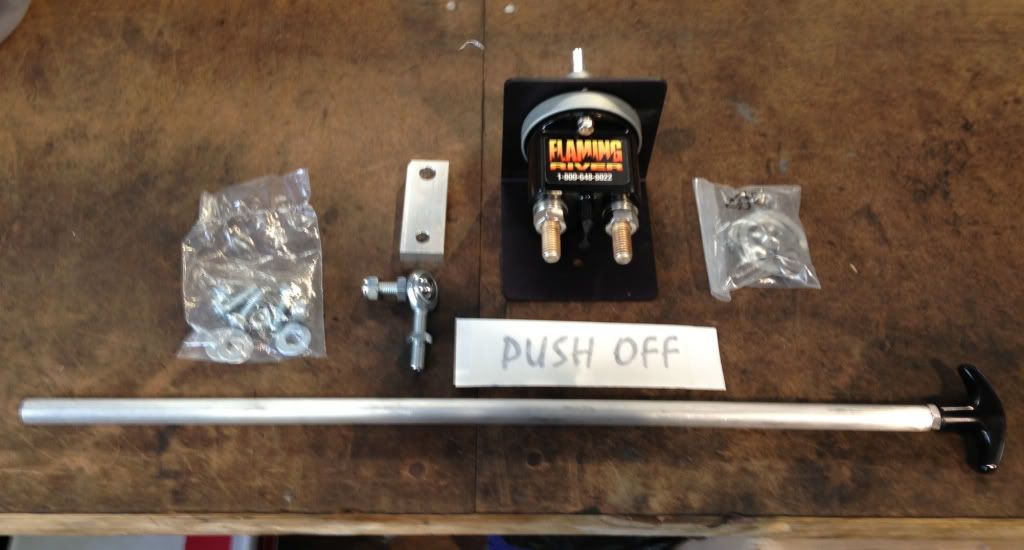
Wiring in the required kill switch.....
Doing the exhaust.....
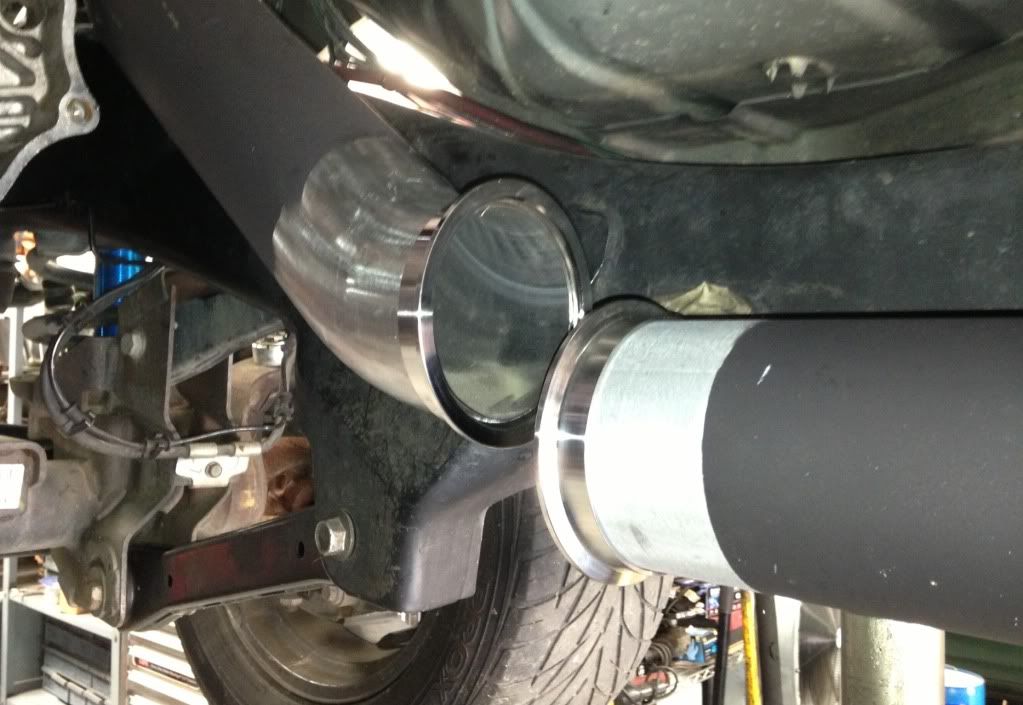
No cheap azz clamps or slip fits. All v-bands for easy and secure install and removal....
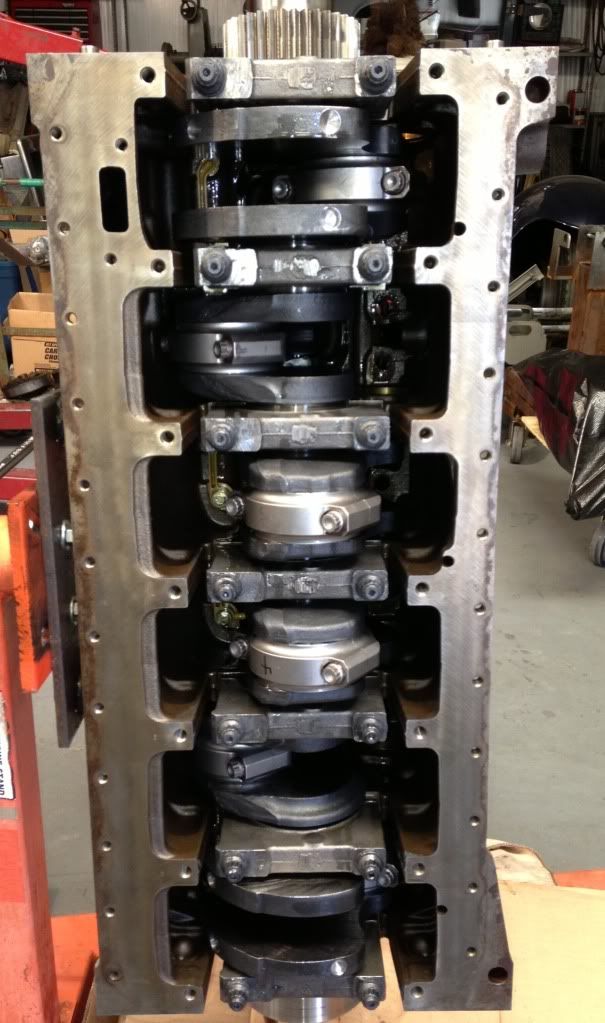
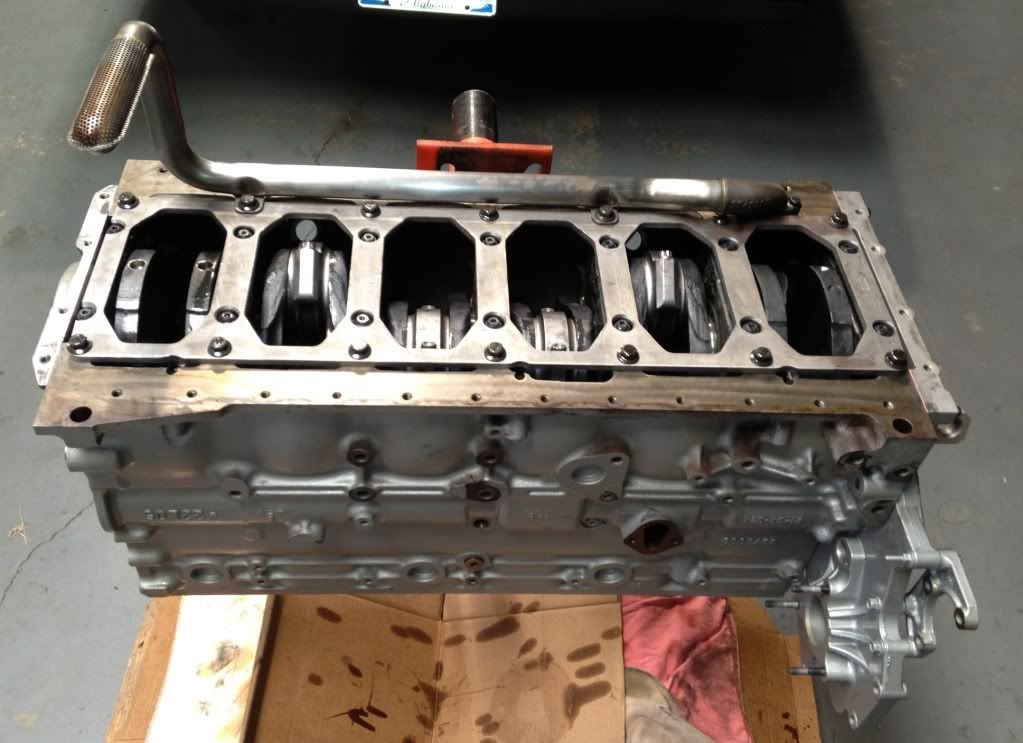
Time to put this sucker back together.....

BLING!!!
Continued.....
A little chrome-b-gone.....
Back to the important stuff.....

Continued....
Finishing the wastegate plumbing.....
First start up.....
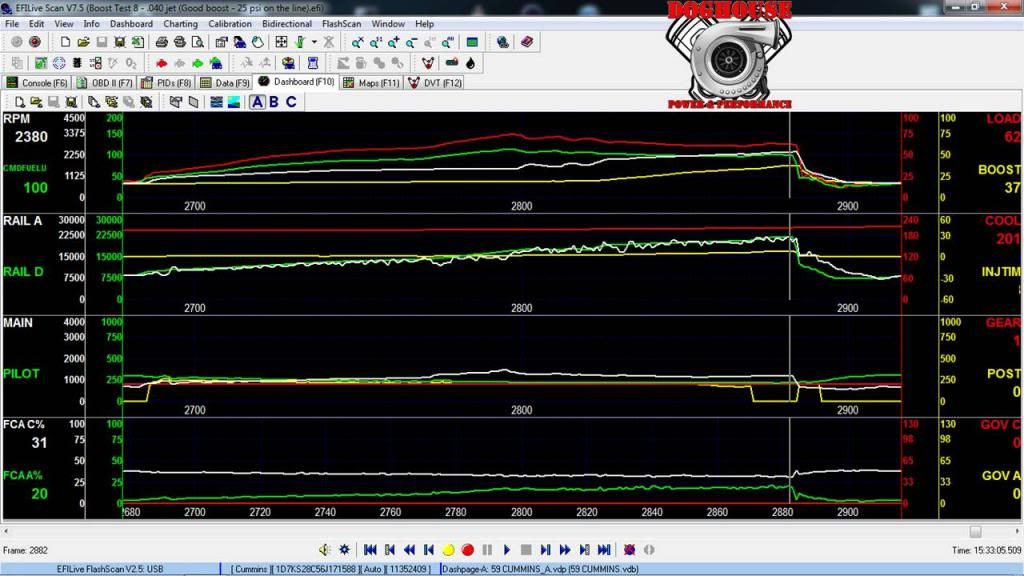
Doing some spool up testing....
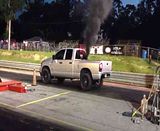
First pass down the track.....
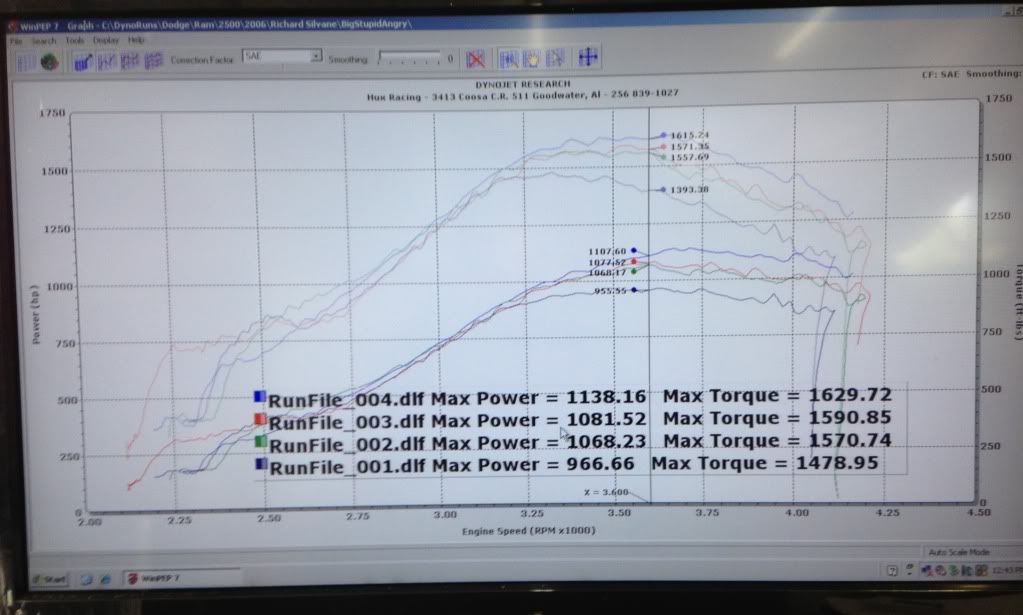
Tuning in the wastegate and the 1st nitrous stage. She's carrying over 1000 hp out there at 4000+ RPM's now. I can't use the 2nd and 3rd kits on the dyno because they're tied into my torque converter and OD solenoids, so they need to be disconnected on the dyno. This is without the estimated ~300 hp that I still have on top of these numbers.
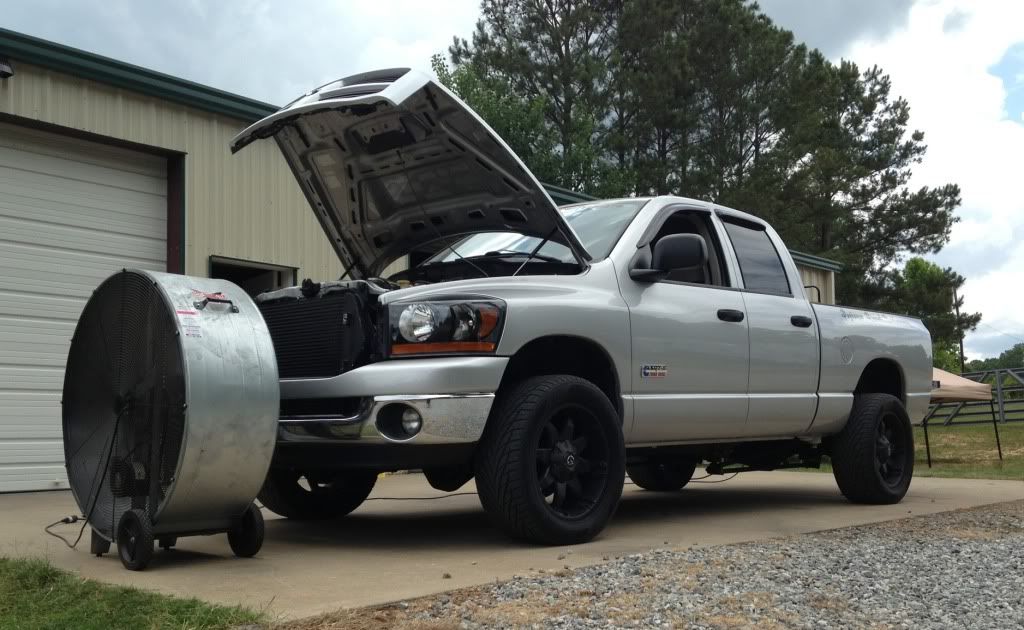
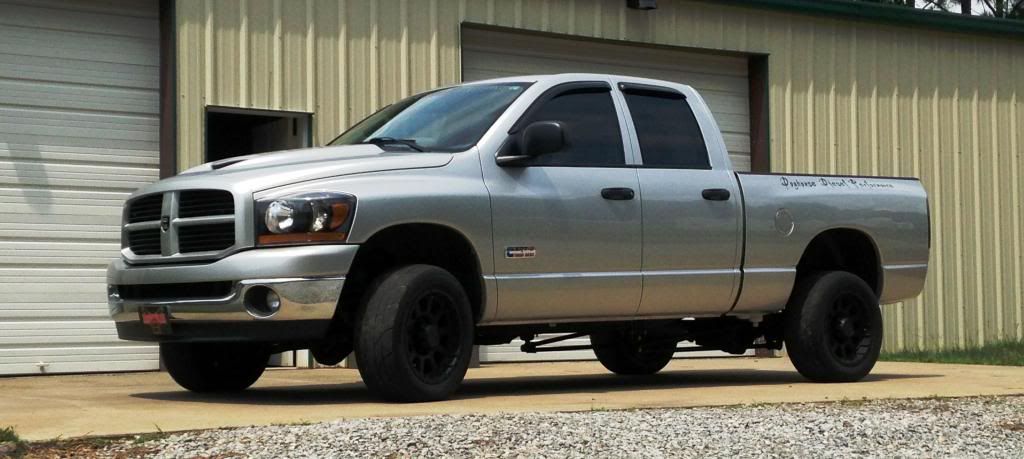
And here is how she's sitting right now.....ready to do some huntin'....
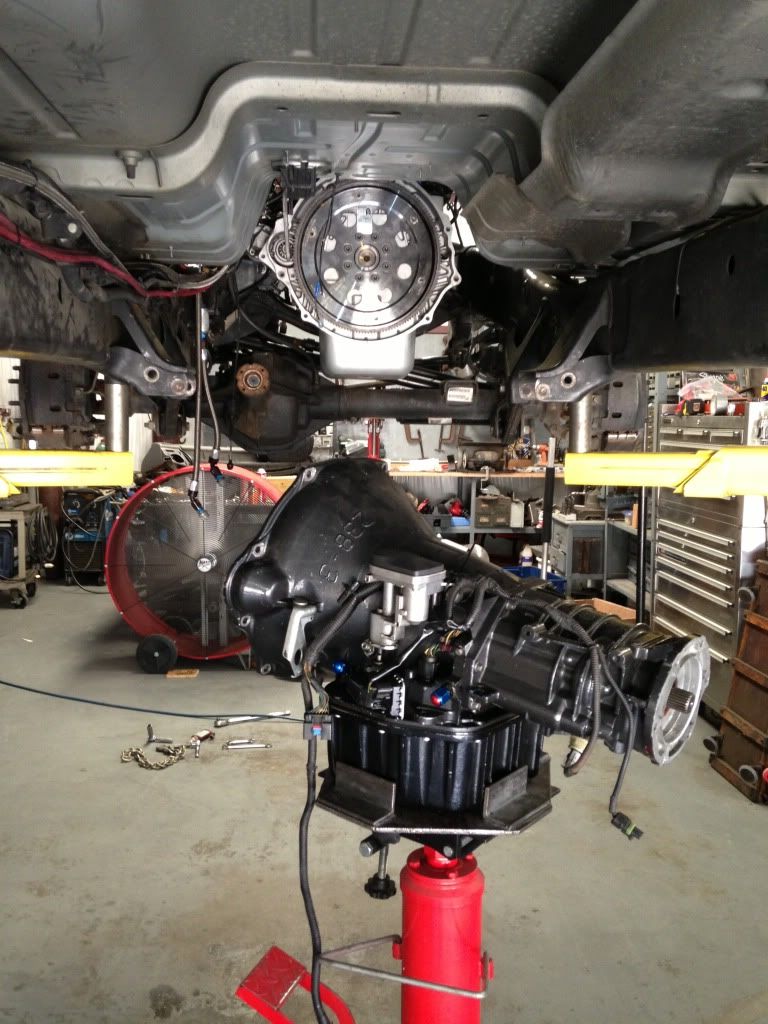
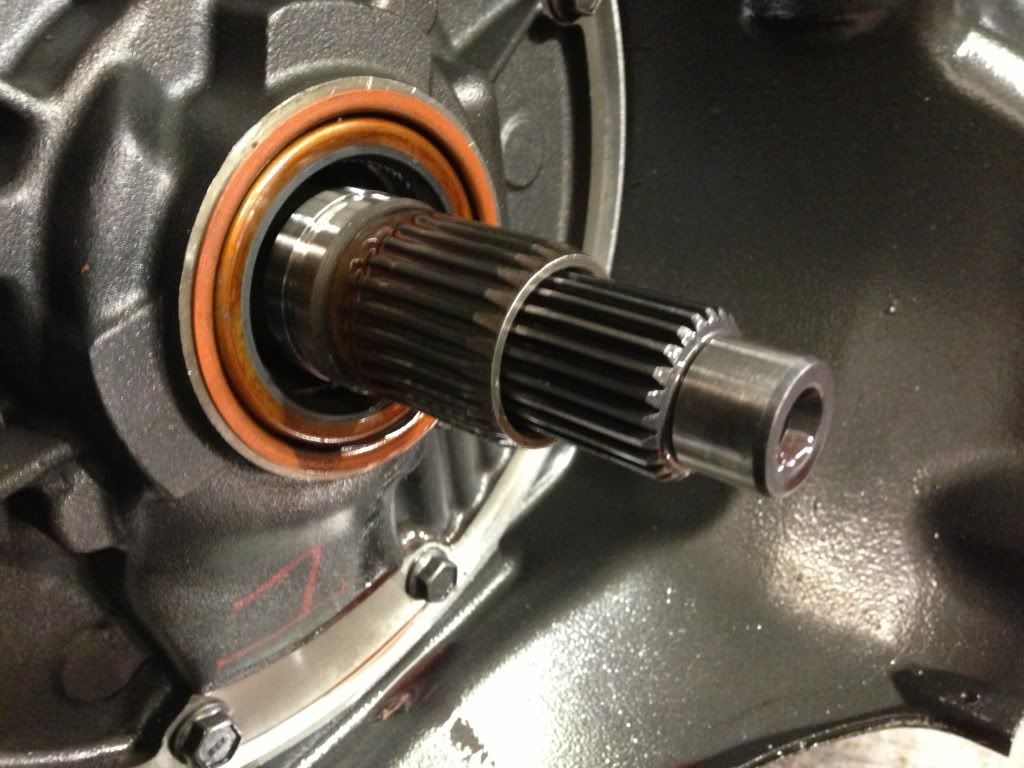
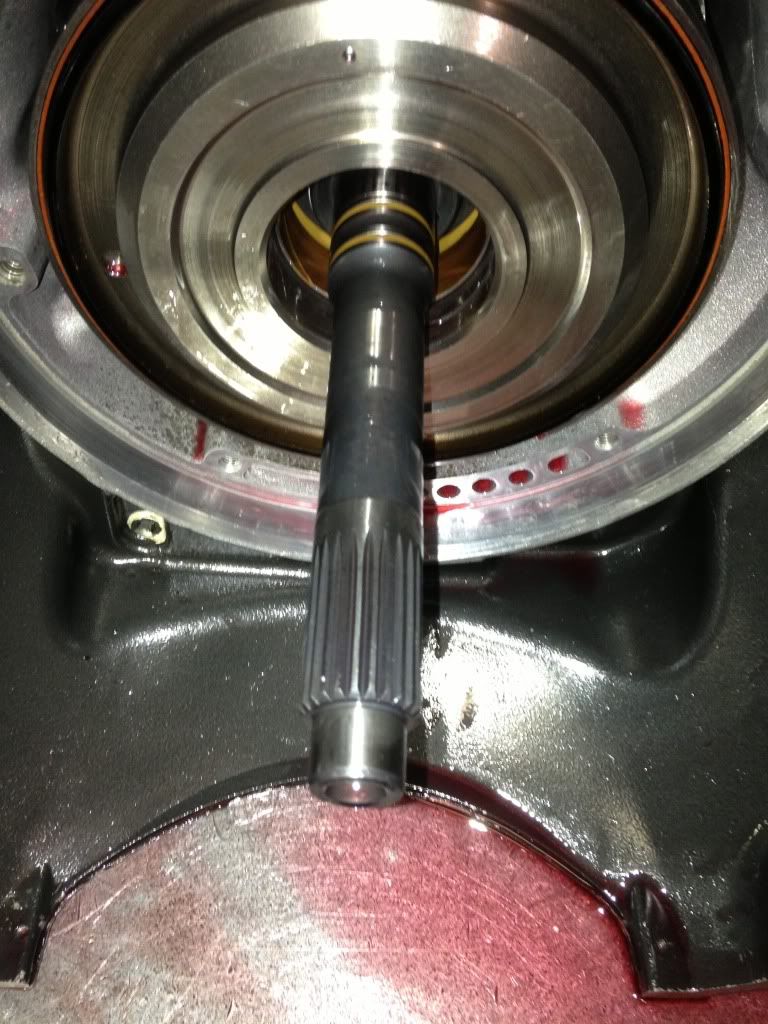
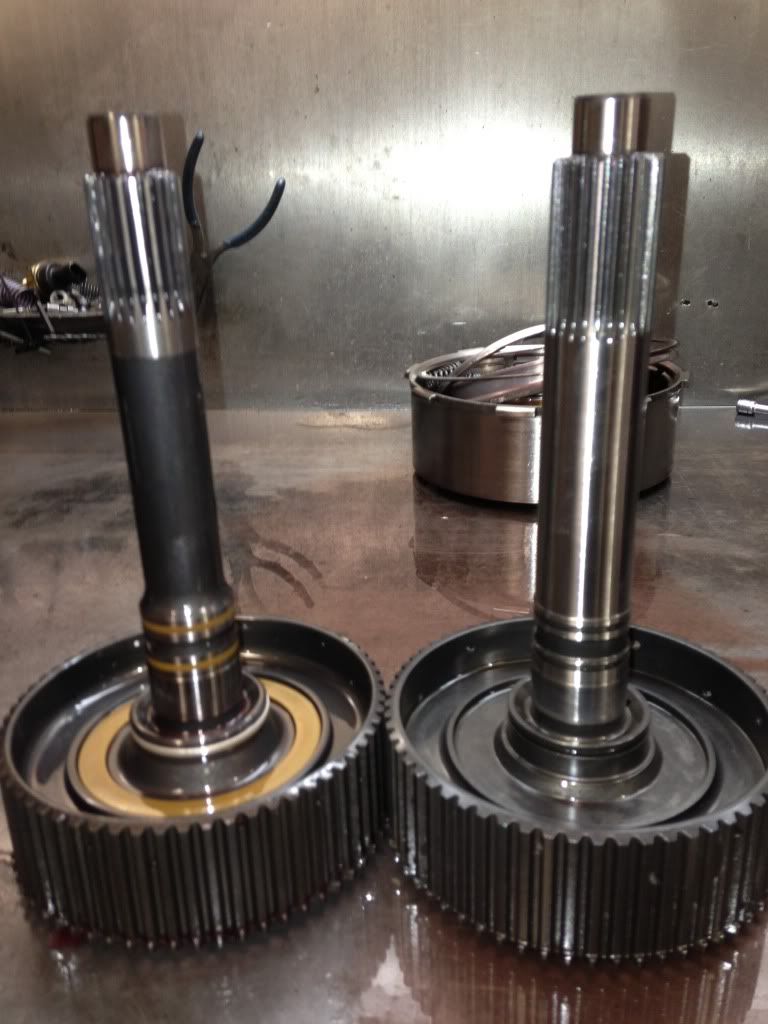
Pulled the trans down today at Garmon's to upgrade the input to a fat shaft unit. After being in the truck for 4 years, my standard billet input was straight as an arrow....
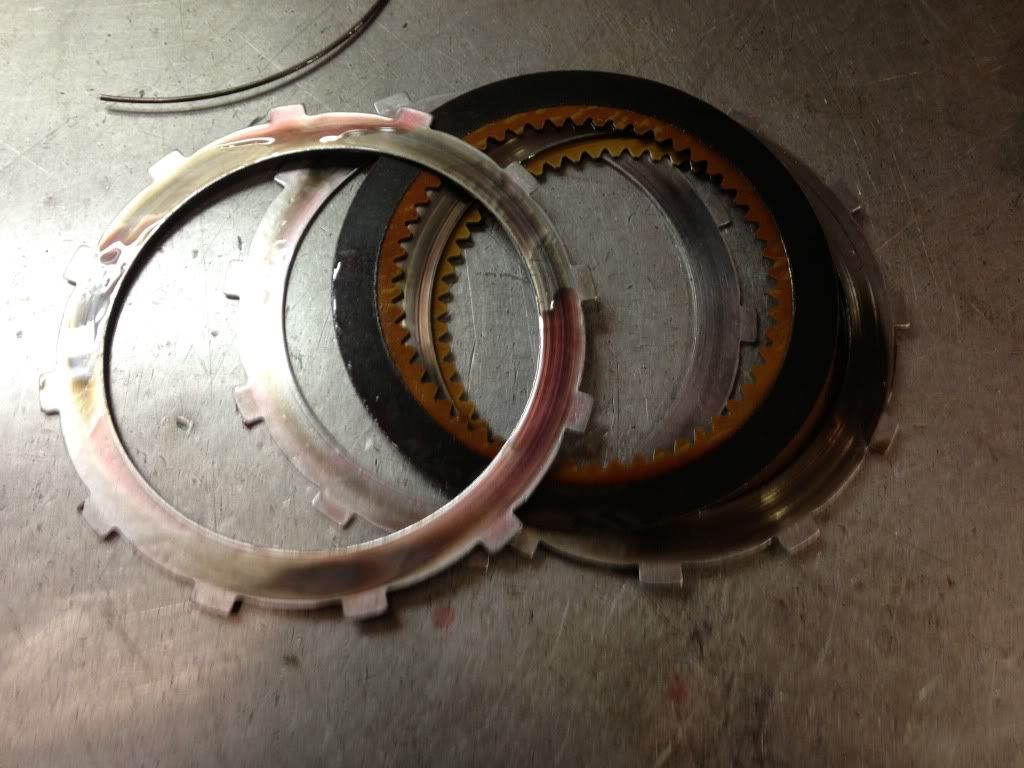
The only area that gave some concern were the OD clutches, but we identified and took care of that today....
But, now that this big puppy is in there, now it's time to turn up the wick. Rick from Garmon's will be running the truck this Friday night at AMS and after that we'll T&T on Sunday and bring in the rest of the Go Fast.
didn't 1320 video do a spot on him last year or something?