Rebirth of Monster Mudder

Finished getting the passenger side inner fender bolted and screwed in tonight. That's about all I got done on the truck, but we did get my son's cab off of the d150 frame via my cherry picker and a 2x12 board and onto my rotisserie. Now he can get busy sanding and cleaning up the inside.

12198631973_34ea523faf_b.jpg


12198635383_793cd1f1c6_b.jpg


12198638163_9e3d9bf90d_b.jpg


12198405175_653eb864d7_b.jpg


12199023156_8b5bbc866b_b.jpg


12198644543_3e70e2f2b9_b.jpg
 
Spent a little time on the mud truck tonight and then had to go start working on taxes. But I did get the interior kick panels removed (had to cut off the heads on some of the screws). I also started making the template for the drivers side floor board. Started with poster board to get the shape and then cut it out again in foam board to make sure it's correct in the fitment.

12213787284_4ab88fe569_b.jpg


12213989856_21e2d20075_b.jpg


12213793924_4c31d9b7a0_b.jpg
 
Take 2 on the drivers side floor board. Found out that the board doesn't go down in the groove, it goes on top. Guess the groove is a left over from when the military versions had wooden floor boards.

12229422345_519d6d8e9e_b.jpg
 
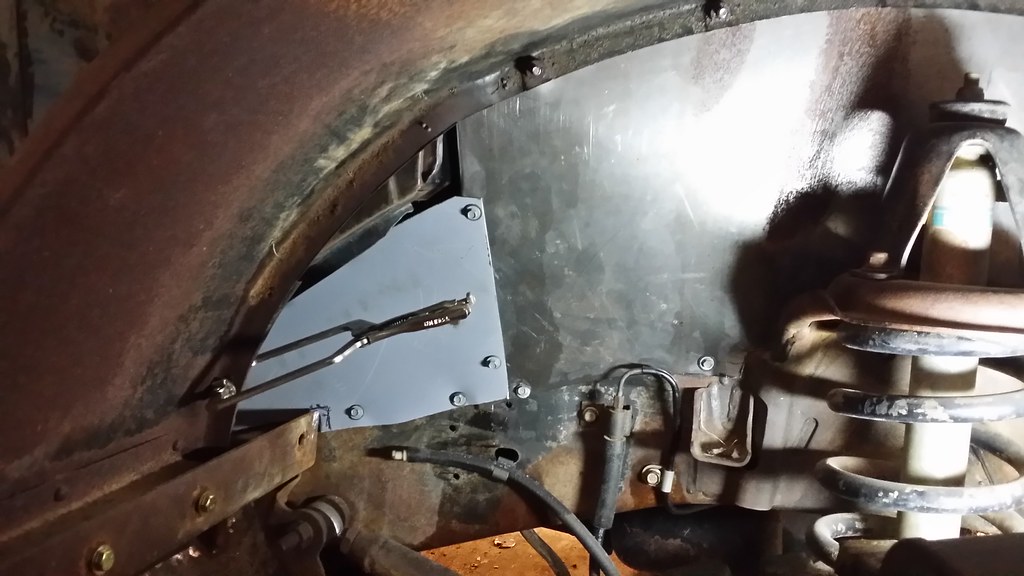
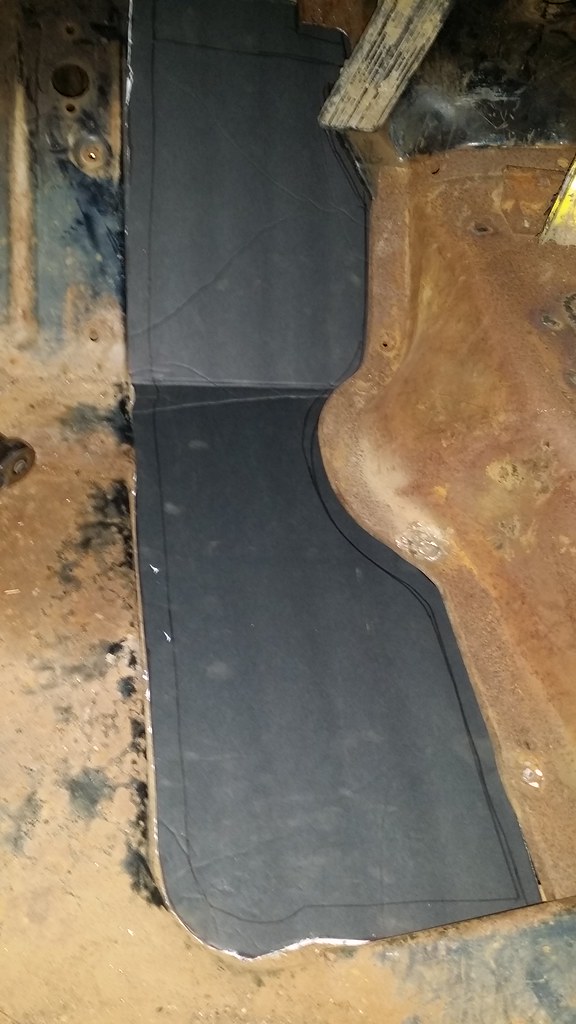
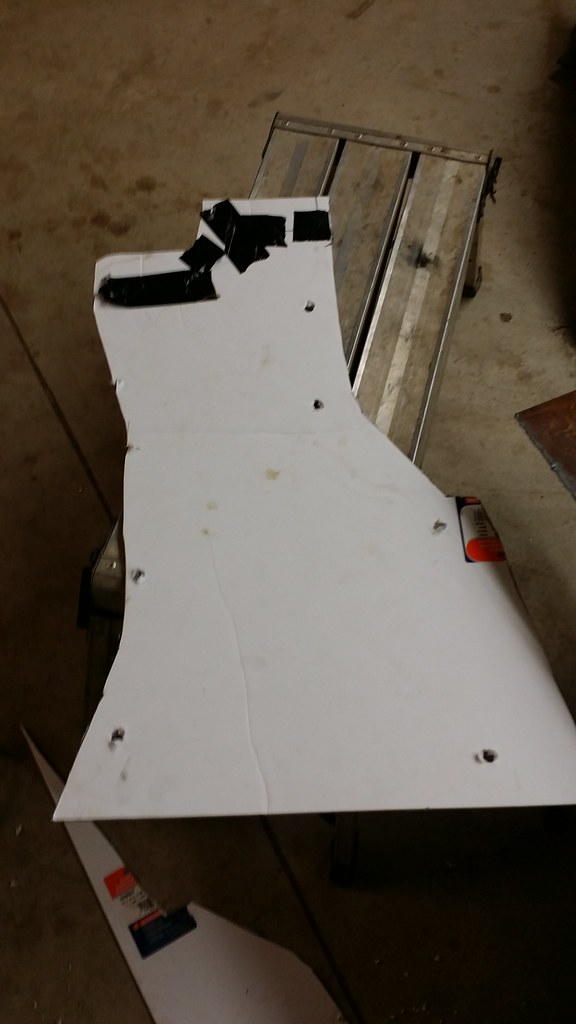
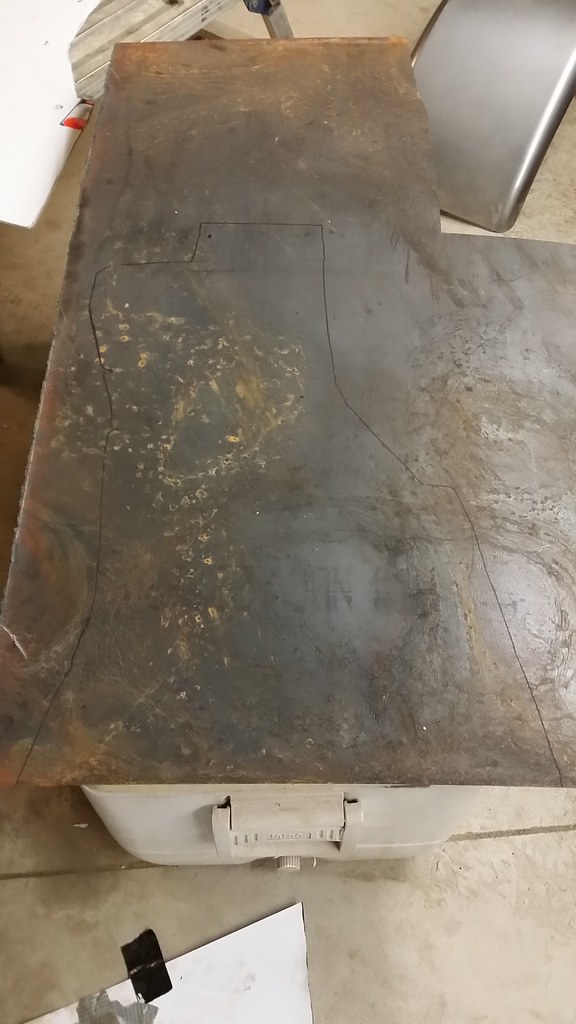
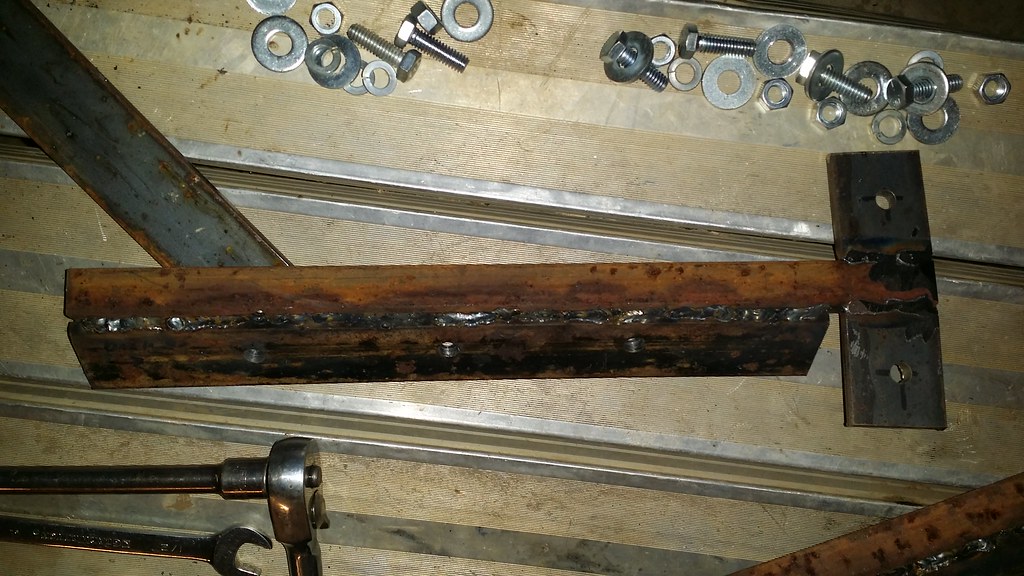
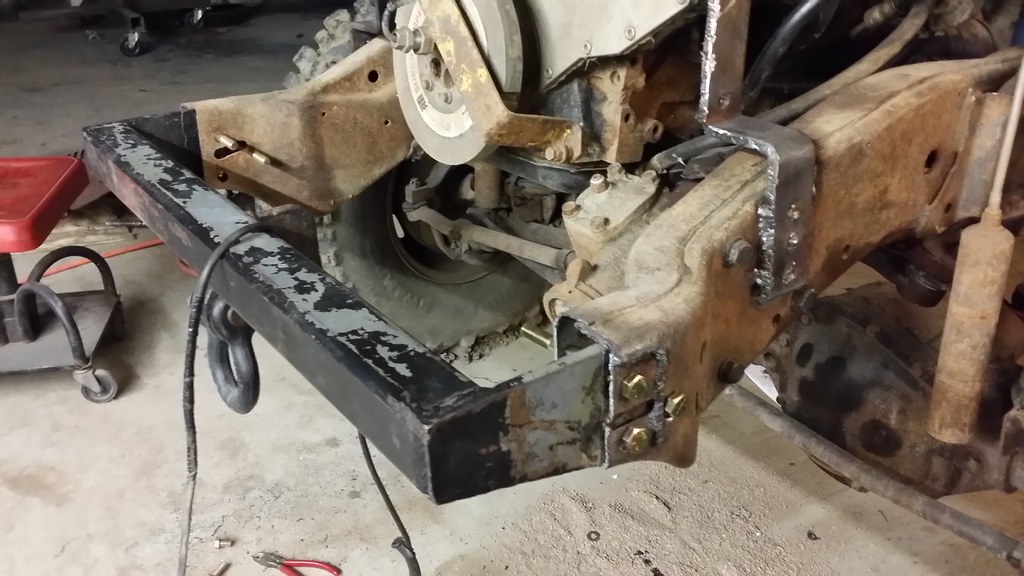
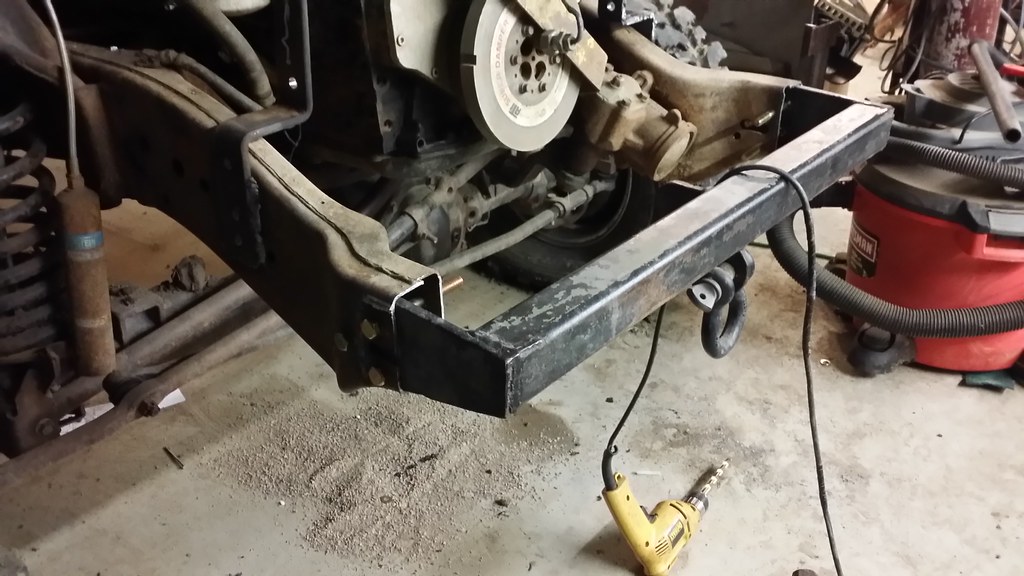
Finished getting the drivers side floor board mounted and bolted down. Bolted the transmission tunnel down as well. Had my son design the template for the passenger side of the truck starting with poster board, then he moved on to a foam board template and then we cut it out of 11 gauge sheet steel. Drilled the holes and made the slight bend in it.

Talked to the kids today and they are fine with me moving up to class 3 with the truck and so now I don't have to build a huge wildly bending exhaust pipe to make the truck legal for class 2. They just won't get to ride in my truck during the races and save some weight/room because I won't need a passenger side seat.

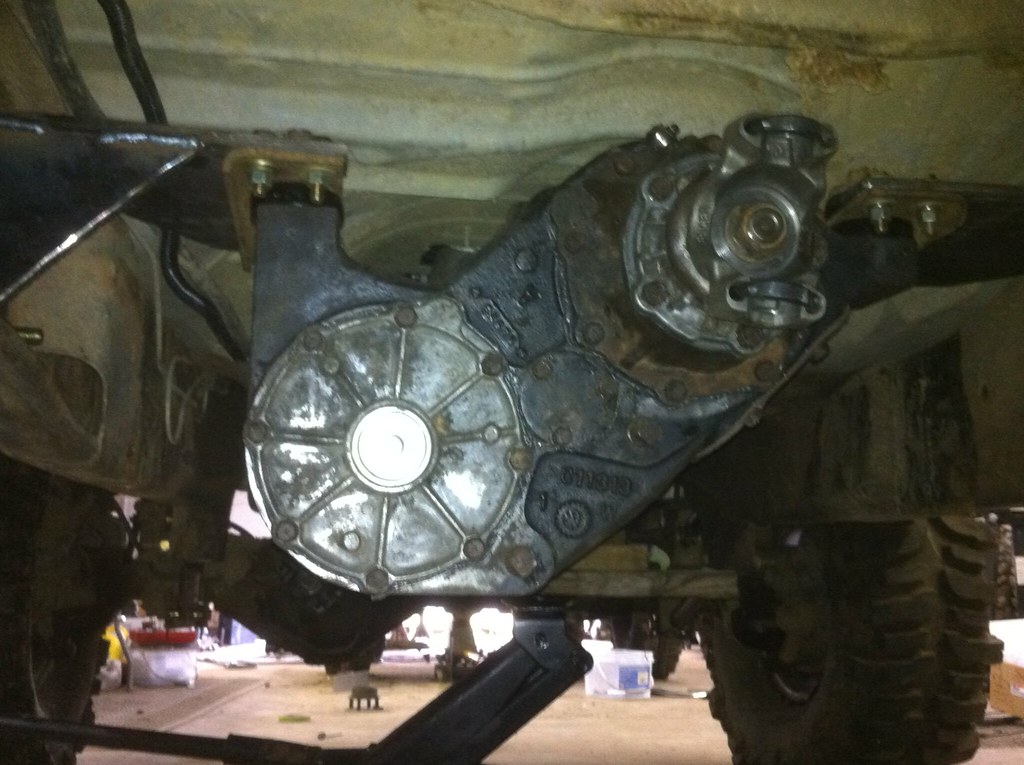
I will have to get drive shaft loops built to be legal for class 3.

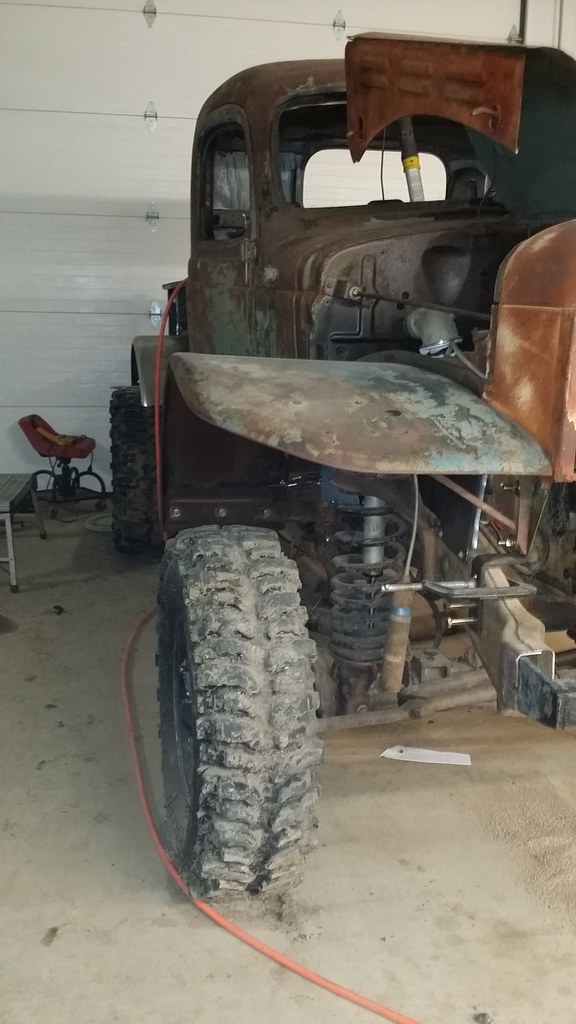
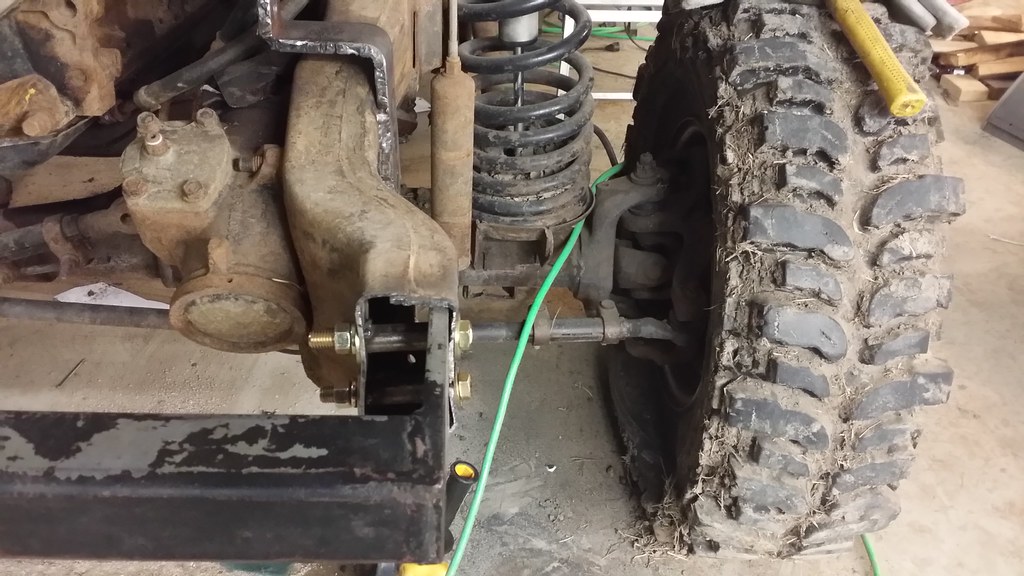
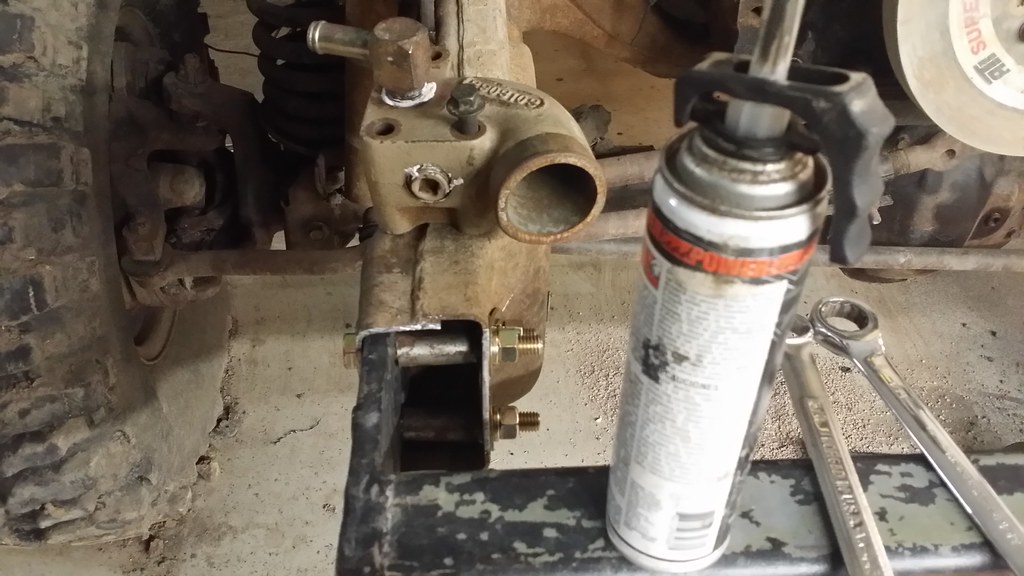
Tomorrow I'm going to start building the bracket for my drivers seat. The rear fenders will be in on Tuesday and the steering column kit will be here Wednesday.

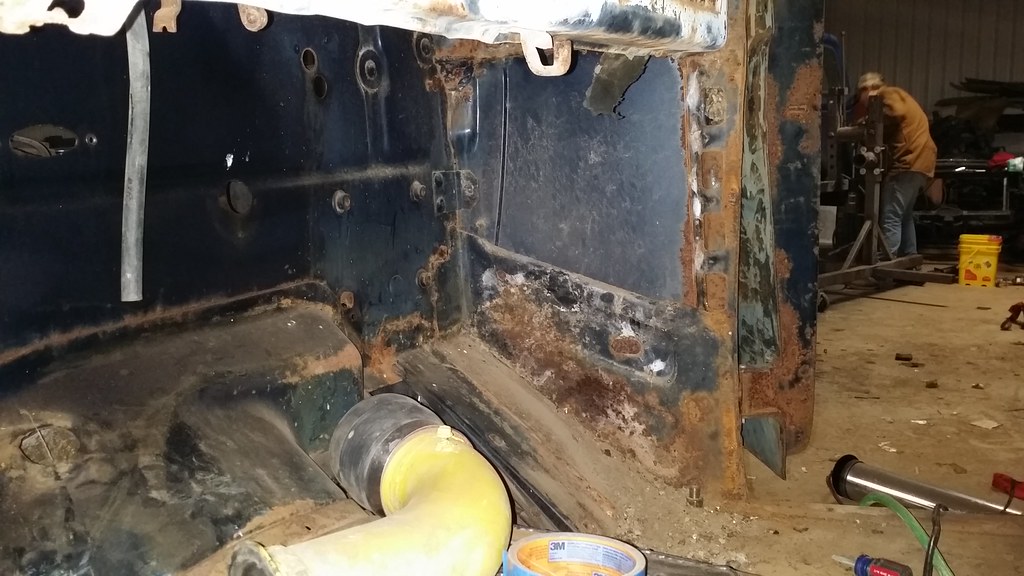
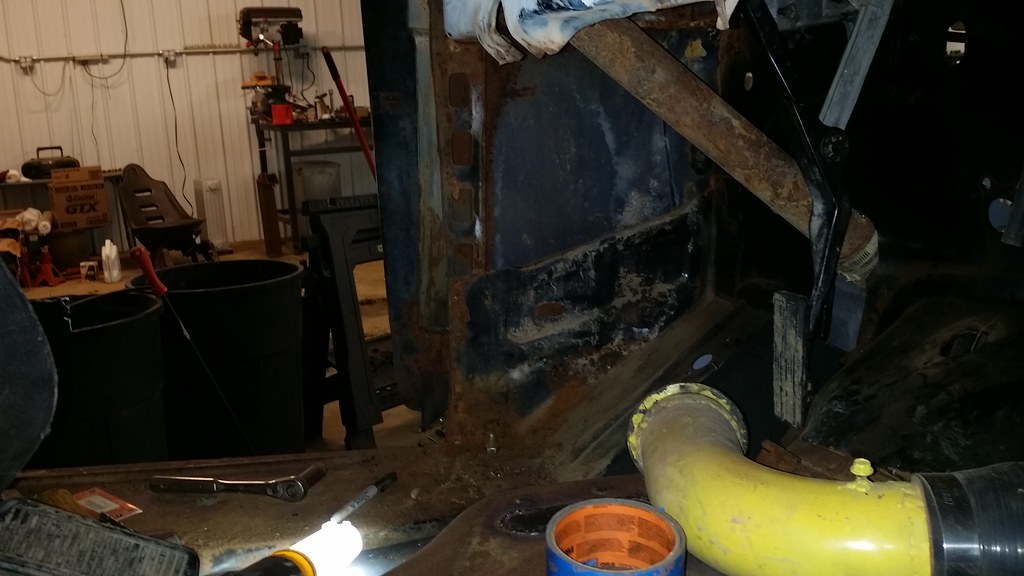
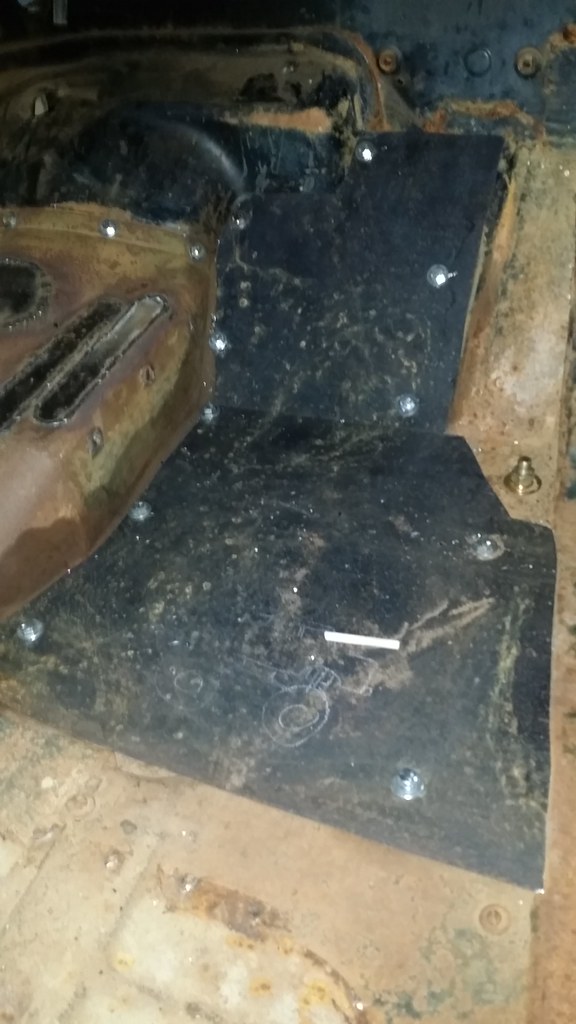
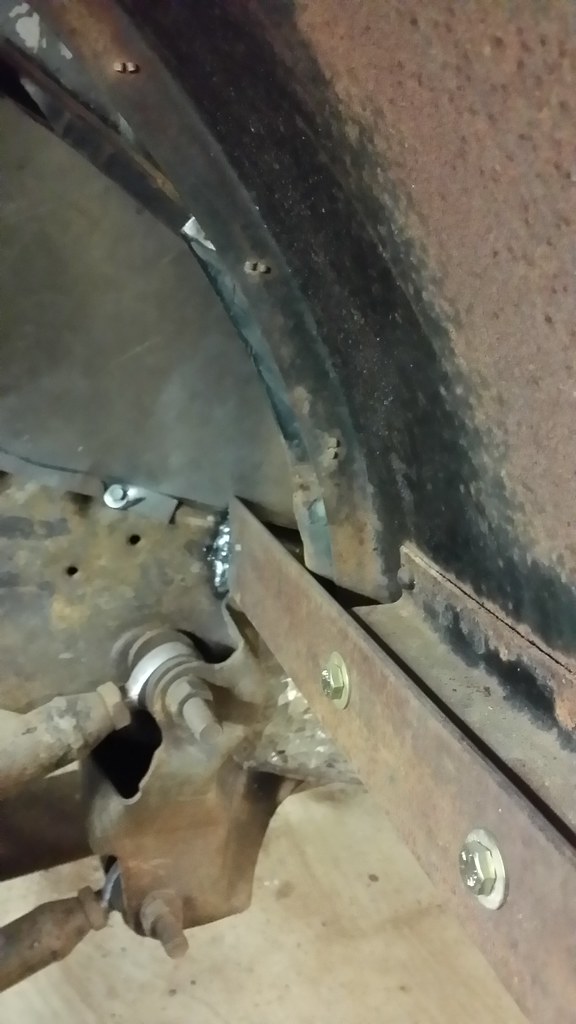
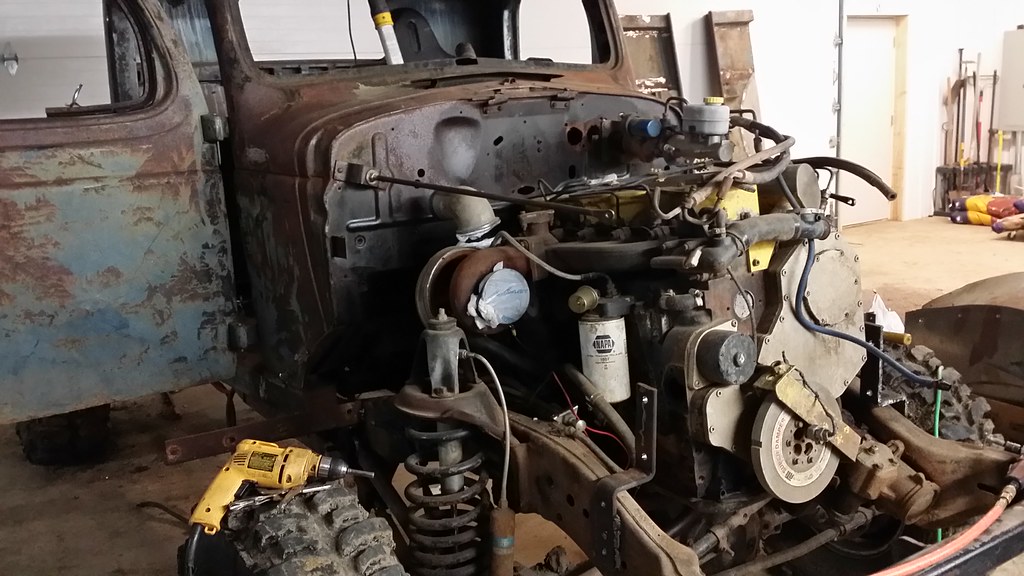
Drivers side floor board mounted

12260202564_6e66401464_b.jpg


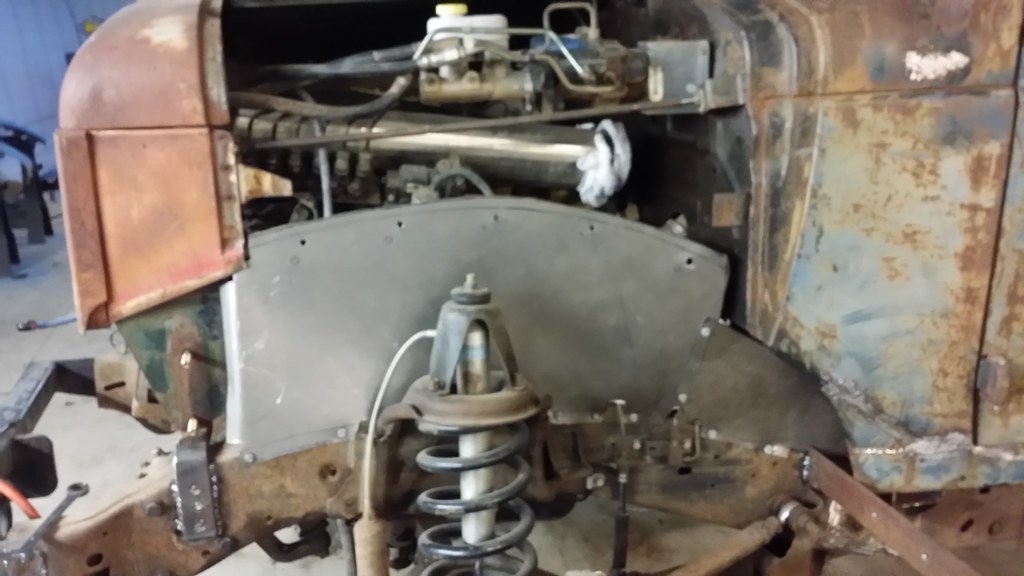
Foam template for passenger side.

12260340556_26ef662620_b.jpg


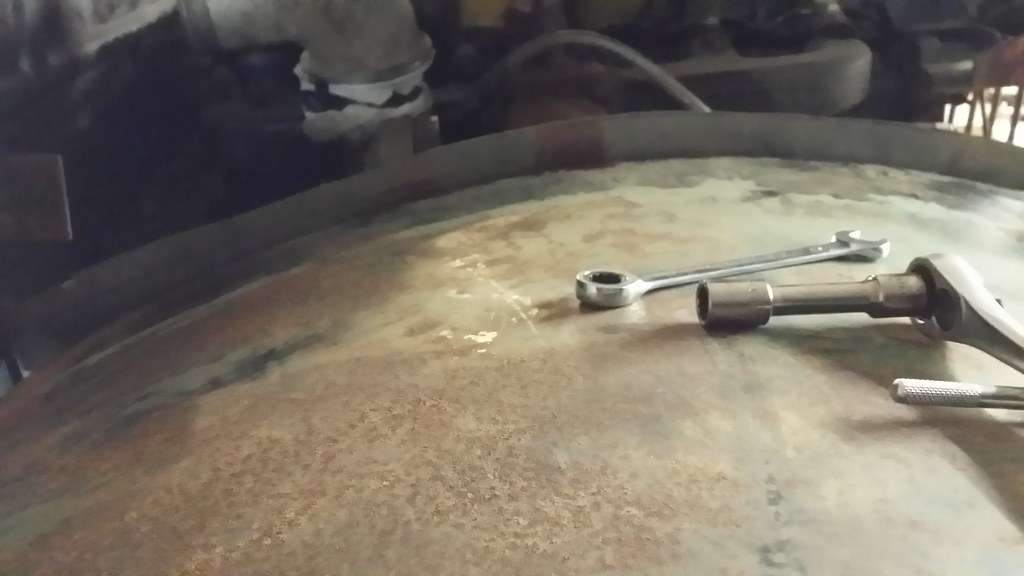
Floor board marked out on the sheet steel

12259753405_75a7d07a1f_b.jpg


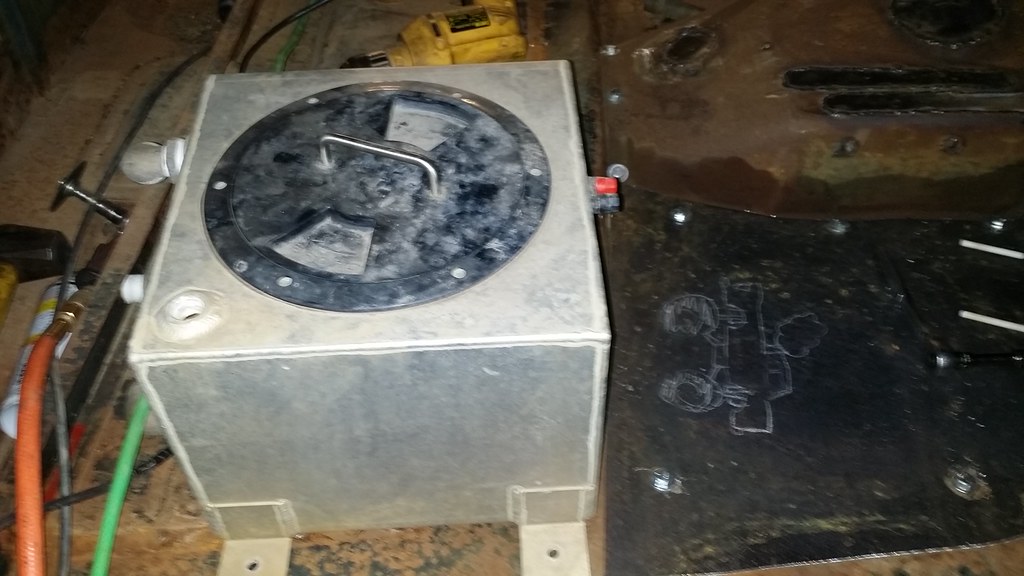
My son playing with the soap stone

12259913493_1cb72564b8_b.jpg


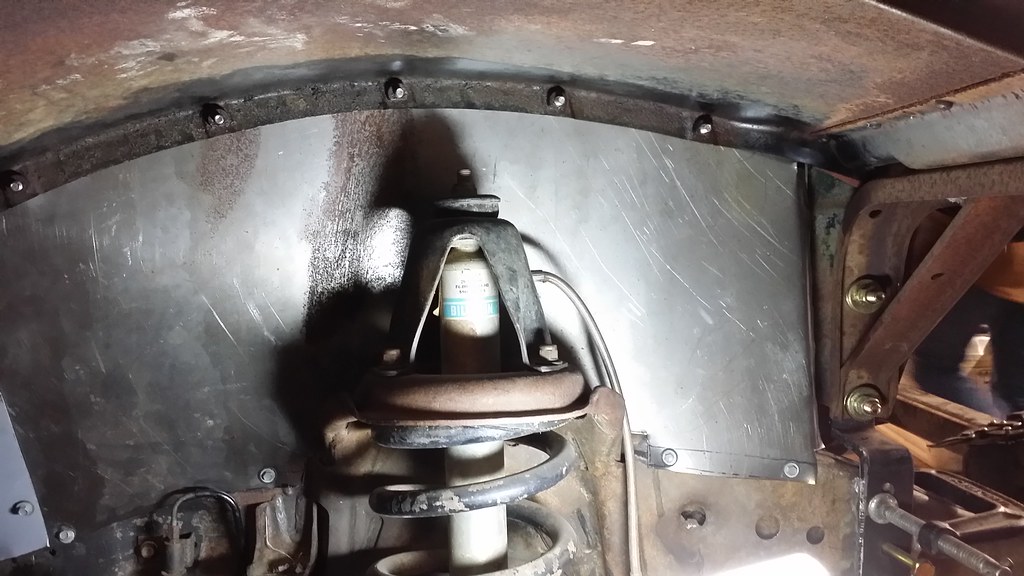
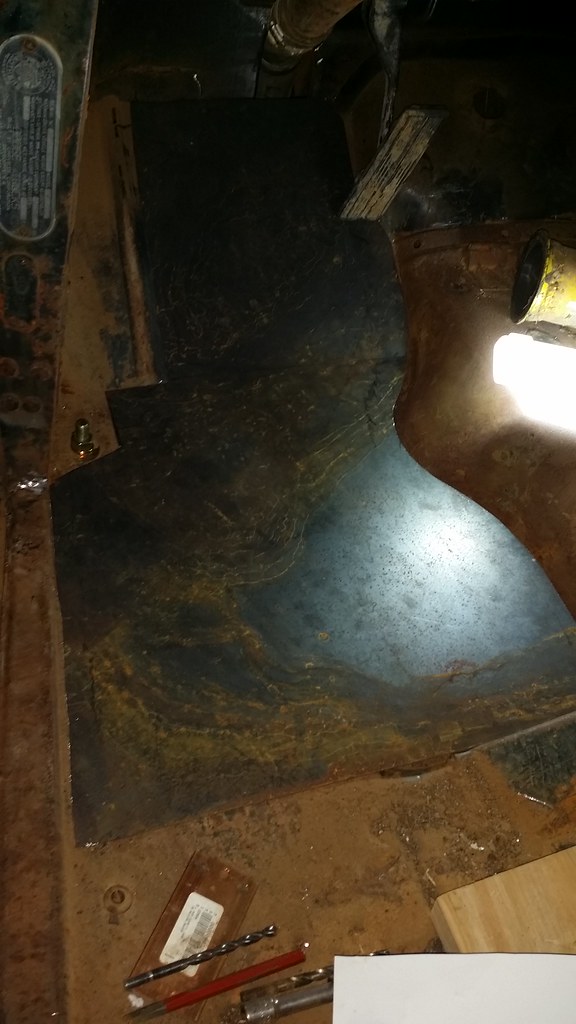
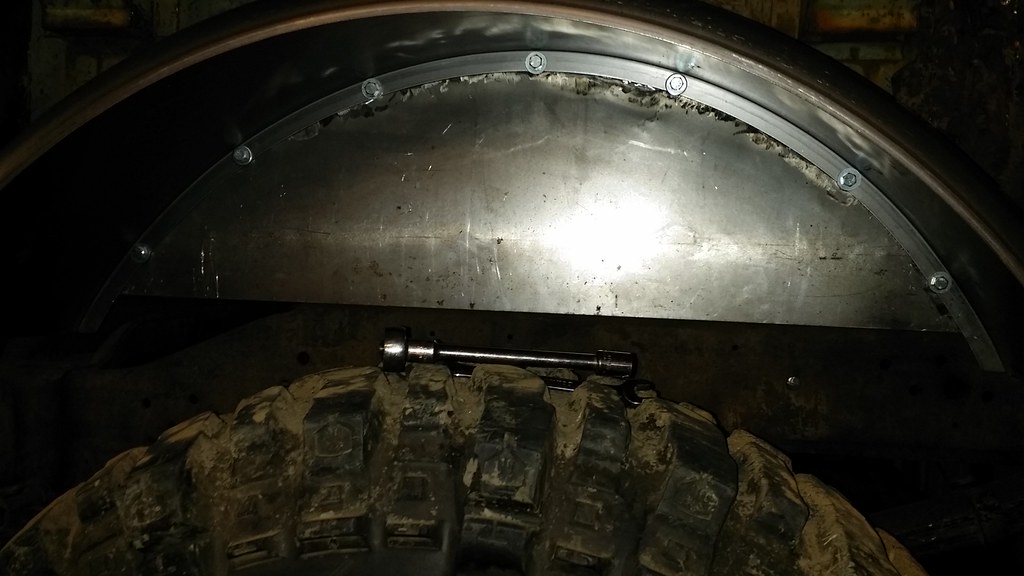
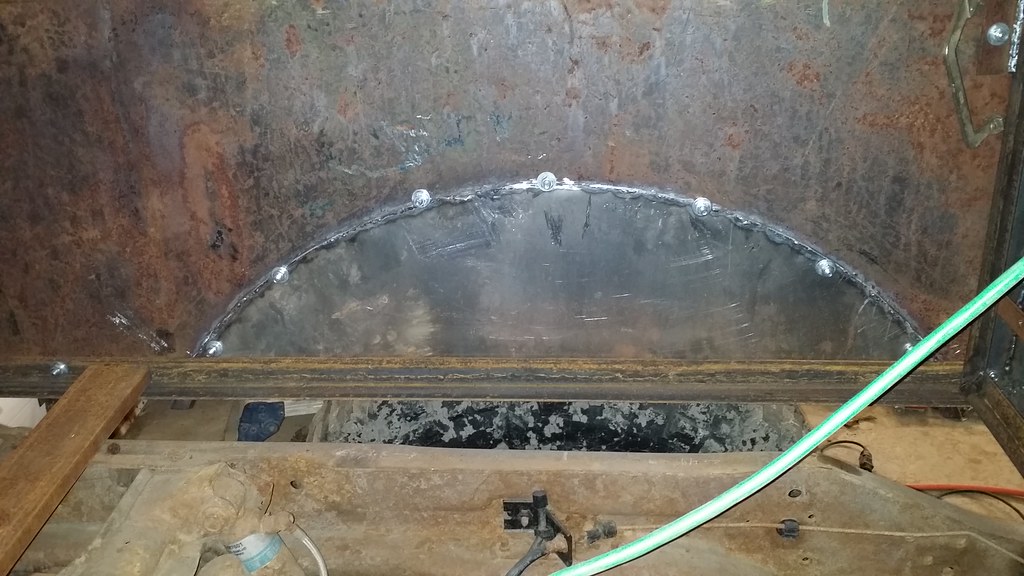
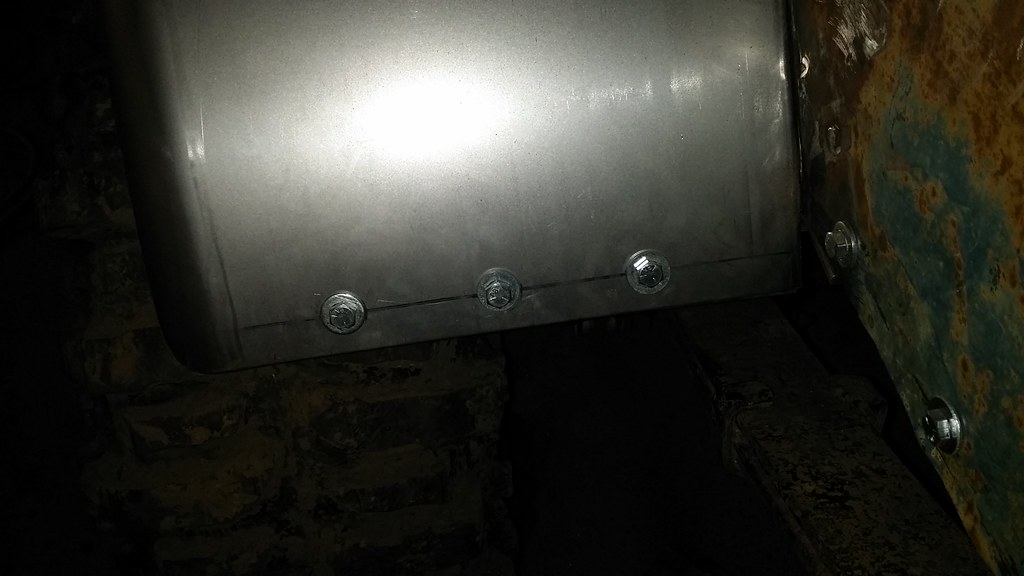
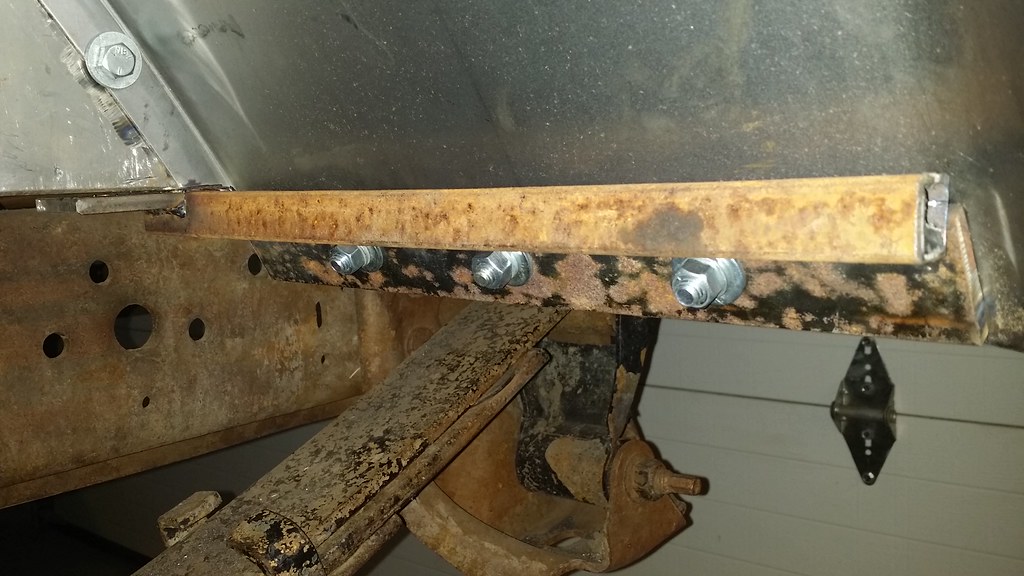
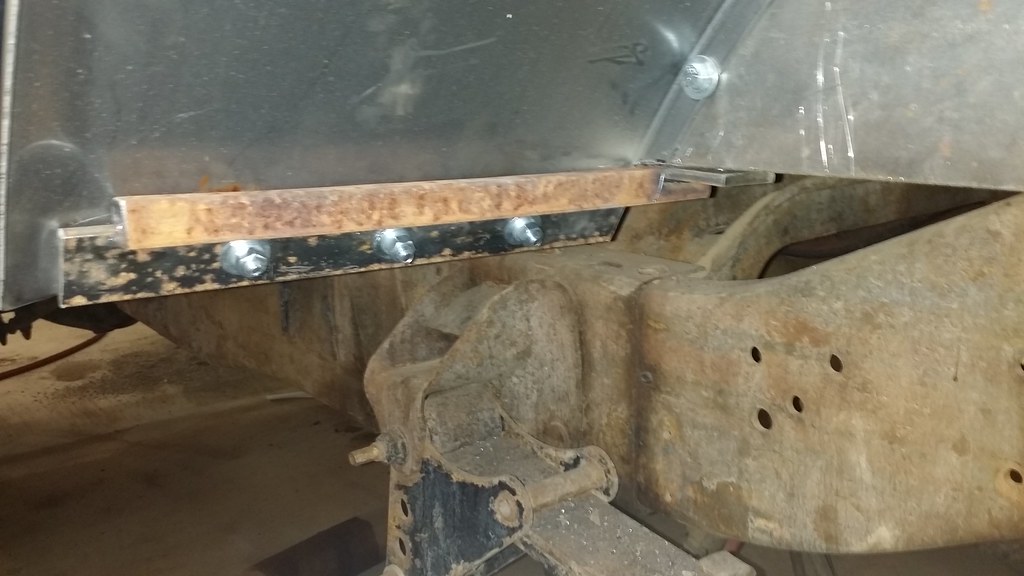
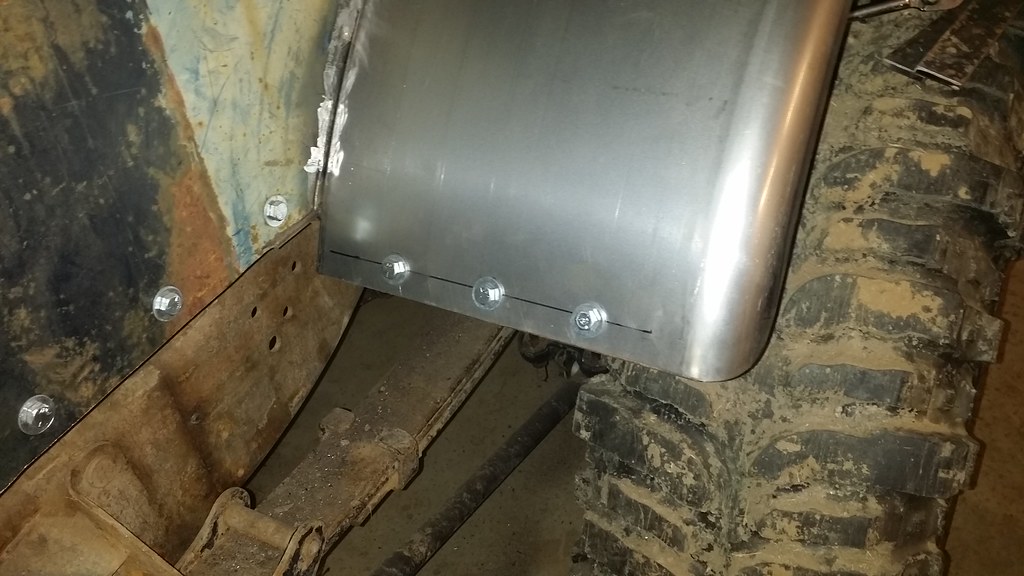
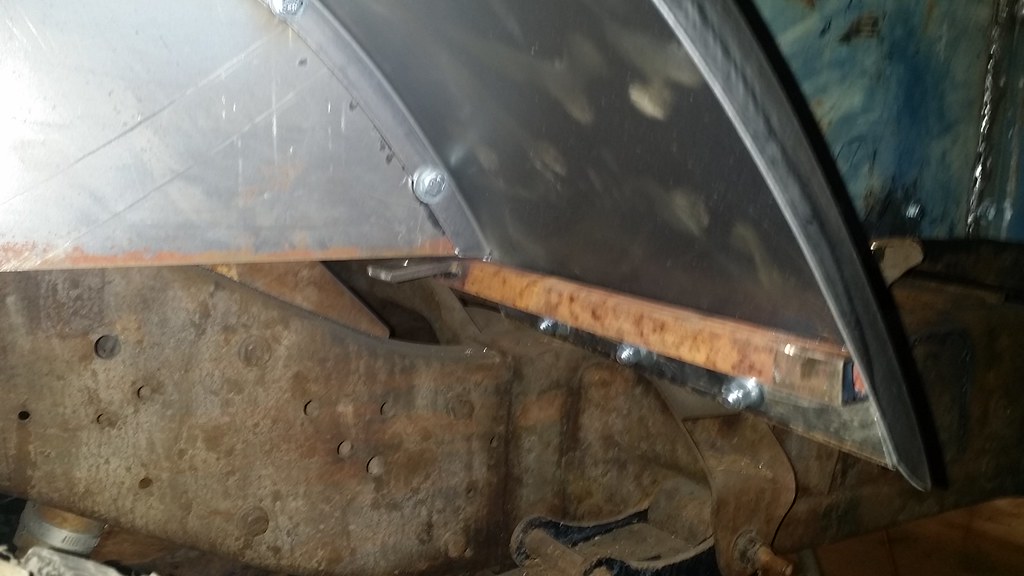
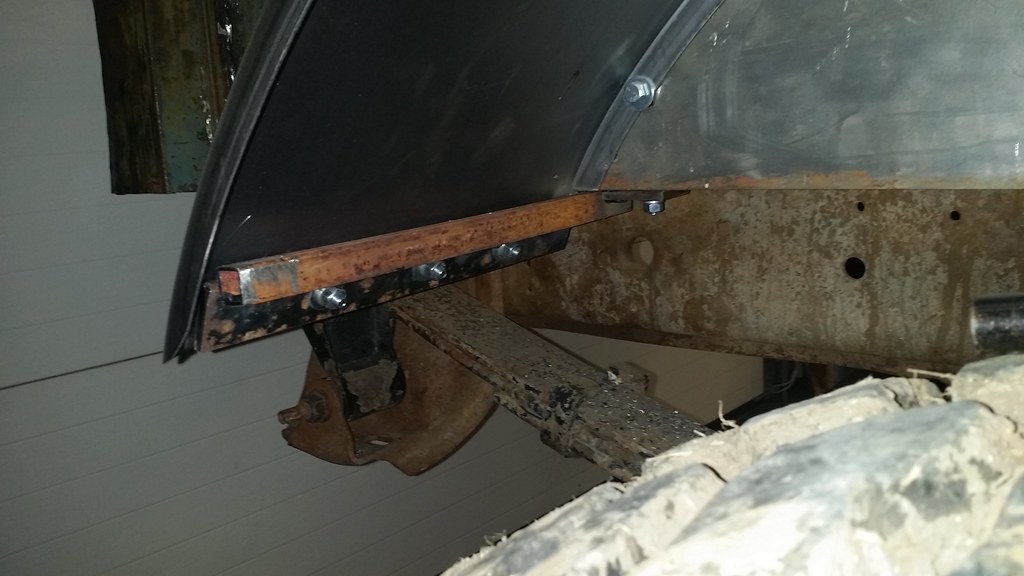
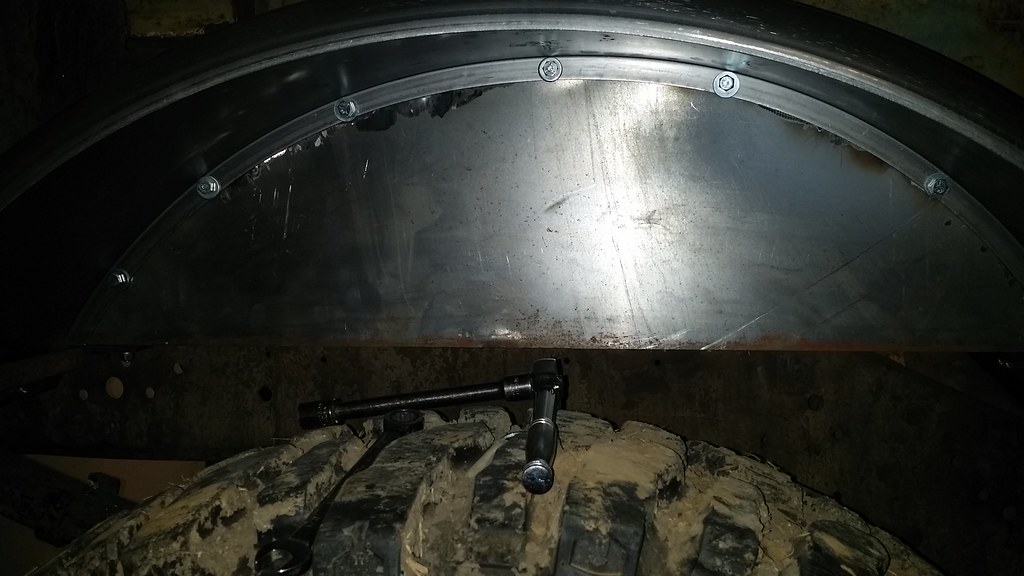
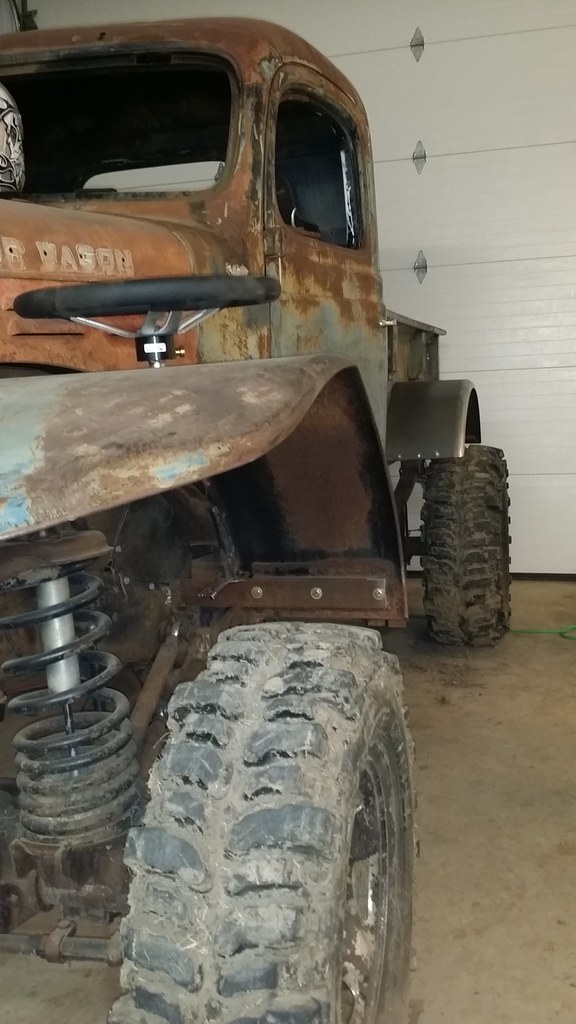
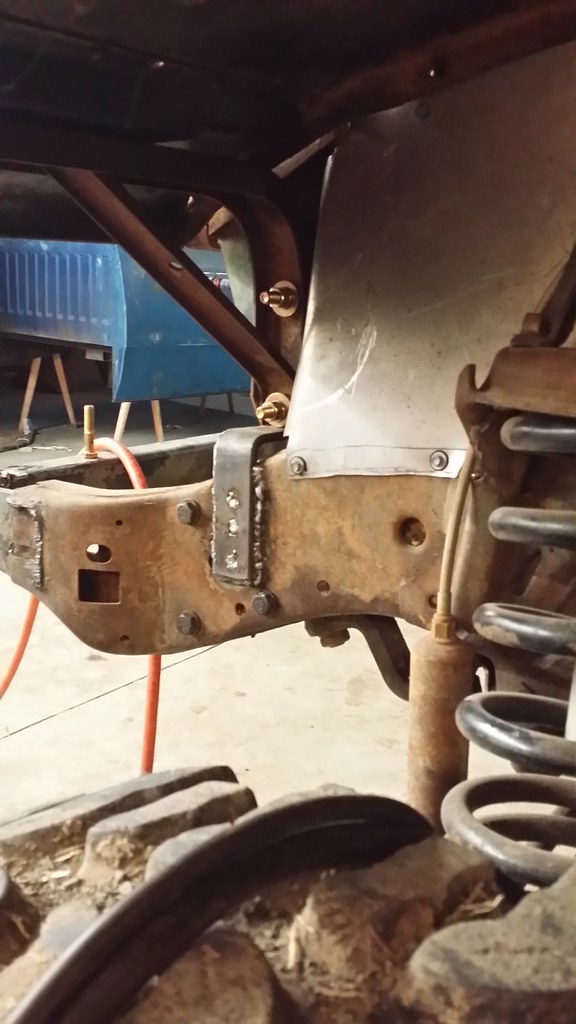
Passenger floor board mounted.

12259739405_ca419e36e1_b.jpg


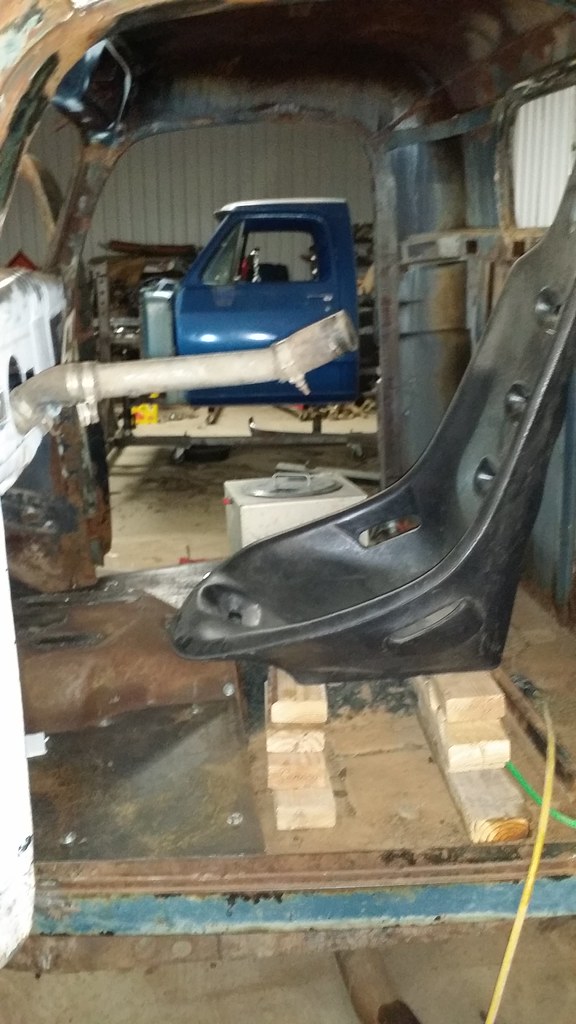
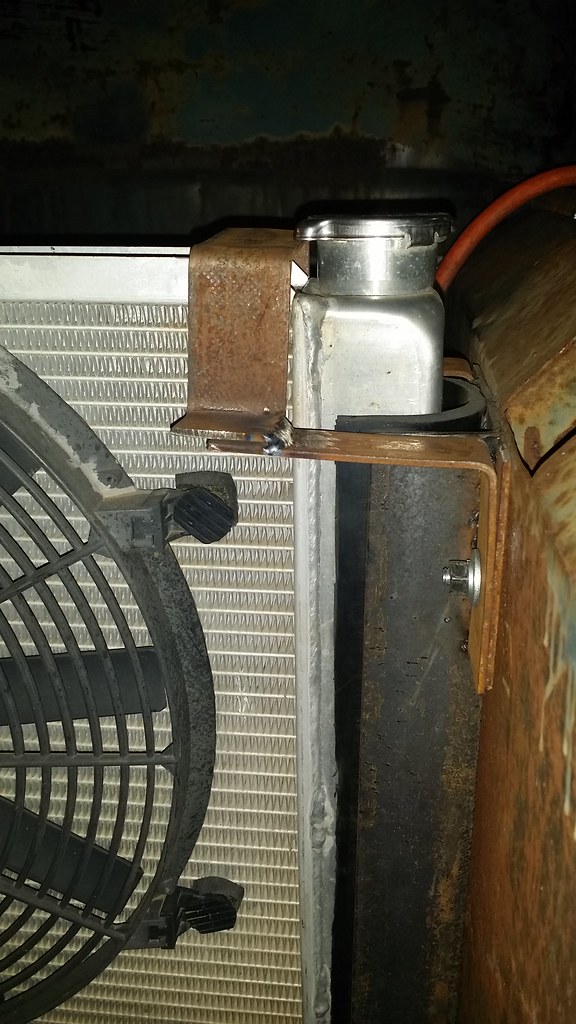
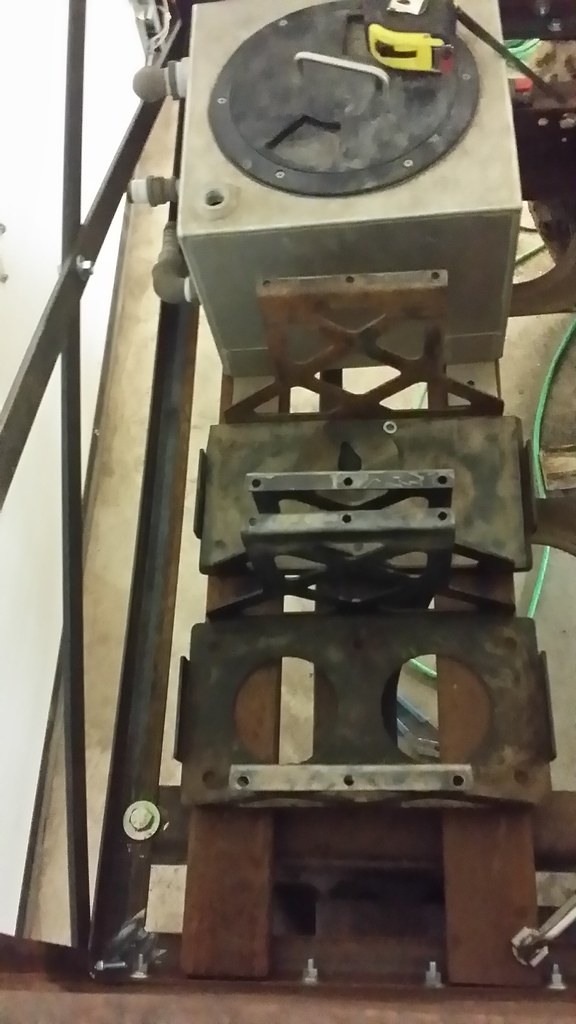
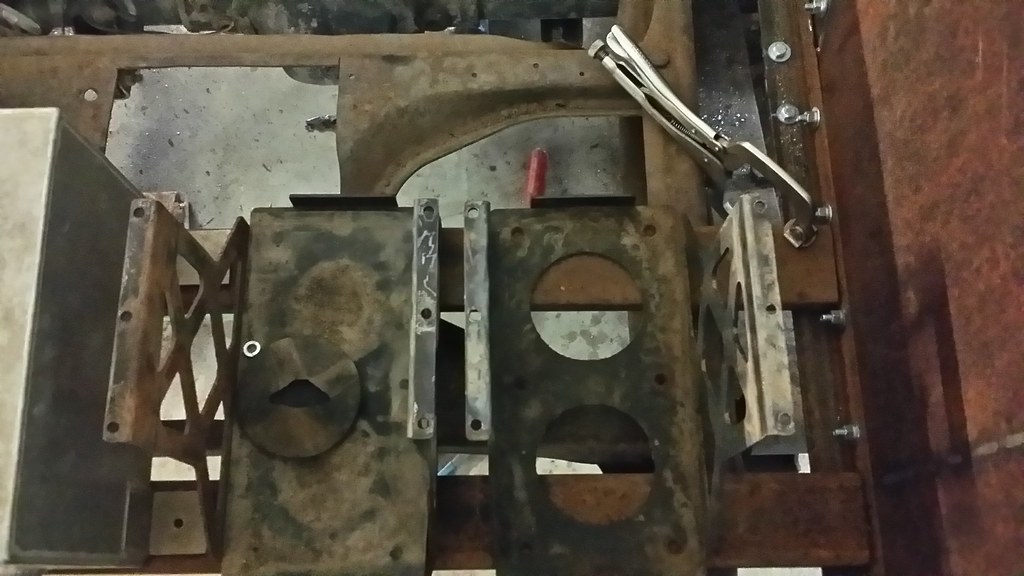
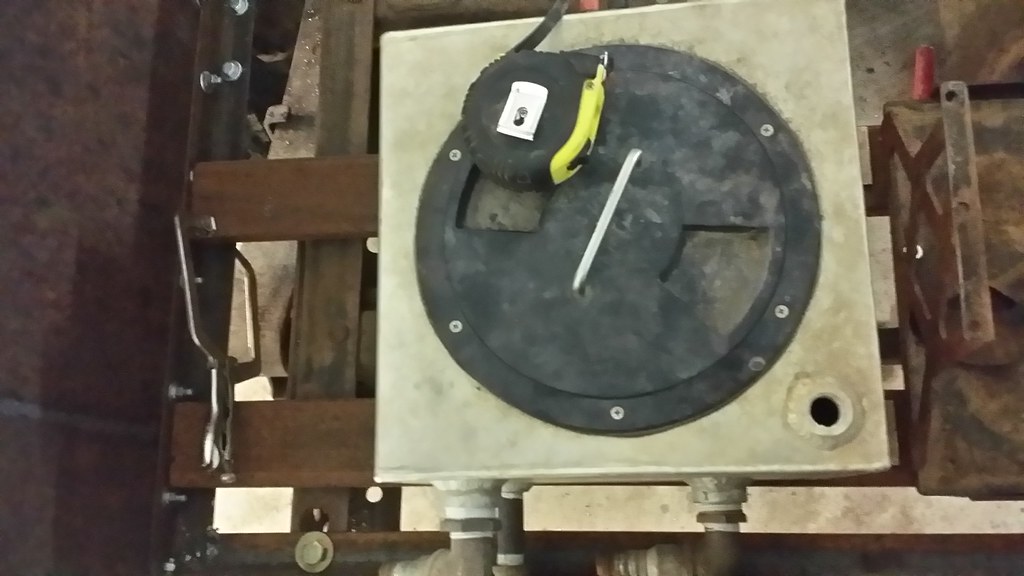
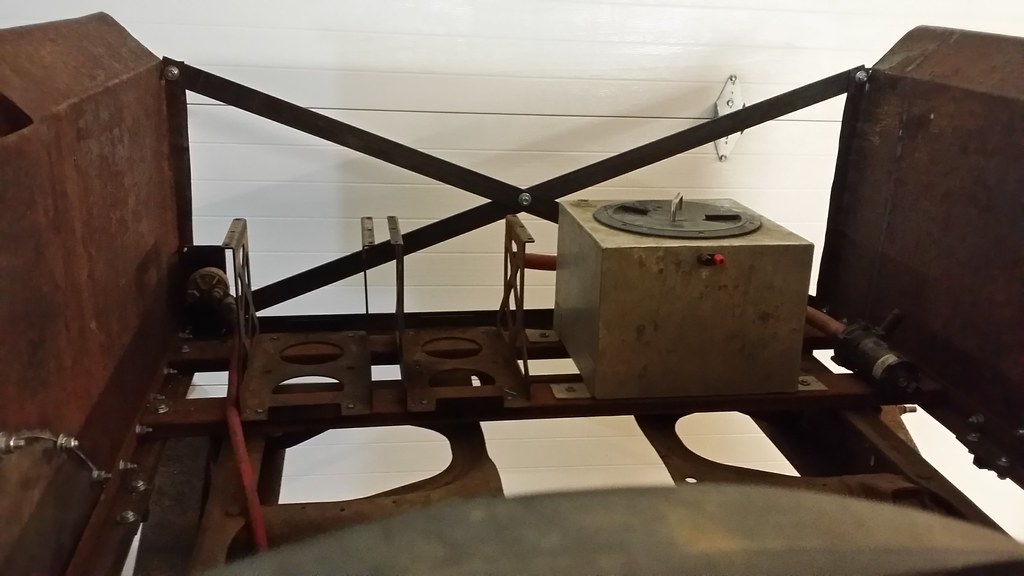
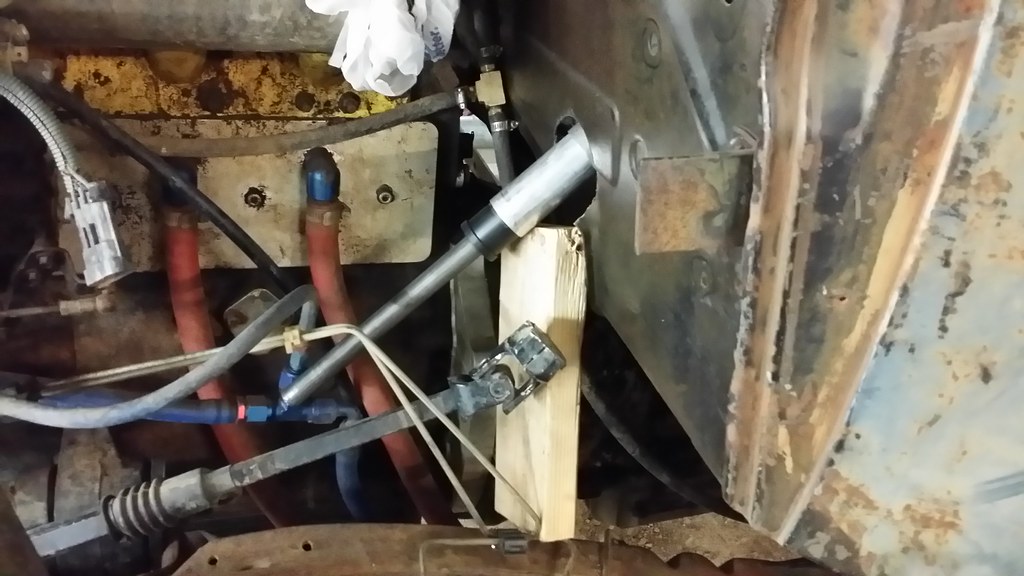
With not needing a passenger seat, I now have room in the cab for my w2a ice box.

12259899713_5a6ea32973_b.jpg


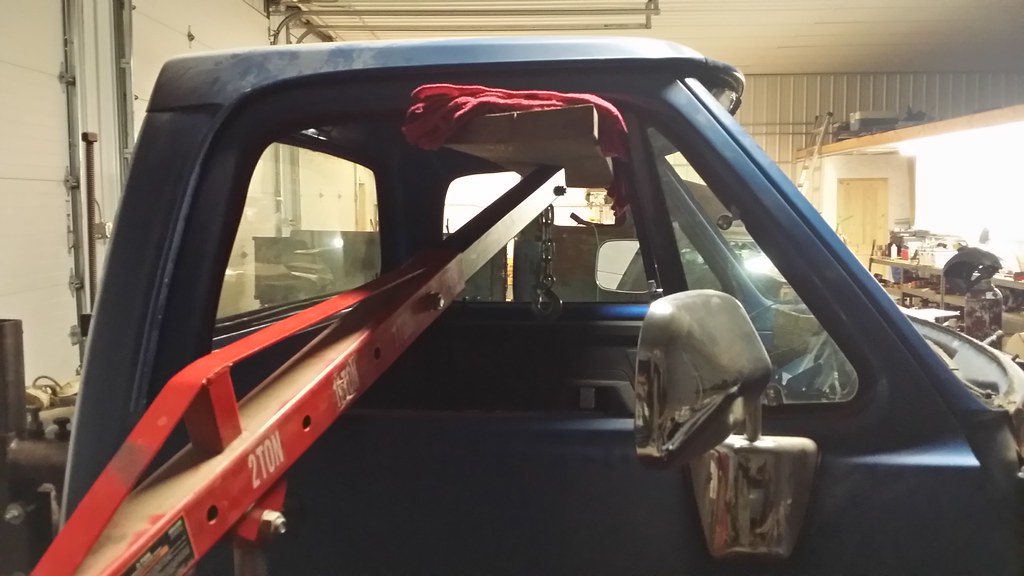
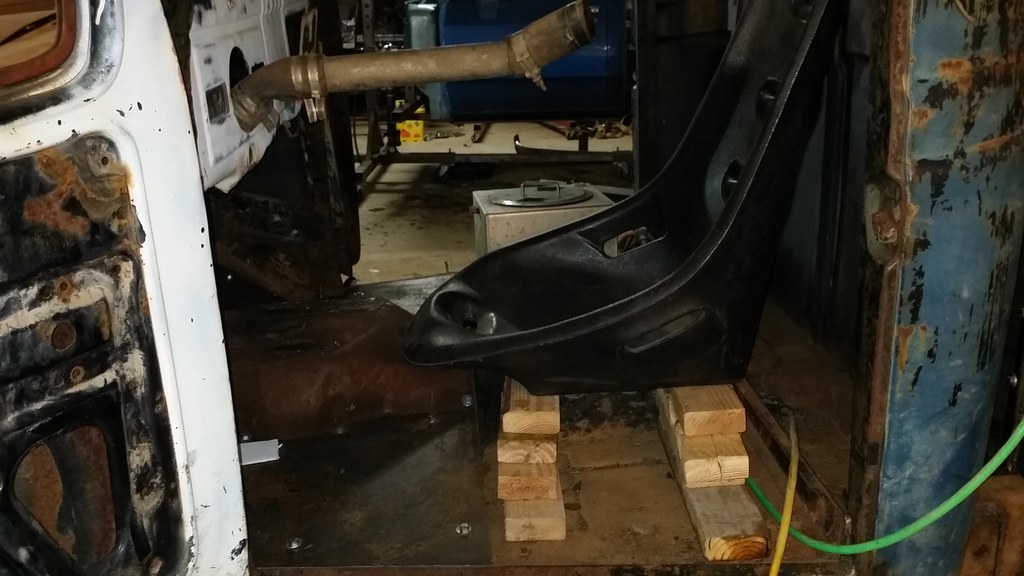
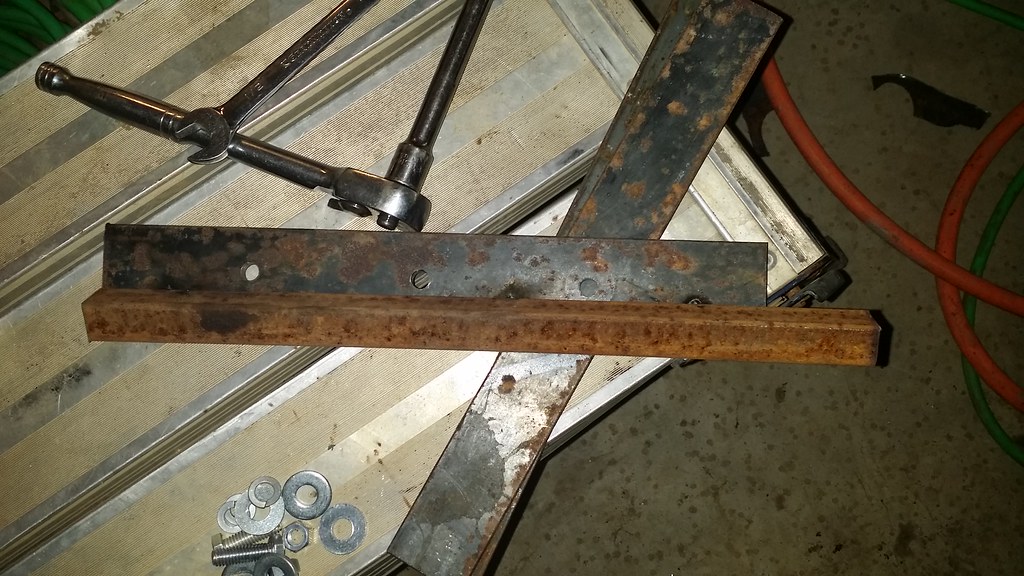
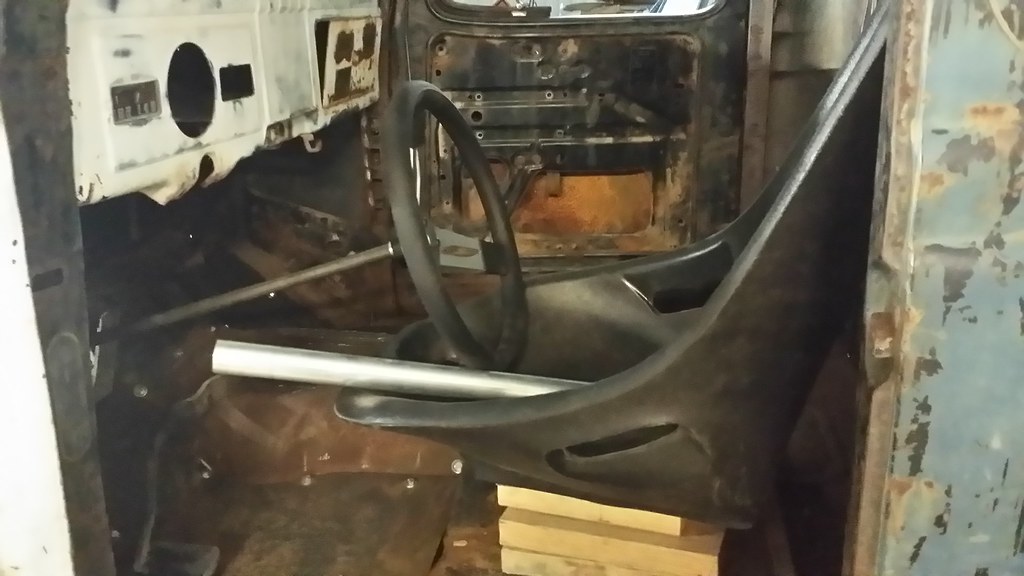
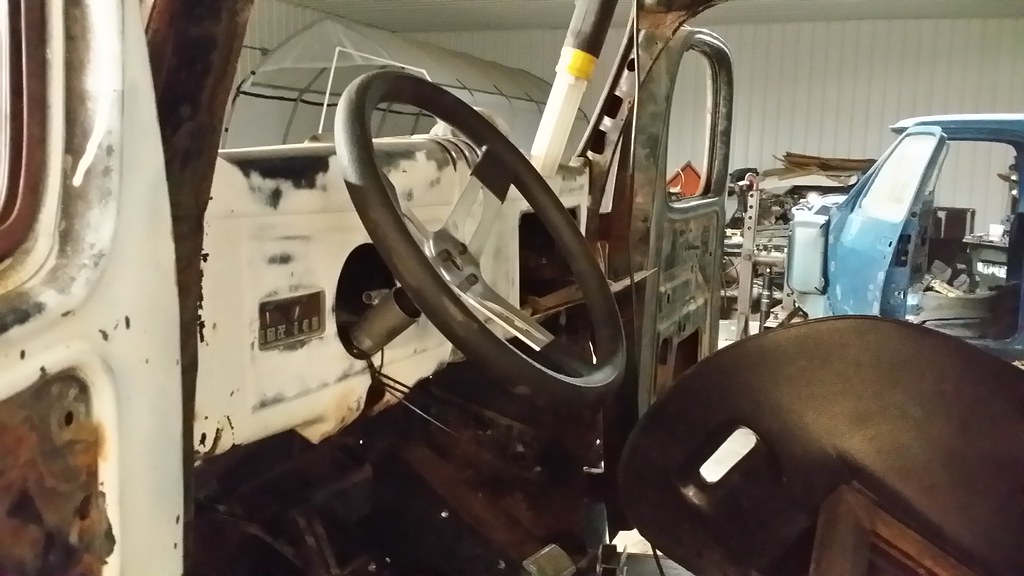
Setting the seat up to start taking measurements for the support frame.

12259896263_87e9246789_b.jpg


12260073184_a9293bc7c4_b.jpg
 
Today was a lazy day, we got a dusting of snow on the ground and I enjoyed sitting in the house with the wife drinking coffee and watching a little boob tube. I did make it out to the shop and we did several trial runs at seat height for the drivers side and finally decided to make the seat 7 1/2 inches from the floor of the truck. We have the tall side cut out and my son welded it together.

While he was doing that, I worked on getting the window channel taken apart. The upper portion is in really good shape. The lower portion and the center divider are not. I'm going to have to figure out how I'm going to fix all the rusted out metal on the lower side.

Upper window channel

12277963345_c1deaeec68_b.jpg


12278389274_5114536c1e_b.jpg


Center divider

12277972425_e9017387cb_b.jpg


12278128563_f80f4d69ed_b.jpg


Lower Window channel

12278405644_1d7a79cb1d_b.jpg


12278541246_c1bc6e4695_b.jpg


12277995015_e0a8f98ddd_b.jpg


12278146183_14a797773f_b.jpg


12278422954_ac27f2b21d_b.jpg
 
Well, UPS found my house with the little snow we have on the ground, but FedEx declined to delivery my two boxes of steering column parts. I hate fedex, I've drawn them maps and have to call them just about every time they have a delivery to my house and I end up searching for where they threw it.

Didn't get much accomplished, tied up with work again. But did get my rear fenders in so I had to unbox them and hang one to make sure they got them right this time. They did and I think they will work pretty good. Managed to get one bolt hole drilled and the center bolt in.

12313349624_90aed57b20_b.jpg


12313345374_af0f80df8c_b.jpg


12312904155_1f3c79b51a_b.jpg
 
Got home late today, but Fed Ex finally delivered my steering wheel and column kit. I spent the little time out in the shop looking over the kit and figuring out what else I would need to pick it up.

Then I drilled the rest of the holes on the inside of the fender on the drivers side to finish bolting it on. I ended up having to cut off the lip on the inside so I had room for the washers and nuts. With 7 bolts holding it on, it's pretty stable, but I still plan on adding supports both front and back on it.

12334232875_dc756ab7a0_b.jpg


12334674444_7747463ddb_b.jpg
 
Spent the afternoon making fender braces for the drivers side rear fender. Took some 1 1/2 x 1/4 strap to run along the face of the fender and bolted that onto it. Then welded some square 1x1 square tubing on angle where it was square with the bed to the plate. After that I welded to flat tabs on the bed side of the square tubing for bolting it onto the bed. I have both the front and back braces built for the drivers side, the passenger side should move a little faster now that I've built and figured out one side.


12376103265_c36f4c0b32_b.jpg


12376242183_ec49a38729_b.jpg


12376523564_743e38605c_b.jpg


12376069815_30382d49d6_b.jpg


12376506874_6df6f38072_b.jpg


12376499244_dea9551c66_b.jpg
 
With figuring out how I was mounting the rear fenders yesterday, the passenger side went pretty quick getting it mounted and supported.

So today I mounted the passenger fender and built one of the radiator hold downs. Tomorrow I'm going to build the other radiator hold down, build the support for the battery boxes to mount too and finish up the seat mount. Then I can get to work on the steering. The back of the truck is almost finished and ready to be taken back apart for sand blasting and paint.

Radiator hold down bracket really looks crooked in this picture but it really isn't

12396191265_8ffa3b351b_b.jpg


Support as I was making it.

12396635314_8b9e9b55f3_b.jpg


Passenger side fender supports

12396626104_2432791d41_b.jpg


12396617354_2a32378d31_b.jpg


12396157865_5cfc0b4738_b.jpg


Shots of the truck with the rear fenders mounted.... I've used a boat load of 5/16 x 1" bolts

12396139635_70982bcb29_b.jpg


12396128625_db9d9ba167_b.jpg


12396267413_61487107ea_b.jpg
 
Busy day out in the shop today. I made the last hold down for the radiator and then removed the transmission cooler and brackets and then the radiator so I could drill the last hole needed for the front brace on the fender support on the passenger side. I then cut out a plate for my main power switch and mounted it on the back of the truck with some self tapping screws then drilled and test mounted the switch. After that, I had the spacing needed to mount the battery trays and my water to air intercooler ice chest on the two 1x3 rectangular tubing segments. That finished up what I had to do with the bed of the truck, so then we spent an hour completely dismantling the bed.

Then I moved to the front of the truck and welded on the brackets that I've needed to weld for a while for the grill/fender support in the front and the rear fender support. Once those were welded on, the front fenders, inner fenders, grill shell and hood were removed. Now just the cab is left on the frame. This will make it easier getting the steering column built I hope.

Second radiator support

12422723334_f1b793a93b_b.jpg


Rear battery and ice box support bars

12422218675_67e318d451_b.jpg


12422362723_5ceb4bc4f5_b.jpg


12422194425_4ca6900e08_b.jpg


Main Power Disconnect

12422336783_9a3c6cda1d_b.jpg


12422664634_fe201781bb_b.jpg


Everything in the bed mounted and ready to tear it down

12422656154_57bf477e75_b.jpg


12422647264_9ffedba726_b.jpg


12422300913_553ec5ec36_b.jpg


Front fender brace welded

12422629044_8b1a9d570b_b.jpg


Rear Fender brace welded, still need to put a gusset on these braces

12422620904_d06e88c5da_b.jpg


Disassembling

12422614674_a29d0a78f3_b.jpg


12422609674_62cc6350c6_b.jpg


12422601134_ac66e11d89_b.jpg


12422591264_42e0939f24_b.jpg


12422244753_eb27524855_b.jpg


12422236713_6c01b6d8fa_b.jpg
 
No alternator, thus 2 batteries in back. I don't have a drive belt up front anymore. I did that a couple of years ago to shave more weight off the front of the truck. I tried it with one battery in back and it just didn't have enough amp capacity to crank over a cold engine with high timing. For electrical draw, I'm running the single radiator fan, 2 trans cooler fans, my water pump for the engine, water pump for w2a intercooler, fuel pump, trans brake and gauges.
 
Not a lot accomplished tonight, managed to get the 6 - 1/2" diameter holes drilled through the frame on the front to mount my tow bar. Need to pickup some 4" long grade 8 bolts tomorrow to get it mounted permanently. Was going to attempt to suck out some mud from inside the frame as well and ended up screwing with my shop vac as it's low on suckage. So along with the bolts, I've got to pick up a new filter for it too.

12447636673_9b7cf6cd63_b.jpg


12447643833_f366710db8_b.jpg
 
Picked up the black pipe fittings I needed to get my final filter/regulator setup for the shop installed so I can hopefully spray a little primer this weekend on my son's truck cab. Also made spacers for the front tow bar for inside the frame to span across the opening on the inside. Spot welded those in place and bolted on the tow bar. Next I need to weld some flat pieces on opening to close it up. I was going to mount the new water neck onto the block, but I could only find one metric bolt long enough in my buckets of bolts, so I will have to make a trip to Fastenal tomorrow along with a trip to sears to get a filter for my shop vac.

I did some grinding on where the old body mounts were and got the front ones cleaned up. Started messing with the steering, but got side tracked with feeding the animals and cooking dinner. Hopefully tomorrow I can get that water neck mounted and get further along with the steering and seat.

12470092384_0ea2b32b16_b.jpg


12469744583_559fe68c55_b.jpg


12469738883_02022d8529_b.jpg


12469574125_1dae976e15_b.jpg
 
It's a ford divorced np205 transfercase, so if I remember from 3 or 4 years ago when I was researching them, it's 32 spline. I upgraded all the yokes to use 1410 u joints. The u joint at the th400 is a 1350, but all of the other's are 1410's now for the drive shafts.

Here is a pic from the back of when I installed it.

5632027881_2dd6461649_b.jpg
 
Picked up the metric bolts needed to mount the water inlet on the side of the block today, gives me much more room on that side of the engine with this new neck. Spent about 2 hours tonight sucking and blowing mud and dirt out of the boxed frame on the drivers side of the truck. I've gotten all of the dirt and clods out except for about a foot of the frame where the spring perch is to the power steering box. I can't get all of the clods out of the there and the shop vac line won't reach that far due to the narrowing and arch of the frame.

I will clean up the passenger side up tomorrow and then blow everything off.

12492267363_ce4a5f4a48_b.jpg
 
Yesterday, I sucked more mud out of the boxed frame rails and now have both of them pretty mud free and ready for the foam filling. When I pull it out of the shop to get the cage built, I'm going to spray the inside of the frame rails with water to wash any additional mud out that I can.

I also started messing with the steering column placement on the truck. Think I have a fairly good idea of how I want to mount it and where. Just need to get it done. Removed the rear shocks yesterday and the front mounting box for the passenger side shock. Once I get the shock towers built, I'll cut out the other one from the support.

I received my shock mount tabs yesterday. Today I ordered more leading supplies from Eastwood as well as the Por15 chassis black and the cleaners for it. Also ordered my 5" hood stack kit from Pure Diesel Power and will pick up the 80' of dom tubing from a supplier in Tulsa on Monday.

I did figure out yesterday that as my gas pedal sits, it's not going to work with my throttle cable. The throttle cable is too short to mount where the pedal is located, if I build a raised area to mount the cable, then the pedal is way out there. So I have some more thinking to do on that.

12524001693_00b429995d_b.jpg


12524356284_5a73889611_b.jpg
 
With Valentines day, not a lot of progress was made on the truck, but I did upgrade my 18 year old dewalt 3/8" drill to a new 1/2" dewalt drill. The old one was starting to get a burnt smell when in heavy use. I did get one of the holes drilled for the air to go into the cab for the water to air intercooler. I had to widen it further towards the pedals because I couldn't get the hole saw over far enough. Hopefully I will get some time tomorrow but don't think I will get much.

Today I spent time getting the paint bay closed in, plastic down on the floor. Then blew all the dirt and dust out of my son's cab and then we spent about 2 hours cleaning the metal inside the paint bay with waterborn wax and grease remover and tack cloths. We shot a good coverage of 2k primer inside and out on the 93's cab. Now we need to wet sand the inside, jambs, firewall and back of the cab so we can shoot color on those areas before we put it on the 91's frame.

Took the wife to the Darrel Starbirds Custom Car show for valentines day. We hadn't made any plans because we thought she was going to have to work, so we went there since all the restaurants were all packed.


12551800273_cd86e9a910_b.jpg


12551781803_687a2b363e_b.jpg


12552117824_56141091a6_b.jpg


12551750553_945d03a51d_b.jpg


12552059354_0553ee4c3f_b.jpg


12551556725_e894b75624_b.jpg


12551542235_441abe001b_b.jpg


12551530415_1548c15a37_b.jpg


While at the car show, I had one of the guys there draw my truck as a cartoon black and white.

12552118155_ec5b052caa_b.jpg


The paint bay worked pretty well. I really need a sealed fan to push the air from the bay out the window, so I'm going to find one of those and get that setup here in the future. My fresh air system works well for my own air, but the hose has gotten rotten. I had to fix one break in it before I started and while finishing up, I stepped on it and put another crack in the hose. Guess I'm going to have to break down and buy a new hose for it.
 
Back
Top