
MD-LUCKY
Difficult To Pronounce...
- Joined
- Sep 24, 2006
- Messages
- 3,080
Here is a quick article on how to replace your APPS on your 98.5 to 2004 pickup. The APPS is a sensor that tells the pump how far you are pressing the fuel pedal to the floor, and how much fuel the pump should add.
Basic tools needed:
13mm wrench
10mm bolt
Size 20 torx
Phillips and Regular screwdriver
Multimeter
The APPS is like many other electronic devices: it doesn't always completely "fail" and stop working. It can cause erratic issues, such as dead pedals, surging, and low feedback.
The symptoms I noticed was an occasional dead pedal at a specific point in the pedal. It didn't matter what RPM, what gear, or what speed: it was always the same point as I depressed on the pedal. This lead me to believe it was a failing APPS.
There is already a great article in the tech section on how to reset the APPS. There is another option for a very basic APPS reset, and if you notice any difference it is probably time to order a new APPS. Here are the steps for the most basic APPS reset:
Disconnect the batteries for +/- 30 minutes
Reconnect the batteries
Turn key to the on position
Slow depress the fuel pedal to the floor, and slowly allow it to come back to the idle position
Turn key off
If you notice any difference in how the truck drives after this basic reset, there is a good chance that it is time to replace the APPS.
I ordered mine directly from Timbo here: Contact Us . When I ordered there were no site sponsors that offered a replacement APPS. If that changes in the near future, I'd support the people that support us on this site.
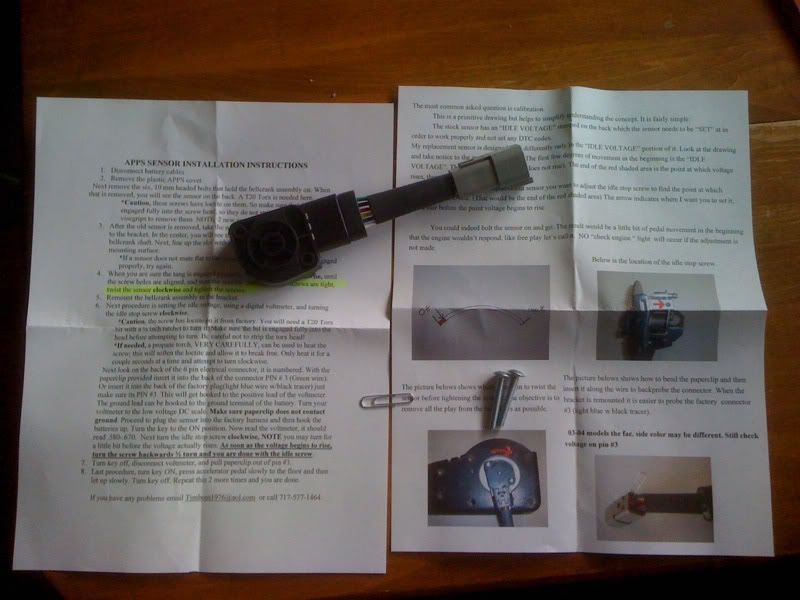
The kit comes with everything you need, down to a paperclip that you can use to adjust the voltage. Here is what you get:
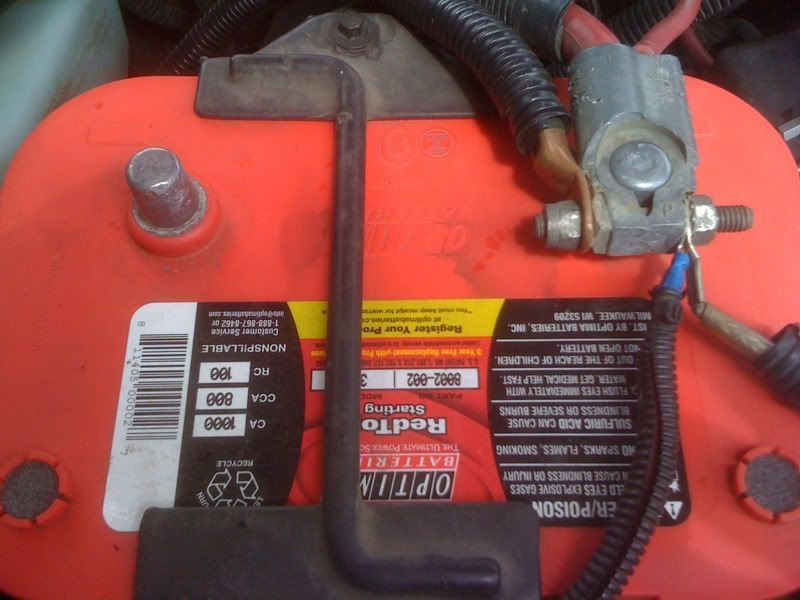
Disconnect the battery cables before you start.
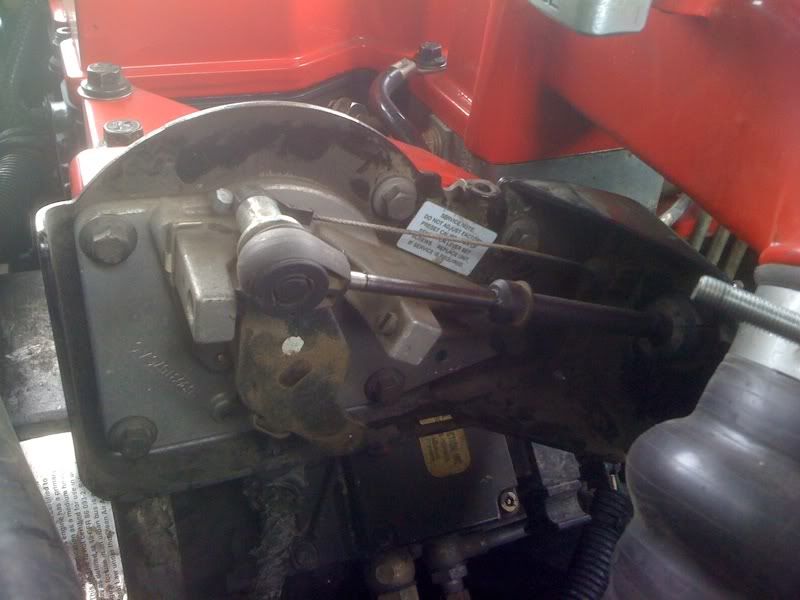
Next, remove the black cover over the APPS:
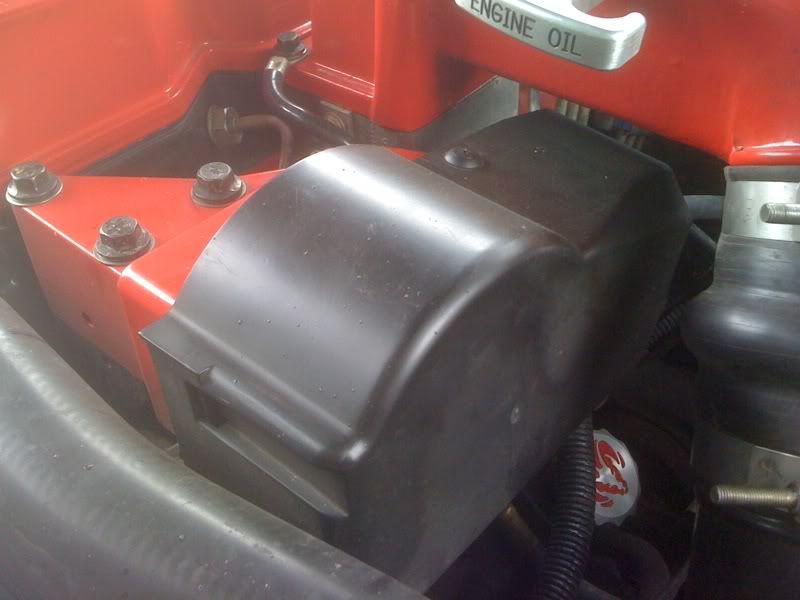
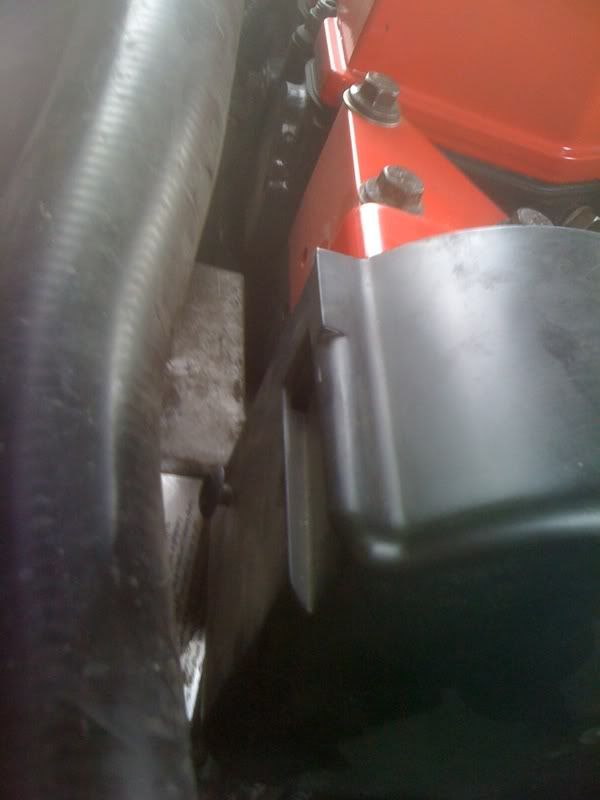
There are 2 plastic screws that hold the cover in place. One is easily visible at the top of the cover, the other is at the front of the cover under the radiator hose. You can see the second screw here:
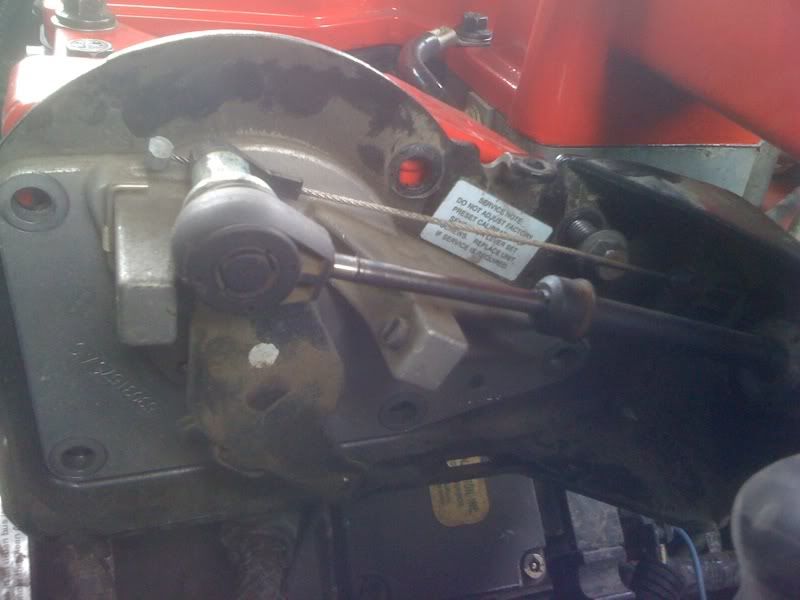
The screws are the standard Phillips screw, but they hold a small plastic tab through the cover and into the metal APPS holder. This picture should give you an idea of how the plastic tabs come out, and how to remove them and the cover:

There is also a small catch at the front of the cover that you must press in while pulling the plastic cover off. Once it is out of the way, you can get to the 10mm bolts that hold the APPS in place.
Remove these bolts, but do not remove the cables!
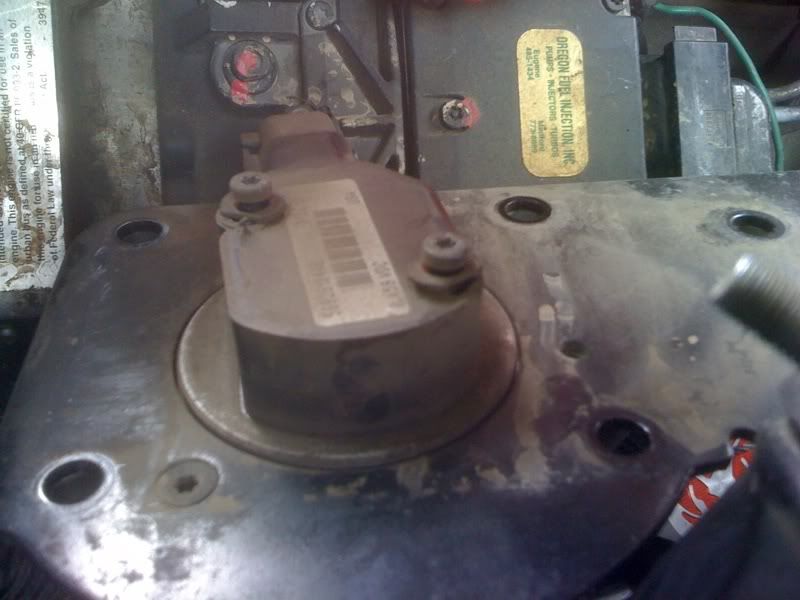
Now you can get to the actual APPS. It is held in place using 2 size 20 Torx screws:
Remove these 2 screws and you can remove the factory APPS:
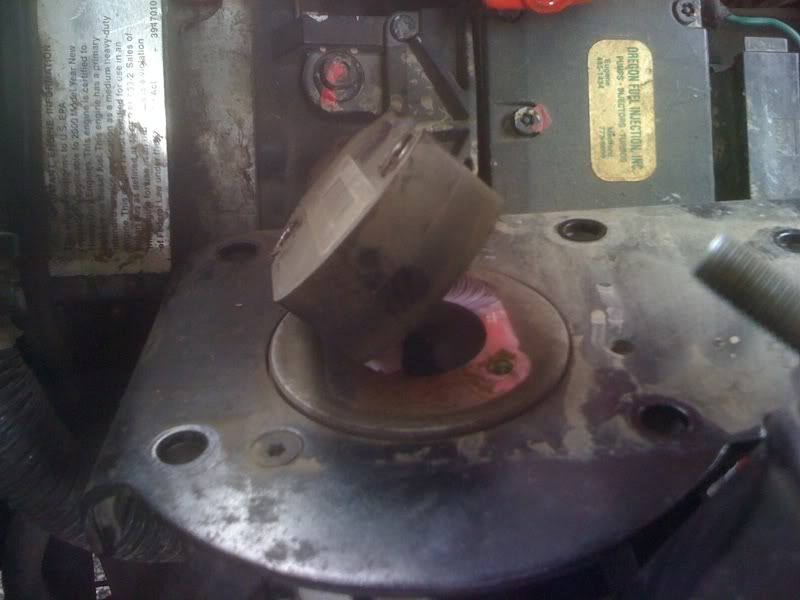
Disconnect the electrical connector from the factory APPS, and carefully install the new Williams APPS:
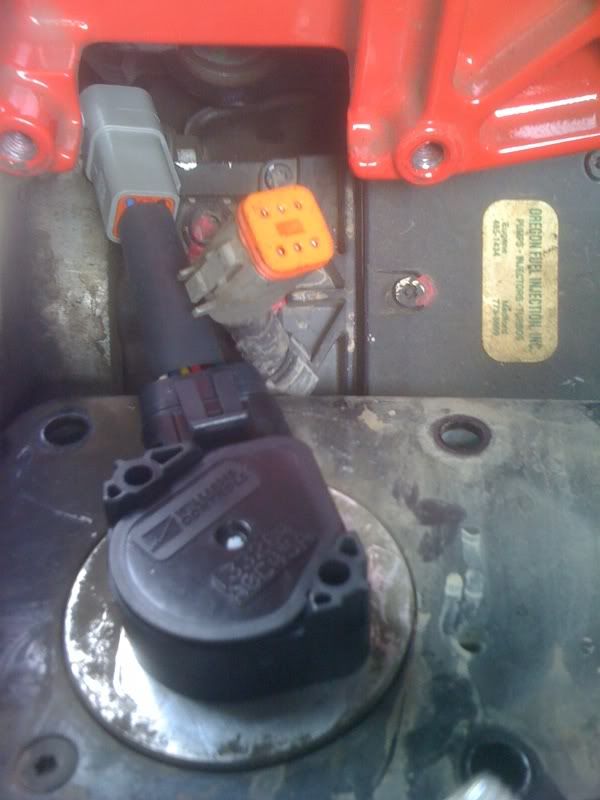
The kit comes with new screws that use a standard Phillips head bolt instead of the torx head. Instead, I decided to reuse the factory torx bolts. As you install the sensor, be careful to gently twist the sensor until it fits flush against the bracket. Start the bolts but don't tighten them down entirely. Before you tighten the bolts down for the last time, you need to twist the senor clockwise and then tighten the bolts down.
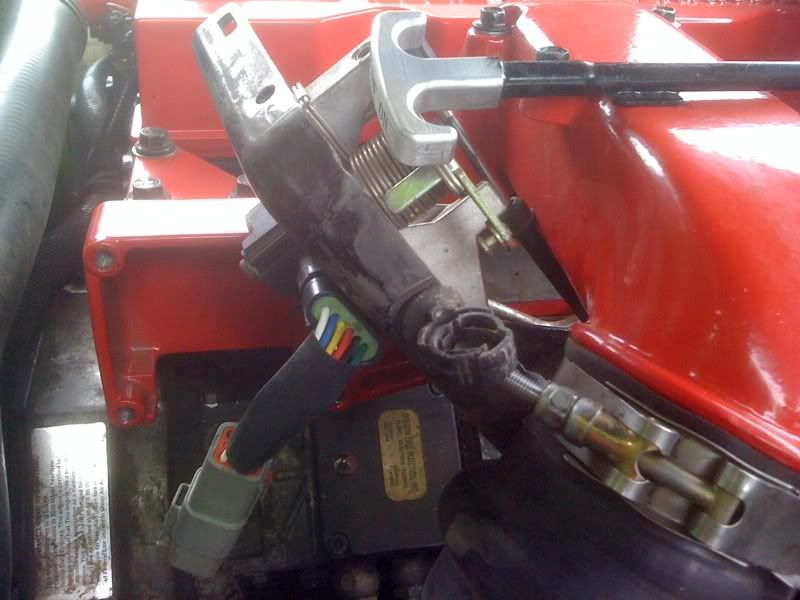
Now it is time to adjust everything that you've installed. I was able to prop the senor up on the air horn using the factory wire loom against one of the boot bolts.
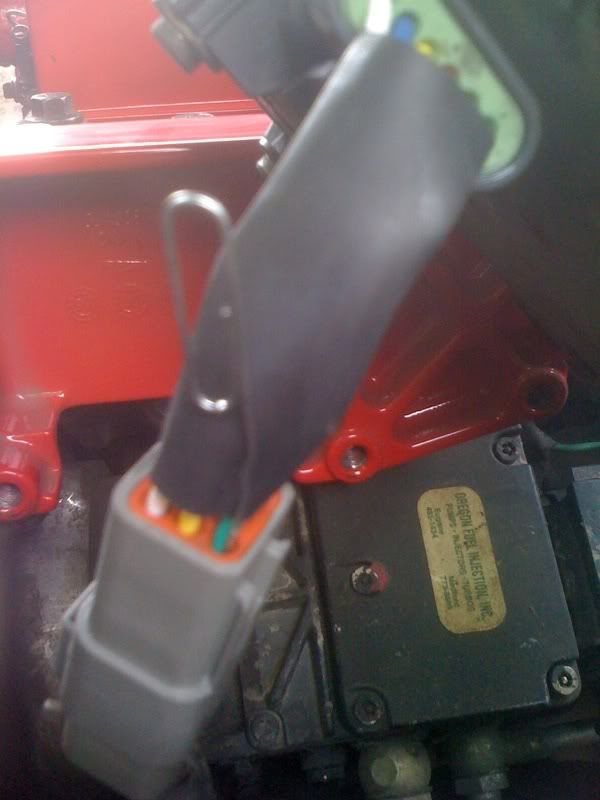
The paperclip goes into the number 3 wire. Gently press the paperclip pass wire until it makes contact with the connector.
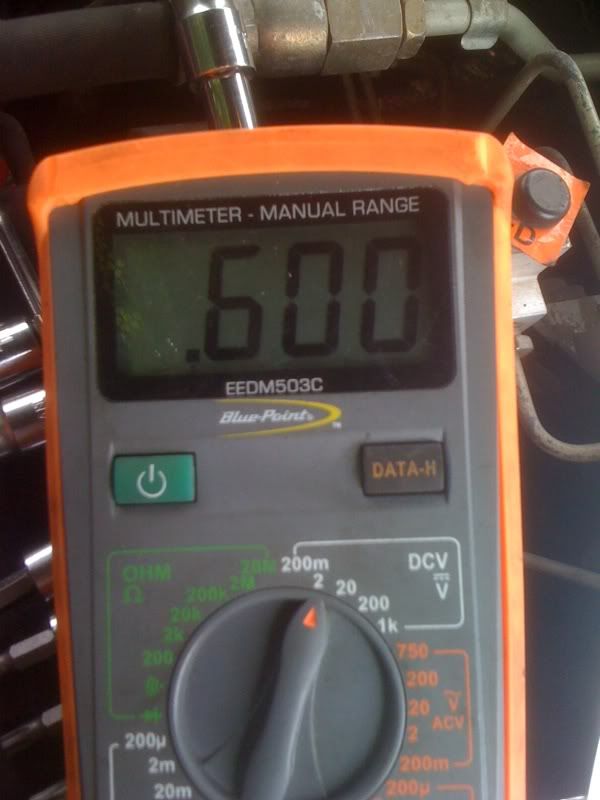
Reconnect the batteries, and turn the key to the on position. Use a multimeter to check the voltage of the new APPS. The instructions come with an acceptable range, and mine fell almost exactly in the center of that range.
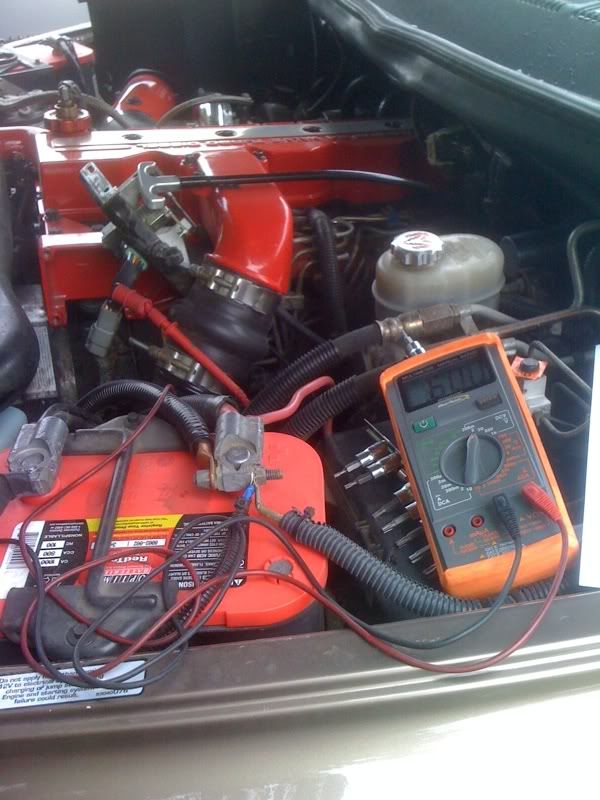
Adjust the idle screw using a size 20 torx.
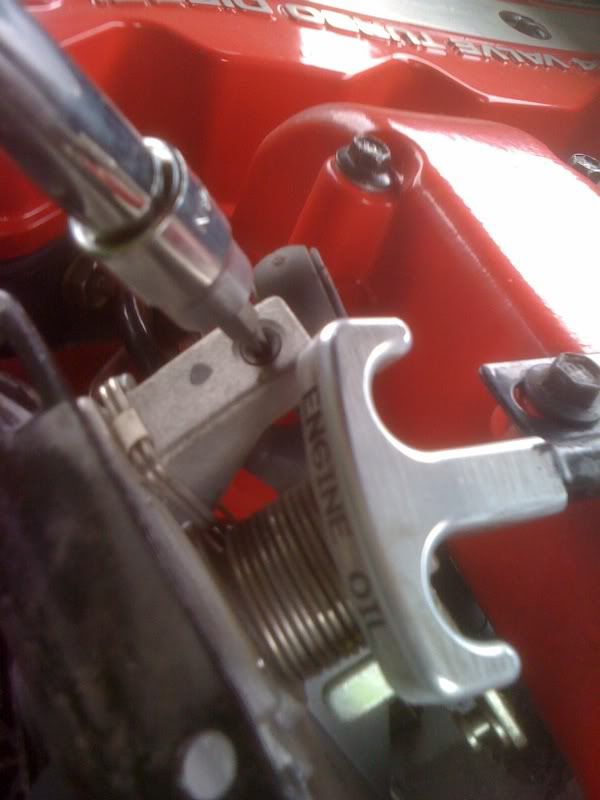
You tighten the bolt until the voltage just begins to rise. Mine took several turns before the voltage on the multimeter changed.
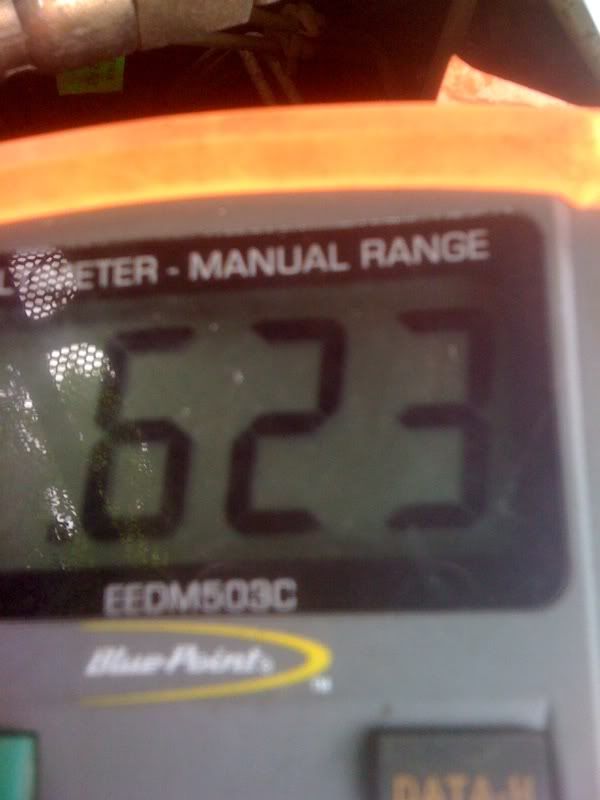
Take your time with this step. I went back and forth on the adjustments several times, until I found the exact point that the voltage started to change. Once you find the exact point, twist back 1/2 turn. Your voltage is now set. Turn the key off.
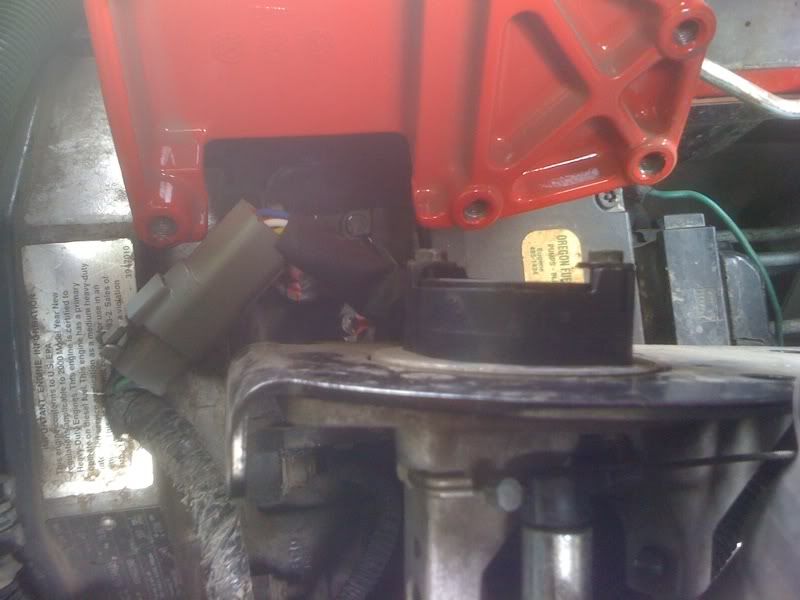
Carefully route the wires back under the APPS and bolt everything back in place:
Turn the key back to the on position, and slowly depress the pedal to the floor and slowly allow it to return to the idle position. Turn key off. Turn key back on and slowly depress and allow pedal to return again. Turn key off.
Start the truck and make sure that the idle isn't elevated. Gently press on the pedal and note how much travel is needed before the RPMs start to change. It should take minimal movement. If you are happy with the pedal travel, button everything up under the hood and you are finished! If not, repeat the adjustments on the voltage until you find a point that you are happy with the amount of pedal travel needed to increase RPM.
Finish up under the hood, and you are finished!
Basic tools needed:
13mm wrench
10mm bolt
Size 20 torx
Phillips and Regular screwdriver
Multimeter
The APPS is like many other electronic devices: it doesn't always completely "fail" and stop working. It can cause erratic issues, such as dead pedals, surging, and low feedback.
The symptoms I noticed was an occasional dead pedal at a specific point in the pedal. It didn't matter what RPM, what gear, or what speed: it was always the same point as I depressed on the pedal. This lead me to believe it was a failing APPS.
There is already a great article in the tech section on how to reset the APPS. There is another option for a very basic APPS reset, and if you notice any difference it is probably time to order a new APPS. Here are the steps for the most basic APPS reset:
Disconnect the batteries for +/- 30 minutes
Reconnect the batteries
Turn key to the on position
Slow depress the fuel pedal to the floor, and slowly allow it to come back to the idle position
Turn key off
If you notice any difference in how the truck drives after this basic reset, there is a good chance that it is time to replace the APPS.
I ordered mine directly from Timbo here: Contact Us . When I ordered there were no site sponsors that offered a replacement APPS. If that changes in the near future, I'd support the people that support us on this site.
The kit comes with everything you need, down to a paperclip that you can use to adjust the voltage. Here is what you get:
Disconnect the battery cables before you start.
Next, remove the black cover over the APPS:
There are 2 plastic screws that hold the cover in place. One is easily visible at the top of the cover, the other is at the front of the cover under the radiator hose. You can see the second screw here:
The screws are the standard Phillips screw, but they hold a small plastic tab through the cover and into the metal APPS holder. This picture should give you an idea of how the plastic tabs come out, and how to remove them and the cover:
There is also a small catch at the front of the cover that you must press in while pulling the plastic cover off. Once it is out of the way, you can get to the 10mm bolts that hold the APPS in place.
Remove these bolts, but do not remove the cables!
Now you can get to the actual APPS. It is held in place using 2 size 20 Torx screws:
Remove these 2 screws and you can remove the factory APPS:
Disconnect the electrical connector from the factory APPS, and carefully install the new Williams APPS:
The kit comes with new screws that use a standard Phillips head bolt instead of the torx head. Instead, I decided to reuse the factory torx bolts. As you install the sensor, be careful to gently twist the sensor until it fits flush against the bracket. Start the bolts but don't tighten them down entirely. Before you tighten the bolts down for the last time, you need to twist the senor clockwise and then tighten the bolts down.
Now it is time to adjust everything that you've installed. I was able to prop the senor up on the air horn using the factory wire loom against one of the boot bolts.
The paperclip goes into the number 3 wire. Gently press the paperclip pass wire until it makes contact with the connector.
Reconnect the batteries, and turn the key to the on position. Use a multimeter to check the voltage of the new APPS. The instructions come with an acceptable range, and mine fell almost exactly in the center of that range.
Adjust the idle screw using a size 20 torx.
You tighten the bolt until the voltage just begins to rise. Mine took several turns before the voltage on the multimeter changed.
Take your time with this step. I went back and forth on the adjustments several times, until I found the exact point that the voltage started to change. Once you find the exact point, twist back 1/2 turn. Your voltage is now set. Turn the key off.
Carefully route the wires back under the APPS and bolt everything back in place:
Turn the key back to the on position, and slowly depress the pedal to the floor and slowly allow it to return to the idle position. Turn key off. Turn key back on and slowly depress and allow pedal to return again. Turn key off.
Start the truck and make sure that the idle isn't elevated. Gently press on the pedal and note how much travel is needed before the RPMs start to change. It should take minimal movement. If you are happy with the pedal travel, button everything up under the hood and you are finished! If not, repeat the adjustments on the voltage until you find a point that you are happy with the amount of pedal travel needed to increase RPM.
Finish up under the hood, and you are finished!