biggy238
Active member
- Joined
- Aug 3, 2008
- Messages
- 11,005
Junk yard wars
STFU before i start on you. You have a radiator to fix
Monkey Fist Rage

Junk yard wars
Here's some pics I posted a while back on CF.
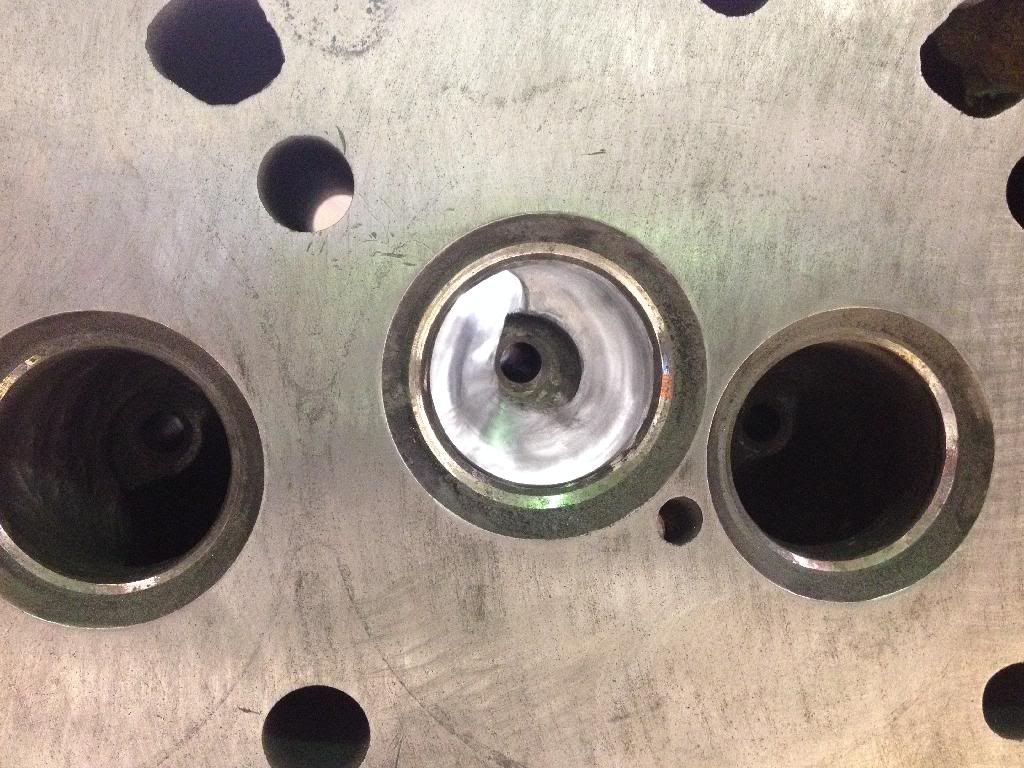
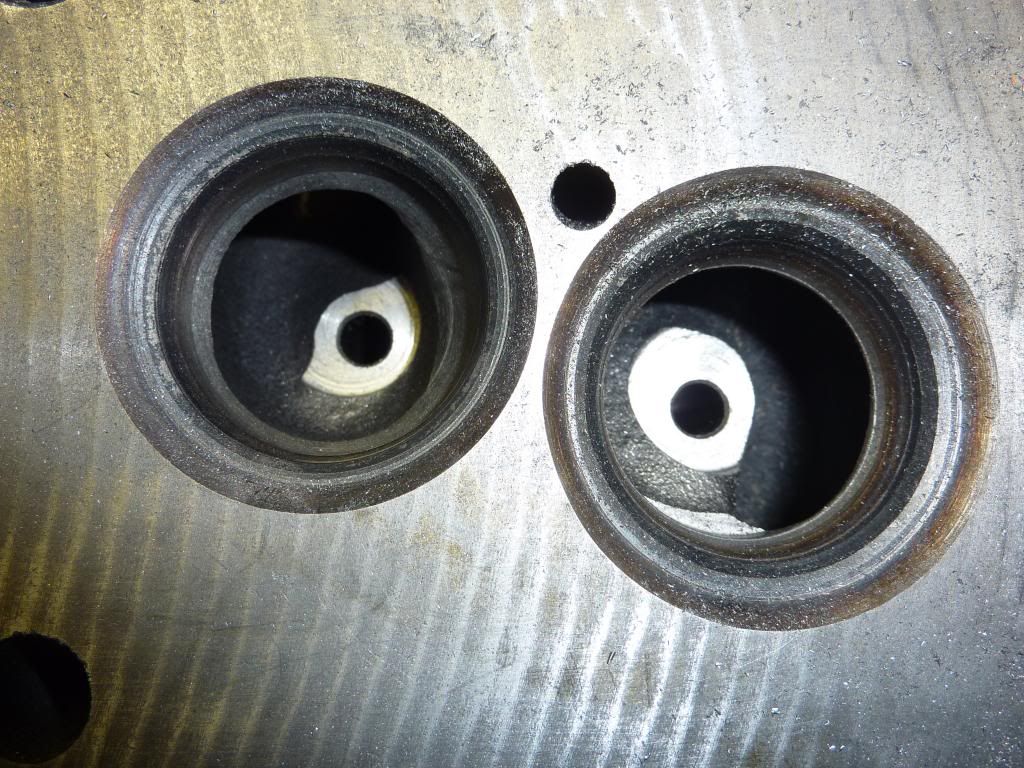
Here's a couple of before and after. As you can see there's a lot of excess material just under the valve seat.
Most of the excess around the perimeter has been removed. And, I've gone down in the bowl and opened it up. All of the work shown is after using the carbide bit and before it's polished with a sanding wheel.
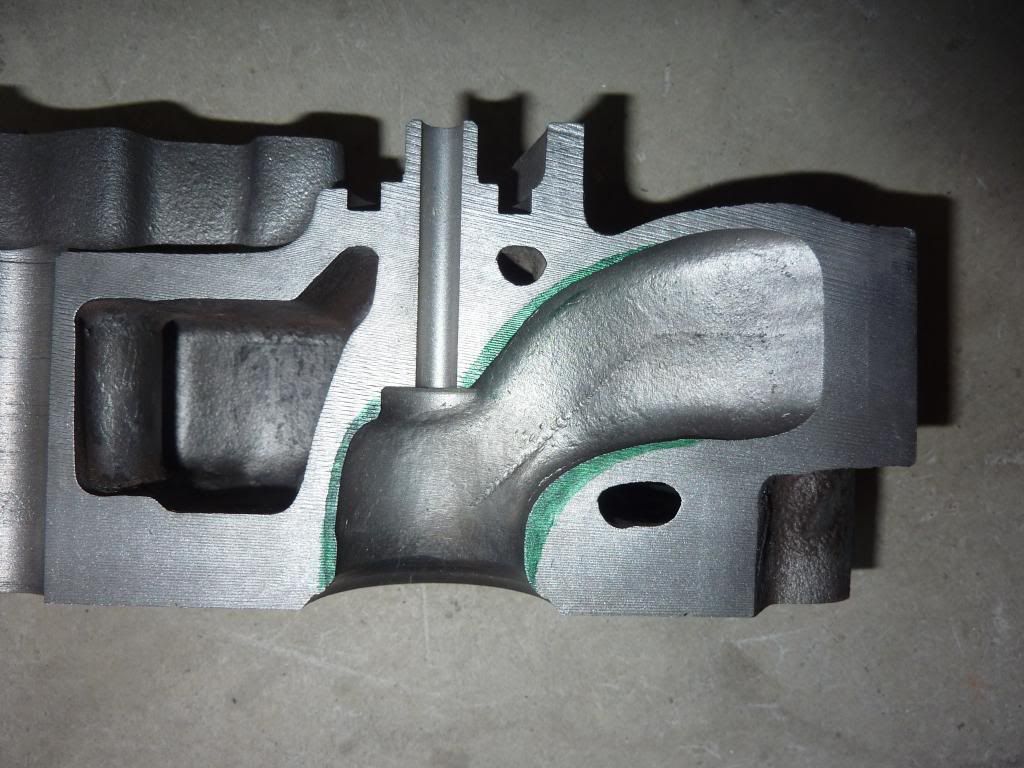
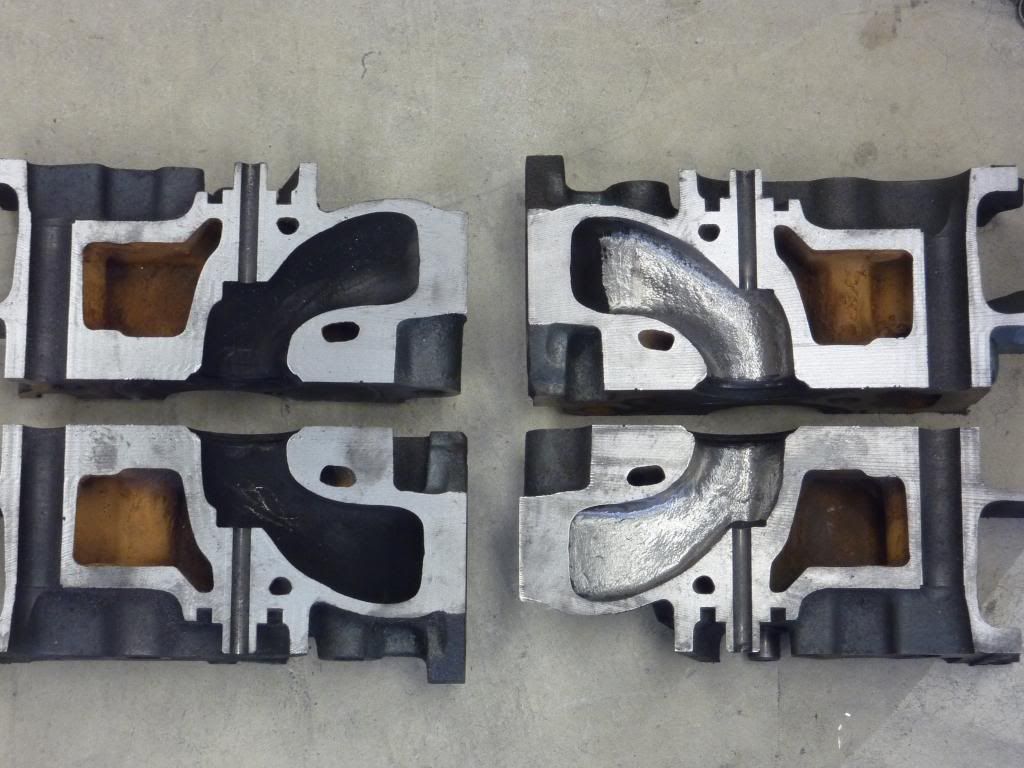
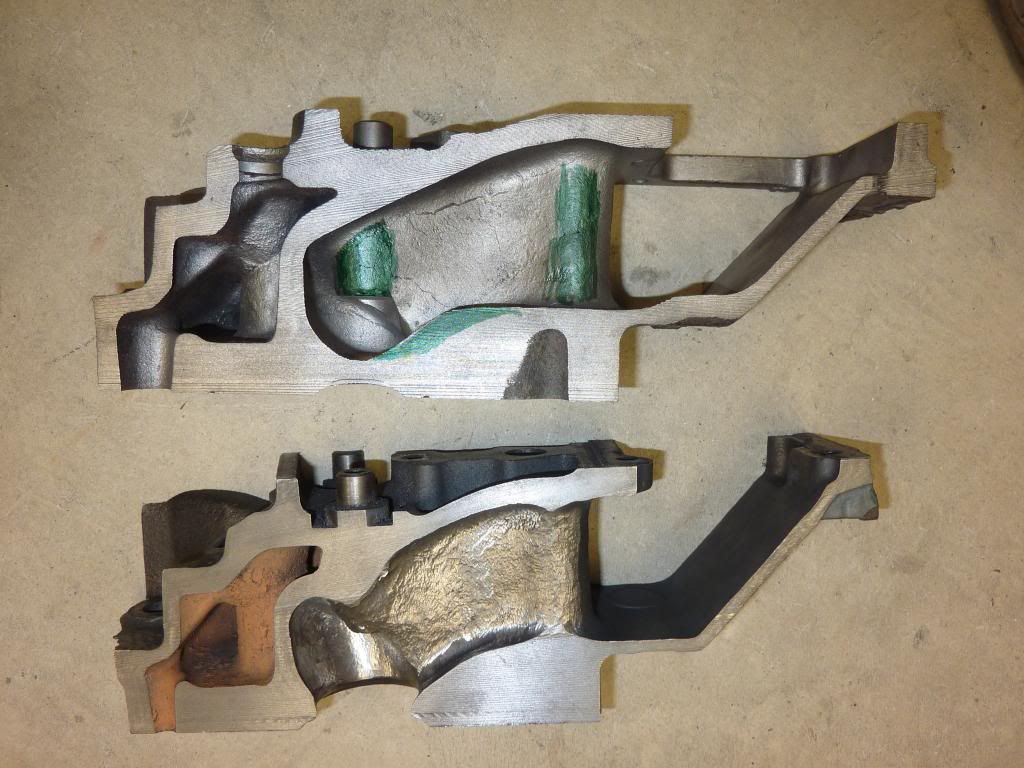
Here's a section through the exhaust. It gives you a good idea of where the water jackets are, and what to avoid. There green area is metal to be removed.
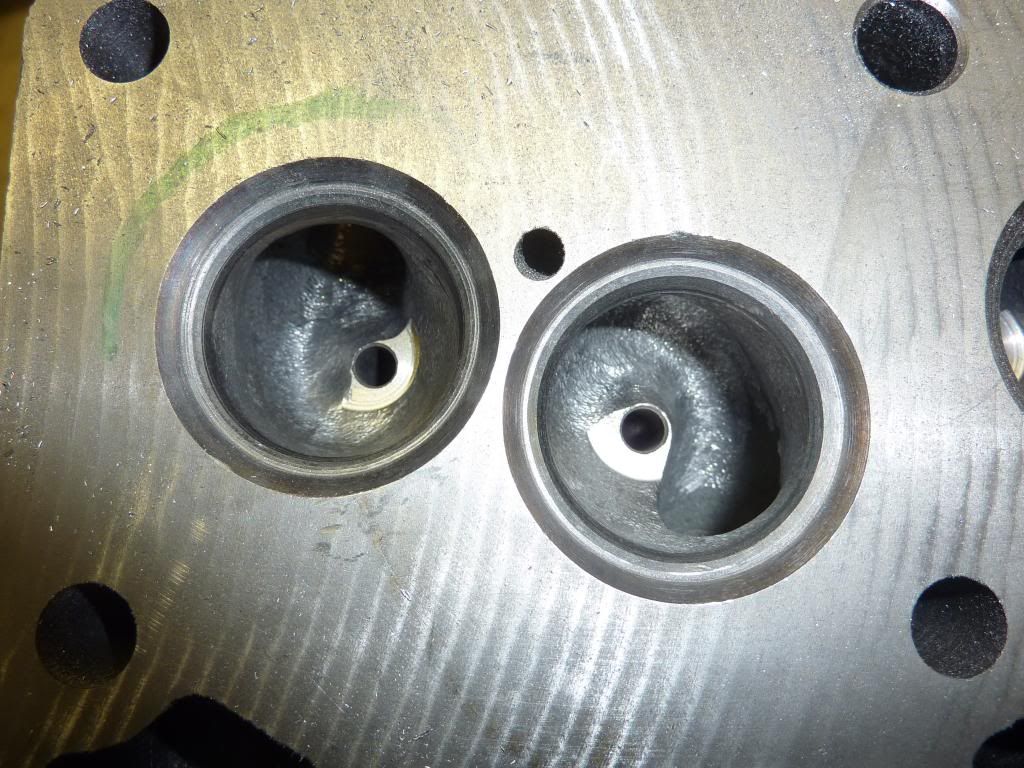
Here's a side by side before and after exhaust port. This head was actually ported a little a couple of years ago, so a stock head is even tighter than the before one here.
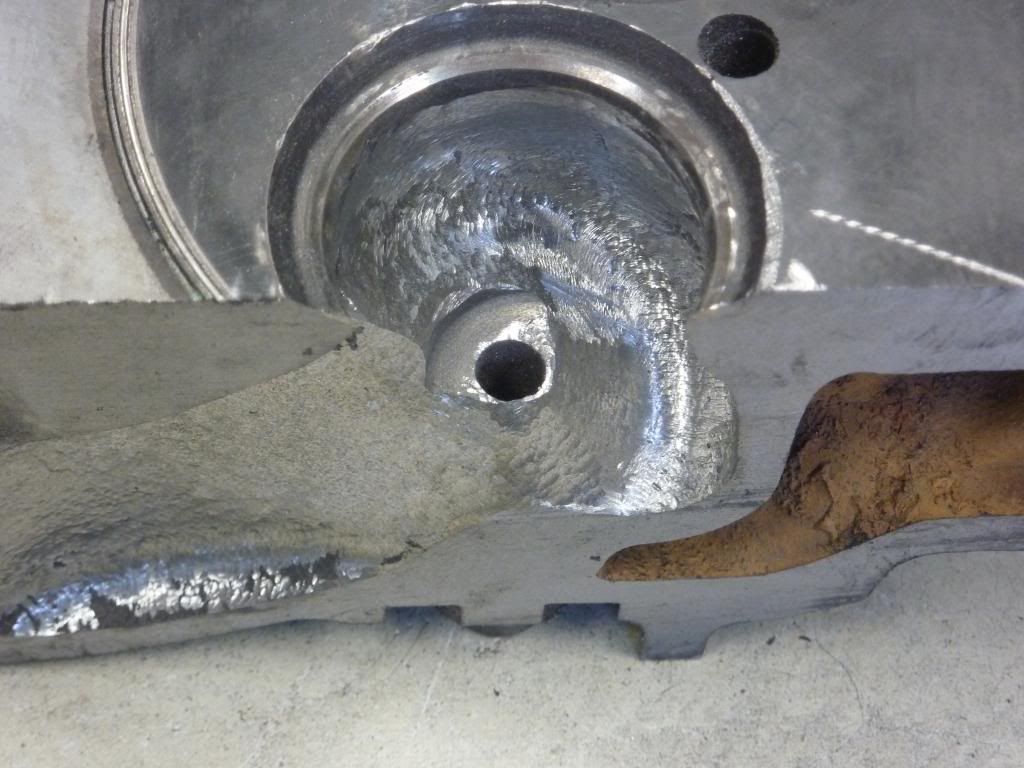
Here's a good view of the intake after porting. Again, this still needs to be hit with a sanding wheel to smooth it out.
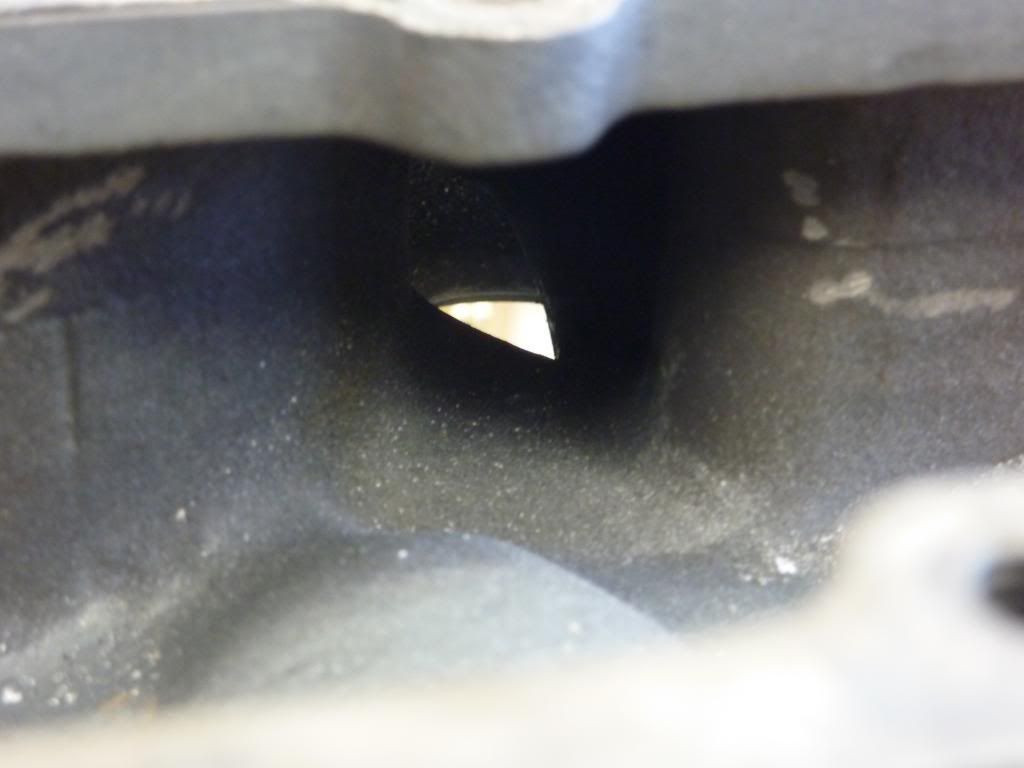
Now the stock exhaust runner is pretty open, so it just needs some cleaning up. But the stock intake runner is pretty tight. Looking through the plenum here, you can see what I mean.
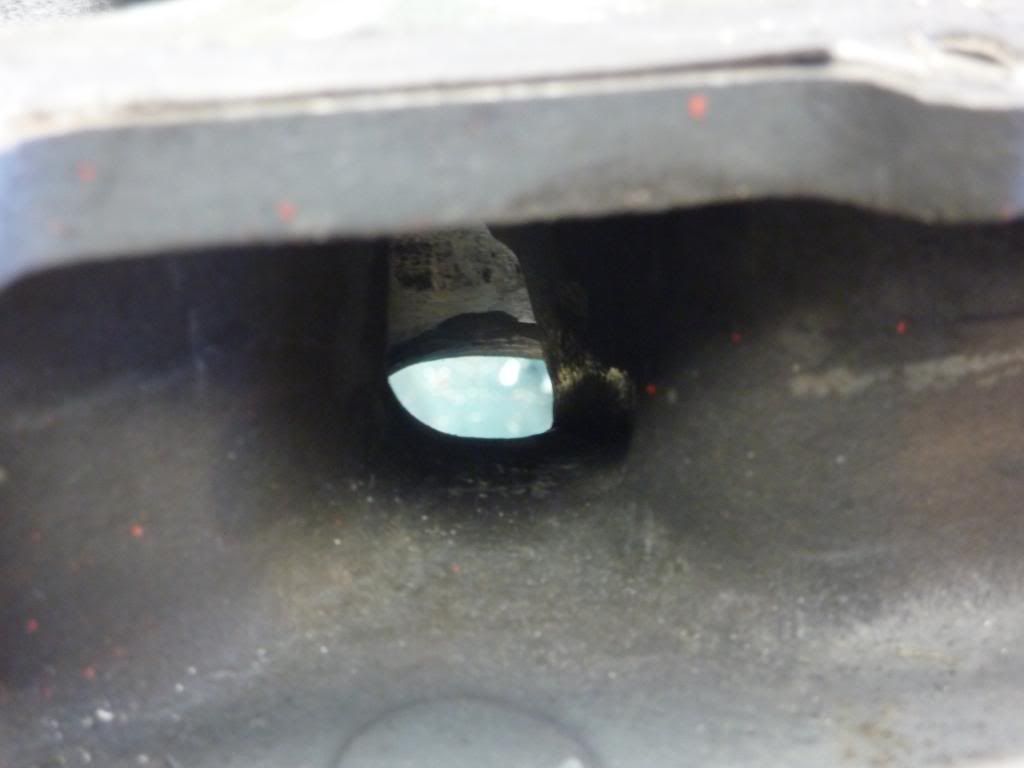
Here's after a little work (still needs some more though)
Here's a couple of slices through the intake. They are not in exactly the same location, but it gives you a good idea of the metal that needs to be removed.
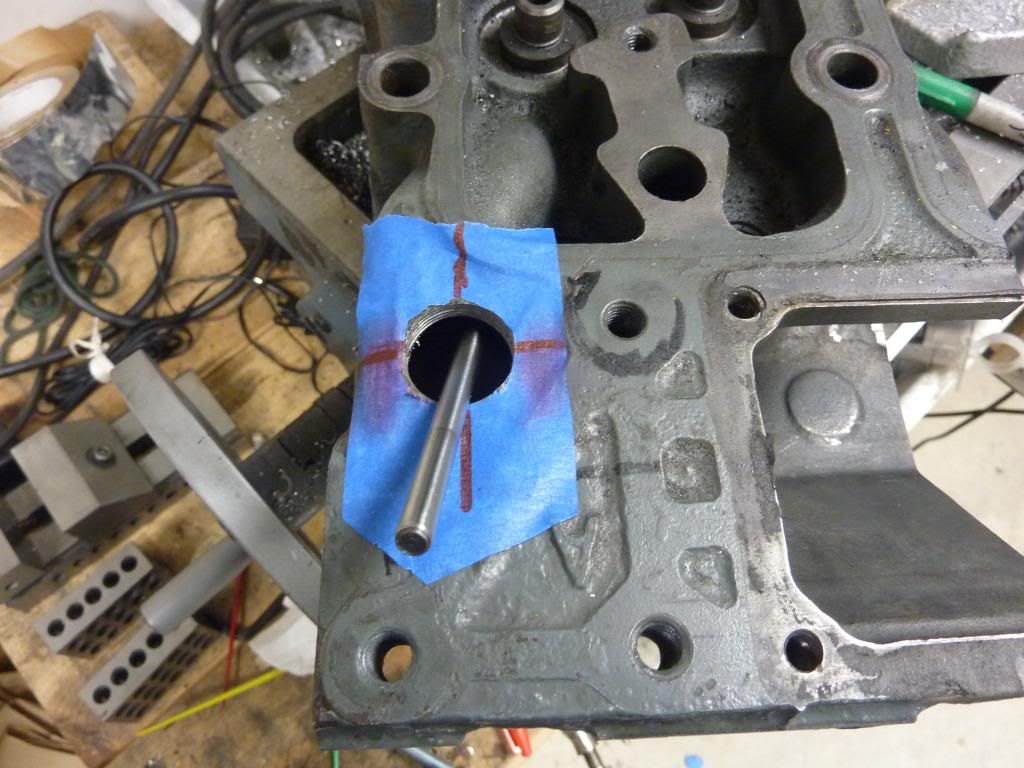
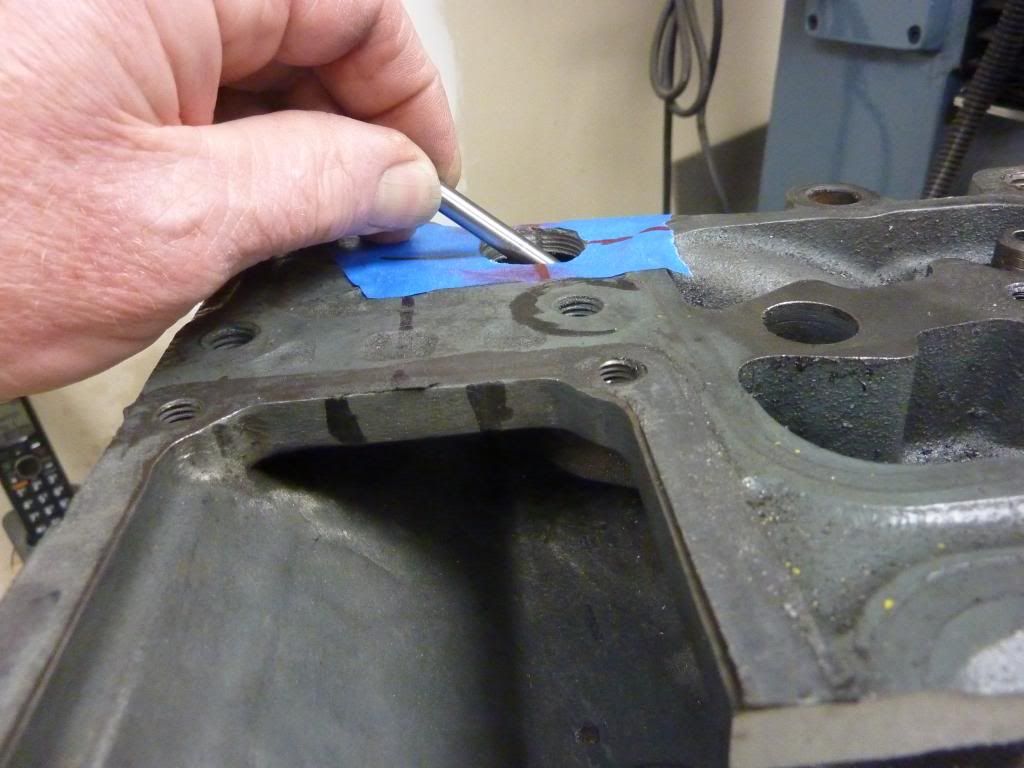
Now some of you are thinking that's great on the 4 runners you can reach. But what about the 2 on the ends. Well, I drill 2 holes in the top of the plenum that let you reach where you need to get to. I then tap the head for a 3/4"npt plug to seal the openings.
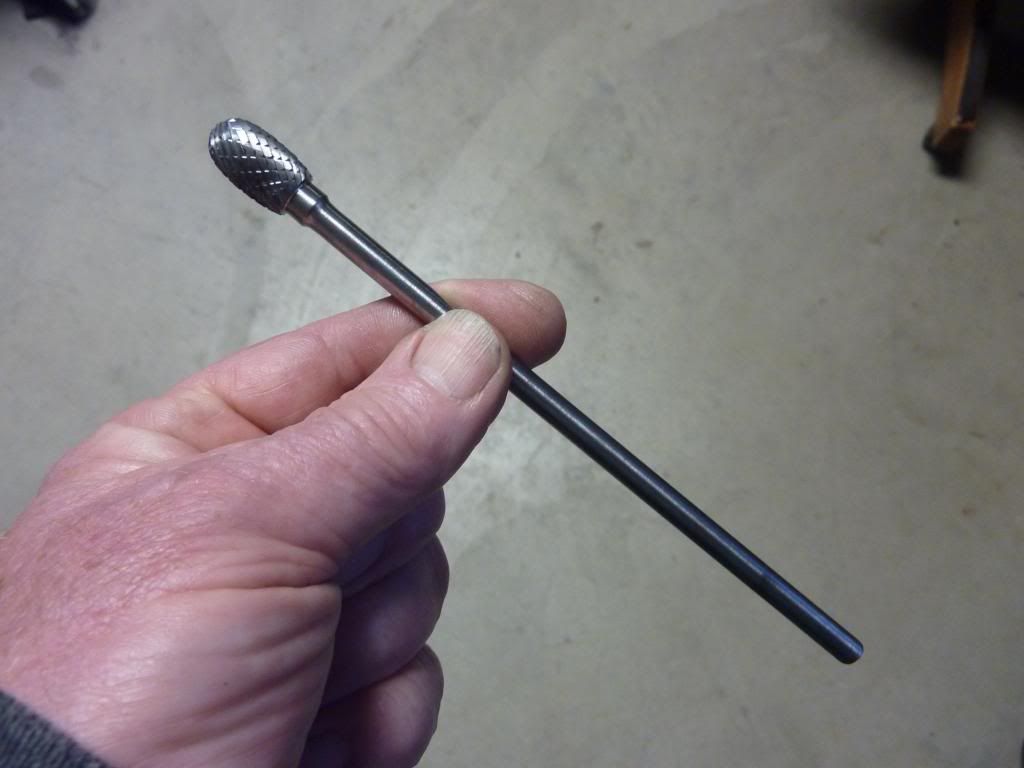
You just need to get one of these carbide bits with a 6" shank.
With one of those I can reach every surface in the intake runner without milling it off. And once a couple of the humps and bumps are cleaned out of the stock plenum, I think it works as good or better than the runner type intakes.
Well, that's the basics. Just remember, a lot of the runner walls are only a little over a 1/4" thick, so don't get carried away without knowing what's behind it. I've got this old head that I sliced up and, I drilled a bunch of holes in the slices too. It's pretty handy to have around for reference.
For? More info?
Monkey Fist Rage
Just to learn. Would rather post watching so I can read the thread again and not have to deal with finding it.
Sent from my iPhone using Tapatalk
There is always talk about over porting and loosing swirl. Is your porting more of all out race or something that keeps low end velocityHere's some pics I posted a while back on CF.
Here's a couple of before and after. As you can see there's a lot of excess material just under the valve seat.
Most of the excess around the perimeter has been removed. And, I've gone down in the bowl and opened it up. All of the work shown is after using the carbide bit and before it's polished with a sanding wheel.
Here's a section through the exhaust. It gives you a good idea of where the water jackets are, and what to avoid. There green area is metal to be removed.
Here's a side by side before and after exhaust port. This head was actually ported a little a couple of years ago, so a stock head is even tighter than the before one here.
Here's a good view of the intake after porting. Again, this still needs to be hit with a sanding wheel to smooth it out.
Now the stock exhaust runner is pretty open, so it just needs some cleaning up. But the stock intake runner is pretty tight. Looking through the plenum here, you can see what I mean.
Here's after a little work (still needs some more though)
Here's a couple of slices through the intake. They are not in exactly the same location, but it gives you a good idea of the metal that needs to be removed.
Now some of you are thinking that's great on the 4 runners you can reach. But what about the 2 on the ends. Well, I drill 2 holes in the top of the plenum that let you reach where you need to get to. I then tap the head for a 3/4"npt plug to seal the openings.
You just need to get one of these carbide bits with a 6" shank.
With one of those I can reach every surface in the intake runner without milling it off. And once a couple of the humps and bumps are cleaned out of the stock plenum, I think it works as good or better than the runner type intakes.
Well, that's the basics. Just remember, a lot of the runner walls are only a little over a 1/4" thick, so don't get carried away without knowing what's behind it. I've got this old head that I sliced up and, I drilled a bunch of holes in the slices too. It's pretty handy to have around for reference.