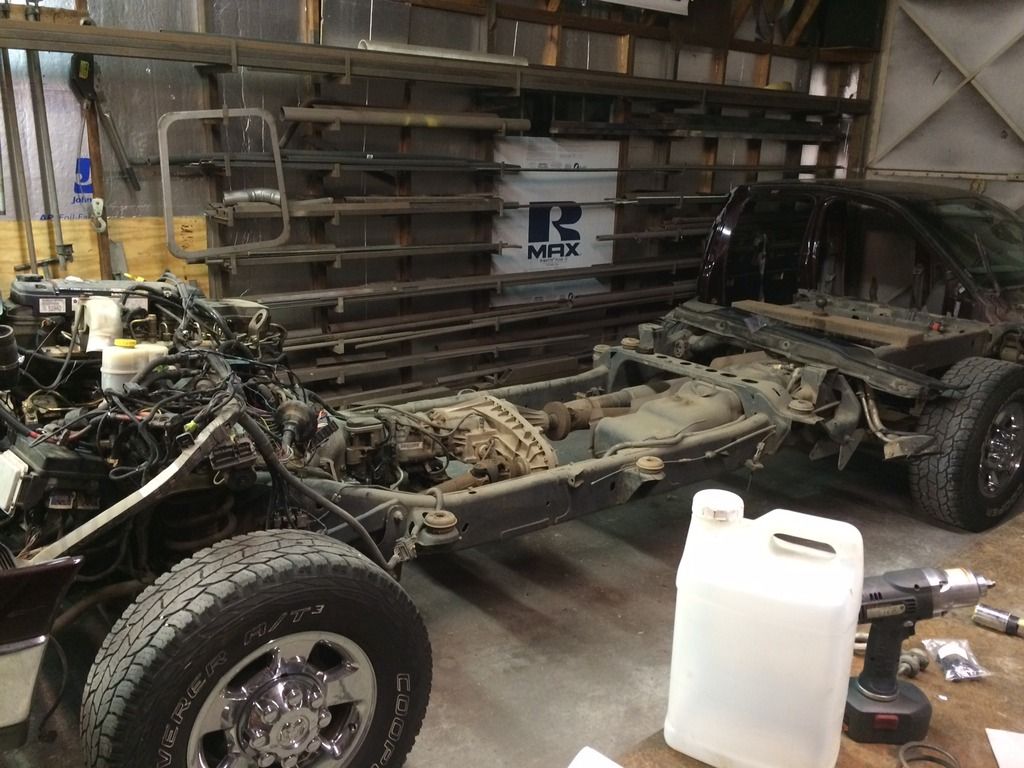
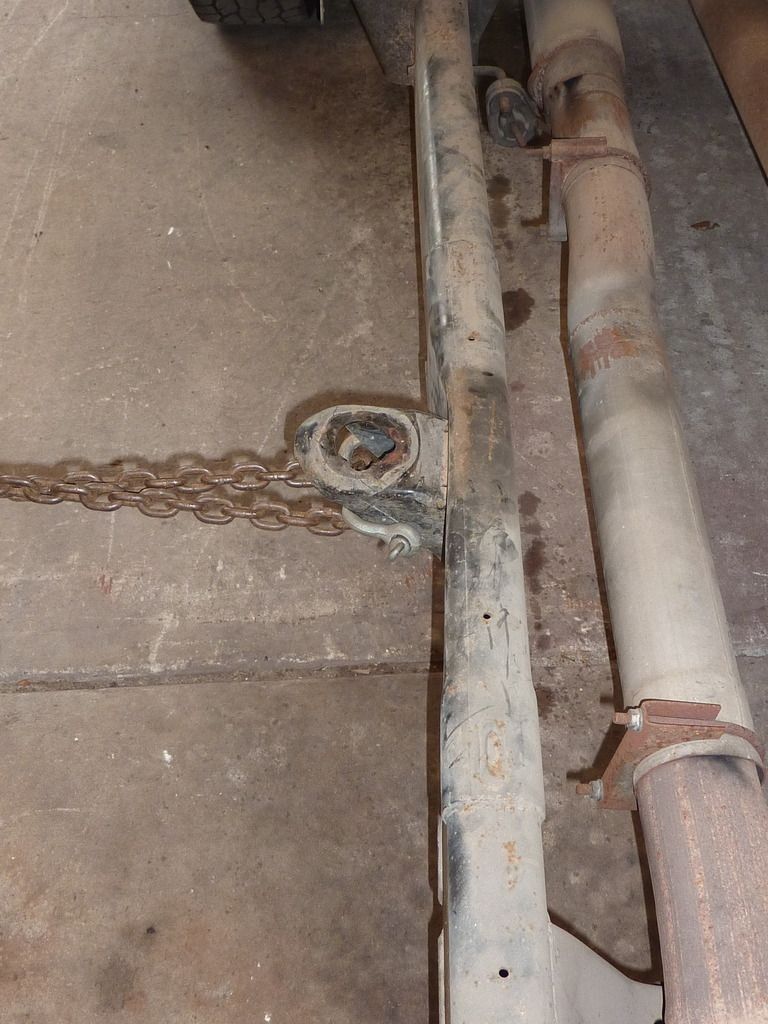
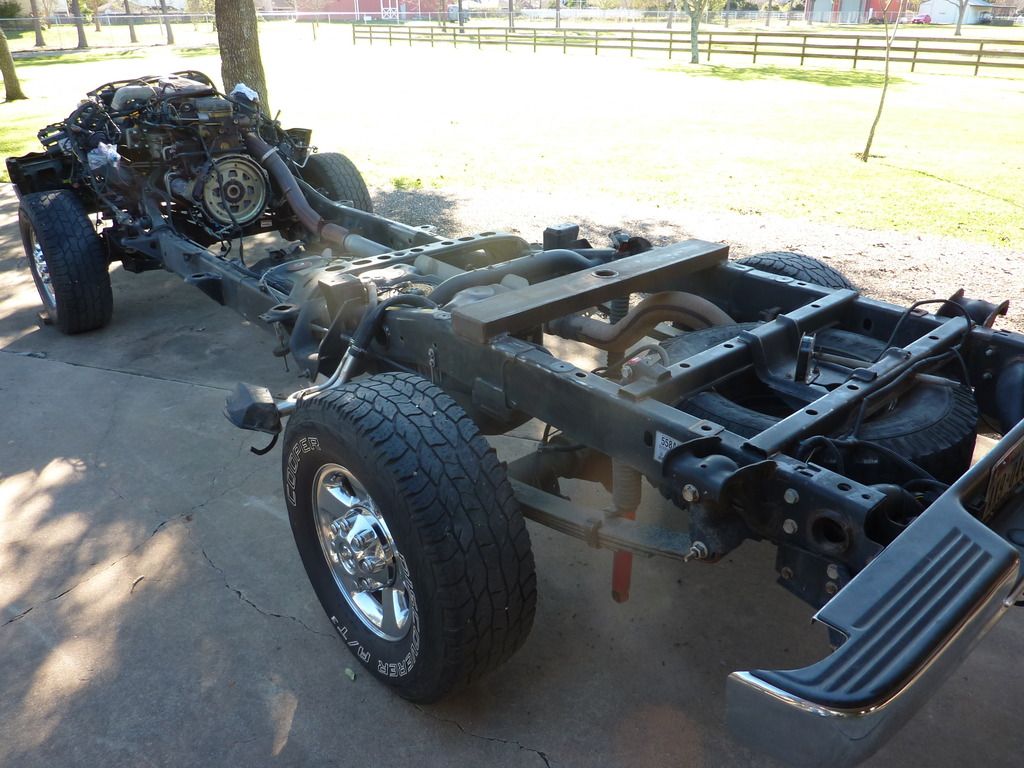
3rd gen Cab Swap/Rebuild

More progress.

P1020513_zps9h9y4thv.jpg


P1020515_zpsocfhulrn.jpg


P1020516_zps6vzarhwx.jpg


IMG_2410_zpshebvqvwa.jpg


IMG_2412_zpslzelh0wk.jpg
 
Frame progress.
P1020537_zps8fnzjb50.jpg


P1020539_zpsnjfe22bj.jpg


P1020542_zpsncfmlwkb.jpg


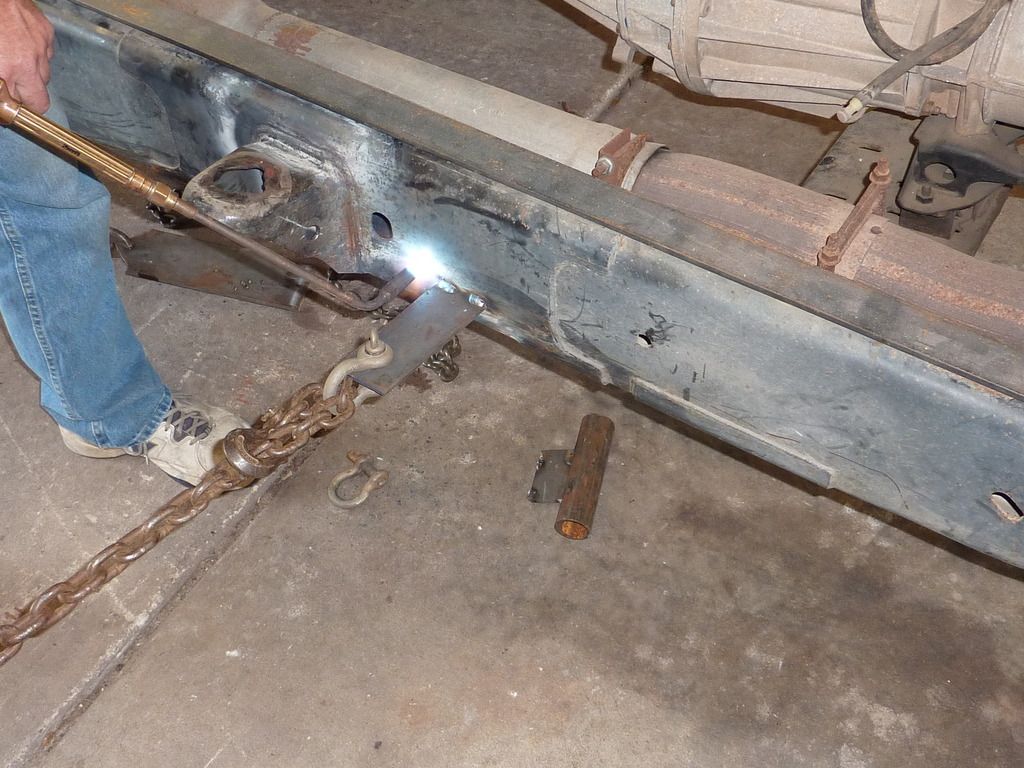
Pull, heat, hammer, repeat.
P1020543_zpszqyvjbol.jpg


Big thanks to dad for his help on this. With both of us on this, we spent 6 hrs straightening the frame. I would have spent 2 days with less results.
P1020544_zpshd8tqafs.jpg


P1020545_zpsxycqnwtf.jpg


I am happy with the result.
P1020547_zpswa4qbpfq.jpg


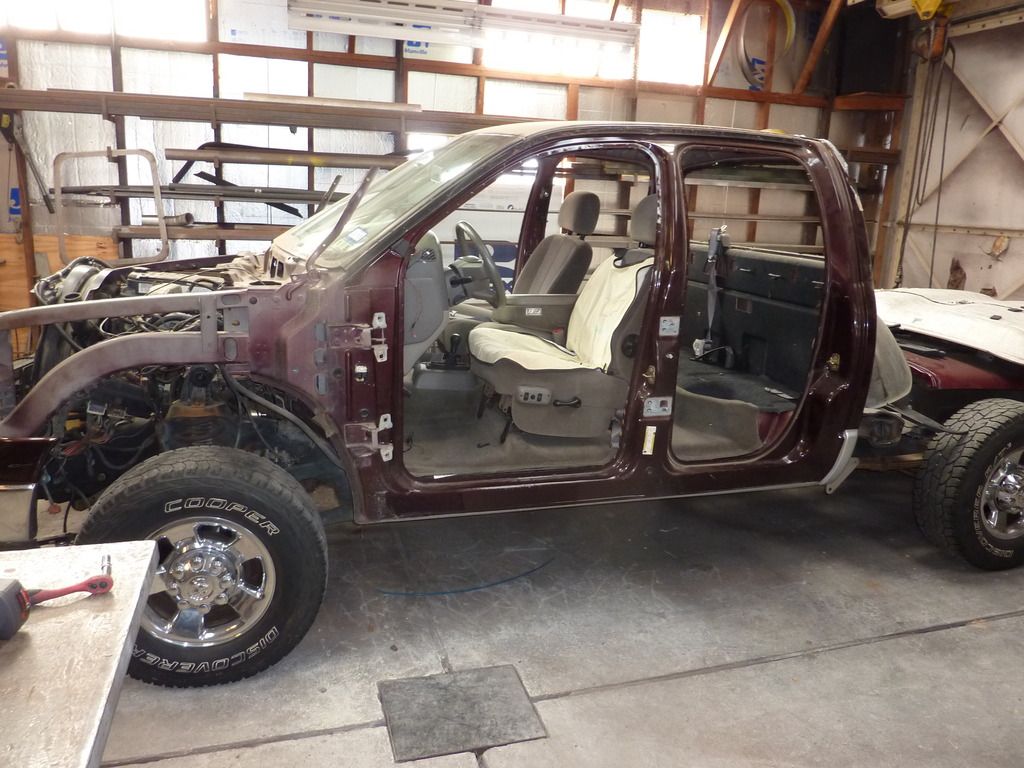
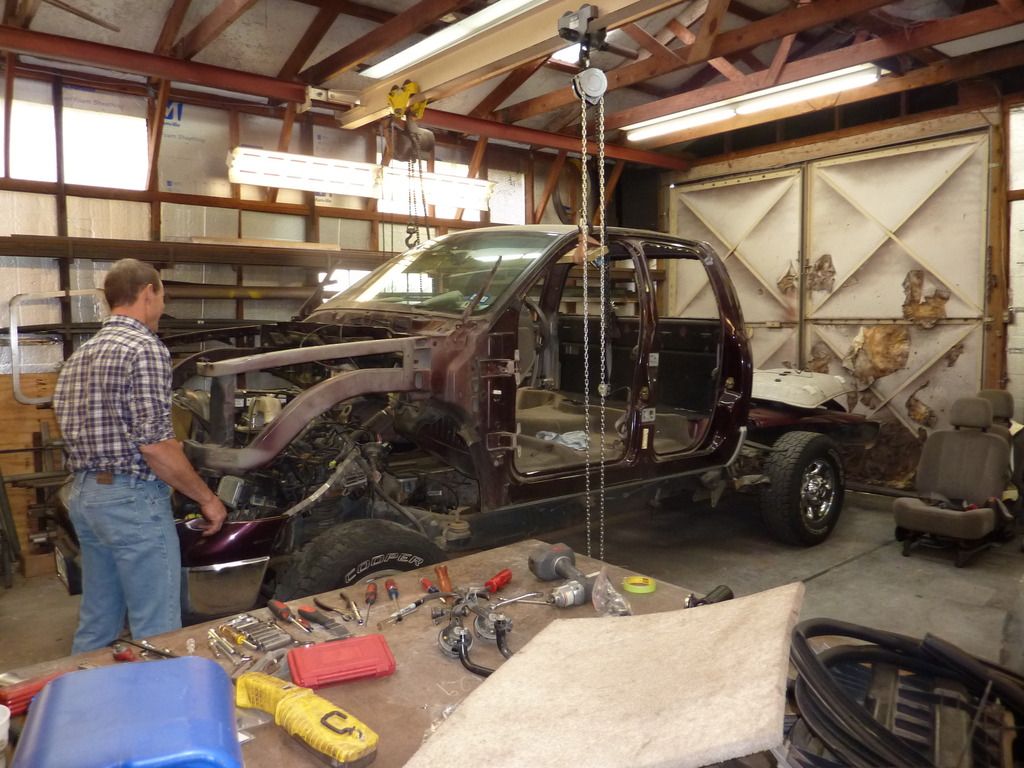
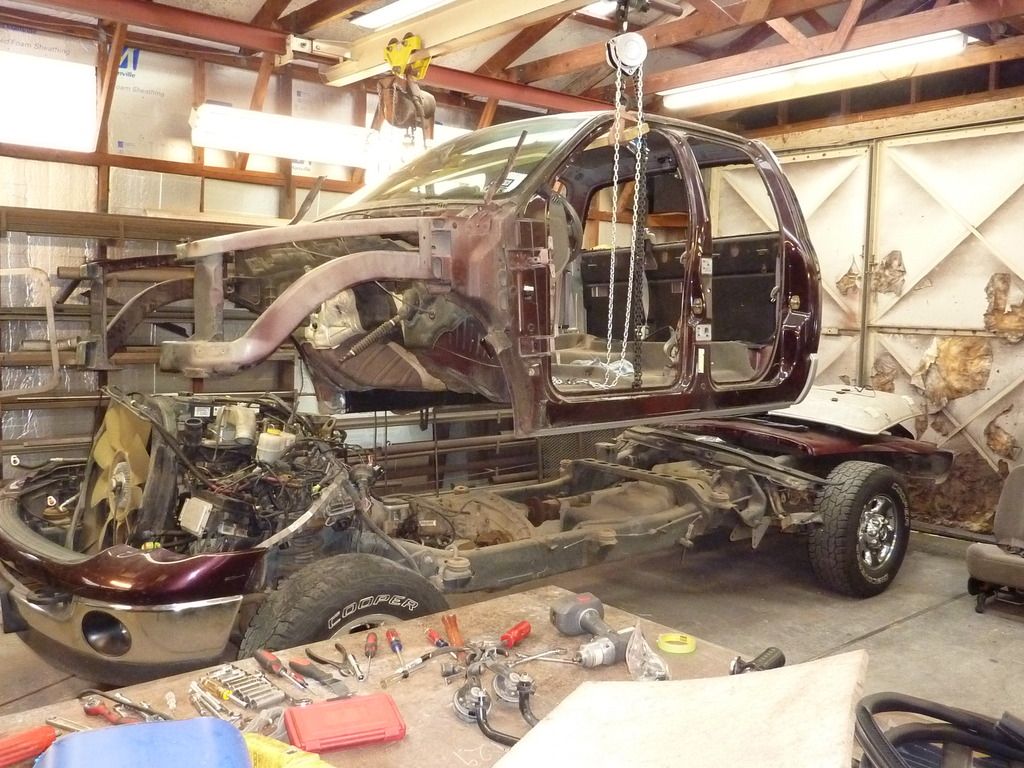
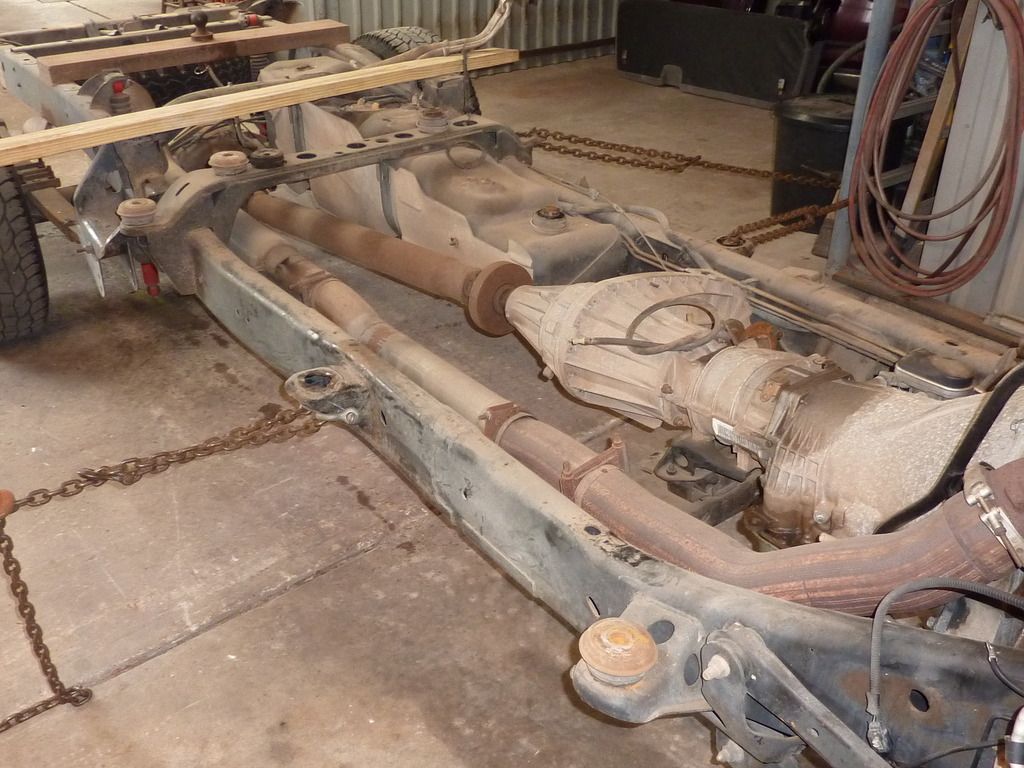
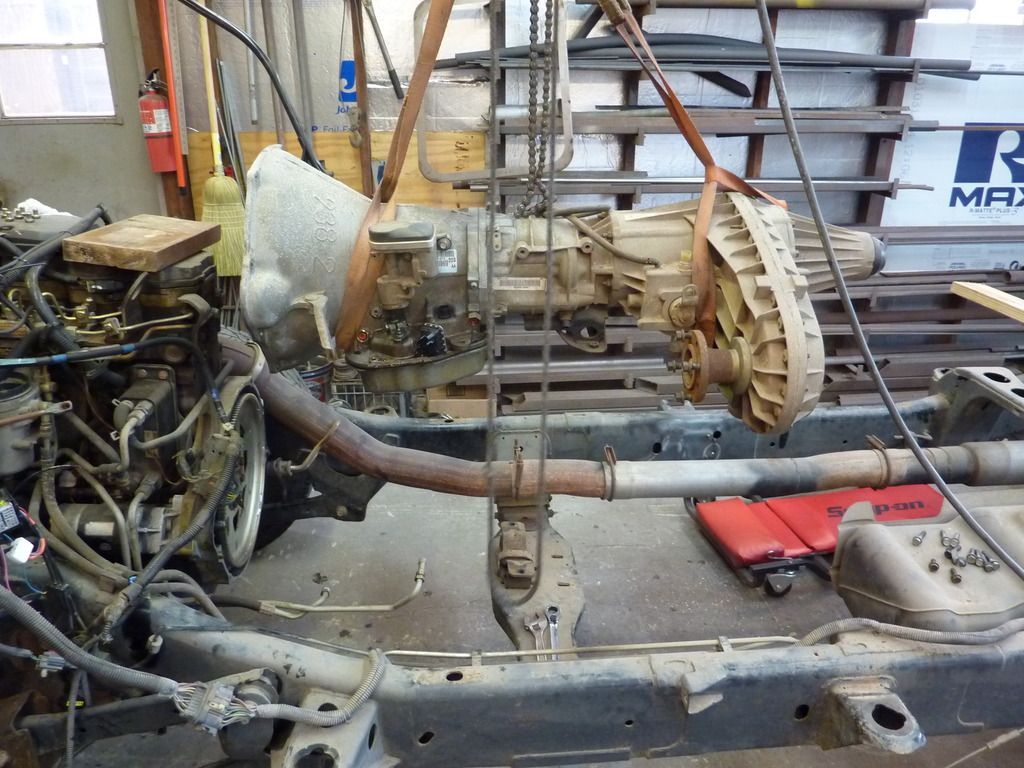
Much easier removing the transmission with the cab out of the way.
P1020551_zpsffcee82w.jpg


Frame pressure washed and cleaned. There was a decent amount of surface rust showing up on the frame from the truck just sitting 3+ years. Hit the large areas with a sanding disk or wire wheel and scuffed the rest with a scotch brite pad.
P1020553_zpsfs8zxp80.jpg


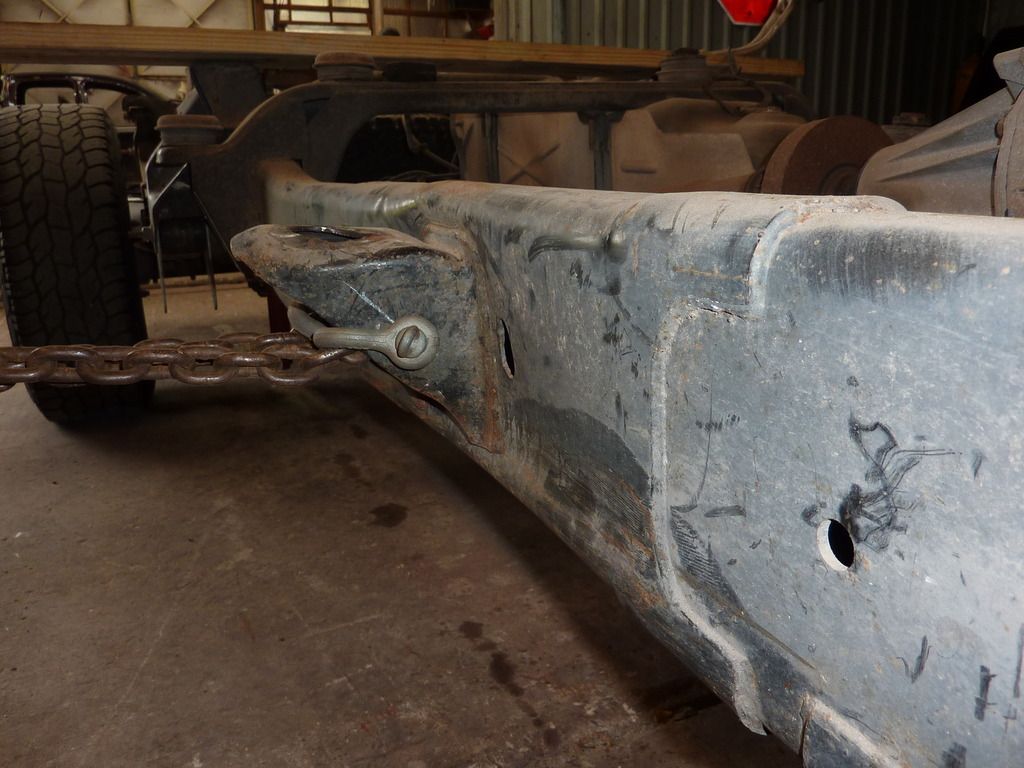
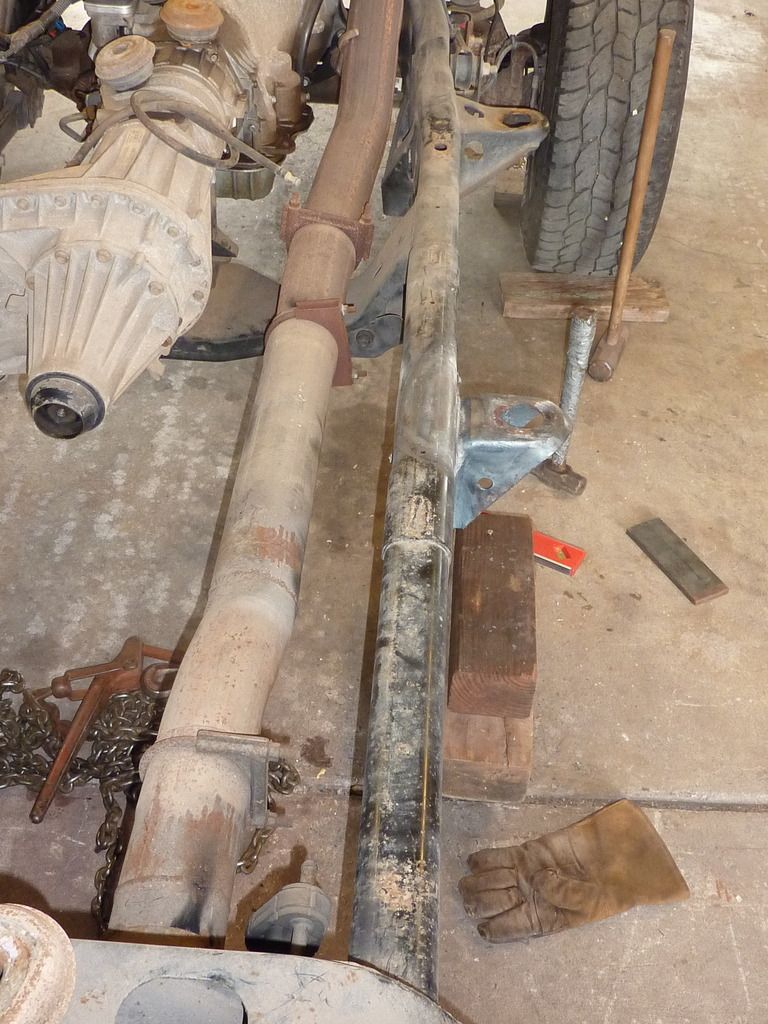
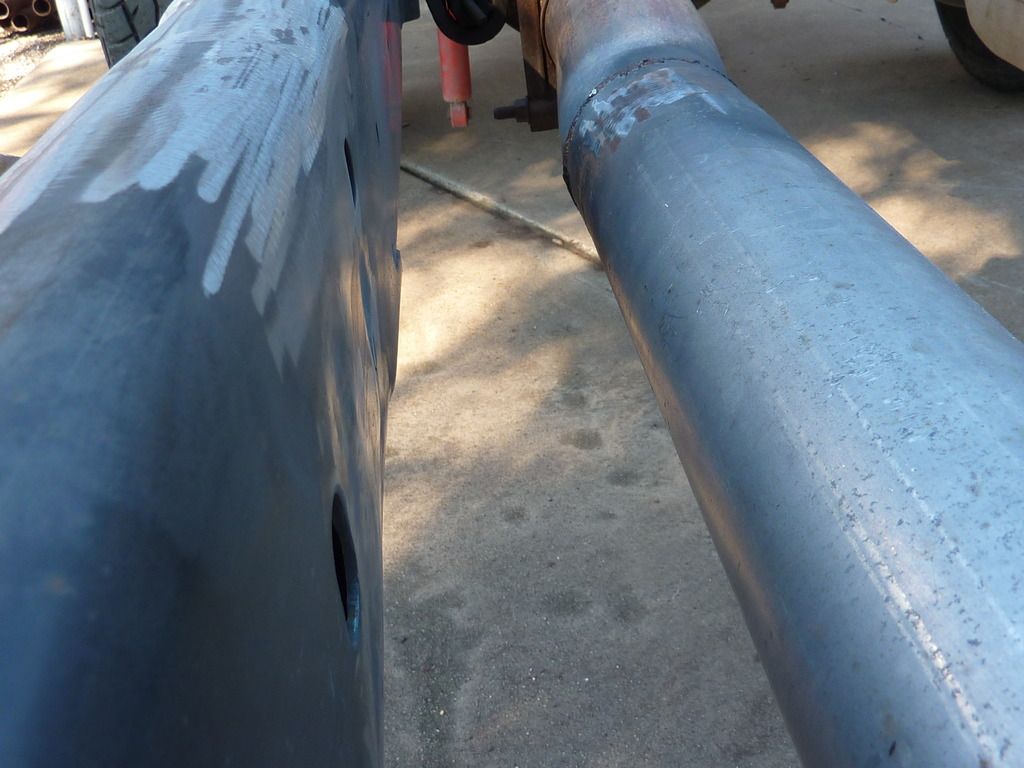
Underneath view of the straightened section with good lighting.
P1020560_zpsthk20pcg.jpg


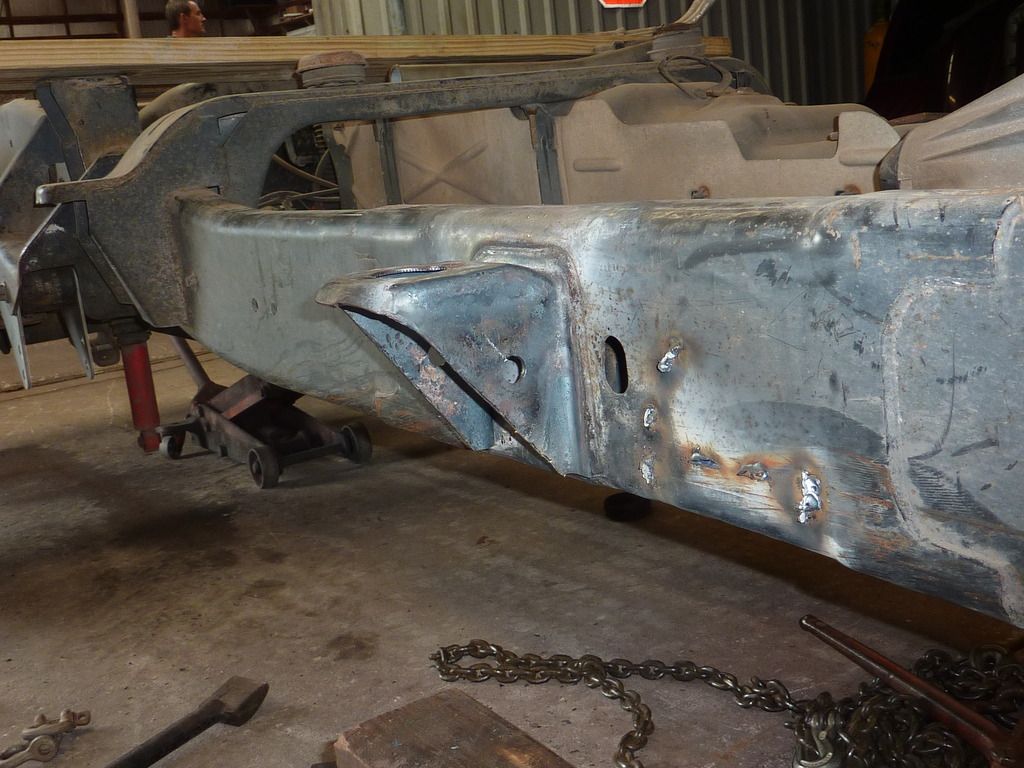
The inside has two waves in the metal due to the amount of heat used during straightening. We pulled out the most we could and I will live with the rest.
P1020561_zpsh65y8fqx.jpg


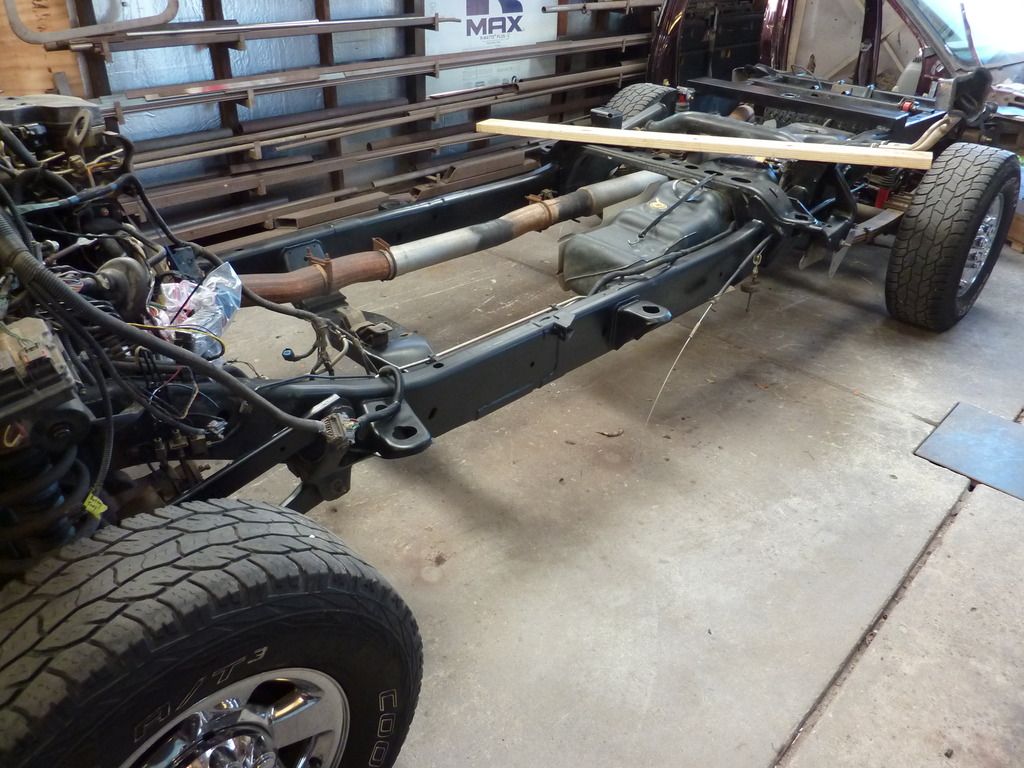
Painted and back in the shop. Need one more rattle can of paint to finish up a few small areas. It's no show truck, but the rust is stopped.
P1020576_zpsyi6ih4i9.jpg


Repaired area of the frame.
P1020579_zpsvow8ezih.jpg


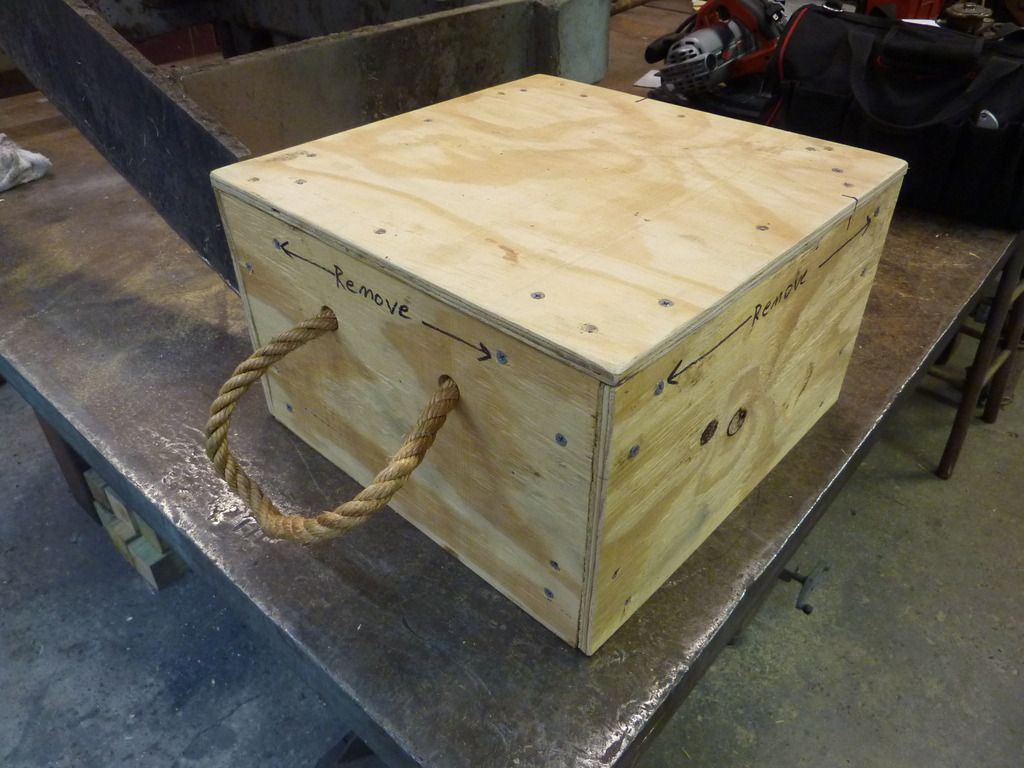
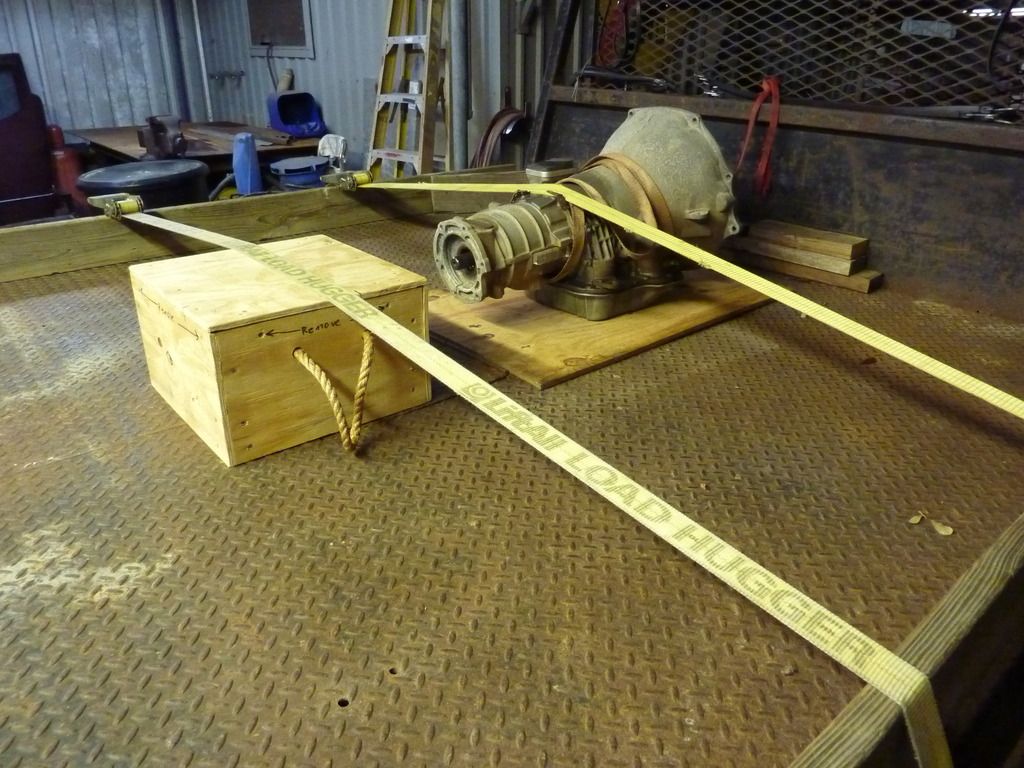
I am pretty damn proud of this crate I built for the torque converter. Little overkill, but it's safe. Sending it back to Phil at DPC for a re-stall.
P1020587_zps7xwp9vvd.jpg


I built the trans myself 5,000 before the wreck. Feel pretty good about the build, but I am having a local guy go through it and check things out. It still wants to hunt from 2nd to 3rd. TC going to UPS tomorrow.
P1020590_zpsaxhosj4z.jpg


Bed time.
 
Today was my first day back at work after 3 weeks off. Not much happened today except for phone calls and emails. I did manage to order some parts, and some parts arrived.

P1020591_zpsvn9m05ud.jpg


Also managed to plant 3 oak trees at my house this evening. 4 more yet to plant.

Bed time.
 
Last edited:
Looks awesome! Can't even tell there was a bend in that frame rail. Keep up the good work man.


Thanks buddy. I have seen too many shady frame straightening jobs and was not about to have one myself.


Pulled the engine up in the air to change oil pan gasket, rear main seal, and seal housing gasket. (Thanks Snedge) That is about the bottom of this journey, now the reassembly starts. Hope to receive the converter and transmission this week. Then I can focus on the cabs.
 
Been half way busy lately. Wrecked cab off and headed to a garage down the street to keep out of the weather.
6c6521871cd2d019e4376ab0cce6bc63.jpg


f8dbfc2d0709b5a5c98e3417e42fdbe5.jpg


Coolant bypass installed.
bf5d60ff2003d363ce400da8c040427b.jpg


Engine lifted for new oil pan gasket.
109d71c34512ca7231a58546f66a5181.jpg


Donor cab being removed.
9ba7e7562a3c94aa208db851d4aa78a8.jpg


Running out of room to store things.
3a9bc77b162185db652215e33991ab34.jpg


Donor cab in position for dash swap.
ebcacba45cd0a630c174e67f6135e81e.jpg
 
Been splitting my time between work, the truck project, and my kind of recently acquired house.

Had a rotten Arizona Ash tree right next to the house that needed to come down.

e5304105114fa30627607fe05b8ec38a.jpg


It's going to take about three 20' trailer loads to haul off all the limbs from this trash tree.
c3612522363d9b698aef012efba1df68.jpg
 
76a65de51f21f2e4363e9b020b71306a.jpg

Replacing the evaporator core and heater core.

94b1e6f972a95c500281030b3f6ca92a.jpg

Straight can set on the frame and bolted down, hvac box and dash bolted/wired in. Steering column in place, and some accessories under the hood installed.

So far everything fits in the 03's cab.
 
Not much to update. Just some reassembly of all the accessories.

Does anyone have an answer to the infamous leaky power steering reservoir cap on these 3rd gen CR engines? I have not tried a new cap, but nothing seems to be wrong with mine.

fed24dac6ead269df4d1eb1d88f91ce9.jpg
ac660fdd81bd5356026e625856387117.jpg
 
769ef9d8f73f1cd6275ae9a87fa969cc.jpg
20124afdf54000e21bce95b9097d3ae9.jpg
549974a84baa68ee761d4c8a3274e27b.jpg


Dash complete and all wired in, including aftermarket accessories.
95% of the cab insulated with Sound Mat.
All accessories and coolers mounted in the engine compartment. Lacking fluids , freon, and batteries.
 
155eb967c740391891d9c7f18fa55604.jpg

Wet sander the door jams outside today being the weather was gorgeous.

d0e589f634b04e3fa46847a6589dba63.jpg

Engine all buttoned up and running fine.

Not much to update overall. Head liner and associated mounting hardware are installed. Truck moves under its own power. I have a milk crate seat for now.

Lots more sanding, priming, then paint. Once I decide on a color.
 
Things I've noticed from doing this swap so far, gas to diesel cab shells. There are some holes for battery box mounts that need to be tapped on the passenger side. M8 x 1.25 tap.

The SRS airbag module that mounds on the trans hump under the dash, mounts different from 03-05. It's easy to modify and I used a self tapping screw to make it work. Self explanatory if you see it.

Knocked out the hole for 4wd shifter. Had to move the rear seat back cab wall mounts from my 05 to 03 cab. The 03 trucks have a one piece rear seat and 04-05 have 60/40 rear seat. Very easy.

I noticed the seat belt material is different from 03-05. This would bother me so I swapped over all my 05 seat belts. Headliner also has a different pigtail where it plugs in at the driver side a-pillar by the dash.

Windshield wiper motor has a different plug, so I swapped over my wiper assembly from the 05.
That's it so far.
 
de57a2bc0b14acd6a772e1d24ab95ab7.jpg
3207f0917afe287ba6fd97786fd27b69.jpg


Not much to update. Just prep work for paint. Had the windshields removed so I could swap VIN tags. Bought special Chrysler rivets for the tag so it looks factory.

Sanding and more sanding. Still trying to narrow down a color. Some sort of dark red with metallic mixed in, but want to keep it a base coat/clear coat.
 
Pardon the derail, but how would one remove that lower core support you cut in half? Without cutting it....thanks
 
Back
Top