SilverBack76
New member
Swing on down next time Brian comes to town and and I'll buy ya a cold one......or 10.
:Cheer:
I'll be back in town Thursday night, let the beer flow!!!!
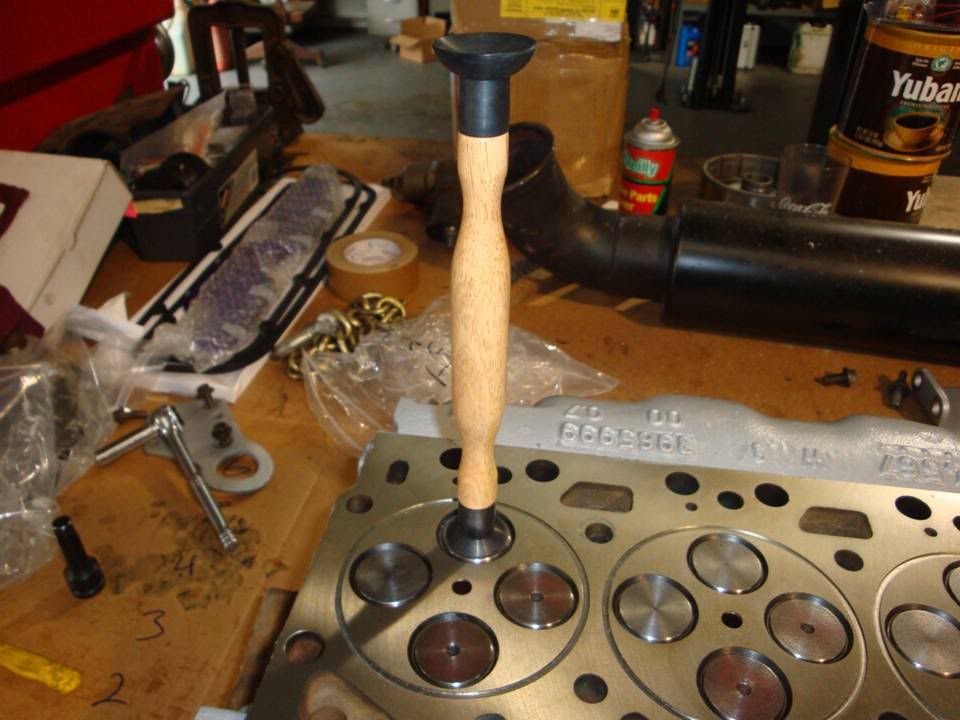
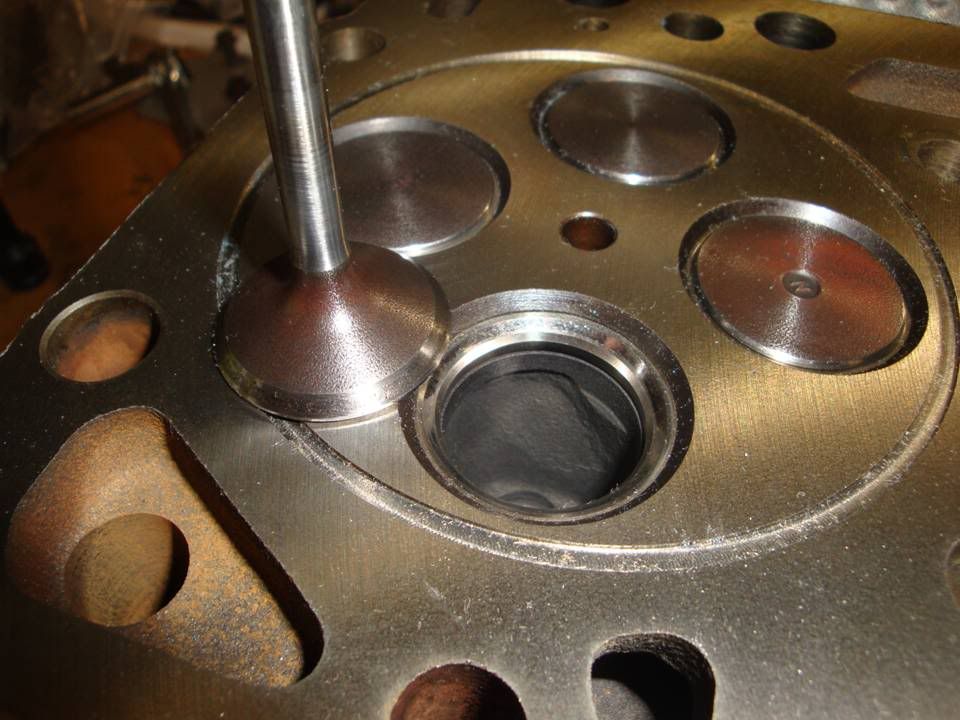
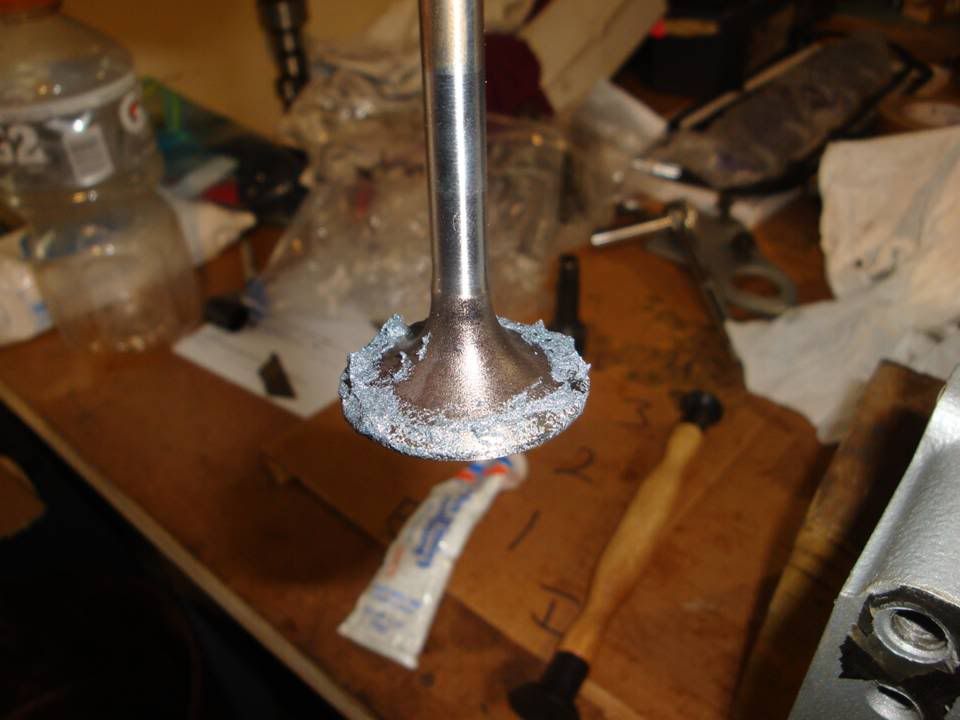
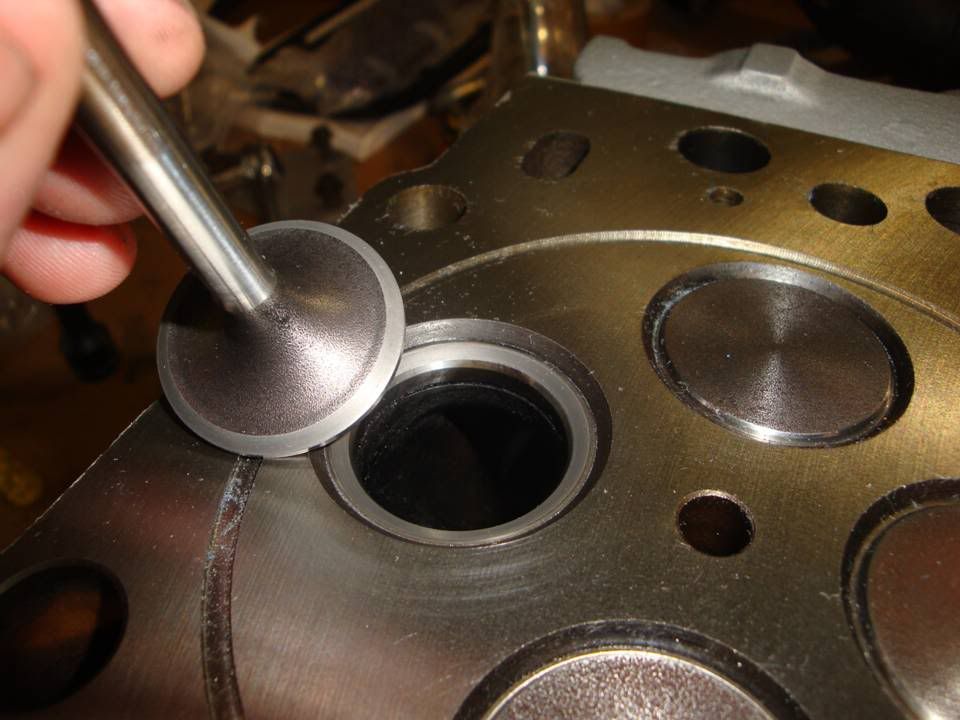
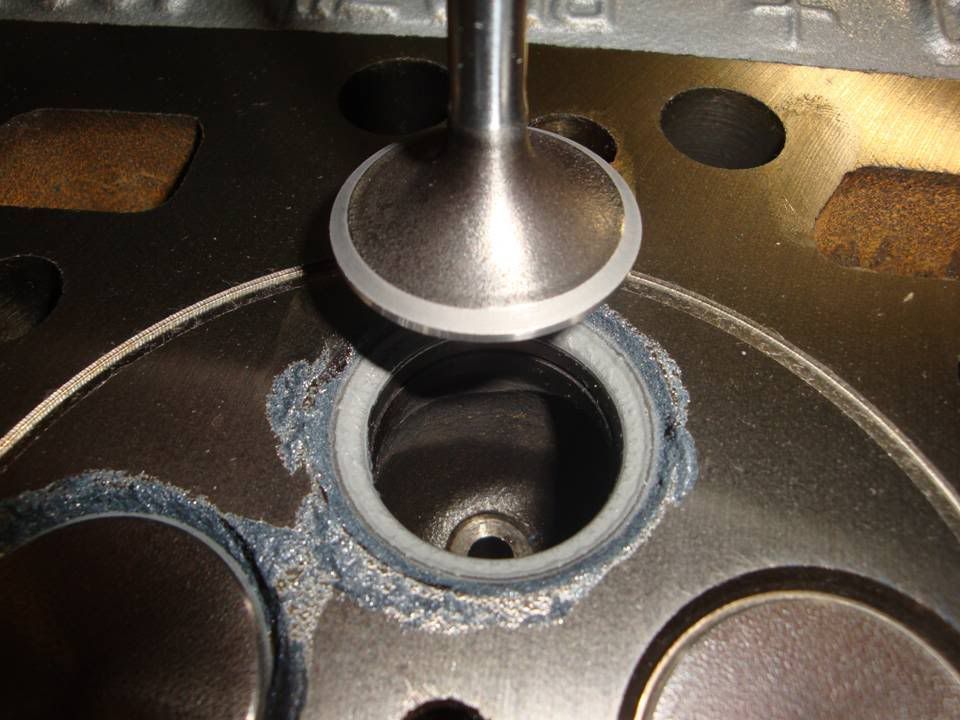
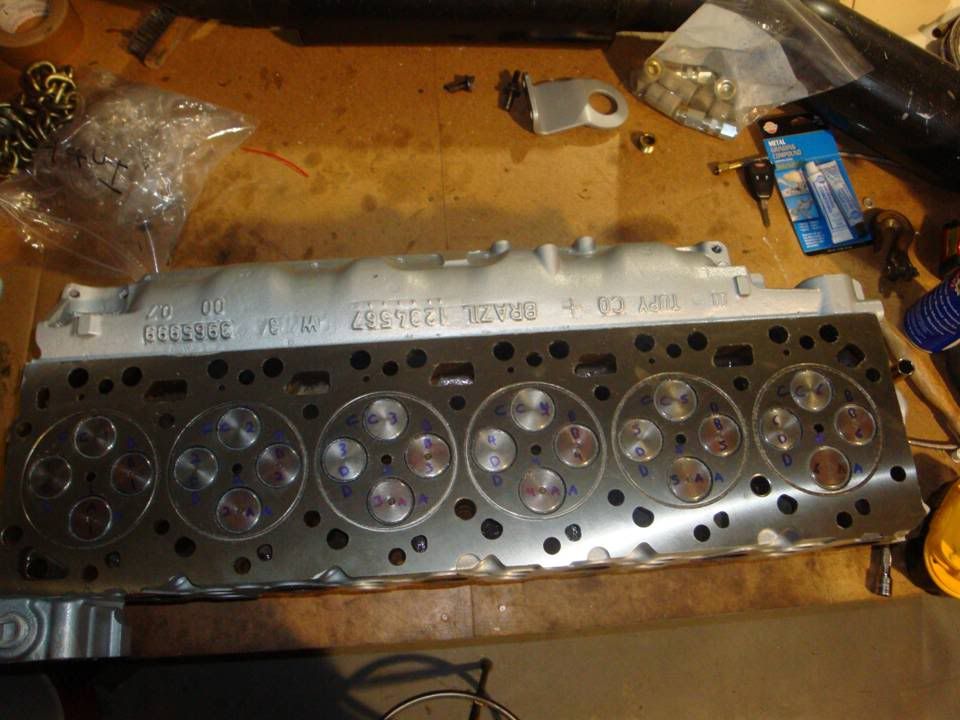
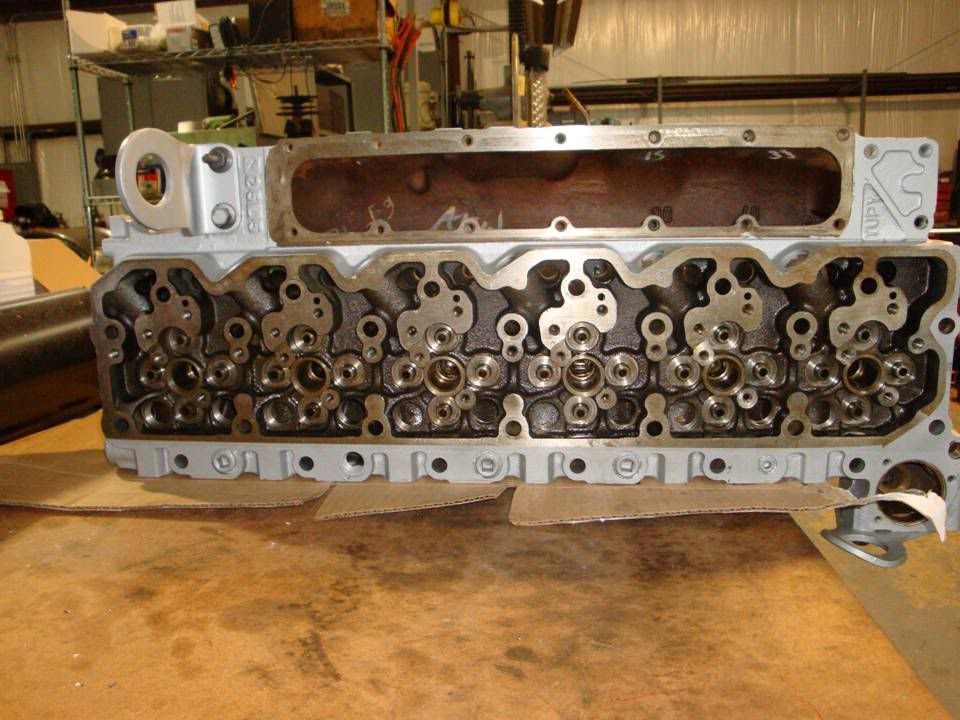
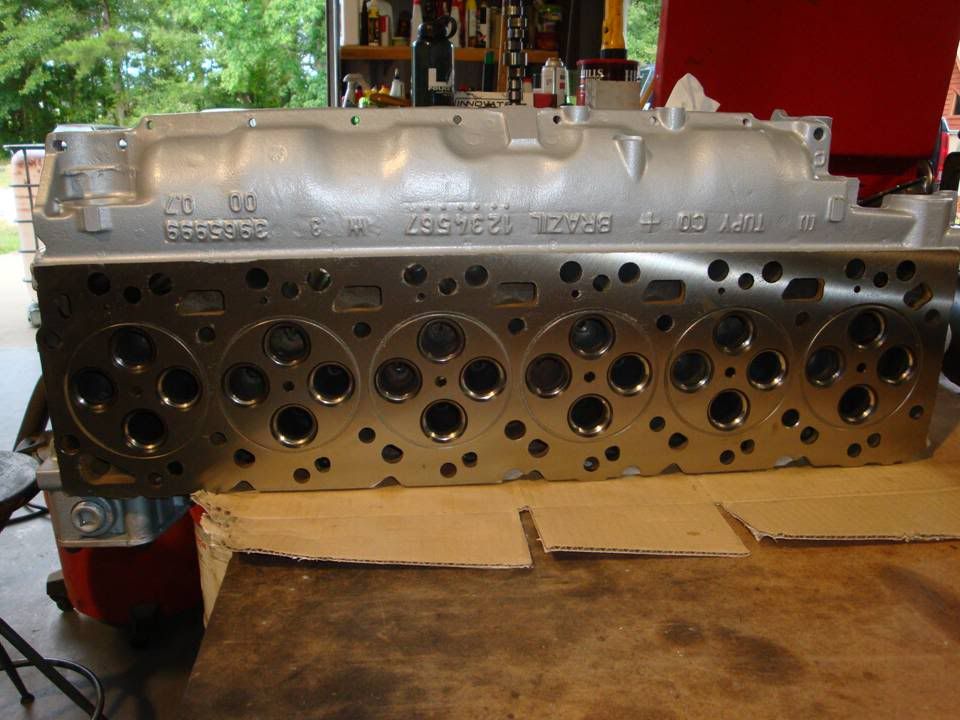
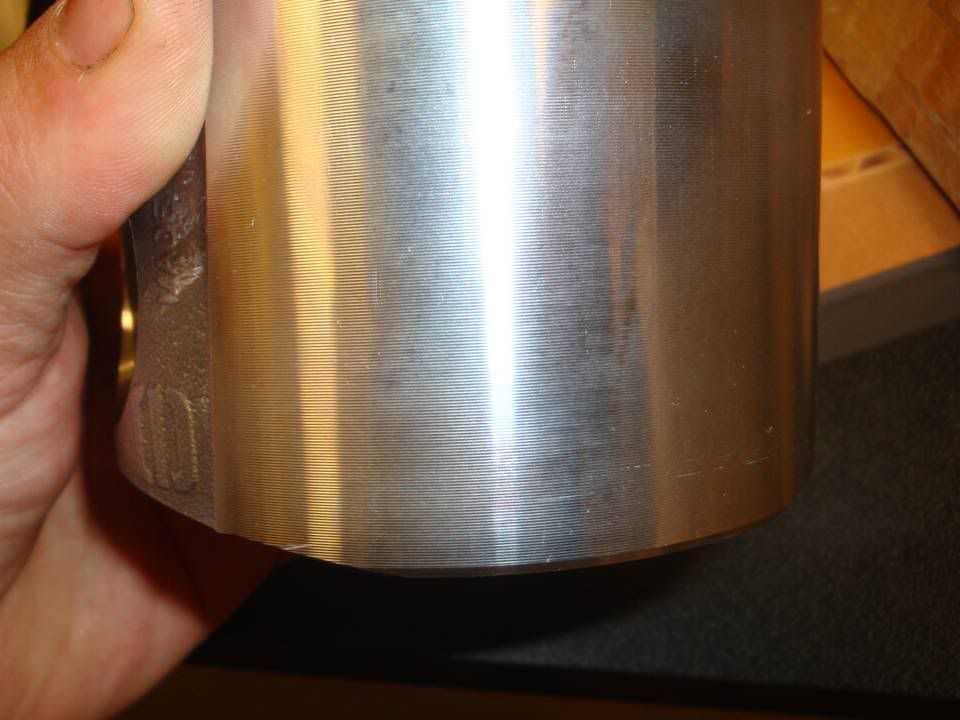
That head came out nice. :Cheer:

Swing on down next time Brian comes to town and and I'll buy ya a cold one......or 10.
:Cheer:
I'll be back in town Thursday night, let the beer flow!!!!
That head came out nice. :Cheer:

I'll be back in town Thursday night, let the beer flow!!!!
That head came out nice. :Cheer:
BTW...You took the hard way to remove the plugs too....lol
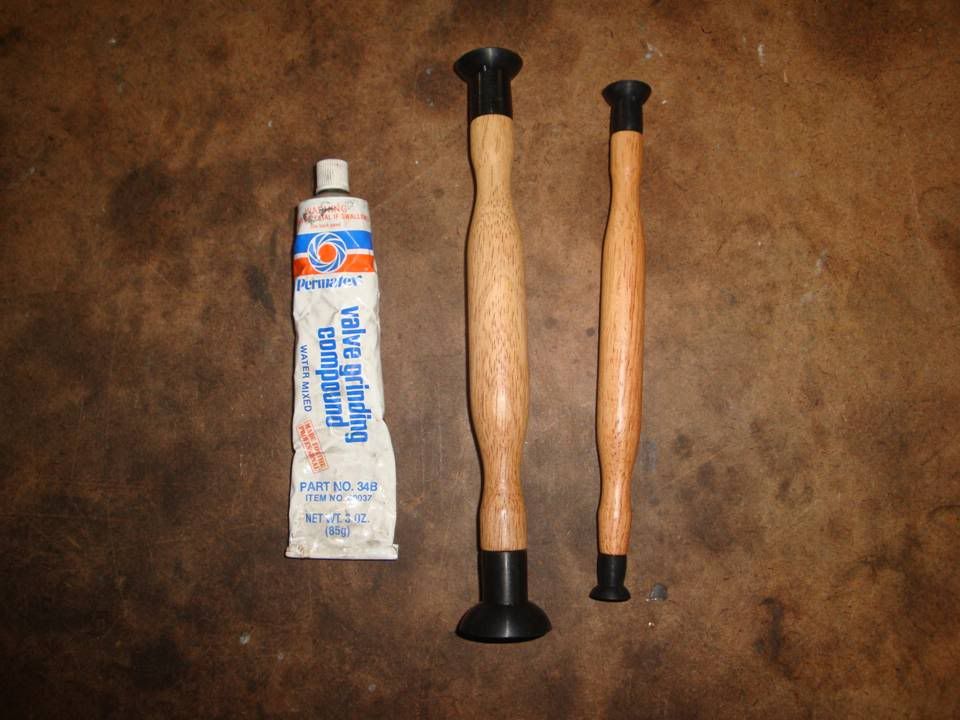
I just took a screw driver and a mallet...Place the flat head on the side and Smacked it!!!! lol It just turns sideways in the hole.
Took a pair of plyers and then Yanked it out!!
^ This is just how we do things in East Griffin GA!!!!:hehe:
Hey Brian, Maybe if the drive isn't too far...We three should pick a spot somewhere in the middle and meet up for a few :Cheer:
Let me know!
Yeeeeeeeah, I'm just not a huge fan of "ding" when I don't have to.
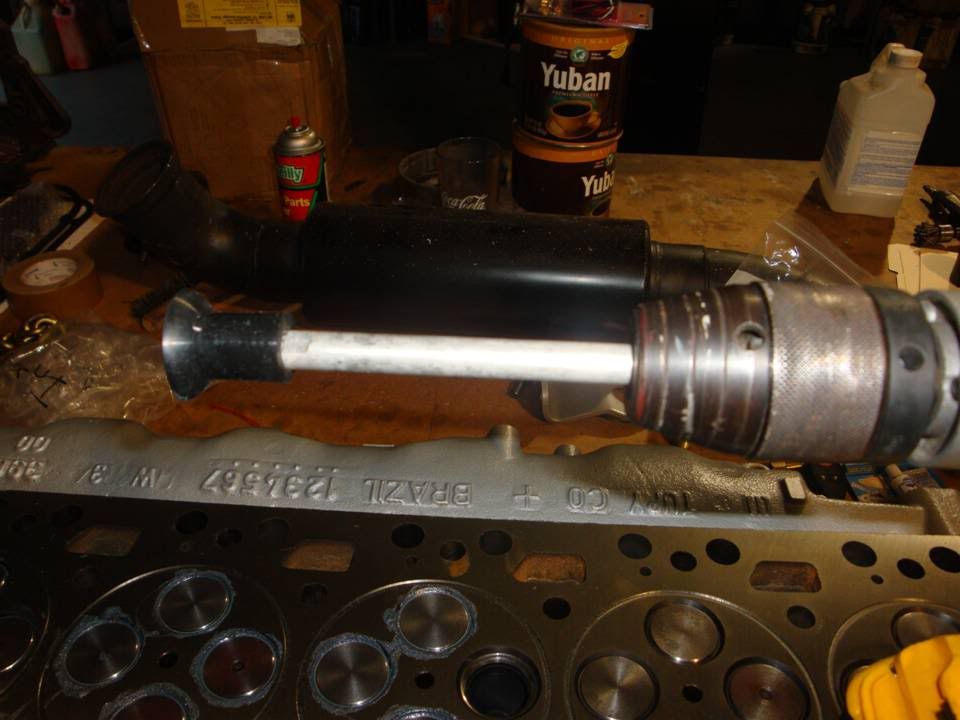
That's what we have The Jerk Off for......that's our favorite tool in the shop.
Besides, we are over here in East Alabama, so you know there had to be a bit 'o redneck engineering.
:hehe:
I'm sure the kit likely comes with metric pipe caps......likely an M22 or something like that.
Do ya remember what size tap it came with?
Nice thing about doing this, I just hit up Grainger or Parker and get some staineless 3/4 - 14 caps and call it good.
Nice! I just finished up the same process. Are you going to shot peen/polish those rods?
I believe the plugs were 24 / 1.5 pitch
Tap had all the marking's removed...
Yeah, your way just add's one step and more readily availible parts.....
Same result is all that matters!!
As soon as I have a set of pistons to go with them, the crank, rods, rison and flex plate are getting balanced and the rods are getting shot peened.
I may do a light polish on them, but mainly just to removed the ridge.
Hey Brian, Maybe if the drive isn't too far...We three should pick a spot somewhere in the middle and meet up for a few :Cheer:
Let me know!
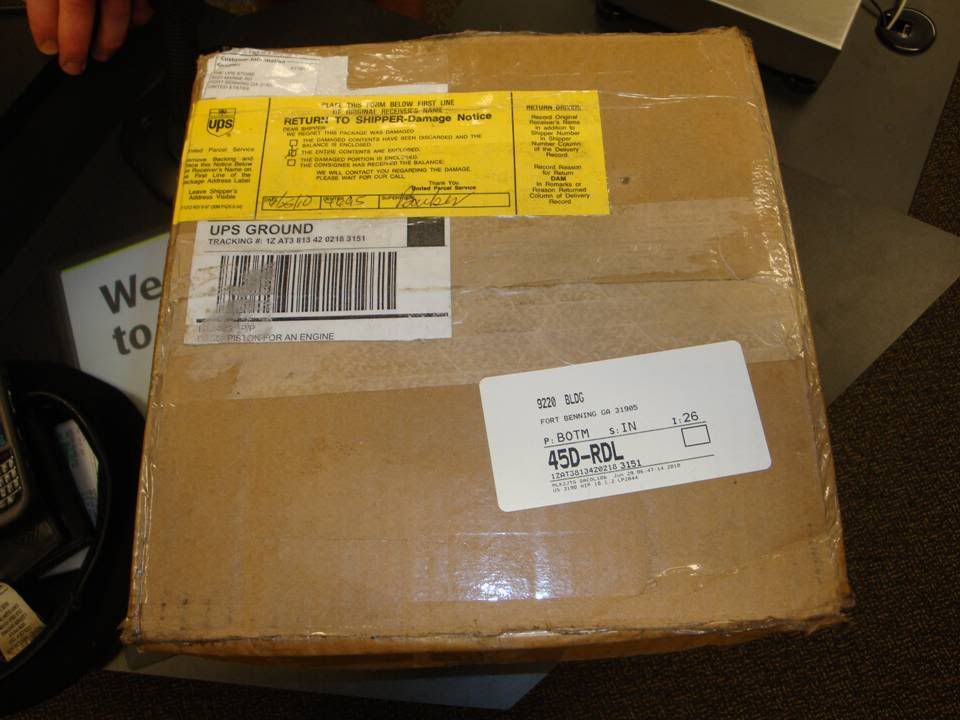
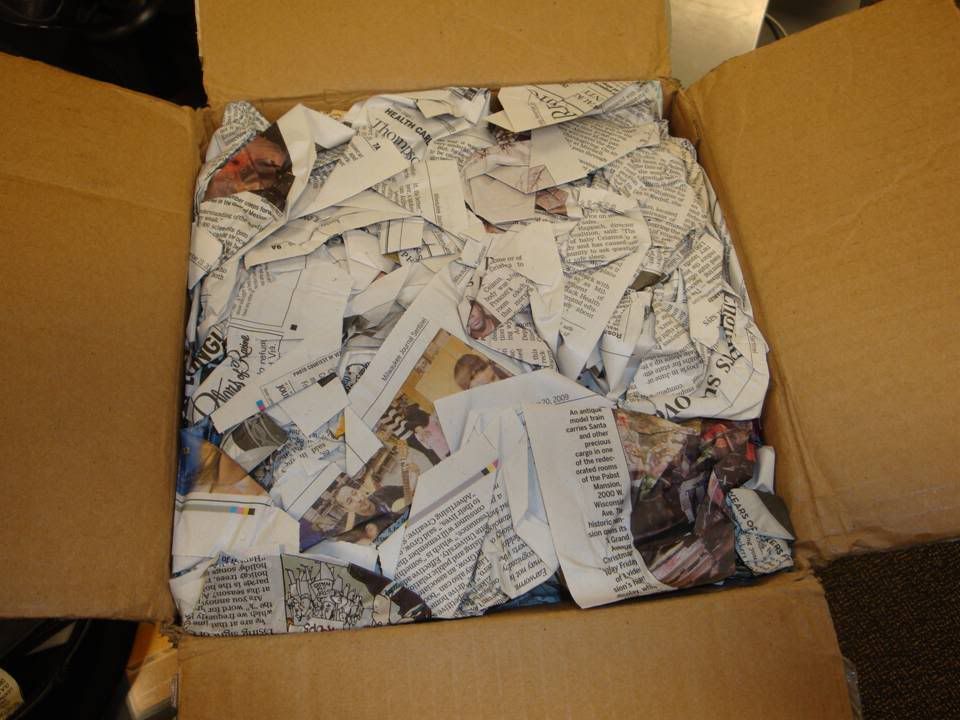
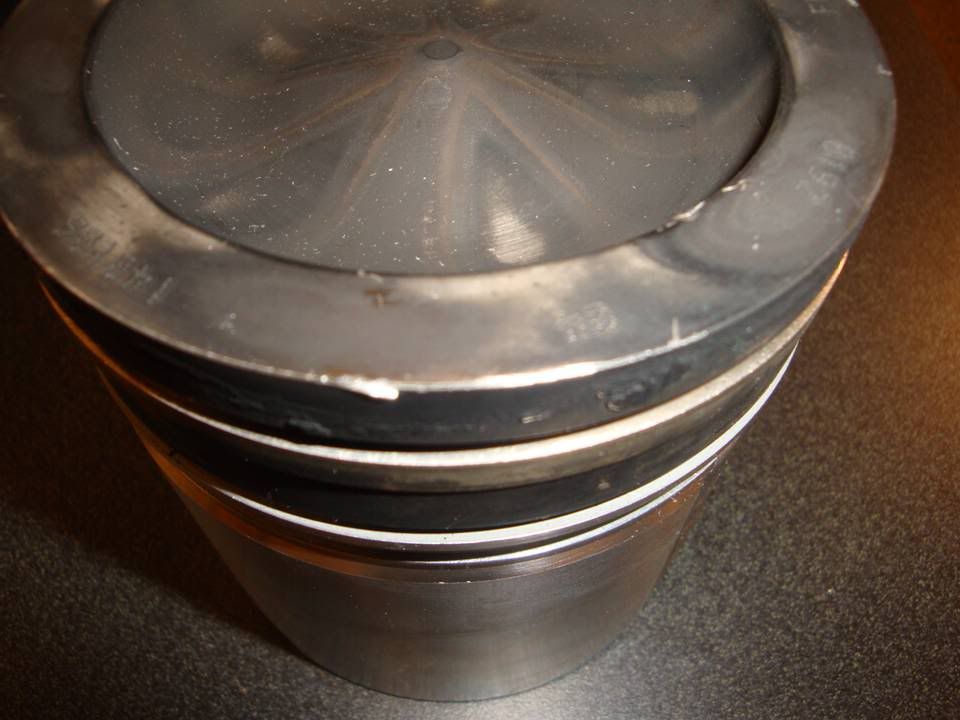
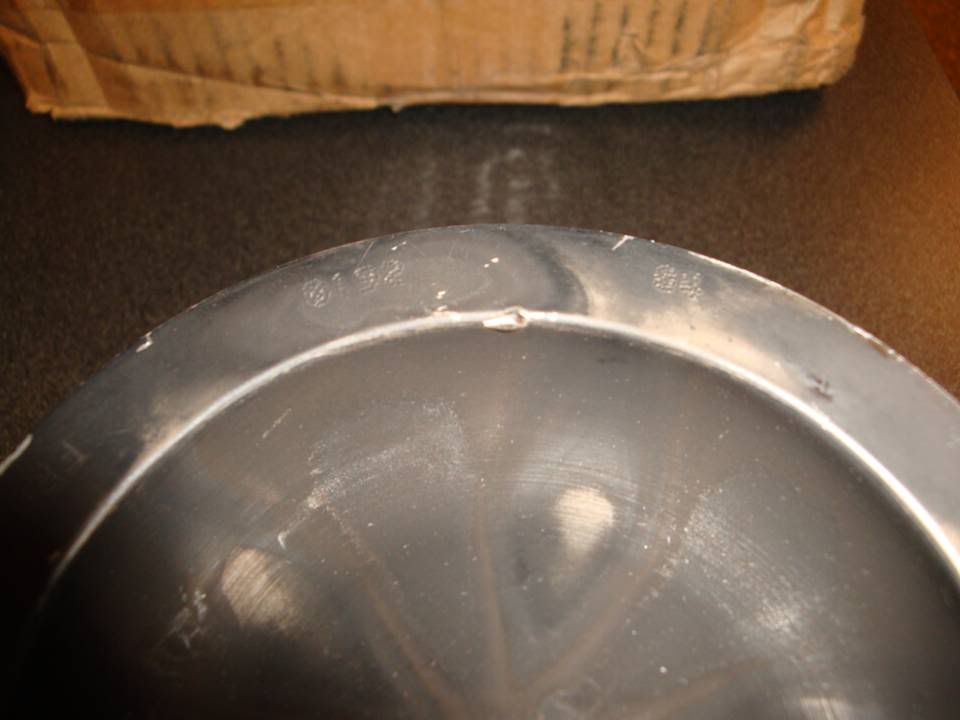
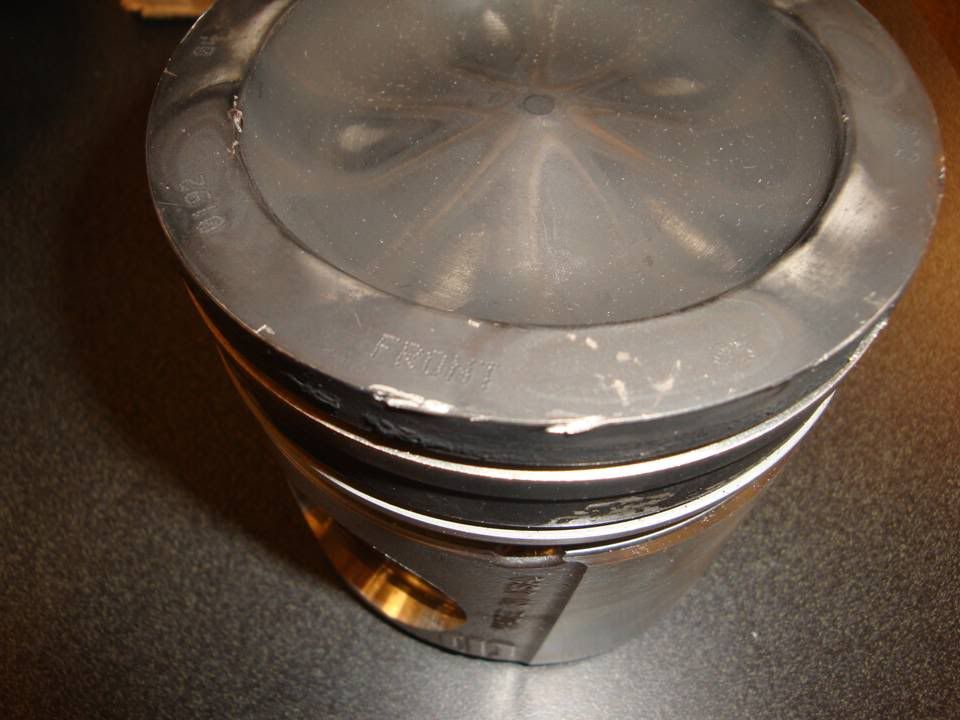
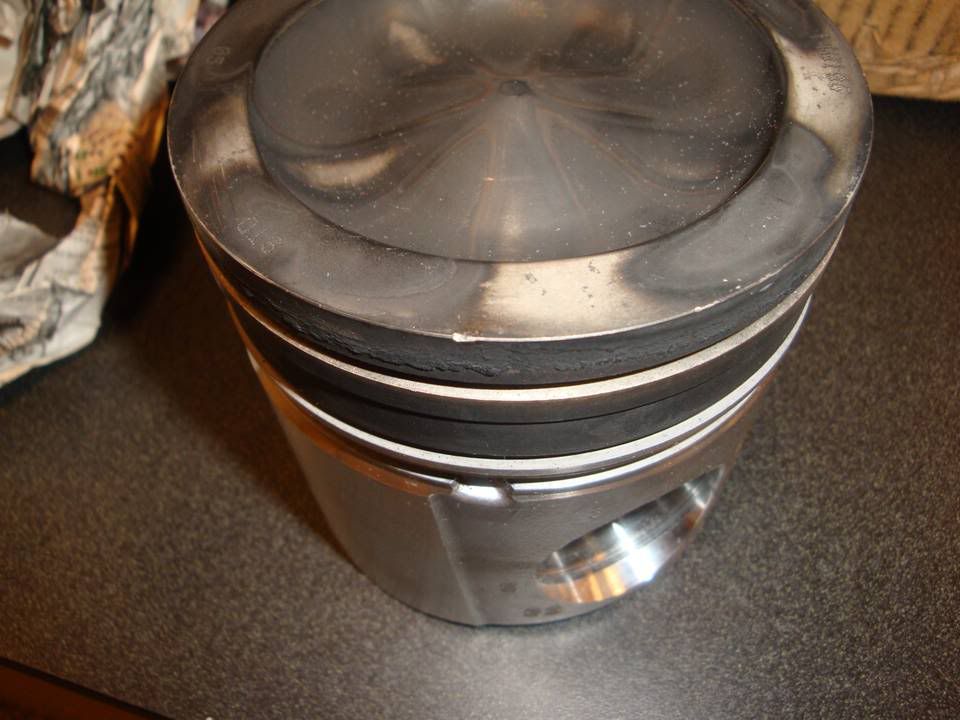
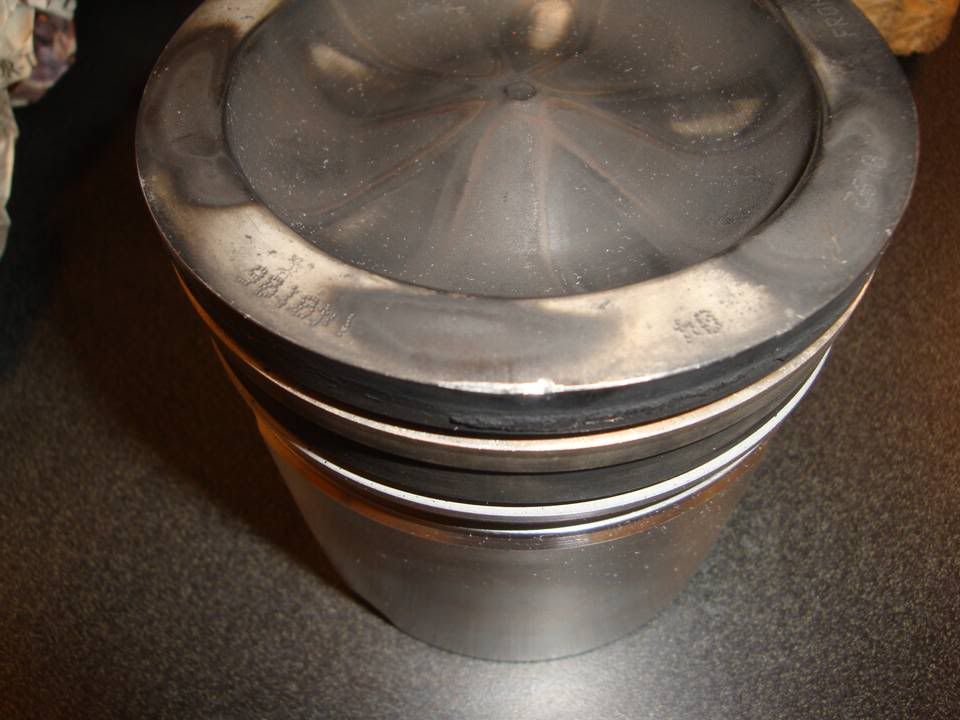
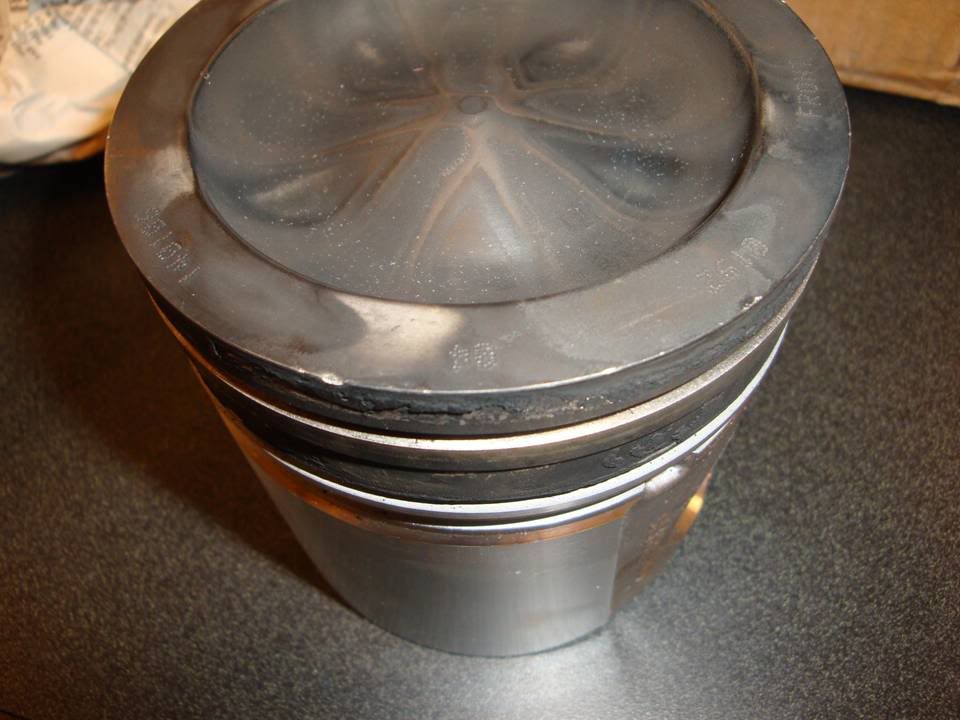
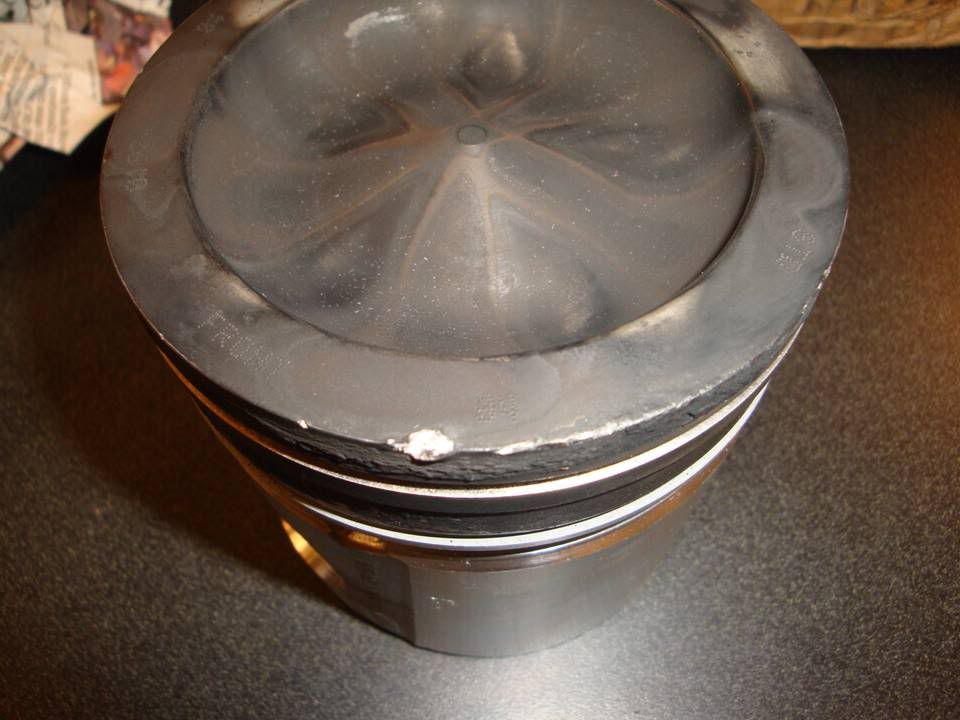
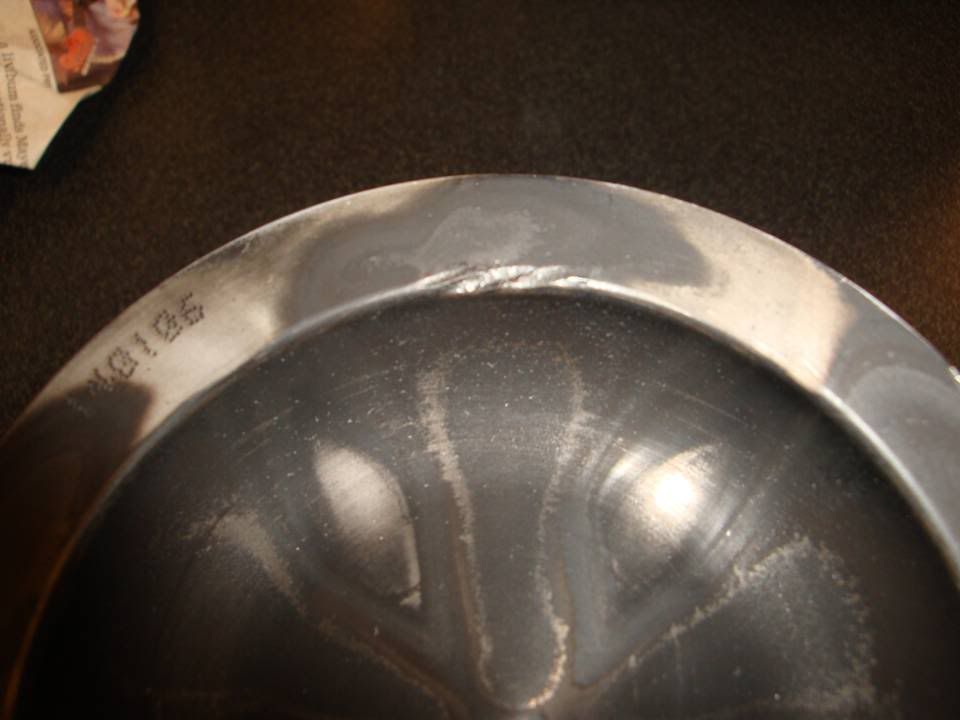
Looks like poor packaging caused the piston damage. Do not be surprised if UPS denies that claim. If the box is still in decent shape they are going to deny it for certain.
How did they do that did someone not wrap them properly? The damage is minimal and can be repaired are they stock or over?