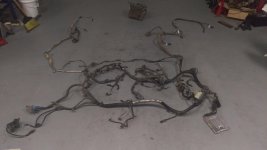
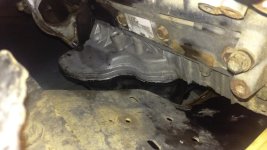
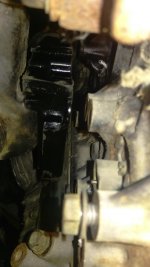
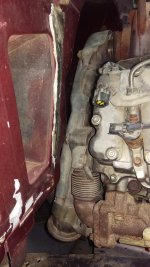
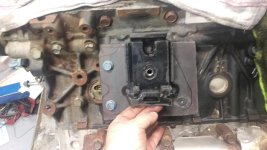
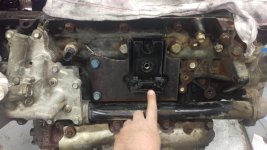
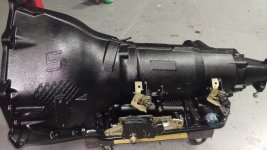
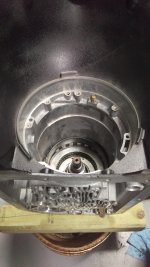
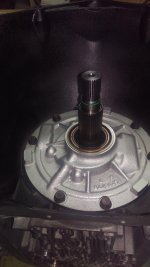
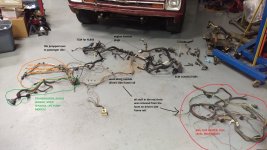
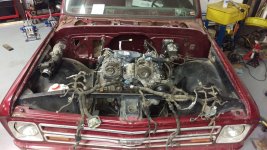
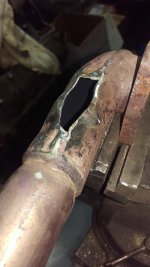
I got the front clip put back on the truck tonight, put the hood on and checked clearance, looks like I have about 1" on top of the alternator and a little more on the a/c compressor. Started looking at the wiring harness. This being from an express van, the wiring layout is a little different from a Silverado. I considered buying a pickup harness and add the TCM wiring for the 4l80e to it, but I think I'm just going to use what I already have. The harness is kind of nuts. At first glance some looms cross back and forth 2 or 3 times.
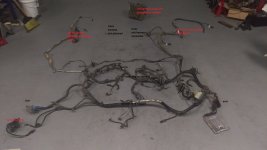
attached are some pictures of the completely stock van harness, and some changes I've made in about 30 minutes. I use process of elimination first, separate the wires, take out the plugs I know I don't need. Later I'll get pinout charts, schematics, removing wire by wire what I won't be using.