
dieselstudent11
New member
- Joined
- Mar 8, 2012
- Messages
- 24
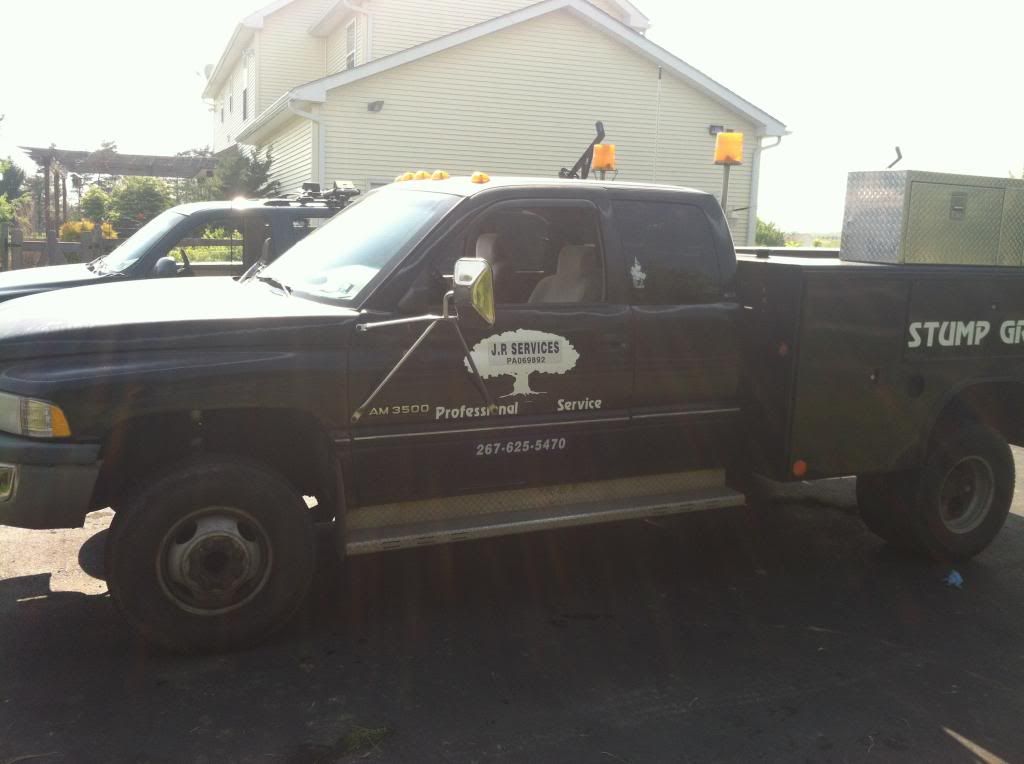
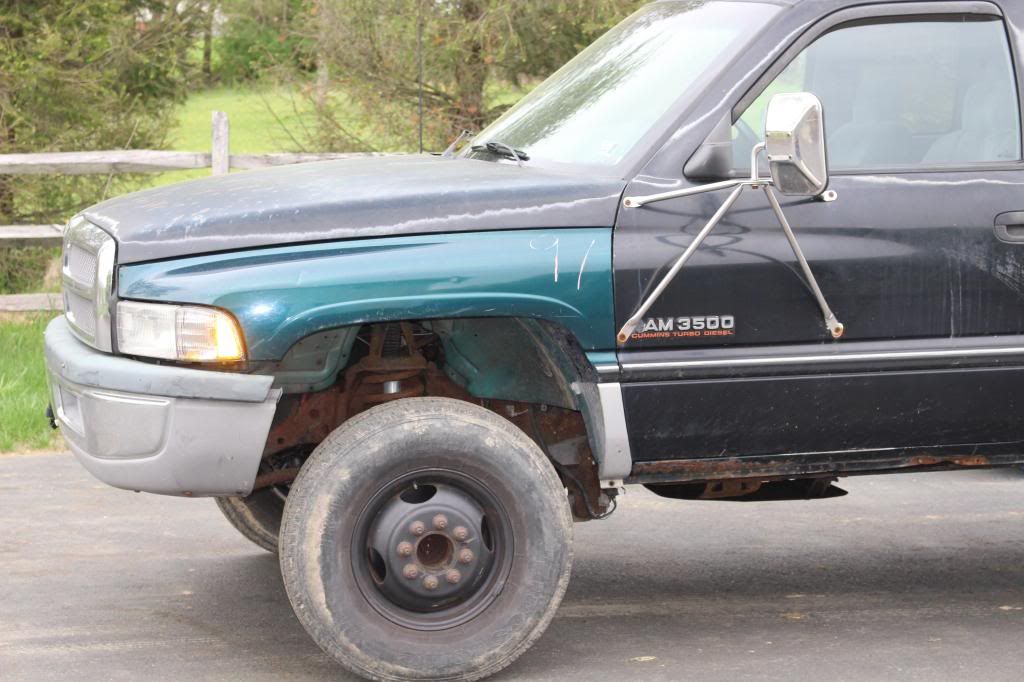
Hey just throwing some pics of my build on here hoping to entertain and inspire fellow diesel owners to transform their rigs. I've had this truck for over a year now. I bought it off a guy from New Jersey who bought it off a guy from Virginia. The truck was full of hackjob gadgets and wiring that I tore out. When I bought the truck it had bad ball joints, overdrive was sketchy, really bad rust, molded carpet, terrible paint, just an all around used up truck. I have since put some serious TLC into it and its really coming along good. I use it as a daily driver and I havent had any issues with it.
The truck started life as a tree trimming truck. I bought it and have since removed the utility body. I painted the rear frame in por15, installed new tank straps, new brake lines and fuel lines, sound deadened the interior, and patched some rust in the floors. Also put some Bilstein shocks under it.
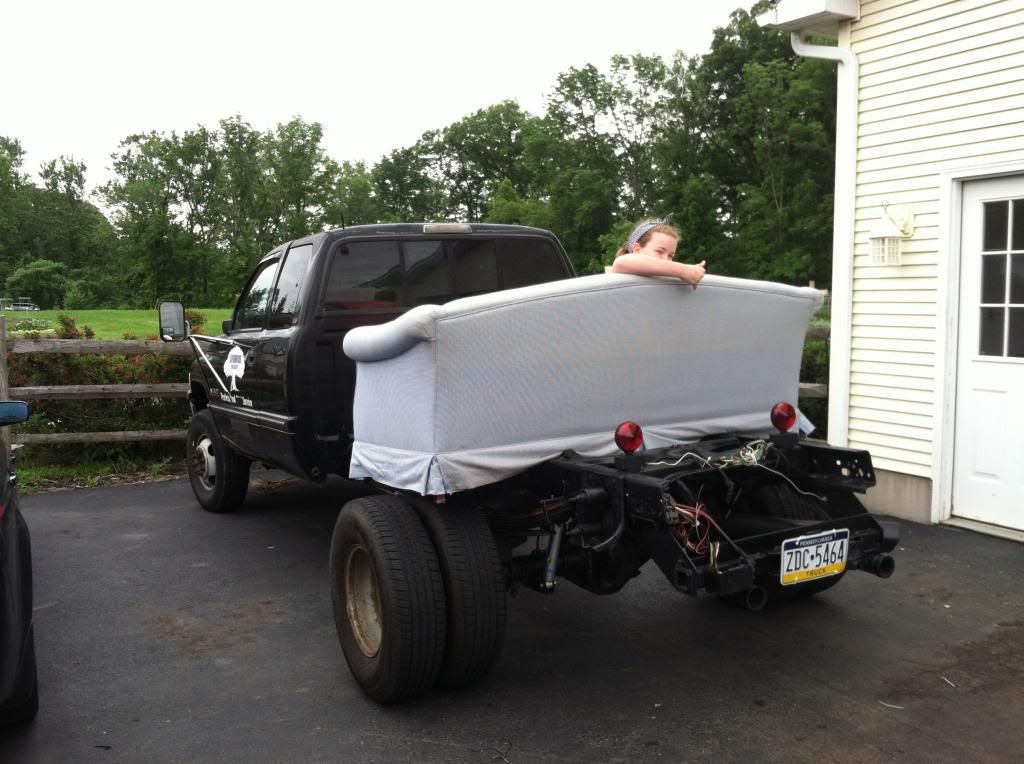
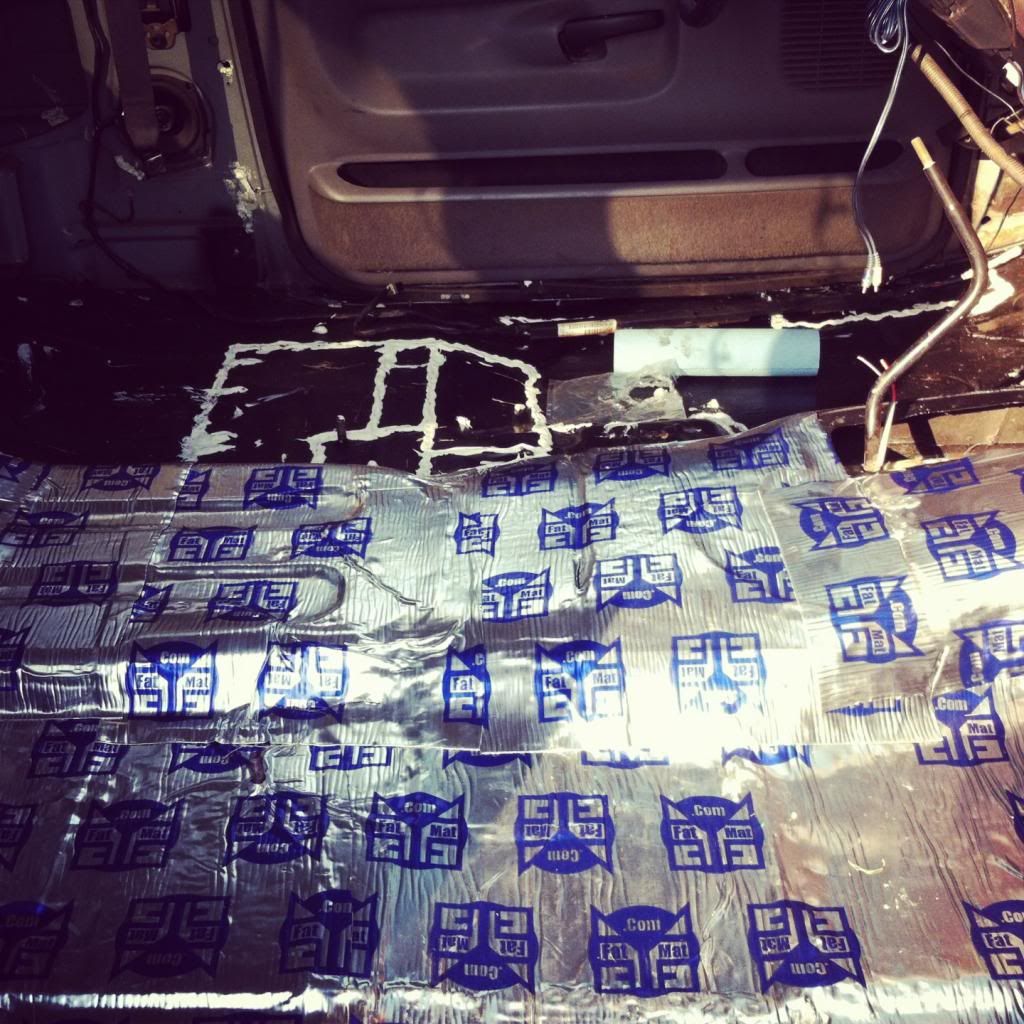
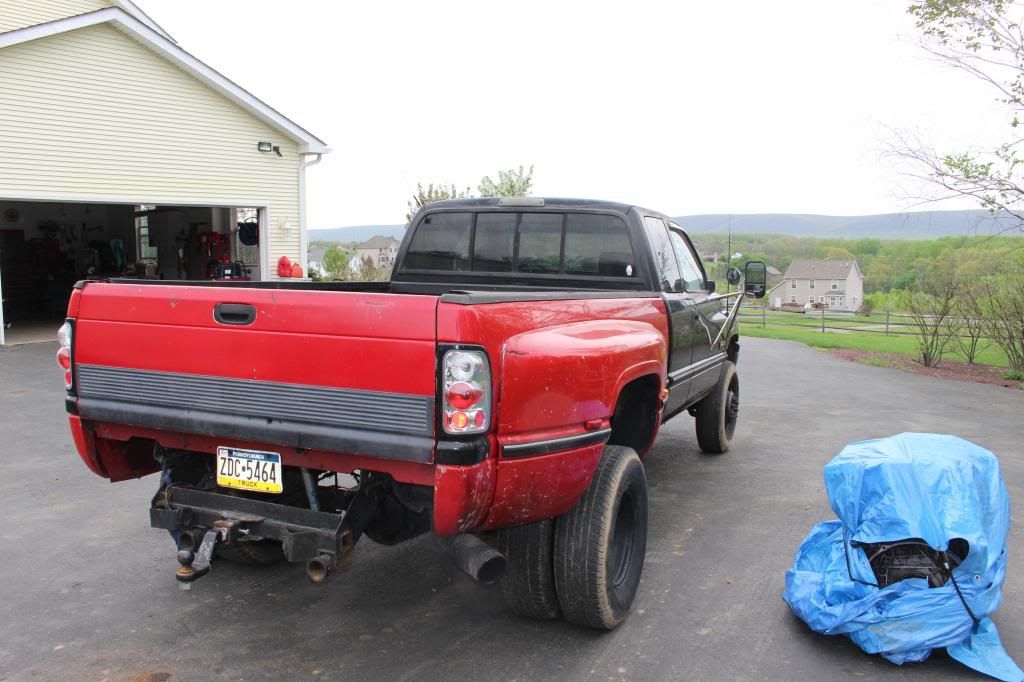
The sound deadener I got off ebay is called fatmat. It seems alot like aluminum foil with tar on one side that you stick inside the cab. It definitely helped to kill the noise in the cab. The stereo comes in much clearer. Getting the utility bed off wasnt to bad. I sold it to a guy on craigslist for 1500 dollars and bought a red dually bed off craigslist for 600. The dually bed turned out to have all kinds of stress cracks in the steel that I later welded up. The floors were a big surprise to me when I tore the carpet out. Something to keep in mind if your shopping for a used truck, the bottom of the truck may not look rusty but if the carpet is moldy you can bet that the floors are rotting from the inside. I found a major leak in the sliding rear window that I used RTV to fill in. This leak allowed massive amounts of rain to collect inside the cab rotting the floors. I replaced the worst parts of the floor with new sheetmetal and POR15d the entire interior pan.
 [/URL]
 [/URL]
 [/URL]
 [/URL]
 [/URL]
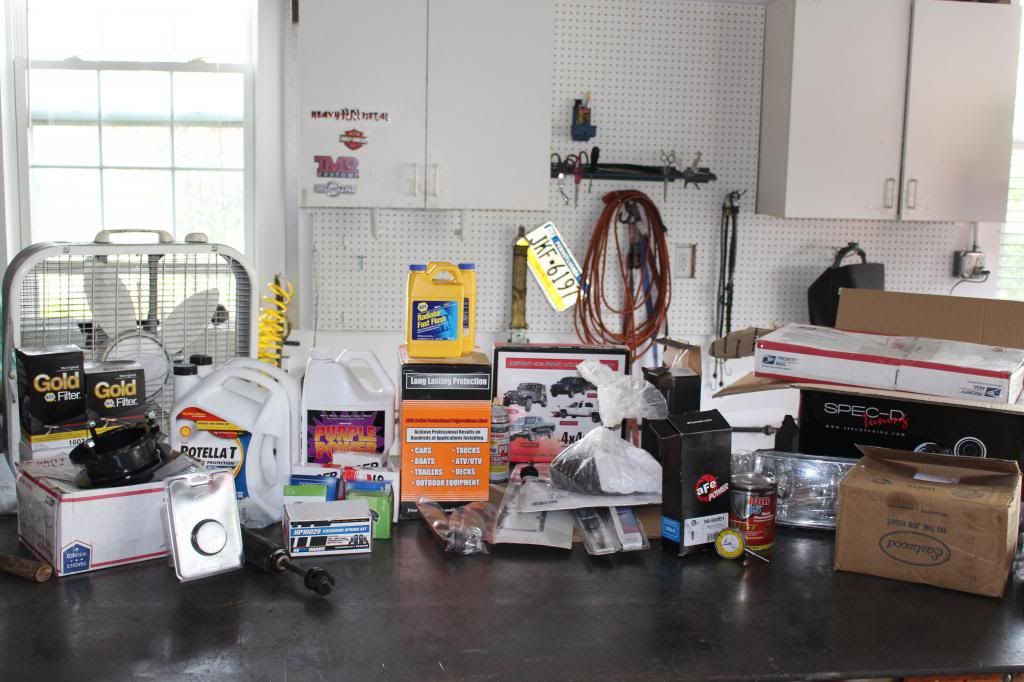
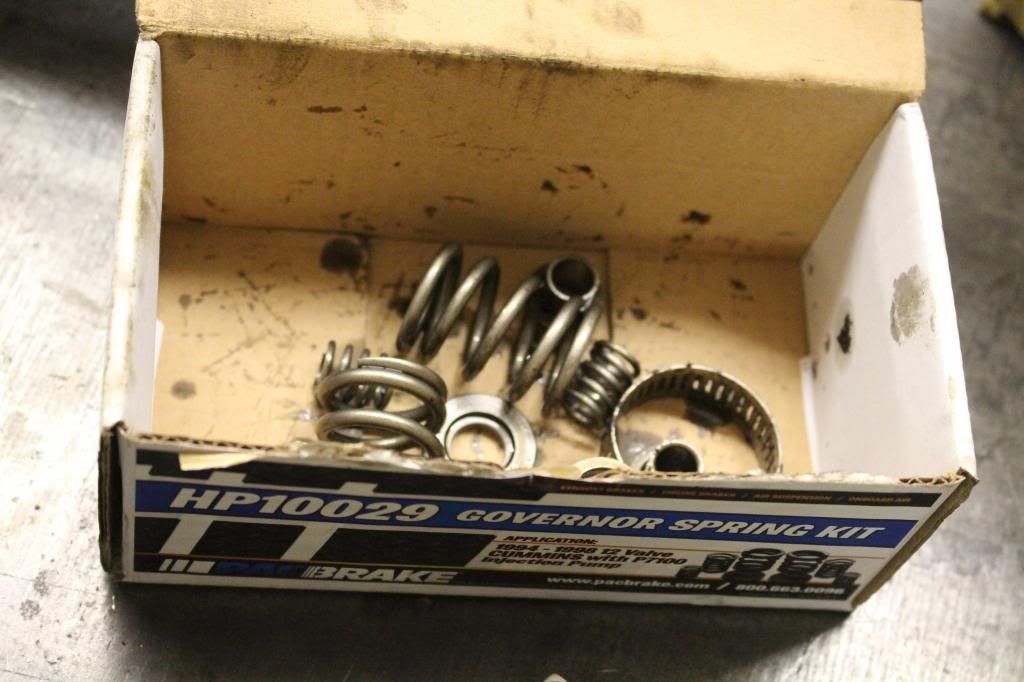
The plan is to install all this crap!!
 [/URL]
gsk's
60lb valve springs
reroute engine wiring harness/ clean bay up
polish valve covers
leveling kit
new rubber/ coolant lines
and more
oh and shes getting fresh paint also
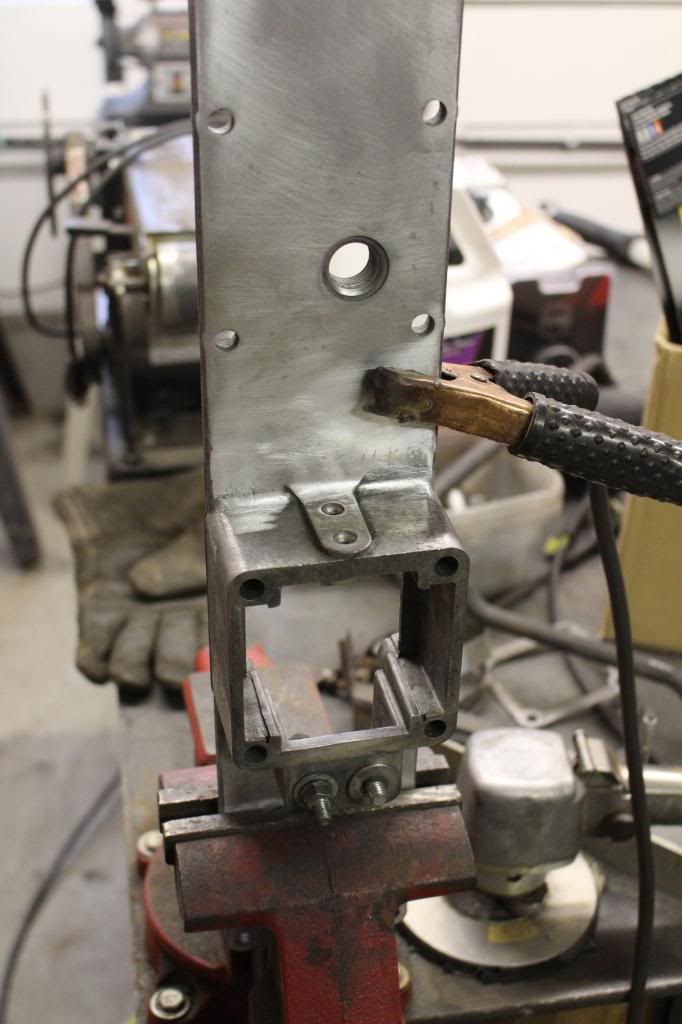
I decided to polish my valve covers. Started the injector lines and intake plate. I removed the intake heater and welded the holes up also.
 [/URL]
 [/URL]
 [/URL]
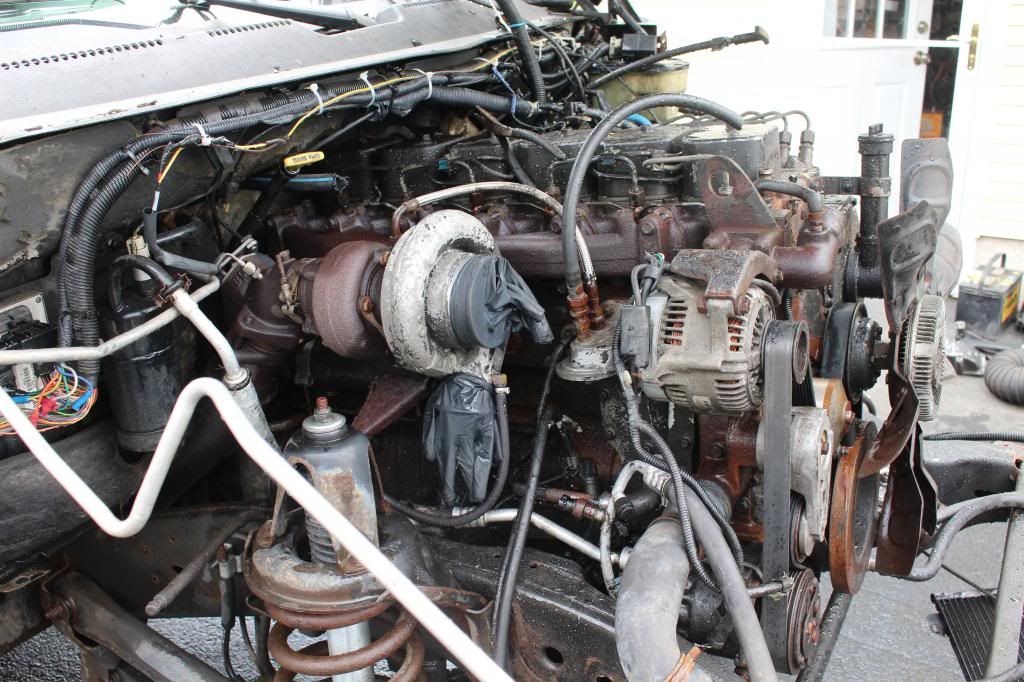
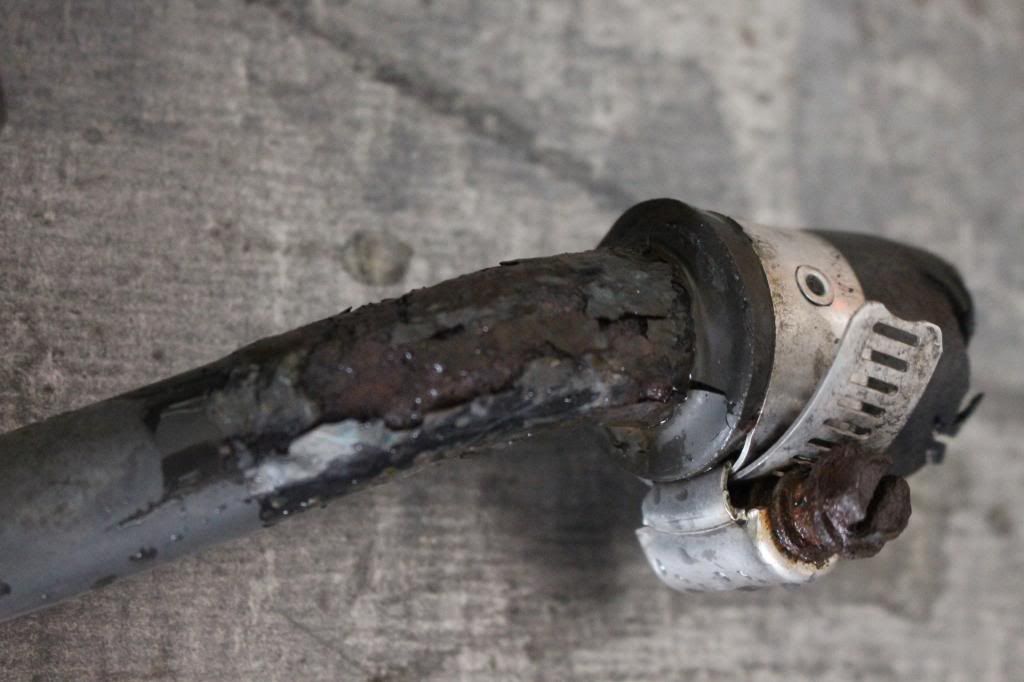
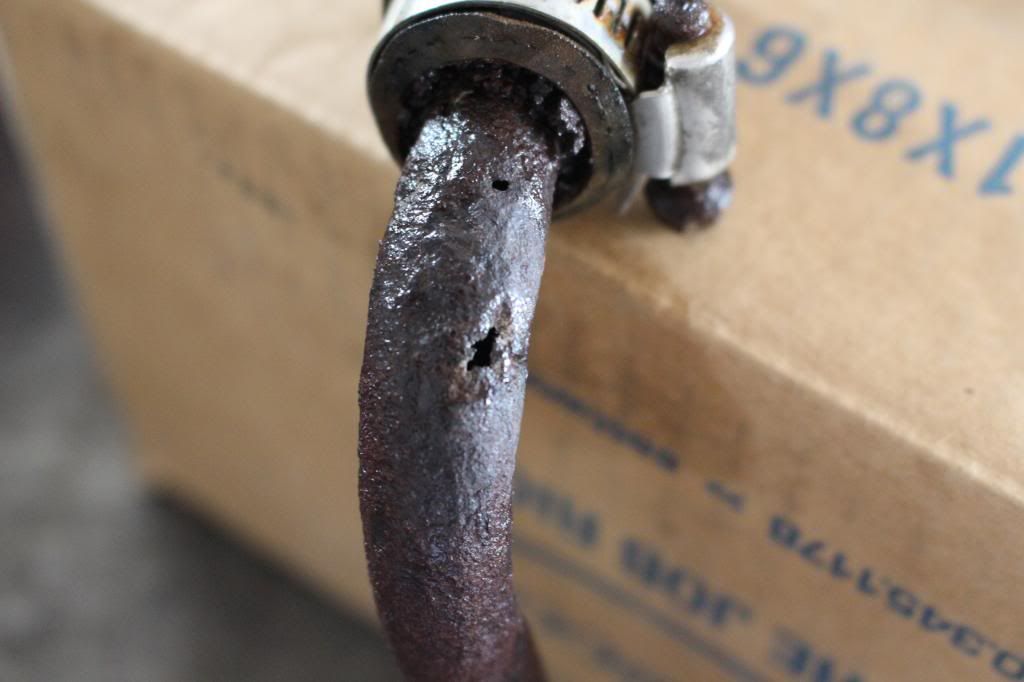
Got the GSK's done and pressure washed the bay. Also found some rusted out coolant lines.
 [/URL]
 [/URL]
 [/URL]
 [/URL]
 [/URL]
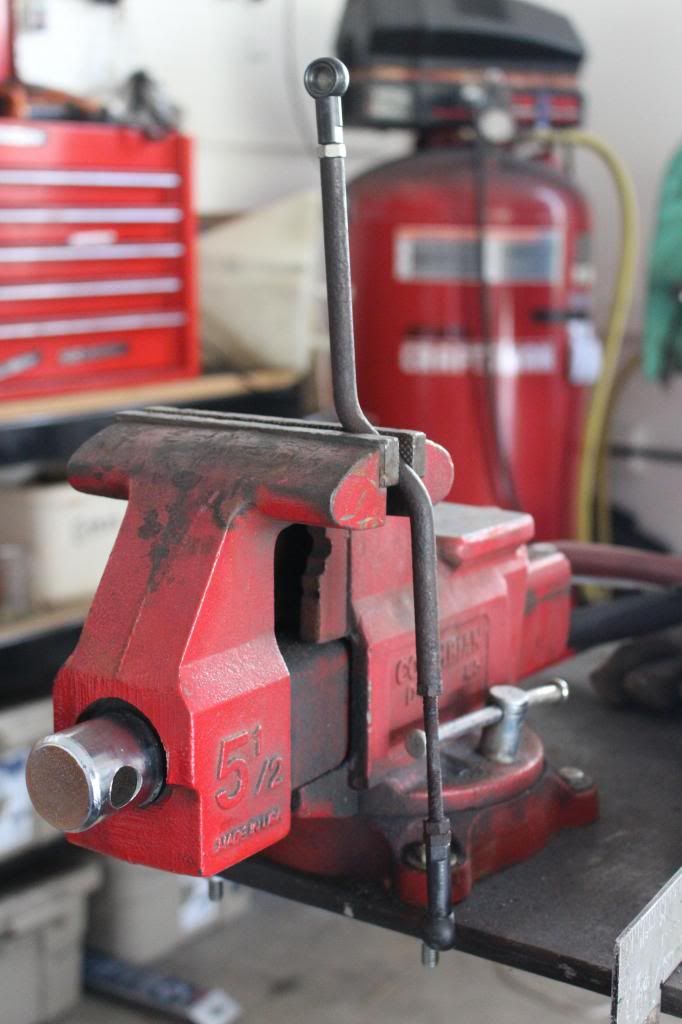
also replaced the ball and socket joints on the throttle linkage.
 [/URL]
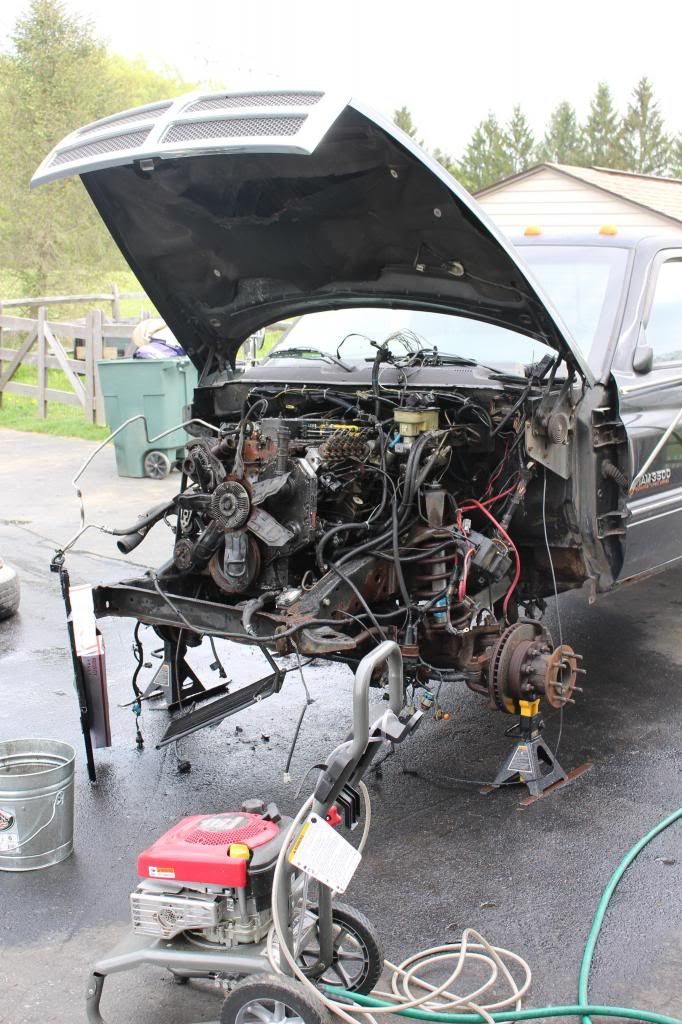
I always remove the front clip on these dodges if I'm doing alot of work anymore. Makes it alot easier. I would not recommend removing the front clip unless you really have to though. It's not bad if you have a bad paint job but you almost always end up scratching the bodypanels reinstalling it.
More updates coming soon!
The truck started life as a tree trimming truck. I bought it and have since removed the utility body. I painted the rear frame in por15, installed new tank straps, new brake lines and fuel lines, sound deadened the interior, and patched some rust in the floors. Also put some Bilstein shocks under it.
The sound deadener I got off ebay is called fatmat. It seems alot like aluminum foil with tar on one side that you stick inside the cab. It definitely helped to kill the noise in the cab. The stereo comes in much clearer. Getting the utility bed off wasnt to bad. I sold it to a guy on craigslist for 1500 dollars and bought a red dually bed off craigslist for 600. The dually bed turned out to have all kinds of stress cracks in the steel that I later welded up. The floors were a big surprise to me when I tore the carpet out. Something to keep in mind if your shopping for a used truck, the bottom of the truck may not look rusty but if the carpet is moldy you can bet that the floors are rotting from the inside. I found a major leak in the sliding rear window that I used RTV to fill in. This leak allowed massive amounts of rain to collect inside the cab rotting the floors. I replaced the worst parts of the floor with new sheetmetal and POR15d the entire interior pan.
The plan is to install all this crap!!
gsk's
60lb valve springs
reroute engine wiring harness/ clean bay up
polish valve covers
leveling kit
new rubber/ coolant lines
and more
oh and shes getting fresh paint also
I decided to polish my valve covers. Started the injector lines and intake plate. I removed the intake heater and welded the holes up also.
Got the GSK's done and pressure washed the bay. Also found some rusted out coolant lines.
also replaced the ball and socket joints on the throttle linkage.
I always remove the front clip on these dodges if I'm doing alot of work anymore. Makes it alot easier. I would not recommend removing the front clip unless you really have to though. It's not bad if you have a bad paint job but you almost always end up scratching the bodypanels reinstalling it.
More updates coming soon!
Last edited:
 oke:
oke: