Chum Again

BombDocDiesel

Always planning something
Joined
Jan 1, 2010
Messages
64
I thought I would share the project so far. This was a month beating my head against things.

Well, this has been a while in the making. I finally had to take a month off work so it made sense to get to work on the truck.

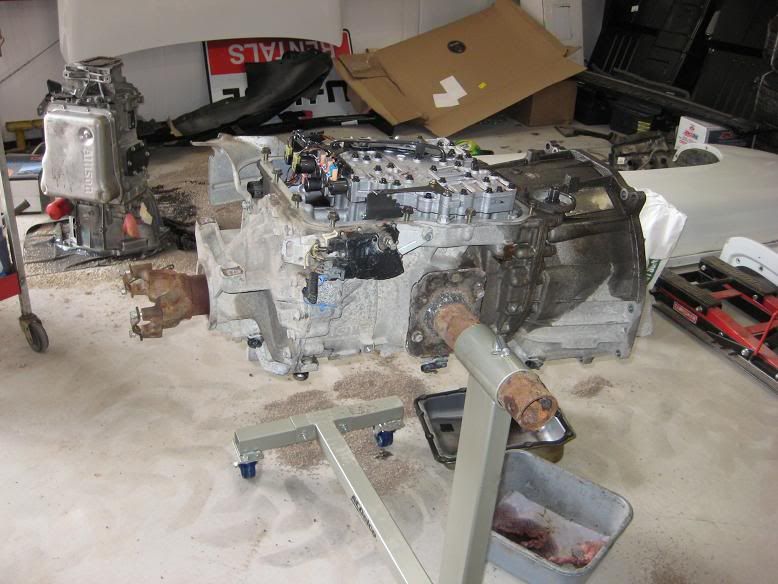
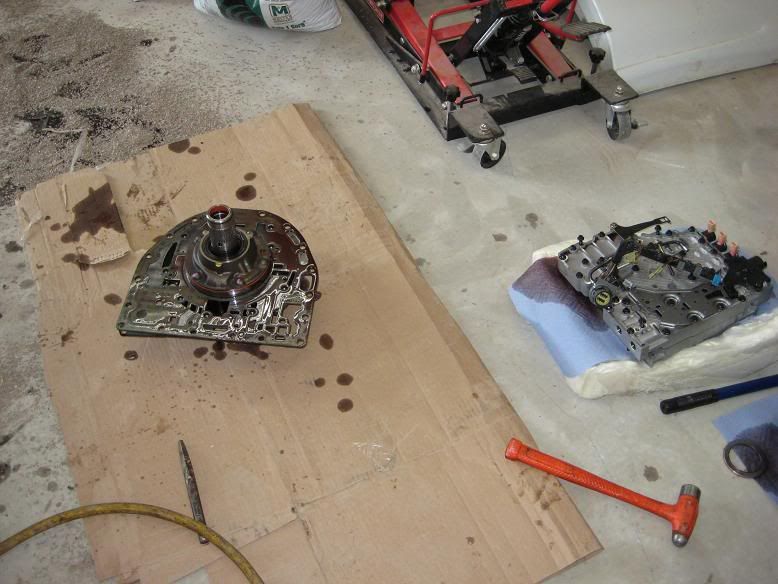
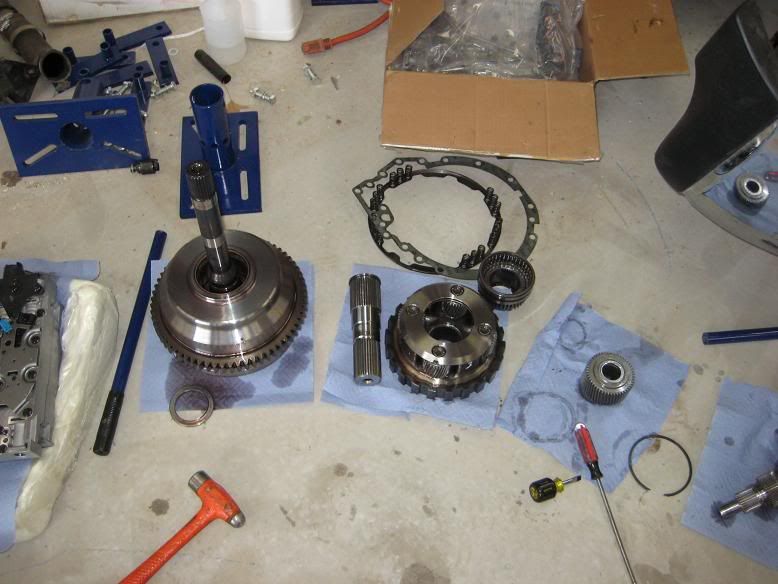
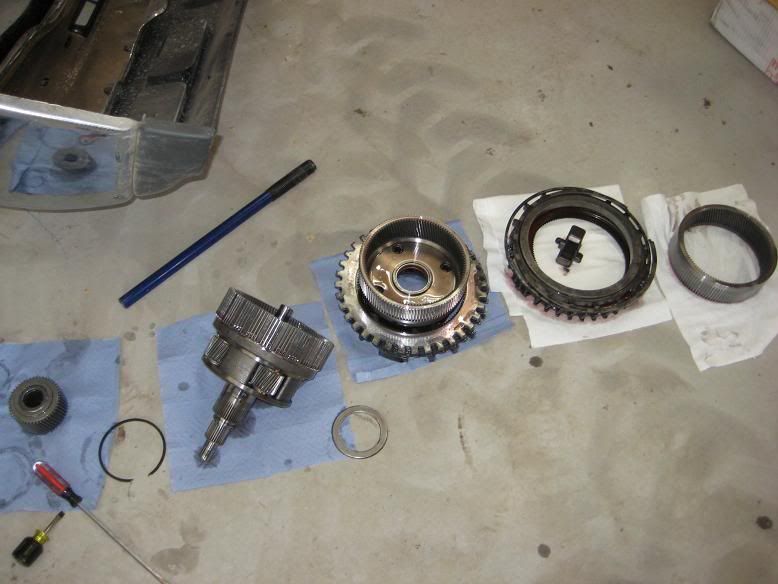
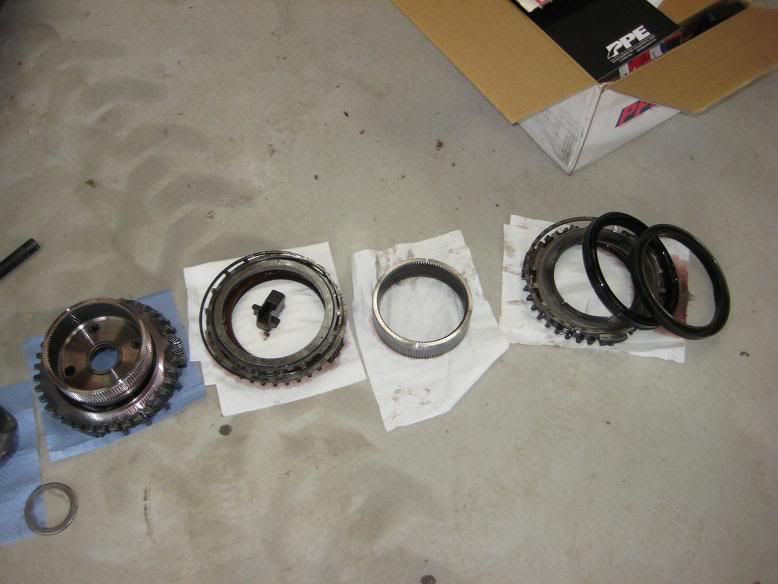
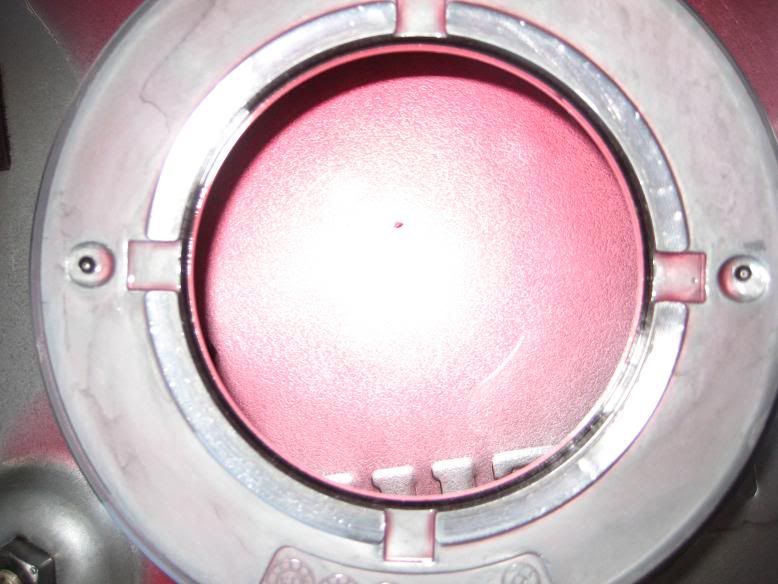
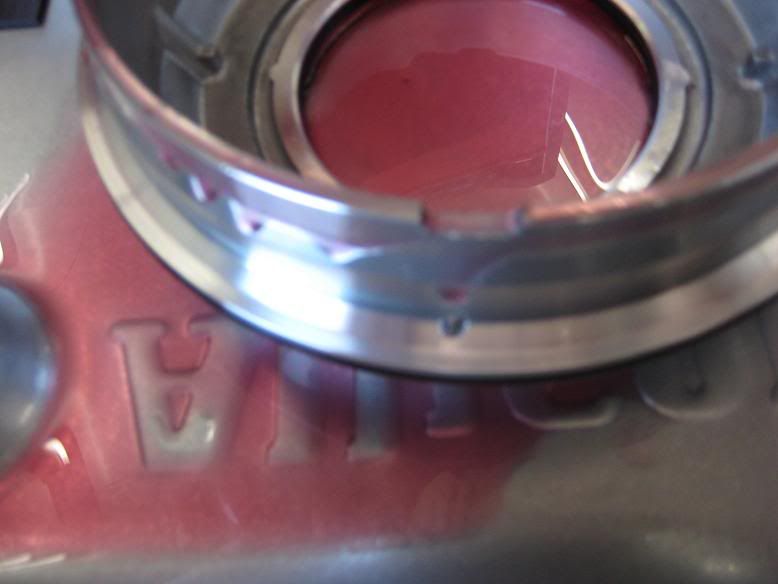
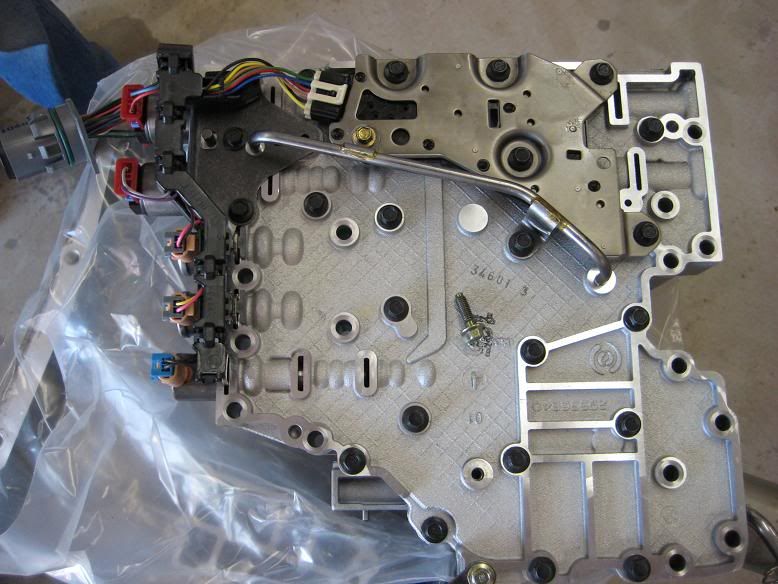
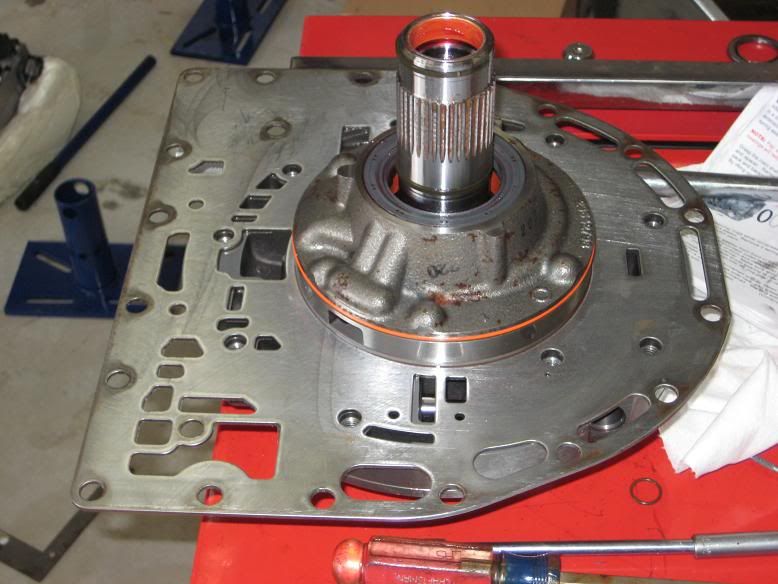
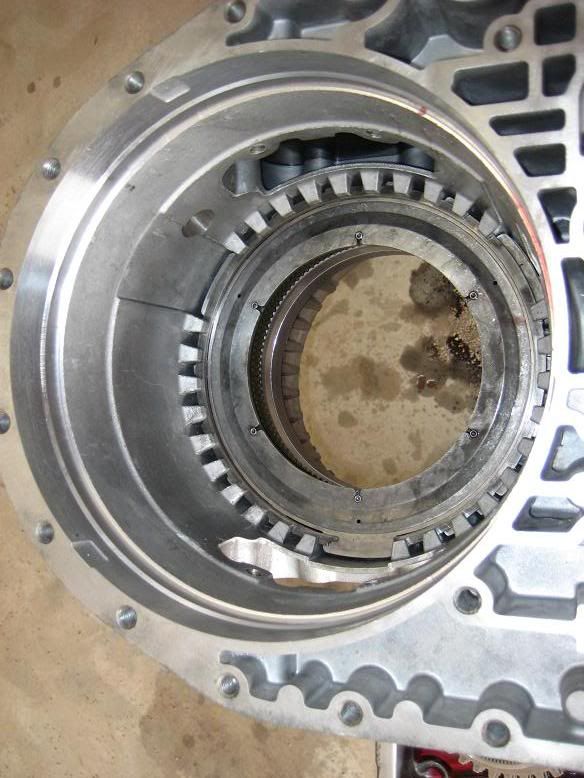
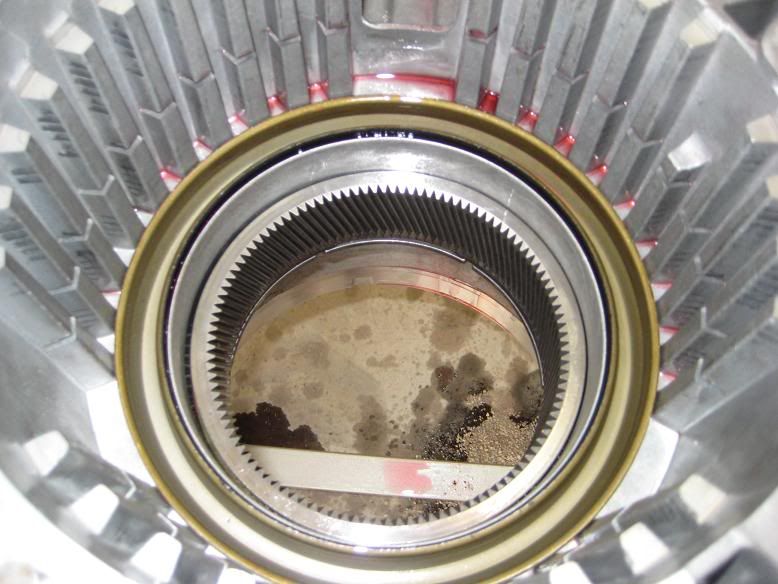
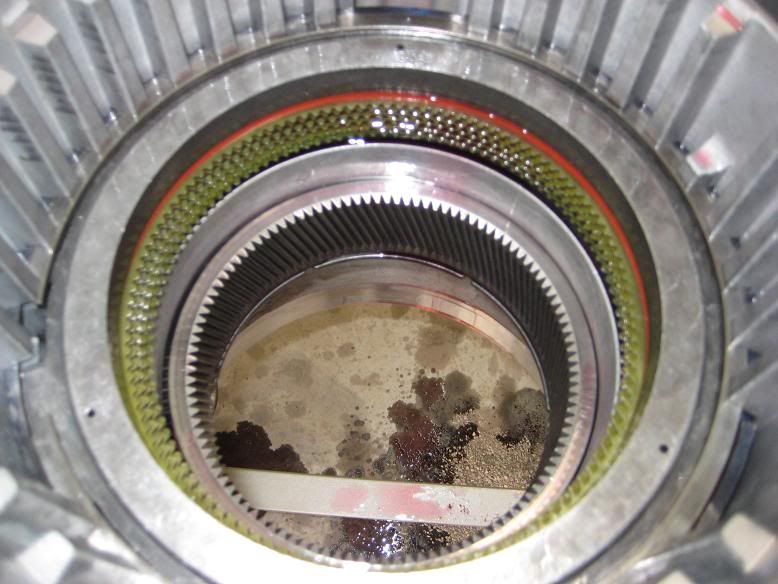
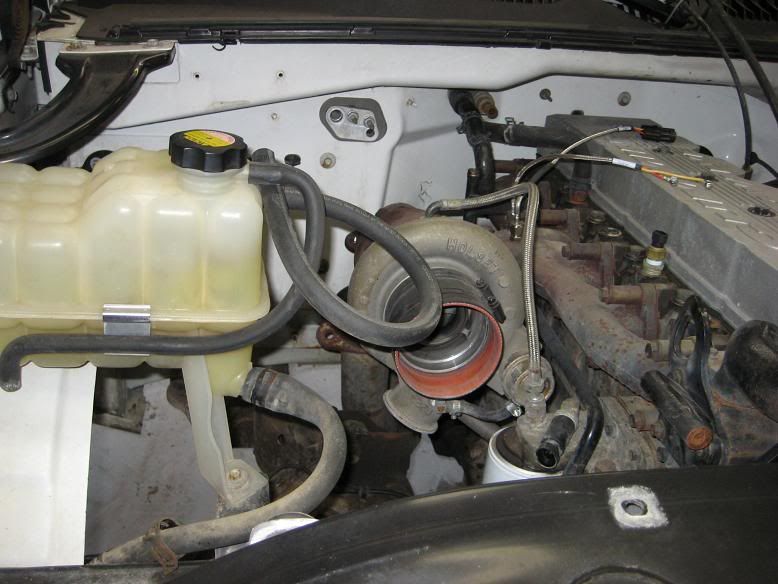
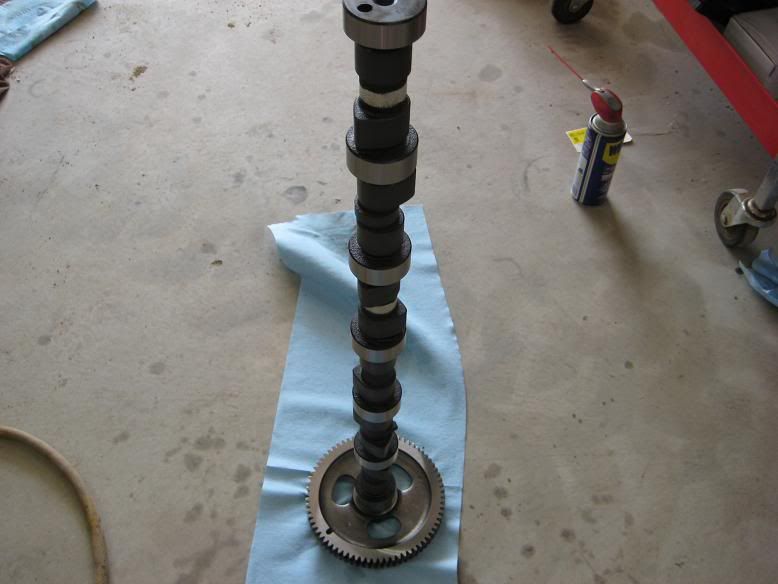
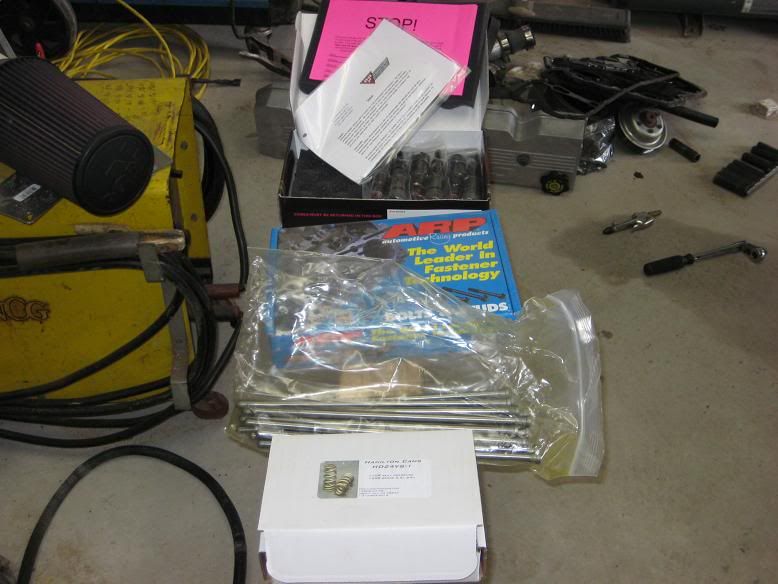
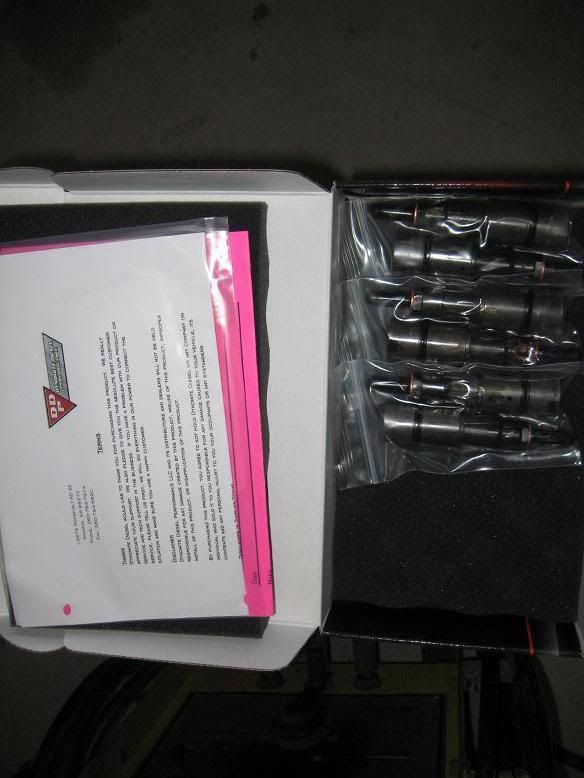
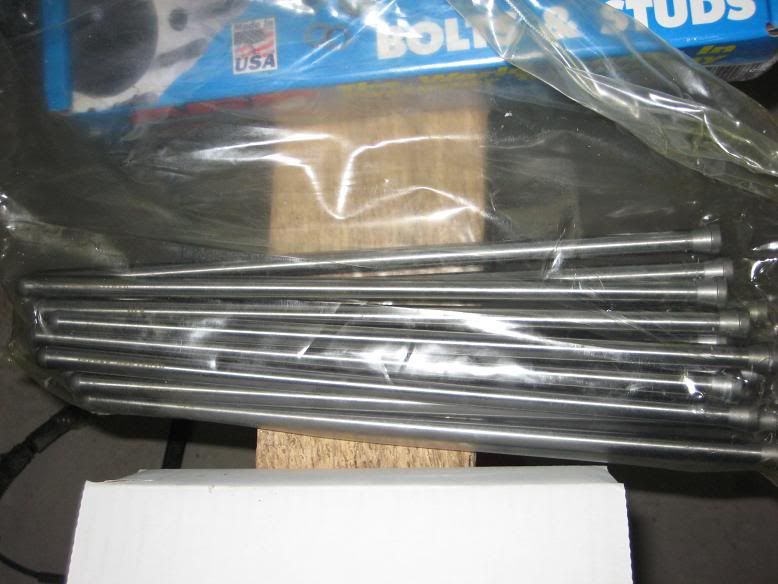
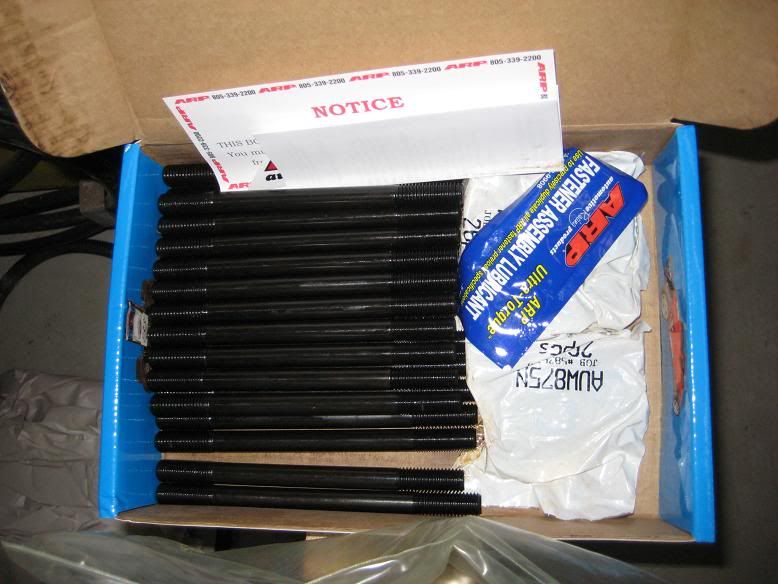
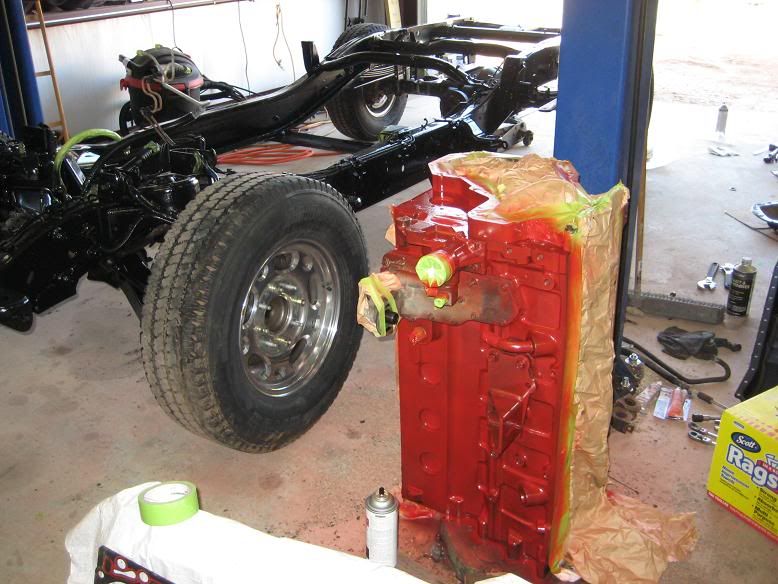
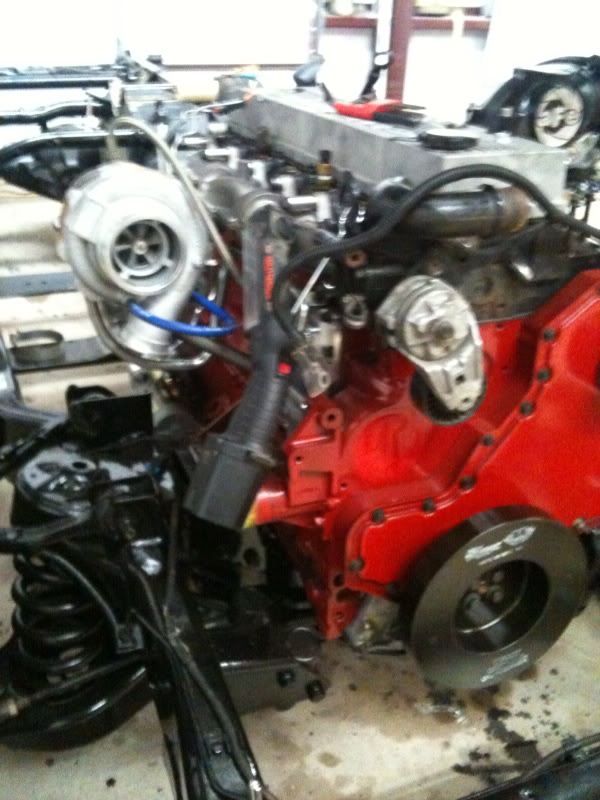
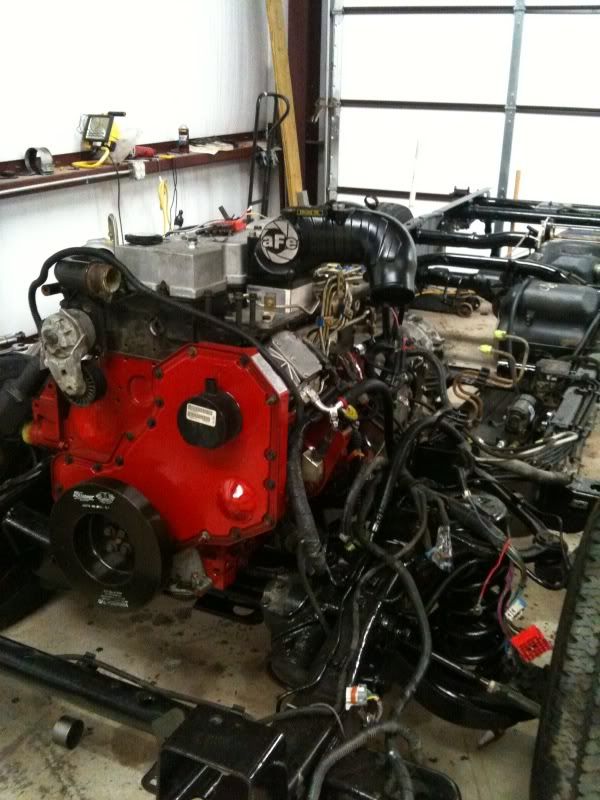
There are a few parts to the project. Short bed, McGauhy's 4" rear drop, Super Coils front 3700 pound coils, Allison Build, custom drive shaft, ARP studs, 110HP injectors, 110lb valve springs, pushrods and cam from Hamilton, Garrett GT3782R BB turbo, MBRP 4" turbo-back exhaust, new cab floor, Automatic steering column, complete LS interior with Katzkin leather, Adrenaline 4K tuning upgrade, enough B-Quiet to hear myself think in the cab and POR-15 the frame if I can get that crap GM puts n the frame off of it. I'm sure I forgot something.
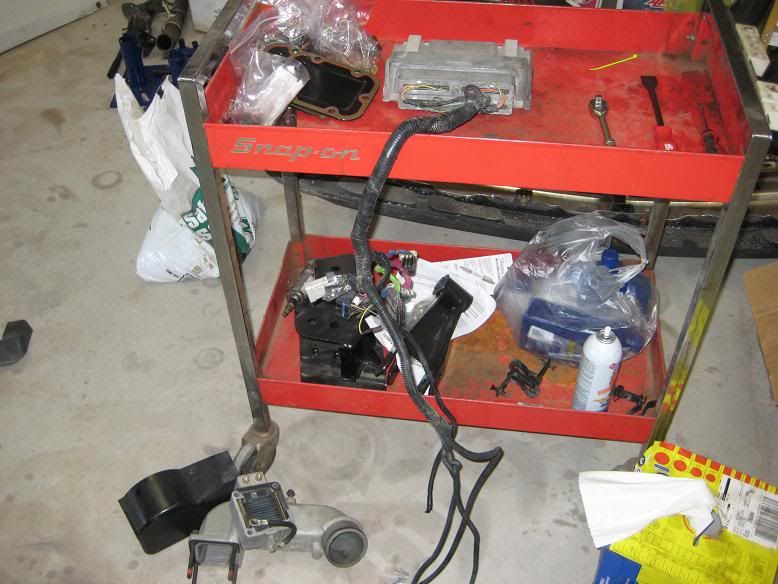
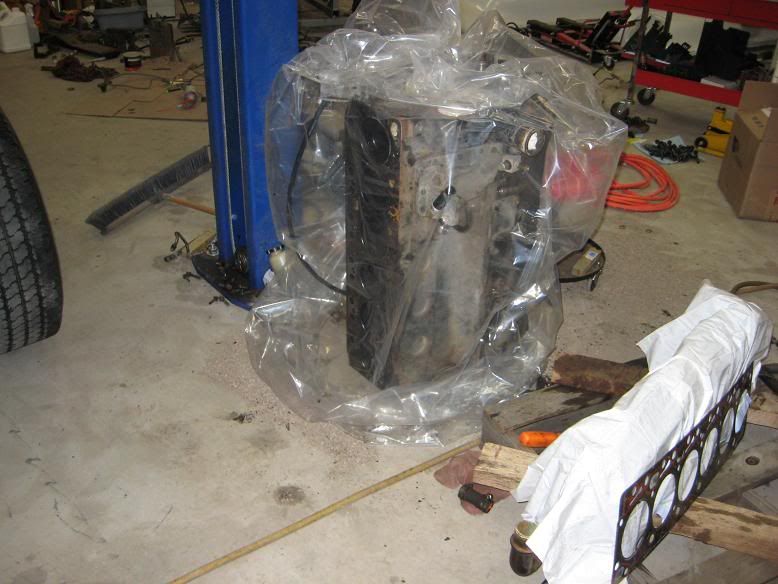
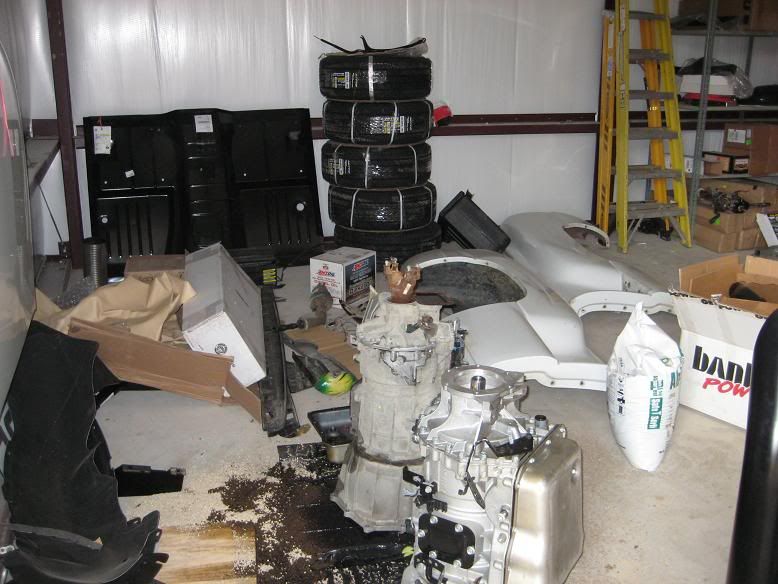
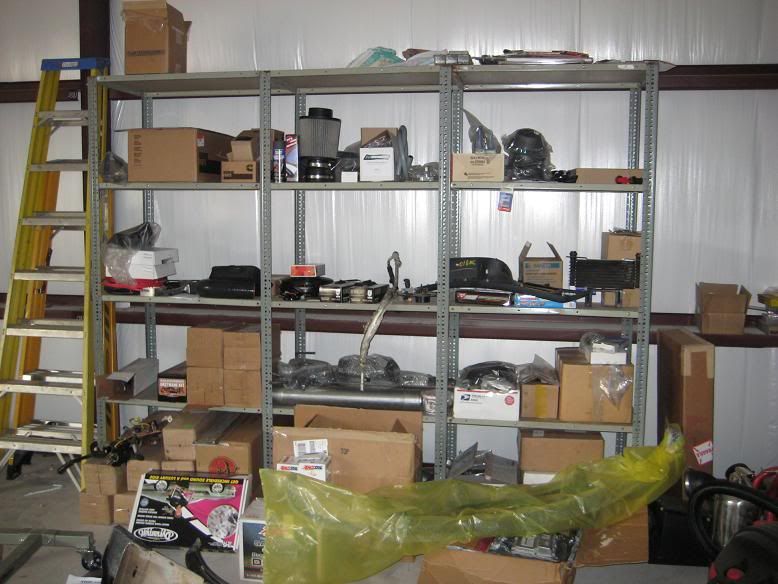
Parts!!
NewParts.jpg

NewParts1.jpg

NewParts2.jpg


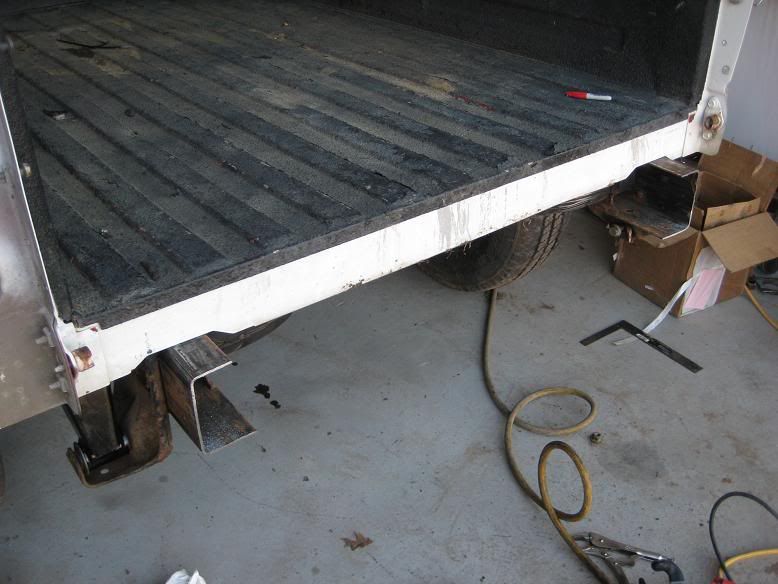
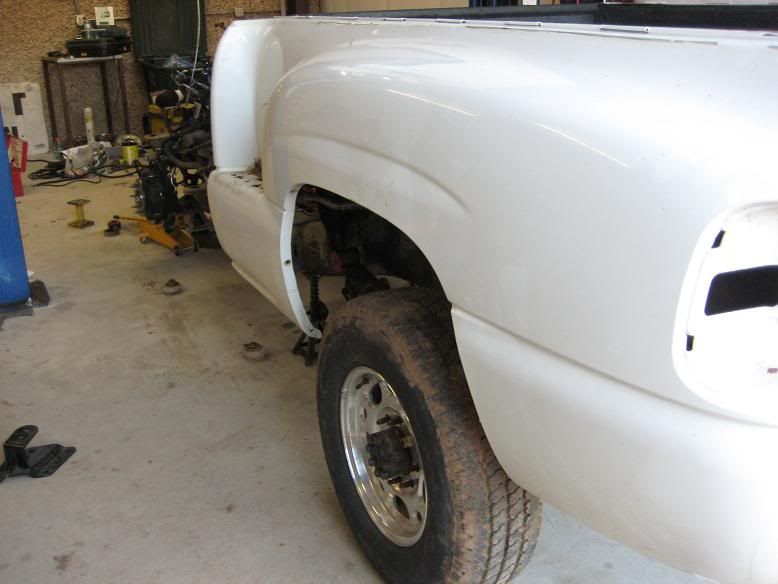
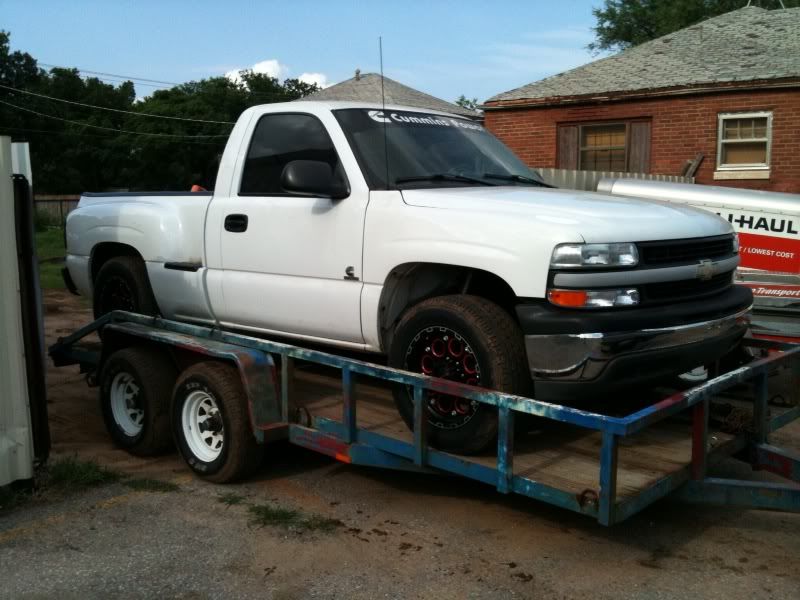
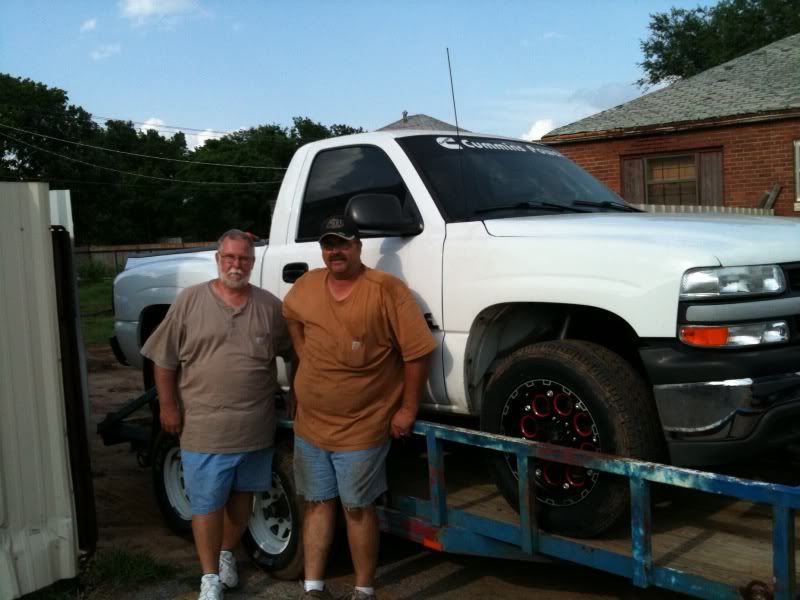
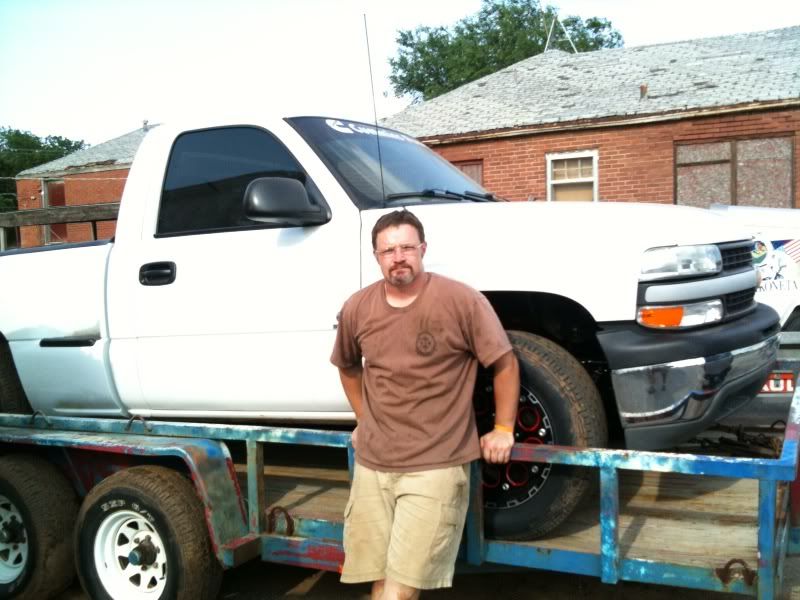
First up, short bed conversion! I will have to put some pictures of the new bed in later. I found a short bed step-side in summit white. I ended up getting with the step-side bumper and all for a song compared to what they are bringing. The drive to get it and back could have been better.

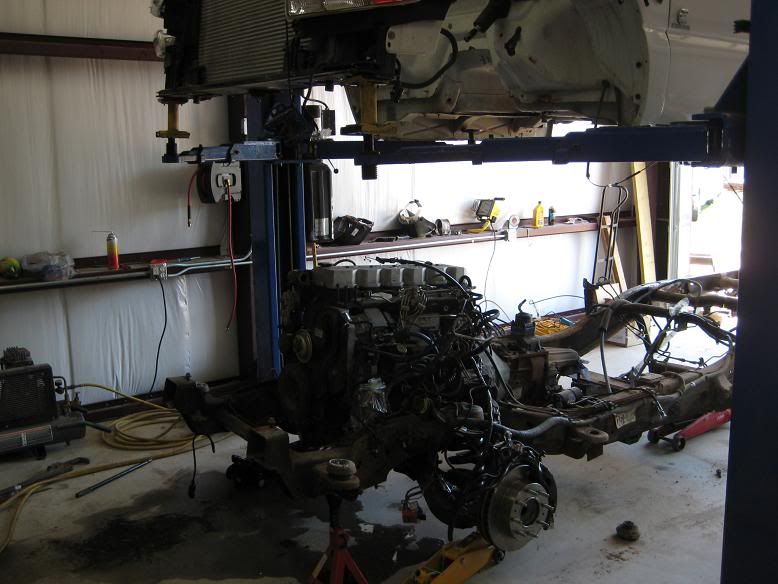
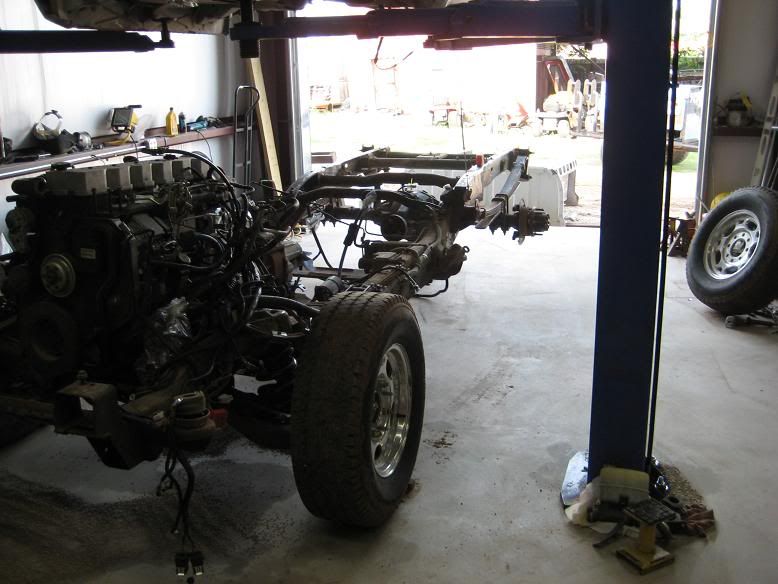
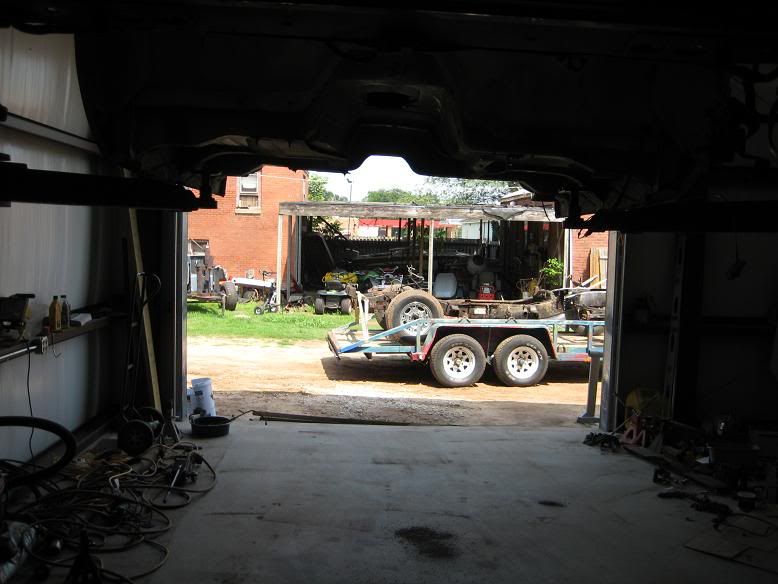
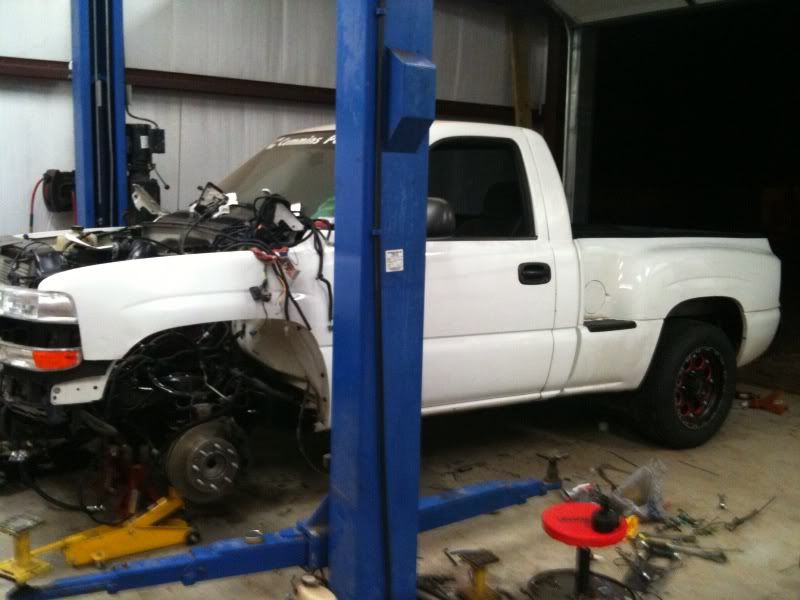
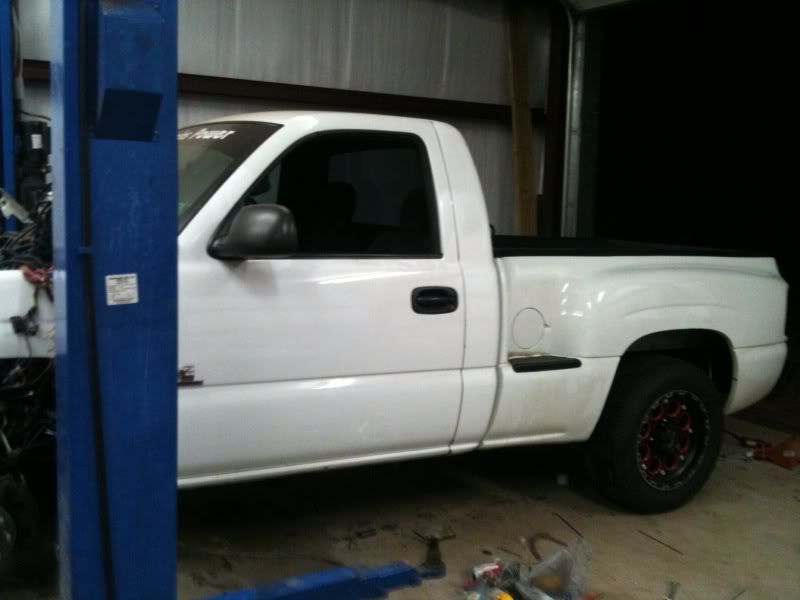
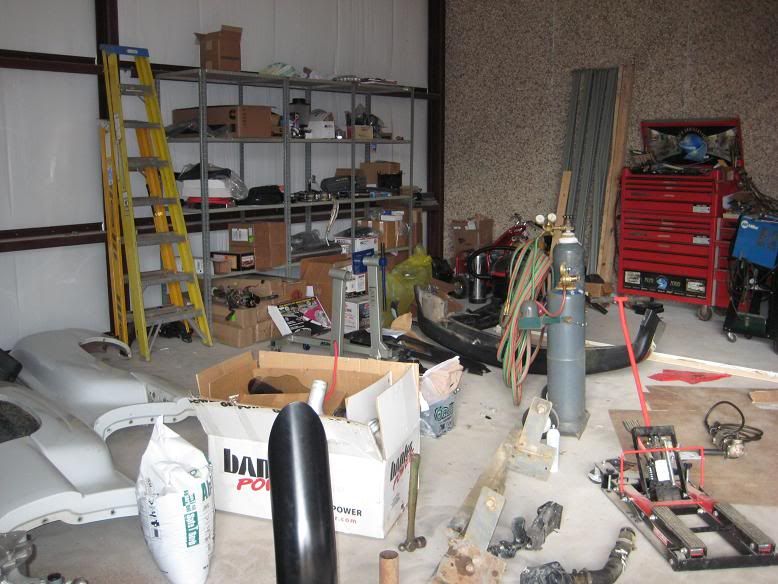
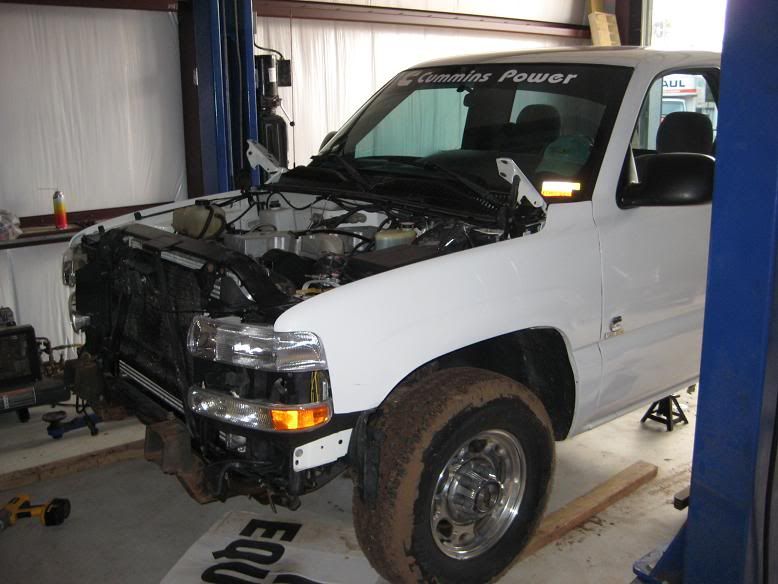
This is also the first project in our new shop.

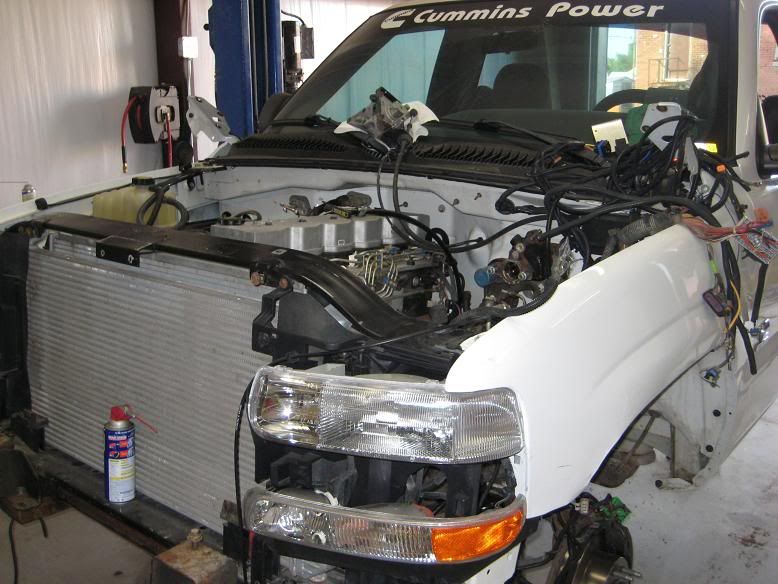
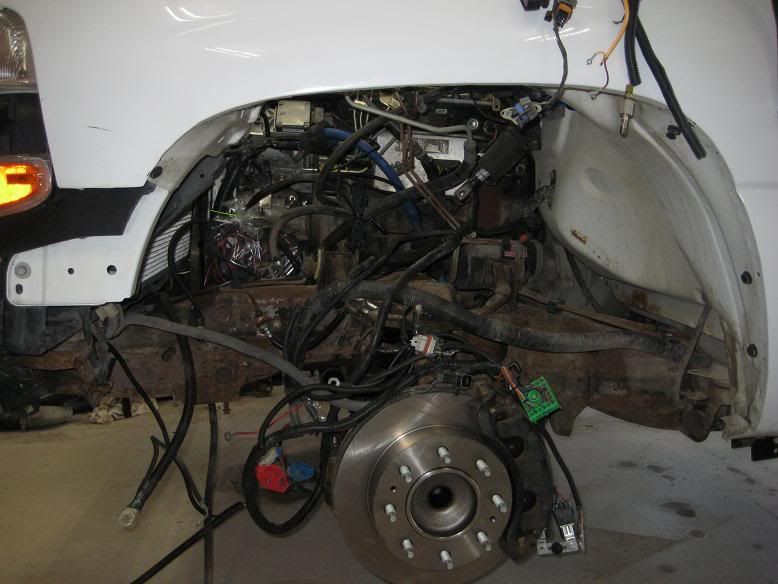
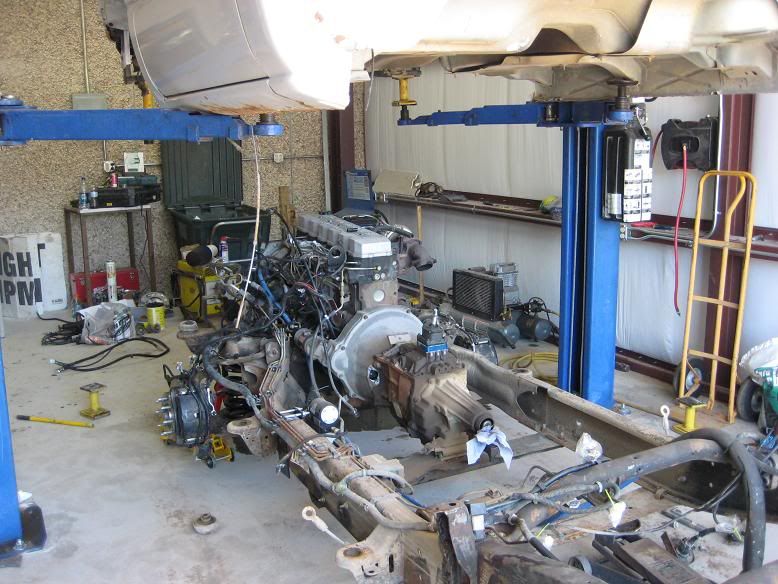
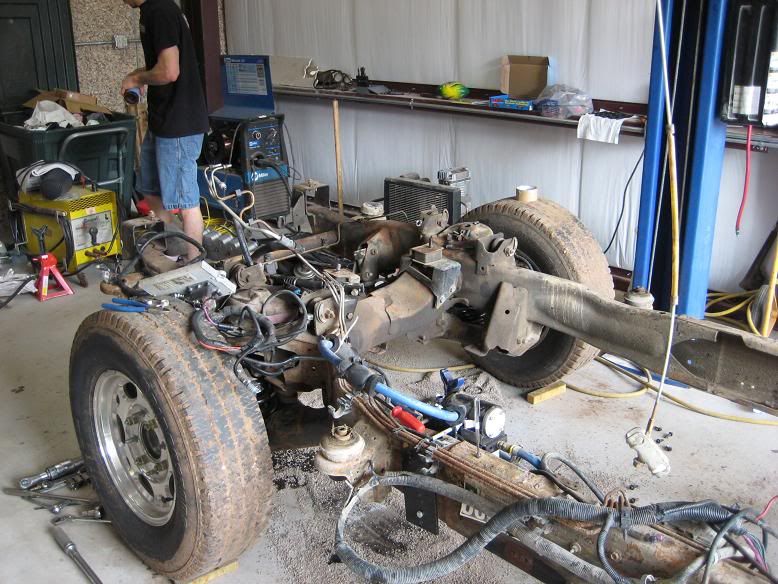
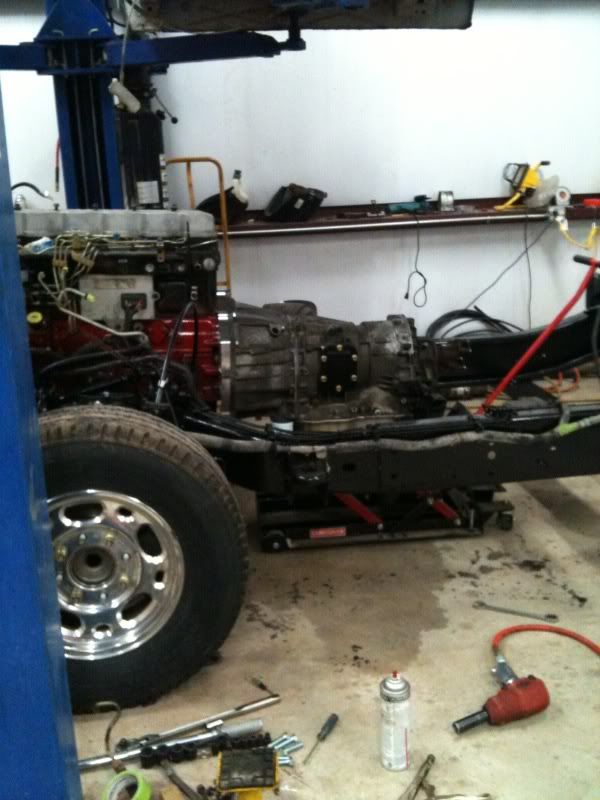
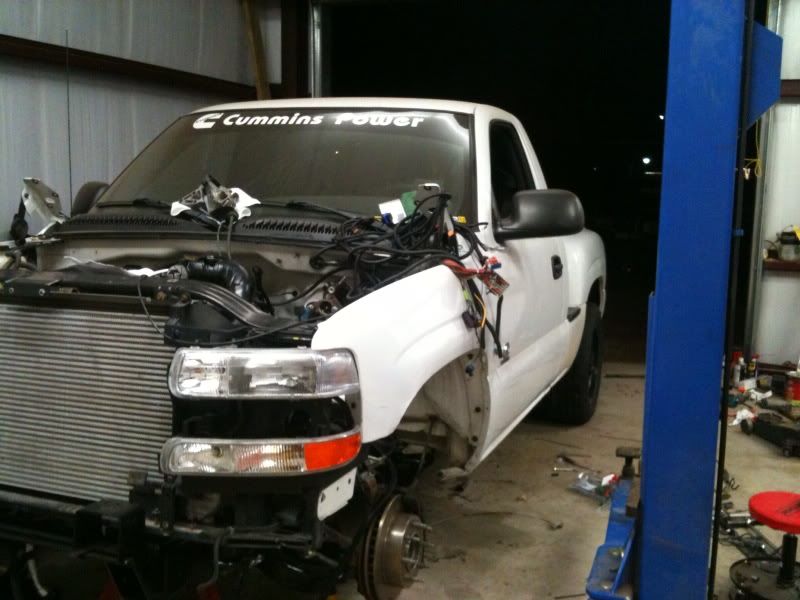
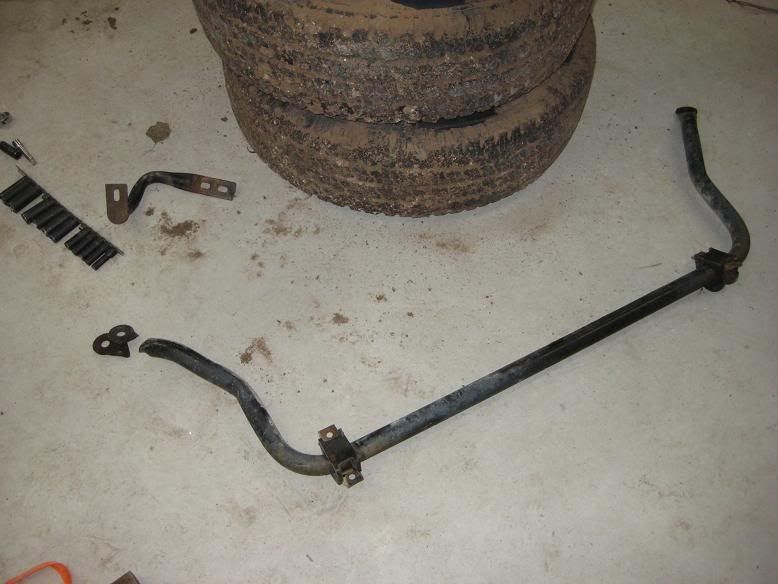
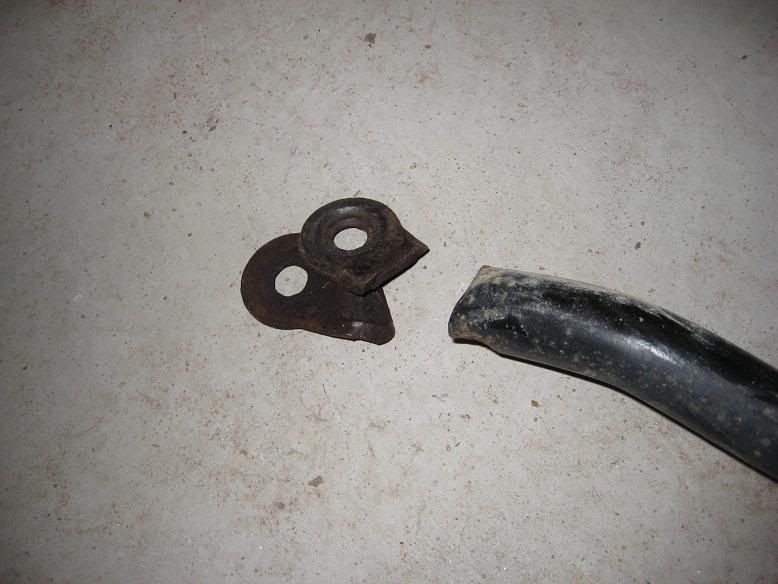
Hood and grill removed. Oh, I noticed the sway bar was broken in half! Those are so not cheap for what they are.
Frontstripped.jpg

BrokenSwayBar.jpg

BrokenSwayBar1.jpg


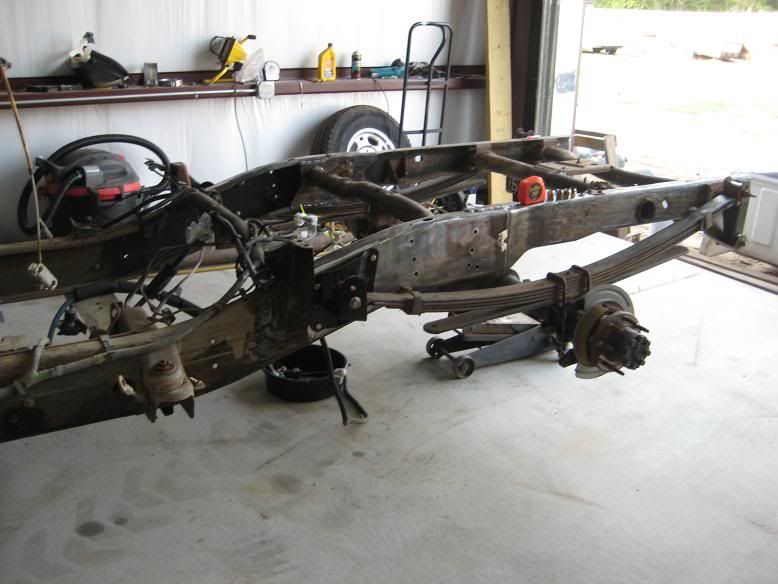
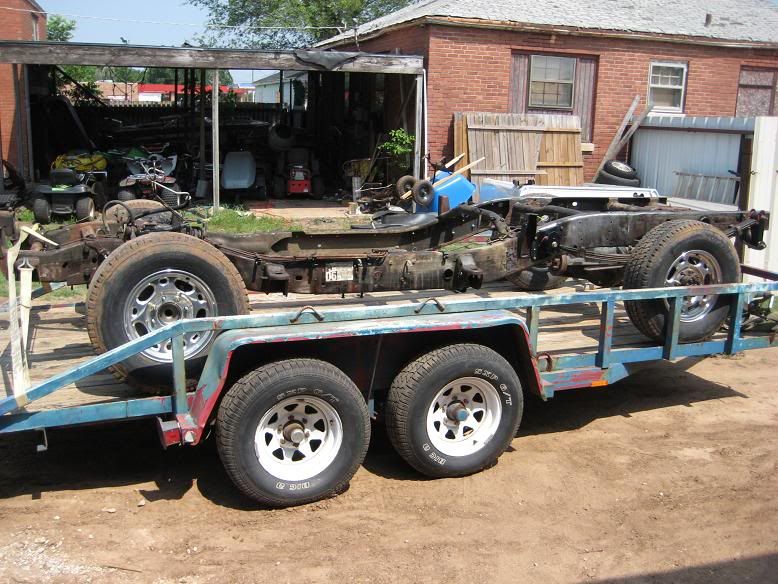
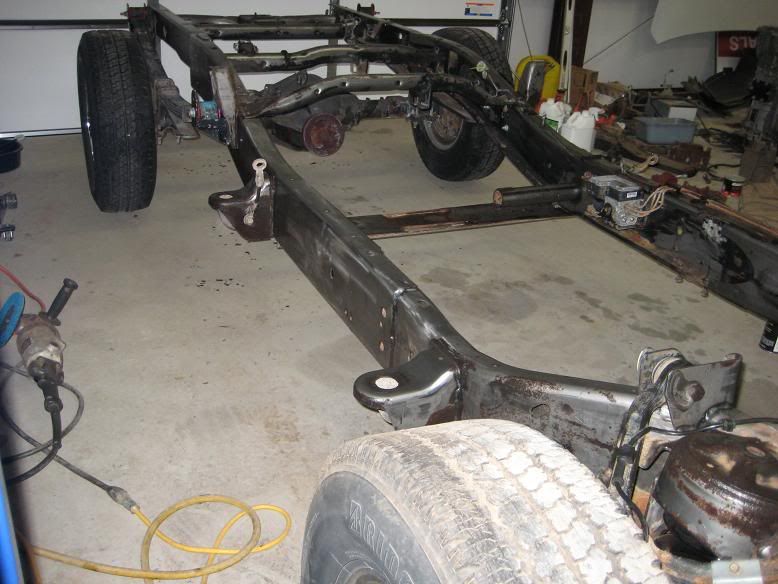
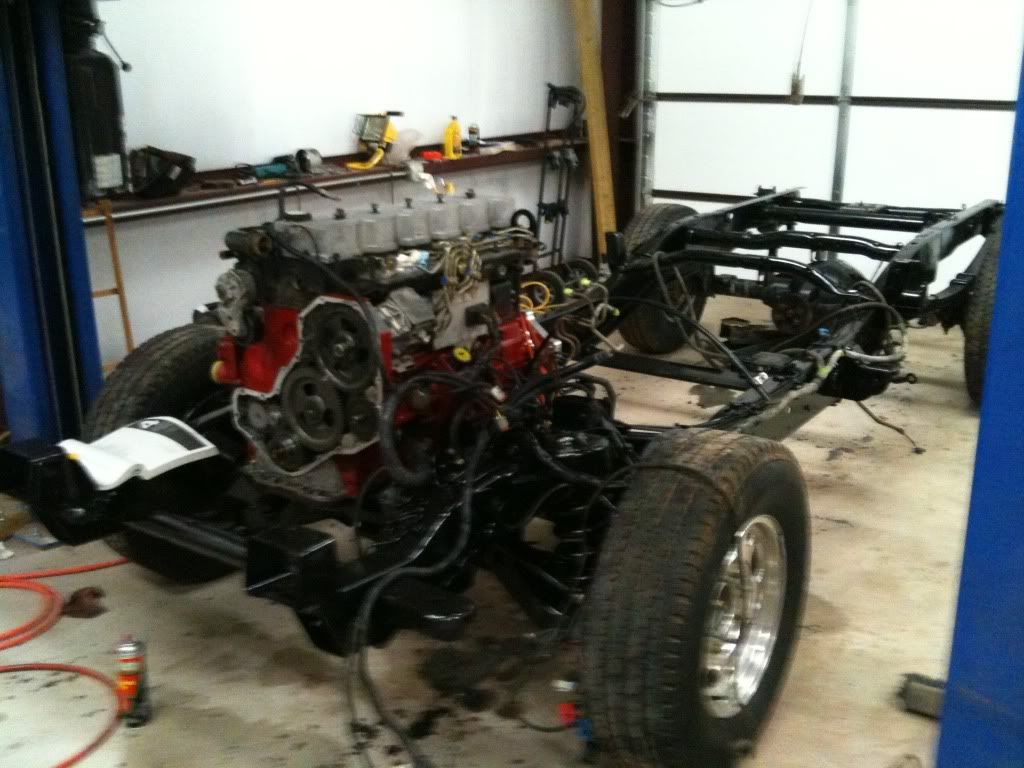
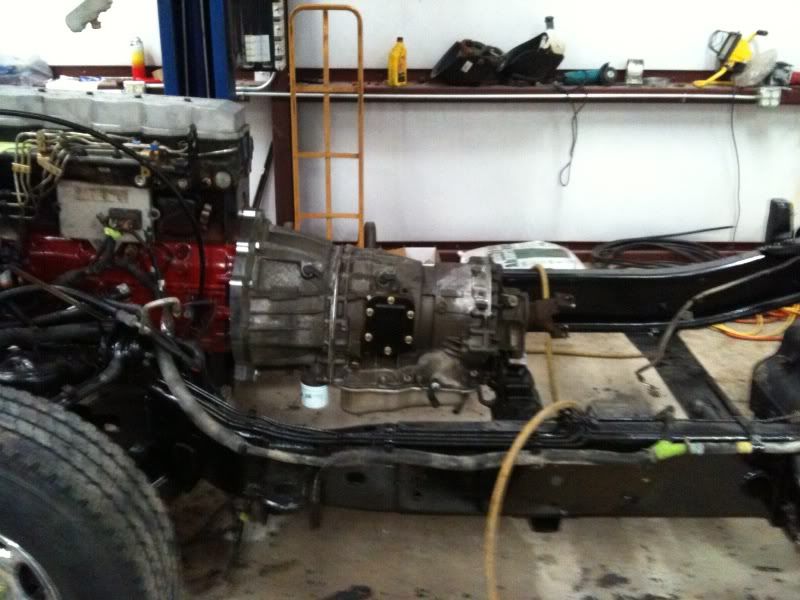
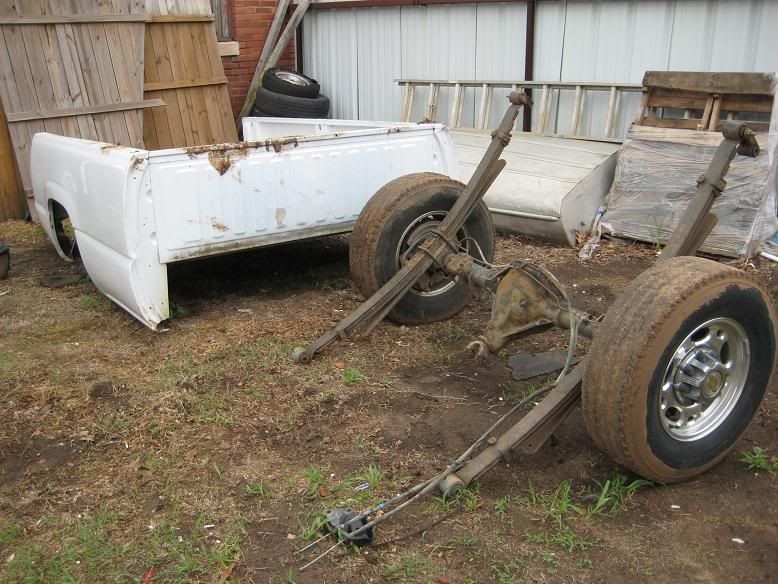
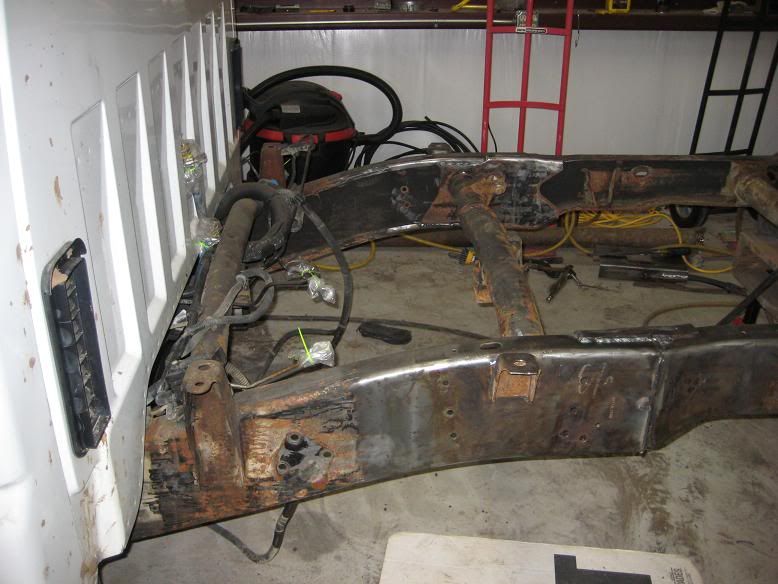
Bed, springs and axle removed.
OldBedandAxle.jpg

Framestripped1.jpg


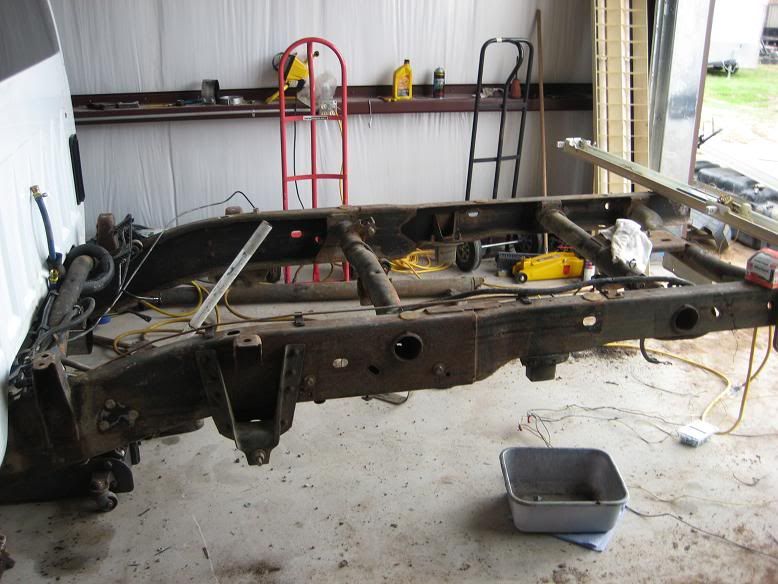
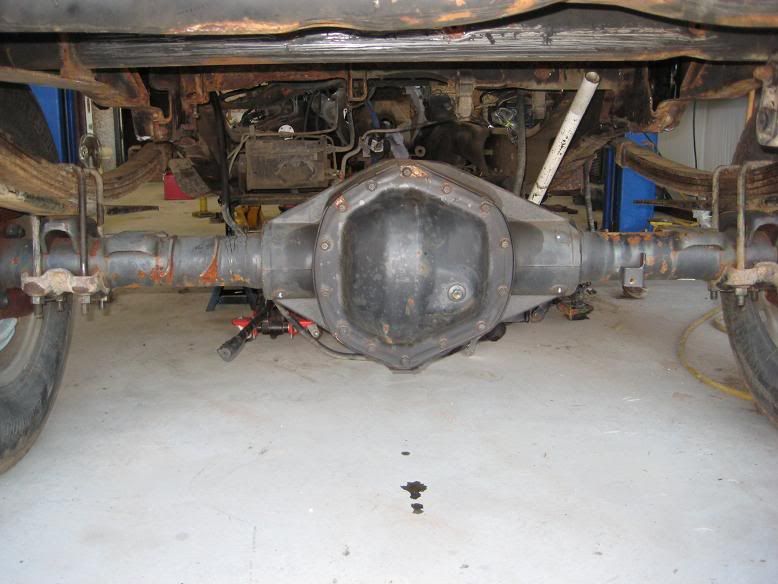
For those that have not removed the amazing wax crap GM was so kind to grace our frames with; BUY A MEDIA BLASTER! That junk fills pads and wheels like a champ. I spent 6 hours scraping and grinding the frame. I still have a lot to do. FWIW, the Marine Clean that POR-15 recommends cleans about as well as Dawn dish soap.

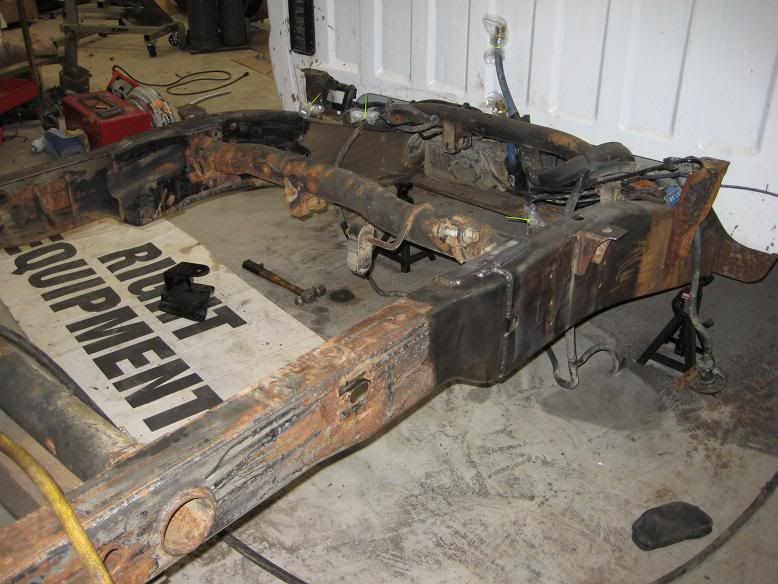
Getting the spring hangers off is a chore. There are eight rivets and it's a PITA to keep from getting the frame really hot while burning through them. The grinder and a big punch helped a lot. I still have to tackle one of the rear shackles as the sleeve and bolts are bonded to the bushing.

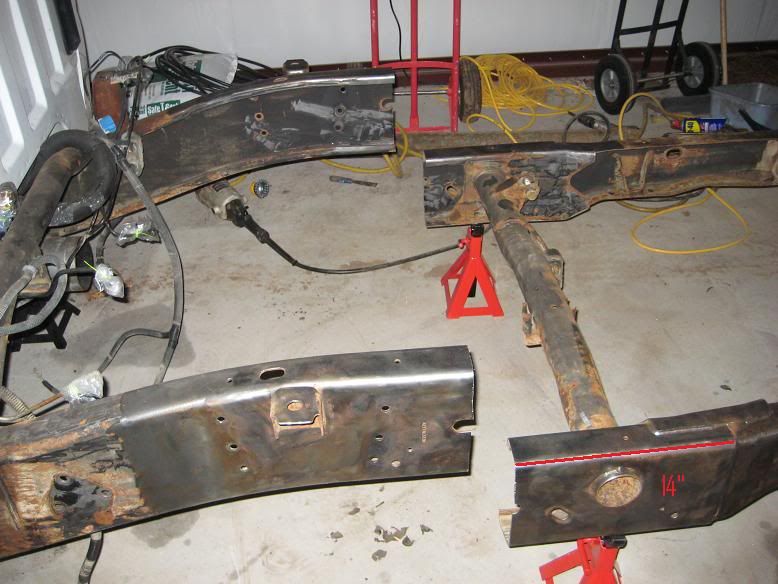
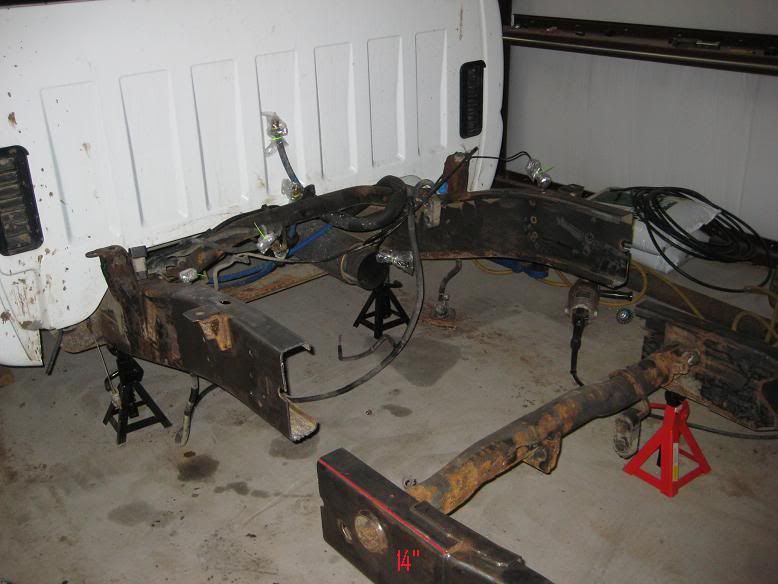
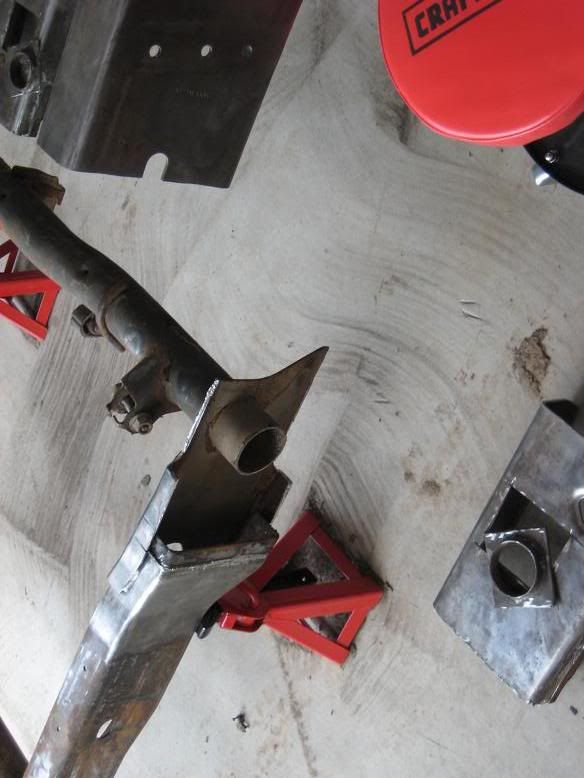
The cut is made 14" forward of the mid-section.
FrameCut1.jpg

FrameCut2.jpg


My favorite tool!
Bandsaw.jpg

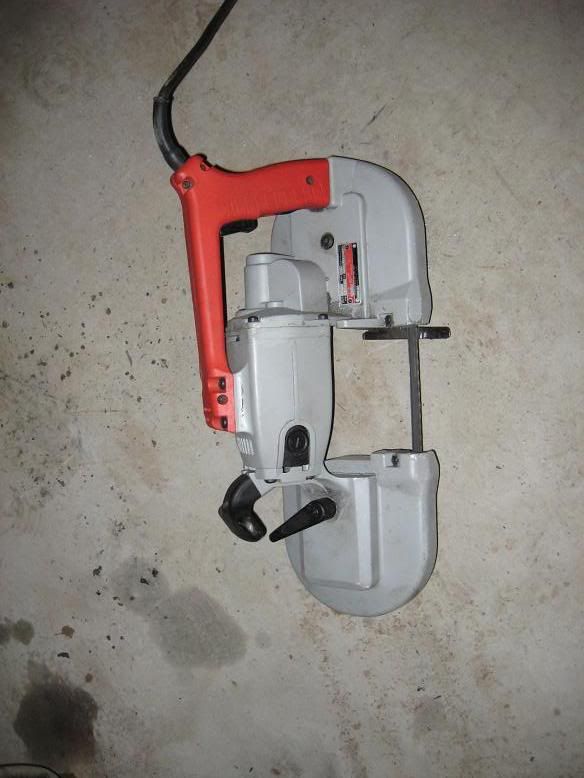
Yes, that is a Milwaukee Portable band saw. The cut is pretty clean for working on a frame.

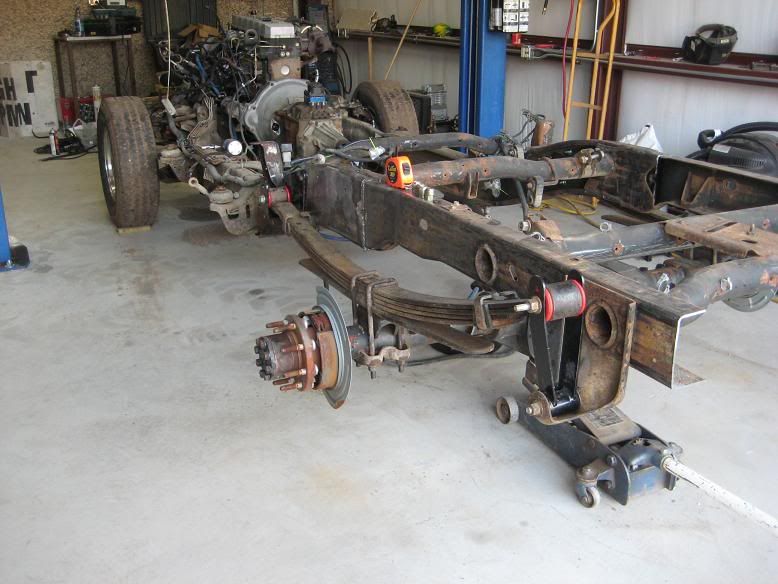
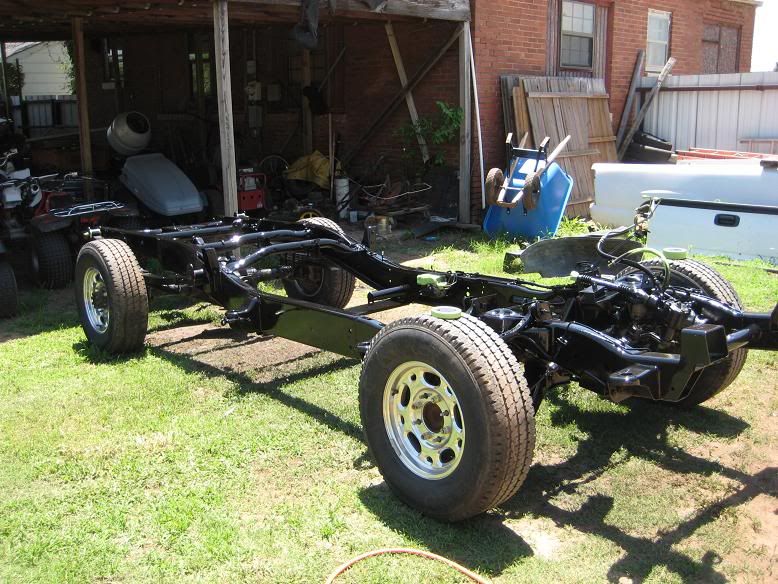
We put the frame back together. I still need to cut the second row of bed mounts off to move them.

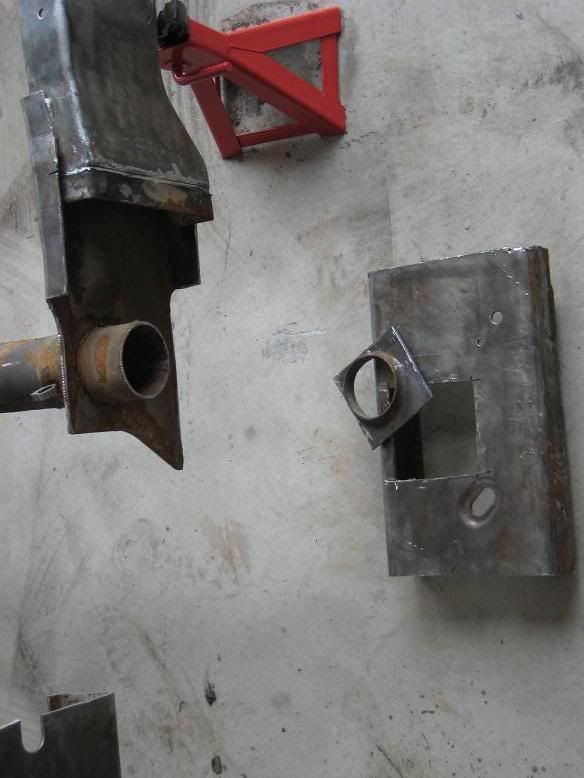
The process requires removing the factory splice in the frame. The mid-section, or splice, overlaps the front and rear sections and the tank and shock support runs through it.

This is what it looks like when you cut the rest of the mid-section out. Not just a straight cut.

FrameMidCut.jpg

FrameMidCut1.jpg


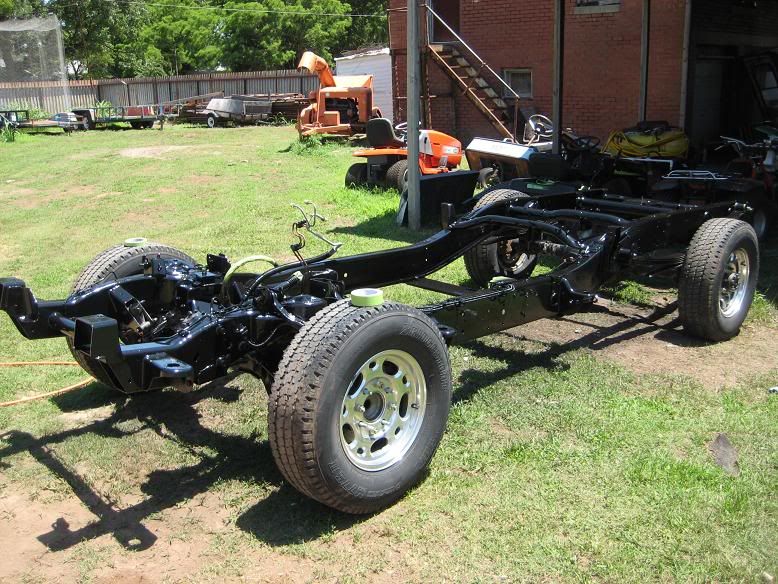
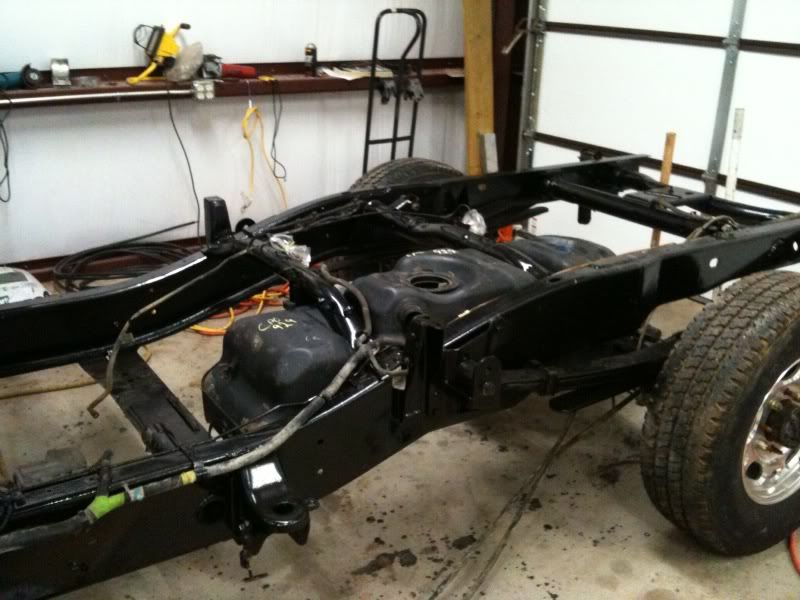
Then, with some help from a friend here, the frame was welded back together. You can see that we just took the splice out and made the short bed the same way the factory does.

Weld.jpg

Weld1.jpg


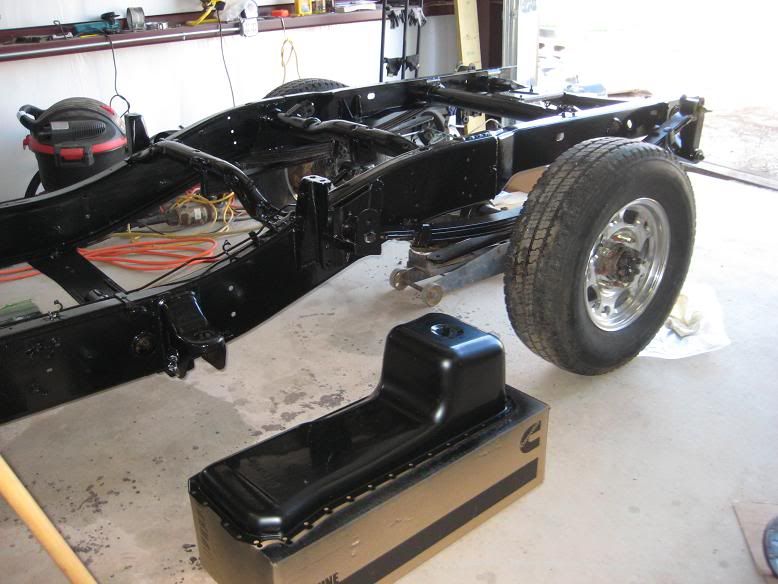
My new 3700# coil springs also came in.
I had to buy a new wheel hub assembly and tore into the brakes. I learned a valuable lesson. Some early 2500LD trucks use 1500 series brake hoses. That was fun learning the hard way.
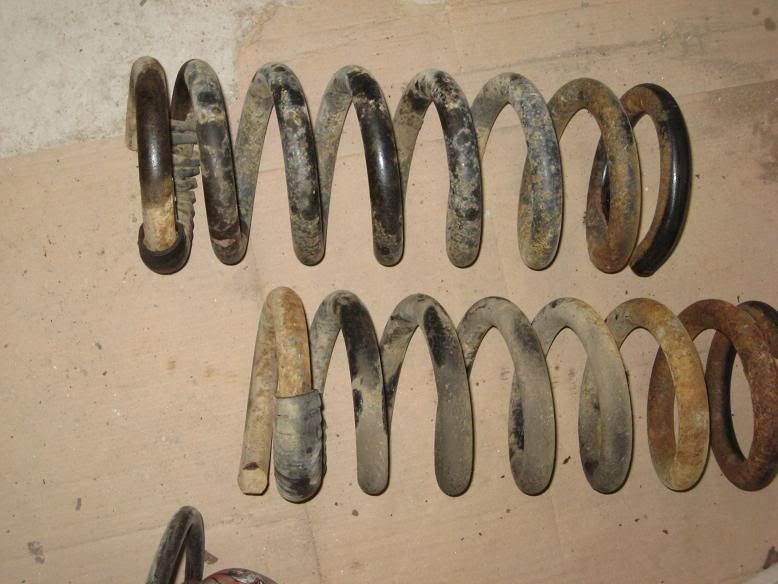
Old 2800# coil springs
OldCoils.jpg

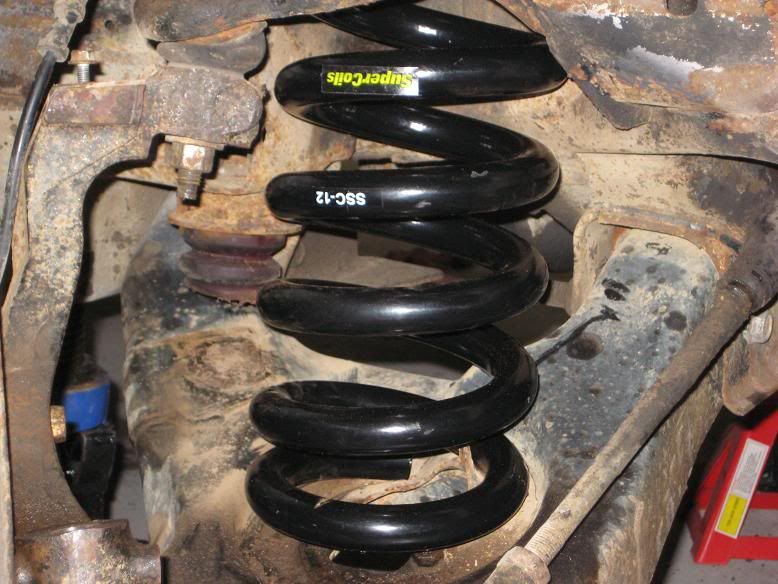
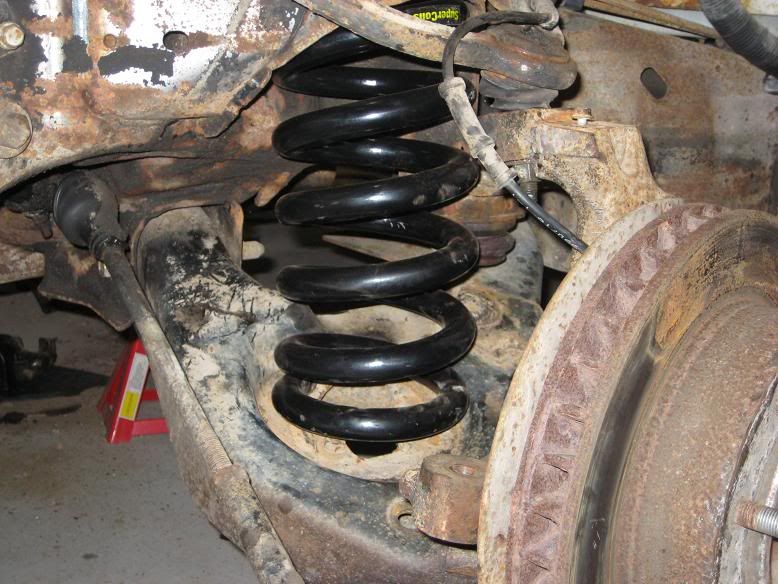
New Super Coils 3700# springs installed
SuperCoils2.jpg

SuperCoils1.jpg
 
More Chum

Oh, my new 11.50" 14 bolt came in but I didn’t get a picture. Now if only I could get my bushings and the one bolts I had to torch off for the leaf springs.
Once I had it up on the stand the break down began. It gets tanked tomorrow and back together.

Allison
She was pretty clean for 225K.
I am almost finished with the rebuild on the Allison. I tracked down all of the balance pistons, bearings, bushings, seals and a new C5 from TKT Sales out of PA. Ted is the guy at TKT and he is pretty sharp. The kit is a Stage 4 from PPE. The pump came from a new pull-out '09 Allison.

I am including most of the build up pictures.

The stand
Allison.jpg


Torn Down
AllsionTornDown.jpg

AllsionTornDown1.jpg

AllsionTornDown2.jpg

AllsionTornDown3.jpg


I somehow deleted most of my C1/C2 pics.
Modified C2 Piston
C2PistonModified.jpg

C2PistonModified1.jpg


Valve Body
VBRemoved.jpg

Drill the green holes
VBSepTransgoDrill.jpg


Swapped 09 pump
09Allison.jpg

02AllisonBellandpump.jpg

02and09bellsandpumps.jpg

09pumpready.jpg


Going back together
C3Installed.jpg

P1Installed.jpg

C4Installed.jpg

P1CarrierInstalled.jpg

C5Installed.jpg

P2CarrierInstalled.jpg

MainShaftSunandSpacerInstalled.jpg

P3SunInstalled.jpg

OutputandP3Installed.jpg

TailhousingInstalled.jpg

I rebuilt the extension housing assembly the morning I did the C1/C2 so I lost those pictures as well.
 
It just keeps going

I got everything ready today. I will have the cab in the air in the morning. Hopefully, the motor will be out tomorrow as well so I can replace the oil pan and pump.

Cabreadytolift.jpg

Cabreadytolift1.jpg

Cabreadytolift3.jpg

Cabreadytolift2.jpg


GM ECM and harness. Yeah, it goes back in.
CabreadyECMout.jpg

Cab Off
I took the cab off today.
CabOff.jpg

CabOff1.jpg

CabOff1.jpg

CabOff2.jpg


I had to cut another 4" off the rear of the frame. Yes; the bed is slid forward.
Fourinchesoffrear.jpg


Shortbed Step-Side teaser
ShortbedStepsideTeaser.jpg

ShortbedStepsideTeaser1.jpg

New AAM 11.50 rear
AAM1150.jpg

Rolling Chassis today
It doesn’t look like much. The spring hangers will be welded tomorrow. The measurements take forever. I’m pretty sure at this point the frame is probably closer to true than it was from the factory.
I spent a lot of today pulling rear brakes from the new axle. I will be busy tomorrow taking the axle apart to fix it.
RollingChassis.jpg

RollingChassis1.jpg

RollingChassis2.jpg


More new parts
NewColtCam.jpg

NewColtCam1.jpg

NewEngineParts.jpg

Newinjectors.jpg

Newpushrods.jpg

Newstuds.jpg


My new borescope. I did lots of looking around in there before I pulled it out.
SnapOnBorescope.jpg
 
Yep, even more

Blown Head Gasket
BlownHeadGasket.jpg


Motor Pulled
MotorPulled.jpg

MotorPulled1.jpg

Motortorndown.jpg


Frame to carwash
Framereadytowash.jpg

Framereadytowash1.jpg


Frame prepped
Frameprepped.jpg


POR 15 does not stick to bare metal worth a crap! It does; however, stick to skin very very well. I wasted a lot of time prepping the frame. DO NOT USE A BRUSH! I pushed the stuff all over the frame and got it everywhere. I spent $48 on an HVLP gun and had it all done within an hour.
Frame POR-15
FramePOR15.jpg

FramePOR151.jpg


Oil Pan
OilPanPOR15.jpg


Motor Prepped
MotorPrepped.jpg


Mag-Hytec Cover
MagHytec.jpg


Motor back in.
Colt Cam, 110# valve springs, and pushrods all in. 110HP DDP injectors in. Studs in. Mumau came through today with the rest of the gaskets and seals I needed.
I still need to get a bolt for the Destroked plate since it needs to be 10mm with a 12mm head! I also need to source my Allison bolts so I can get my new driveshaft made. I’m really hoping the one-piece shaft can be done.
MotorBackin.jpg

MotorBackin1.jpg

MotorBackin2.jpg


The Allison in…..coming back right back out!!
AllisonwithPrecision.jpg

Allisonin.jpg

Well, the converter just clears the hub on the Destroked flex plate. In fact there is no clearance once you have the bellhousing bolted. It will be coming out again after I go to the shop for driveshaft fitting. I made a mount spacer for the Allison from aluminum billet I had here. I was amazed at how high the Allison mounts even with my motor mounts so low in the frame. A driver’s side dipstick for the Allison will be ordered very soon.

Allison in with some mods.
A call to Destroked gave us a few important mods to the Allison. We had to grind off the bumps at 9 and 3 inside the bell housing. It fit like a champ after that.
Allisonin1.jpg


I put the new short bed fuel tank in.
FuelTankin.jpg


I also dressed out the new rear axle; complete with brakes and lines

Turbo in. PDI exhaust manifold and oil/water-cooled turbo do not get along! I had loads of fun grinding bolts to get the turbo in. I still need an oil line made. I don’t like the bend in it right now.
TurboIn.jpg


Fluidampr balancer in. Destroked tach kit is now not an option until I can get a 1-1/4” billet spacer and some really long bolts.
Fluidamprin.jpg


AirDog 150 mounted again. The sandwich mount is gone. It’s mounted directly to the frame. I also ditched the crap fuel lines that came with the AirDog. Now if my new ridiculous tank grommet would get here I could put the bed back on. I finally took the gasser charcoal system out and ran straight to the return and made a tank vent. Axle breathers are great.
Airdogin.jpg

Airdogin1.jpg

I should have all of the electrics except wiring in the Allison to the OBDII in the morning. Cab tunnel will be so much fun to cut-out!
 
Ran out of time......waiting on parts

It’s a truck again.
No tunnel cutting required. What a relief that was. The new driveshaft is here. The u-joint clamp kit is not! Long story.
I will put it back together tomorrow and get it on the trailer.
Backtogether.jpg

Backtogether1.jpg

Backtogether2.jpg


On the trailer going home.
Backtogether3.jpg

The people that made this possible. My Dad and his business partner. They hadn’t even put their tools in the new shop when I got there. I’m pretty fortunate to have family like this.
ChumwithDadandChuck.jpg

The nut that came up with this idea! I am not looking forward to going back to being clean-shaven in the morning.
Chumwithme.jpg

I will explain what happened later. I need a few more parts and pieces.
Well, here is the deal. I am missing the serial-to-USB adapter to make the XFC programmer work. Without this; the Allison won't be able to shift. Loads of fun trying to get someone to make another one, so far. I will call Destroked in a few and see what they say.

I'm still missing the installation pieces for my front sway bar. Thanks Hellwig! I love companies that don't pack boxes properly. Thanks again Hellwig! I really appreciate being sold parts that don't exist. If anyone remembers, the first week of this project I found out the factory sway bar was broken. I've been waiting that long to get a complete replacement.

Wiring, wiring and wiring. I removed a lot of the remaining gasser pieces. I still need to finish wiring up everything so the truck can run minus the old EVAP system.

Air Conditioning! Not an option anymore. The Garrett 3782 is a lot bigger than the HX35. I don't just mean diameter; it's 2.5" longer as well. The dryer will not fit in the truck now. I guess hot rods are really meant to be hot.

Floor patch. Well, my big MIG ran out of gas Friday or Saturday so the floor patch was not welded all the way around. I was going to grab my little MIG and run flux wire but I was getting pretty tired of trying to weld paper to paper. Ford Focus doors make great patch!

Allison cooling. I have learned a lot about the differences in Allisons now. 5-speeds use #8 or 5/8" fittings and 6-speeds use #10 or 7/8" fittings, so the guy that I handed all the parts I had that didn't fit. Anyway, they are all in now and run to a Setrab cooler.

Moving my starter to the passenger side of block. That's just plain fun. The lines now have to be re-made to run along the back of the front cross member. I have spent more money 0/0 battery cable than I care to mention.

Bed-mounted batteries. The good; extra 125 pounds in the bed. The bad; extra $200 in 0/0 cable. The really bad; my X2 AGM batteries don't fit in my boxes. I will make them fit. I refuse to buy new batteries again.

The short list of things that never made it to me;
Serial-to-USB for my Destroked XFC
Suncoast filter lock and deep filter kit-They must ship once a month.
The rest of my Hellwig sway bar installation kit.
McGauhy's 2" drop spindles. (Somehow I forgot to order these.)
One nice chunk of billet and longer bolts to make a Destroked Tach kit work with a Fluidampr balancer. ( I still need to have that machined. I have the billet sitting in the shop.)

The long list of things that did make it.
Short bed conversion
POR-15 frame (waste of time prepping. The stuff sticks to rust and dirt but not bare metal)
AAM 11.50 rear axle, lots of work to match all of the brackets from the old 10.50
McGauhy's 2" drop leaf spring hangers and shackles
Custom one-piece driveshaft
Allison build (including all of the parts that had to be modified to make it work. Custom mount spacer and removing inner bellhousing nubs)
Left-side dipstick for the Allison (sounds easy but you have to clear the firewall, head and injecor lines)
Head gasket and ARP Head Studs
Oil pump, suction tube and pan
Water pump
Colt cam, Hamilton Springs and Pushrods
DDP Injectors
Fluidampr balancer
aFe intake horn
PDI Exhaust Manifold
Garrett GT3782R water/oil cooled turbo
Mag-Hytec pans for the axle and Allison
Destroked remote oil filter kit
AirDog mounted directly to the frame now with new lines
Amsoil dual bypass oil filter mounted on the frame
Adrenaline 4K upgrade
Trans temp gauge and 60lb boost gauge

Did I miss anything?

I would like to say thanks to my Dad since he keeps me from using the hammer and torch on most pieces. He also made this build possible and put up with me for a month. We spent the evenings on the first two weeks or so of the project building a beauty shop at the house. That's family.

I would also like to thank Chuck; he and my Dad have been in business for 15 years and I consider him family. He is way more patient than I am and he helped in a few spots that had me stumped. I also had the parts fetcher ever; Bob.

Bob turned 77 last week and he was always in the shop making sure I had everything I needed or going to get parts if he could get them locally.

I also had lots of help and parts from Adam at Smokin' Okie Diesel. Yeah, he is the guy that I call parts breaker and has what might be the best quote ever. "It wasn't even tight yet, I wasn't hardly even turning."

Thanks to Mike L at ITS for all the advice on the Allison and keeping me from putting a bearing in upside down.

Thanks to Tony at All Season for helping me source the axle and advice on how to get the guys at the parts stores to get me the right parts.
 
sweet build. what are the intentions of this truck? racer? or just a street truck. pretty cool
 
Awesome build. I don't think I could ever be patient enough to do something like this.
 
It's just a little 500HP driver. I need to get a line on some trac bars and hit the track at least once, though.
 
Top