Robts Custom Stereo Install

Robts

Proud Fummins Owner
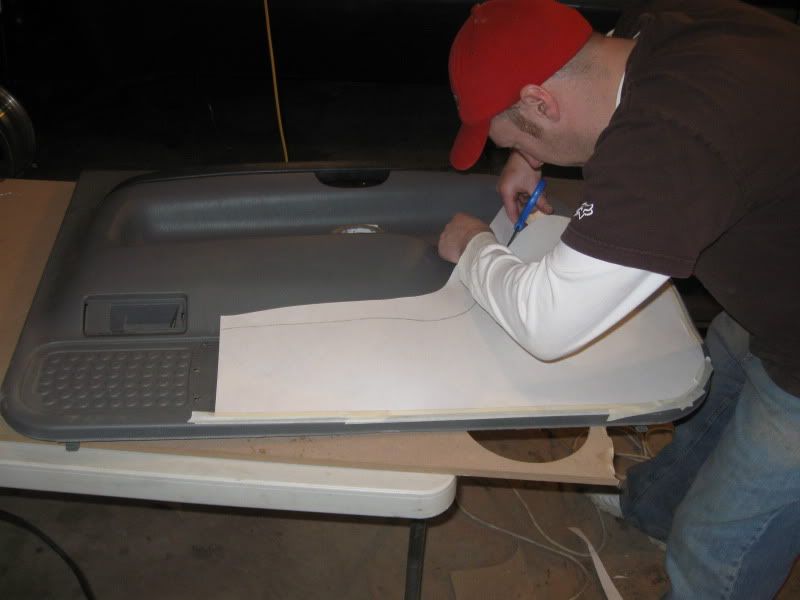
Allright..Im redoing my stereo this winter. It will have a Fibraglass door, Rear center consol with (2) JL Audio 10/7, Custom Front center console holding a 17" LCD monitor for the rear and tons of power 2600 to be exact. Words cant describe what Im about to do but you all know I dont do anything half A**

I sold most of my old stuff and time to redo it

Here is my new list

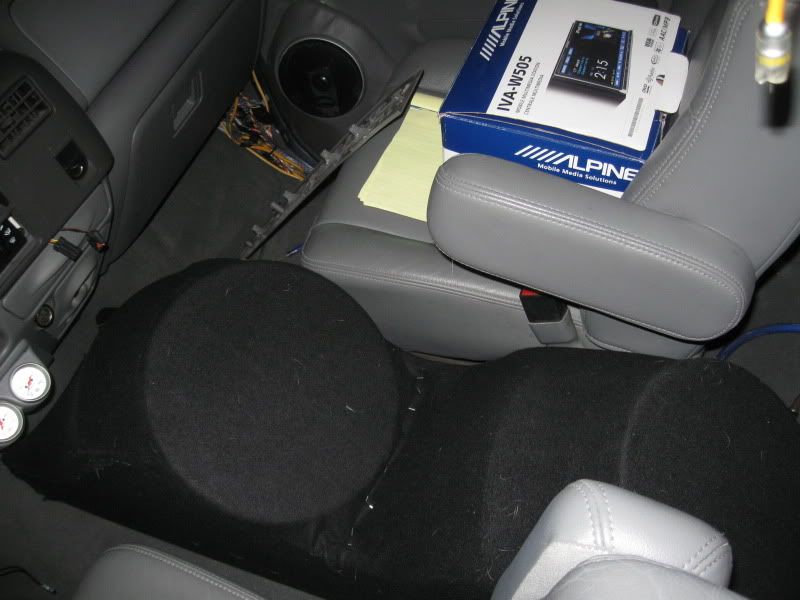
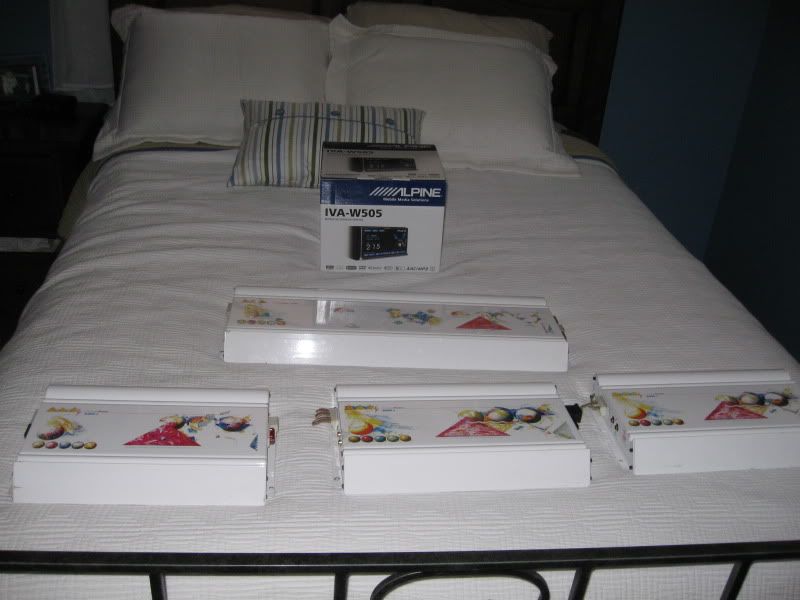
Alpine w505 DVD player(buying this week)
Alpine rear overhead dvd montior for the rear viewing
Qty 2 of PPI Art series A600.2 (old school amps) 300x2
Qty 1 of PPR Art series A404.2 (old school amp) 50x4
Qty 1 of PPR Art series A1200.2 (old school amp) 1200x1

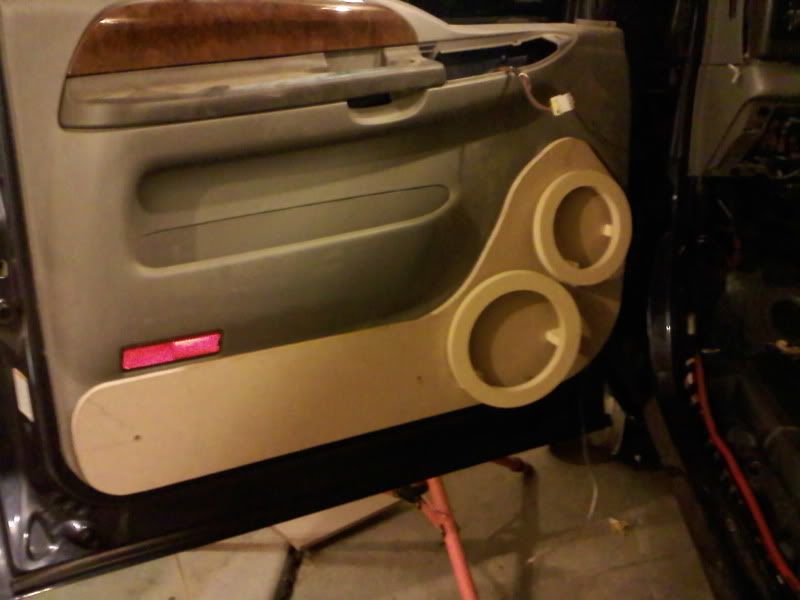
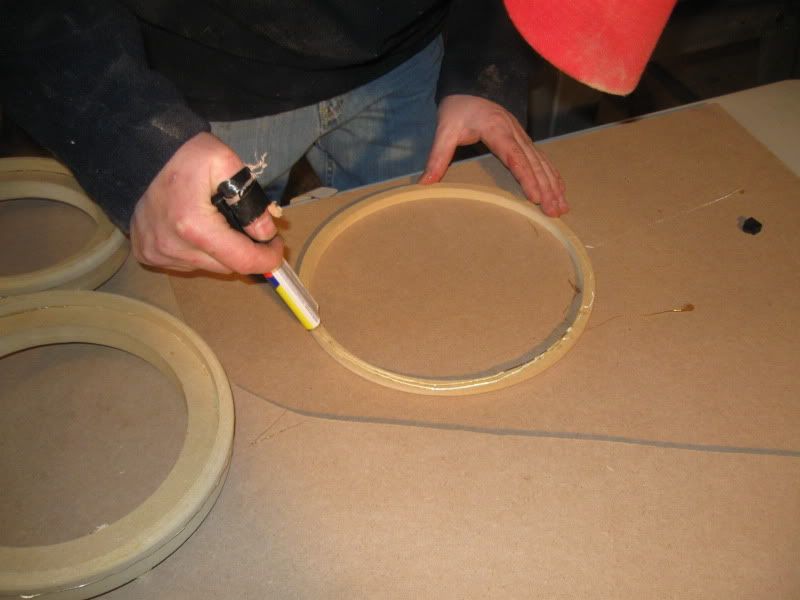
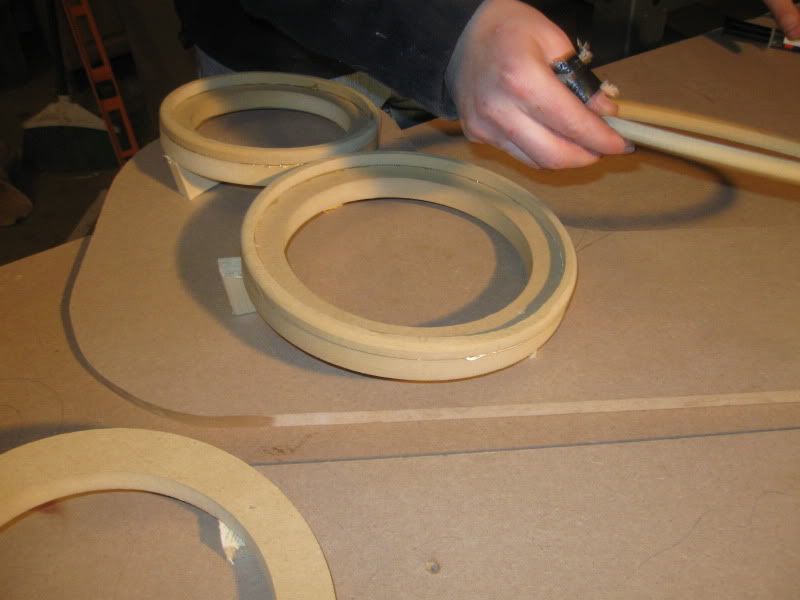
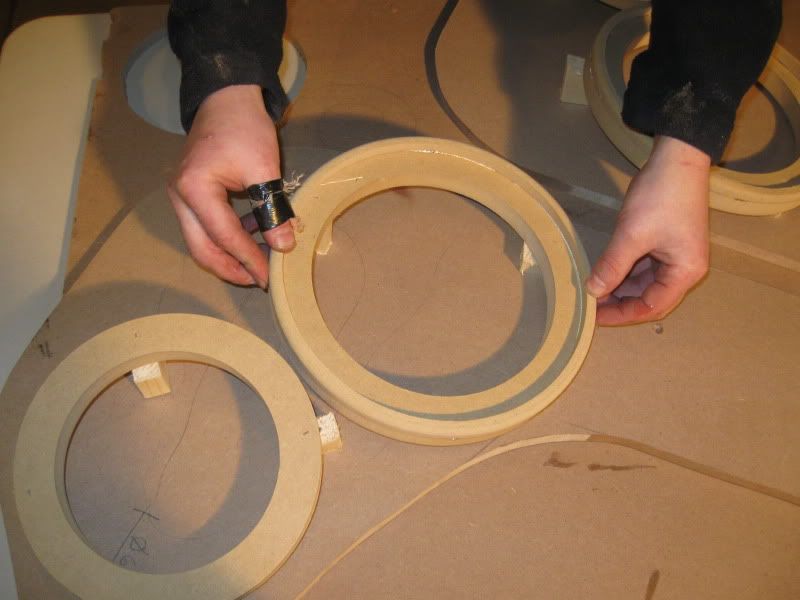
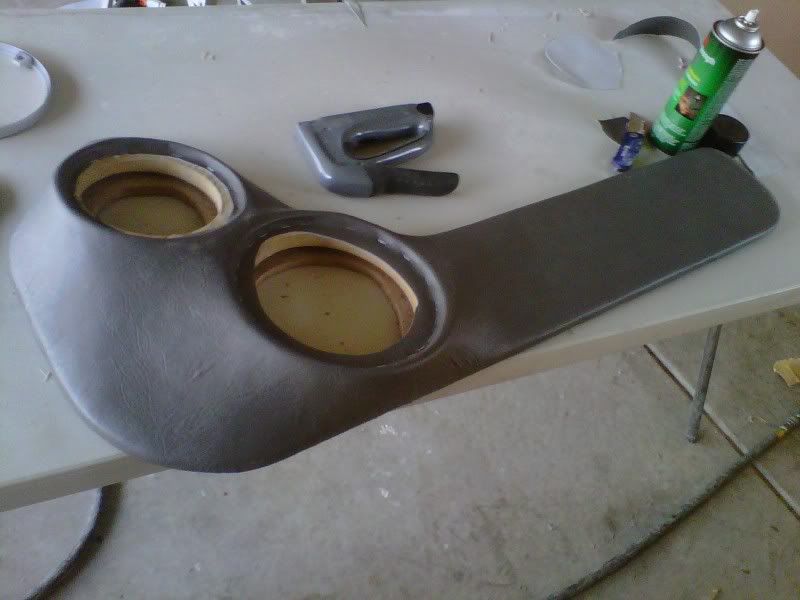
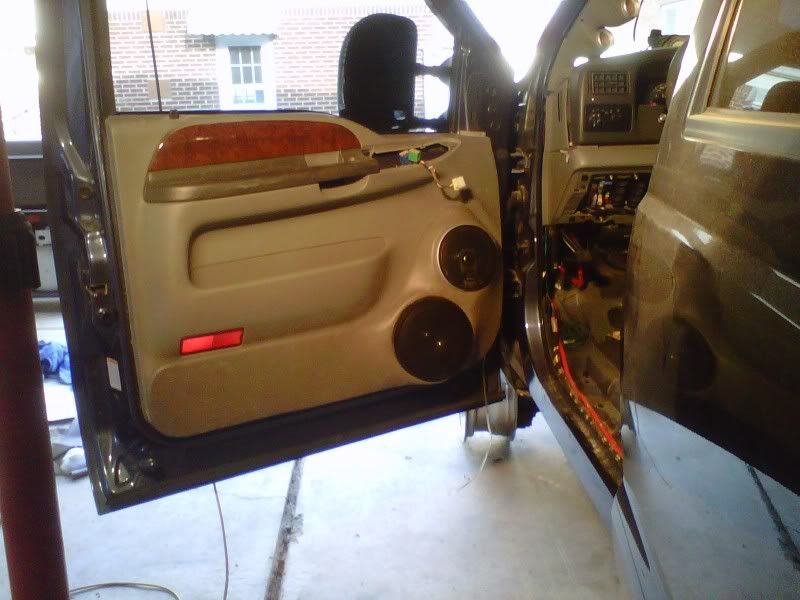
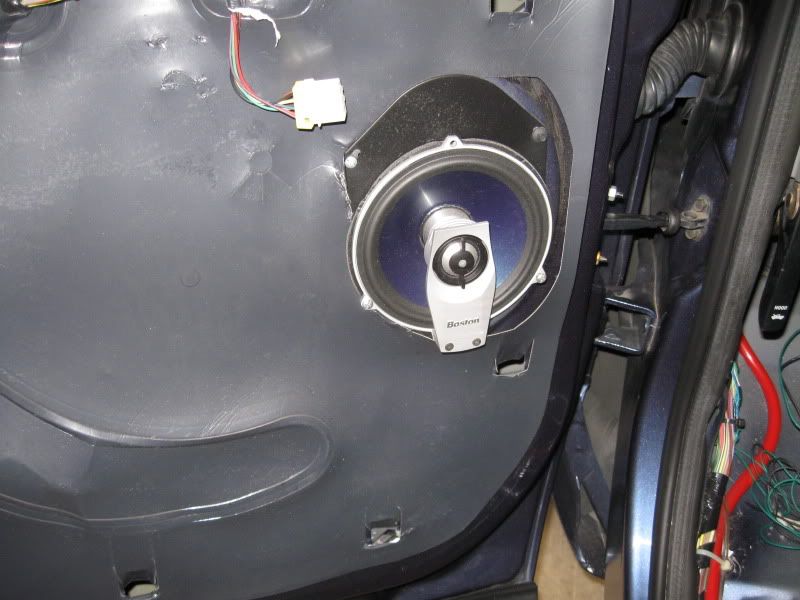
Im doing 2 sets of boston pros in each of the front door(one A600.2 on them) with a JL Audio ZR800(8" mid bass(with another A600.2 on them) Up top, that little corner piece on the door im mounting another Boston tweeter(2 channels of the a404.2(50x4)). That is one door

The rear door will house another 6.5 boston pro with the rear channel of the A404.2

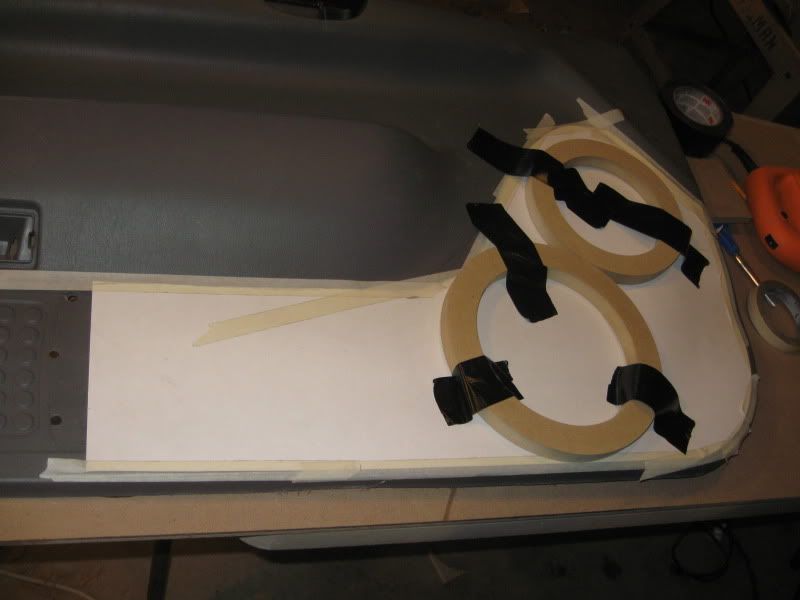
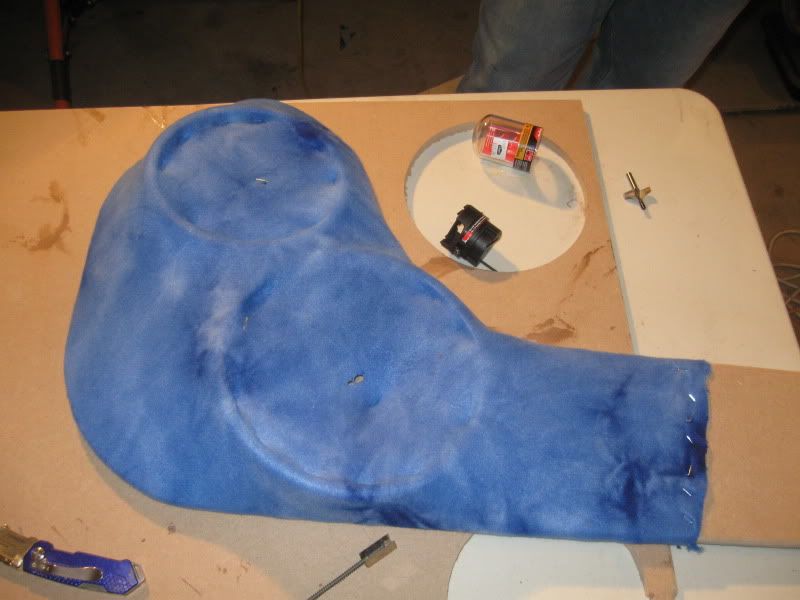
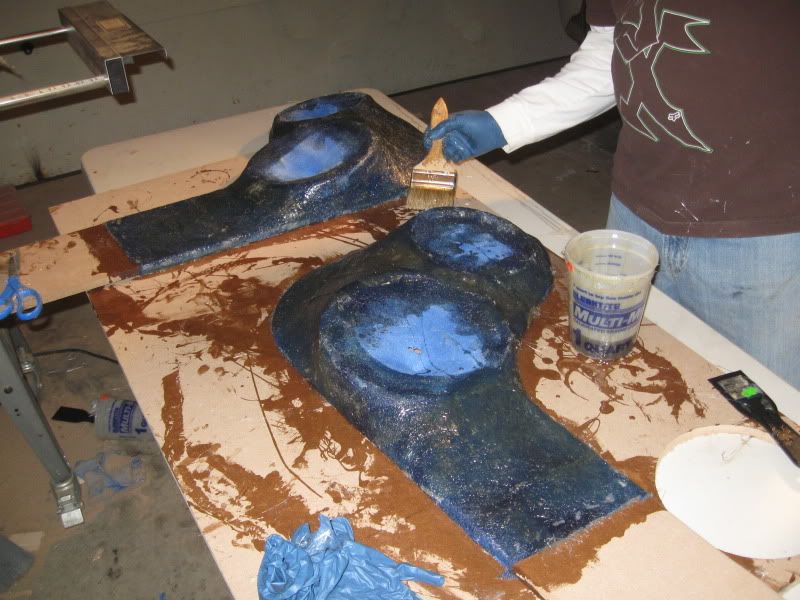
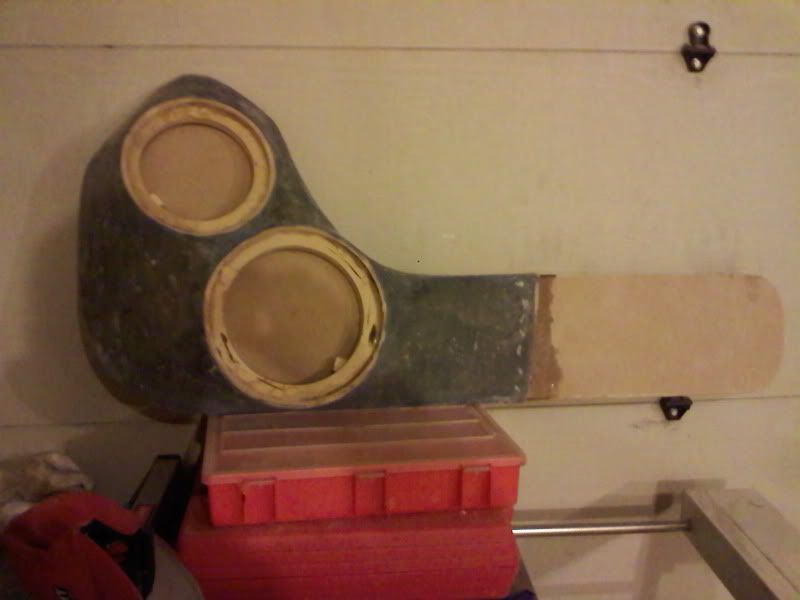
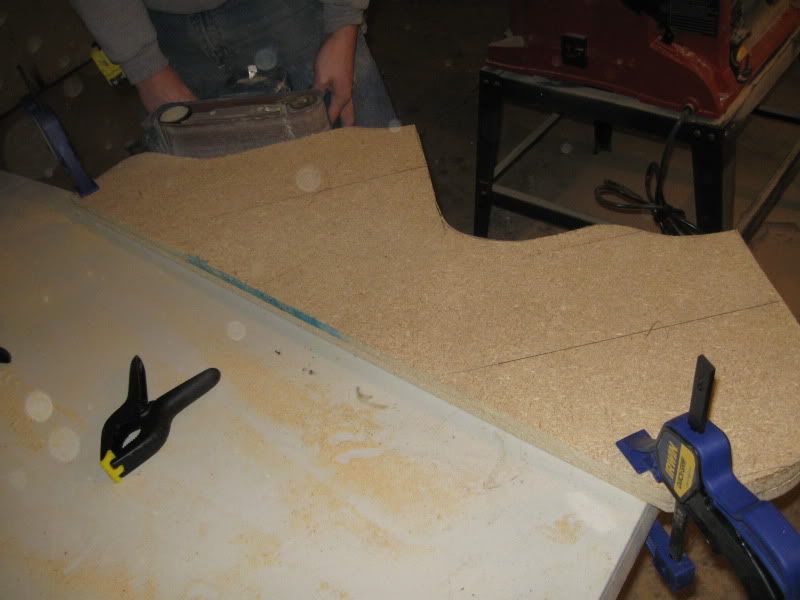
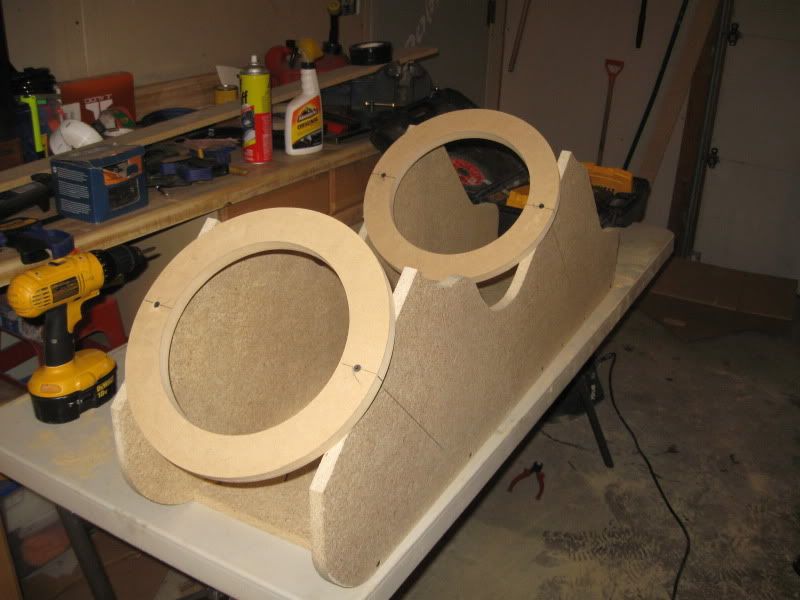
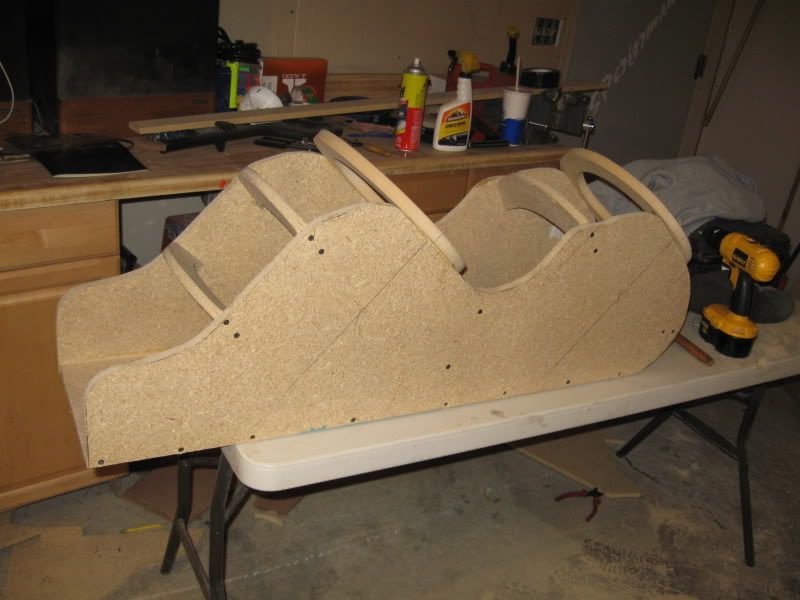
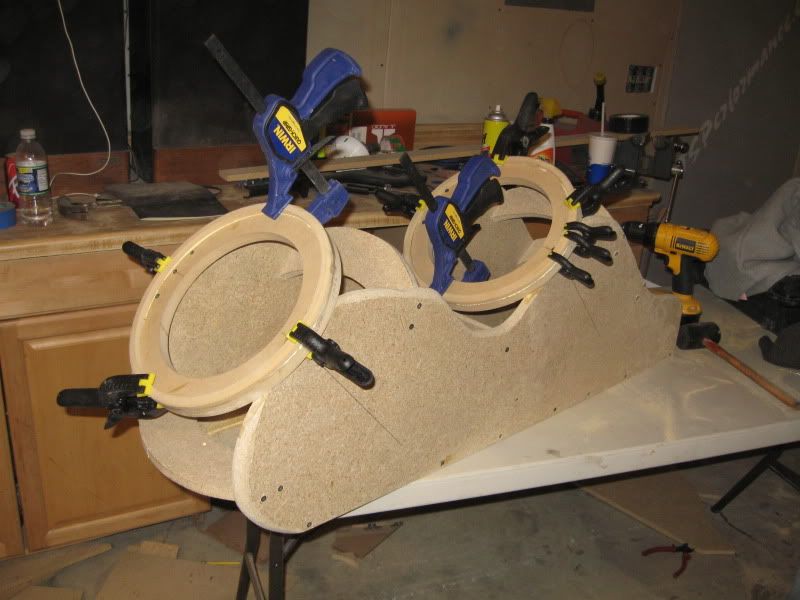
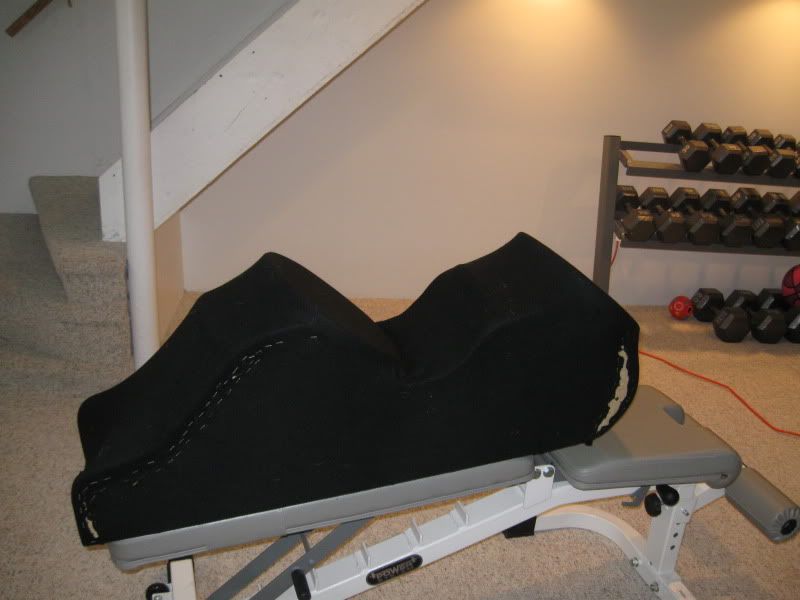
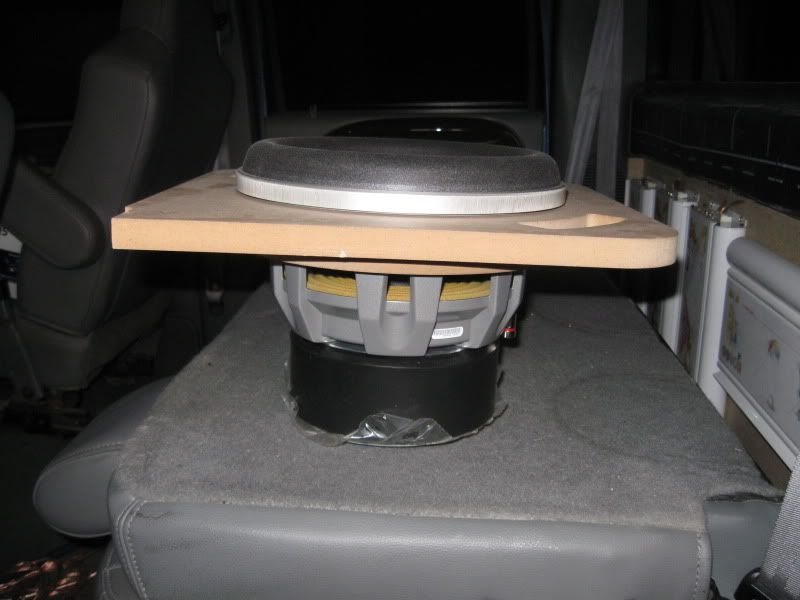
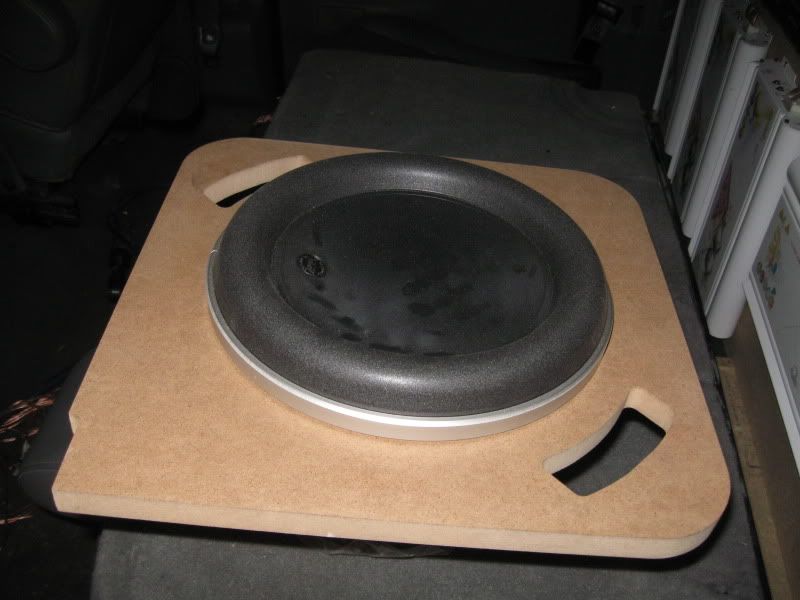
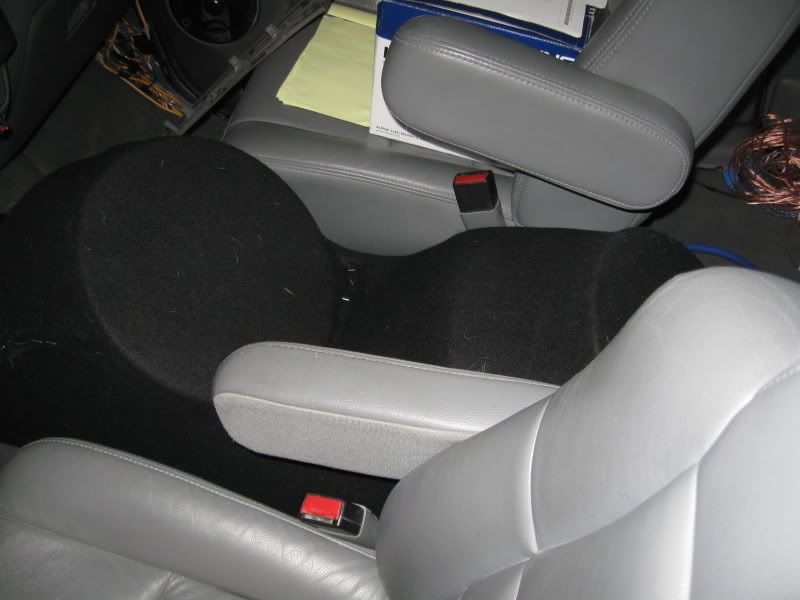
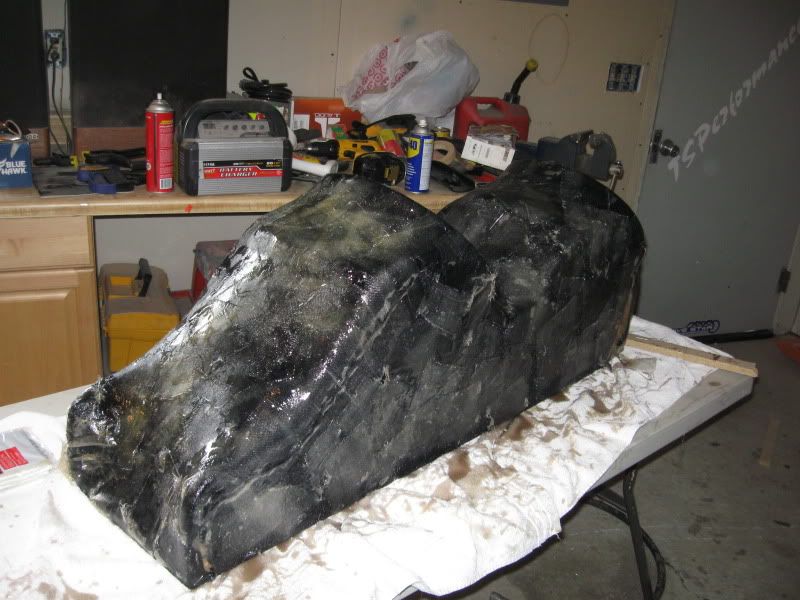
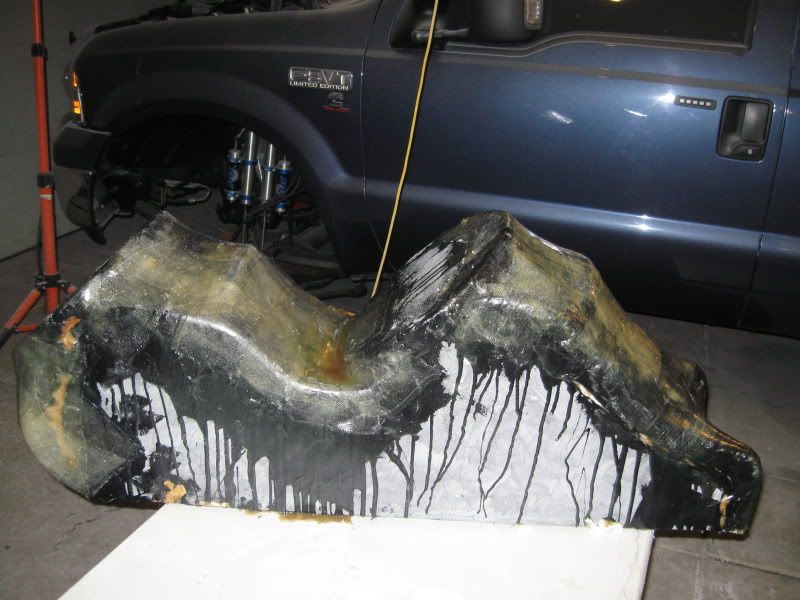
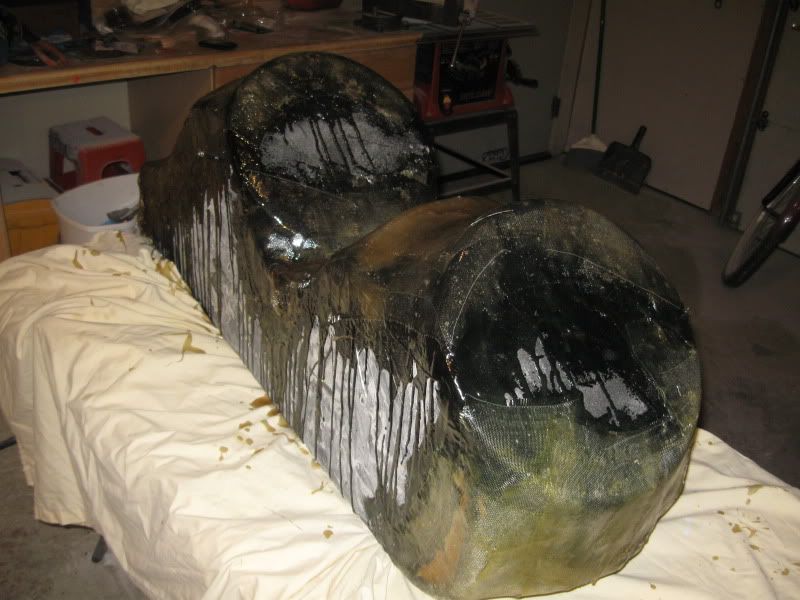
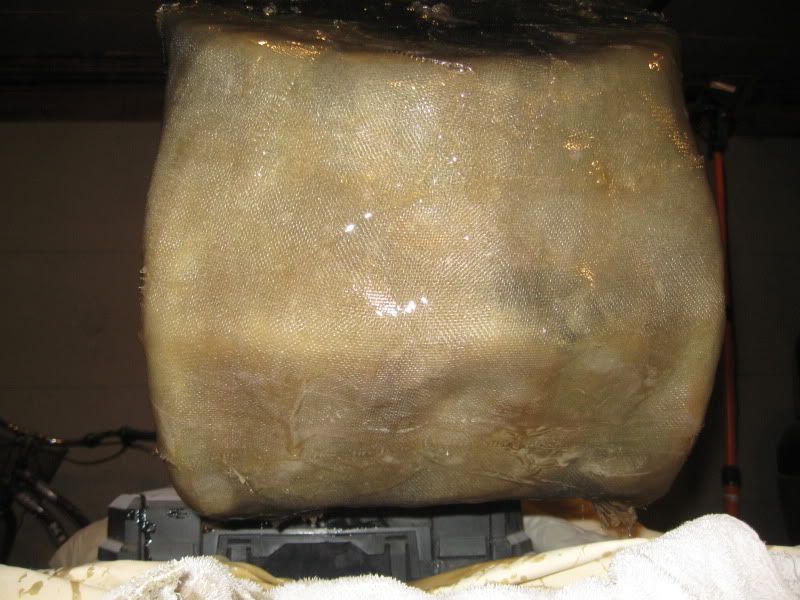
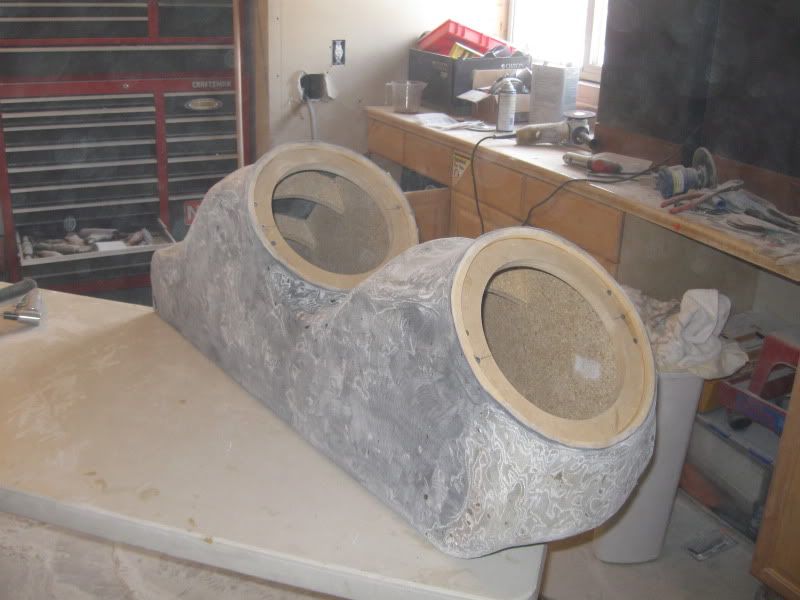
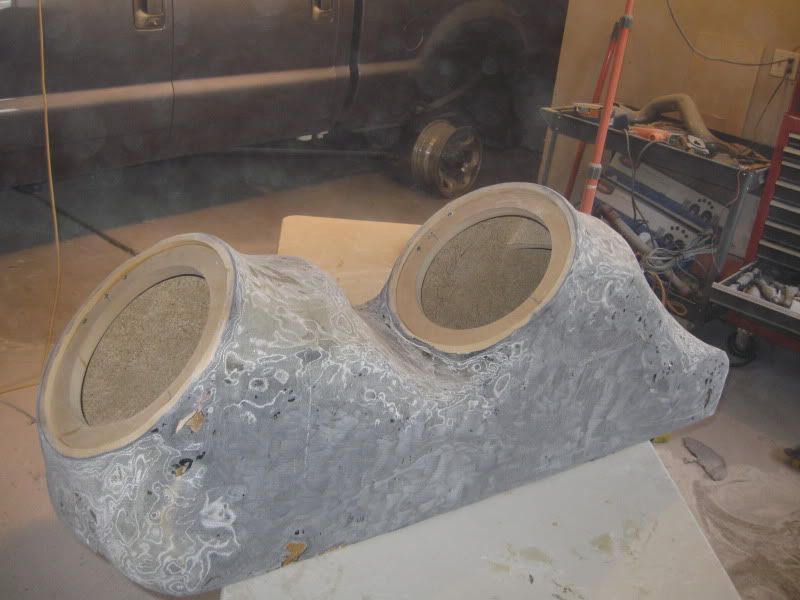
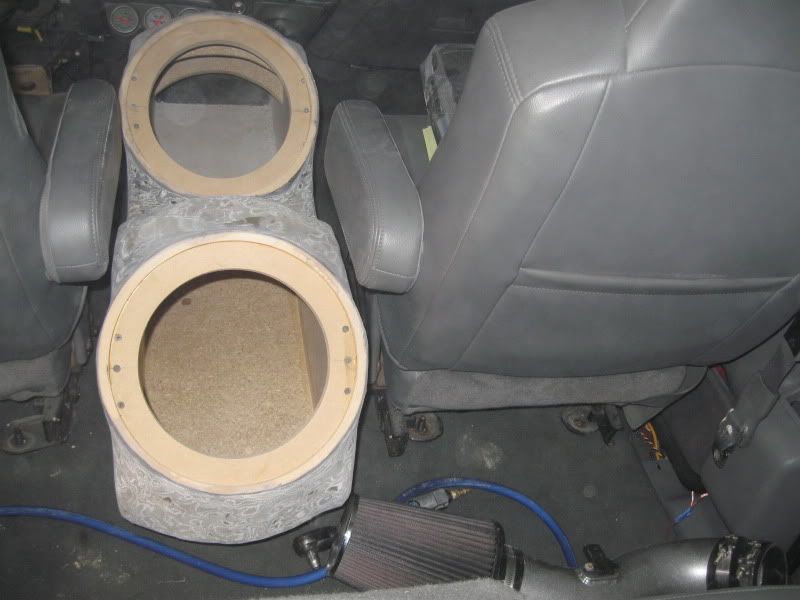
The subs are Going to be (2) Jl Audio 10w7 in a custom rear Center consol.

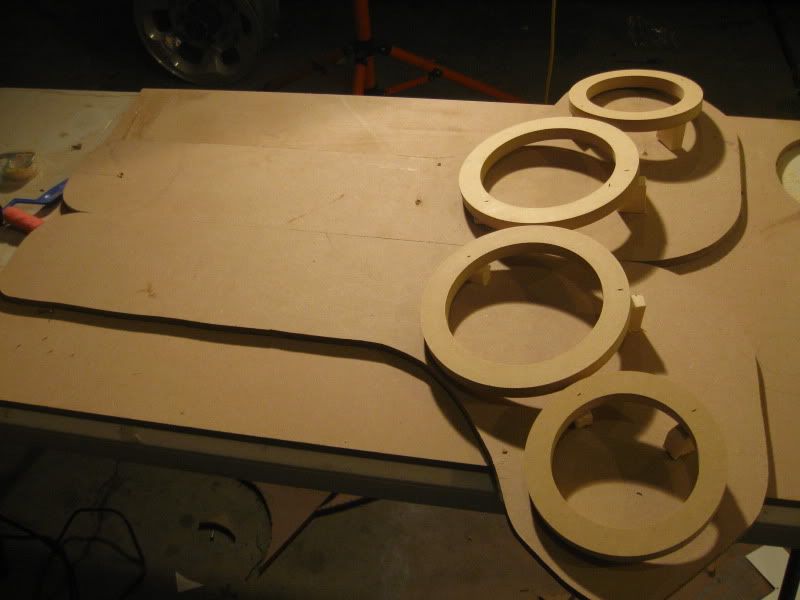
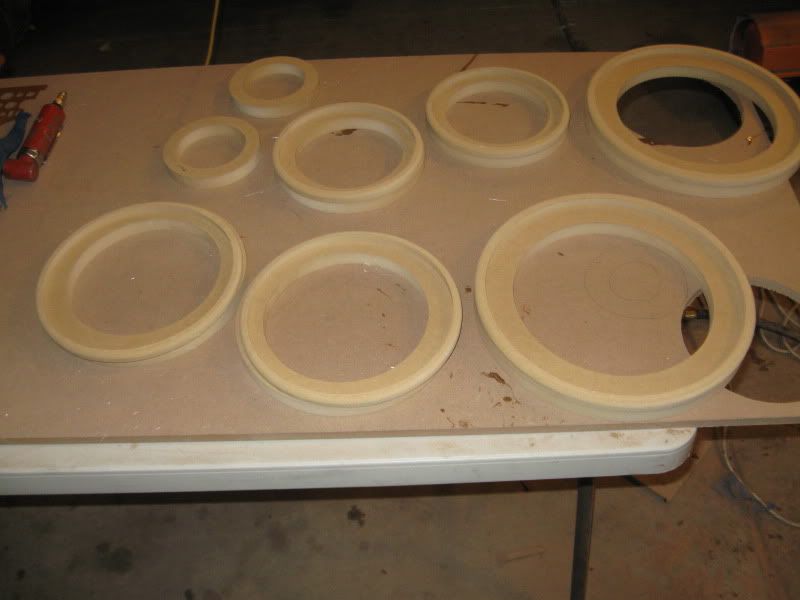
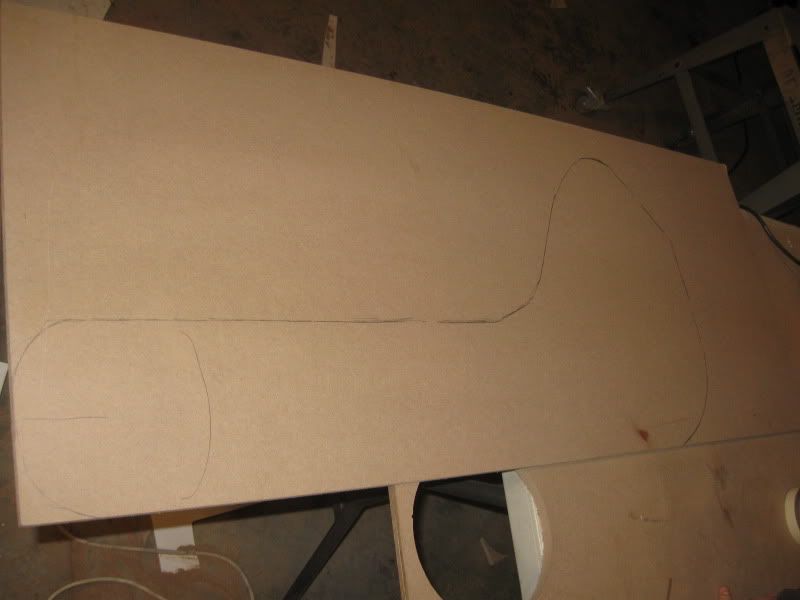
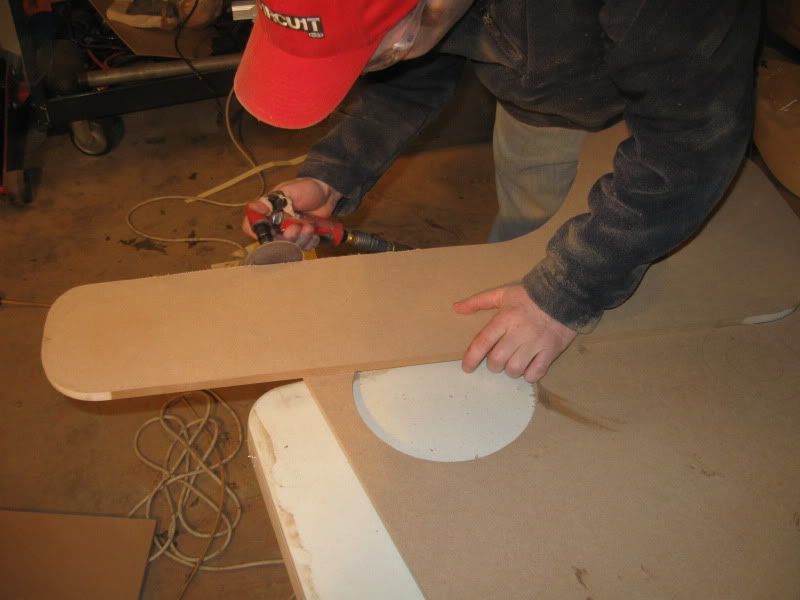
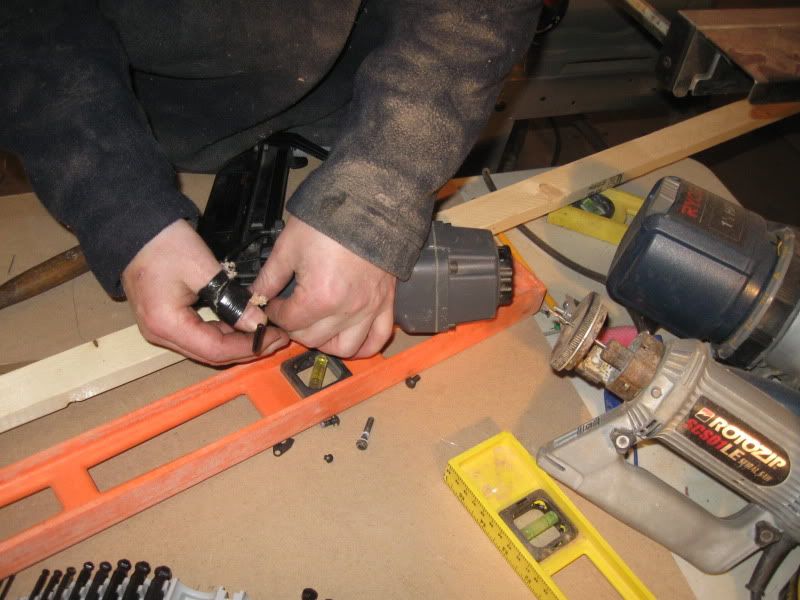
It will take all winter and will be full custom.

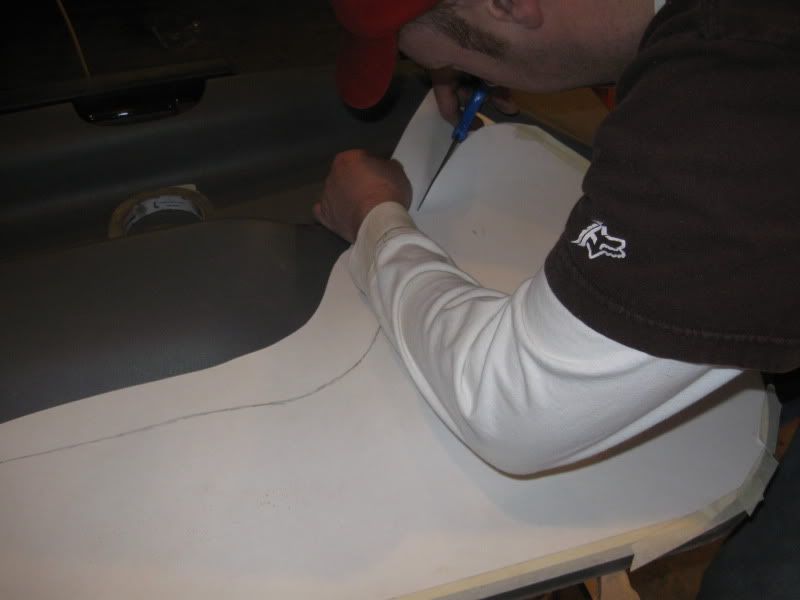
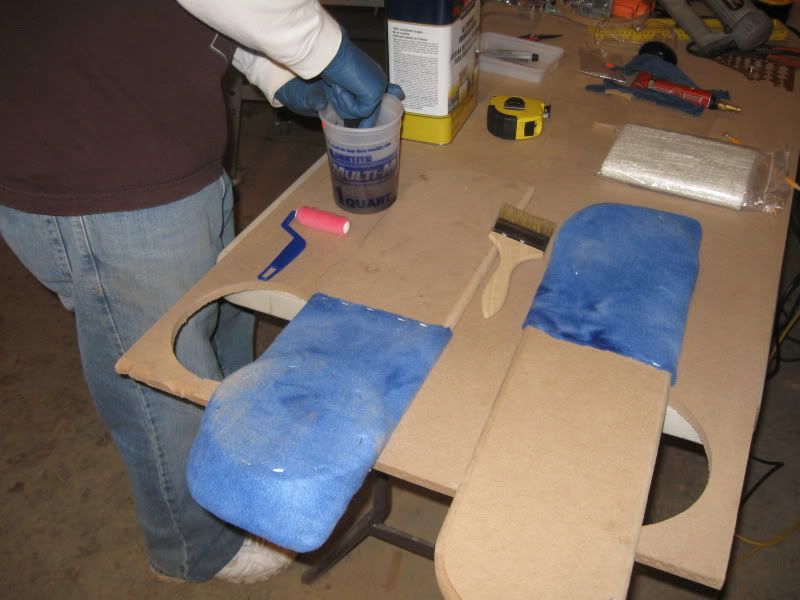
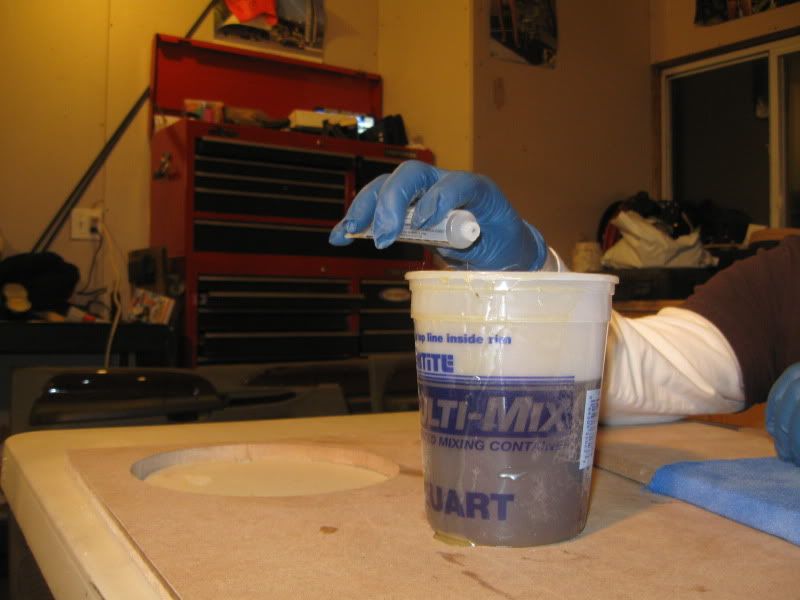
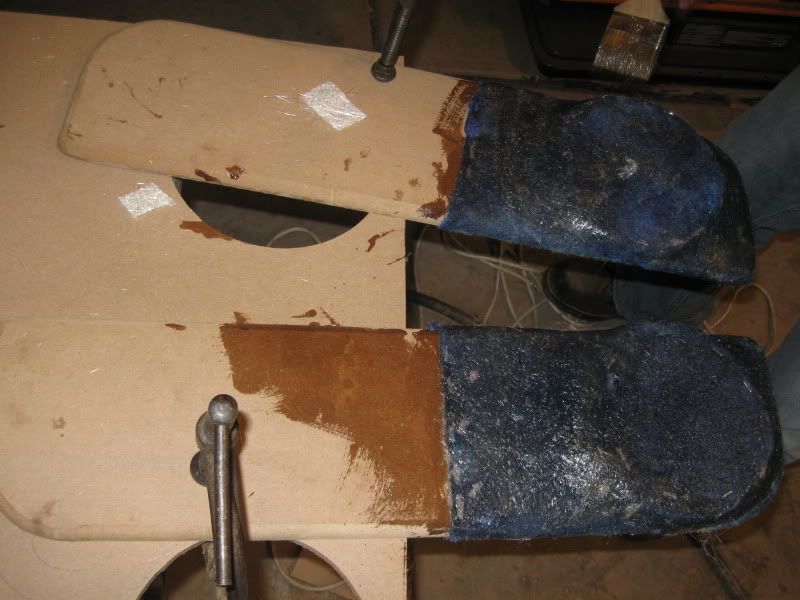
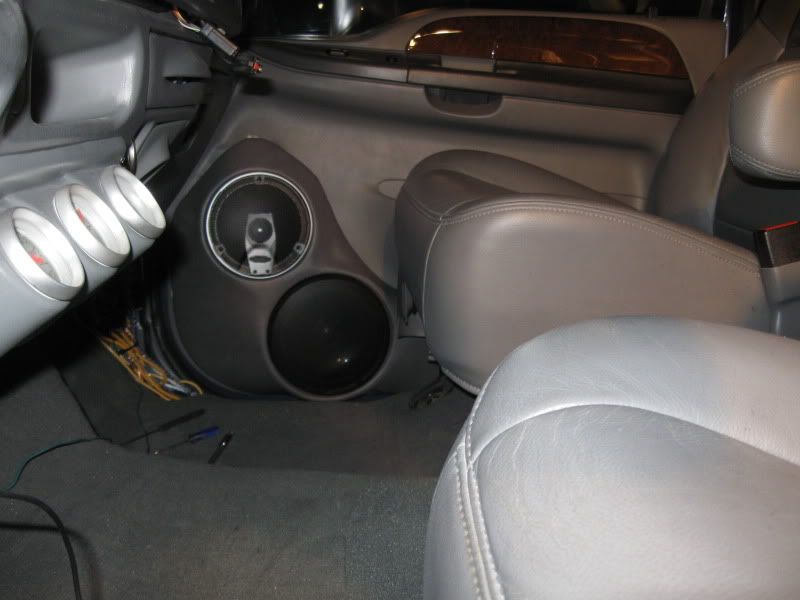
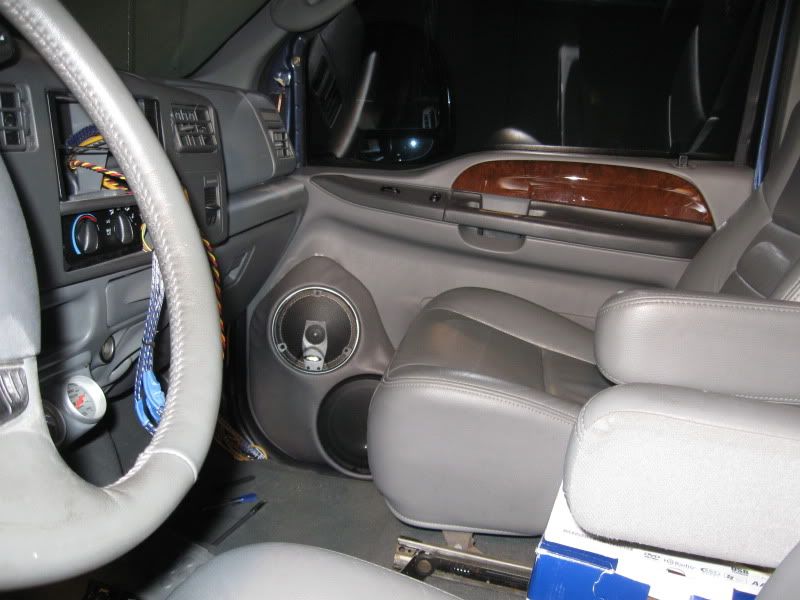
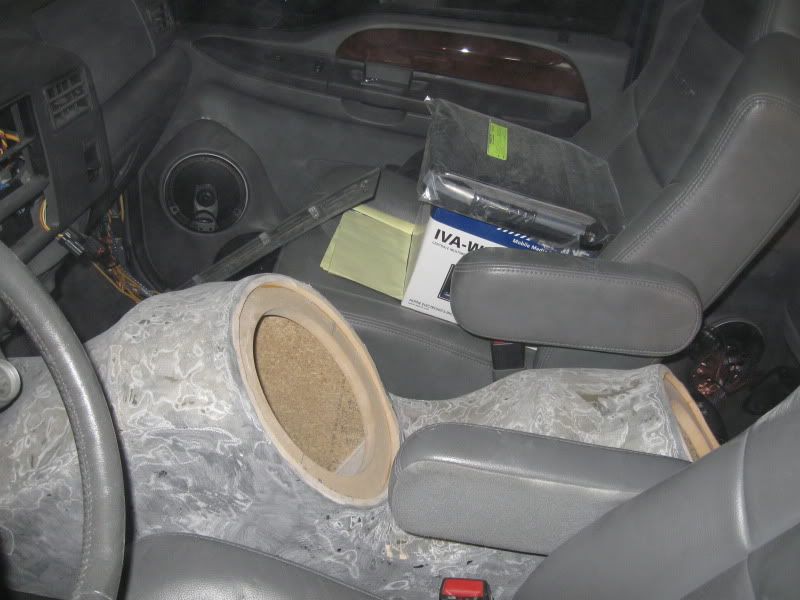
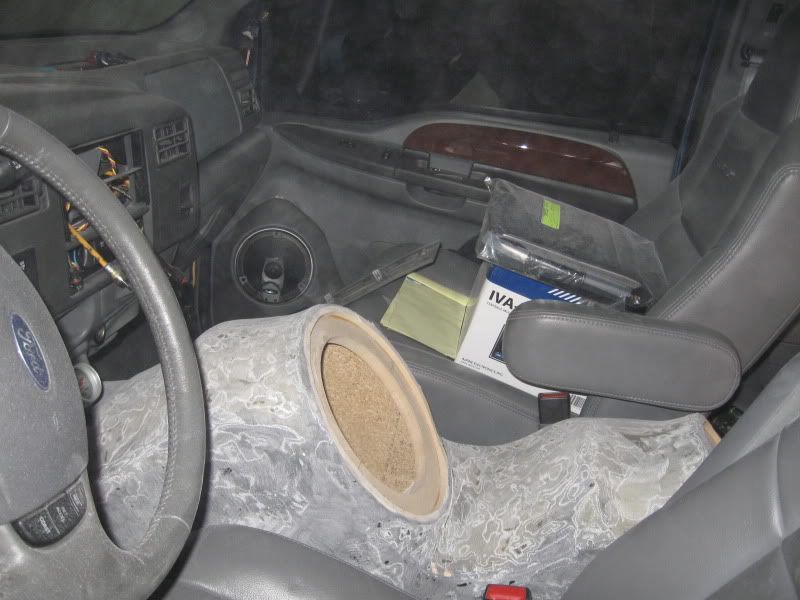
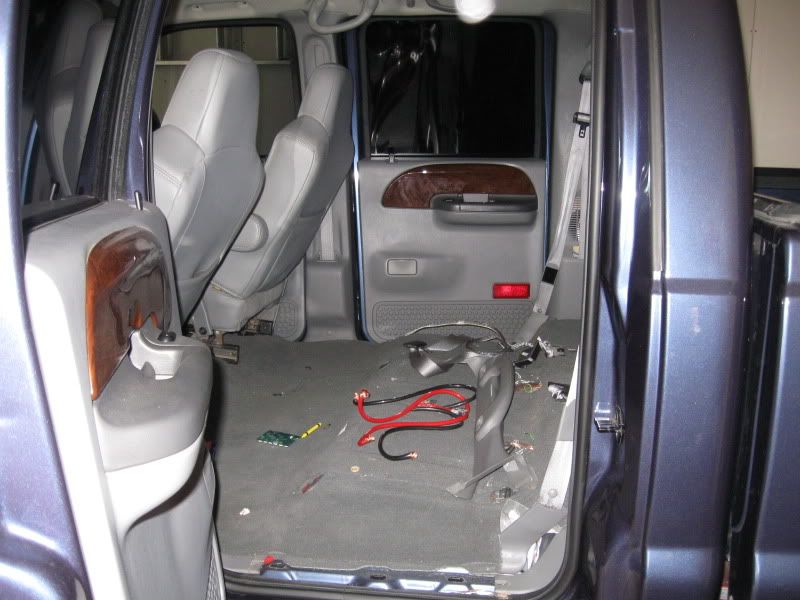
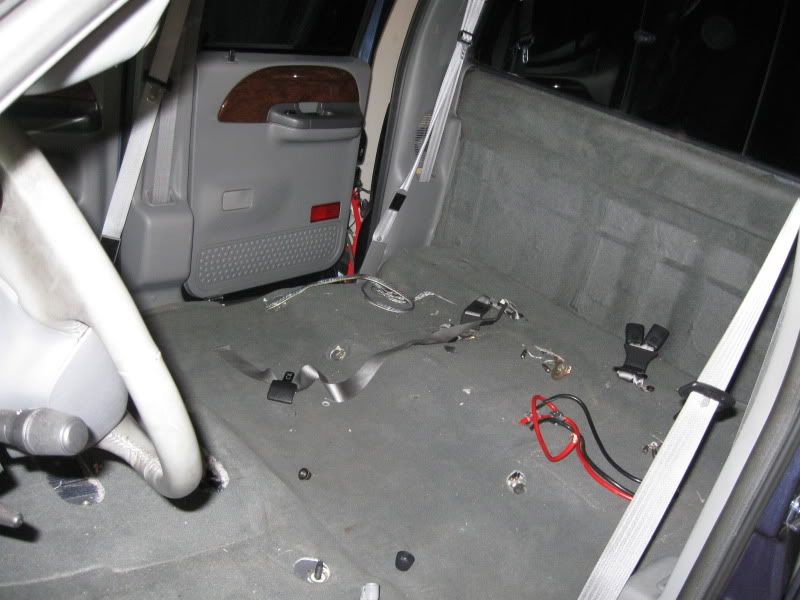
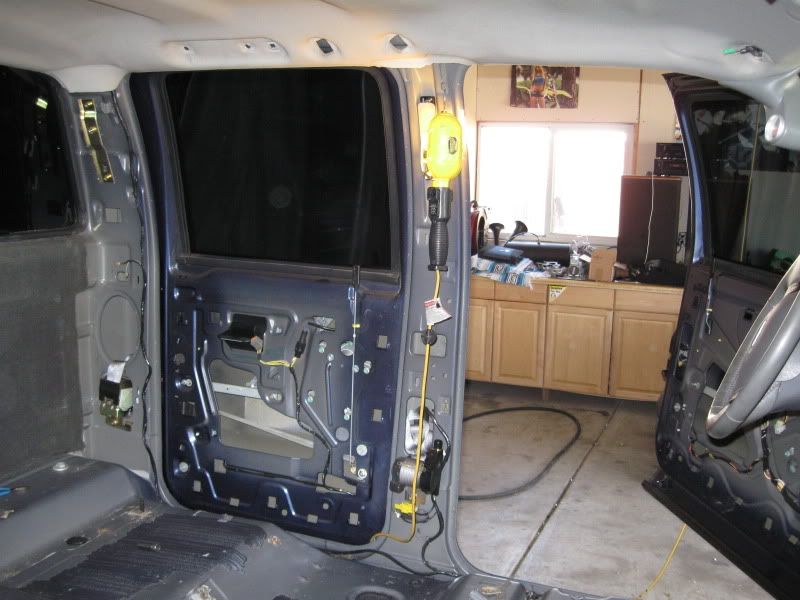
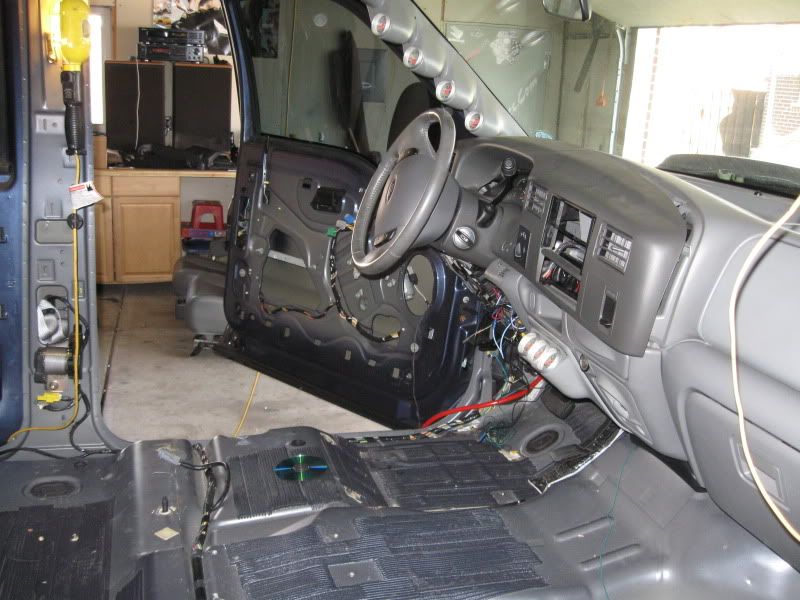
It will be fully custom and here are the first picks. The Tear down

IMG_0669.jpg


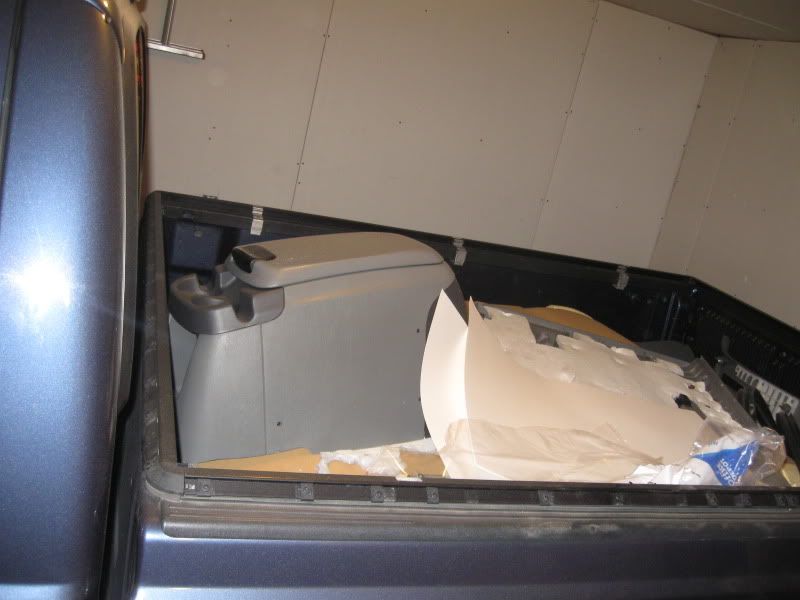
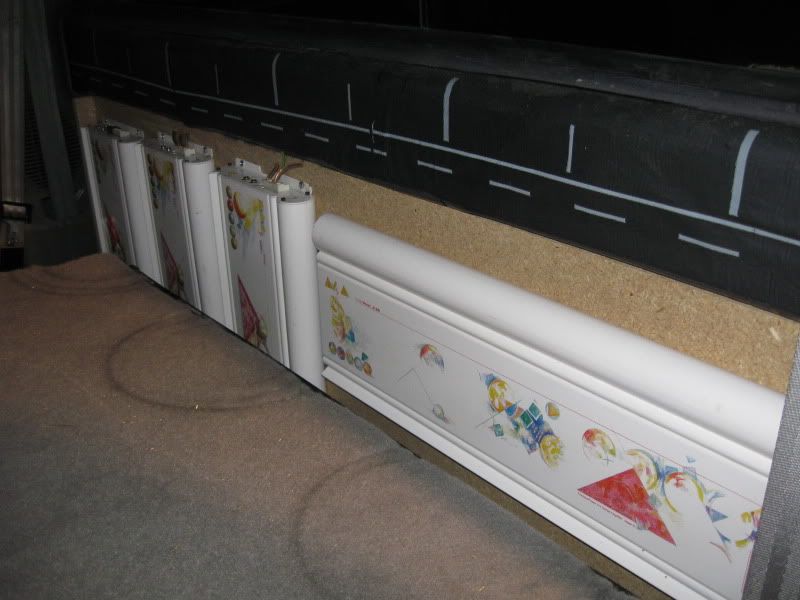
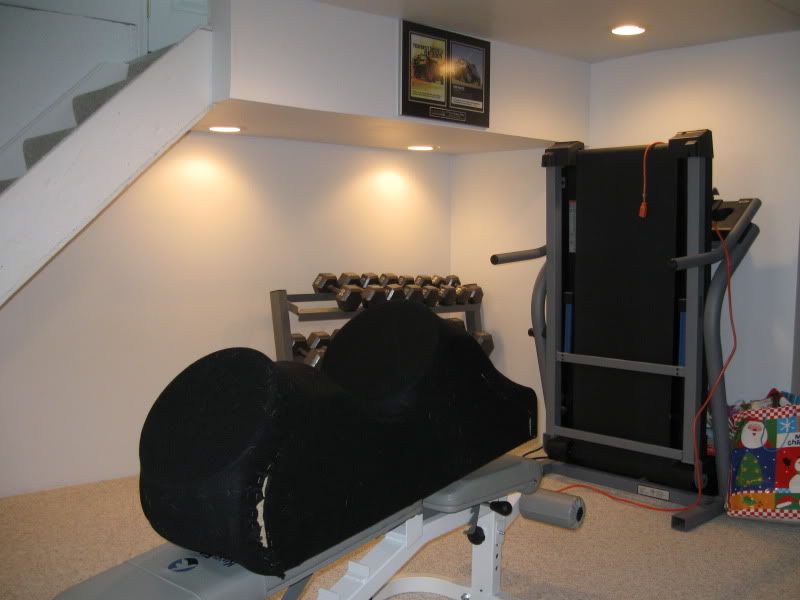
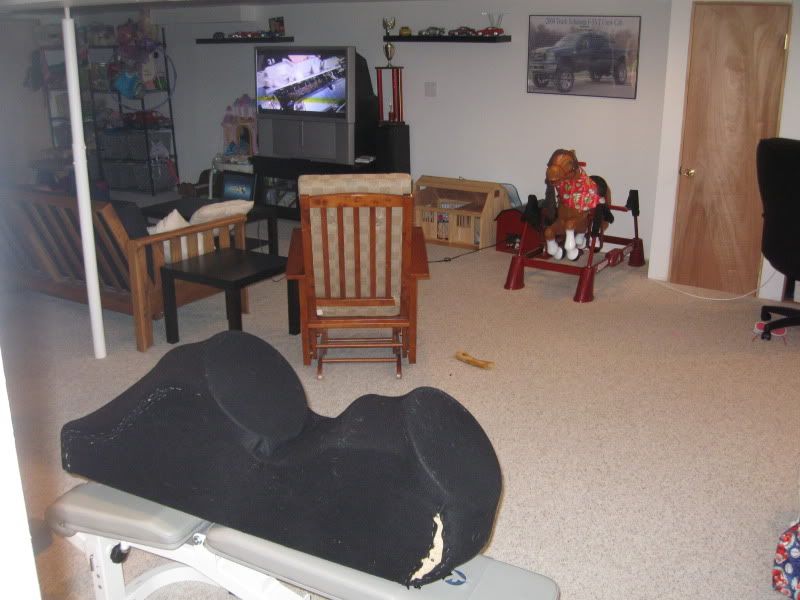
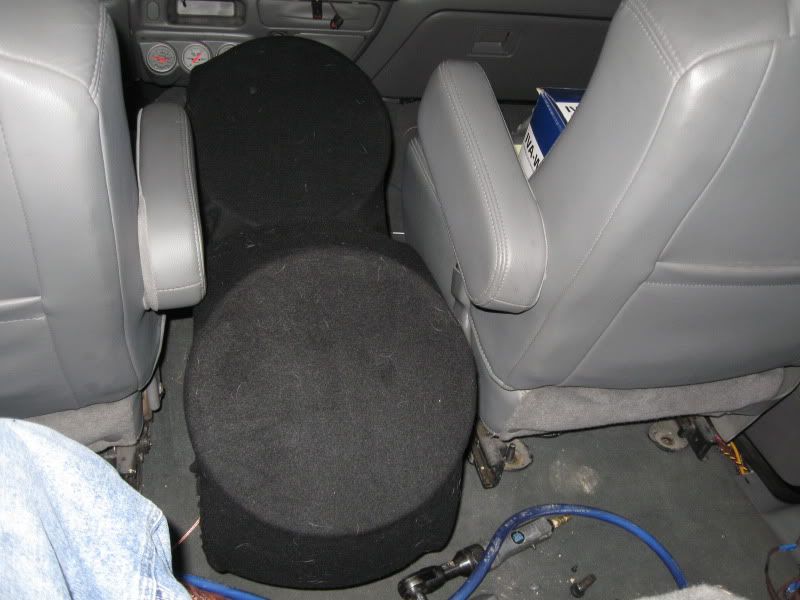
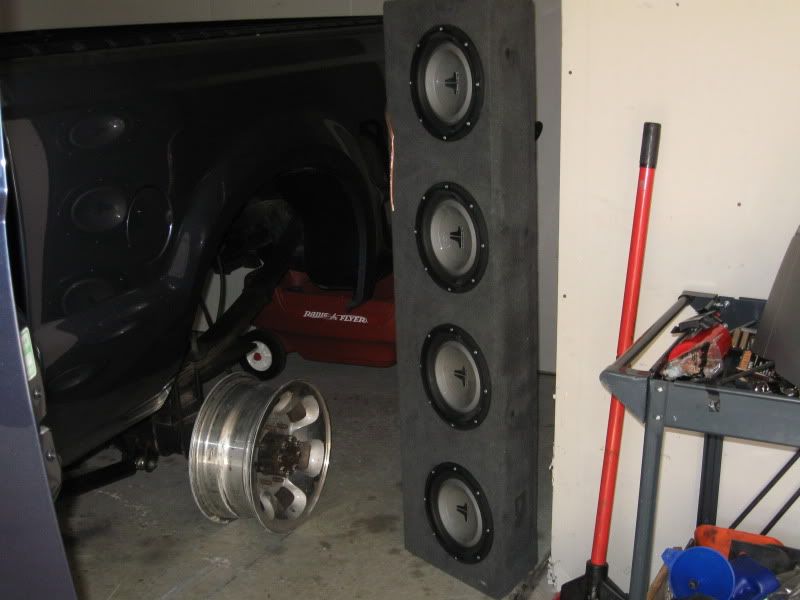
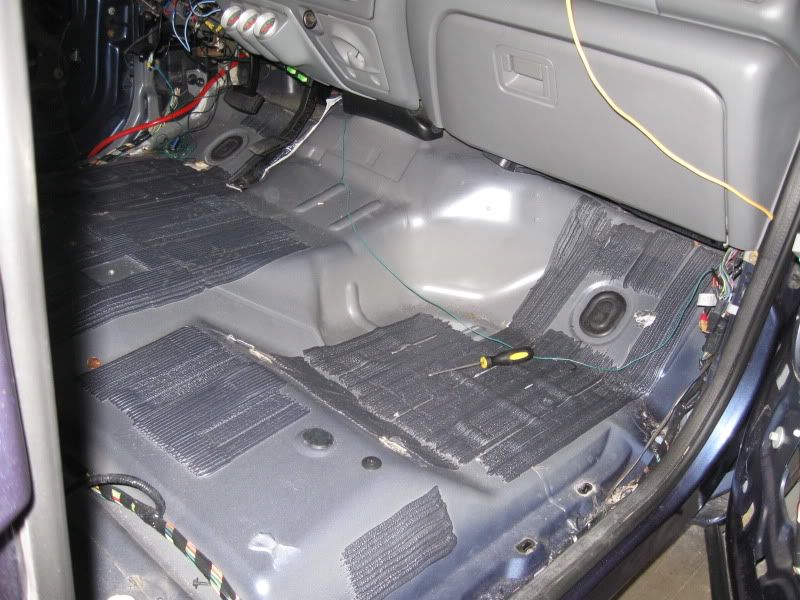
Old sub box going bye bye
IMG_0670-1.jpg


IMG_0672.jpg


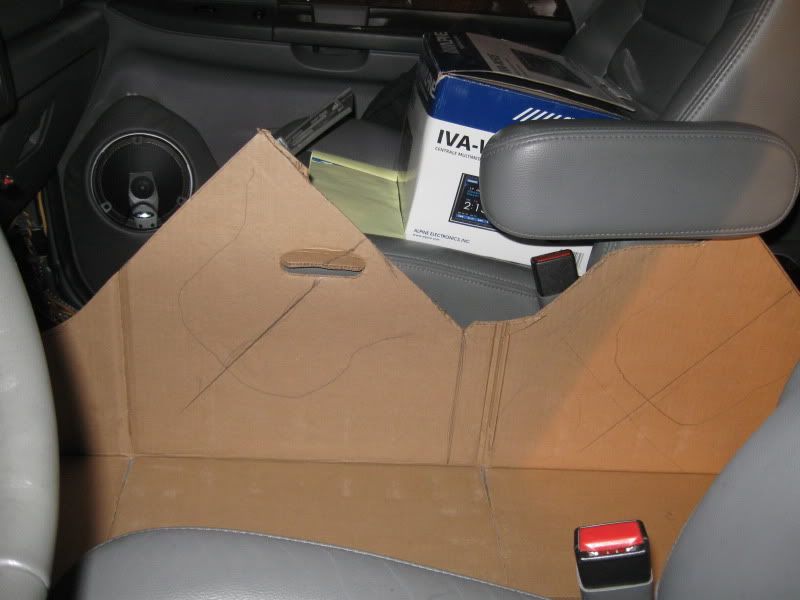
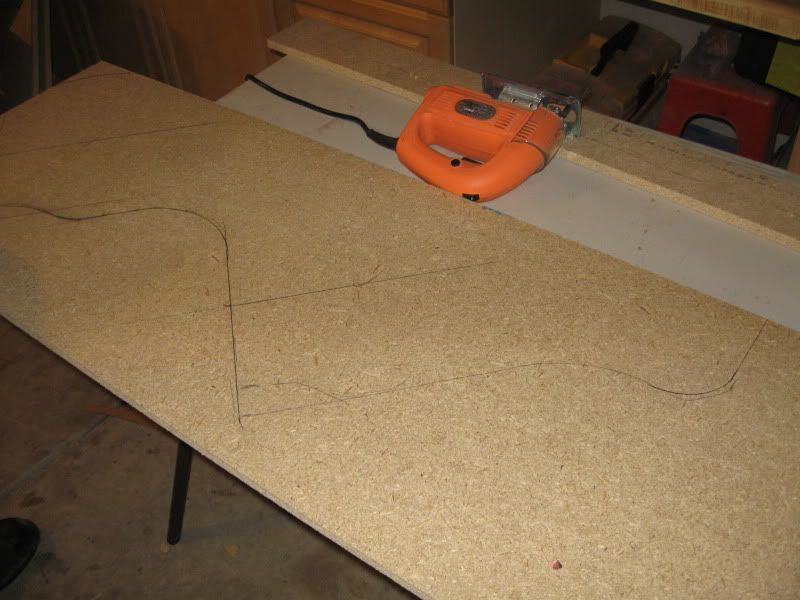
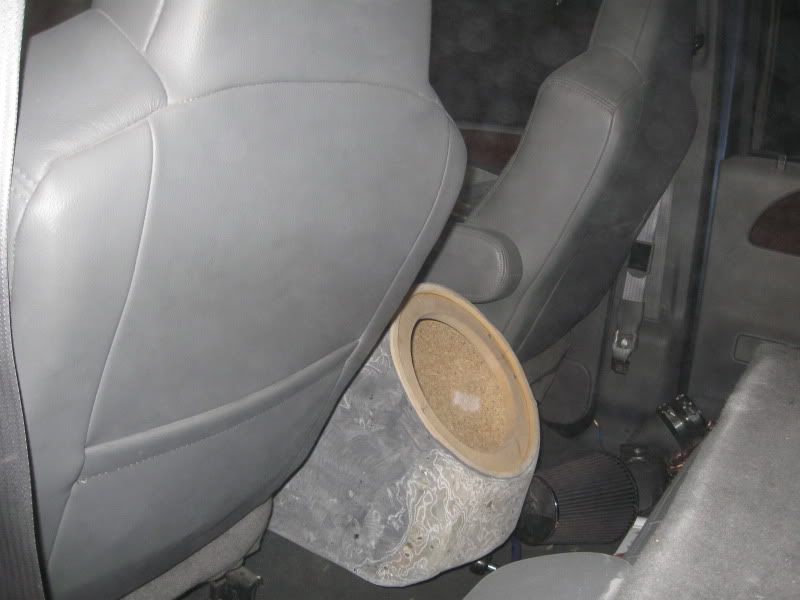
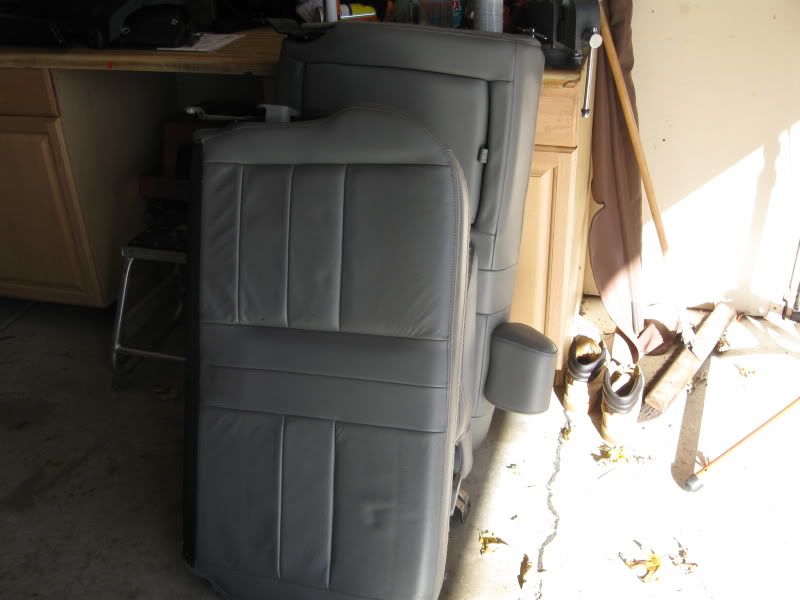
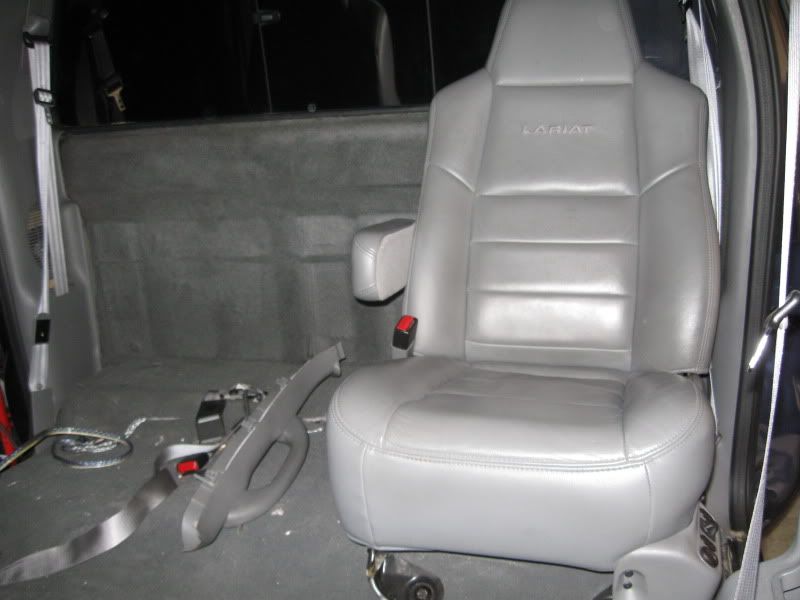
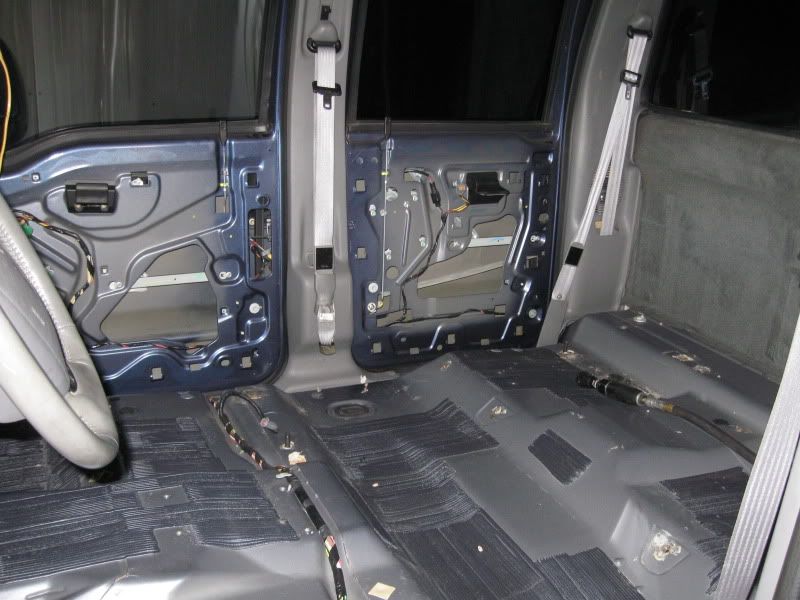
Checking the fit of the front buckets mounted in the rear

IMG_0673.jpg


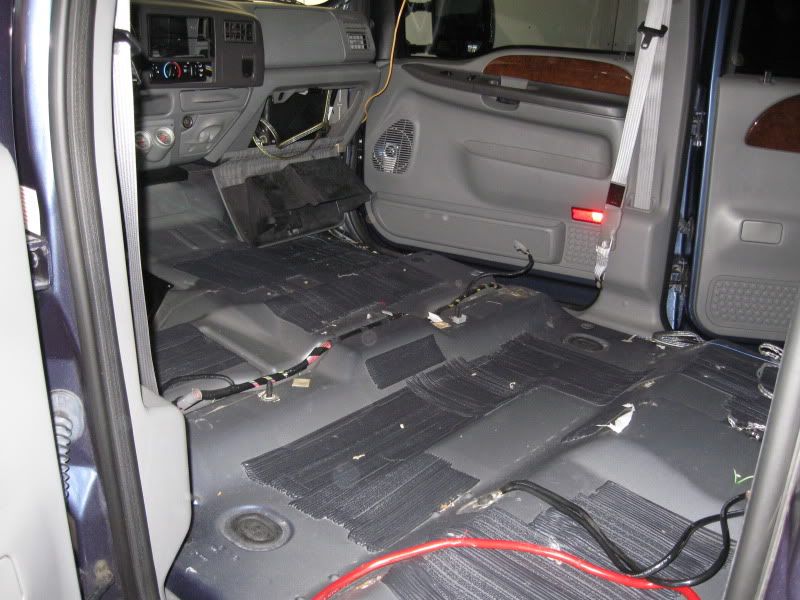
All interior being removed
IMG_0675.jpg

IMG_0678.jpg

IMG_0679-1.jpg

IMG_0680.jpg

IMG_0681.jpg

IMG_0682.jpg

IMG_0685.jpg


Here are the amps and new head unit
IMG_0686-1.jpg
 
1120092039-1.jpg


This are the door panels for the 8" and 6" mounting to the front doors

IMG_0763.jpg


I bought some custom rings from Elite Installer Supply - Speaker Rings & Templates for Installers They have alot of Cnc cut rings

IMG_0752.jpg


Here I traced the pattern for my attached door panel which will be vinyled later
1120092039-1.jpg


IMG_0753.jpg


IMG_0754.jpg


Then taped to the paper for trial fit. Remember this is a 8" and 6 1/2 :woohoo

IMG_0756.jpg


Then laid on mdf and moked up prior to cutting
IMG_0757.jpg


After cut I sanded all my mistakes
IMG_0758-1.jpg


Then placed prior to prefit
IMG_0760.jpg


HEre is a picture of me fixed by air nailer. Never loan tools out. you never get them back working
IMG_0759.jpg


Here is the pre done door panel for prefit

1230091831.jpg


Installing lips to the rings using 2 part expoxy(notice the homemade bandaid. Didnt have time to run in the house for one)
IMG_0766.jpg

IMG_0765.jpg

IMG_0767.jpg


Fleece added
IMG_0770.jpg

IMG_0768.jpg

IMG_0774.jpg


Here is all the stuff in the back of the truck

IMG_0764.jpg


0102002010.jpg


Its a 8" JL Audio ZR800 mid bass and a 6 1/2 boston Pro in the door

IMG00040-20100307-1540.jpg


IMG00042-20100307-1725.jpg


Here is the doors all finished. Remember that that is a JL Audio AR800 8" in the bottom of the door and the 8's alone will have a PPI art A600.2 on them and the boston pros and also the kick panels (which will be another pair of 6 1/2 will have another A600.2 and also the sail pillar which will have additional tweeter will have 2 channels of the PPI A404.2( which is 50x40). If that aint a front stage I dont know what is. The rear door will have the rear channels of the PPI 404.2. Also I cant figure out how to make the custom center console which will hold the (2) JL Audio 10w7 ( yes 7s) with a PPI ARt series A1200.2

The funny thing is I dont like my doors and will redo them next winter or durning the winter if I get another set of panels to work with . I have another Idea since I know how to fibraglass

All the carpet is back in from me dynomatting the doors and the special stuff on the floors. I did use dynamatte on the doors and roof[/QUOTE]
 
Last edited:
Now rear door
making angled pods for the rear door(5 1/4 boston pros)
IMG_0743.jpg


Fleece installed
IMG_0744.jpg


mixing resin with 12 oz resin and one drop of harder per oz

IMG_0772.jpg

Special mixing cup
IMG_0771.jpg

Adding harder
IMG_0773.jpg


IMG_0745.jpg


Coat heavy and soak the fleece
IMG_0746.jpg

IMG_0747.jpg

Start adding fibraglass
IMG_0748.jpg

IMG_0749.jpg

Soak heavy with resin
IMG_0750.jpg


let dry and then start applying body filler and sand. Will show that in the next few days. Remember this is the first time Ive done this but have read alot on line
IMG_1001.jpg


Here is the rear door..

I have 2 weeks at christmas off to play in the garage should be a good start
 
well started on the amp rack which is going behind the seat and also roughing in the centersole( which is the sub box)

Here is the roughed in amp rack which holds (1) PPI art series A1200, (2) A600.2 PPI Art series and (1) PPI ART series A404.2 . The amp rack will be covered by a vinyled cover with the amp tops being exposed.

IMG_1511.jpg


Next was the center console being roughed with for the 2 JL Audio 10w7. This things are massive

first we started mocking everything up with card board.

IMG_1501.jpg


then we roughed cut it to see the shape for mock up. We are building a fibrglass box and will be covered with Fleece then fibrglassed
next we drew the shape on the wood

IMG_1502.jpg


The we took the 2 piece( sides) and belt sanded them together so we had the same shape

IMG_1503.jpg


After this we partially assembed them and test fitted it in the truck
IMG_1504.jpg


Next we added the curved pieces to help with the contour so it will look uniformed in the truck

IMG_1508.jpg


Then we belt sanded the whole box and took all the sharp corners and also make it more unformed . and lastely we added come speaker rings to help make it looked flush

IMG_1509.jpg


I should have it fleeced and fibralgassed by next week.

hope you enjoy
 
Some more pictures of the doors shut to see how it looks by the seat

IMG_1000.jpg


IMG_0999.jpg


Also, I have posted some on this site as well as other sites and thought some would get a feel of how to do a custom stereo..
 
Last edited:
When would you like me to bring my truck over?? I also like your choice of old school amps. Your work so far looks amazing!!!
 
Those Ppi amps are the s:!# I remember when they came out. Nothin sounds as sweet as a set of bostons and JL subs with some clean/real power! Nice work!
 
Those Ppi amps are the s:!# I remember when they came out. Nothin sounds as sweet as a set of bostons and JL subs with some clean/real power! Nice work!

Those were the best amps back in the day. I had the 2 a600.2 since 1996 and bought the other 2 amps from a guy who had them in a show car since 1996.

Looks Sweet! Call me dick head on the JL stuff!
Ill call tomorrow and call you after. Been playing phone tag with the owner of the audio store.
 
Sweet project man. How did you attach the new panel that you made for the doors to the existing door panel?

I have other questions, but I'm too awwed in amazement to ask yet. Trying to wrap my head around it all.
 
update 12-19-10

this morning I put the fleece on the box and got the shape I was looking for. Tomorrow I should be done laying on the fibraglass. I will be putting 3 layers of fibraglass and then start sanding the glass before adding the bodyfiller. This is the part of the job I hate

IMG_1517.jpg


IMG_1518.jpg


IMG_1514.jpg
 
for those of you that wanted to see a 10w7 here you go
IMG_1522.jpg


IMG_1523.jpg


Here is the center console in the truck

IMG_1519.jpg


IMG_1520.jpg


IMG_1521.jpg


Here is the center console all resined up

IMG_1524.jpg
 
***update 12-28-10***

Well, been pretty lazy while on vacation. I did get all the fibraglassing done and test fitted in the truck. Should start applying Bondo to smooth out the box in the morning after my GF leaves for work. My daughter comes home tomorrow so I wont be working on it till sunday. She will be gone all next week on a cruise with her mother so I will have more time till she gets home again the following week. I just noticed my camera is pretty dusty

All Resinned up with Fibrgalss
IMG_1526.jpg


IMG_1524.jpg


IMG_1529.jpg


5-8 layers of fibraglss

IMG_1530.jpg


All sanded prior to adding Bondo filler

IMG_1532.jpg


IMG_1533.jpg


Test Fitted to make sure I still like it

IMG_1536.jpg


IMG_1537.jpg


IMG_1538.jpg


IMG_1539.jpg


Stay tune for more
 
Back
Top