jimbo486
New member
- Joined
- Jan 24, 2010
- Messages
- 1,617
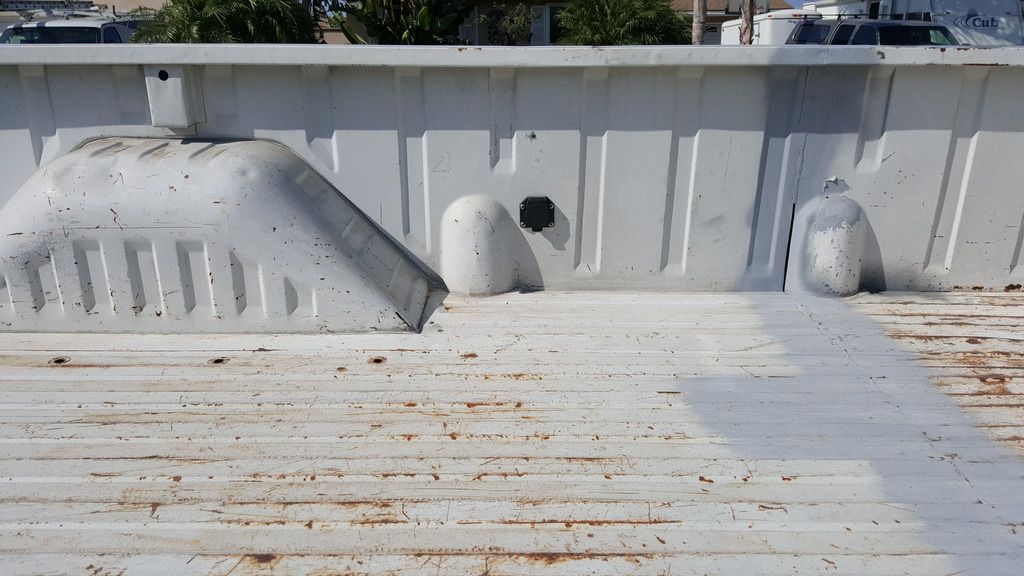
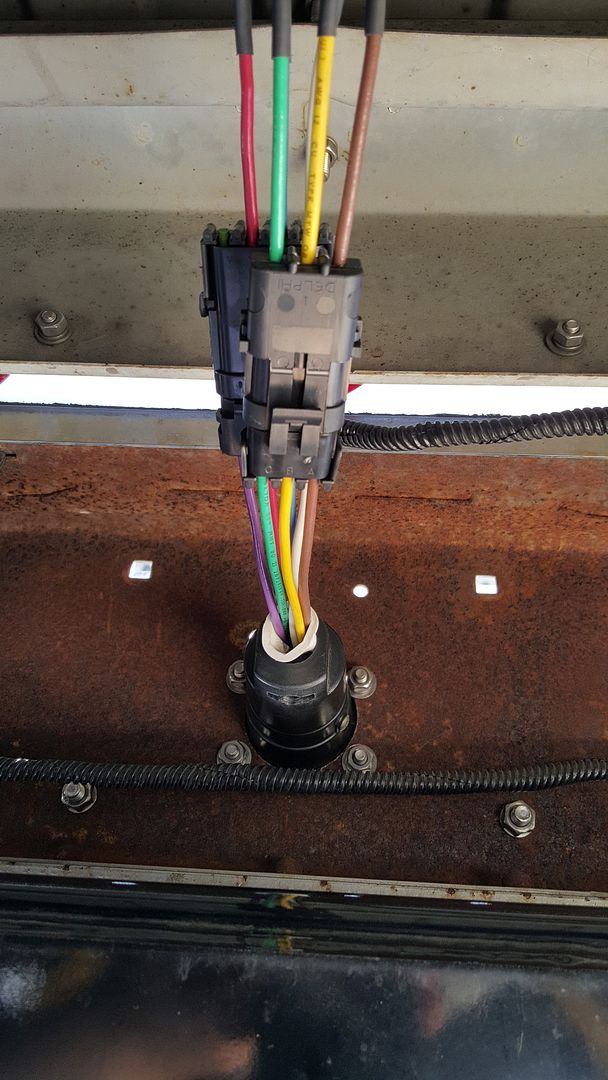
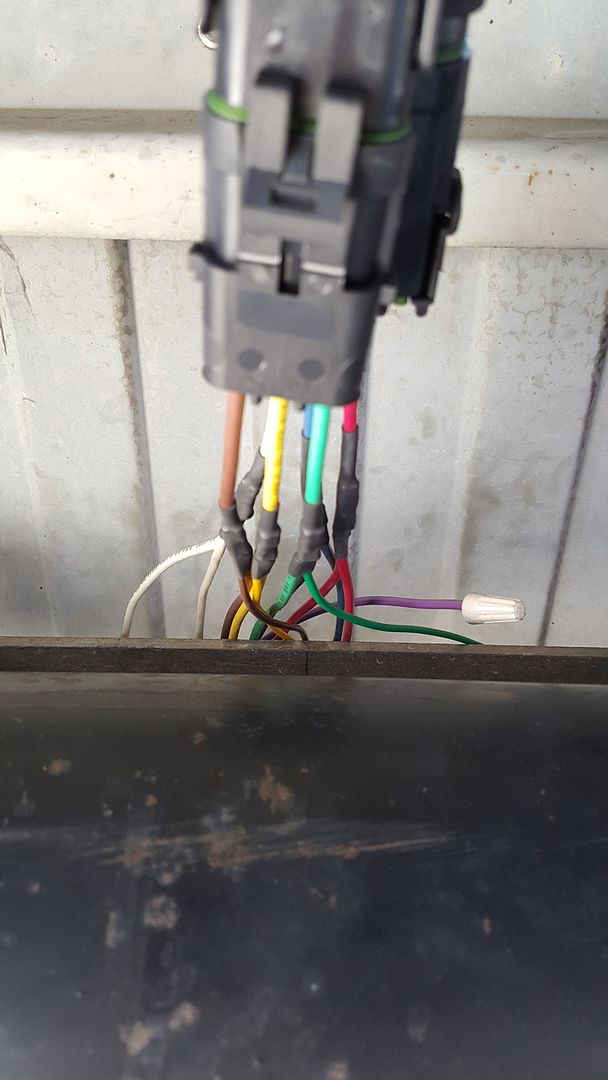
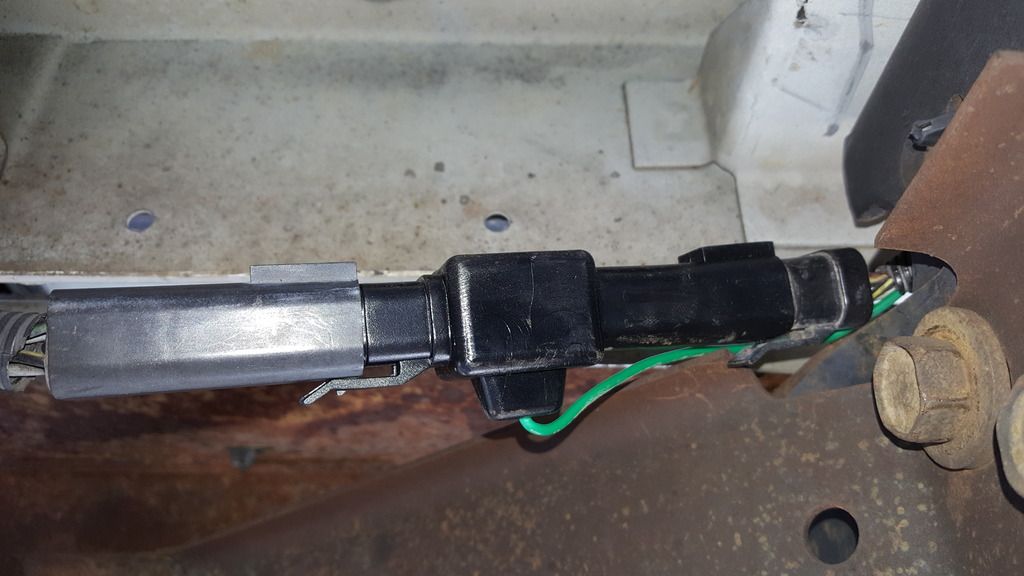
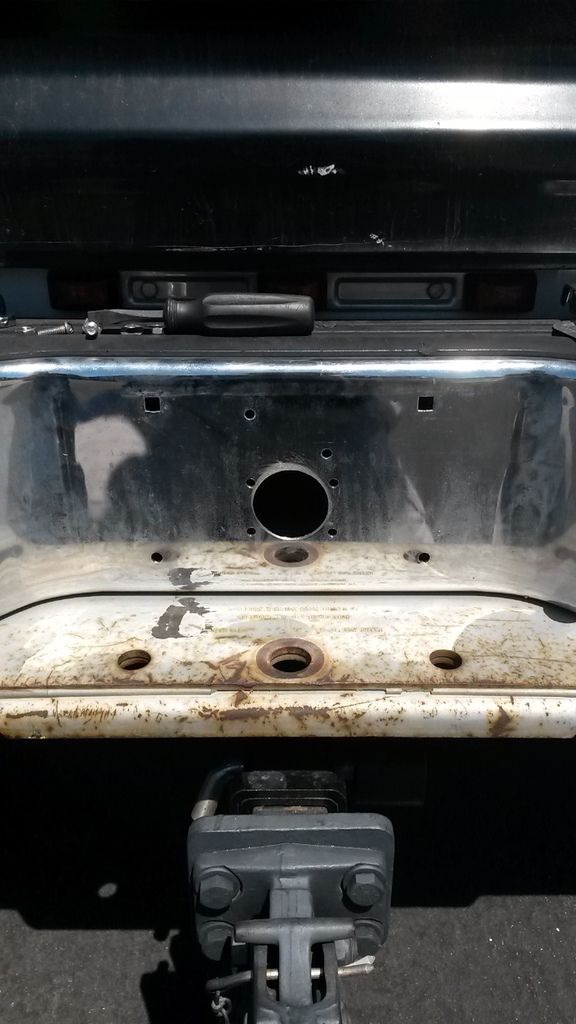
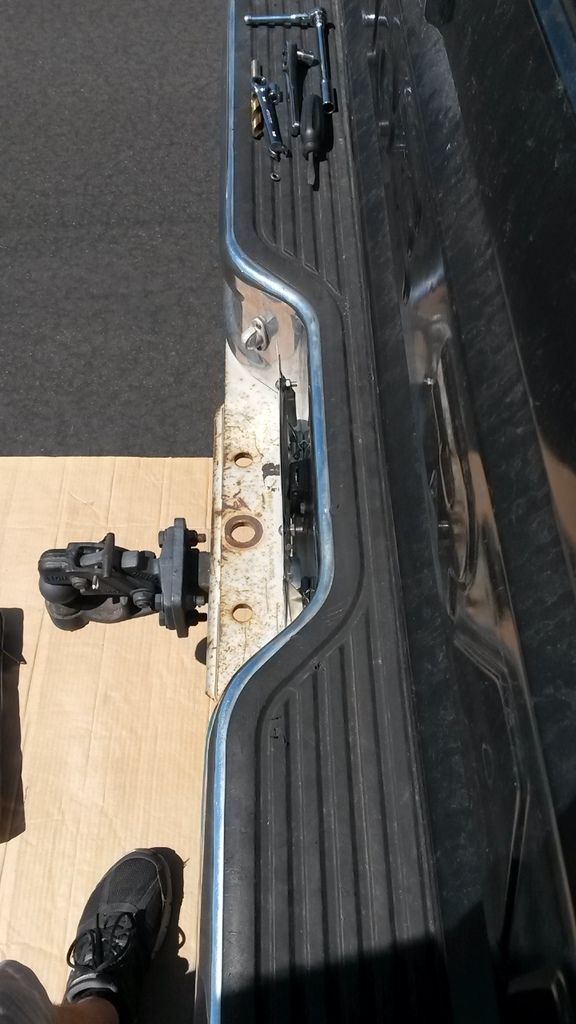
About a month ago, I installed a B&W receiver hitch. Since then, I've been working at building a harness for trailer connections, one inside the bed for a 5th wheel and one at the rear bumper somewhere for a conventional tow. I wanted to find a centralized location near the pivot point of both the truck and trailer. As well as finding a location higher than mounted down on the hitch itself where the possibility of it dragging or catching on something would be greater, potentially tearing out the plug and wiring with it. Also, in the even that I launch a boat, it won't have a chance of being submerged or getting too wet.
I began my search thinking about the older model cars with fuel tank filler necks behind the rear license plate. After a lot searching, I stumbled across a license plate flip kit for roll pans, made by Pilot. [ame="http://www.amazon.com/gp/product/B000BQQN2M?psc=1&redirect=true&ref_=oh_aui_detailpage_o00_s00"]Amazon.com: Pilot FLP001 License Plate Flip Kit For Roll Pan: Automotive@@AMEPARAM@@http://ecx.images-amazon.com/images/I/41WvLN4IKoL.@@AMEPARAM@@41WvLN4IKoL[/ame]
At the time, it was going for $12. After shipping and taxes, it was $20. I had it in my hands about a week ago. You may already see where I'm going with this. Yesterday, I took some time to figure out how I would install it. I did so with it oriented as a flip down.
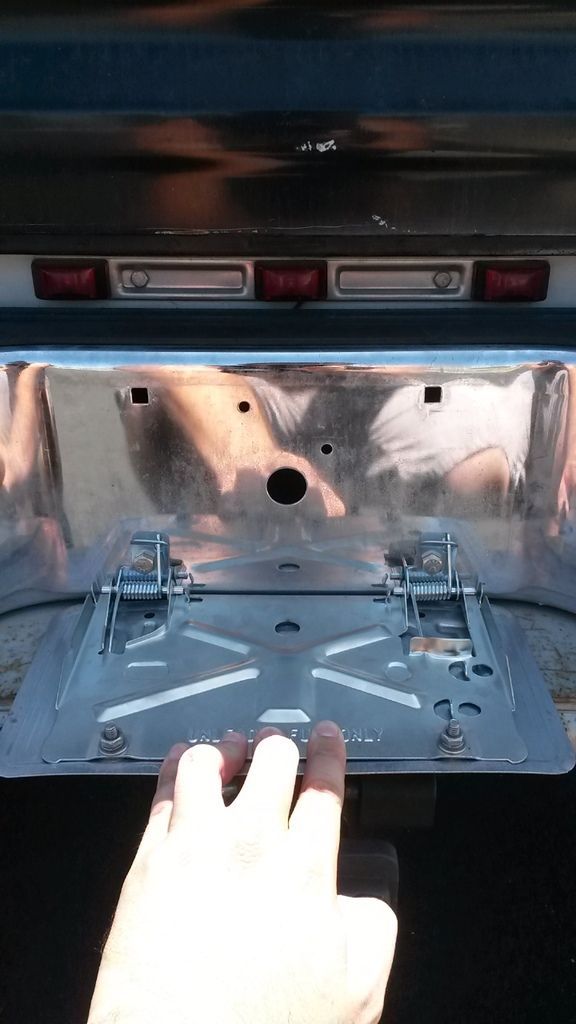
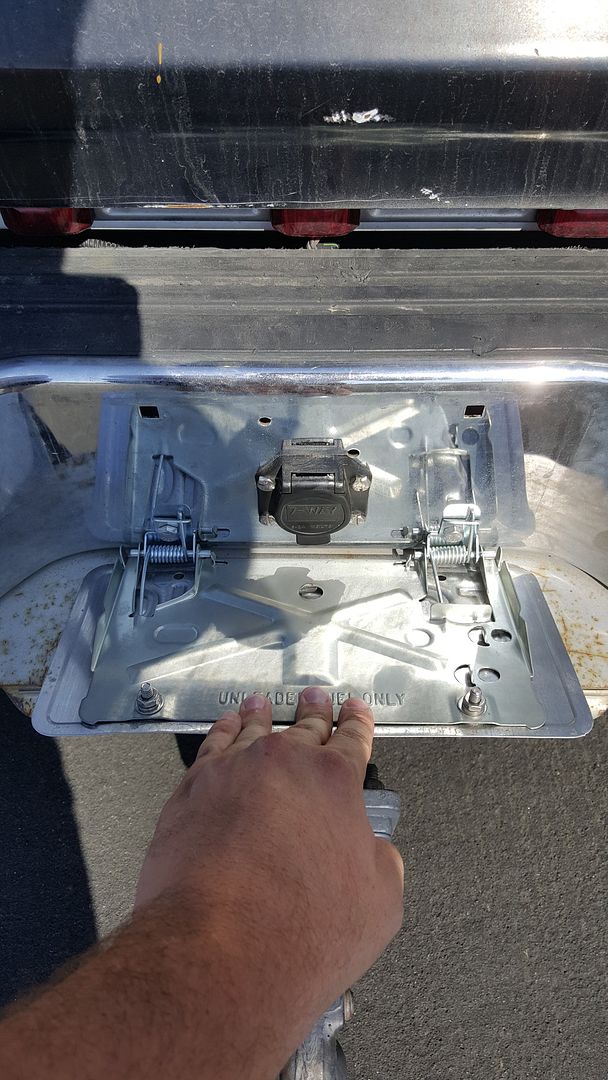
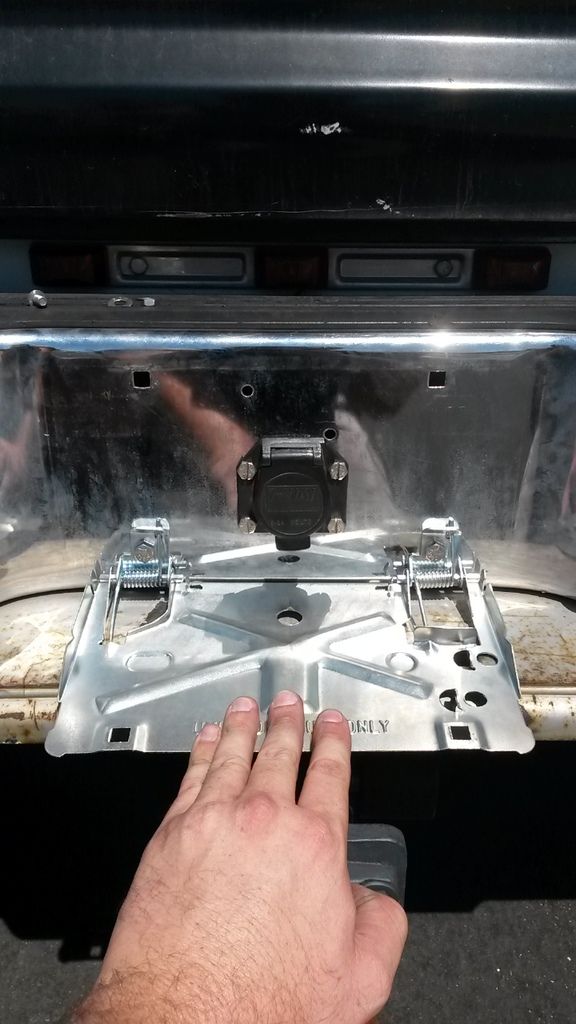
Rather than spending time with a tape measure and attempts to center it horizontally and vertically, I simply put a 3/8" bolt through the "top" squared holes (which would be used to attach the plate) of the bracket and the bumper and tightened them. 3/8" was the exact size of the both sets of holes which allowed for a near perfect positioning of the bracket. With the bracket temporarily in place, I used a 5/16" drift punch to mark the position of the holes for the hinges. I removed the bracket and drilled 2 - 5/16" holes where the drift punch had marked. Deburred and chamfered the holes and mounted the bracket to test it's function.
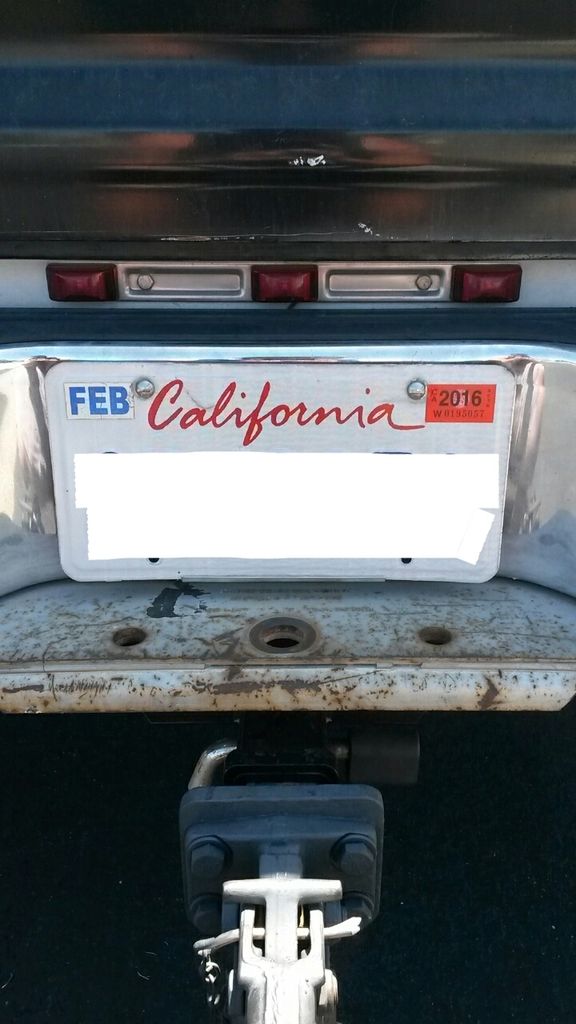
It works great! I'm curious about removing the springs and removing a couple of coils from both to lighten the tension some but it's not terrible. I'm just thinking of the pressure it might put against a trailer plug and possibly causing intermittent connectivity. No way of knowing until I can test it.
The reason I mounted it in a flip down orientation was because the hinge holes would've been just below and right next to the square holes in the bumper which would've just made them oblong.
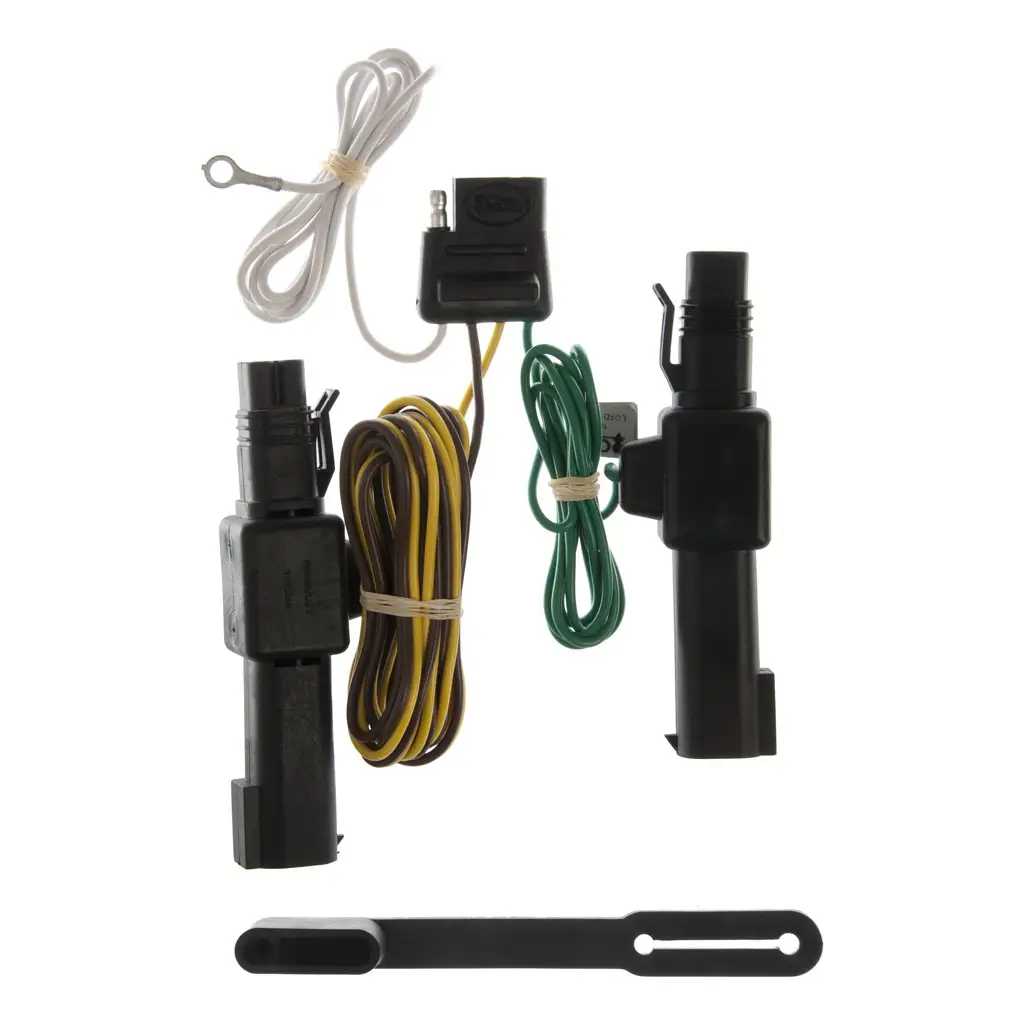
With that done, I used a bracket for a 7-way plug to trace the hole required to be cut. The bracket's opening measured 2 1/8". Lucky me, I only had a 2" and 2 1/2" hole saws. I measured the plug to be used with a set of calipers and came up with a minimum dimension of just over 2". I used the 2" hole saw and assumed it would take some filing to open it up just a bit more to clearance for the plug. Turns out, while drilling, the hole saw walked just enough along its radial axis that it made for a hole sized a touch over what I measured. The plug slipped right in place. I opened the 4 holes in the plug flange to a more common 1/4" size. With the plug held in place, I used a 1/4" drift punch to mark their positions, removed the plug and drilled 4 - 1/4" holes through the bumper. Using 1/4" stainless hardware, I mounted the plug and did the same with the license plate bracket using 5/16" stainless hardware.
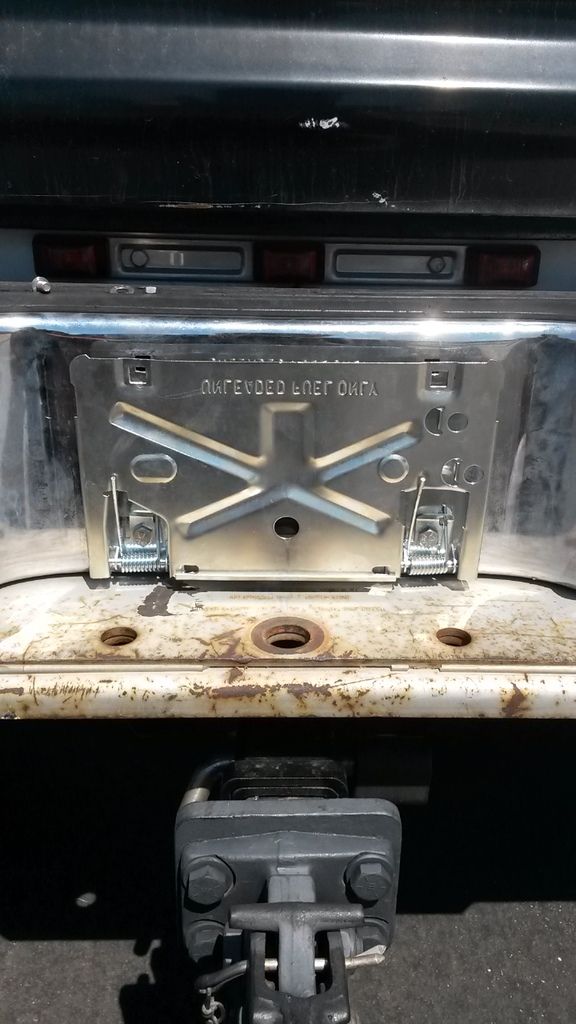
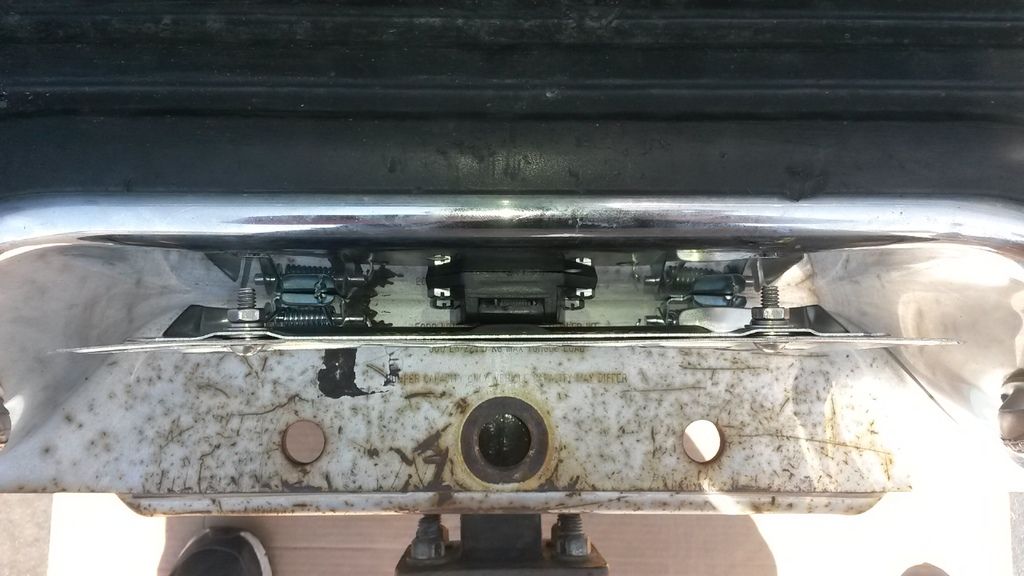
As it sits, I can live with it. The plate doesn't stick out an excessive amount in my opinion. I would like to see if there are any plugs that have a slightly lower profile than the one I used. Another thought that just came to mind is the possibility of building a small recessed box which would allow for the plug's cover to sit flush with the bumper face. There's room for improvements. No complaints though for only having $20 in it.
I began my search thinking about the older model cars with fuel tank filler necks behind the rear license plate. After a lot searching, I stumbled across a license plate flip kit for roll pans, made by Pilot. [ame="http://www.amazon.com/gp/product/B000BQQN2M?psc=1&redirect=true&ref_=oh_aui_detailpage_o00_s00"]Amazon.com: Pilot FLP001 License Plate Flip Kit For Roll Pan: Automotive@@AMEPARAM@@http://ecx.images-amazon.com/images/I/41WvLN4IKoL.@@AMEPARAM@@41WvLN4IKoL[/ame]
At the time, it was going for $12. After shipping and taxes, it was $20. I had it in my hands about a week ago. You may already see where I'm going with this. Yesterday, I took some time to figure out how I would install it. I did so with it oriented as a flip down.
Rather than spending time with a tape measure and attempts to center it horizontally and vertically, I simply put a 3/8" bolt through the "top" squared holes (which would be used to attach the plate) of the bracket and the bumper and tightened them. 3/8" was the exact size of the both sets of holes which allowed for a near perfect positioning of the bracket. With the bracket temporarily in place, I used a 5/16" drift punch to mark the position of the holes for the hinges. I removed the bracket and drilled 2 - 5/16" holes where the drift punch had marked. Deburred and chamfered the holes and mounted the bracket to test it's function.
It works great! I'm curious about removing the springs and removing a couple of coils from both to lighten the tension some but it's not terrible. I'm just thinking of the pressure it might put against a trailer plug and possibly causing intermittent connectivity. No way of knowing until I can test it.
The reason I mounted it in a flip down orientation was because the hinge holes would've been just below and right next to the square holes in the bumper which would've just made them oblong.
With that done, I used a bracket for a 7-way plug to trace the hole required to be cut. The bracket's opening measured 2 1/8". Lucky me, I only had a 2" and 2 1/2" hole saws. I measured the plug to be used with a set of calipers and came up with a minimum dimension of just over 2". I used the 2" hole saw and assumed it would take some filing to open it up just a bit more to clearance for the plug. Turns out, while drilling, the hole saw walked just enough along its radial axis that it made for a hole sized a touch over what I measured. The plug slipped right in place. I opened the 4 holes in the plug flange to a more common 1/4" size. With the plug held in place, I used a 1/4" drift punch to mark their positions, removed the plug and drilled 4 - 1/4" holes through the bumper. Using 1/4" stainless hardware, I mounted the plug and did the same with the license plate bracket using 5/16" stainless hardware.
As it sits, I can live with it. The plate doesn't stick out an excessive amount in my opinion. I would like to see if there are any plugs that have a slightly lower profile than the one I used. Another thought that just came to mind is the possibility of building a small recessed box which would allow for the plug's cover to sit flush with the bumper face. There's room for improvements. No complaints though for only having $20 in it.
Last edited:
")