Rebirth of Monster Mudder

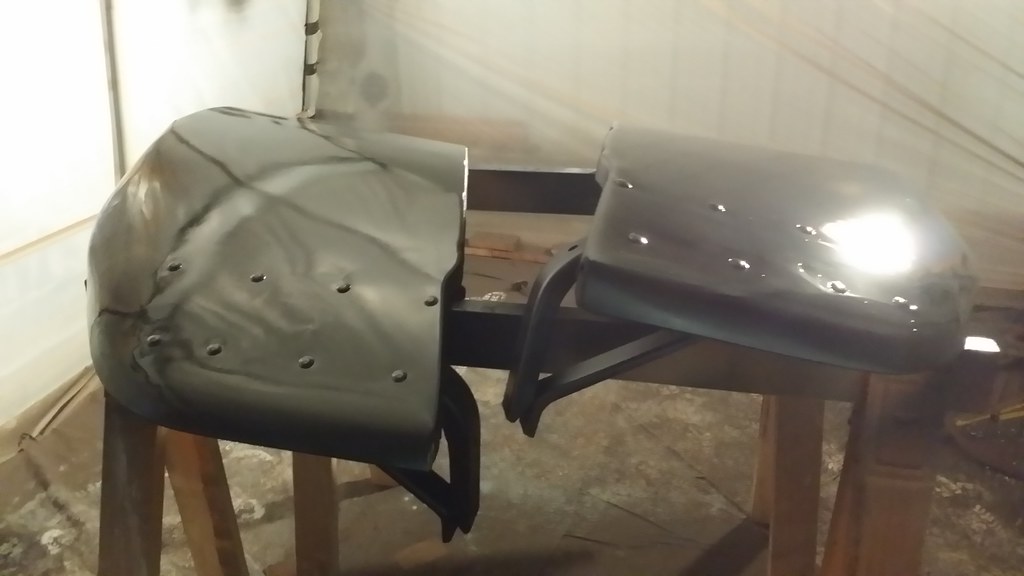
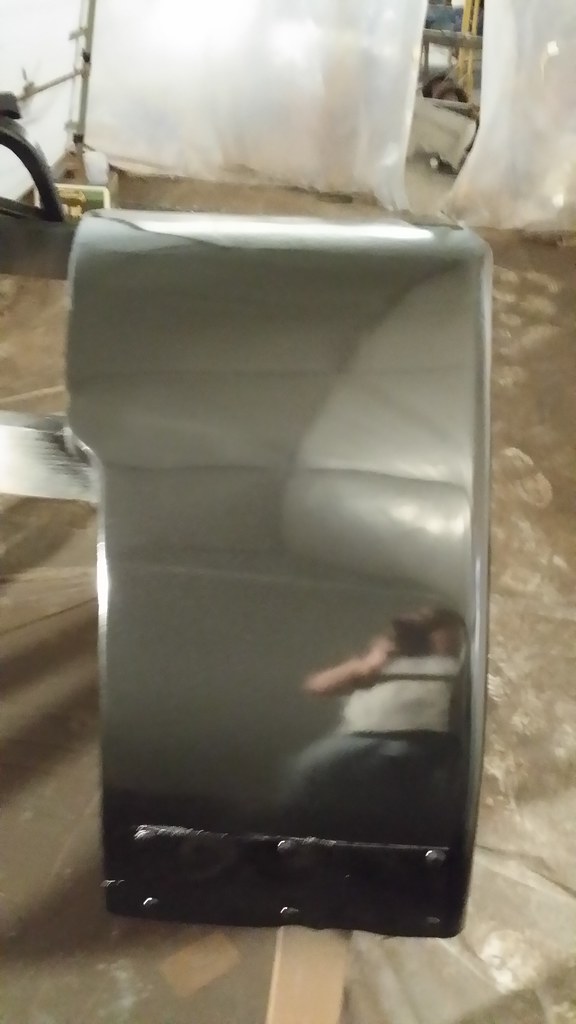
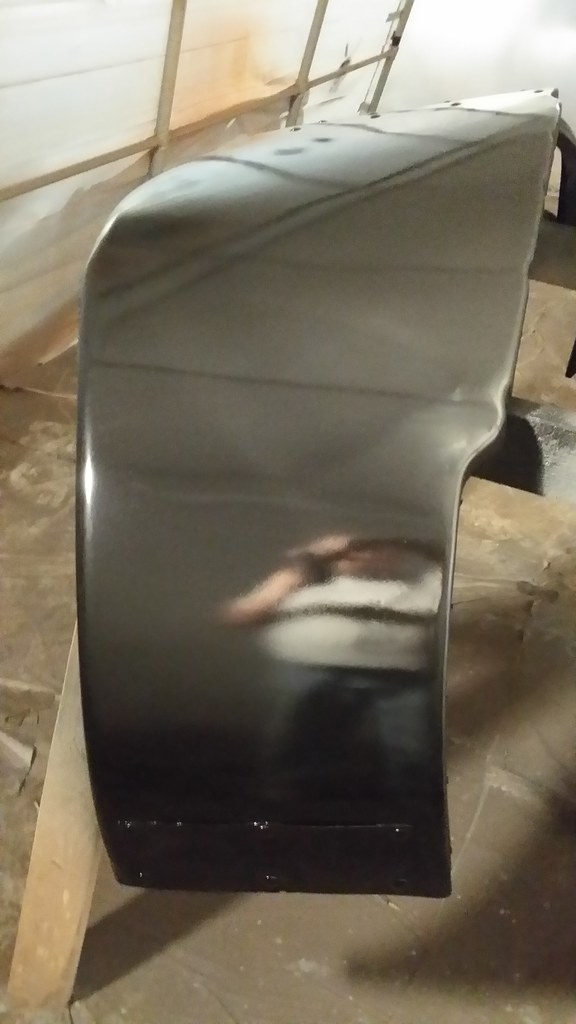
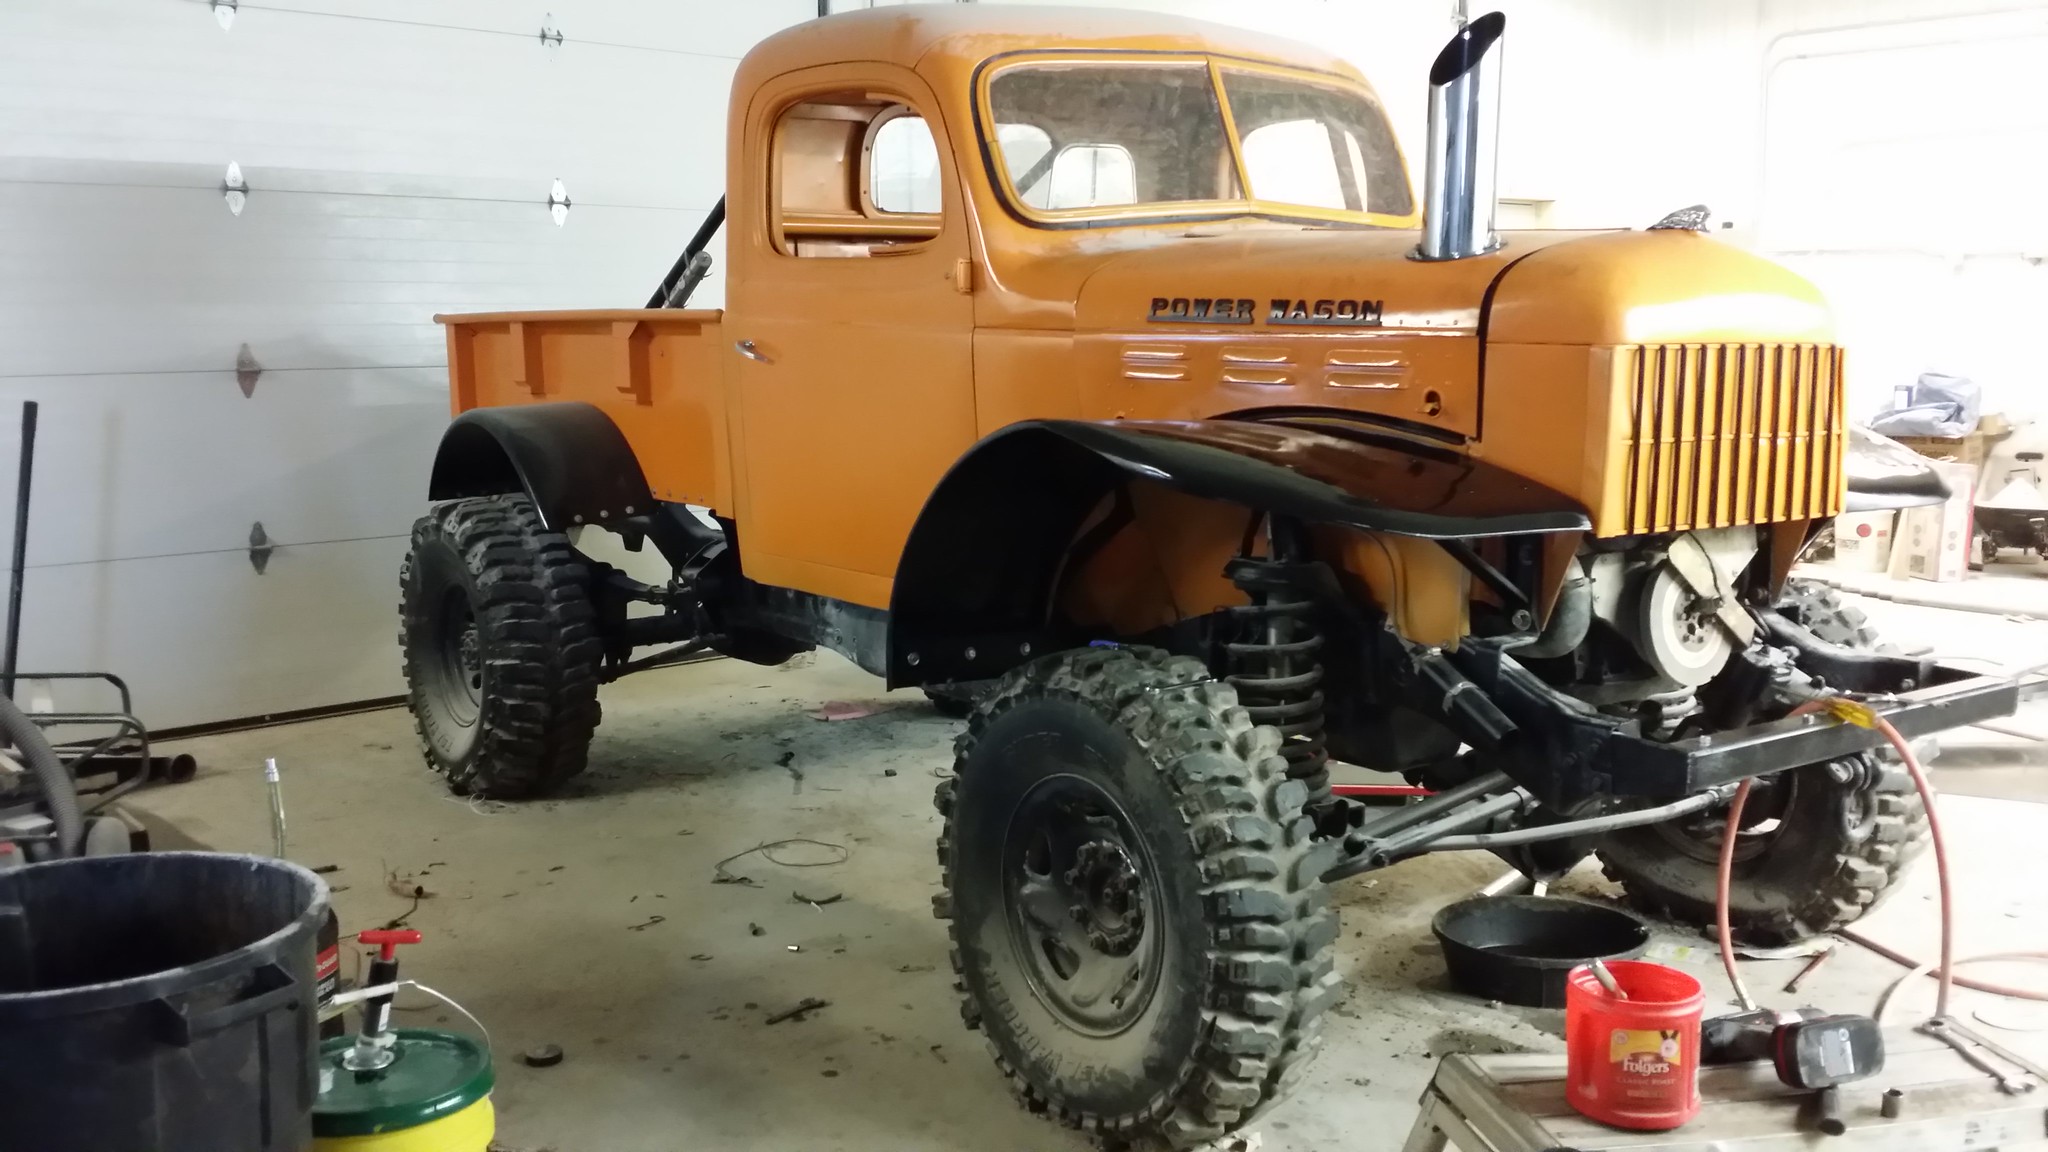
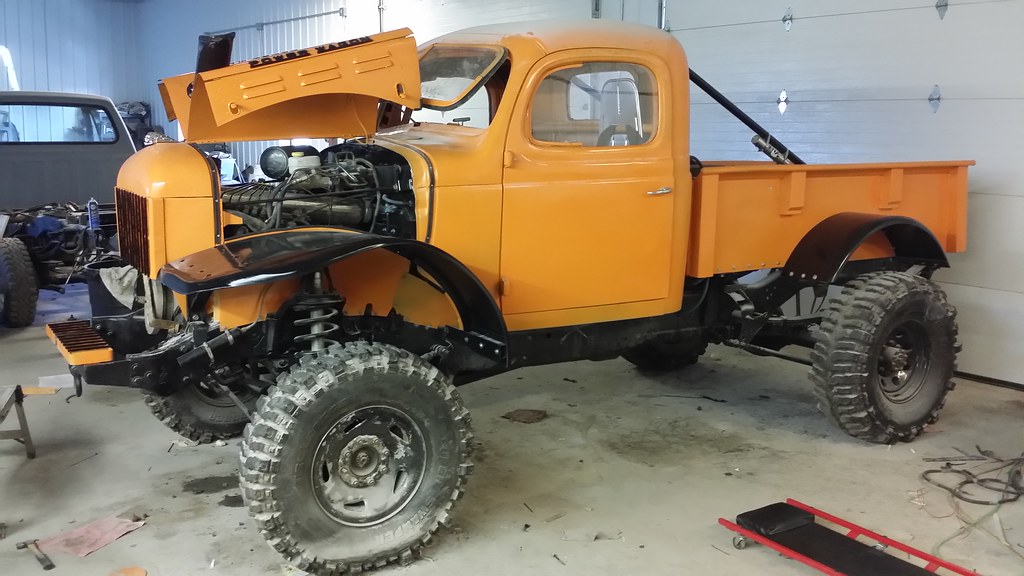
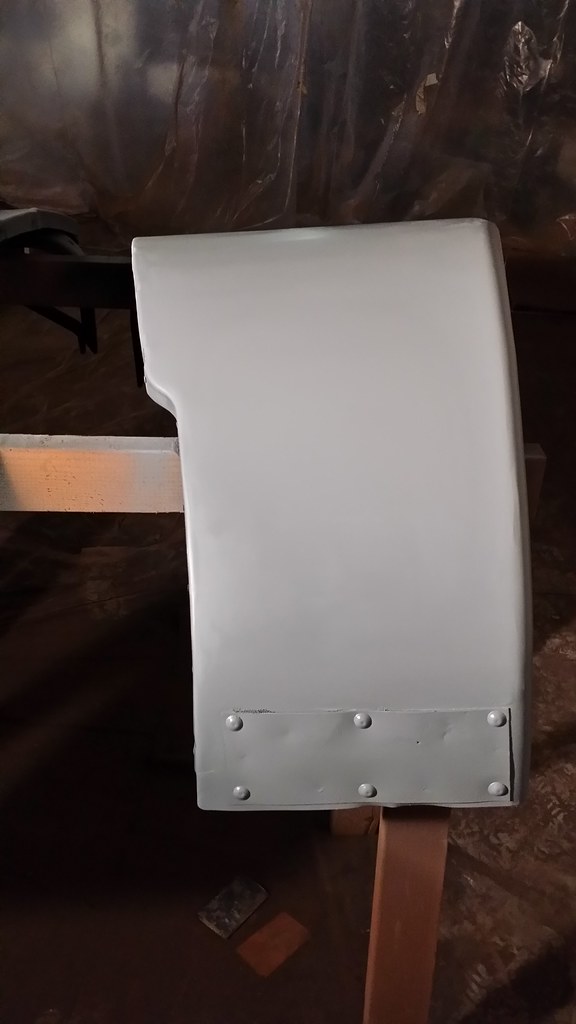
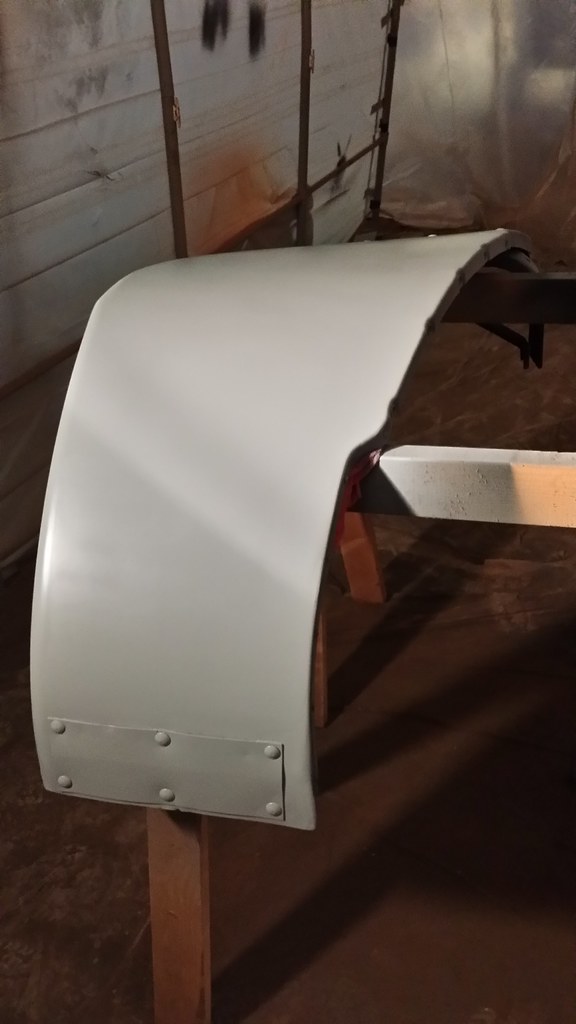
Sprayed the top sides of the front fenders today. I will head out to shop in the morning and get them wet sanded and see where they are at. I may need to spray another coat on them before I paint them, will just have to see.

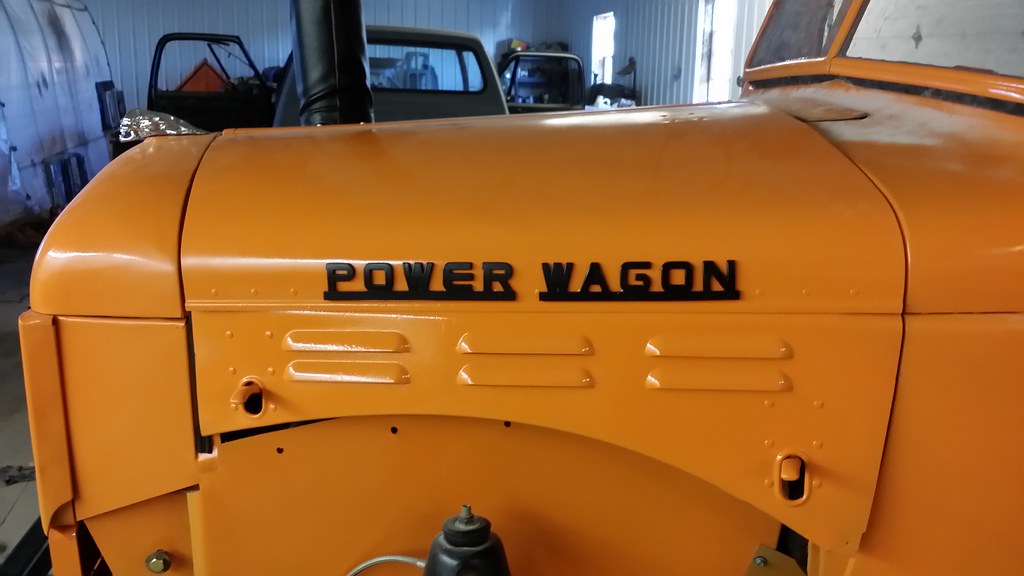
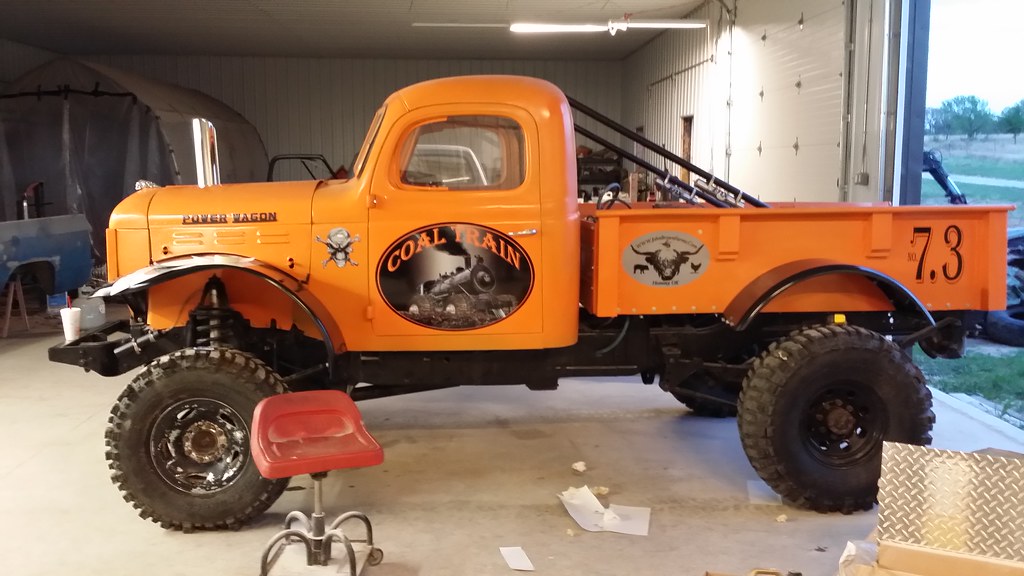
I pulled the emblems and stack piece out before I painted the hood and saw where I need to get the emblems shot again as I only got a light coat from one side direction.

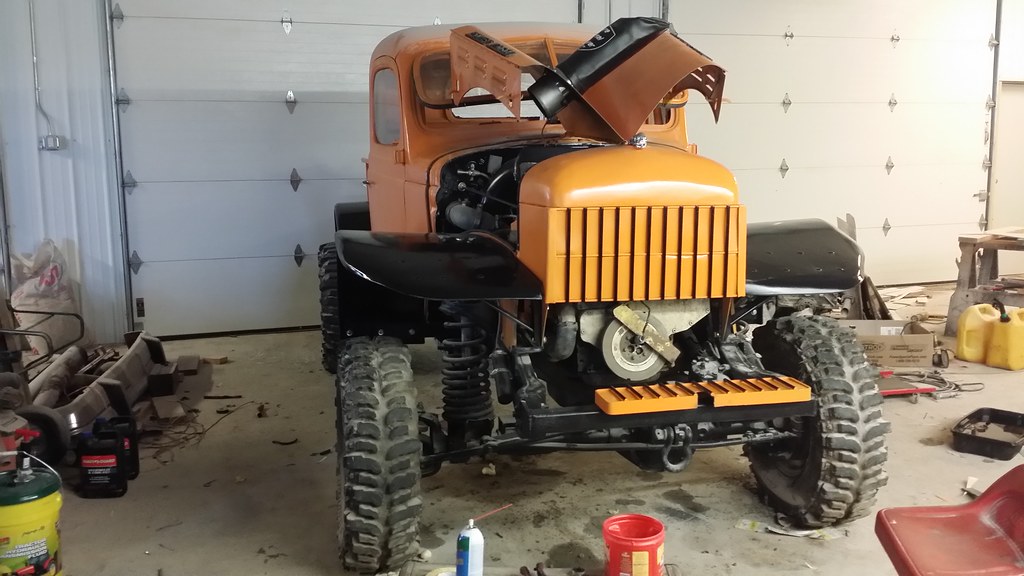
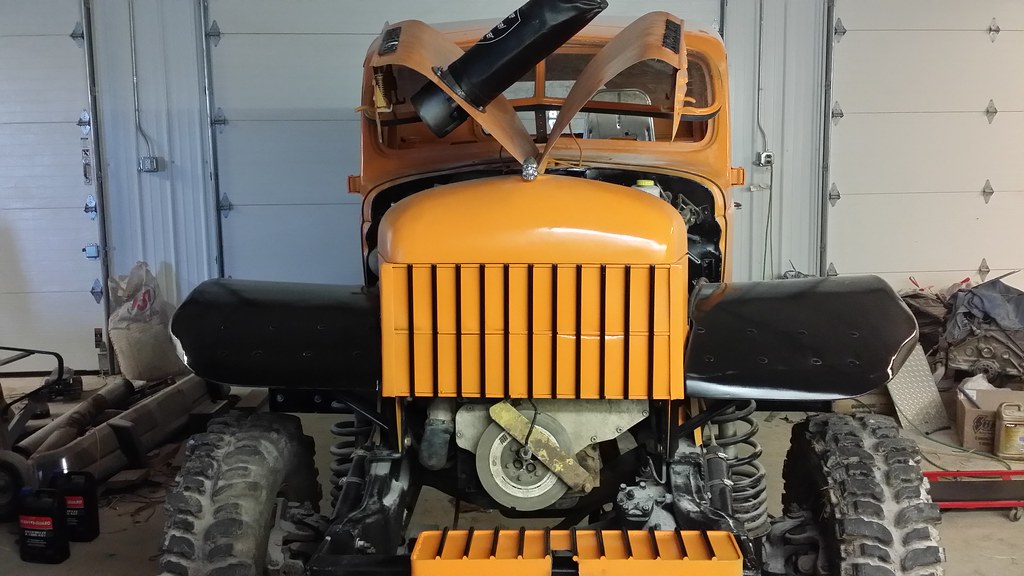
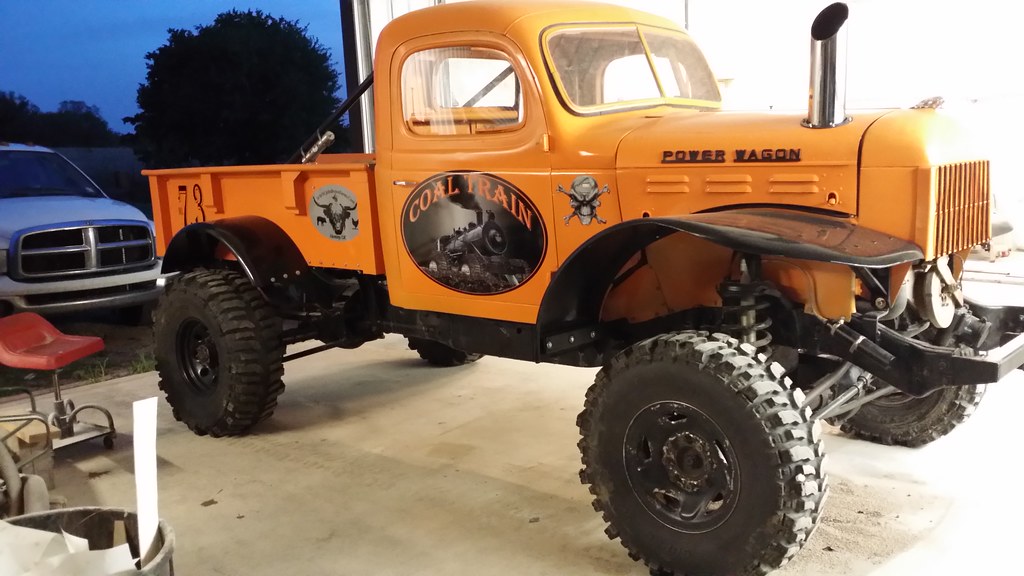
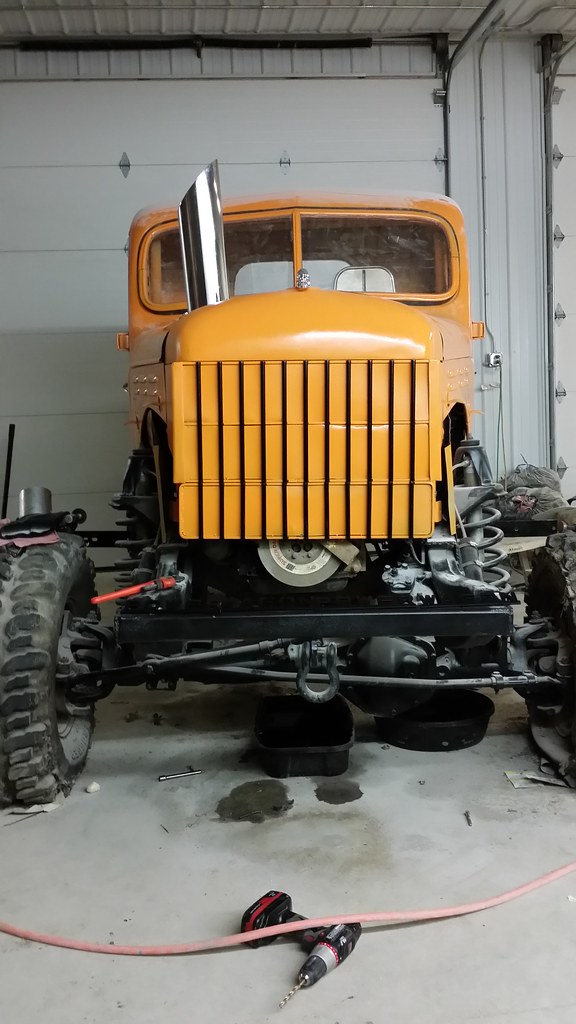
I did get the hood stack mounted and think it looks awesome.

I ended up spending a lot of time tonight draining my fuel cell and pulling it back out because the sump fitting was leaking on the fuel cell. So we drained it, pulled it and then my son reached his hand inside it (mine was way too big) and held a wrench on it while I tightened it from the outside. Seems to be holding now.

14010349743_5cc740da6f_b.jpg


13990795234_1ab1073f60_b.jpg


13990350145_f13fb5a134_b.jpg
 
Last edited:
I wanna see that dude with some fenders! I am so excited, i cant wait! I love those old power wagons.
 
Today I finished up painted the front fenders and touched up the power wagon emblems. I also drained the transmission and started the fill process of getting the new fluid into it.

I installed the emblems on the front hood.

We cranked the truck over and got all the injector lines air free. That lower grill piece was hitting and pushing in my tach sensor and it was hitting the block. We took it off and i'm going to have to cut out some of that sheet metal where the sensor goes so it will clear.

14001532465_72e16745bc_b.jpg


13998443441_0f68bcb92f_b.jpg


13998425972_2552b67ef7_b.jpg


14021637353_7db5b7b409_b.jpg


13998459391_961a3cca8f_b.jpg


Here's a video of it running

https://flic.kr/p/njZFa5
 
That must feel great to have it running again!

You are probably already going to do this, but if the tach sensor is being pushed on, don't just cut away metal, but make sure to box in that area, otherwise you will likely loose tach signal as it gets packed full of mud.

I have never dealt with a hood stack kit before, but I was kind of surprised how much exhaust "leaks" down into the engine bay.

I am sure those front fenders will give it that final touch to make it look finished. I am looking forward to those pictures, and your videos of the upcoming season.
 
Yeah, I'm glad to have it in the running state again. It's always a question until the beast fires up for the first time.

I need to do some more work on the internal pipe feeding the stack. I couldn't get a straight up from the turbo it's at about a 30 degree angle because of the grill support rod. So the pipe is barely touching on the high side and there is a bit of a gap on the low side. I am going to cut half the expanded lip off that 90 and weld in a slight angled piece off my old down pipe to get the pipe fully into the stack when the hood is closed. then I'll wrap it with some heat tape and that should finish sealing it off.
 
This truck is beautiful. I'd love to have something like this for a daily driver...
 
Today I finished up the internal turbo to the hood stack, cutting off some of the expanded end, adding a piece of 4" with a slight bend on it, welding them together and wrapping it in heat wrap. Fits up inside much better now.

Mounted both front fenders on the truck. Those big things are a ***** to put on by yourself. I did the drivers side alone, had my son help with the second one.

Transmission is topped off.

Both differentials are topped off

Mounted the transfercase breather tube up out of the way.

Greased all the joints and front end

I took some vacuum line and split it down one side to make cushions for the inner fenders to keep from cutting myself on them. And for the corners of the hood. Just need to pickup some glue to get them fastened on.

Now all that's left is to finish wiring the gauges, build the 3 driveshaft loops, finish modifying the lower grill piece, get the front tire cleaned out and remounted, get the logo's and stickers put on Monday.

14010336181_98361513b8_k.jpg
 
Could you pleeeaaaaasssseee put some air in that tire?????

Completely and awesomely 'bad a$$' by the way!!!!!
 
lol yes the fenders are a bit of a trick to put on by yourself. looks great! my dad had one very simlar to this paint scheme.
 
This weekend, I finished up a bunch of stuff on the truck. The front and rear drive shaft loops are done and installed. I still need to make the loop for the short driveshaft between the transmission and the transfer case. I finished up the wiring on the gauges. I'm going to have to get a new tach sensor as the one I have is shot. It's not reading most of the time now.

Topped the power steering pump off and worked the brakes and the steering to get all of the air out of the lines. The brakes are going to take some getting used too, but the truck stops.

Worked on the lower grill piece, and think I have it modified enough to make it work, but won't put it on till I get a new sensor.

I will say, bending a loop out of 2" wide 1/4" strap on a vice is a pain in the ass. My loops aren't quite concentric, but they will work.

Cut the door windows out today and stuck them in the vent windows with clear silicone. I left them where I could open them at the present time, but think I'm going to end up just sealing them up. The drivers side is a pain to open and close and can't get it closed fully from inside the cab.

Took the truck out of the shop to load it up this evening to haul it to Broken Arrow tomorrow and took it down the road. The drivers side door wouldn't stay closed and the truck kept dying on me. After a bit of testing, figured out the shut off solenoid wasn't staying up. So I will have to look into that this week and get it figured out. I've had problems with it occasionally not going up. I can force it up once and then it works again. The not holding is a new issue that has just occurred.

I fixed the door issue. Had to pull the door off with the truck sitting on the trailer and bend the lower hinge brace forward about 1/4 to 1/2 an inch to make it right. Once I did that, the door shut and closed good. I've knocked some paint off because of this on the lower edge of the door so I will have to touch it up tomorrow.

Anyway, the truck is loaded and ready to haul tomorrow to work and then on to get the logo's put on it. I'm going to stop by the car wash in the morning and give it a good rinse off.

14039802982_d98631db41_b.jpg


14039816861_544293429d_b.jpg


14039809231_c3609fd156_b.jpg


14039794502_ef03a83e08_b.jpg


14039780412_2901b9dbd1_b.jpg


14043428424_b3babf5f25_b.jpg


14062991473_fe4c3090da_b.jpg


14043418814_aa2d2eefc3_b.jpg


14039760842_766fb91bc1_b.jpg


14042964345_cb3ff4bcfc_b.jpg


14062972223_8ccc793dce_b.jpg


14019821606_c542d611e2_b.jpg


14039744862_2b4486d76c_b.jpg


14042946165_a90ab5a751_b.jpg


14039745261_01020d634c_h.jpg


14042935275_601eb6f605_h.jpg


14019790766_bf52948ae9_h.jpg
 
For the shut-down solenoid problem, it sounds like the linkage is too short to where it won't let the moving piston fully seat up against the "hold" electromagnet. I'd try lengthening the linkage 1/2 turn and go from there.

Be careful not to over lengthen the linkage, this will make the piston bottom out before the shutdown lever is fully up, which will limit rack travel/throttle on the top end.
 
The linkage or solenoid hasn't been touched in years. How could it have suddenly gotten too short? I've not removed either from the truck since I put the pump on the rebuilt engine 3 years ago.
 
My parents 12v was doing something similar. He cleaned all connections at bettery and ground cables and cleaned the pins on the solenoid connector. Not a problem since. He was happiest he didnt have to spend the coin on a new solenoid.
 
Many years ago when I first started doing this diesel thing, it was common place to just put it on a push/pull cable when they failed and then you had manual control of it.
 
I plan on picking up a pto cable at the local napa tomorrow and fixing this issue once an for all. I'll then rip out all the wiring for the solenoid.

Today all I accomplished was getting the stickers put on the truck. Oh and I labeled the cut off switch.

14055723202_3b938144cb_b.jpg


14055710141_c582eba2c7_b.jpg


14055715642_075dba062b_b.jpg
 
Back
Top