
You are using an out of date browser. It may not display this or other websites correctly.
You should upgrade or use an alternative browser.
You should upgrade or use an alternative browser.
Tool tray over fan shroud?
- Thread starter MD-LUCKY
- Start date
Billysgoat
The ANTI-BLING!
- Joined
- Apr 21, 2006
- Messages
- 10,694
Does Geno's not stock them anymore? What size tray you need? I have access to stainless and a break 
MD-LUCKY
Difficult To Pronounce...
- Joined
- Sep 24, 2006
- Messages
- 3,080
I can't find them anywhere.. This is the closest I can come up with:
TOOL TRAY/GRILLE GUARD KIT ('03-'08 DODGE)-Dodge Cummins Diesel Truck Accessories – Geno’s Garage
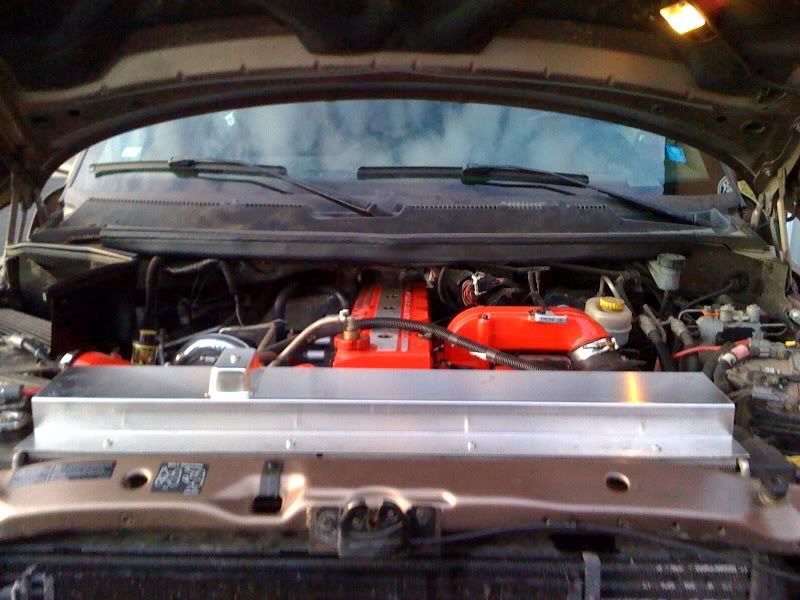
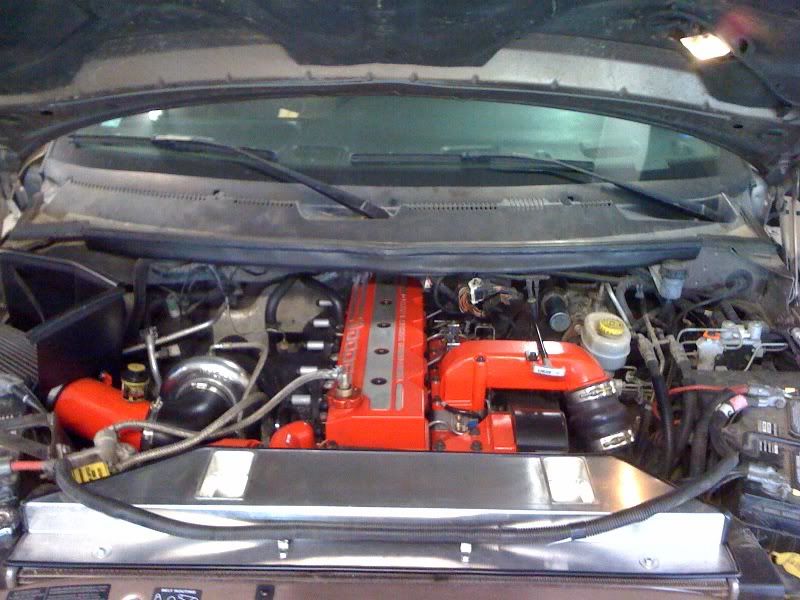
Basically, I'm looking for the old school tray that covers the fan stroud area and acts like a tool tray. If you think you can build it, let me know a price.. Cus I'm getting sick of looking at this ****e:
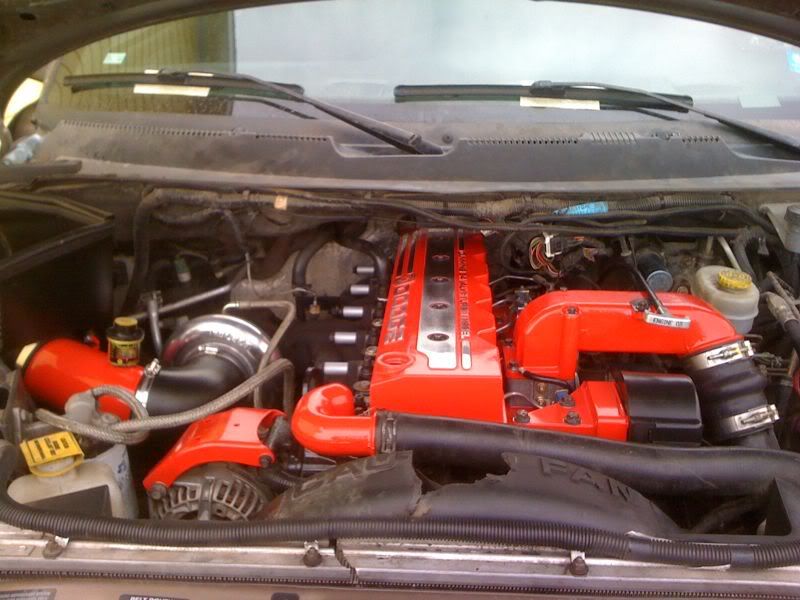
:hehe: :hehe: :hehe:
TOOL TRAY/GRILLE GUARD KIT ('03-'08 DODGE)-Dodge Cummins Diesel Truck Accessories – Geno’s Garage
Basically, I'm looking for the old school tray that covers the fan stroud area and acts like a tool tray. If you think you can build it, let me know a price.. Cus I'm getting sick of looking at this ****e:
:hehe: :hehe: :hehe:
bmoeller
New member
- Joined
- Jun 10, 2007
- Messages
- 329
Basically, I'm looking for the old school tray that covers the fan stroud area and acts like a tool tray. If you think you can build it, let me know a price..
Same here..............
Billysgoat
The ANTI-BLING!
- Joined
- Apr 21, 2006
- Messages
- 10,694
Basically you want a tray to cover the top of the shroud and use the shroud attach bolts to hold it down? Should be pretty easy, I'll get a tape out and see what I can come up with.
tony597fitter
Tax Payer
- Joined
- Dec 3, 2006
- Messages
- 2,125
Id be interested in one also!
MD-LUCKY
Difficult To Pronounce...
- Joined
- Sep 24, 2006
- Messages
- 3,080
Thats exactly what I'm thinking Billy.
Here is my thought (because I'm kind of thinking about trying to build it myself..):
Sorry for the sweet MS Paint skills.
I would have it follow the two straight lines at the edges of the fan shroud out to the end of the shroud (toward the engine) and across. Make it attatch to the bolts on top of the radiator.
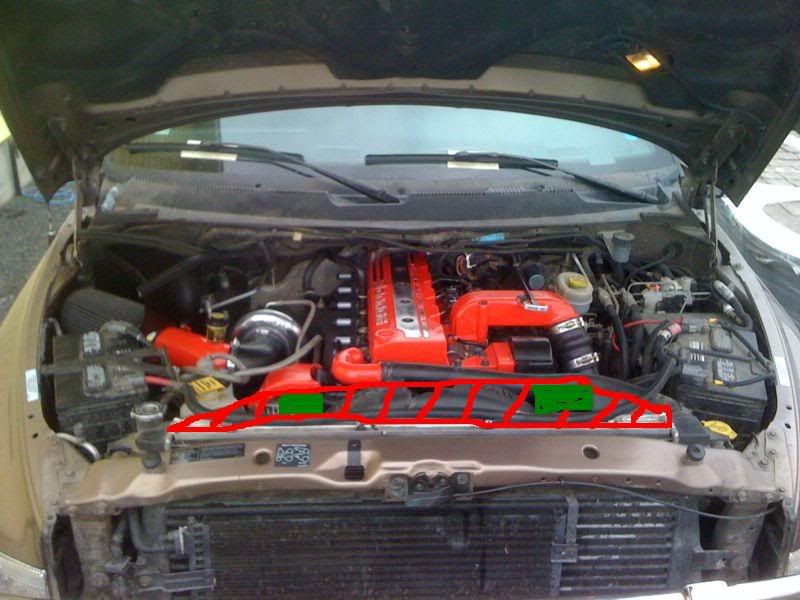
Then, I would cut out the spots on this sweet pictures that are green and insert something like this:
Basically just a small magnetic tool tray that would sit down inside the space between the edge of the new metal shroud and the original plastic shroud.
I think you could build it on the cheap.. doesn't exactly have to be load bearing or very thick metal. What's your thoughts?
Here is my thought (because I'm kind of thinking about trying to build it myself..):
Sorry for the sweet MS Paint skills.
I would have it follow the two straight lines at the edges of the fan shroud out to the end of the shroud (toward the engine) and across. Make it attatch to the bolts on top of the radiator.
Then, I would cut out the spots on this sweet pictures that are green and insert something like this:
Basically just a small magnetic tool tray that would sit down inside the space between the edge of the new metal shroud and the original plastic shroud.
I think you could build it on the cheap.. doesn't exactly have to be load bearing or very thick metal. What's your thoughts?
Billysgoat
The ANTI-BLING!
- Joined
- Apr 21, 2006
- Messages
- 10,694
I think I see where you are coming from, basically a flat piece of metal to carry all the way across and cover the shroud, with two cutouts for the magnetic tray. I'm thinking some .041 aluminum, rivet the brace/attach points on, cut out for the trays and some epoxy to hold them in place, maybe have to make some legs to support the trays, dunno, have to see.
I'll do some looking tomorrow, most likely try to get some metal bent/cut next week, rest of this week is gonna be tied up.
I'll do some looking tomorrow, most likely try to get some metal bent/cut next week, rest of this week is gonna be tied up.
MD-LUCKY
Difficult To Pronounce...
- Joined
- Sep 24, 2006
- Messages
- 3,080
Hey Billy, this is what I came up with:
Get a piece of aluminum 37" wide by 9.5" long.
From the front, go back 2.5" and make a 90* up. 1 3/4" inch up, and a 90* back toward the engine.
Bolts from the left, are 4 1/8" to the right, 1 1/8" back. From the first one on the left, they are 9.5" apart going to the right. (Those are all measured to the center of the hole).
Once it is all bent, go 8 3/4" from the furthest back point on the top tray toward the center. Cut from that point back to the 90*.
On the right, go 5 1/4" left. Cut from that point back to the 90*.
Should look something like this:
I don't have access to a break.. Otherwise I'd build it now that I know how it needs to go together. I'll pay you for your time / material / shipping if you want to try throwing one together!
There will be an issue with the positive power cable. From what I can tell, you'll be able to use the two center posts, but I don't think the outer 2 will work.. Will probably need to drill a hole and run a bolt through it and then through the cable tie. Should work.
Get a piece of aluminum 37" wide by 9.5" long.
From the front, go back 2.5" and make a 90* up. 1 3/4" inch up, and a 90* back toward the engine.
Bolts from the left, are 4 1/8" to the right, 1 1/8" back. From the first one on the left, they are 9.5" apart going to the right. (Those are all measured to the center of the hole).
Once it is all bent, go 8 3/4" from the furthest back point on the top tray toward the center. Cut from that point back to the 90*.
On the right, go 5 1/4" left. Cut from that point back to the 90*.
Should look something like this:
I don't have access to a break.. Otherwise I'd build it now that I know how it needs to go together.
I'll pay you for your time / material / shipping if you want to try throwing one together!There will be an issue with the positive power cable. From what I can tell, you'll be able to use the two center posts, but I don't think the outer 2 will work.. Will probably need to drill a hole and run a bolt through it and then through the cable tie. Should work.
explosives87
powder monkey
- Joined
- Aug 14, 2008
- Messages
- 953
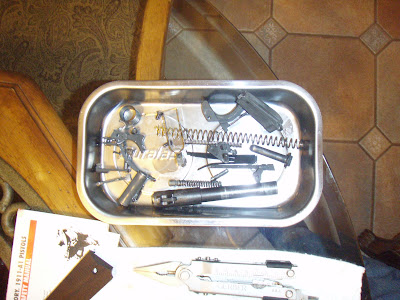
I know that its of topic which 1911 did you buy.
Diesel Freak
Active member
- Joined
- Jun 20, 2007
- Messages
- 1,163
This is a NWB exclusive part....the dude that made them workes at PSNS in Bremerton
MD-LUCKY
Difficult To Pronounce...
- Joined
- Sep 24, 2006
- Messages
- 3,080
This is a NWB exclusive part....the dude that made them workes at PSNS in Bremerton
Does he still make them?
Do you have contact info?
Billysgoat
The ANTI-BLING!
- Joined
- Apr 21, 2006
- Messages
- 10,694
I missed your reply with being out of town this weekend, sorry. Also blame the weather, it has not quit raining here long enough when I'm awake to get out and do much of anything It is SUPPOSED to be clear(ish) a few days this week, just have to see.
As for your piece, yes, I can make it with the directions given, how thick of what kind of metal?
It is SUPPOSED to be clear(ish) a few days this week, just have to see.As for your piece, yes, I can make it with the directions given, how thick of what kind of metal?
MD-LUCKY
Difficult To Pronounce...
- Joined
- Sep 24, 2006
- Messages
- 3,080
Hi Billy!
Lets not worry about it for a while, eh? You have more important things to take care of right now.
I'm checking with a local place to see if they can do it for me. If not, I'll figure something else out. If you ever decide to build one yourself, that should at least be a good starting point for measurements and what not. I should know more by tonight, and I'll keep you posted!
MD-LUCKY
Difficult To Pronounce...
- Joined
- Sep 24, 2006
- Messages
- 3,080
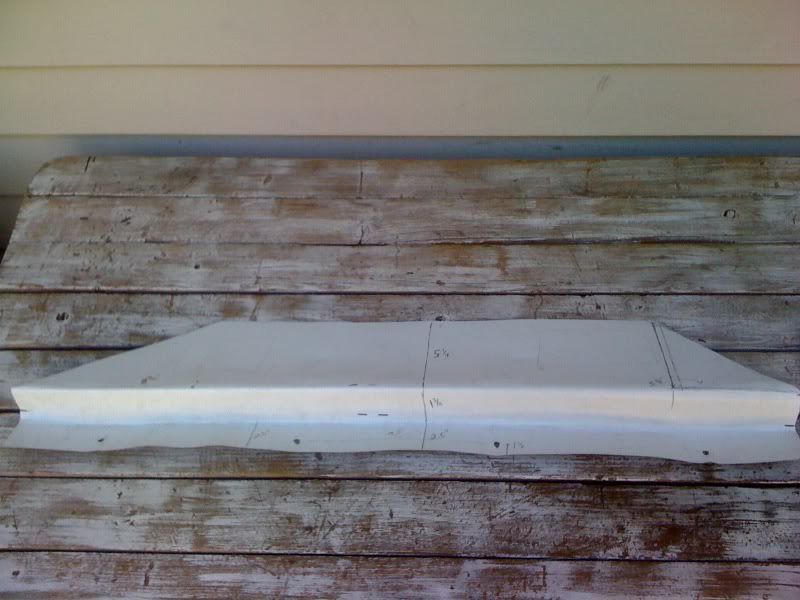
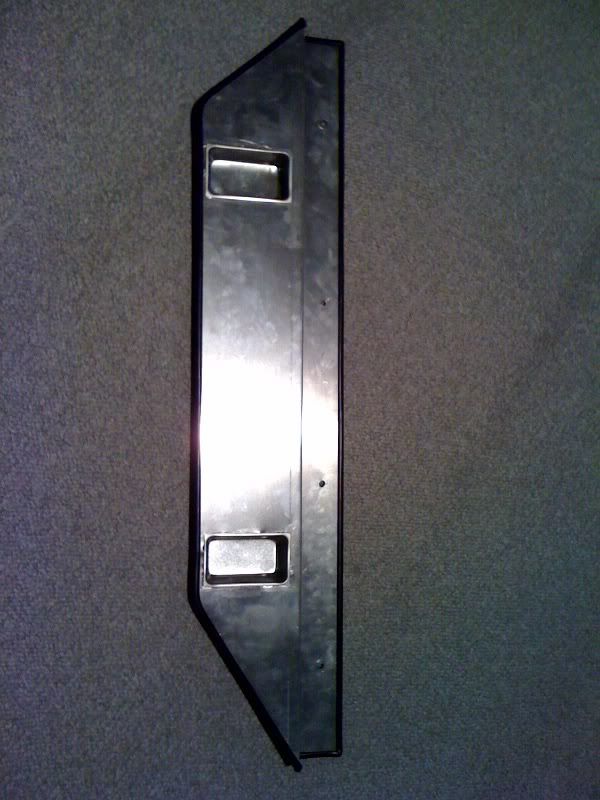
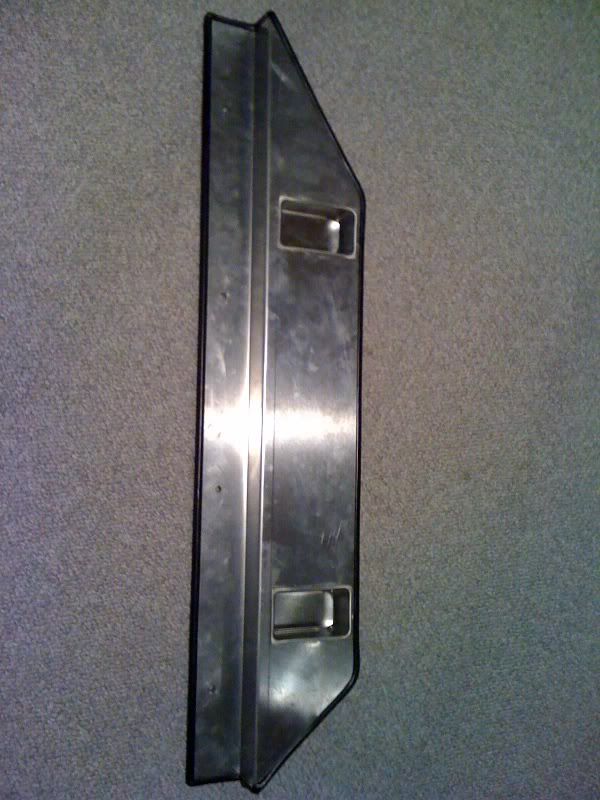
Decided to go ahead and build it tonight..
First one always goes a little rough... I'm pretty sure I could build the next one much more gooder and faster. If I had a plasma cutter...
Here is what I've got so far:
Making sure that it all fits.. Like and idiot, I tried to make the shroud fit over the top of the radiator, instead of sitting down inside the radiator. Well, guess what... The studs on the radiator aren't tall enough. So I had to get a new set of stainless steal nuts to replace the factory ones. Oh well.
Didn't take a lot of pictures.. Here it is all cut up with one of the "tool" trays installed.
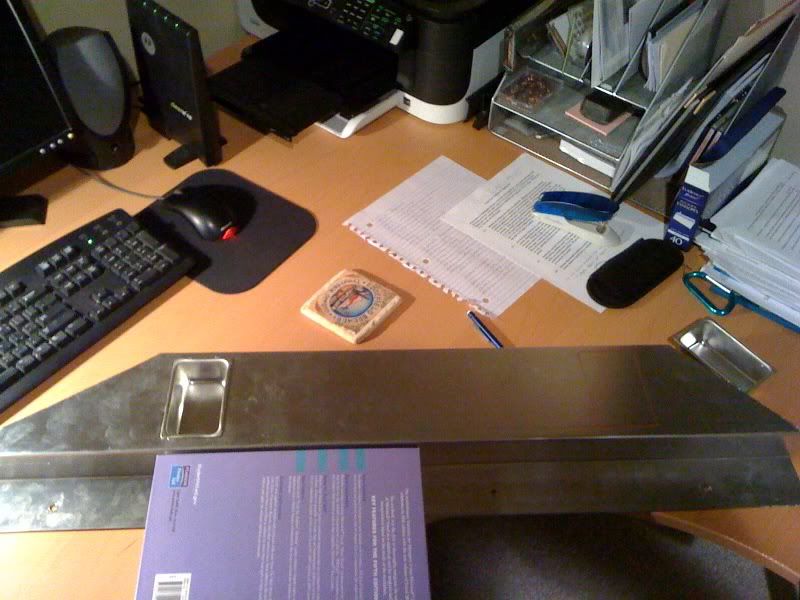
Other one cut out.
Tool tray.
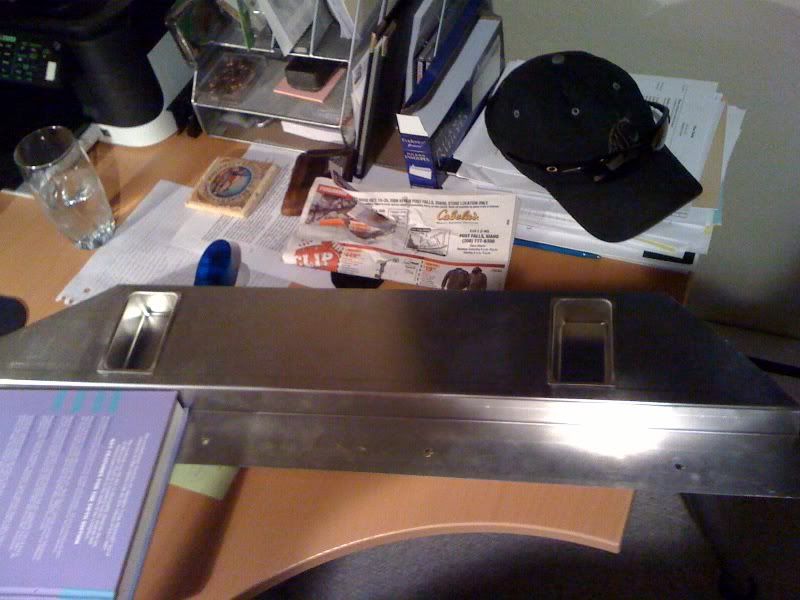
All the trim.
Just need to get it all cleaned up and polished now. Lots of scratches and crap that I probably won't be able to get out.. Oh well, it's not a show truck.
When it's light out, I'll get it installed and get a few pictures.
First one always goes a little rough... I'm pretty sure I could build the next one much more gooder and faster. If I had a plasma cutter...
Here is what I've got so far:
Making sure that it all fits.. Like and idiot, I tried to make the shroud fit over the top of the radiator, instead of sitting down inside the radiator. Well, guess what... The studs on the radiator aren't tall enough. So I had to get a new set of stainless steal nuts to replace the factory ones. Oh well.
Didn't take a lot of pictures.. Here it is all cut up with one of the "tool" trays installed.
Other one cut out.
Tool tray.
All the trim.
Just need to get it all cleaned up and polished now. Lots of scratches and crap that I probably won't be able to get out.. Oh well, it's not a show truck.
When it's light out, I'll get it installed and get a few pictures.
Billysgoat
The ANTI-BLING!
- Joined
- Apr 21, 2006
- Messages
- 10,694
Looks great!! Sorry I couldn't be of more help, blame Ma Nature, I think we will be wetter this month than Seattle, it's raining today, again, just like the previous 4 :bang
MD-LUCKY
Difficult To Pronounce...
- Joined
- Sep 24, 2006
- Messages
- 3,080
It's all coming off and I'm redoing it.
1 very serious issue: the trays fill up with road grime! Didn't think that through at all.. And, I made sure they wouldn't come out.. So you can't remove them.
So, I'm going to build another. This time, the trays won't be mounted inside the fan shroud. I'm going to build it so most of the tray is magnetic.. Then, I'll find a way to store the trays on it, but upside down. When I need to use them, I will flip them over and they should still have enough magnatism to make it all work.
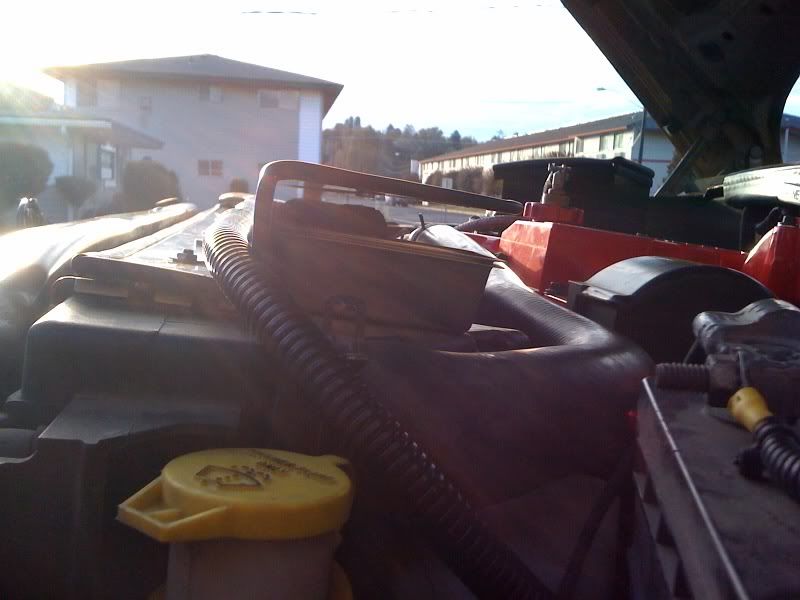
I also picked up about 5 feet of cable to extend out the cable that runs across the front of the truck.
So thats the latest. I'll post pics when I change and fix everything. For now, this is how it looks for the next 18 hours or so... before I tear it completely apart!!
1 very serious issue: the trays fill up with road grime! Didn't think that through at all.. And, I made sure they wouldn't come out.. So you can't remove them.
So, I'm going to build another. This time, the trays won't be mounted inside the fan shroud. I'm going to build it so most of the tray is magnetic.. Then, I'll find a way to store the trays on it, but upside down. When I need to use them, I will flip them over and they should still have enough magnatism to make it all work.
I also picked up about 5 feet of cable to extend out the cable that runs across the front of the truck.
So thats the latest. I'll post pics when I change and fix everything. For now, this is how it looks for the next 18 hours or so... before I tear it completely apart!!
MD-LUCKY
Difficult To Pronounce...
- Joined
- Sep 24, 2006
- Messages
- 3,080
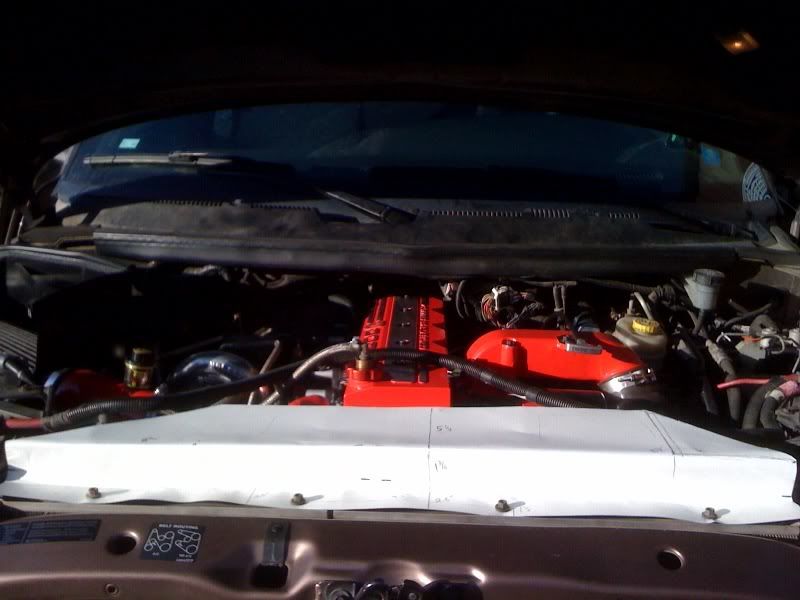
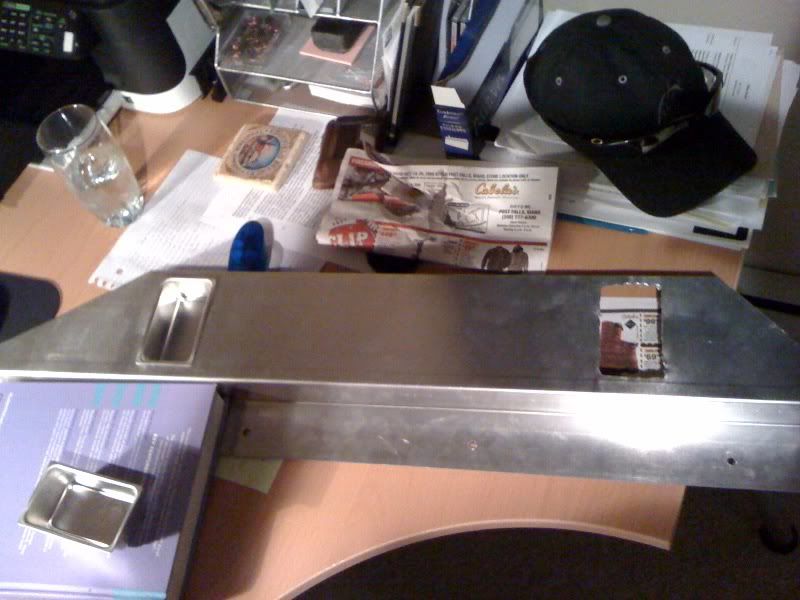
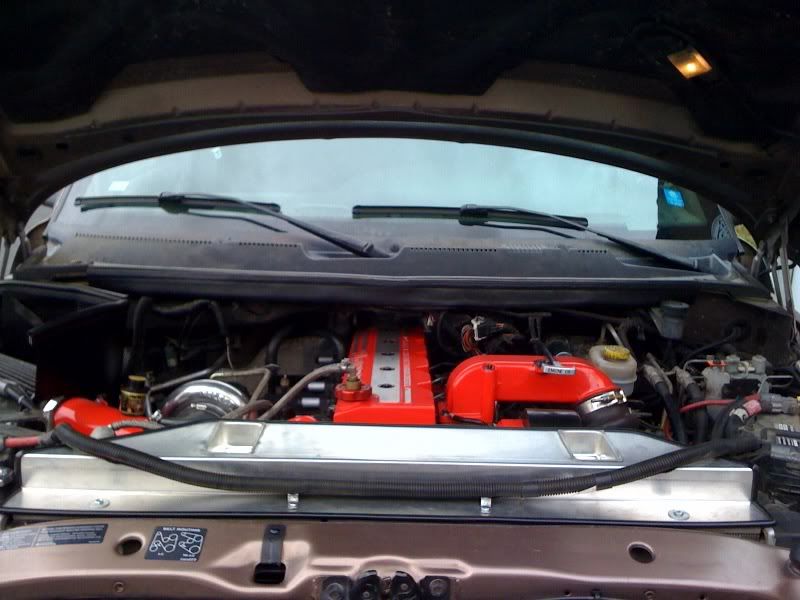
Alright, this is the way it's staying:
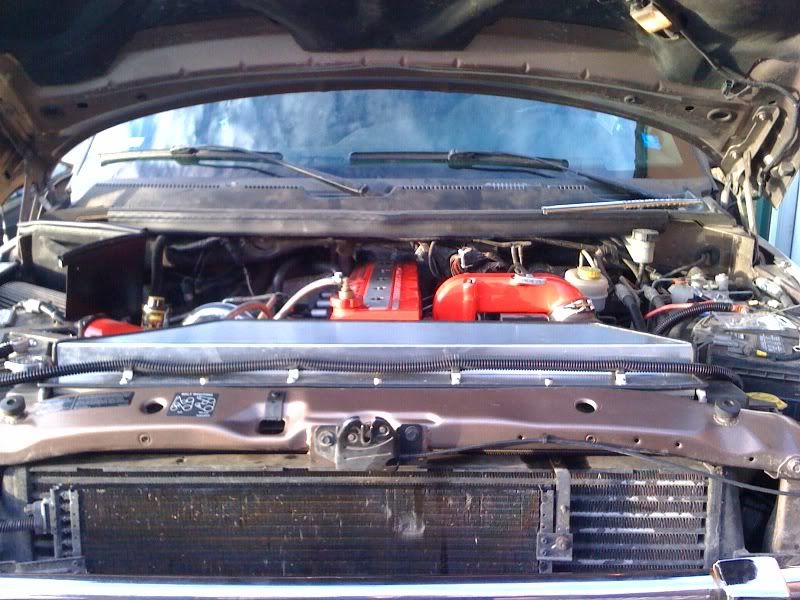

I store the trays right here. They are held in place magnetically, and I can remove them whenever I want. This way, I can clean them out if they get anything inside them.. but, I still have them around when needed.
Now I need to put something on the shroud. I was thinking "CAUTION FAN" again, but I don't know if I should do it in red or black.. I will have to think it over.
Oh yeah, and I got a new postive cable to connect the batteries too, so it doesn't hit the hood insulation anymore.
Now I need to put something on the shroud. I was thinking "CAUTION FAN" again, but I don't know if I should do it in red or black.. I will have to think it over.
A CompD Sticker?