NickTF
Single turbo turd.
- Joined
- Jun 4, 2007
- Messages
- 5,887
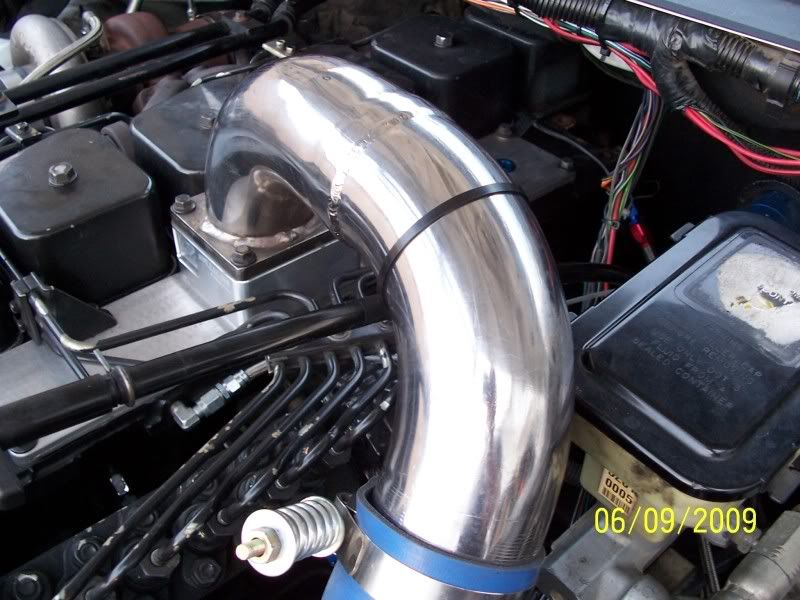
Well I decided to remove the grid heater today and after having done it I can't see why anyone wouldn't do it unless you're truly worried about cold starting. There are two rows to this thing with very little space between the fins. Sure it may add up to little area but tinking 3 dimensionally being the grid fins direct air straight down i'd think that it would hinder air a bit to the far (1 and 6) cylinders. Anyway waiting to drive it as the rtv sealent I used in place of the gasket under the stock air bridge is drying. For some reason the factory gasket didn't make it this time around.
Just a few things to make it easier on those thinking of doing this:
1. The grid heater is held in by the terminal studs on the front side (front of truck) of the plenum cover and bolts on the rear side of the plenum cover.
2. These fasteners have lock washers, flat washers, and a rubber sleeve for sealing purposes.
3. When removing the stud closest to the driver side on front of plenum cover be ready for the flat washer, lock washer, and sleeve to fall down in to the plenum. I used the close end of the wrench and my fingers to keep these parts from going down in the plenum but they still fell out. Luckily they didn't go into the intake ports and were easily removed.
4. When removing the stud closest to the passenger side on the front of the plenum the same parts exist as in 3 in addition to a spacing sleeve so be ready to catch those items.
5. Have a shop vac handy to pull out any debris that may fall in the plenum.
6. You probably shouldnt be lazy like I was and should remove the plenum cover but this method will work too. Plus, you avoid having the possibility of having to replace the plenum cover gasket.
7. When you loosen the bolts in the back side of the plenum cover it is easiest to bend the grid heater fins up and out of the way making access to the studs in the front of the plenum cover easier. These bolts only clamp the grid fins as the fins have an open eyelet, like a u shape, so removing the bolts all the way is not necessary. Be ready for the guides (2 on each grid, one passenger side one driver side) to pop out when prying the grid fins up and out of the plenum cover.
Some potentially useful info for others that want to do this. When the rtv dries a bit more I'll report back on any differences I notice. :Cheer:

