jlibert
New member
- Joined
- Jun 28, 2007
- Messages
- 3,454
I am not a mechanic or an english language expert, so follow along at your own risk. I'm not a machnist and I had to get this done tonight so you may take more time to make your parts look pretty. All holes measured on center, measurements are a very close approximation, but should work fine for all intensive purposes. I was working out of my nova which usually stays in my garage and it was 102* yesterday!
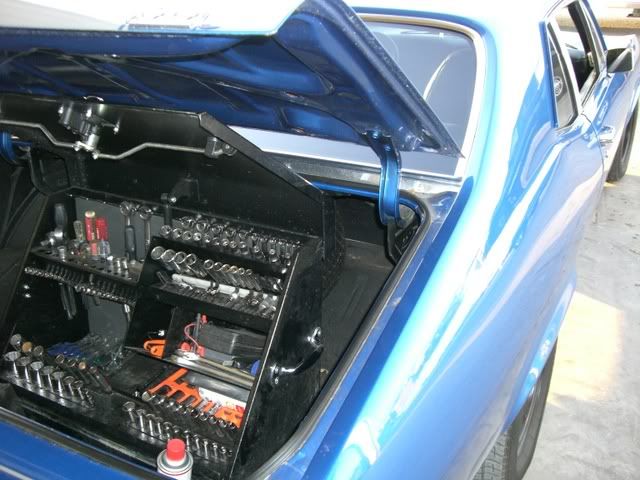
The freeze plug on my truck blew out and I decided to fix it myself. With the help of others including Dodgezilla04 and PourinDiesel as well as some great information I picked up on the DTR and TDR, I decided to put together a post with pictures in the hopes of helping someone tackle this job in the future. Many have used either the "remove the transmission" technique or the "lay on the valve cover" technique. Dropping the trans seemed like too much work, and I couldn't reach around the back of the block with much success, so I decided to remove the exhaust system for access. Here are the tools I used.
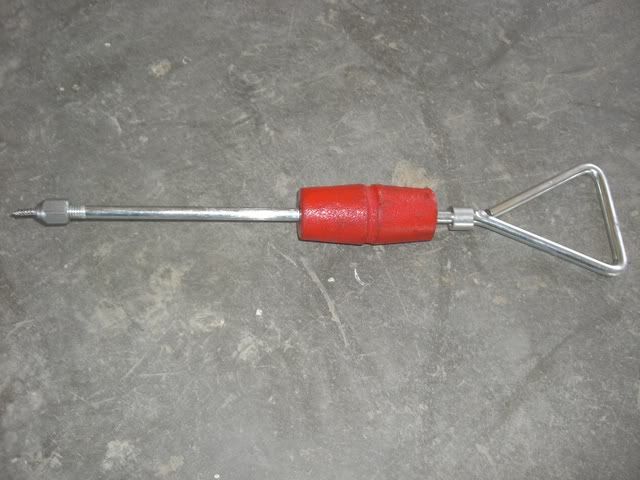
small slide hammer/dent puller from napa (if the plug is still stuck in the block)
8" punch
ball peen hammer
11mm deep socket + rachet
1/8" drill bit with cordless drill
17/32" drill bit
sheet metal screws (came with dent puller)
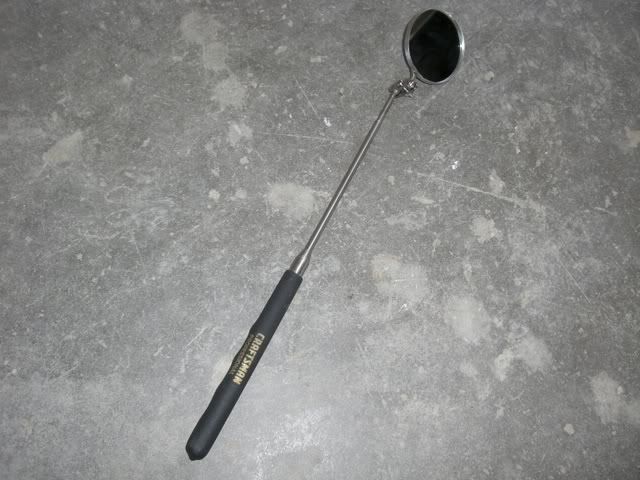
telescoping mirror
2 1/4" hole saw
3/4" ratchet wrench
(other tools will be necessary and will vary with added exhaust components)
Other supplies used:
new freeze plug from dealer
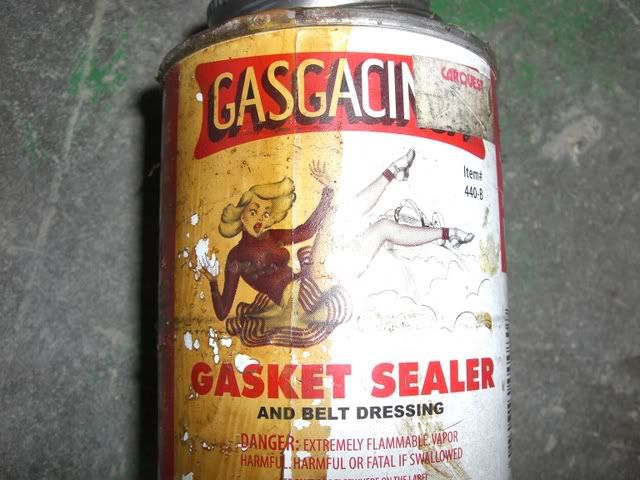
gasgacinch or equivalent
red loctite
(3) M12 1.75 35mm or 30mm bolts (30mm for 1/4" material, 35mm for 1/2")
(3) lock washers
Mopar antifreeze (red/orange)
brakecleen or equivalent
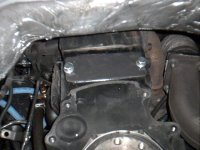
In order to access this particular plug, I removed the exhaust elbow (pacbrake in my case) and downpipe. This gave access pictured here
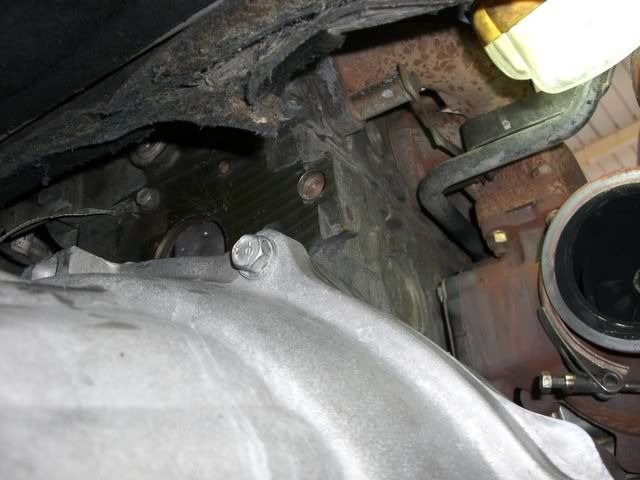
Auto trans guys have a cooling line that runs behind the block. Auto guys should probably use 1/4" steel instead of the thicker aluminum to provide more clearance.
Steps to remove stuck plug
1. Try to knock plug sideways with a hammer and punch. Grip the side of the plug with a pair of pliars (probably needle nose) and pull plug out
2. If step one doesn't work, drill a 1/8 hole in the plug (anywhere you can). Using the dent puller kit from Napa, screw the sheetmetal screw into the plug and extract with slide hammer.
Careful not to penetrate the engine block as it sits very close to the back of the plug
3. Once the plug has been removed, clean the hole with brake parts cleaner or equivalent.
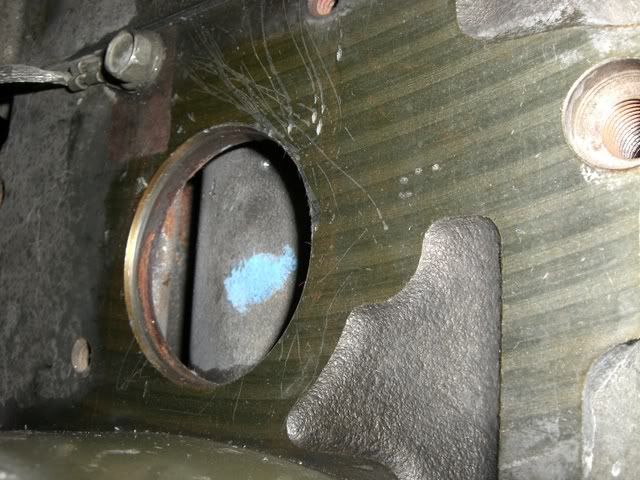
Building a plate to prevent the plug from coming out again:
This plate is also used as an installation tool in this application. Use 1/2" thick aluminum plate or similar strength steel plate. A template similar to the one shown below will need to be made.
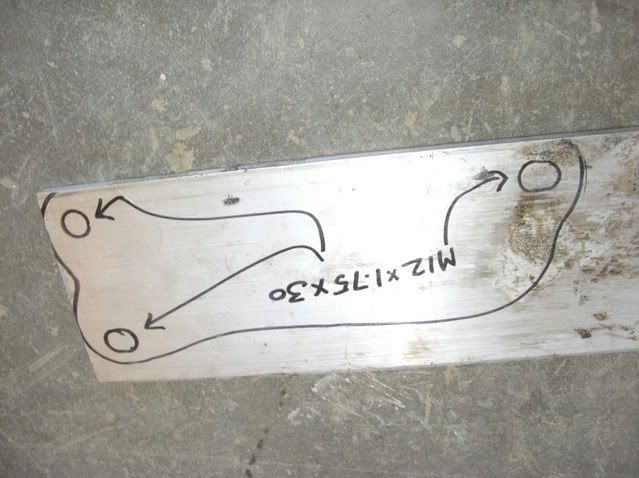
Holes were drilled with a 17/32 bit. (9/16 should also work fine) and were spaced as follows:
top to top measured across = 7 11/16"
top to bottom measured down = 2 3/8"
top to bottom measured diaganolly = 7 7/8
bottom hole is slightly offset from hole above (see pic)
holes may be slotted horizontally to ease installation.
After the template has been applied to the material, machine accordingly.
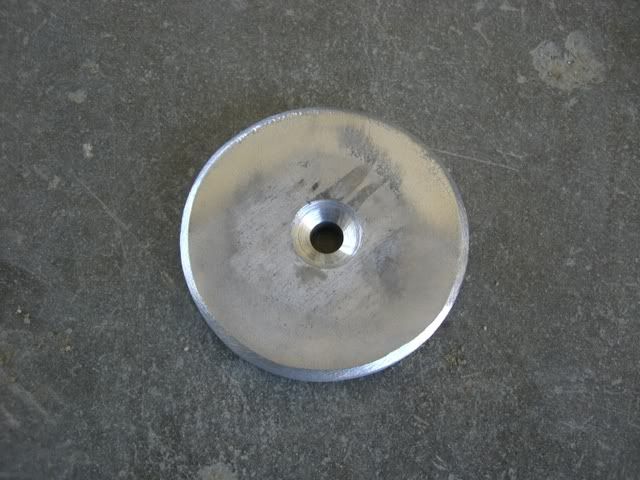
Use the hole saw mentioned above to produce a circular piece of metal 1/4" thick that will me screwed to the piece pictured above.
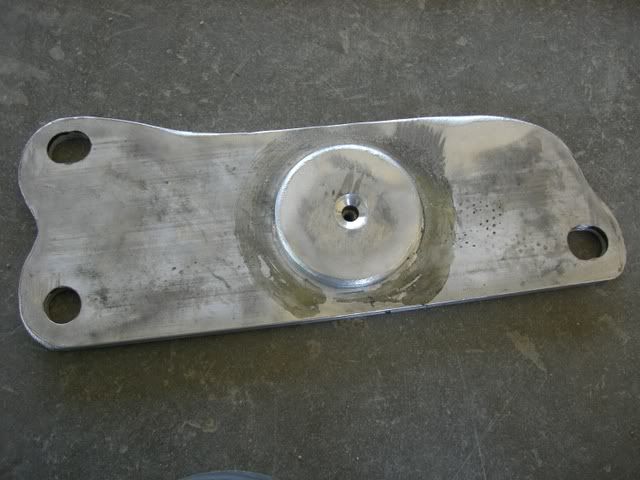
I used a larger bit to counter sink the self tapping sheetmetal screw. The circular piece will need to be machined to fit inside the new plug. Leave some clearance between the plug and the circular piece as the plug will compress slightly when driven into the block. It should look something like this

Make sure you have adequate clearance between plate and bellhousing. If there isn't enough clearance, the plate will hang up and drive plug in crooked.
Installation of the freeze plug
Using some gasgacinch, adhere the new plug to the circular piece of the metal plate. Move the plate into position, and using the bolts listed above, thread them by hand into the block until they are snug. Using a 3/4" or 19mm ratchet wrench, alternately tighten bolts until plate is flush with block. If you used 1/4" material for the circluar piece, the plug will be driven in slightly passed flush for a factory appearance. You may want to back off plate to verify that plug is installed correctly. With lockwashers slid onto bolts, add a drop of red loctite to each like this
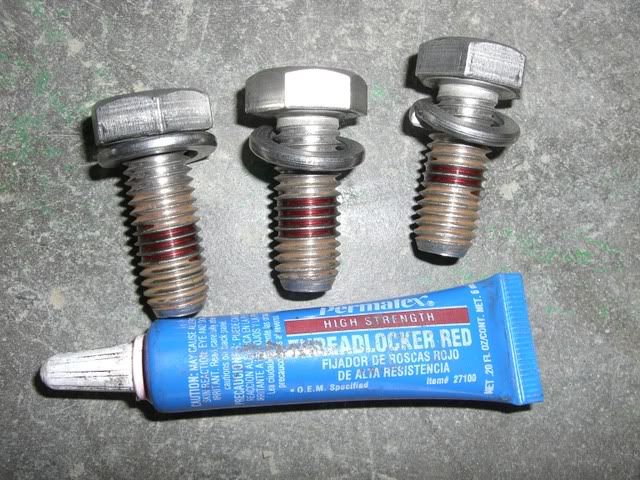
Thread the bolts through the plate and back into the block until tight.
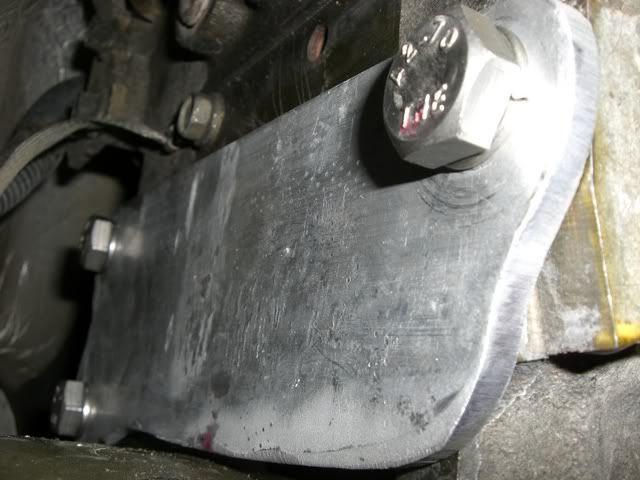
The final product will look like this
replace your exhaust system
re-fill and purge cooling system
check for leaks with engine running

The freeze plug on my truck blew out and I decided to fix it myself. With the help of others including Dodgezilla04 and PourinDiesel as well as some great information I picked up on the DTR and TDR, I decided to put together a post with pictures in the hopes of helping someone tackle this job in the future. Many have used either the "remove the transmission" technique or the "lay on the valve cover" technique. Dropping the trans seemed like too much work, and I couldn't reach around the back of the block with much success, so I decided to remove the exhaust system for access. Here are the tools I used.
small slide hammer/dent puller from napa (if the plug is still stuck in the block)

8" punch
ball peen hammer
11mm deep socket + rachet
1/8" drill bit with cordless drill
17/32" drill bit
sheet metal screws (came with dent puller)
telescoping mirror

2 1/4" hole saw
3/4" ratchet wrench
(other tools will be necessary and will vary with added exhaust components)
Other supplies used:
new freeze plug from dealer
gasgacinch or equivalent

red loctite
(3) M12 1.75 35mm or 30mm bolts (30mm for 1/4" material, 35mm for 1/2")
(3) lock washers
Mopar antifreeze (red/orange)
brakecleen or equivalent
In order to access this particular plug, I removed the exhaust elbow (pacbrake in my case) and downpipe. This gave access pictured here

Auto trans guys have a cooling line that runs behind the block. Auto guys should probably use 1/4" steel instead of the thicker aluminum to provide more clearance.
Steps to remove stuck plug
1. Try to knock plug sideways with a hammer and punch. Grip the side of the plug with a pair of pliars (probably needle nose) and pull plug out
2. If step one doesn't work, drill a 1/8 hole in the plug (anywhere you can). Using the dent puller kit from Napa, screw the sheetmetal screw into the plug and extract with slide hammer.
Careful not to penetrate the engine block as it sits very close to the back of the plug
3. Once the plug has been removed, clean the hole with brake parts cleaner or equivalent.

Building a plate to prevent the plug from coming out again:
This plate is also used as an installation tool in this application. Use 1/2" thick aluminum plate or similar strength steel plate. A template similar to the one shown below will need to be made.

Holes were drilled with a 17/32 bit. (9/16 should also work fine) and were spaced as follows:
top to top measured across = 7 11/16"
top to bottom measured down = 2 3/8"
top to bottom measured diaganolly = 7 7/8
bottom hole is slightly offset from hole above (see pic)
holes may be slotted horizontally to ease installation.
After the template has been applied to the material, machine accordingly.

Use the hole saw mentioned above to produce a circular piece of metal 1/4" thick that will me screwed to the piece pictured above.

I used a larger bit to counter sink the self tapping sheetmetal screw. The circular piece will need to be machined to fit inside the new plug. Leave some clearance between the plug and the circular piece as the plug will compress slightly when driven into the block. It should look something like this

Make sure you have adequate clearance between plate and bellhousing. If there isn't enough clearance, the plate will hang up and drive plug in crooked.
Installation of the freeze plug
Using some gasgacinch, adhere the new plug to the circular piece of the metal plate. Move the plate into position, and using the bolts listed above, thread them by hand into the block until they are snug. Using a 3/4" or 19mm ratchet wrench, alternately tighten bolts until plate is flush with block. If you used 1/4" material for the circluar piece, the plug will be driven in slightly passed flush for a factory appearance. You may want to back off plate to verify that plug is installed correctly. With lockwashers slid onto bolts, add a drop of red loctite to each like this

Thread the bolts through the plate and back into the block until tight.
The final product will look like this

replace your exhaust system
re-fill and purge cooling system
check for leaks with engine running

