"OLD UGLY" Re-Visited Build Thread #RonA #DPF Challenge 2016

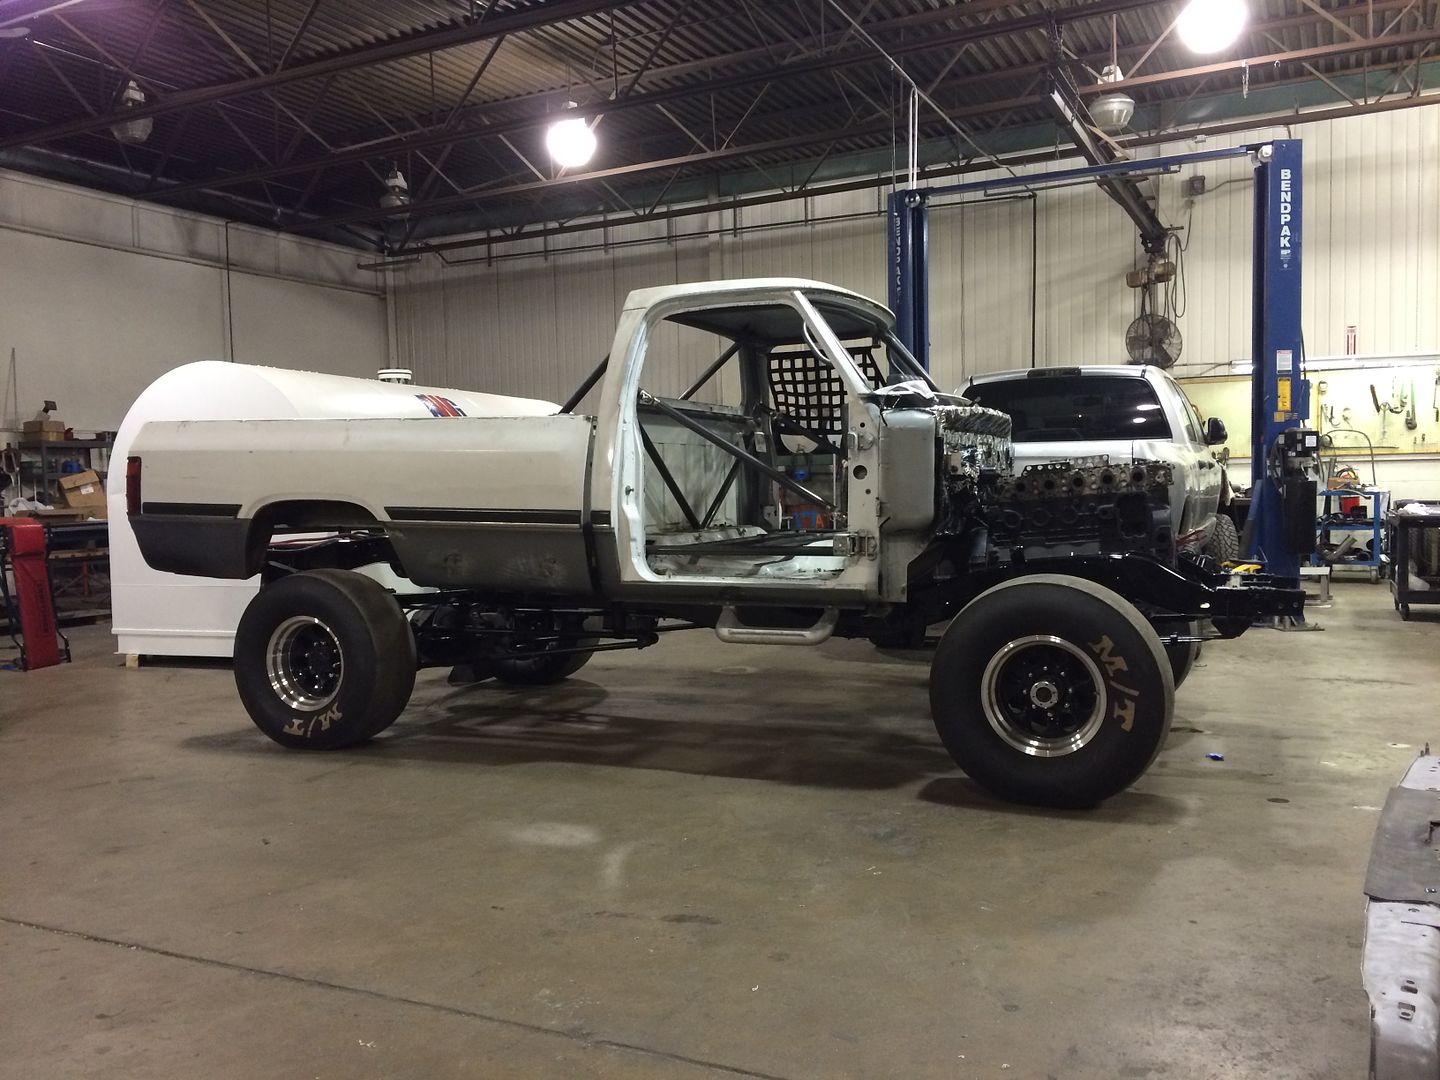
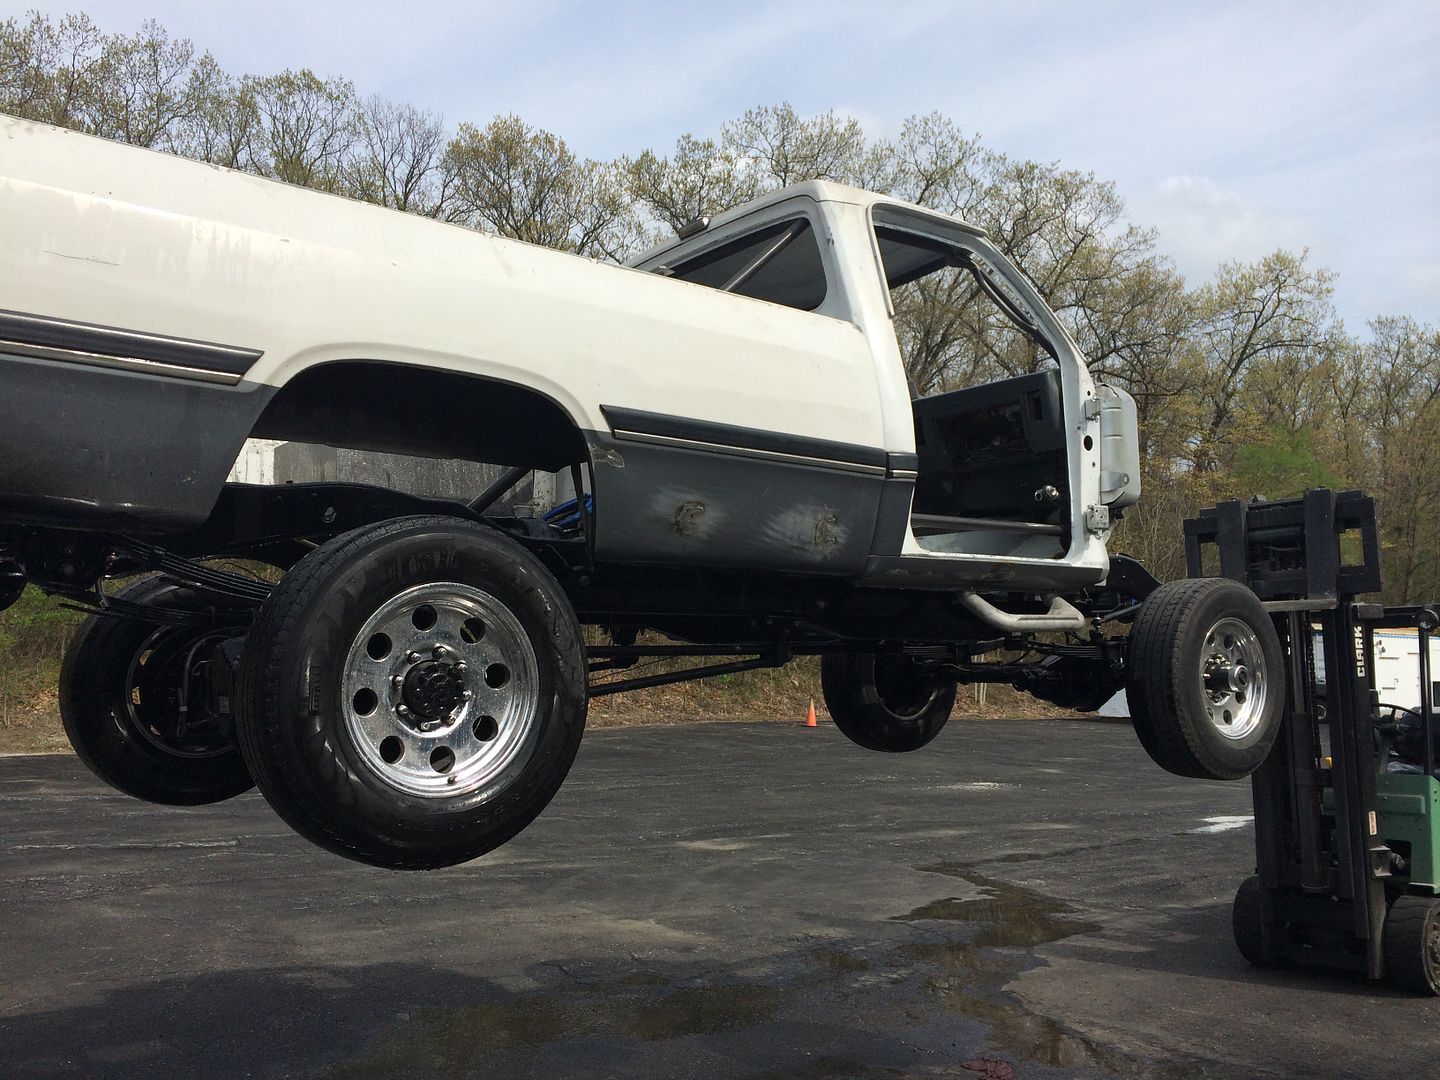
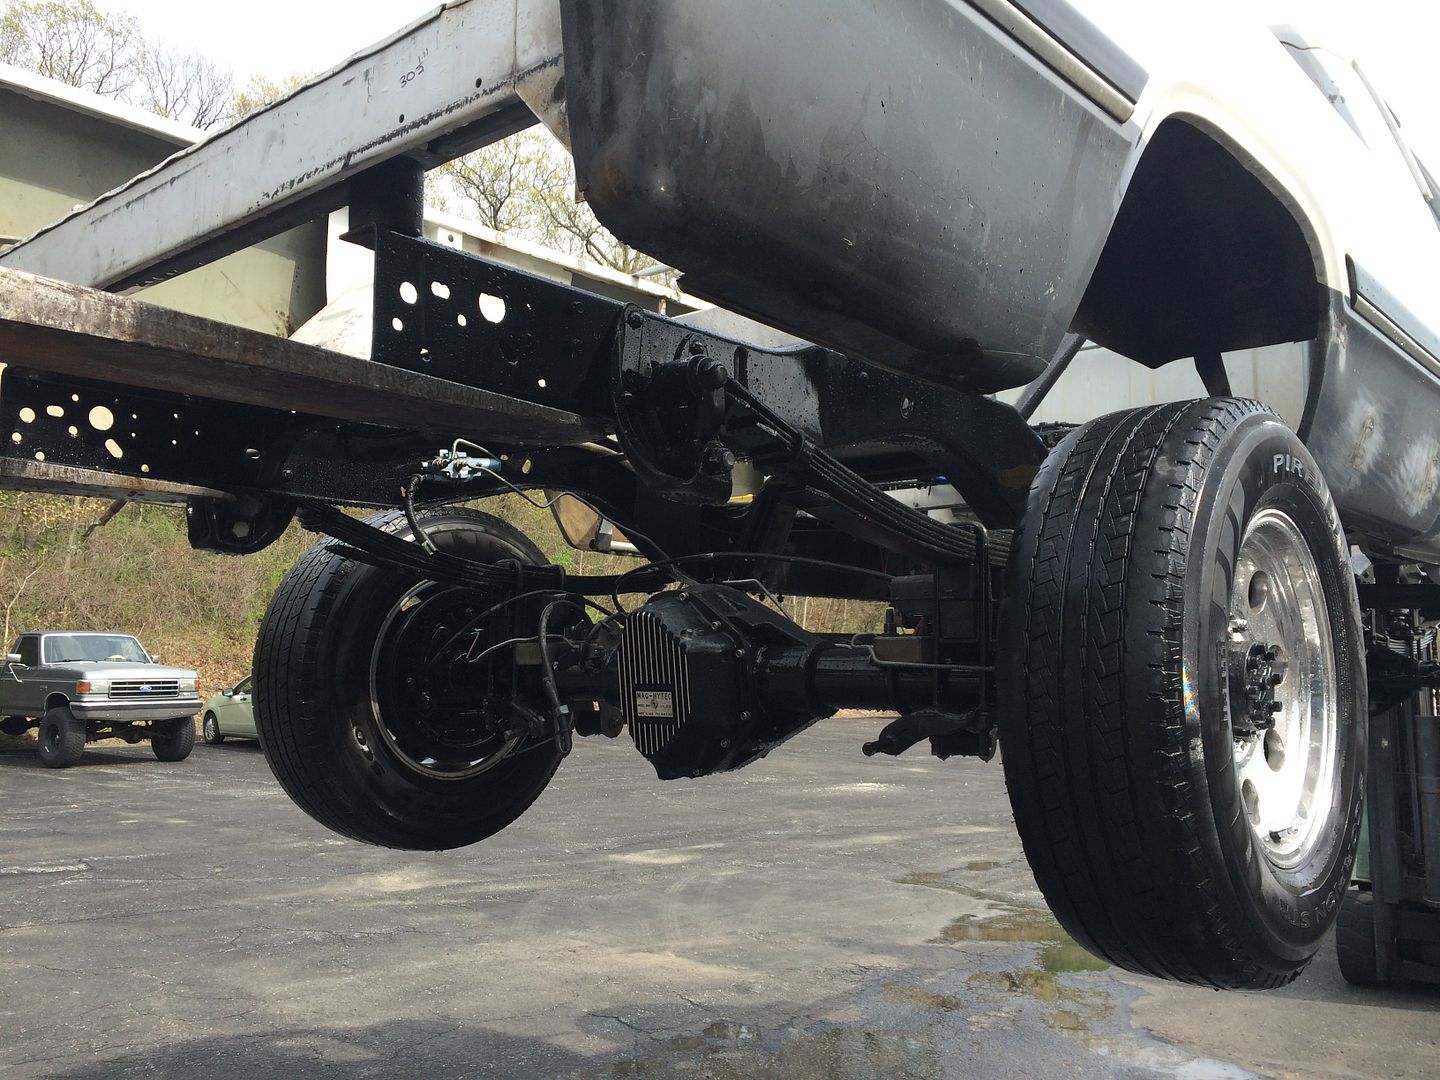
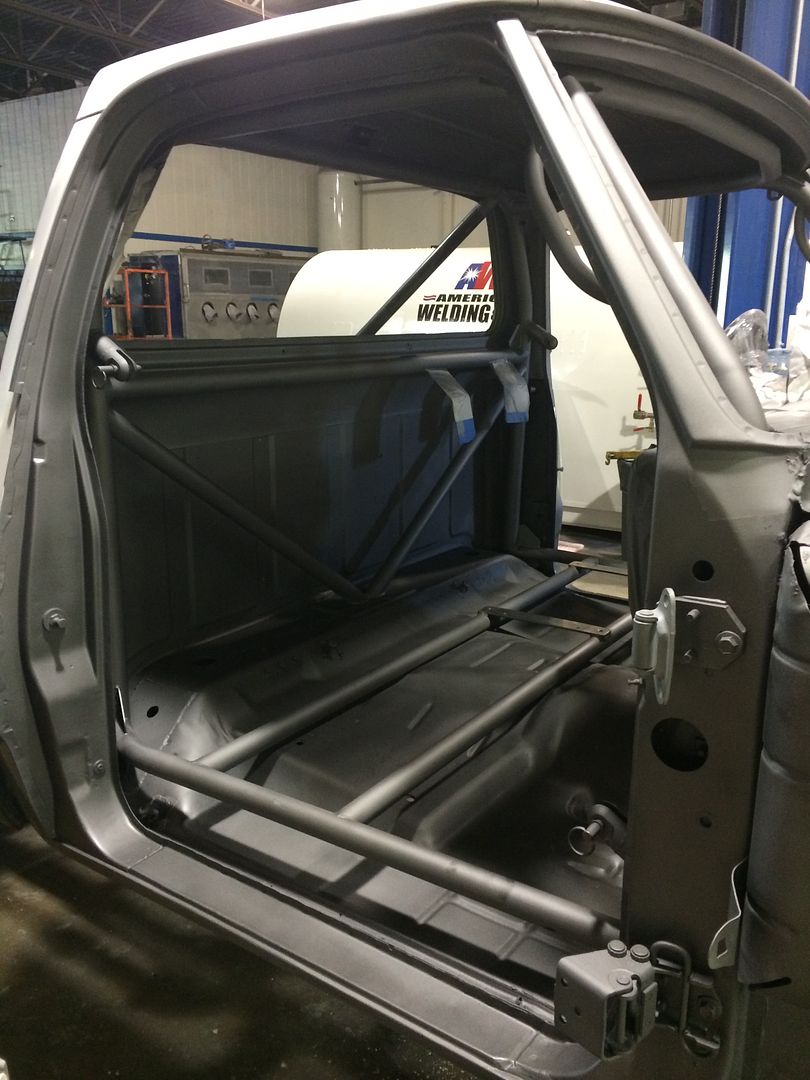
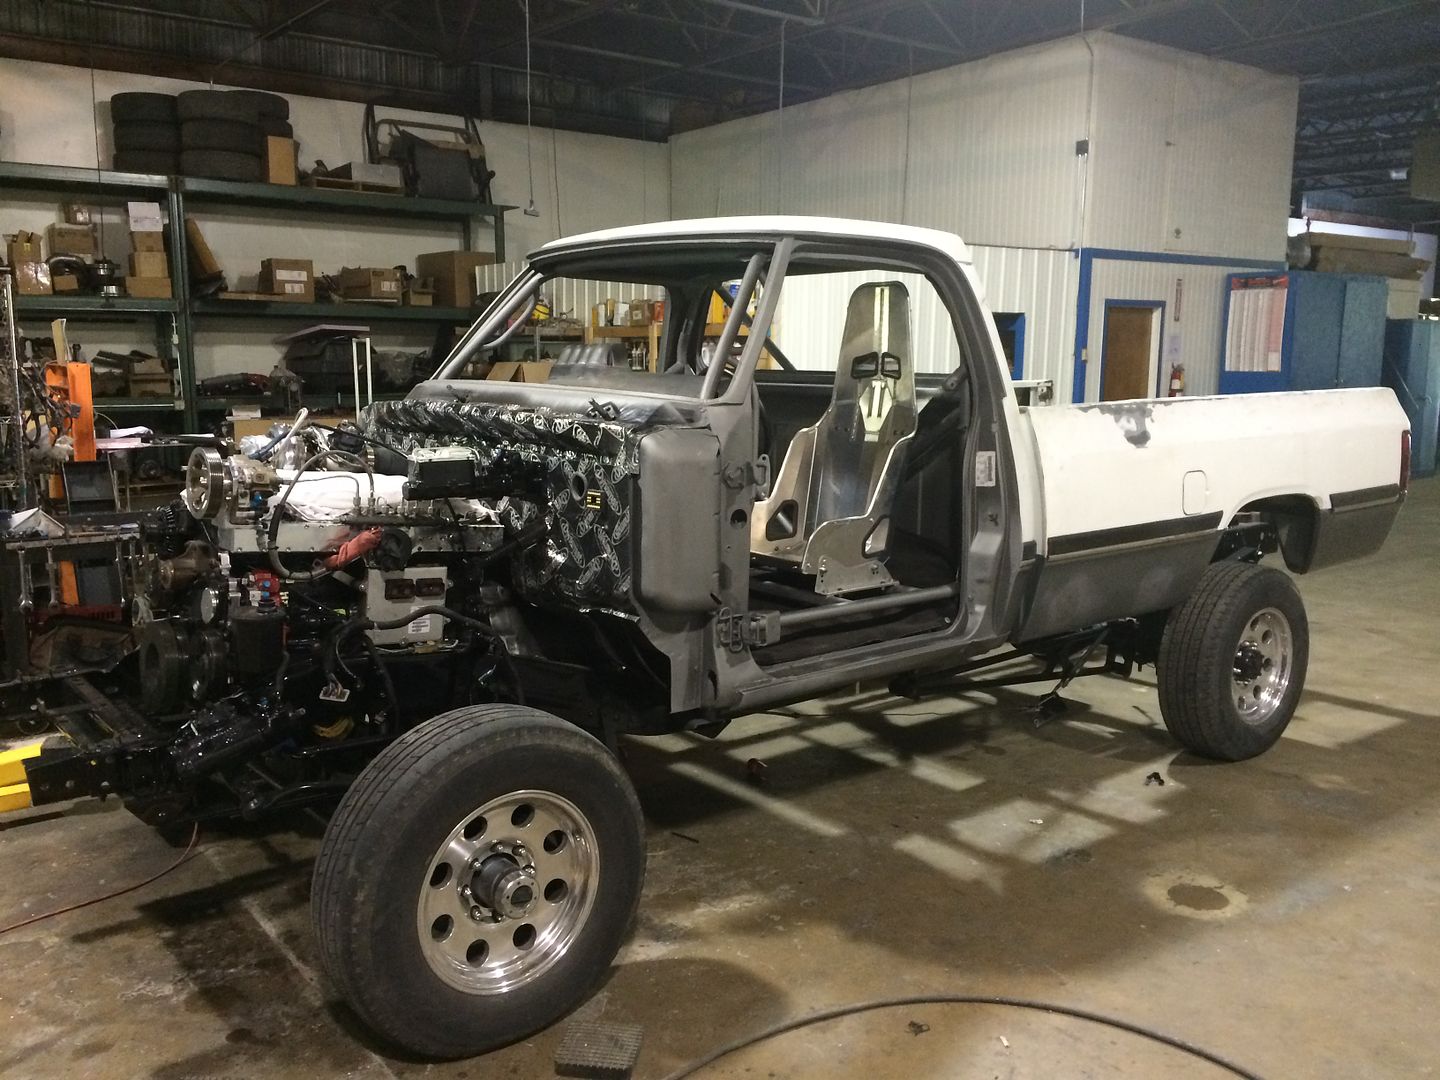
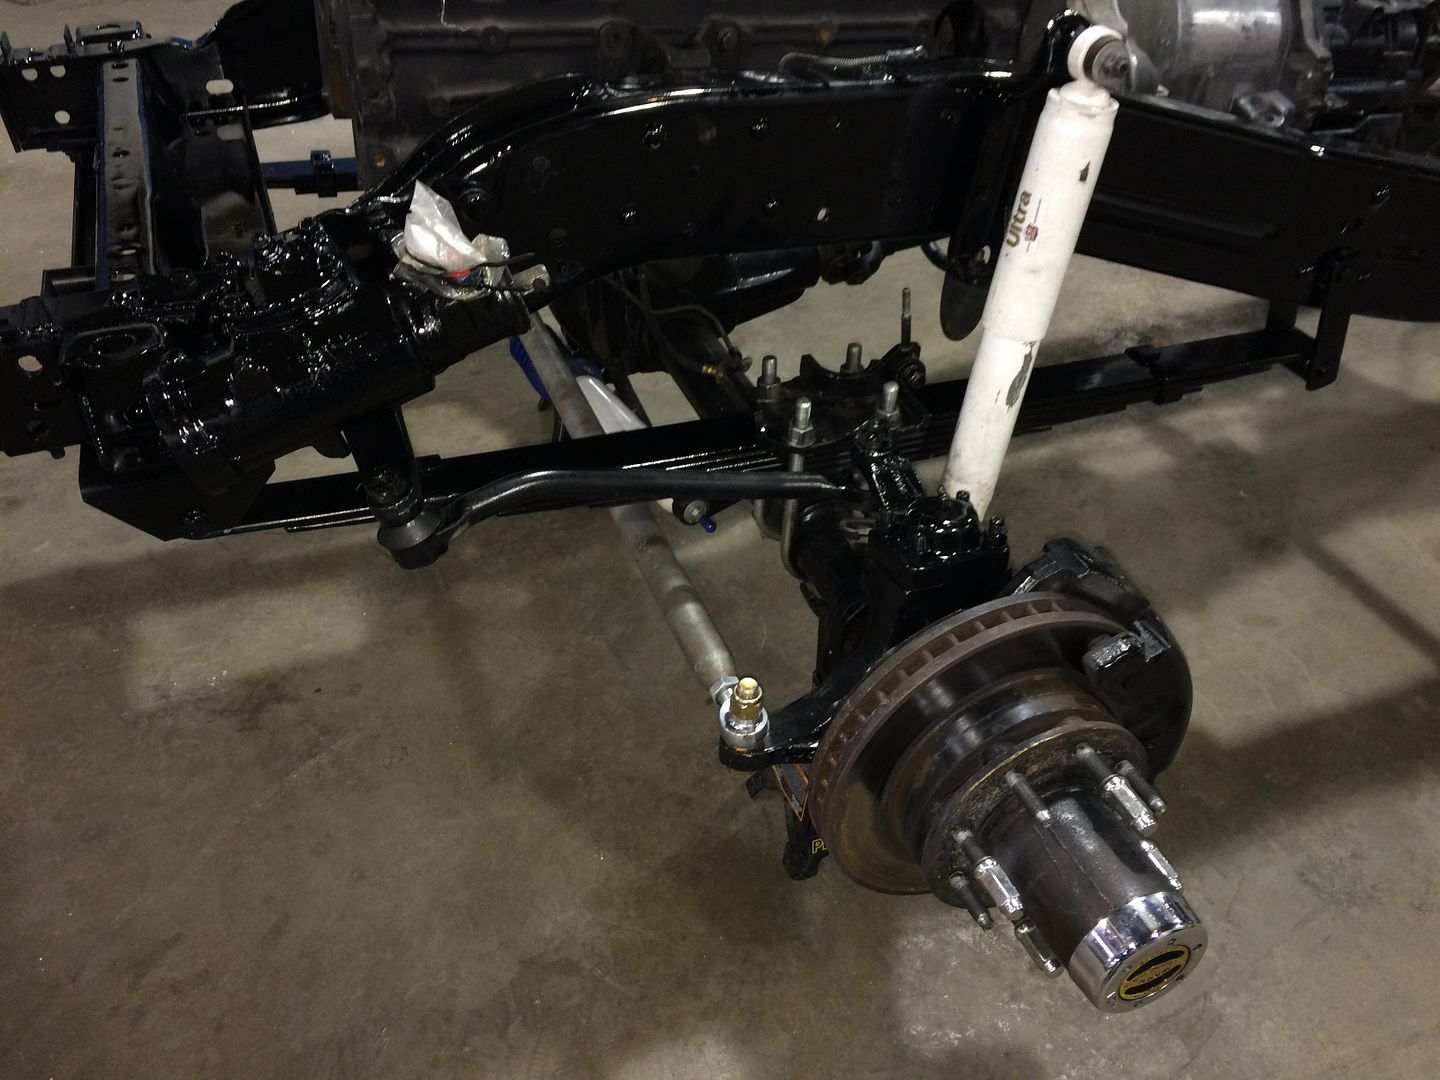
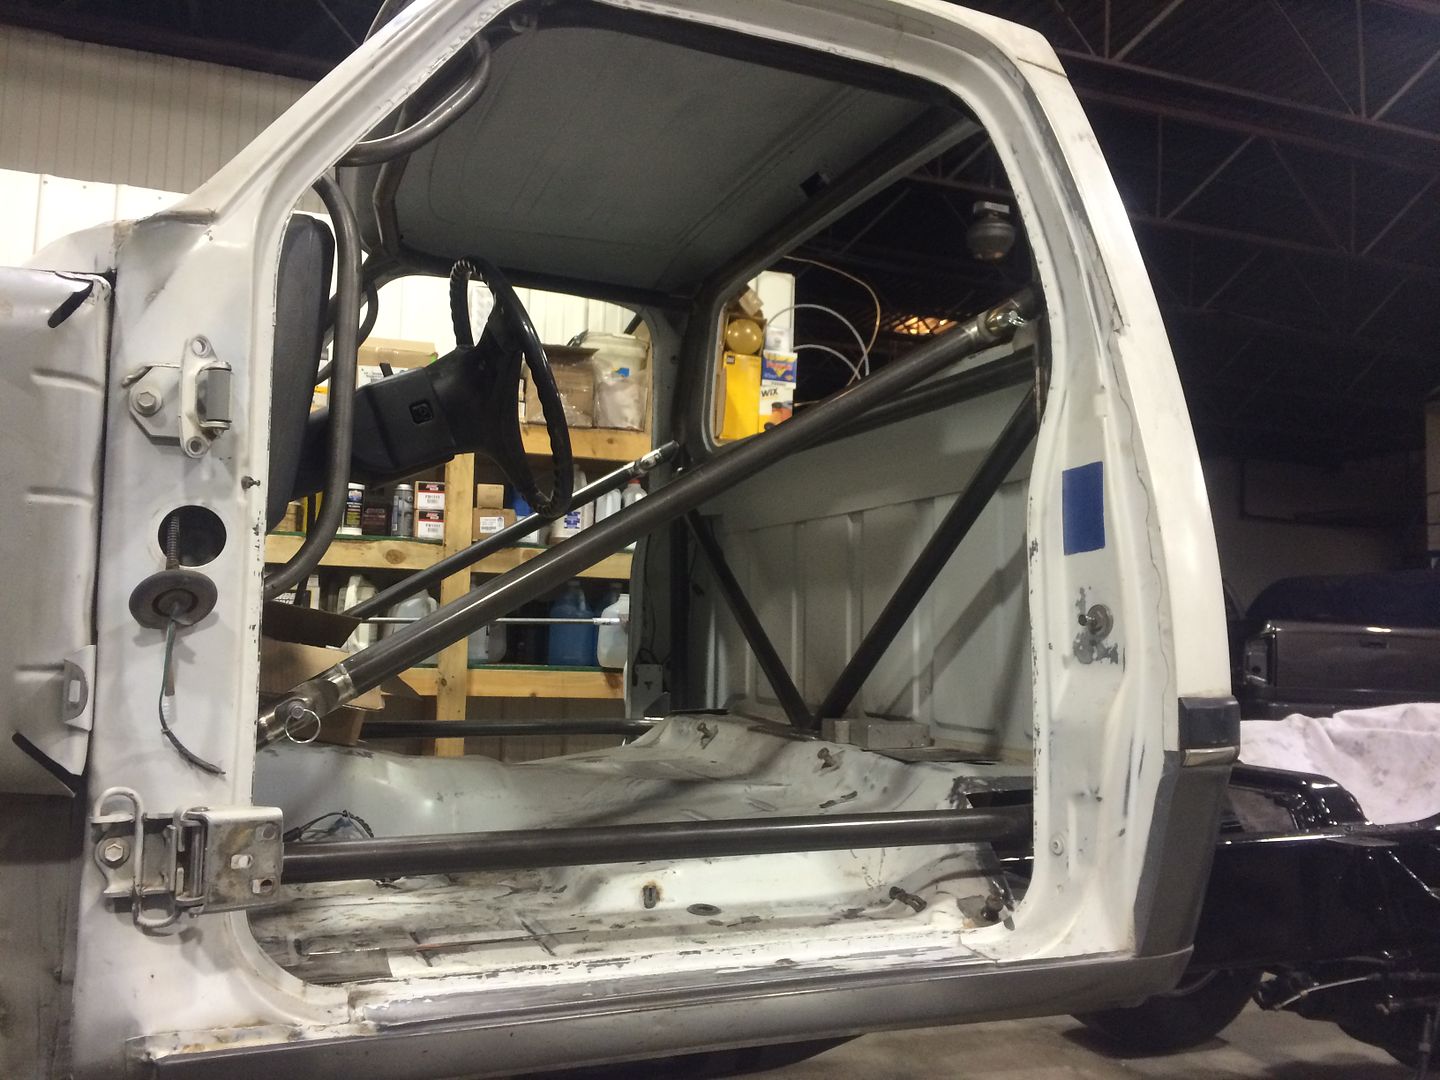
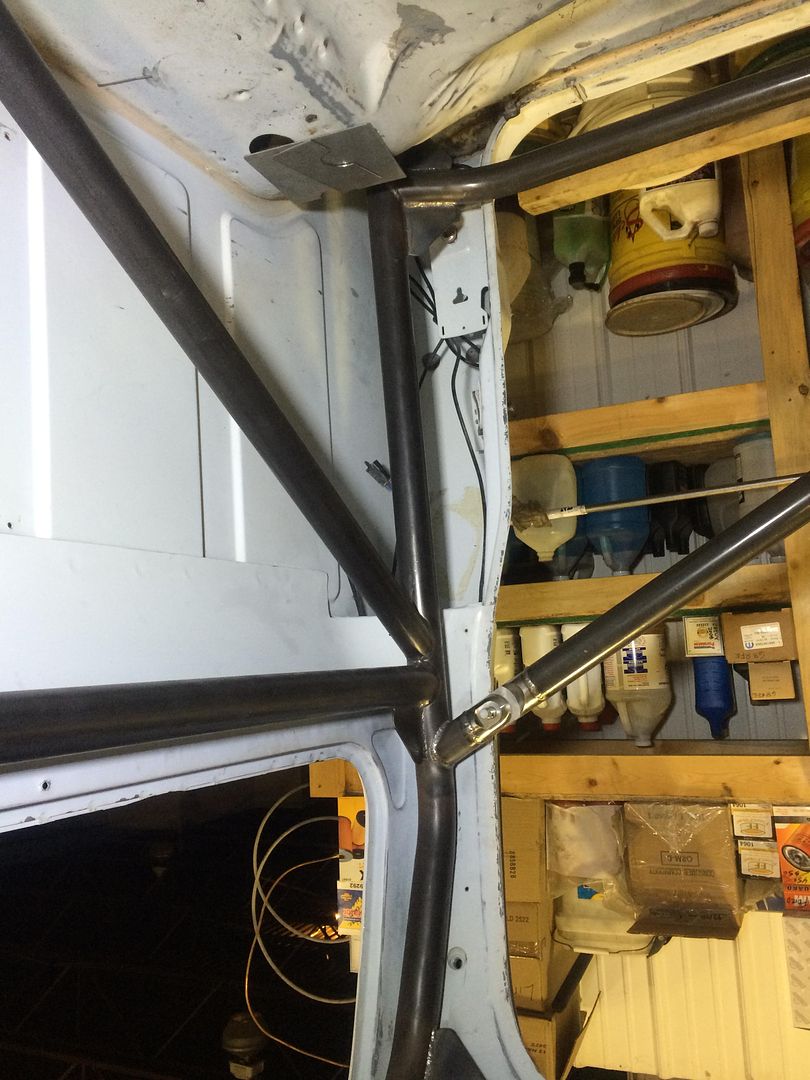
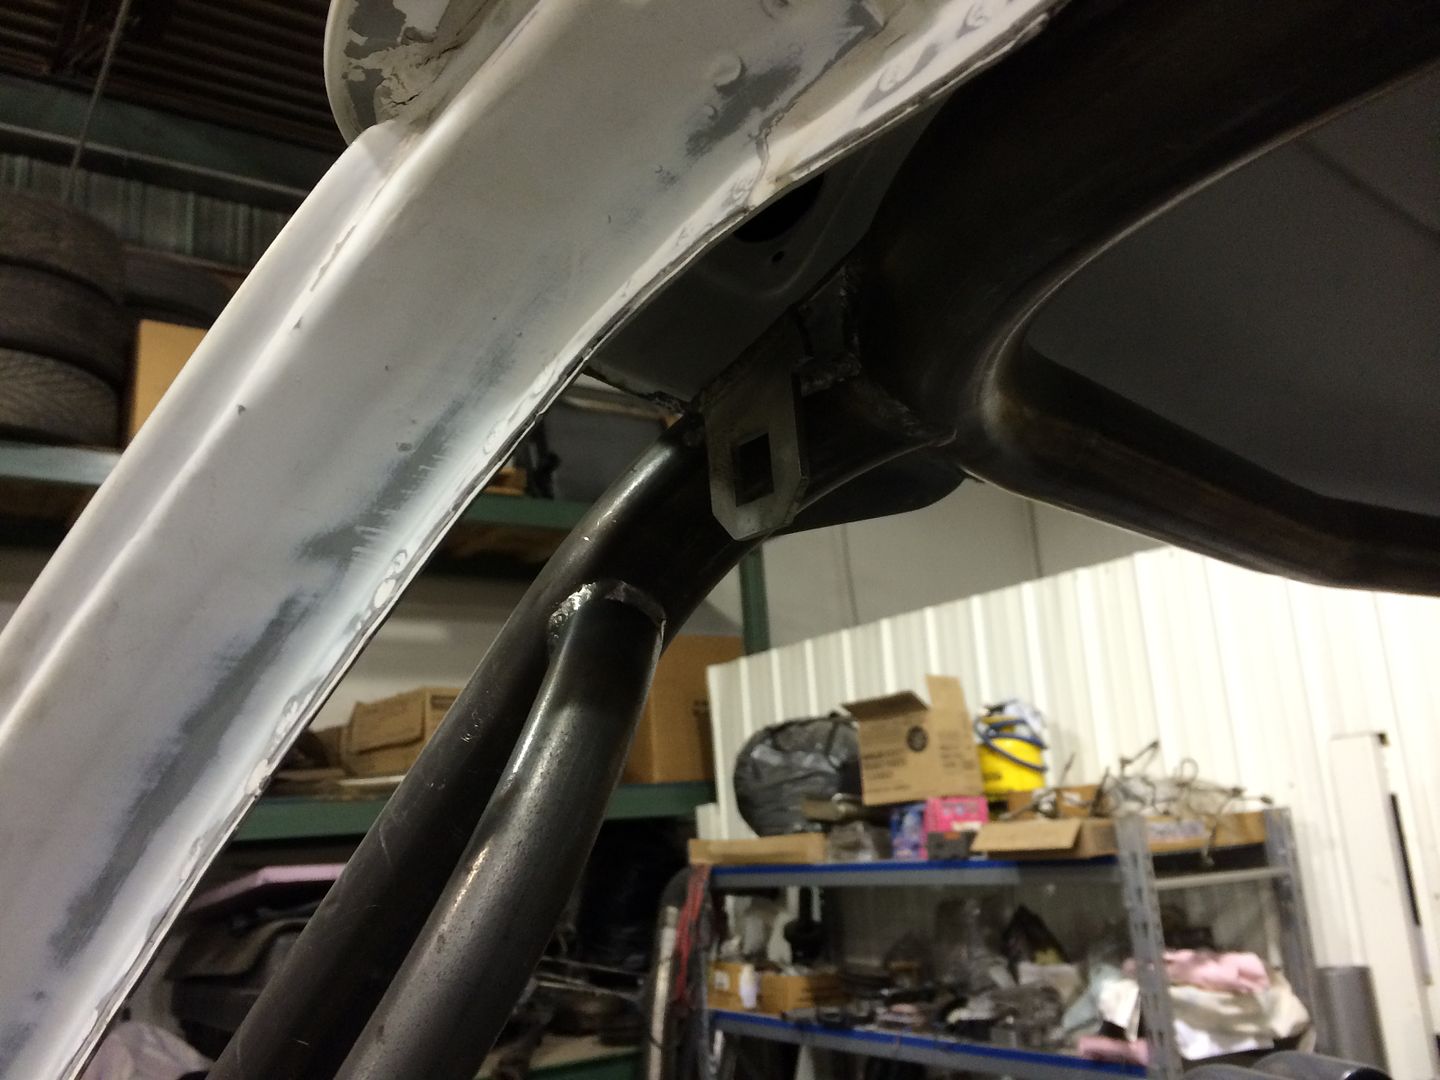
Ok got a little overboard on the motor removal. Snow and cold came early before I could take it back out. So.......the guys talked me into adding a few bars for safety. Since we were going to do that I decided to clean up the frame and rebuild the suspension a bit make sure things are good while its down.

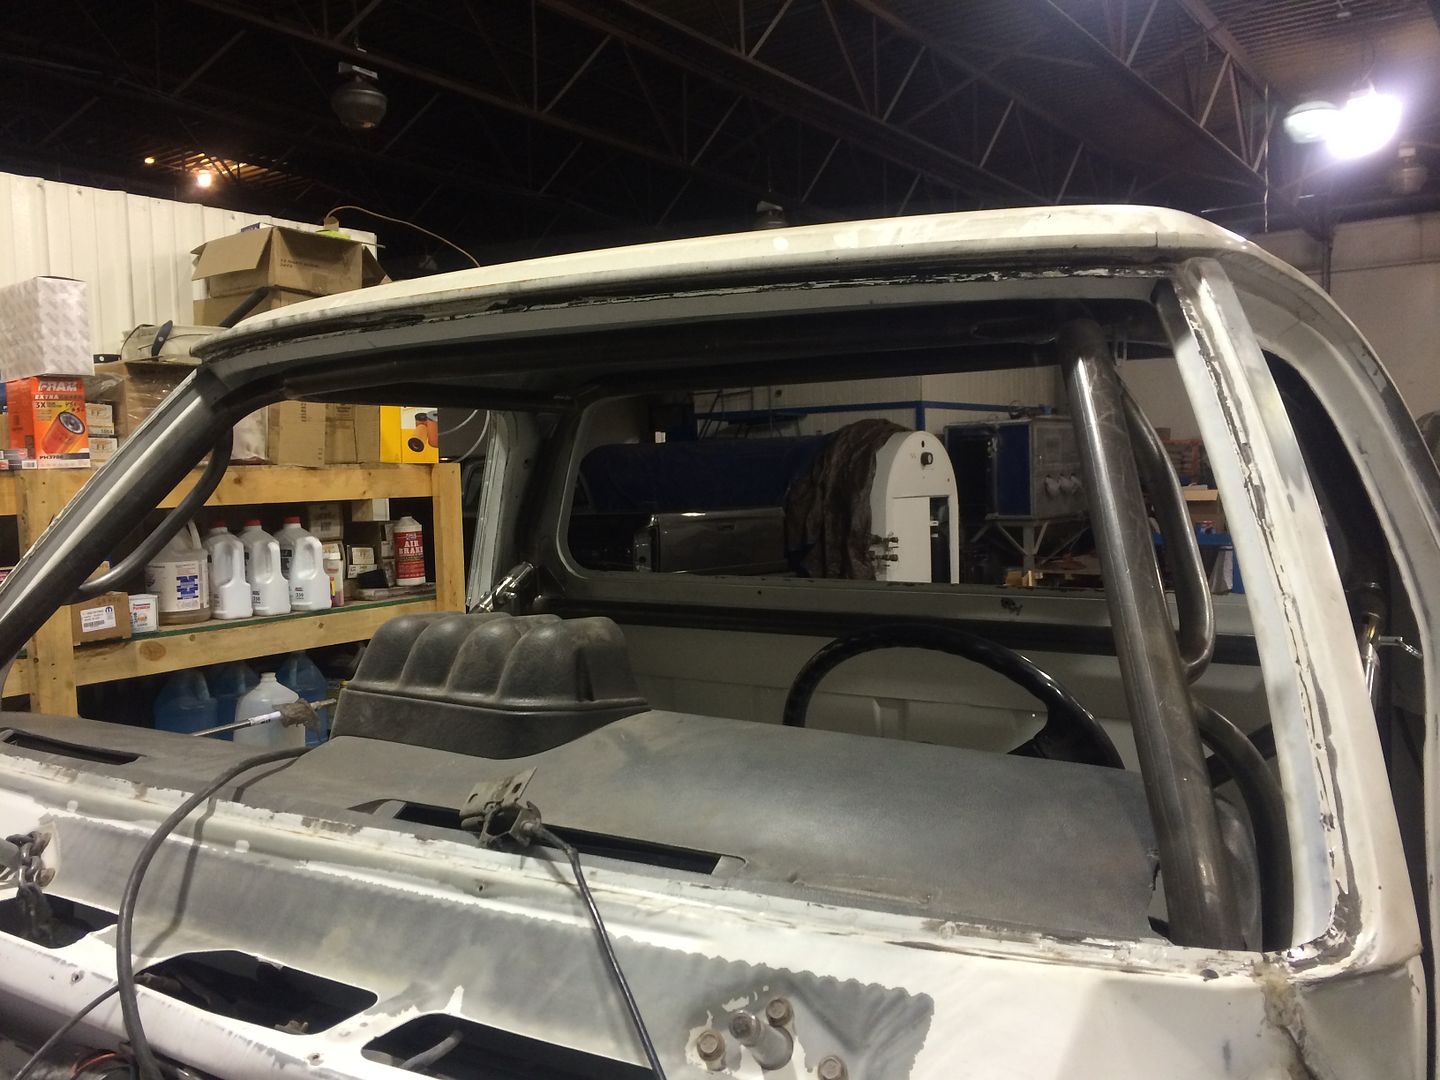
Not sure what happened but I am missing some of the cage build pics from the beginning. I bought a new Baileigh Industrial bender and had my supplier drop off another pile of chromoly.

IMG_0015_zps15c8561c.jpg
[/URL]

IMG_0018_zps066773b0.jpg
[/URL]

IMG_0023_zps0e854e0f.jpg
[/URL]

IMG_0025_zps942e31a4.jpg
[/URL]

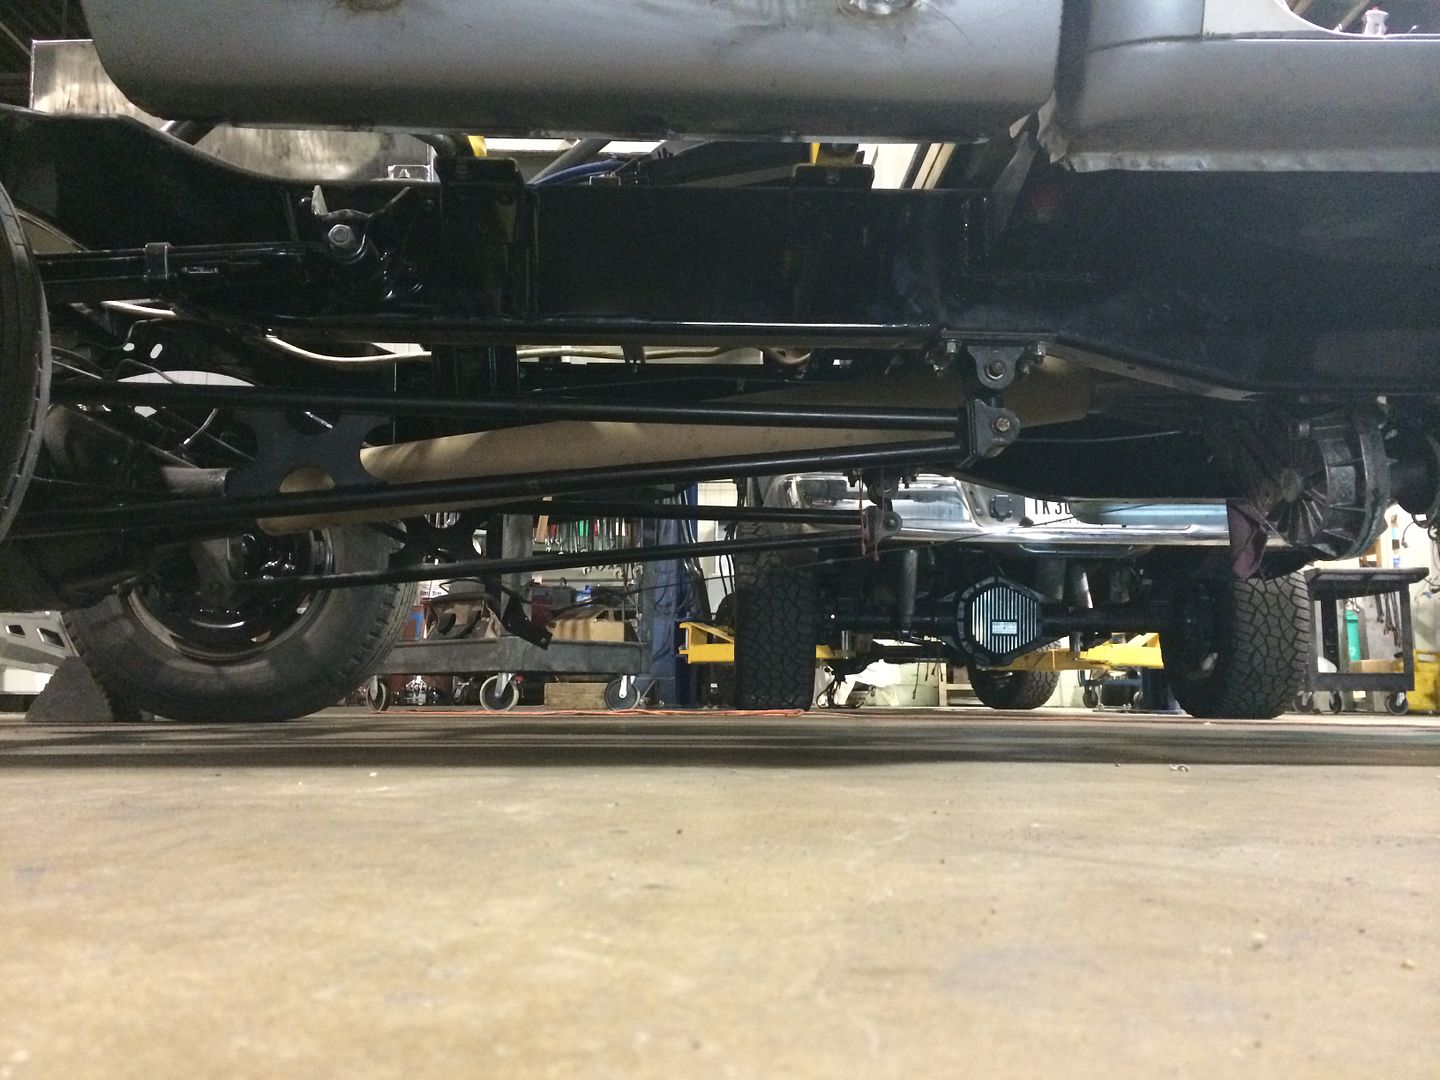
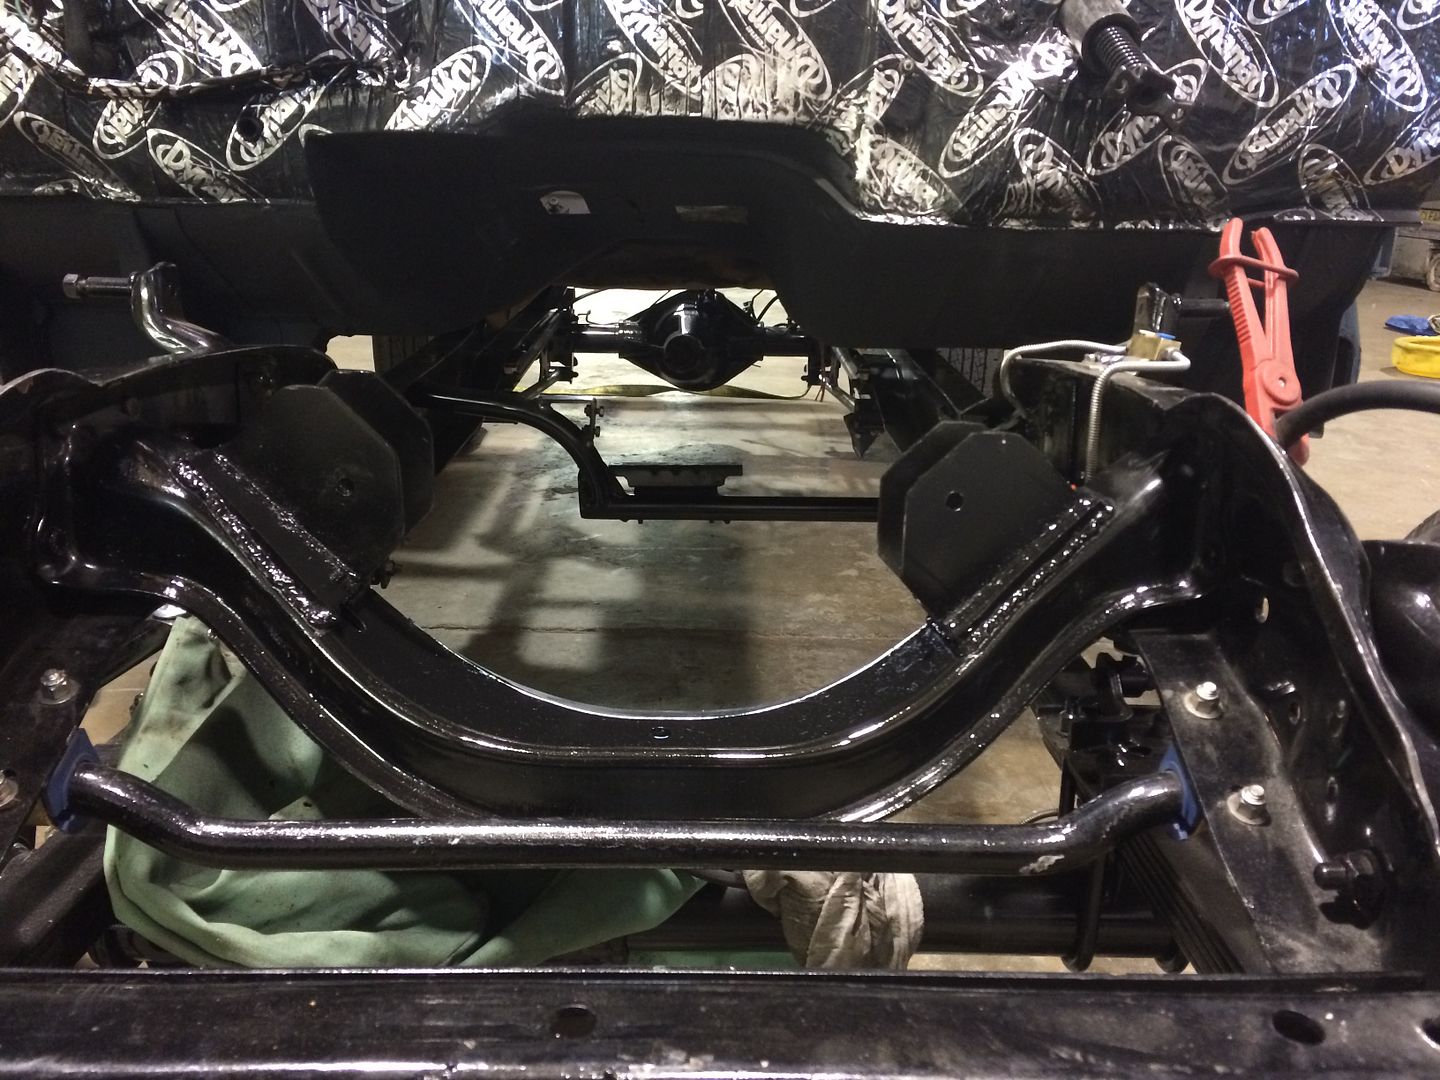
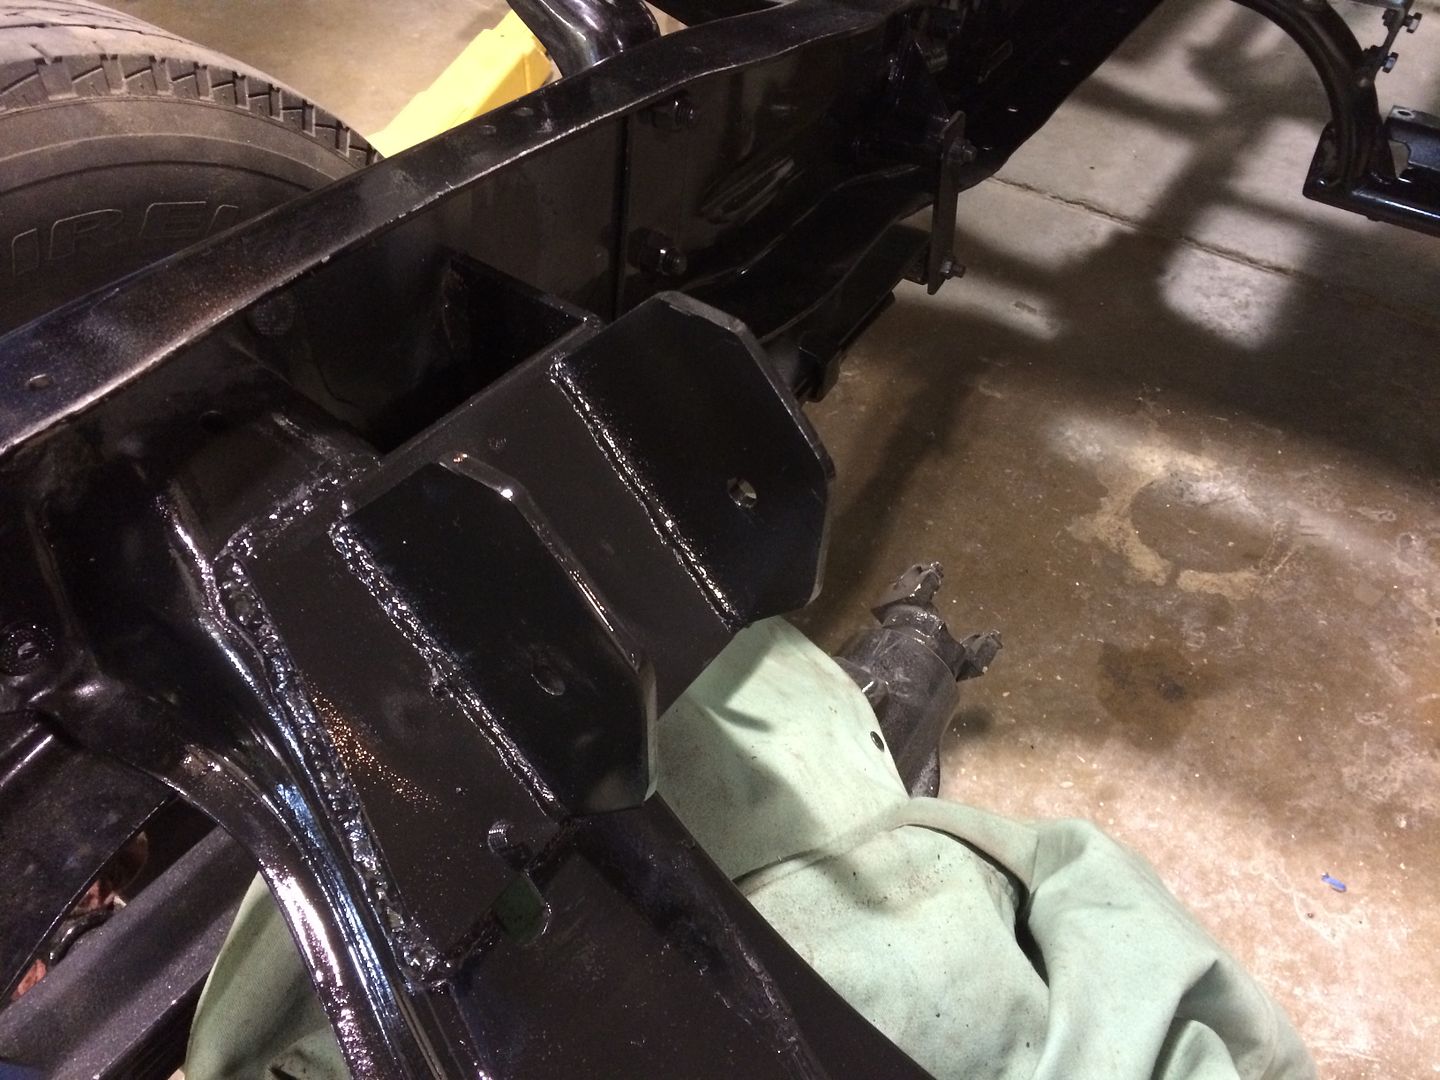
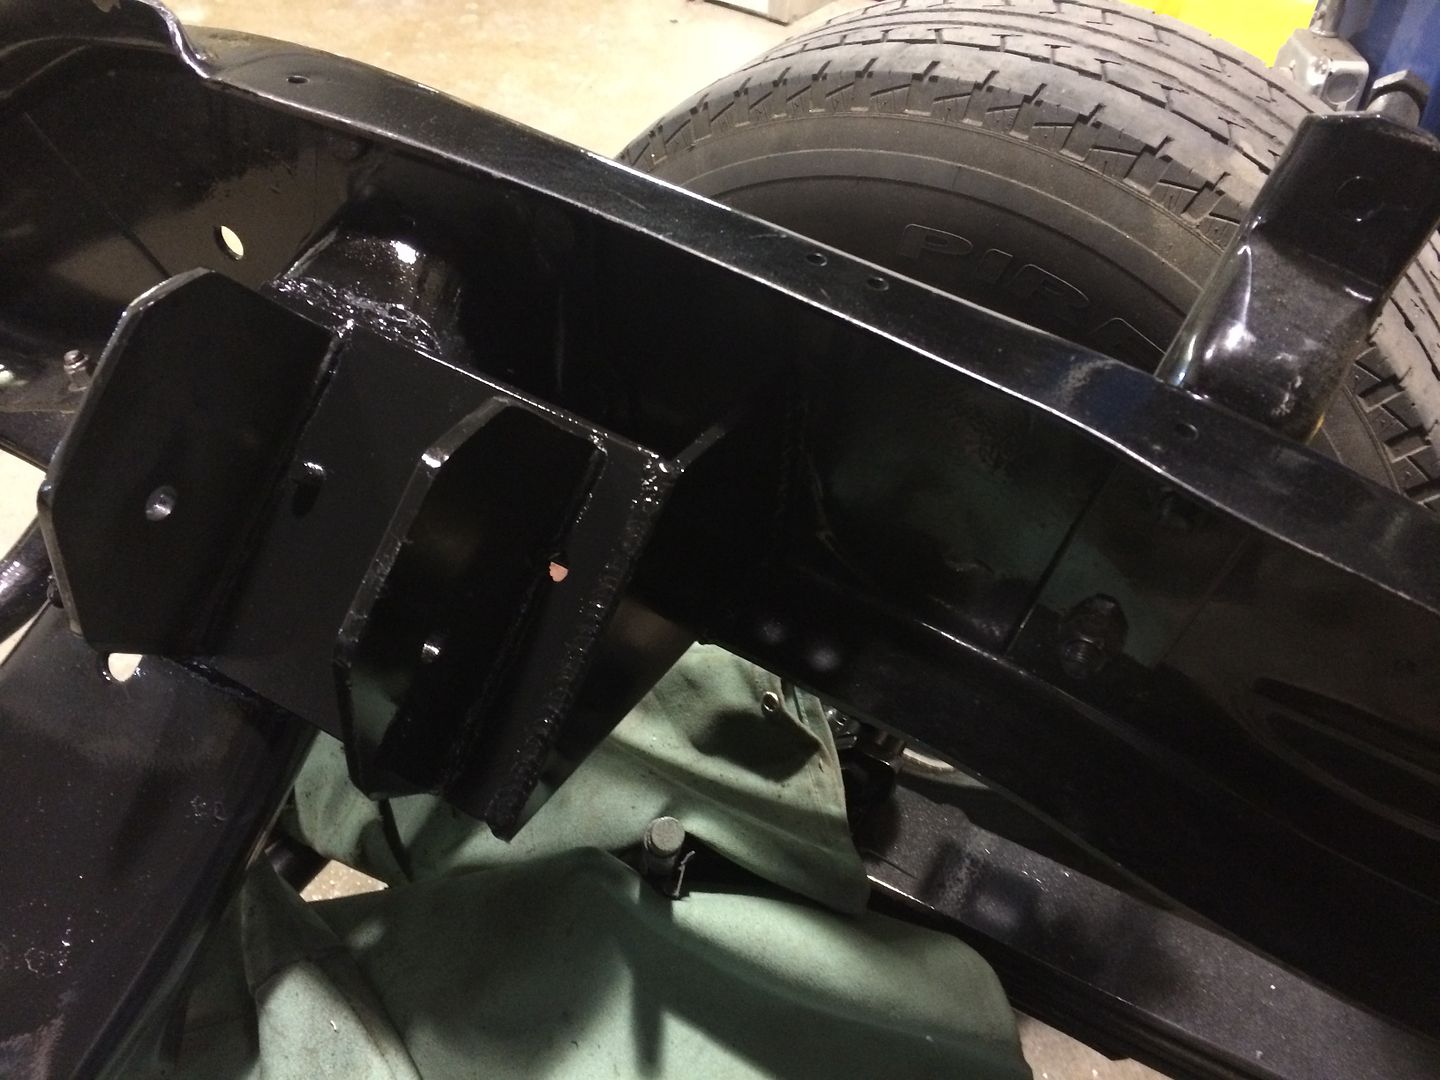
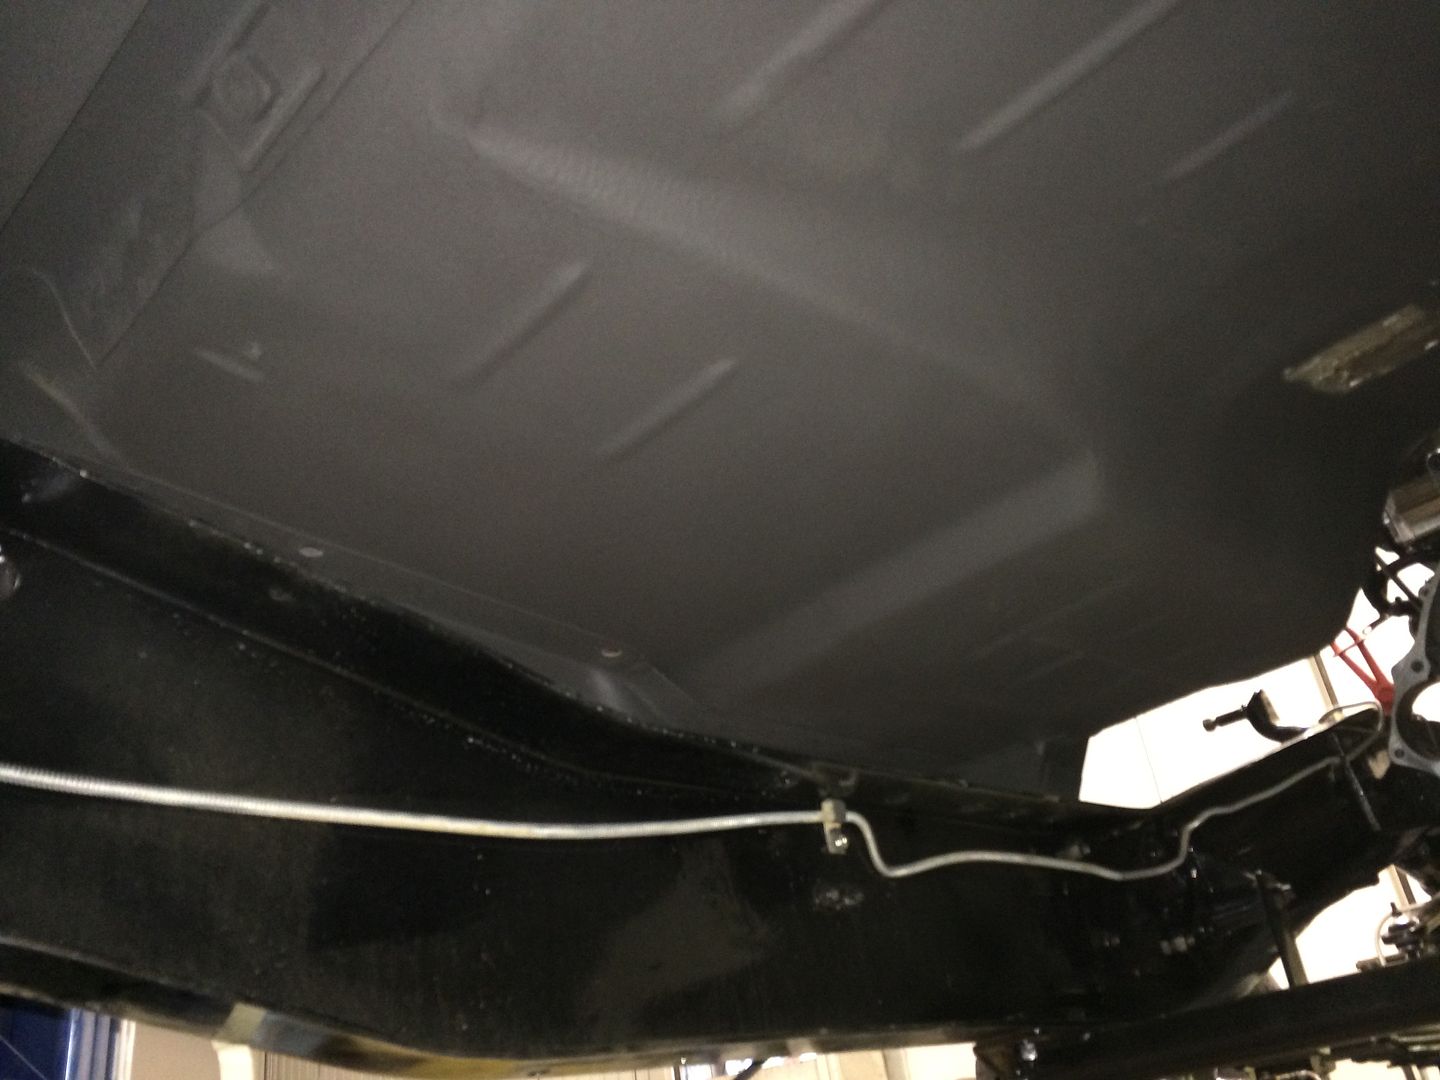
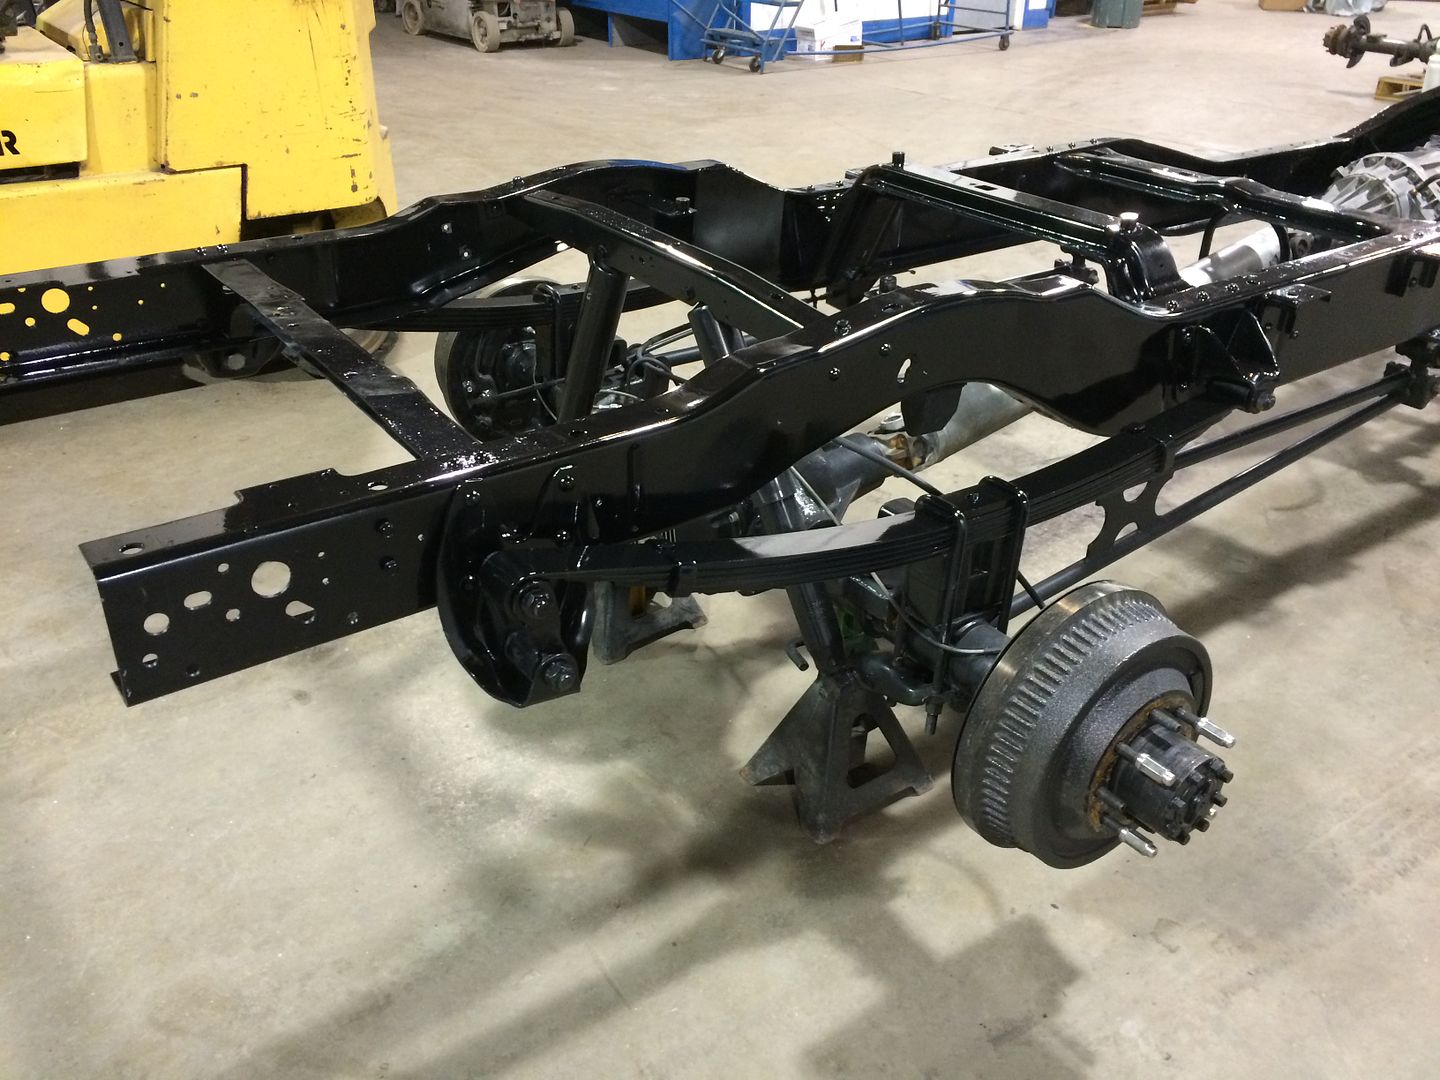
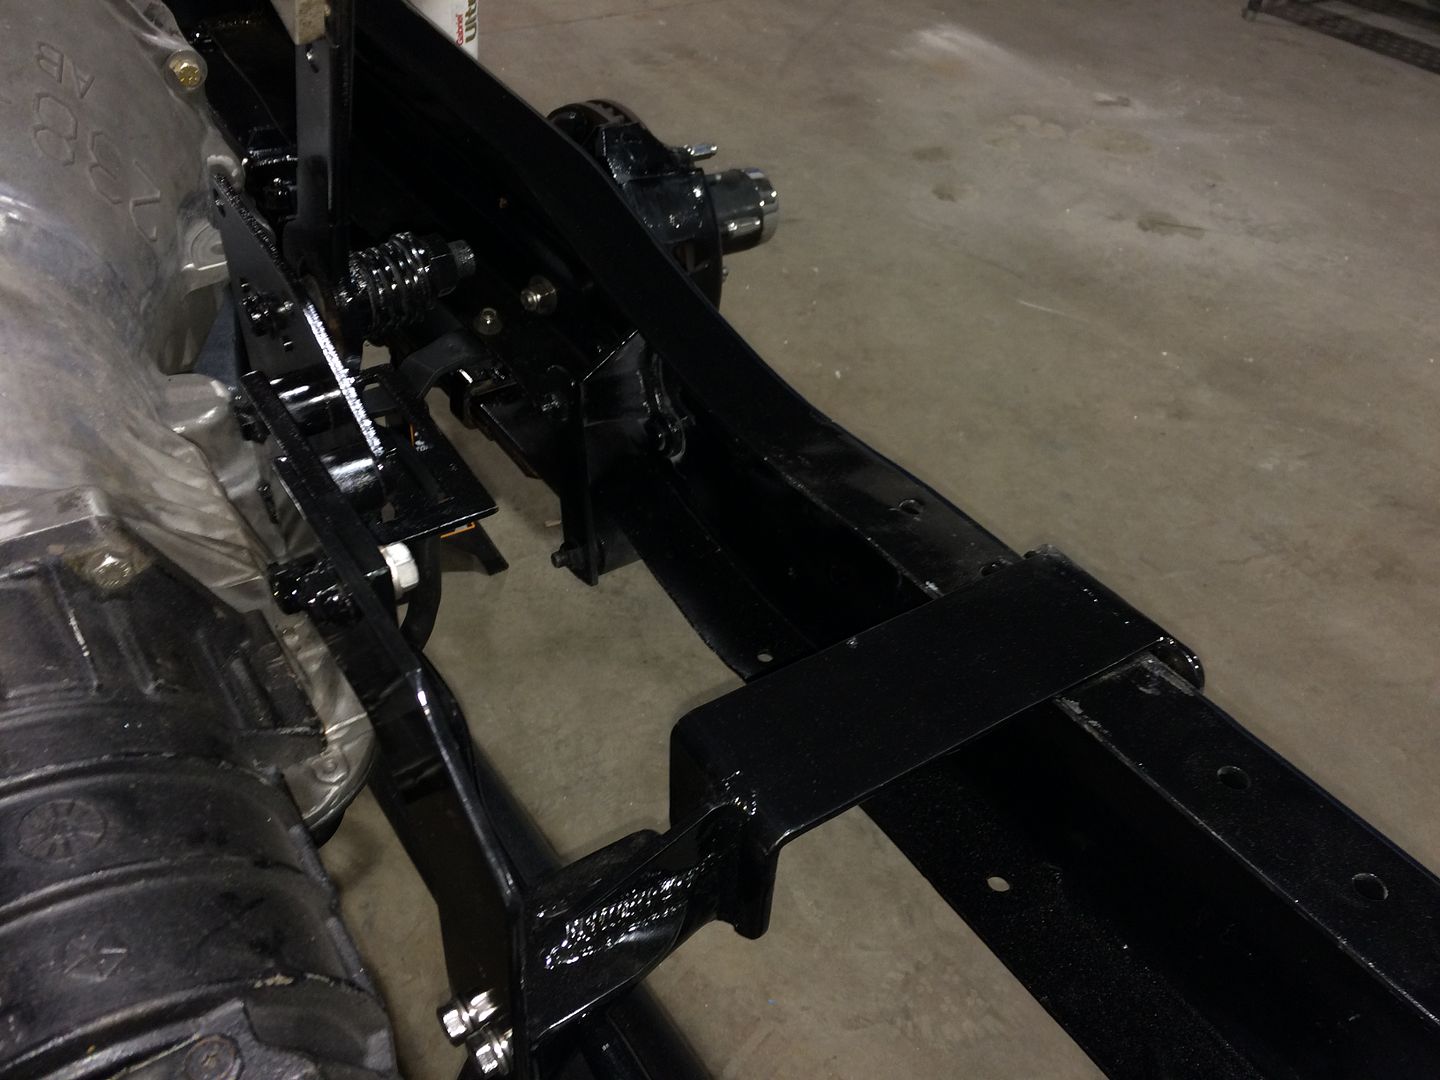
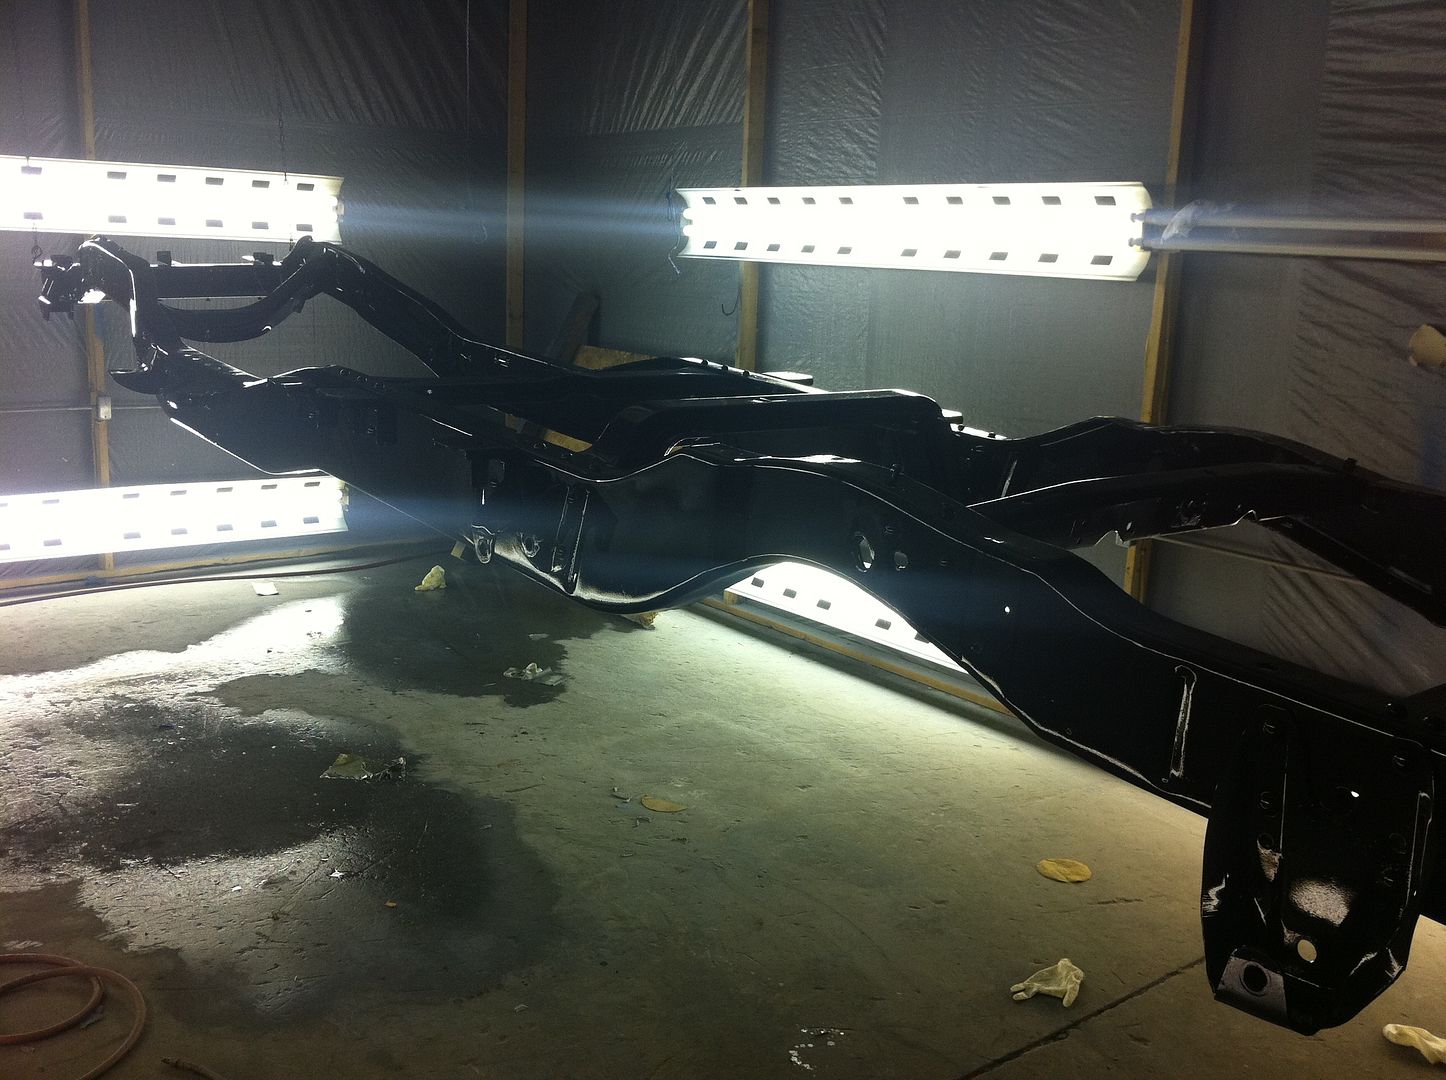
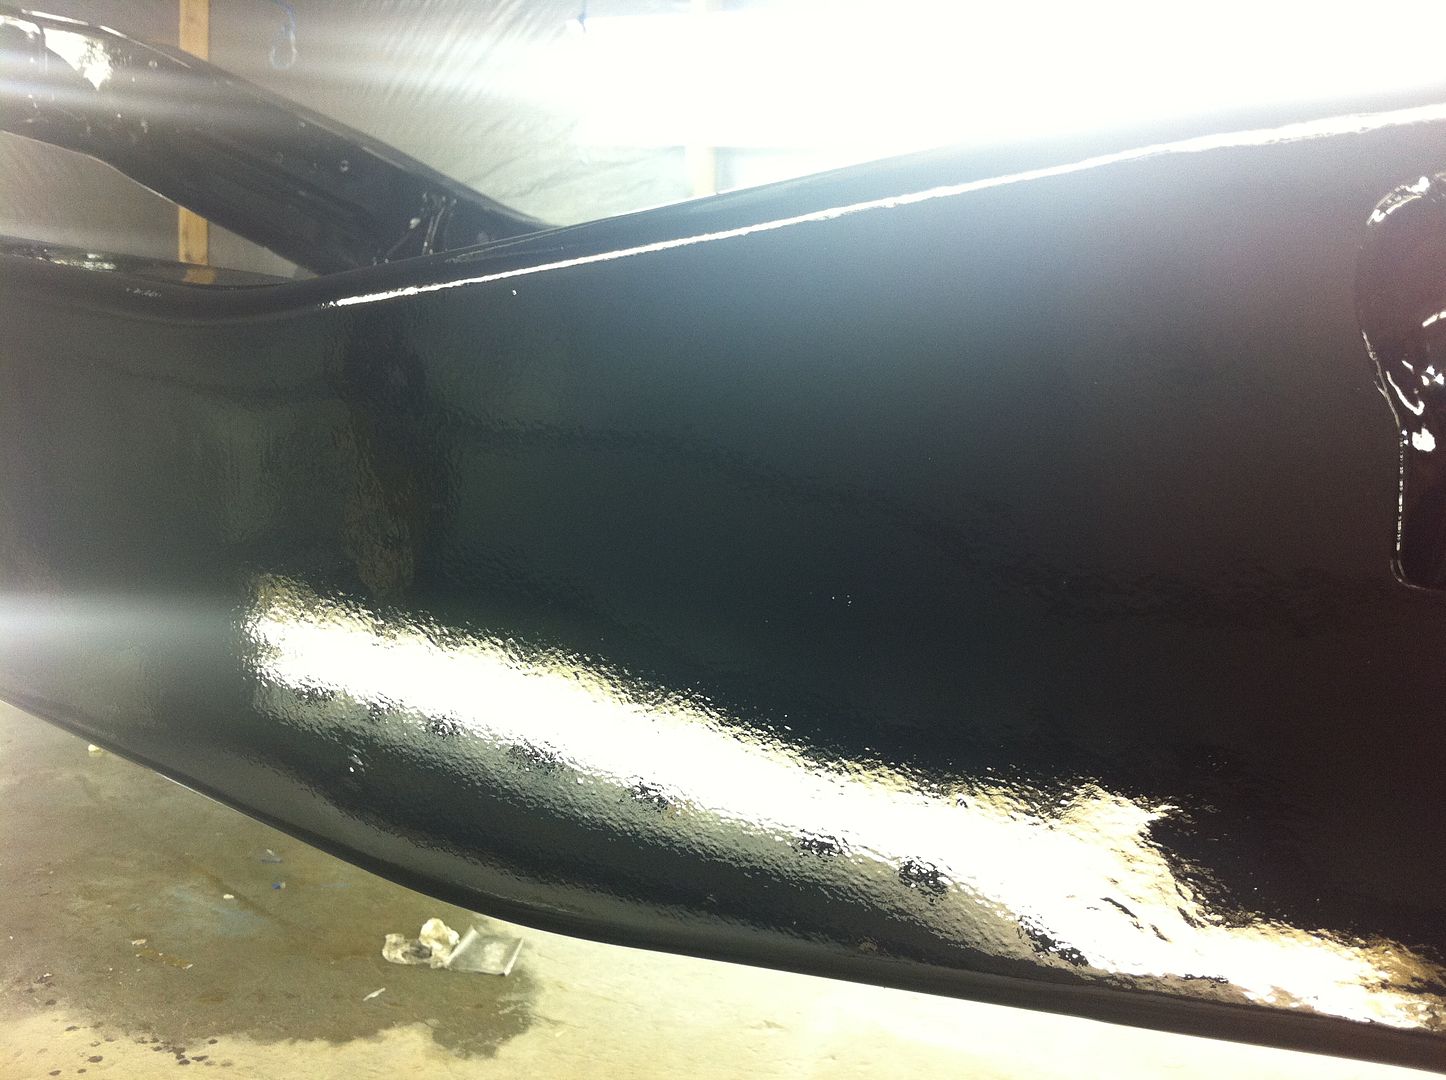
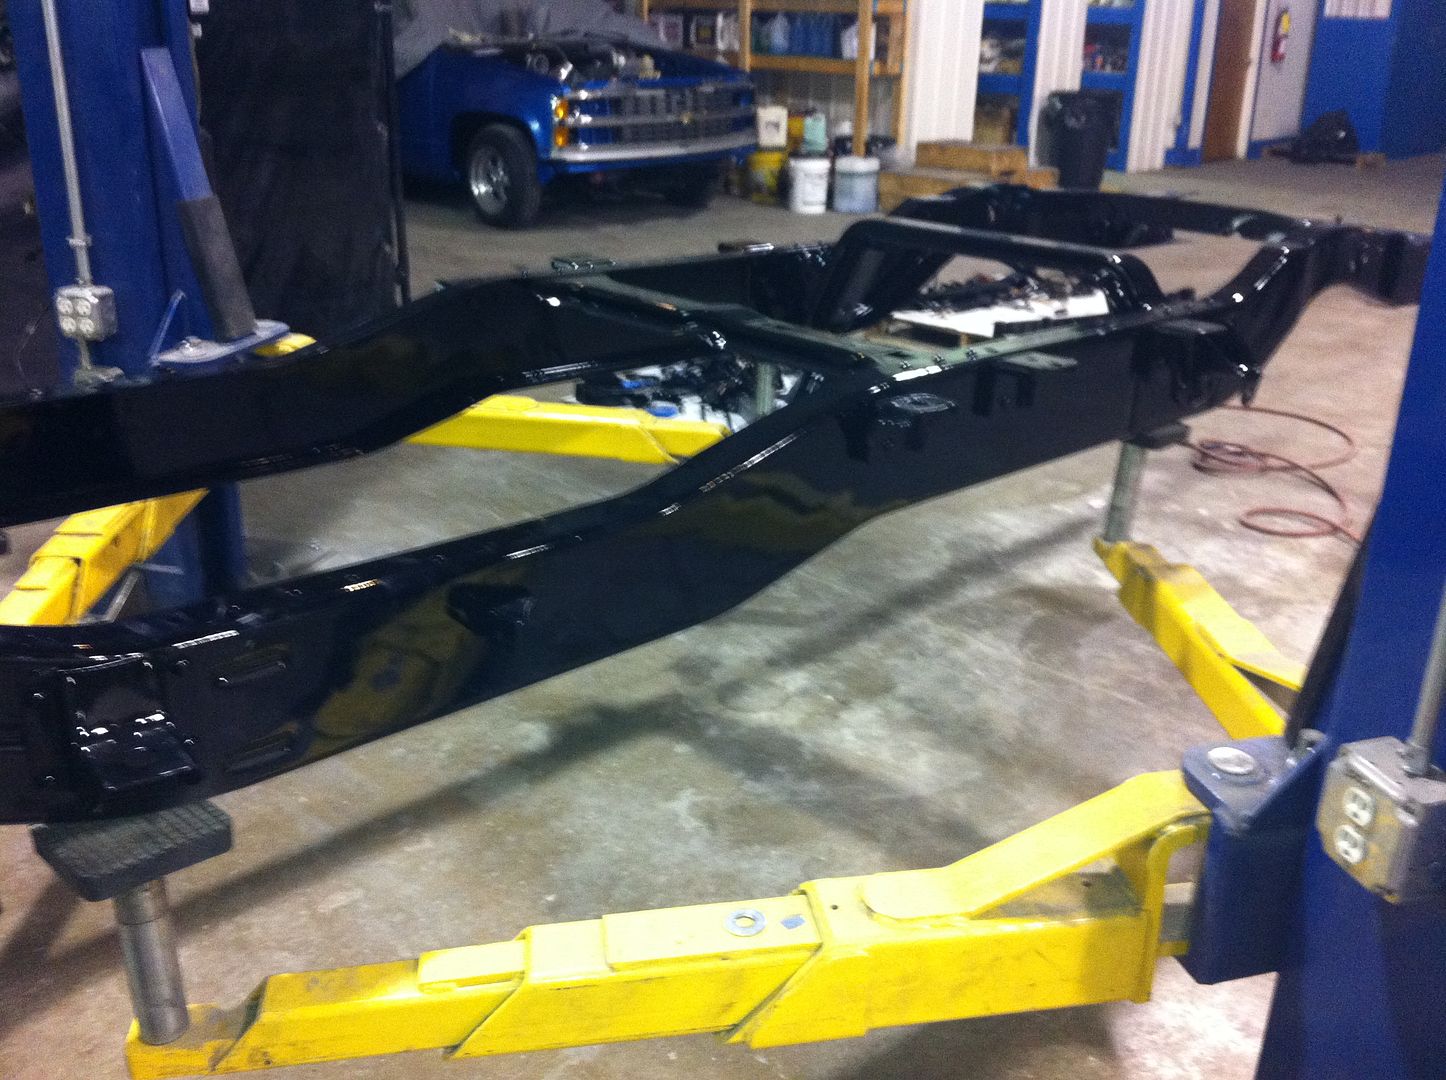
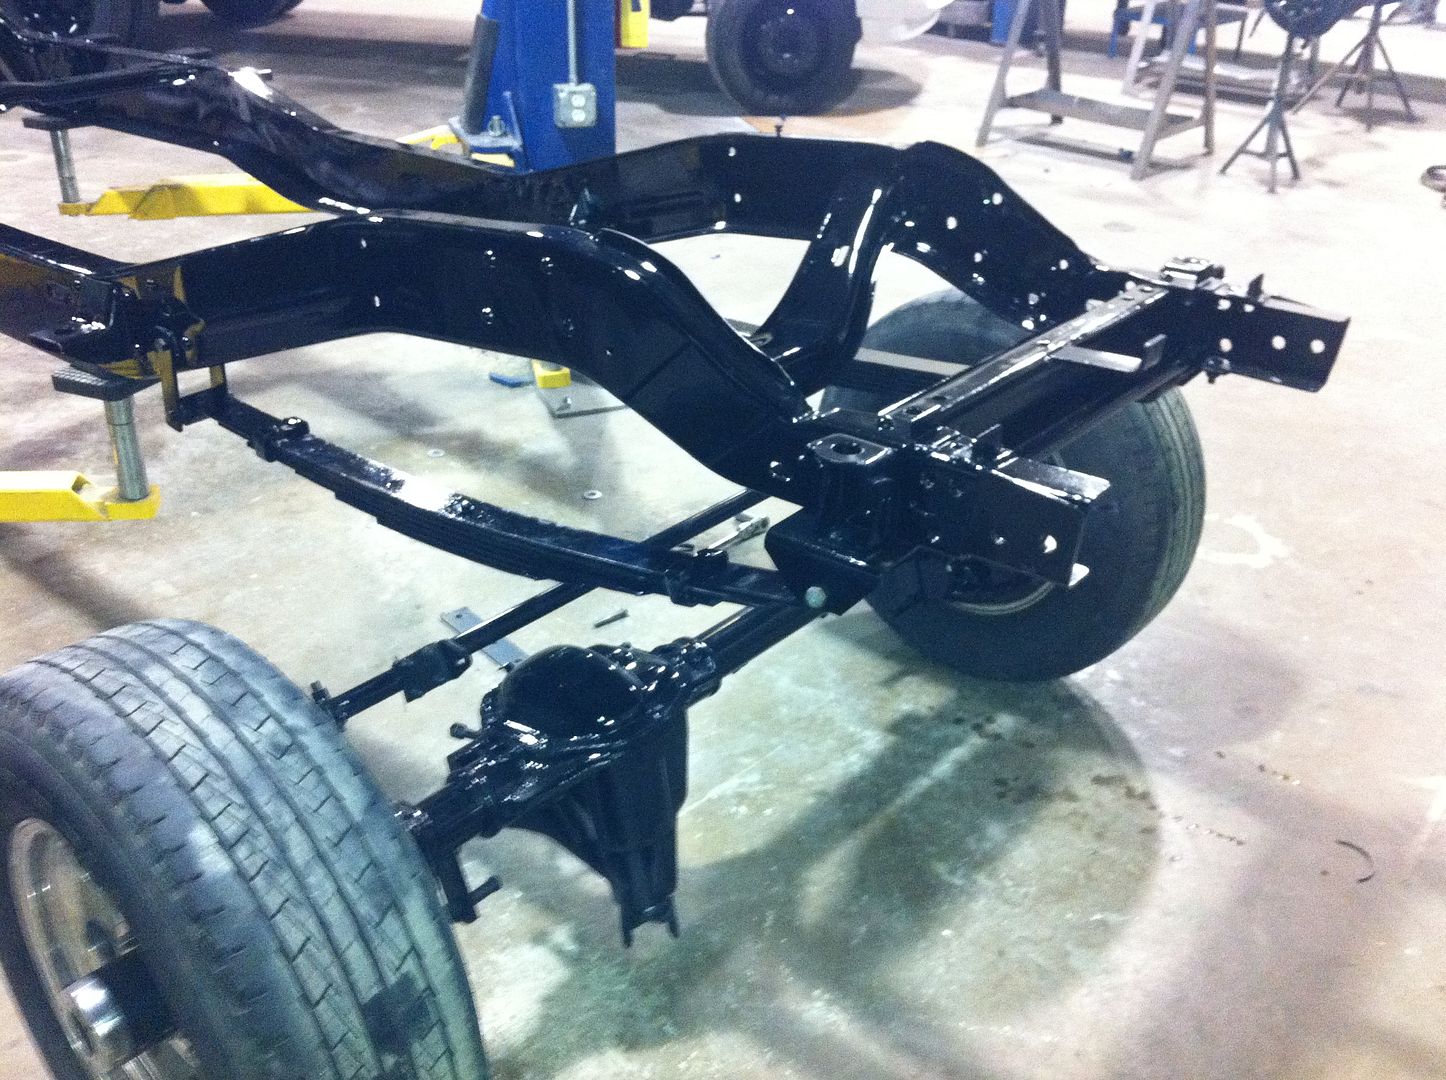
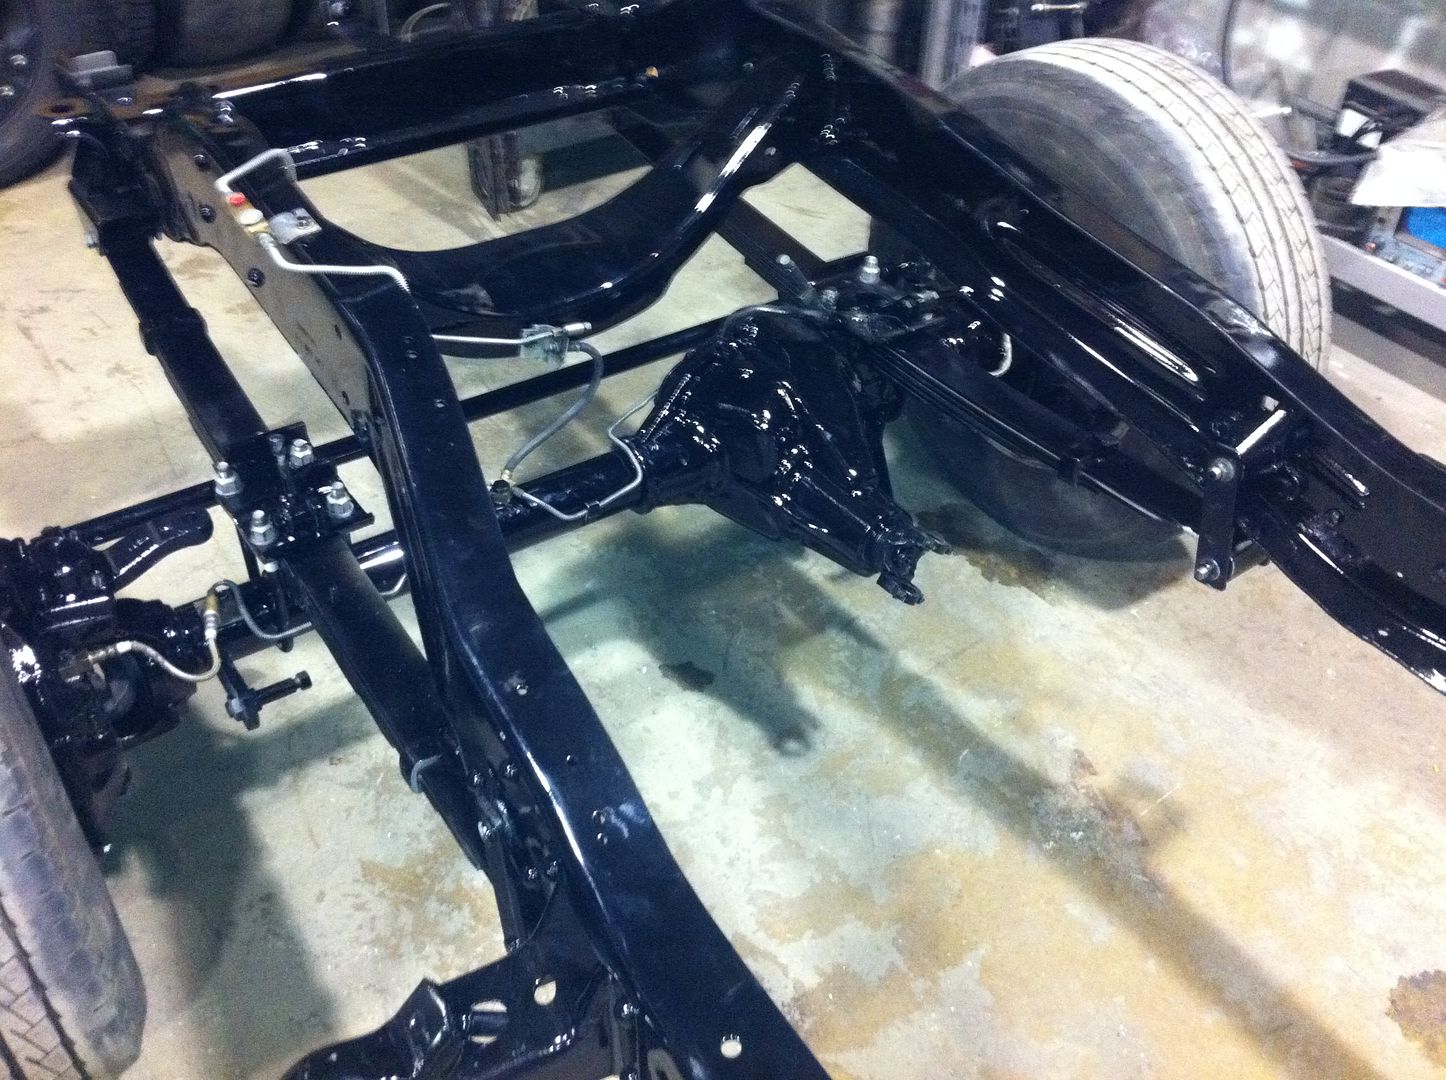
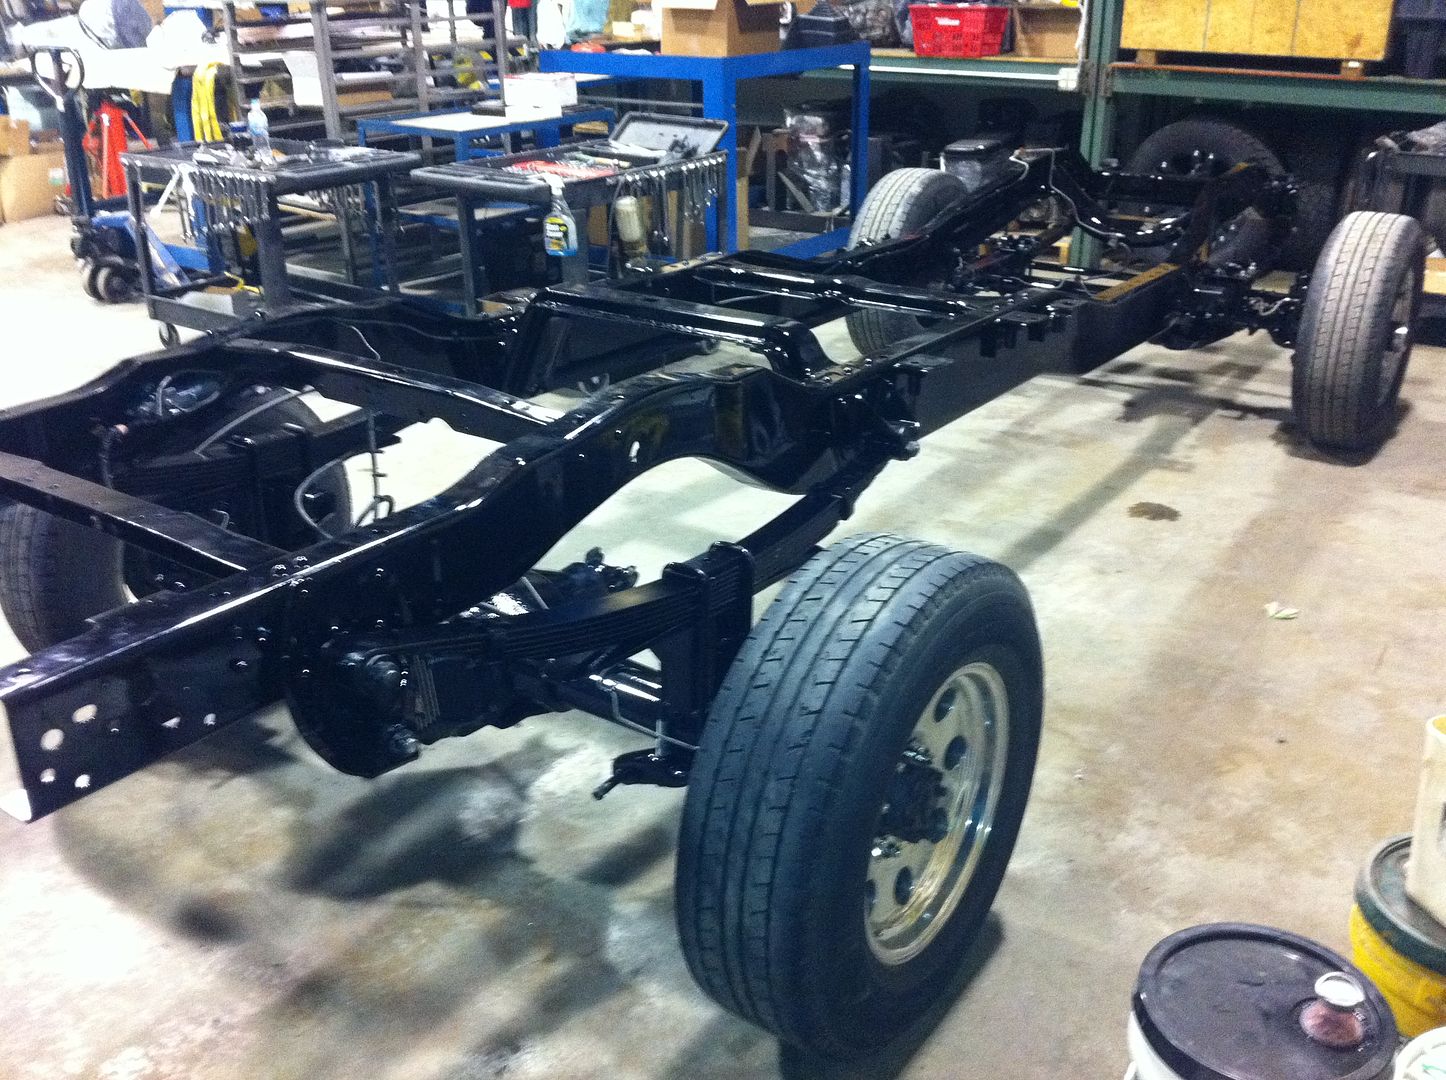
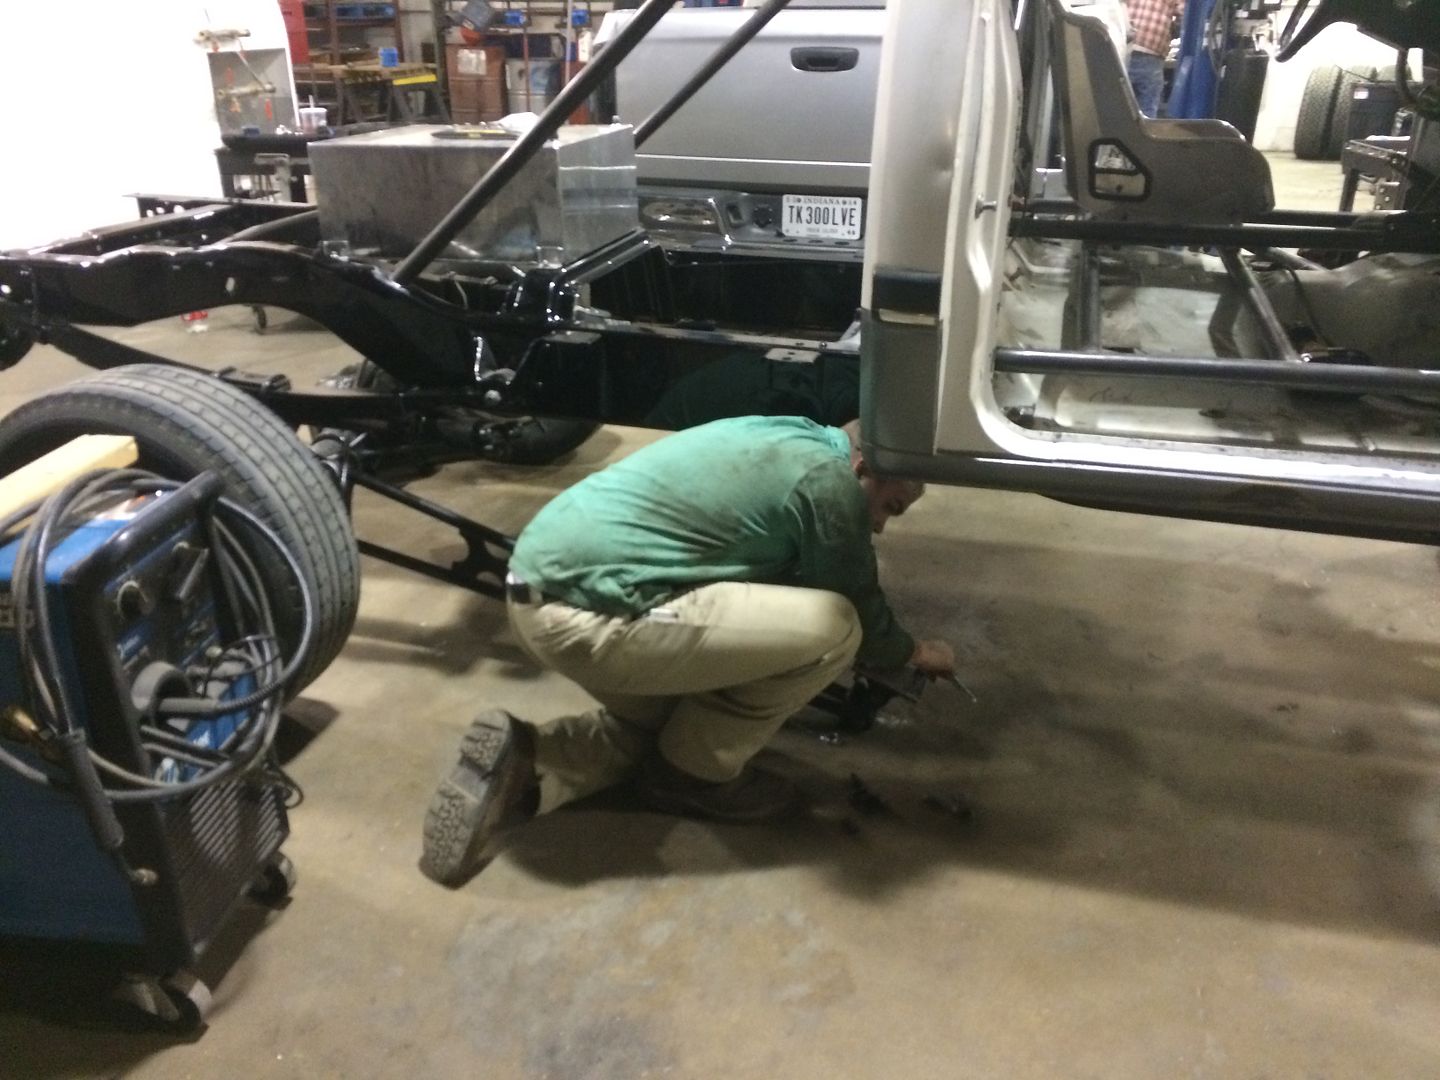
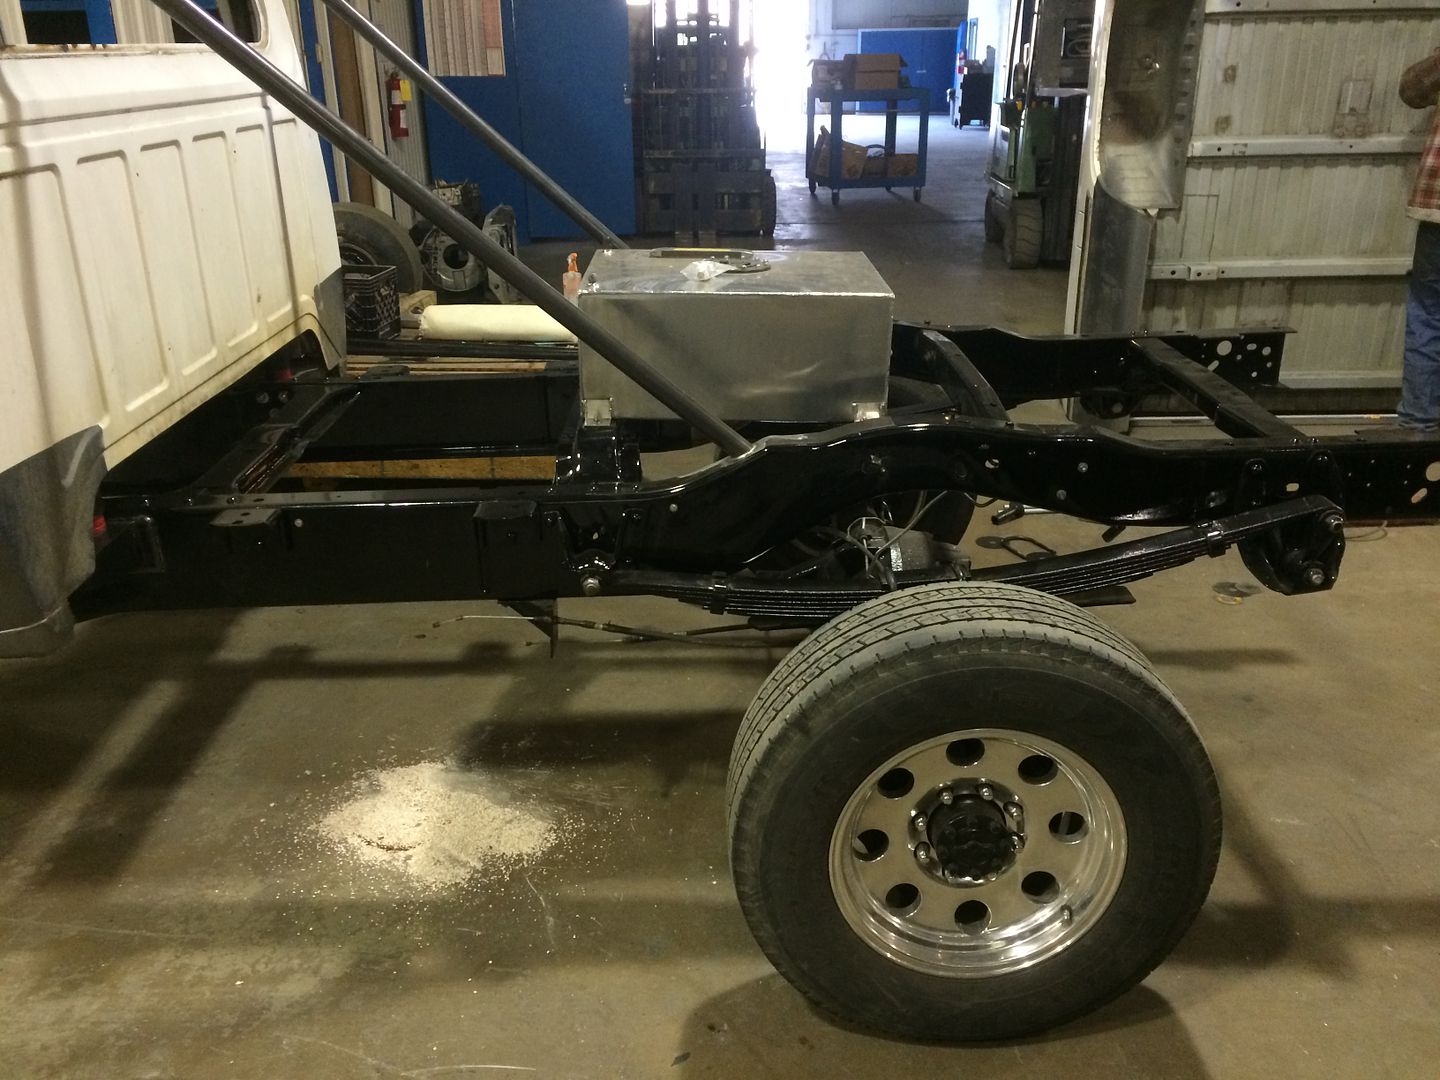
I soda blasted the frame down to fresh bare clean metal. Missing some of those pictures but anyway it was spotless. Primed and painted with PPG products.

IMG_0536_zpskxyuokel.jpg
[/URL]

IMG_0543_zpsqbvng7fj.jpg
[/URL]

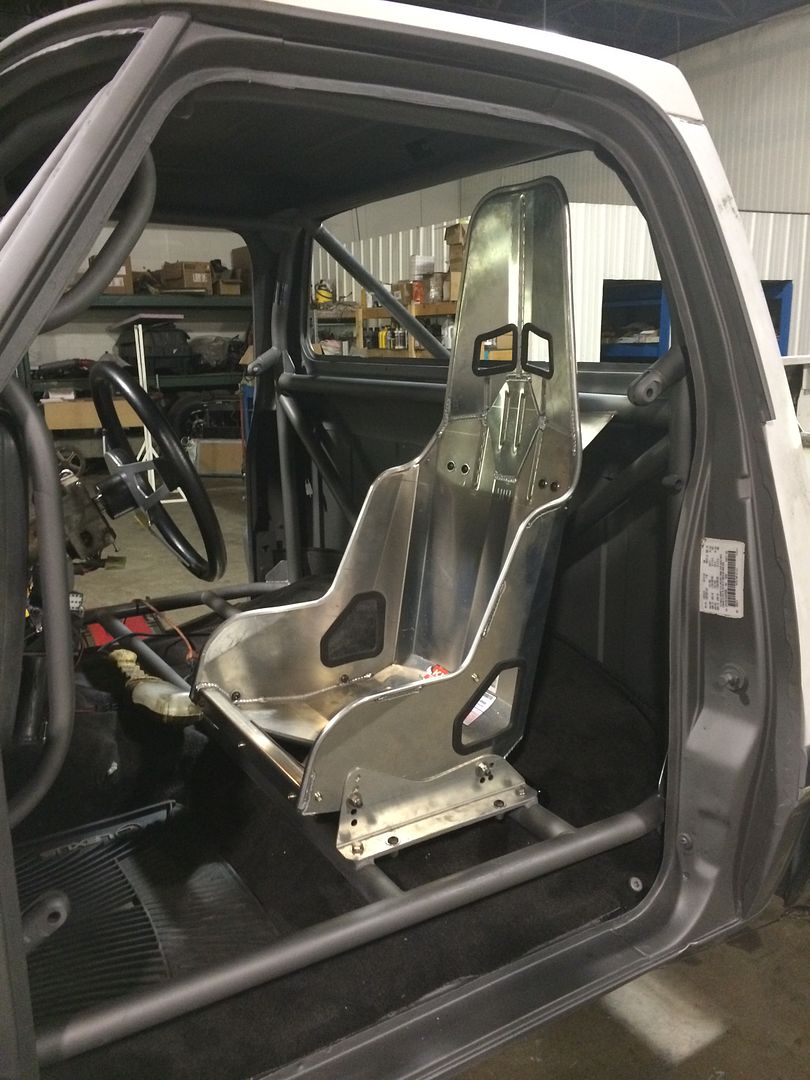
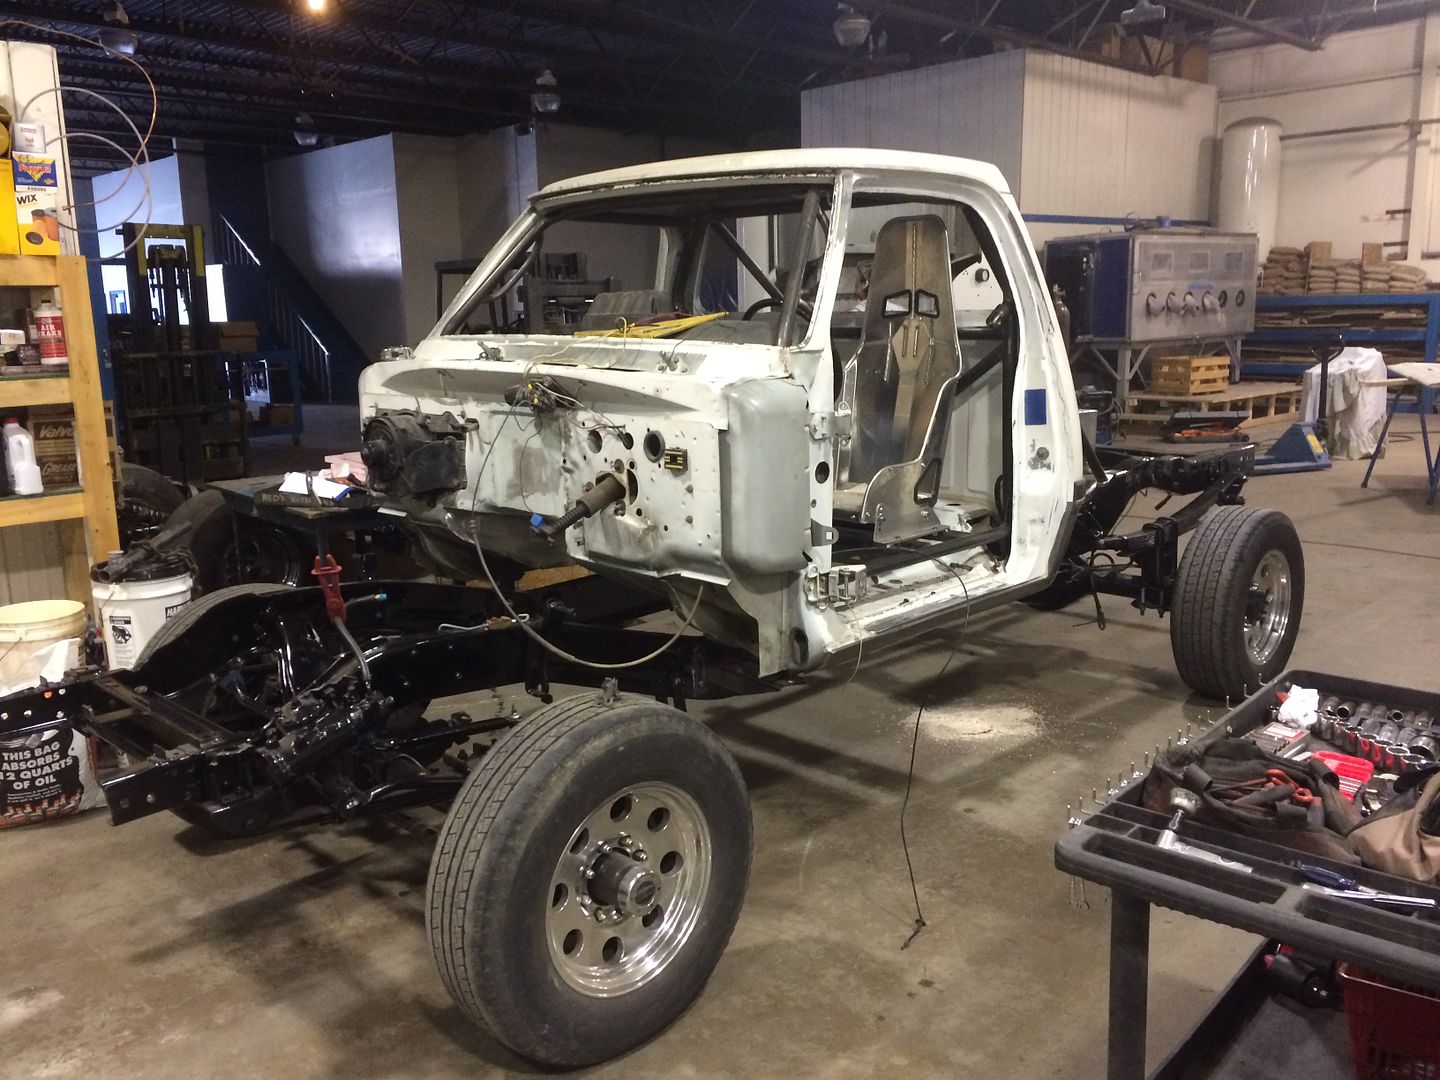
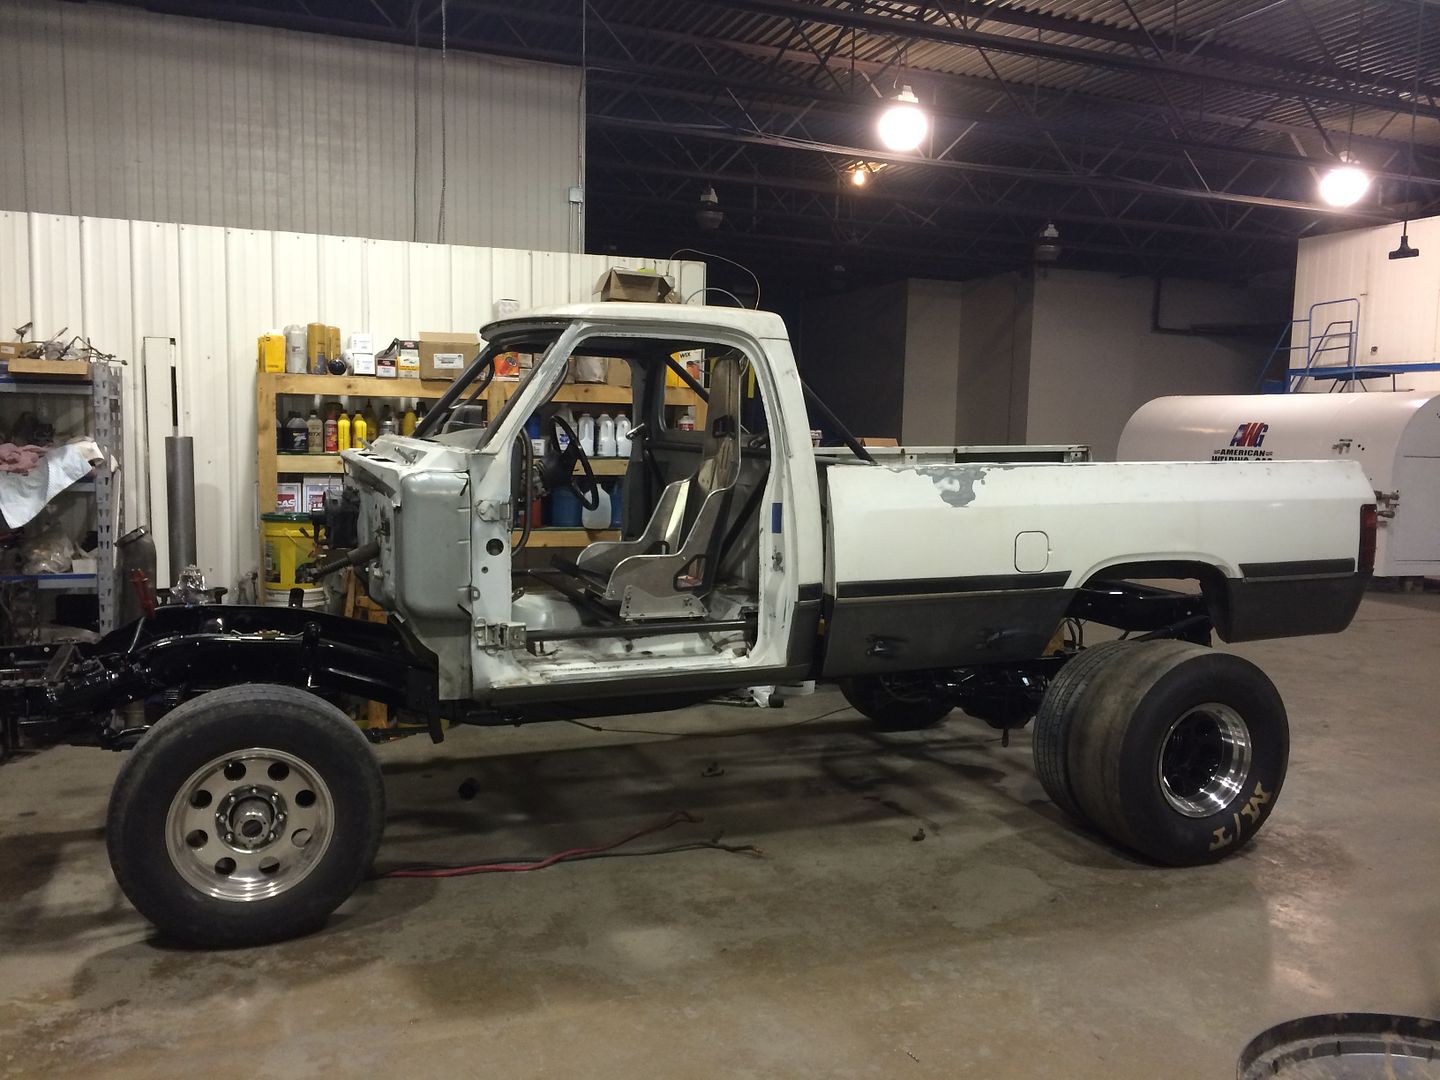
Race seat was a temporary setup as I ordered custom seats later on for this.

IMG_0554_zpsqlgugyuc.jpg
[/URL]


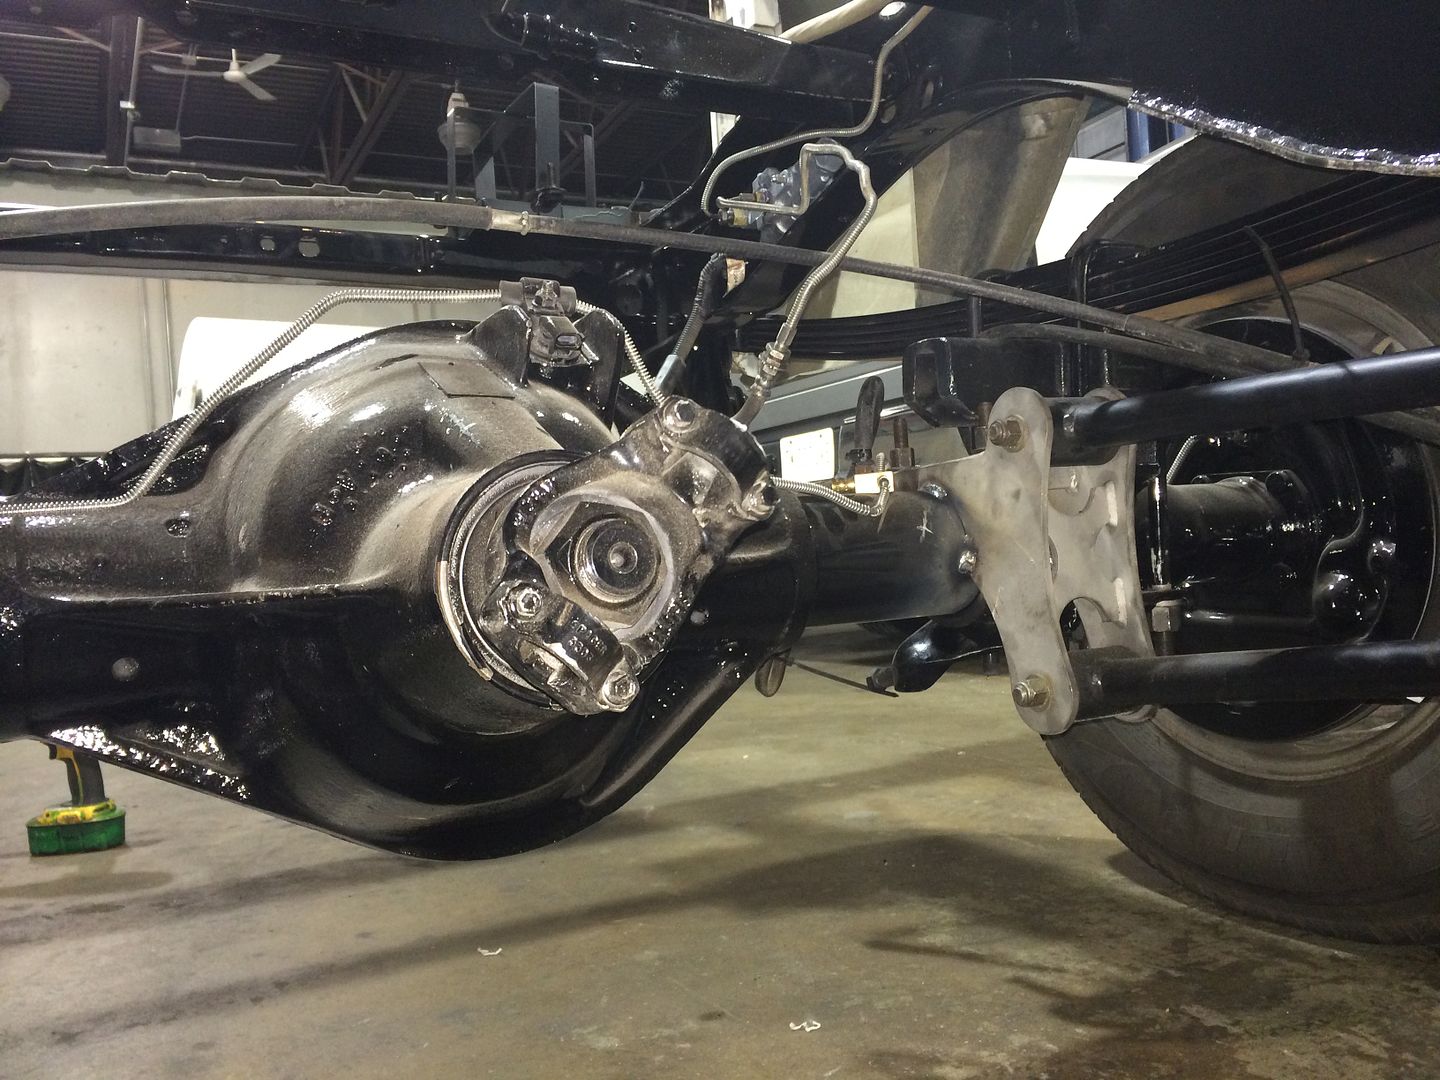
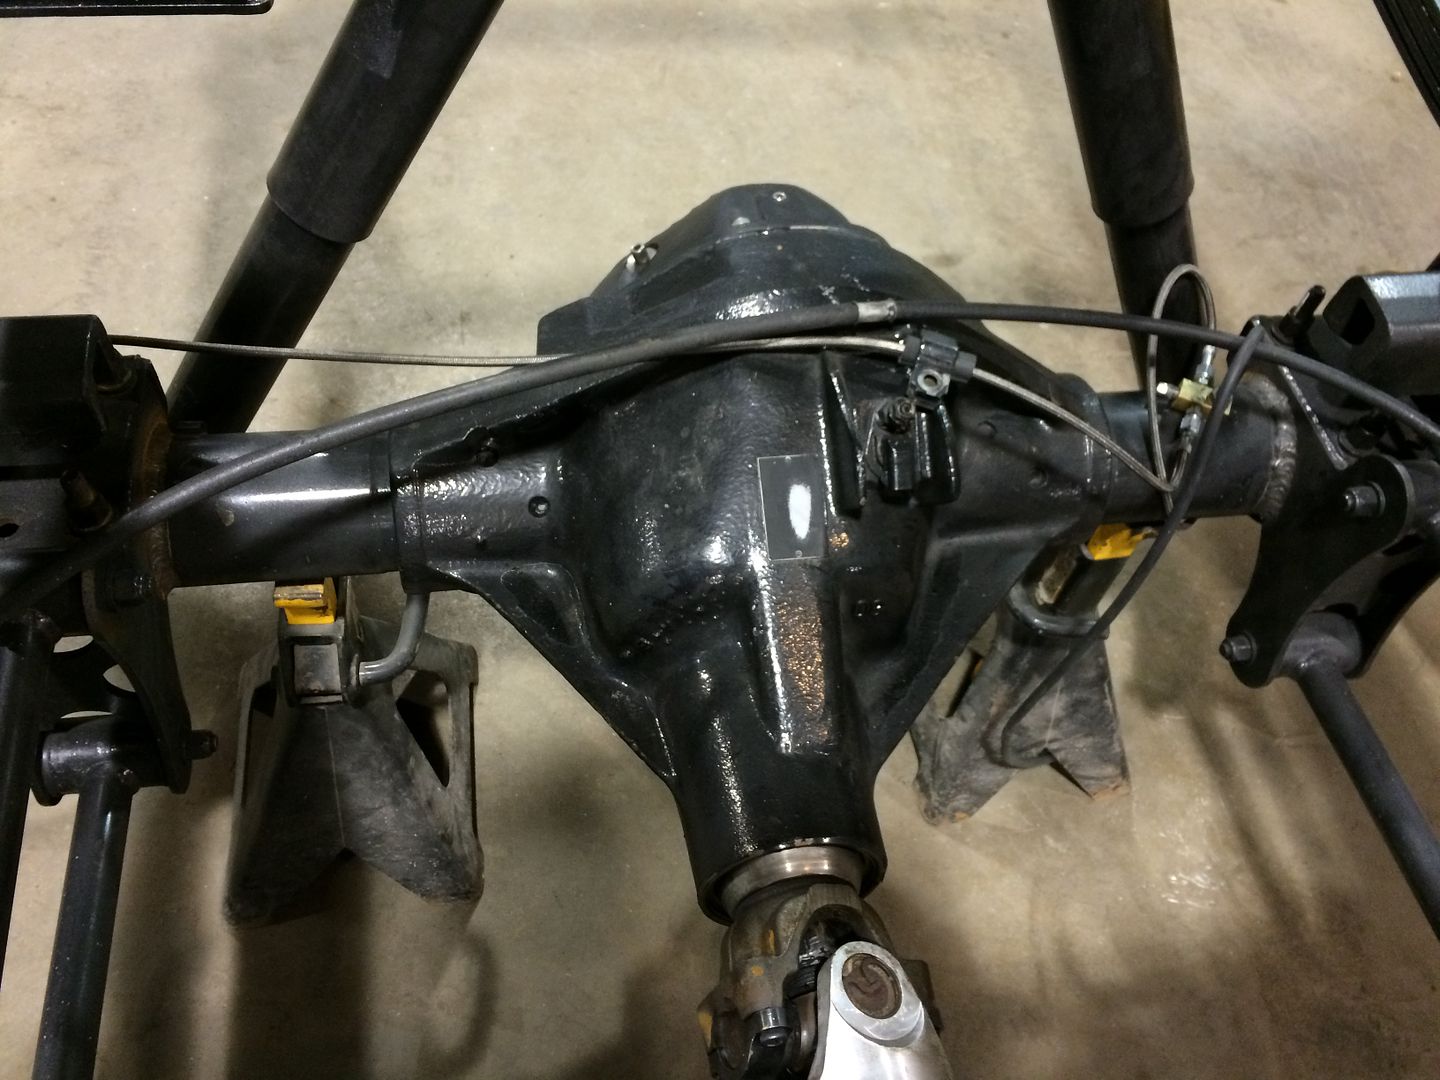
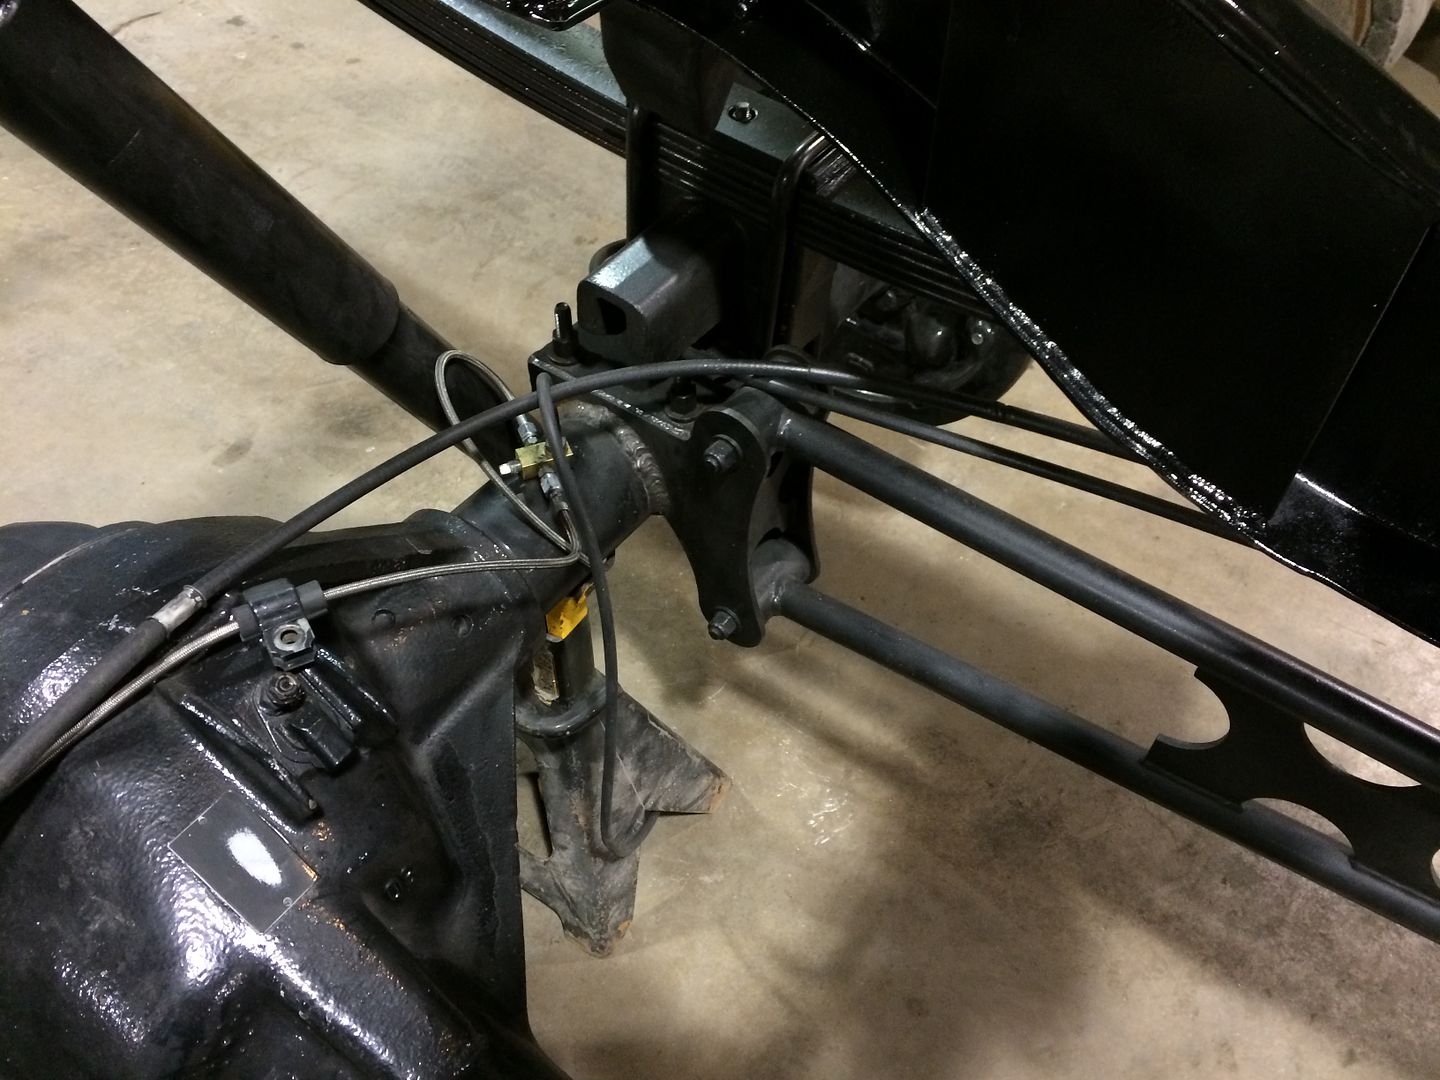
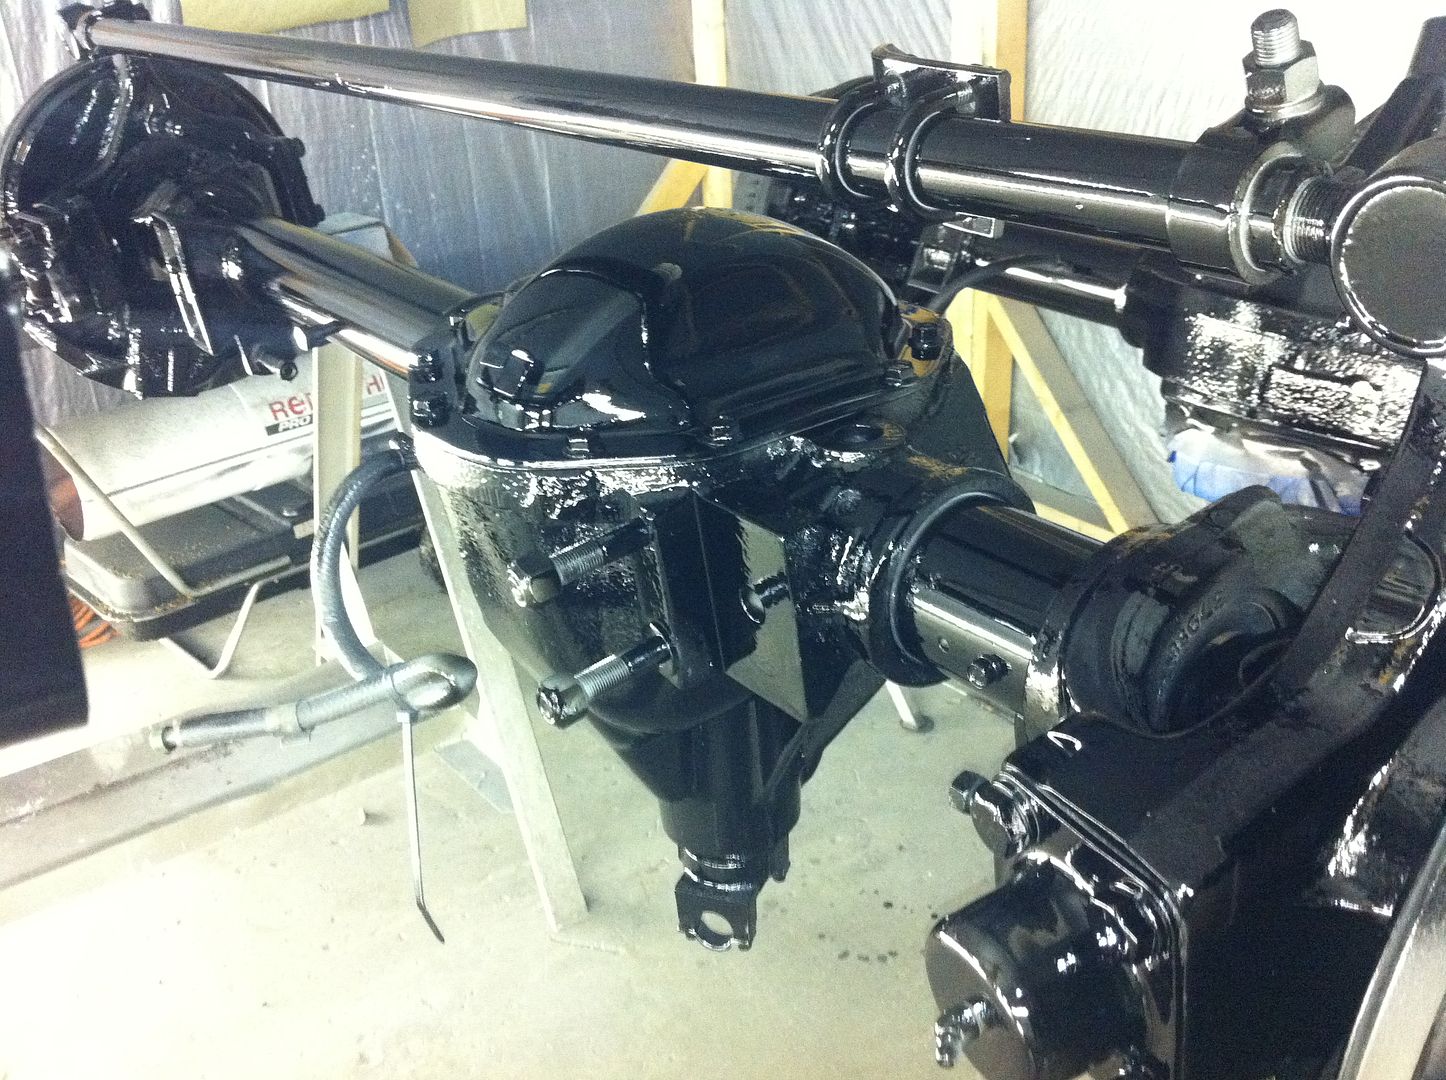
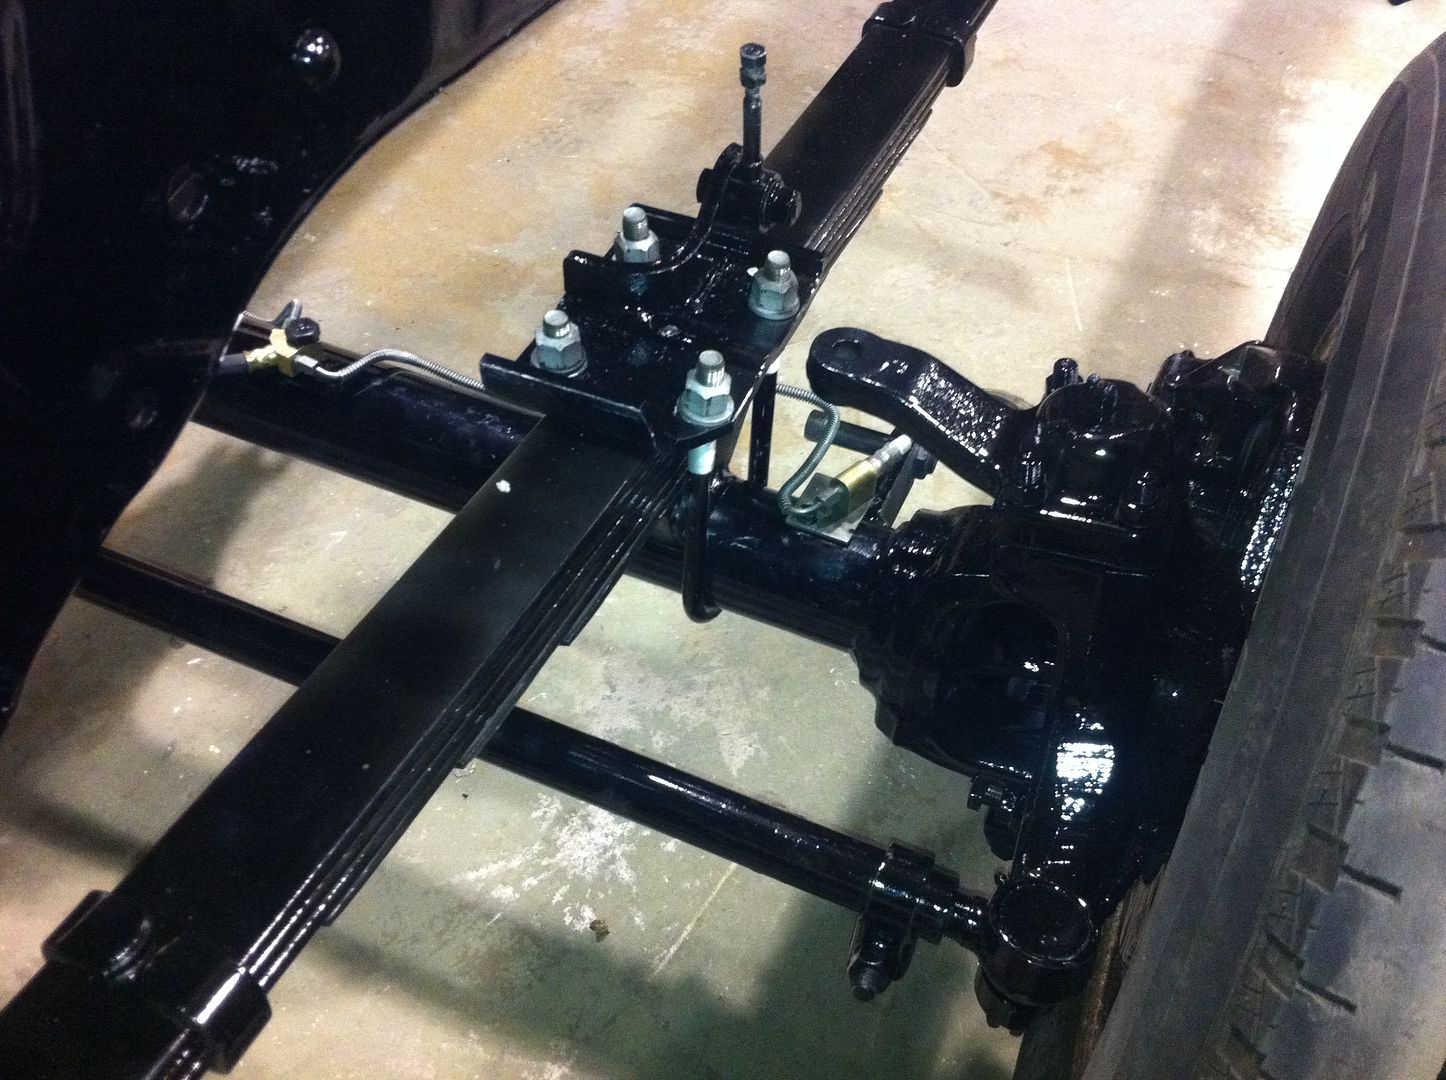
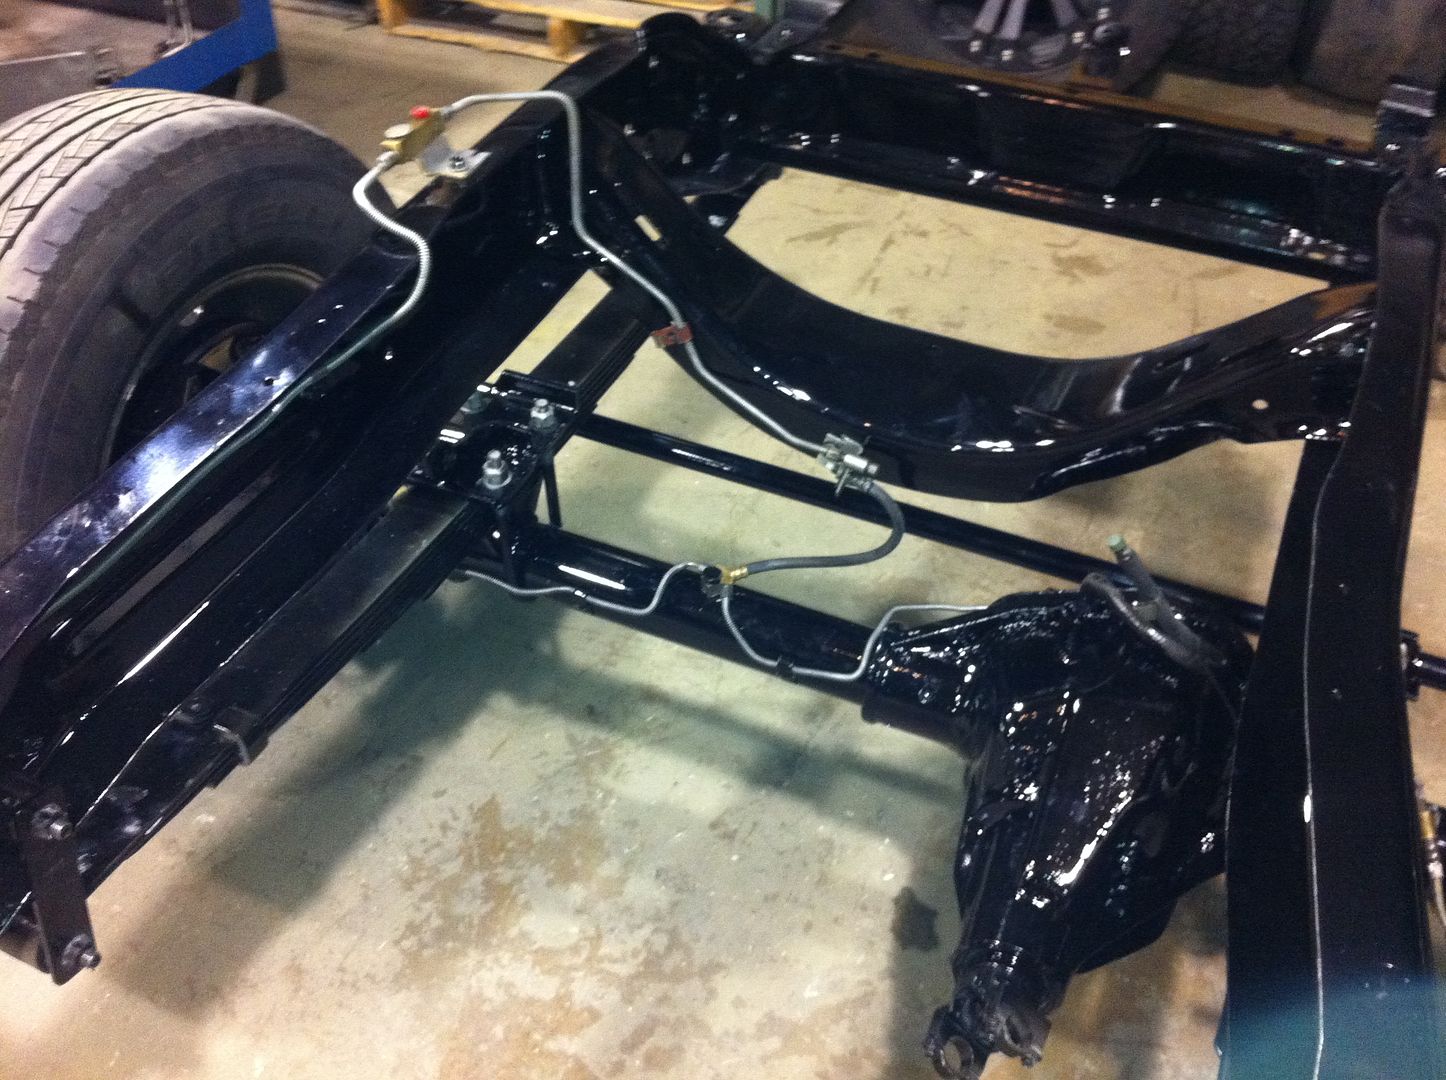
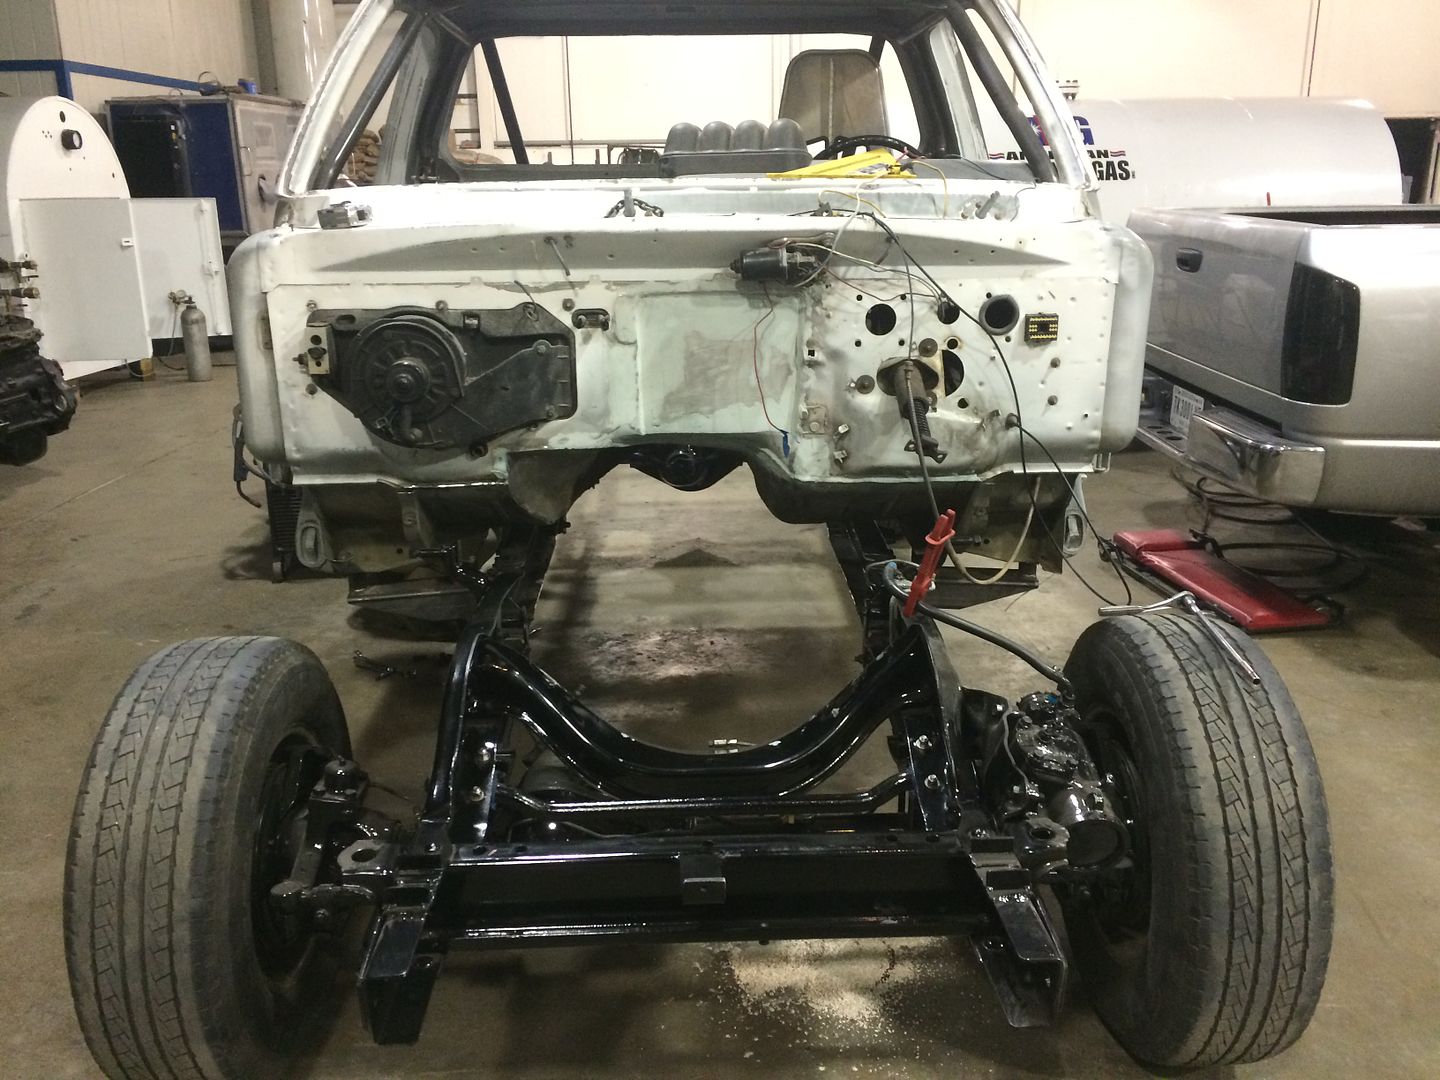
Installed all new spring bushings and hardware in everything. The old ones hate life coming out. :hehe:


IMG_0557_zpsnvnz4htb.jpg
[/URL]


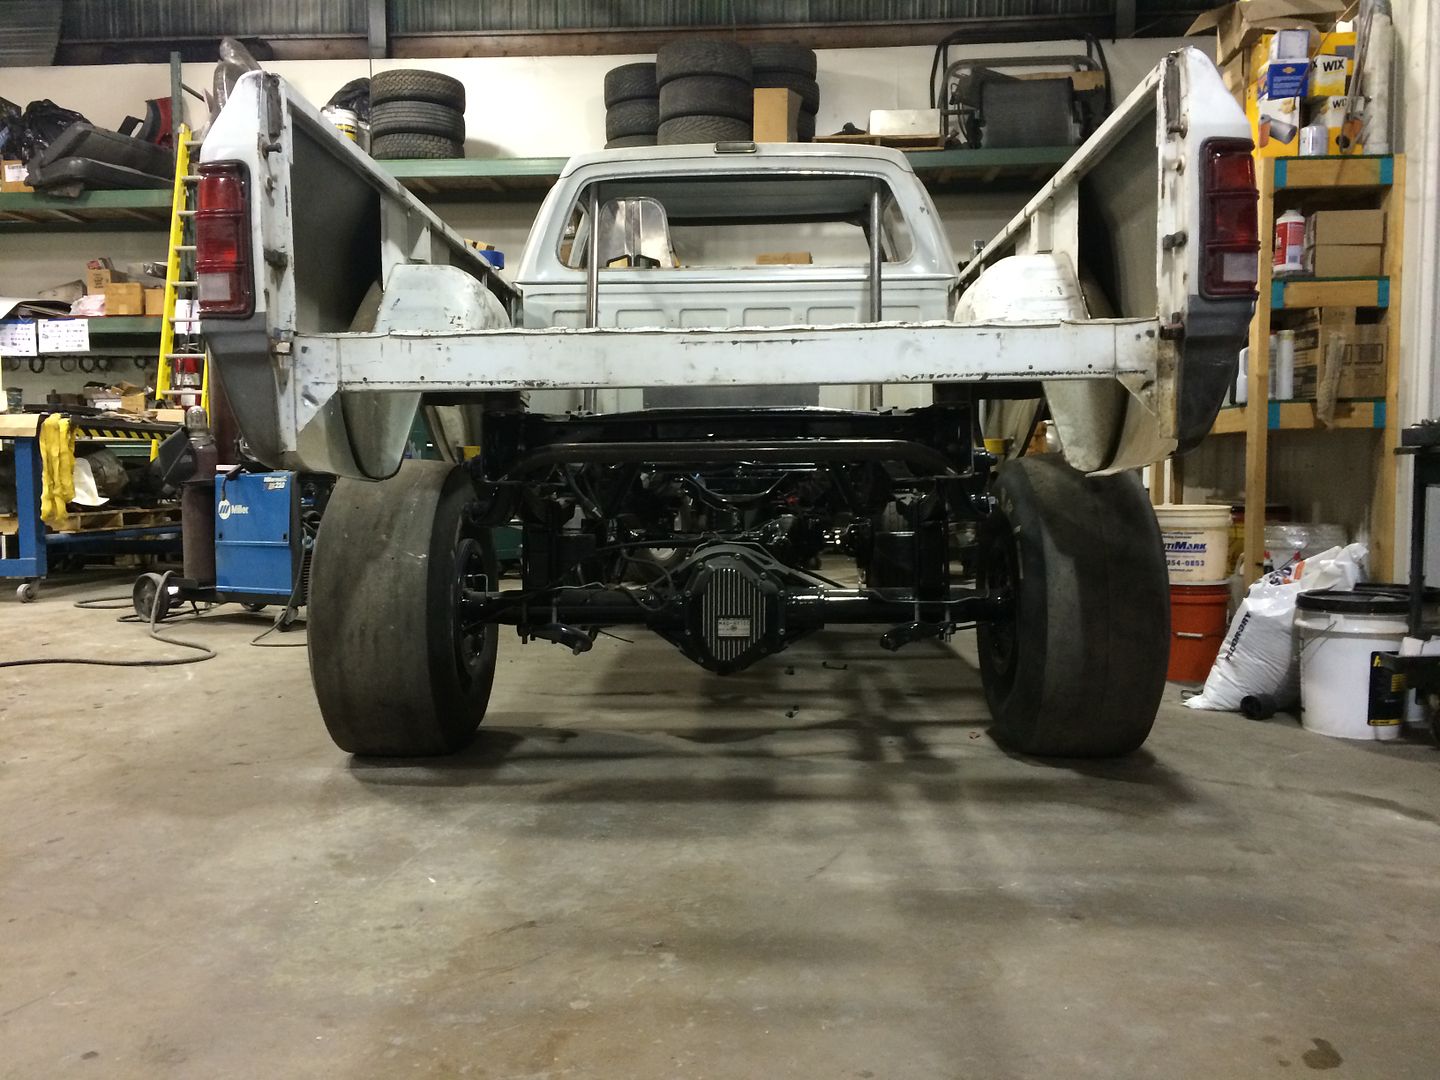
Checking fitment with my other shoes.


IMG_0588_zpsugif2xcz.jpg
[/URL]

IMG_0596_zps2urzwavp.jpg
[/URL]

IMG_0600_zpsw0ktzj0o.jpg
[/URL]

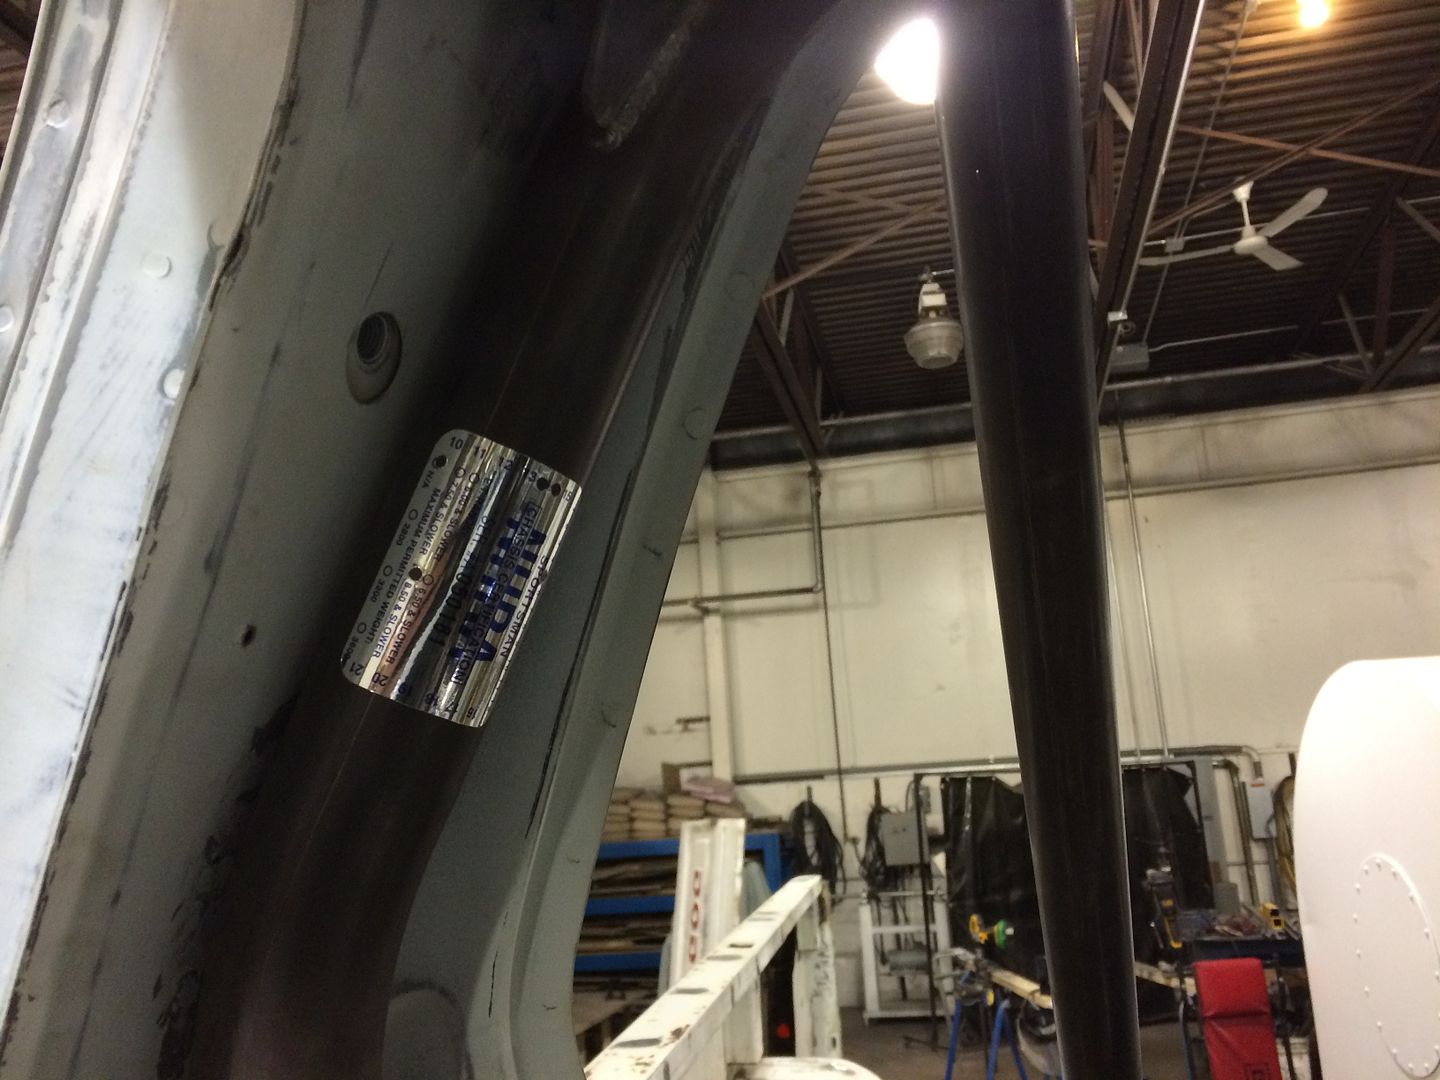
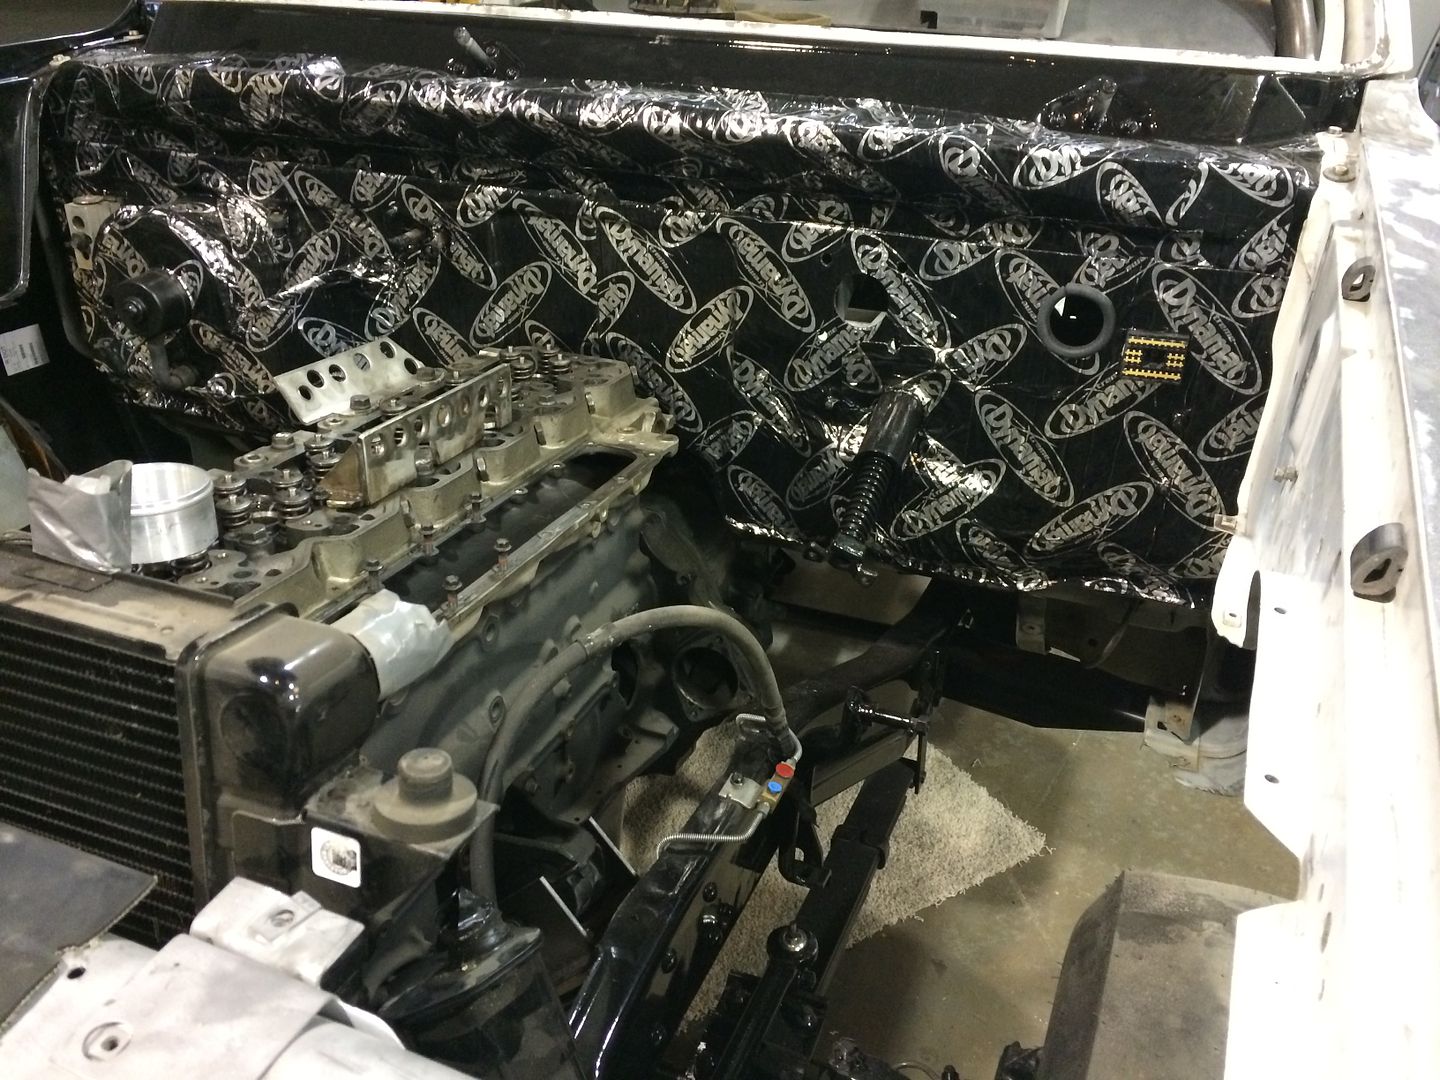
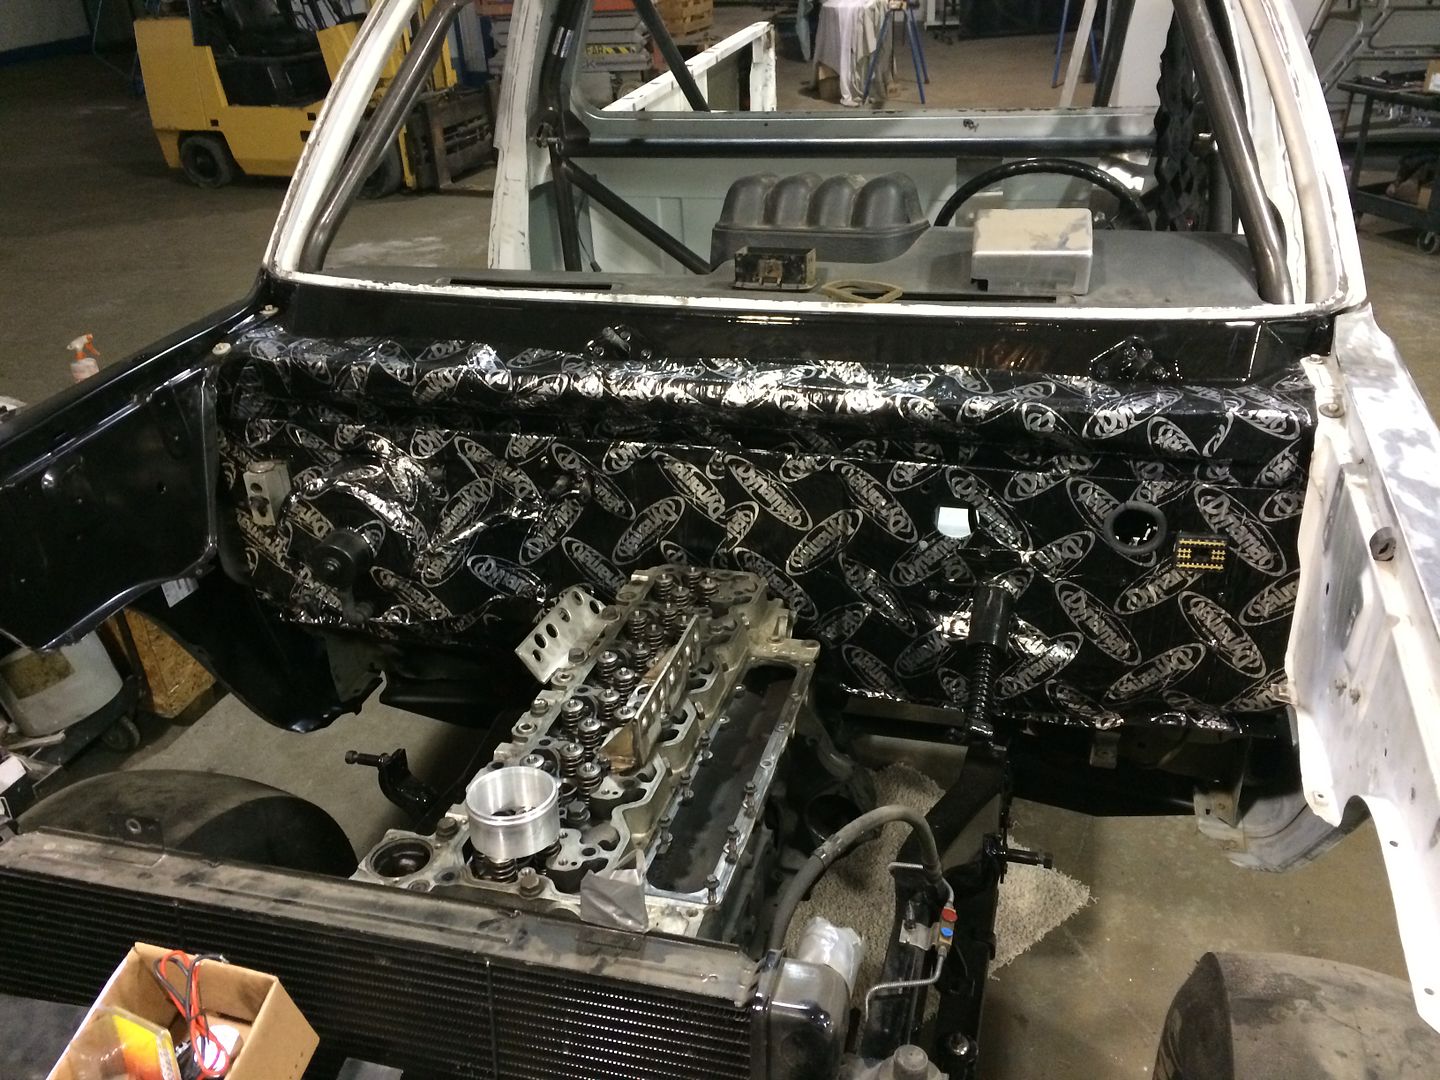
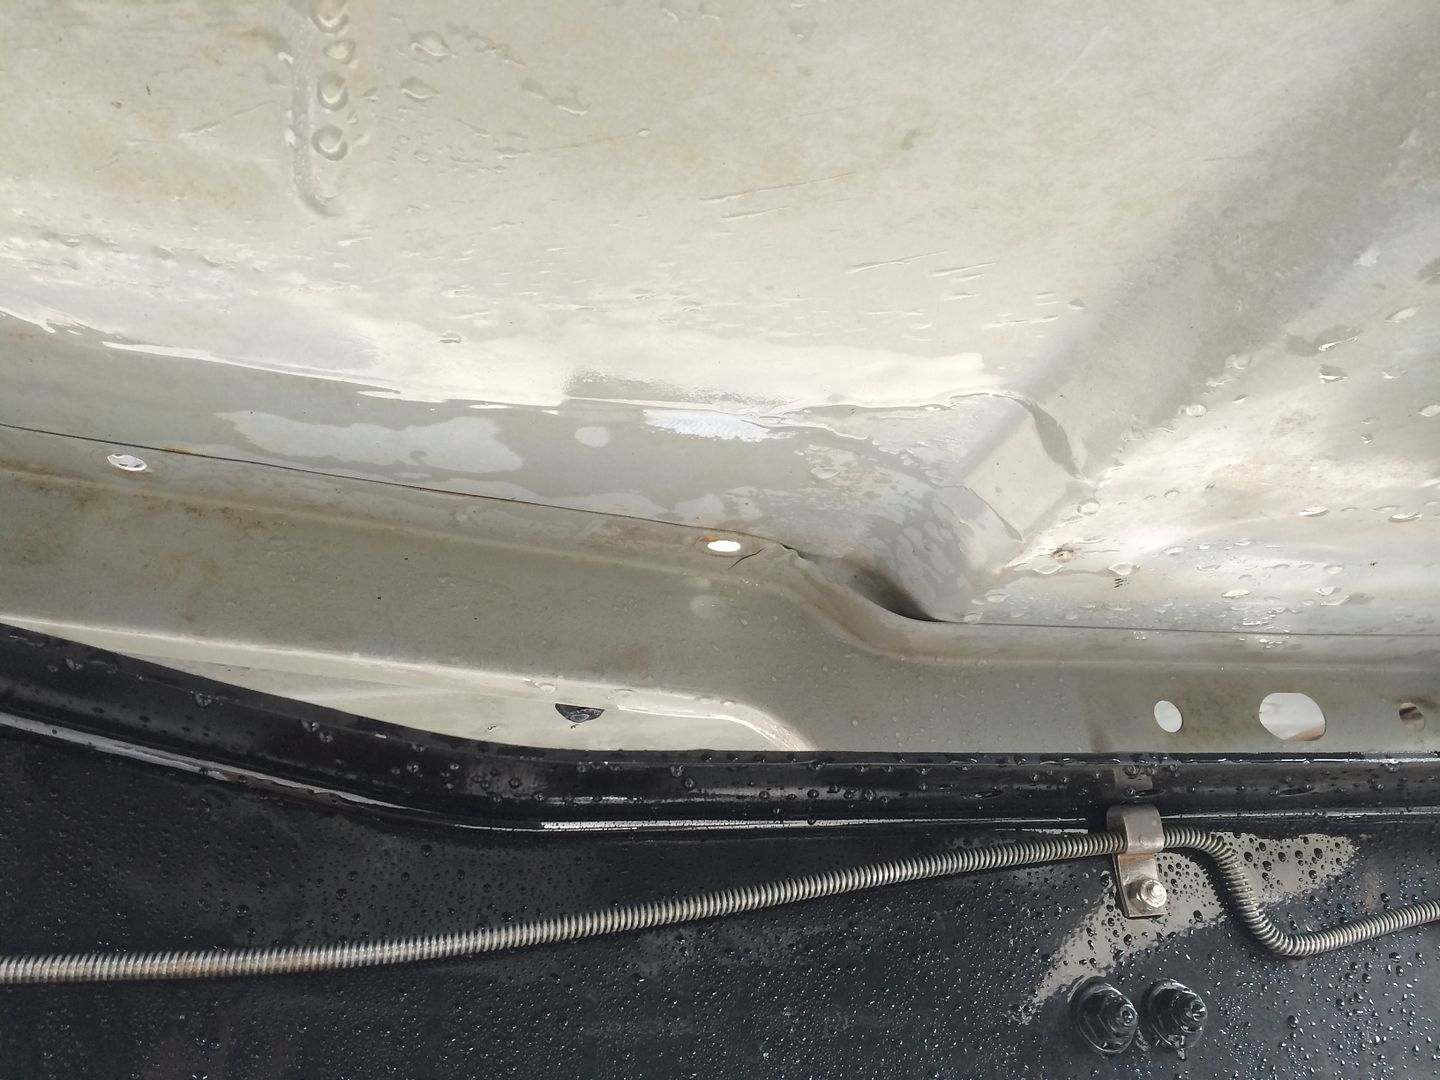
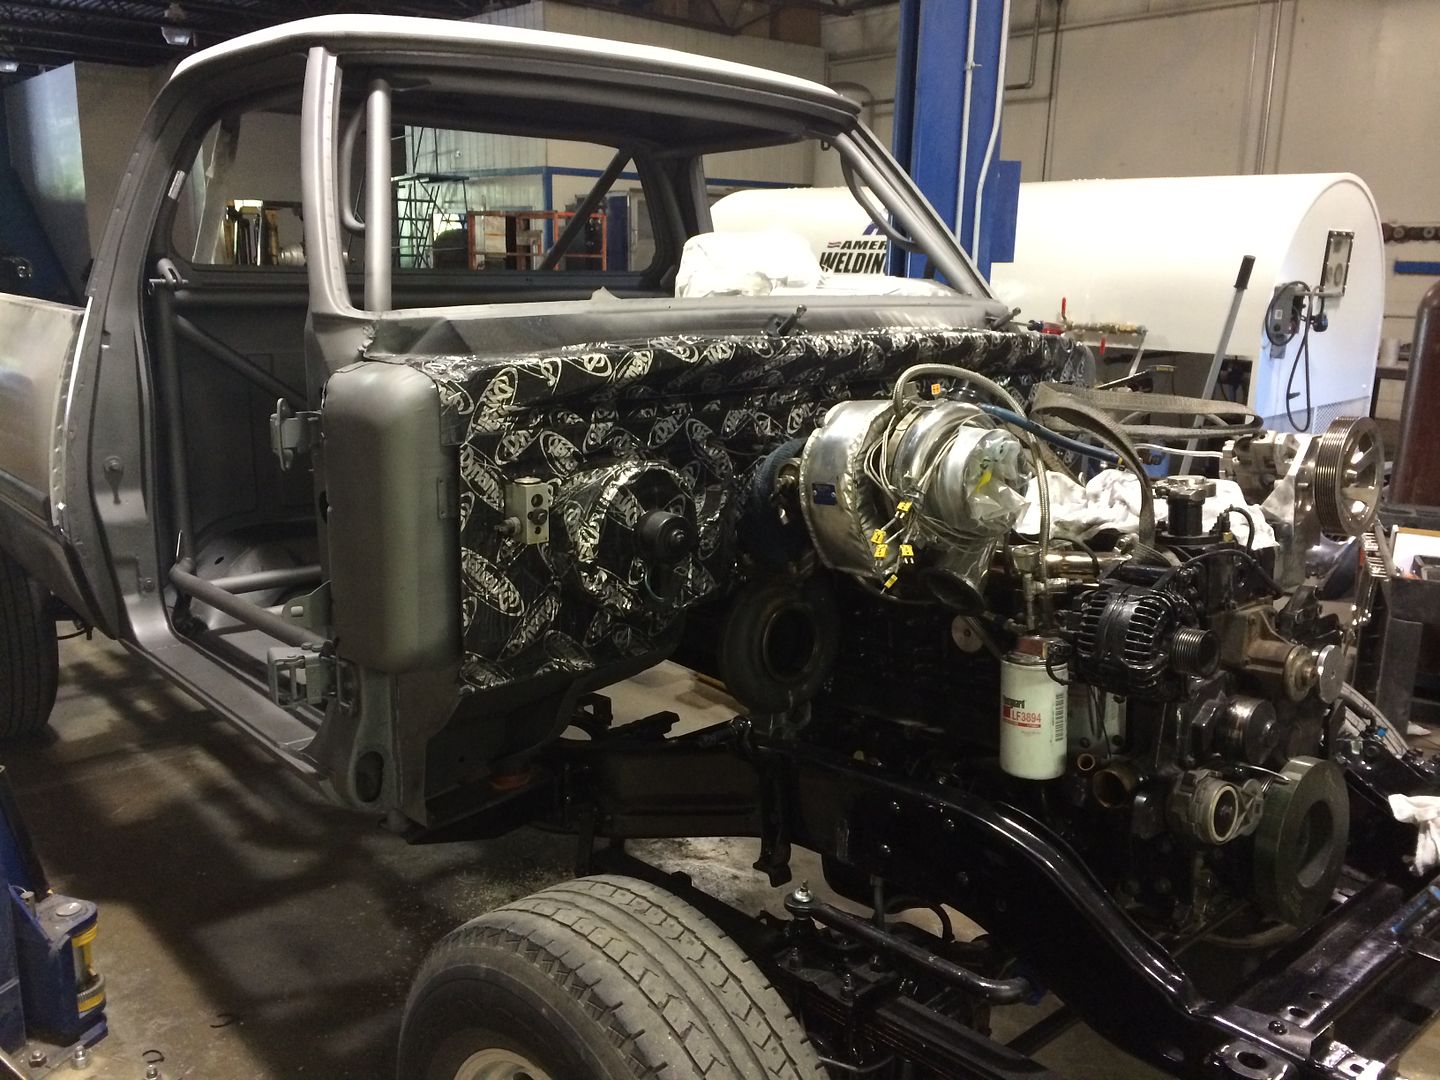
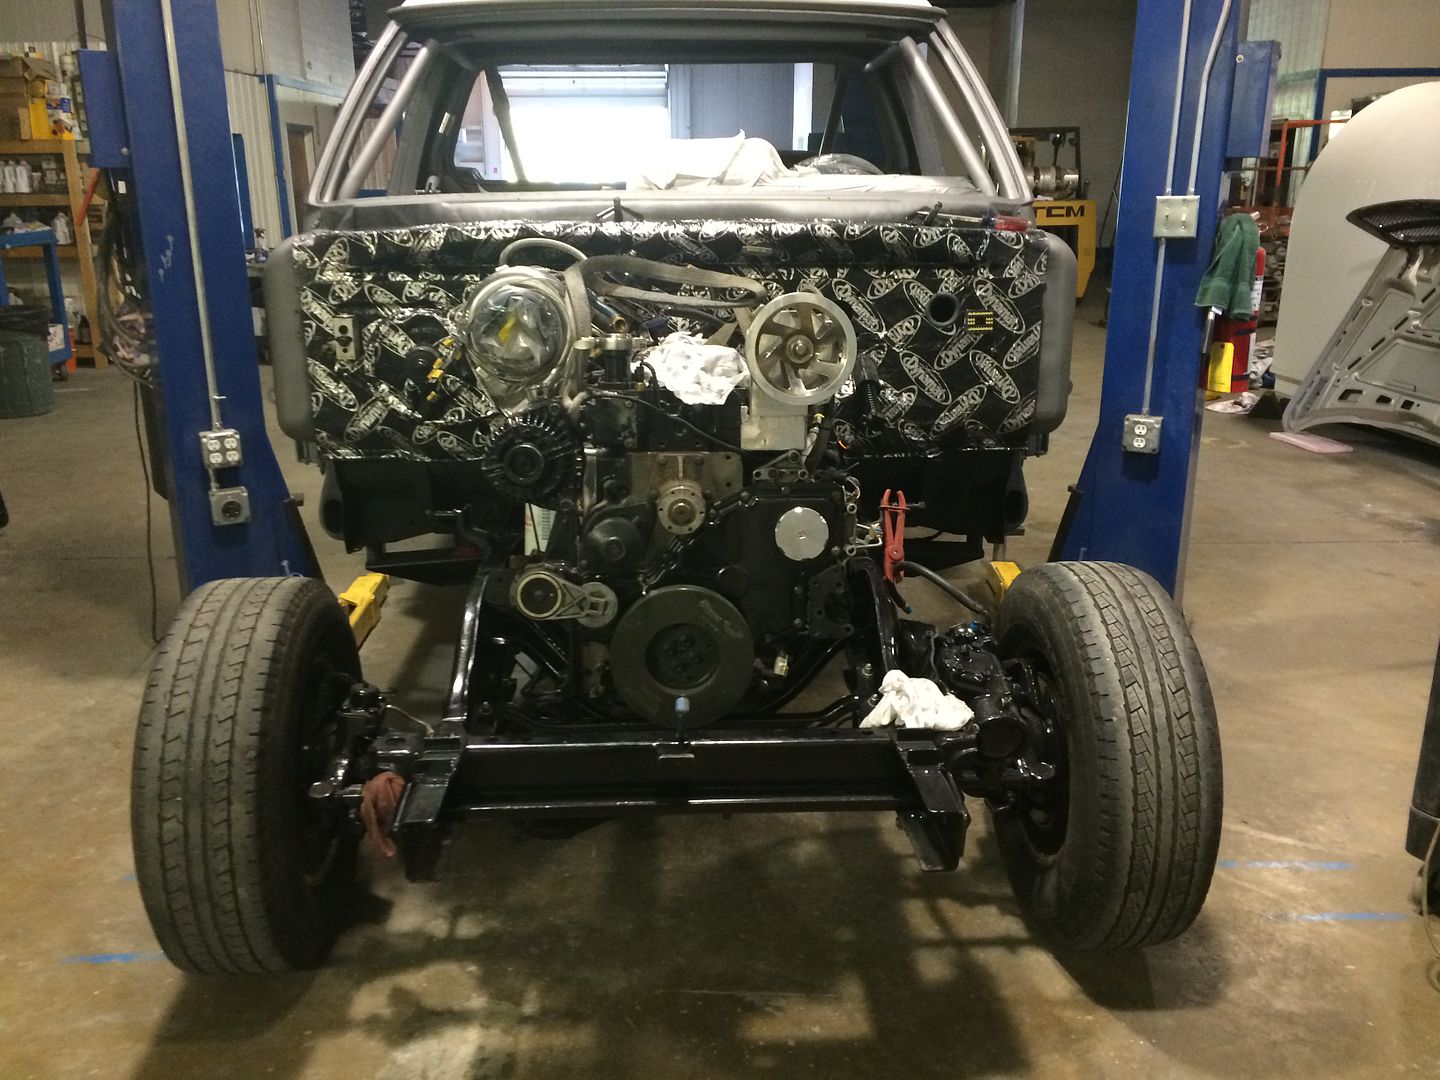
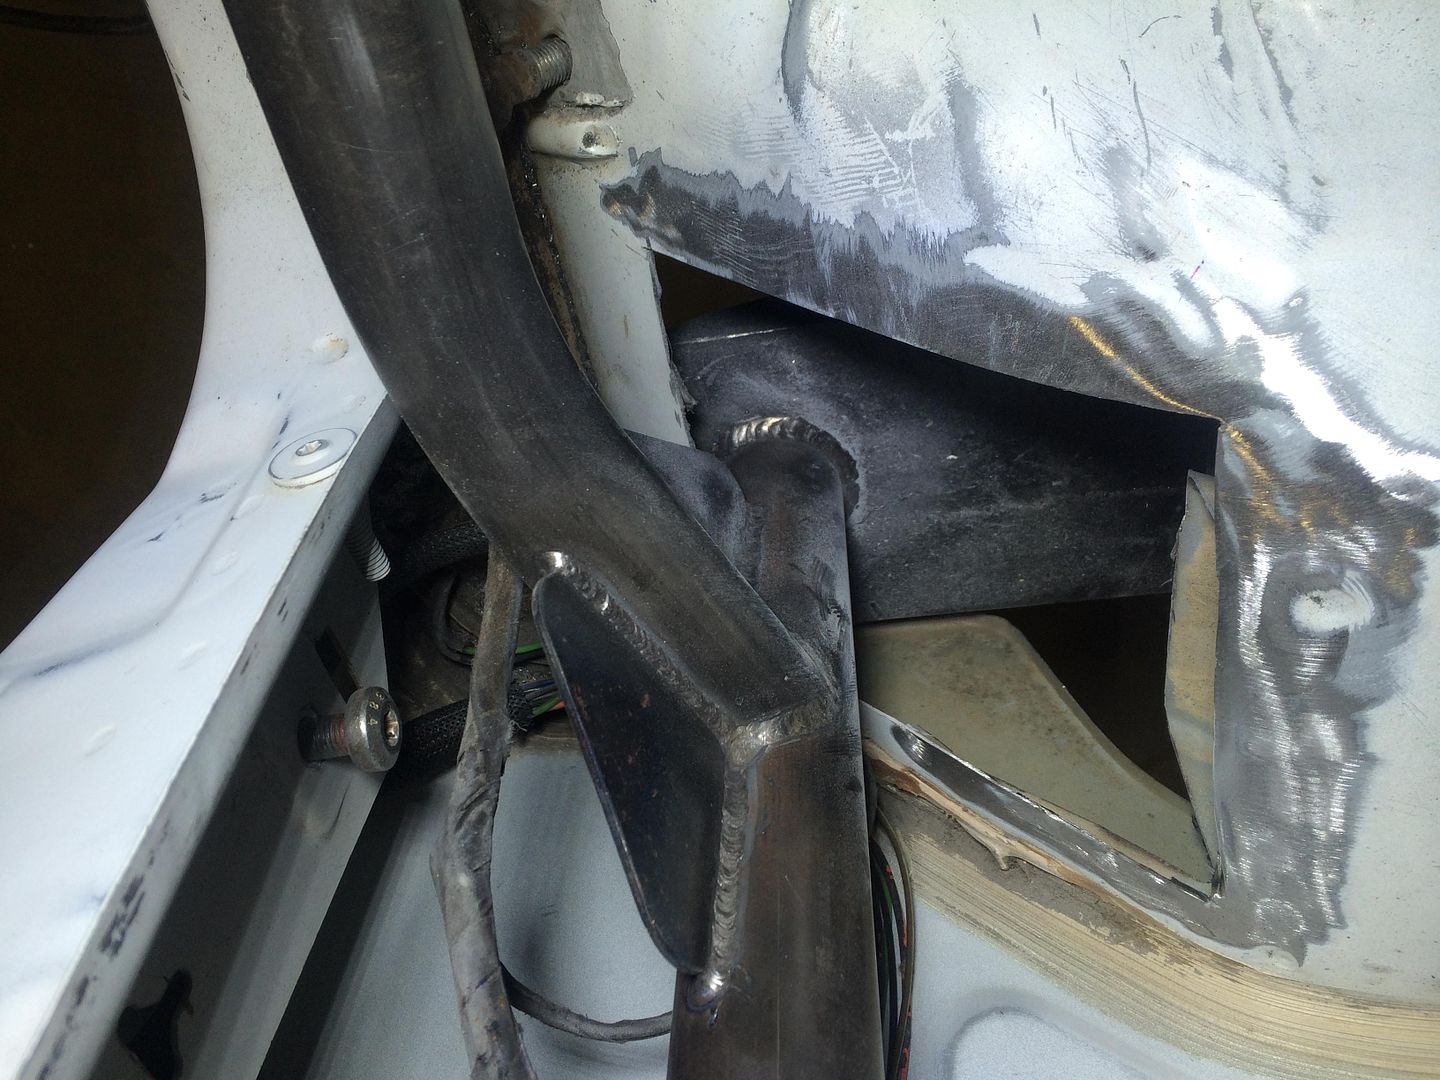
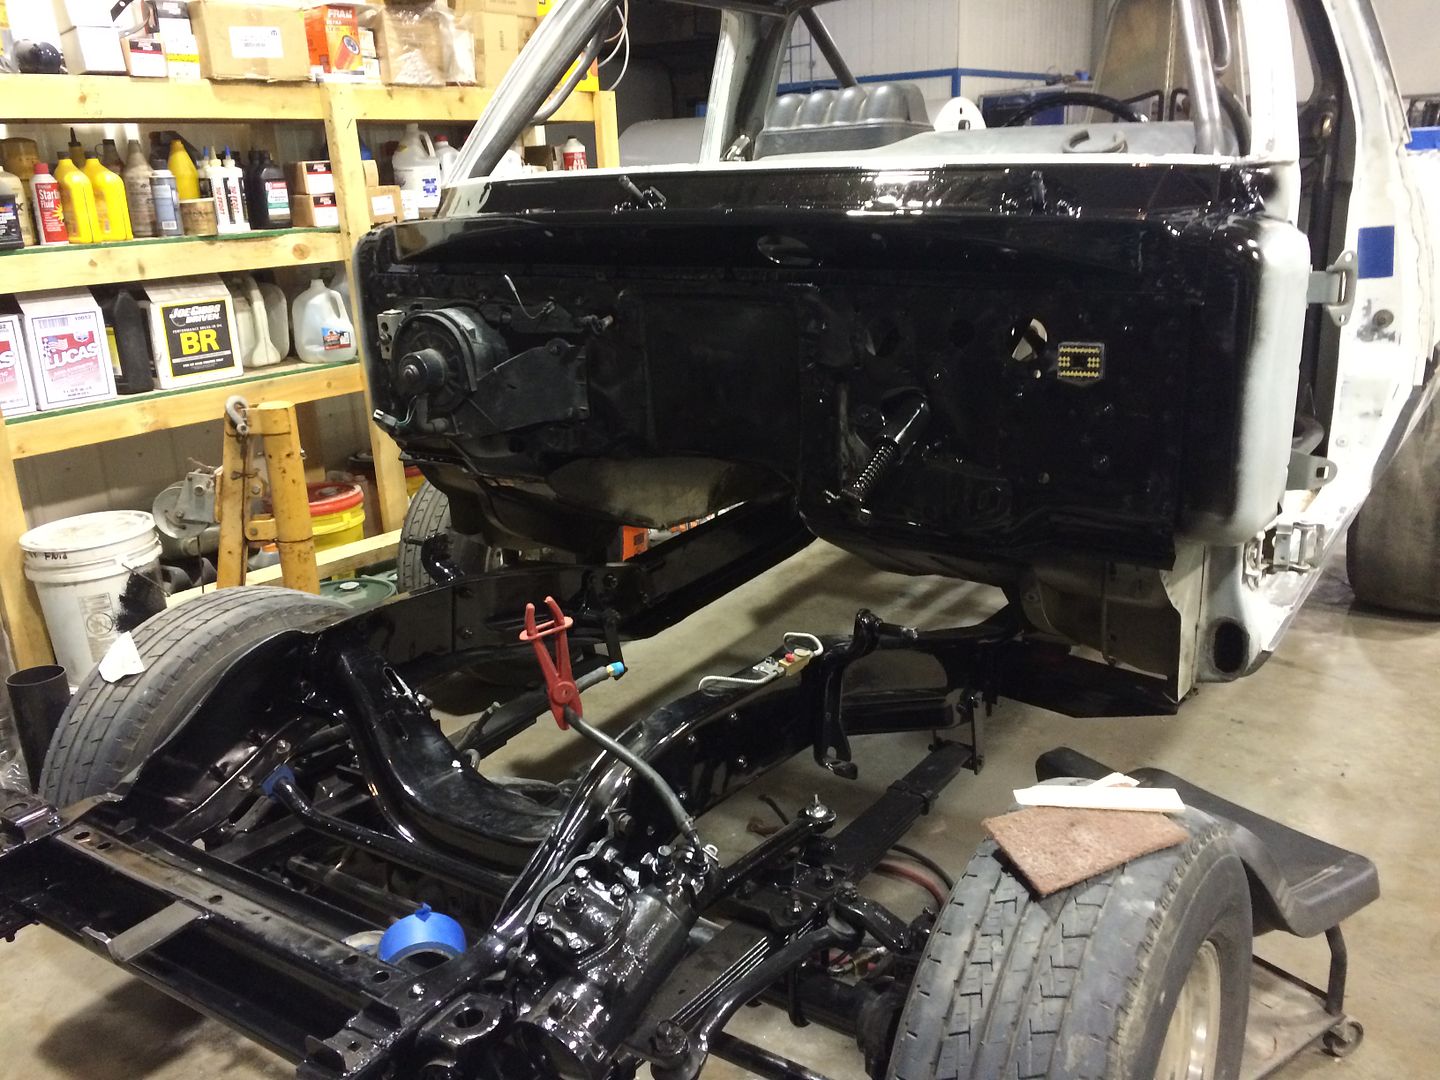
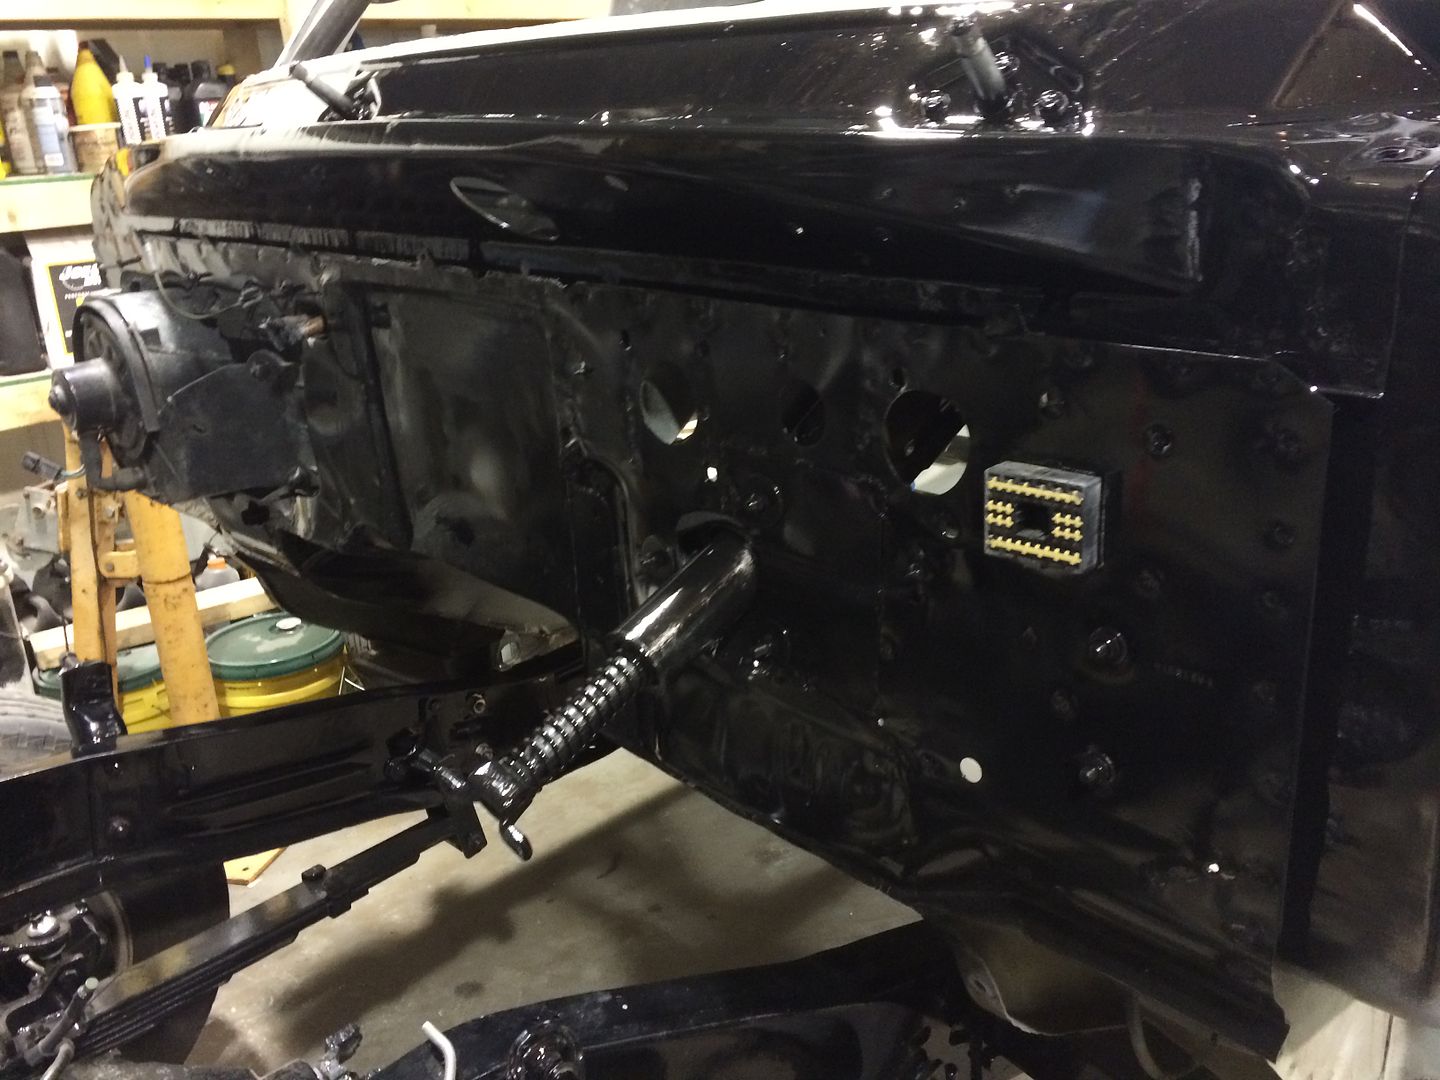
Put a slight recess into the firewall to allow the motor to fit better.

IMG_0601_zpshbw22kyw.jpg
[/URL]

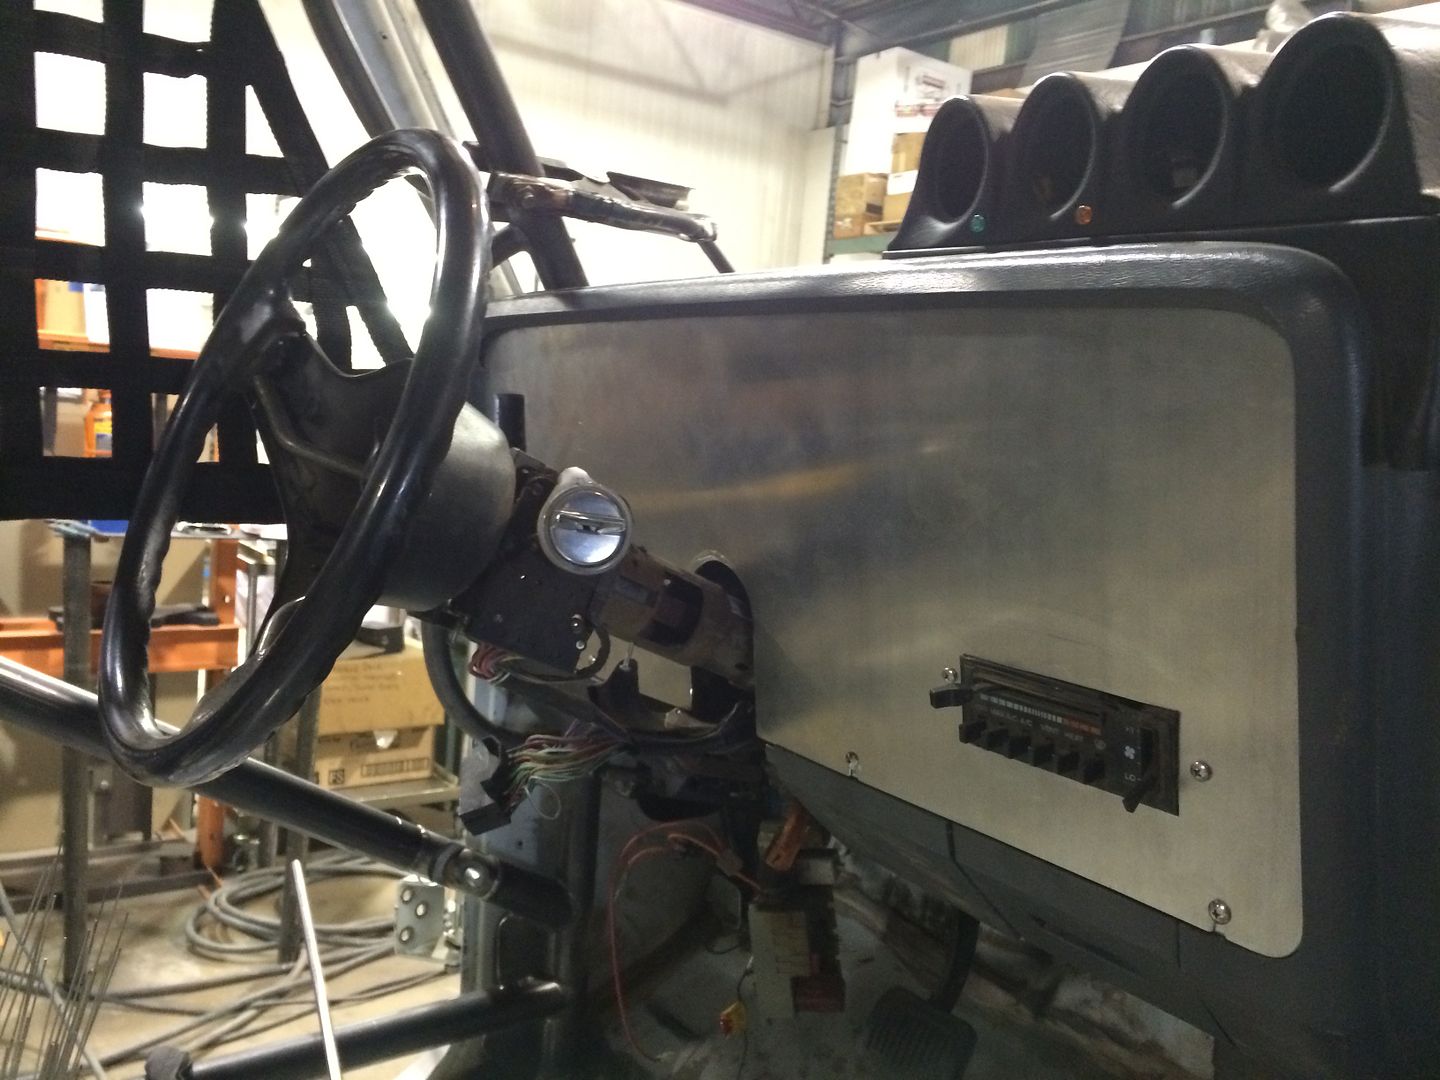
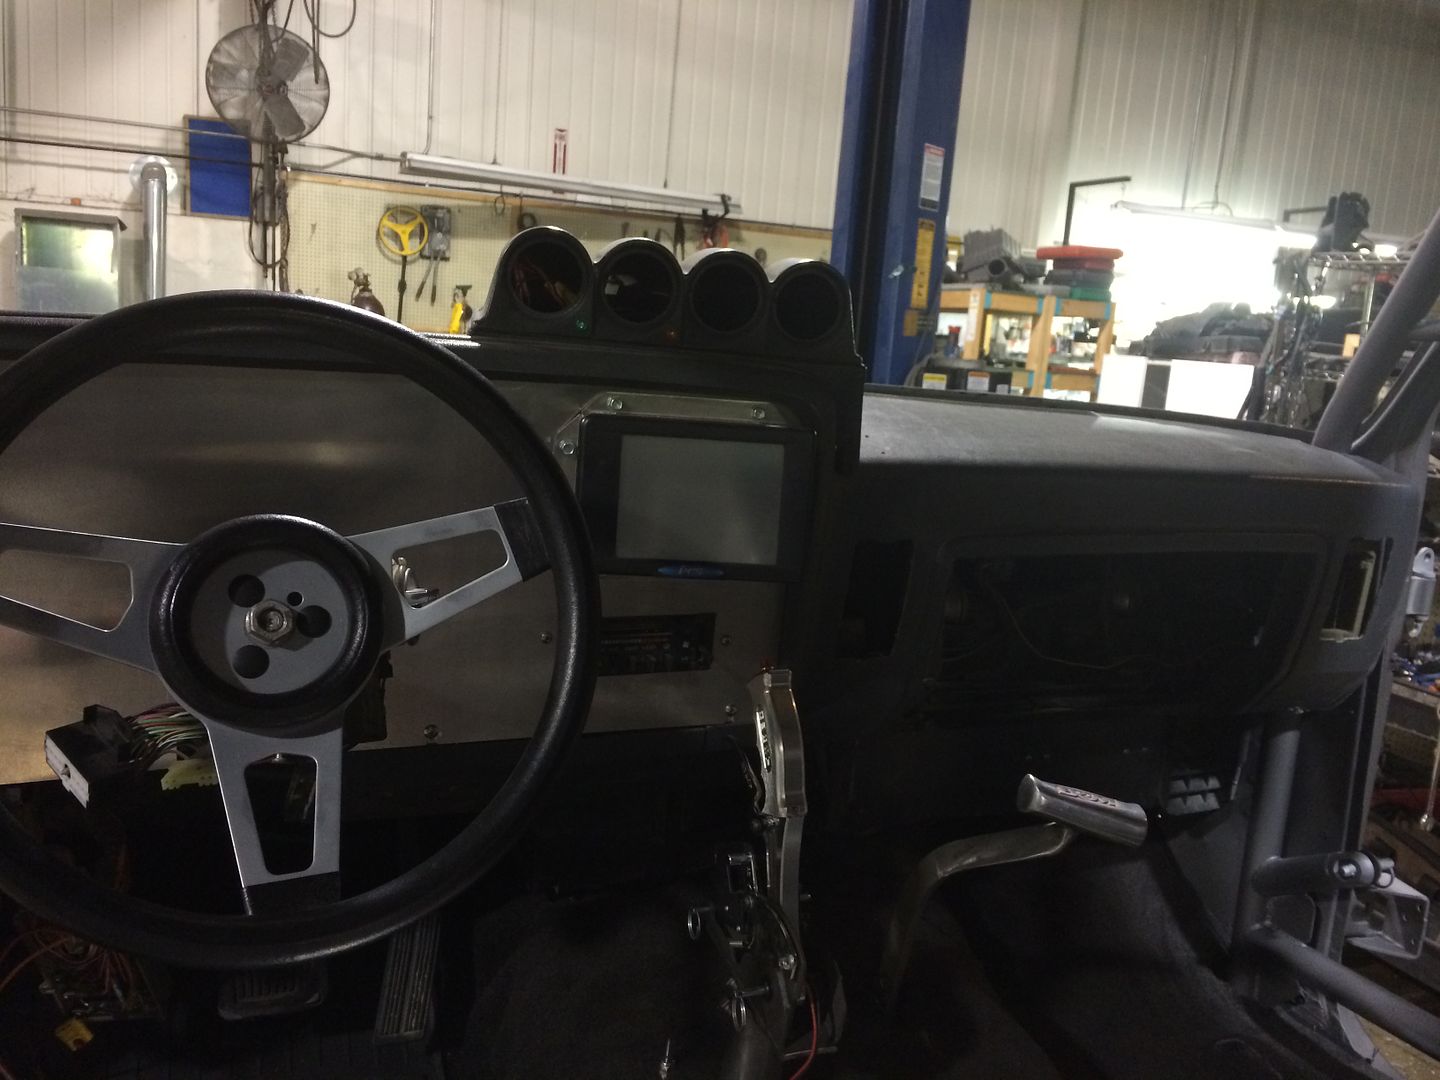
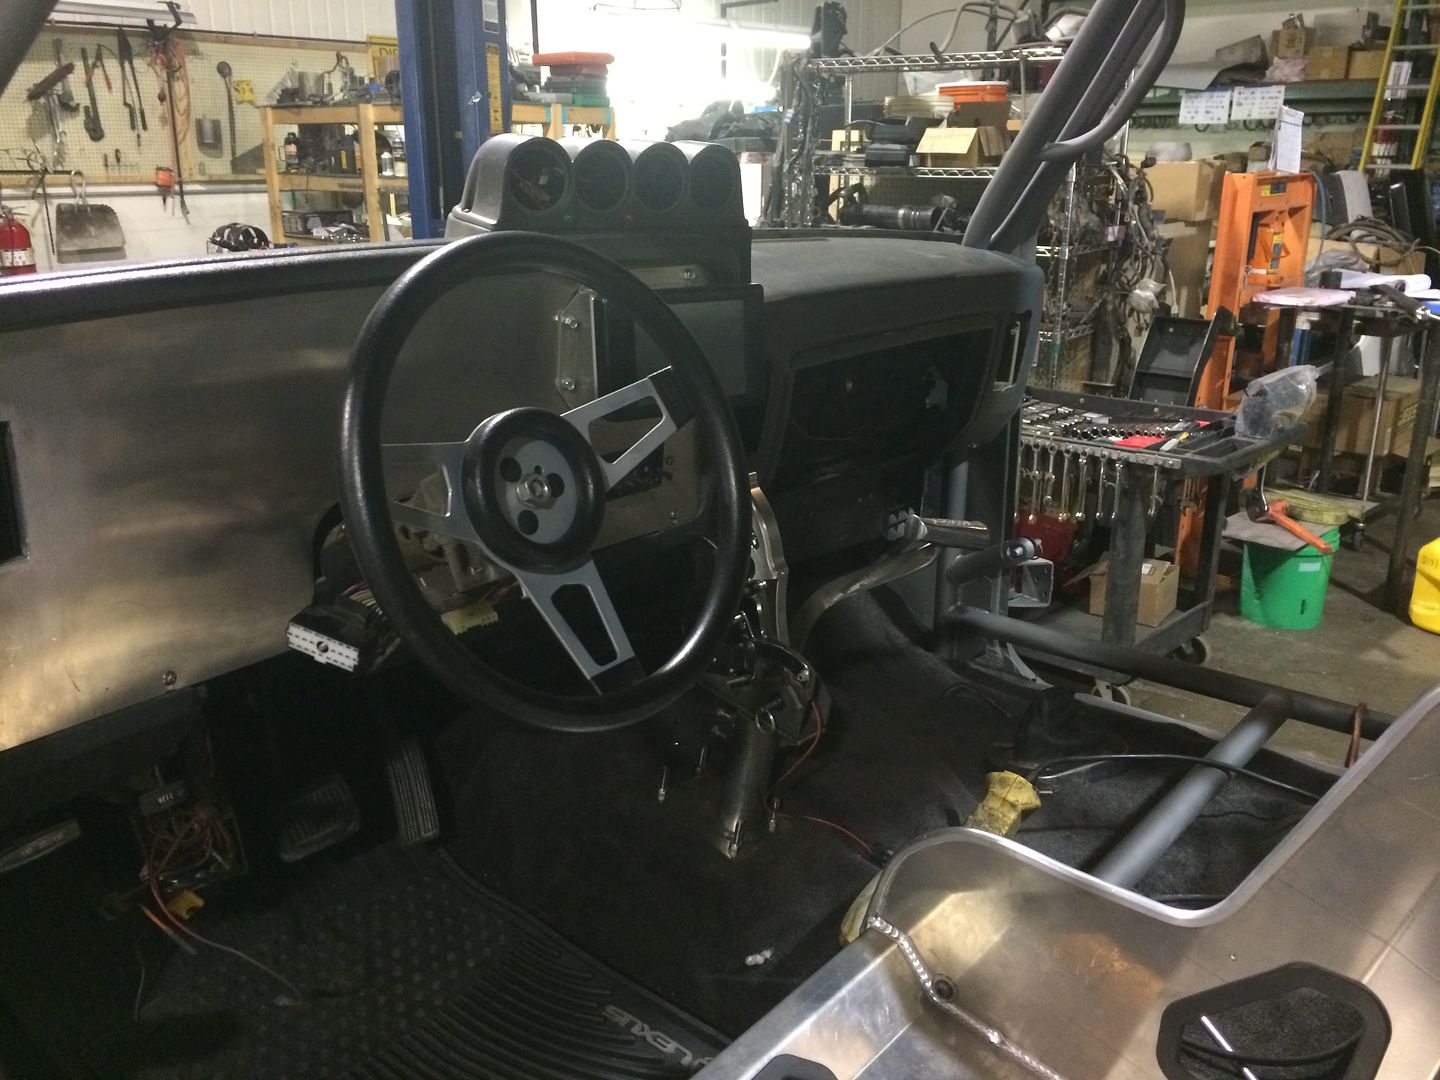
Gutted the wiring out of the first gen. I mean every last one of them once I was done.

IMG_0604_zpsxabx3lbj.jpg
[/URL]

IMG_0606_zpstfklzf9k.jpg
[/URL]

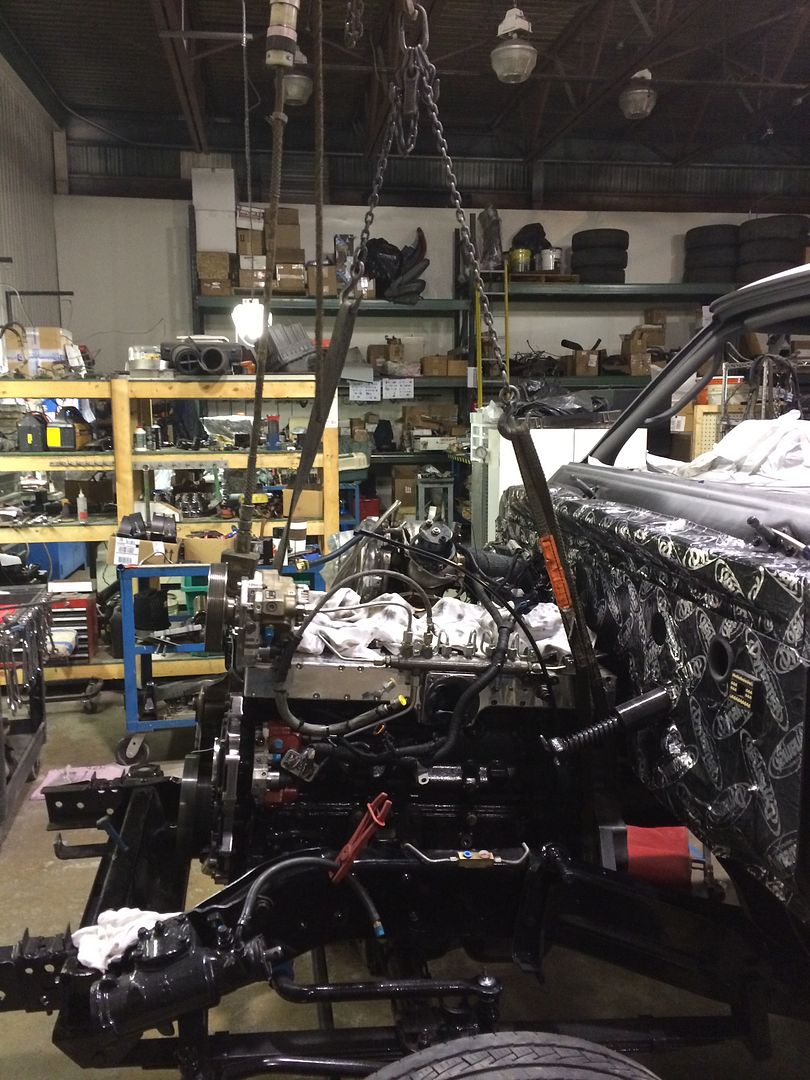
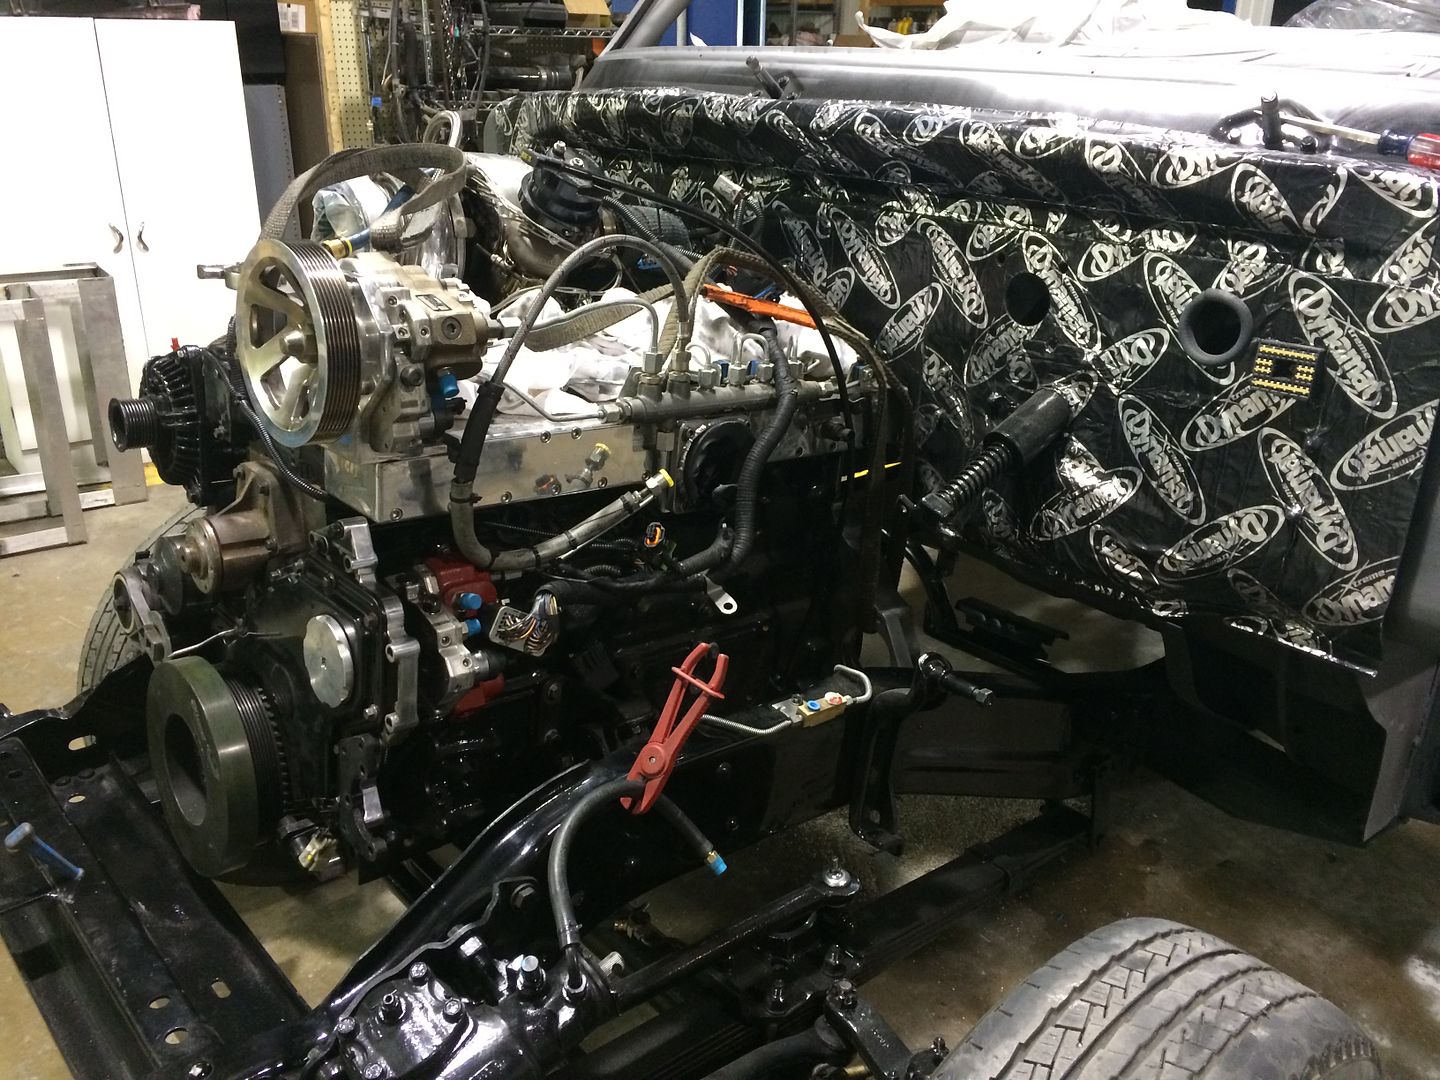
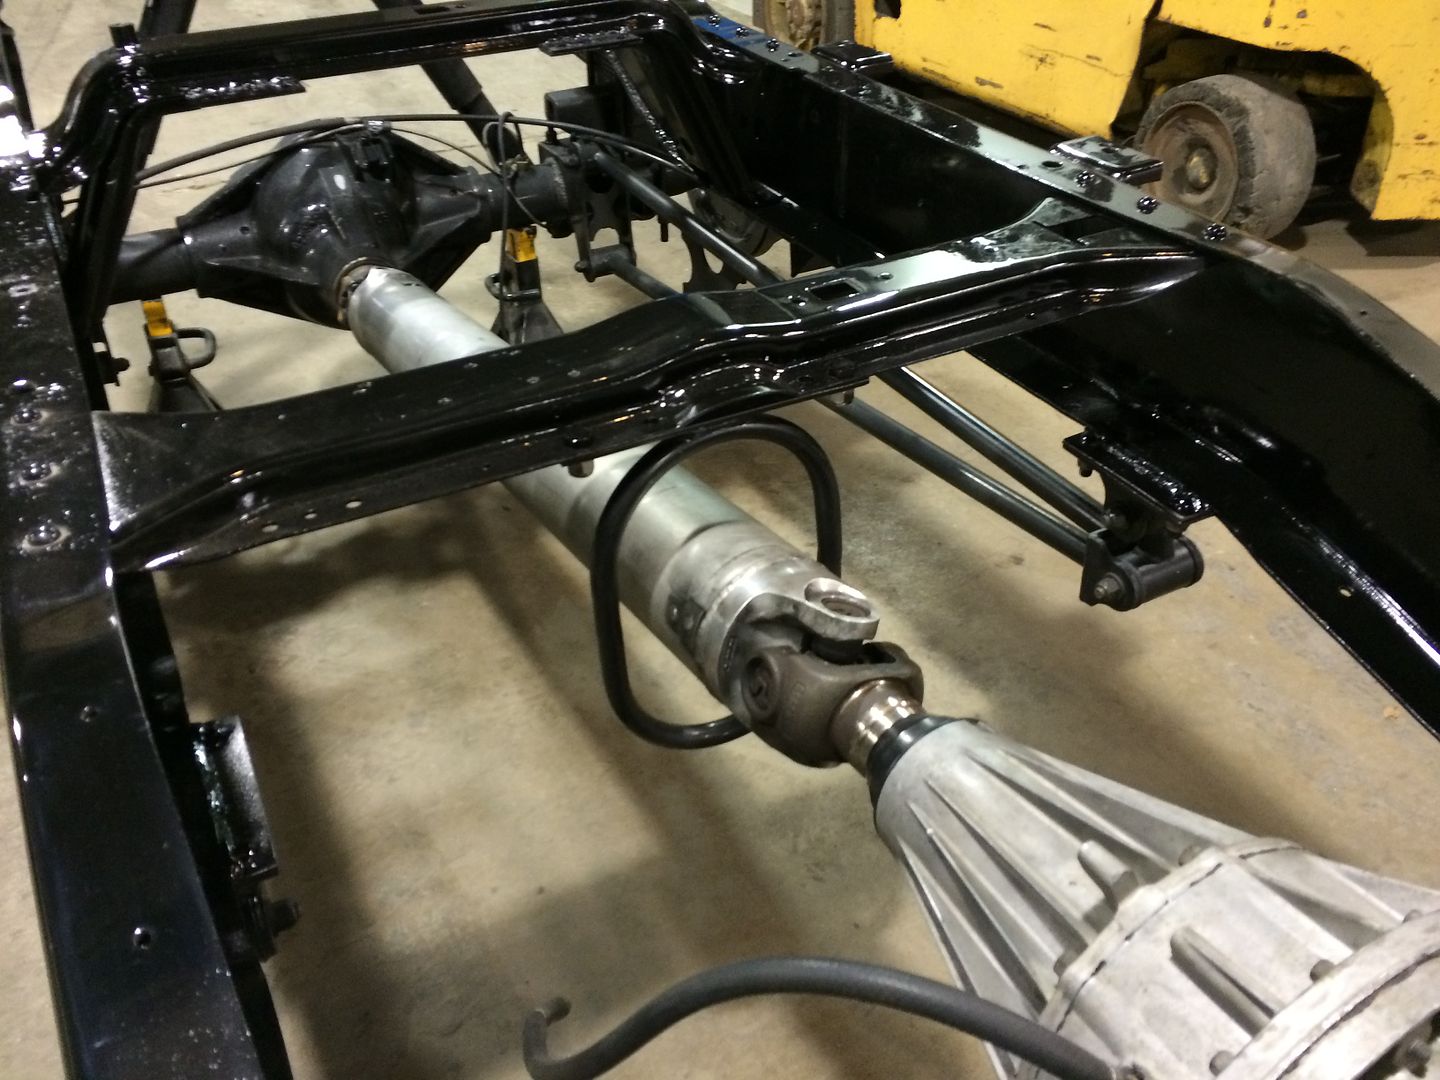
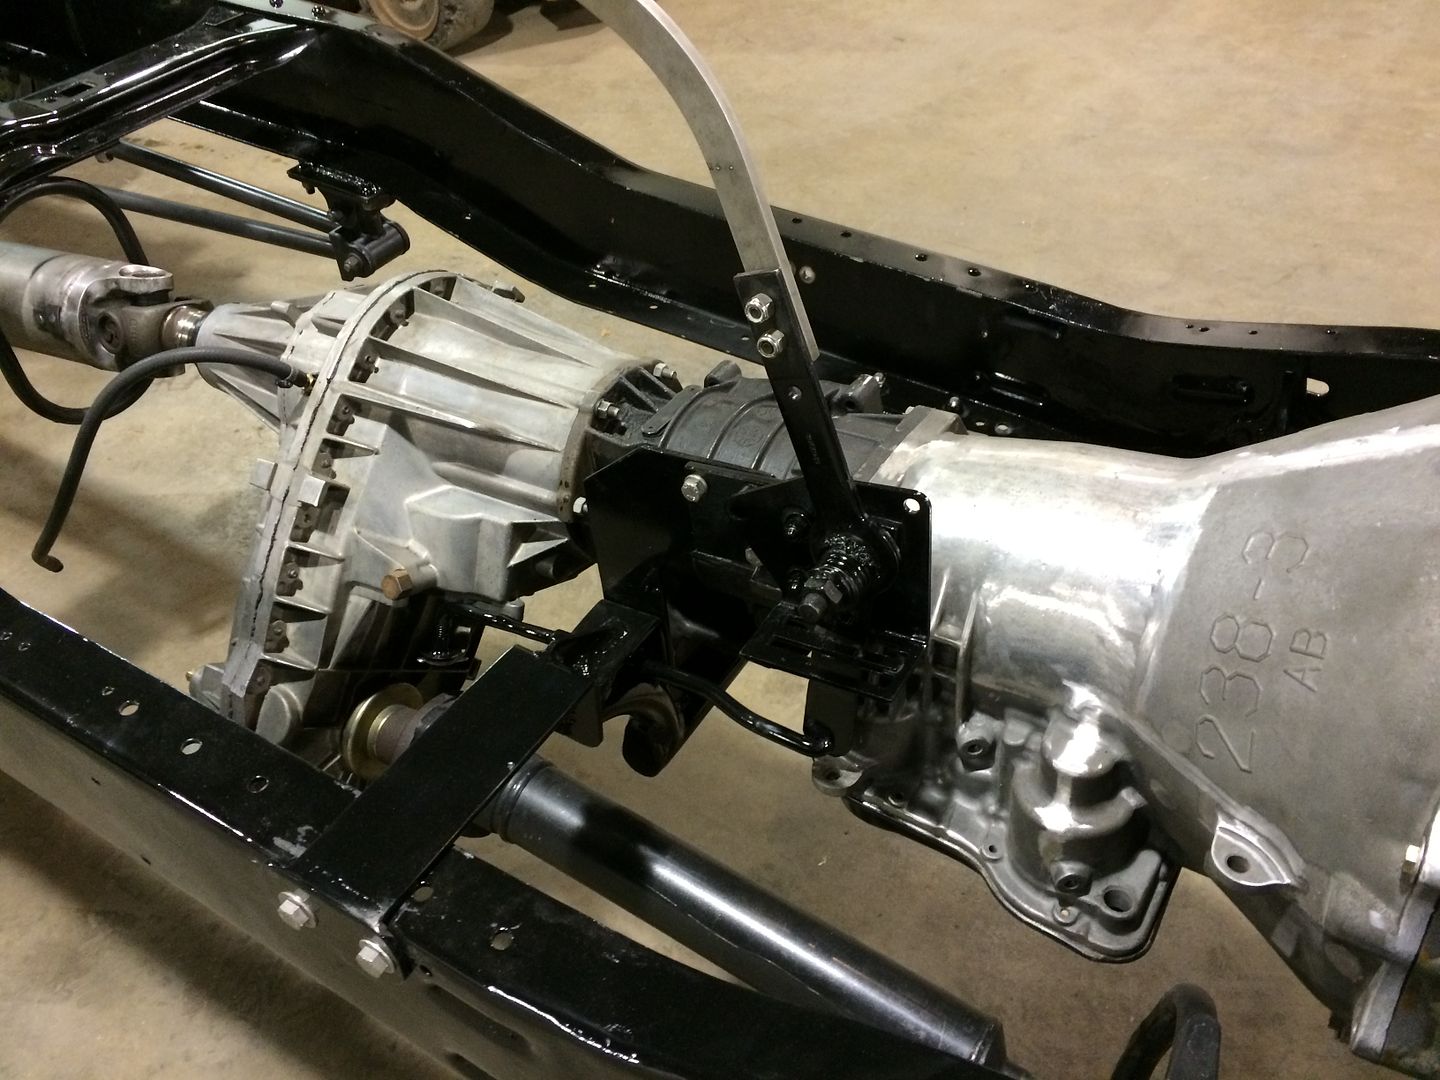
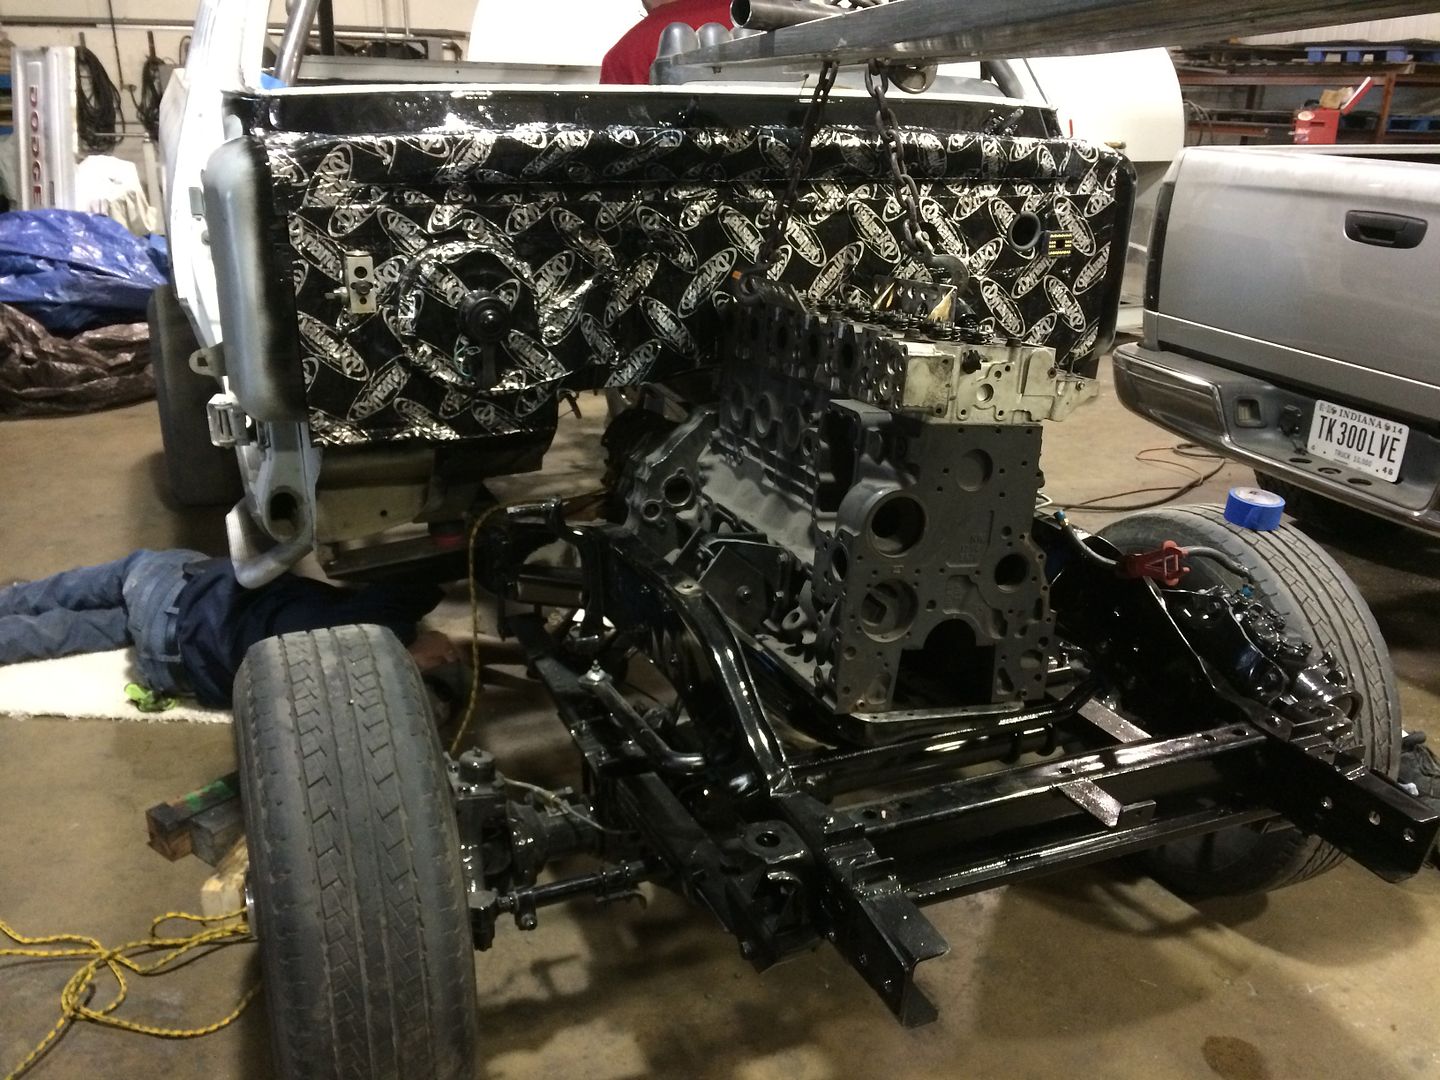
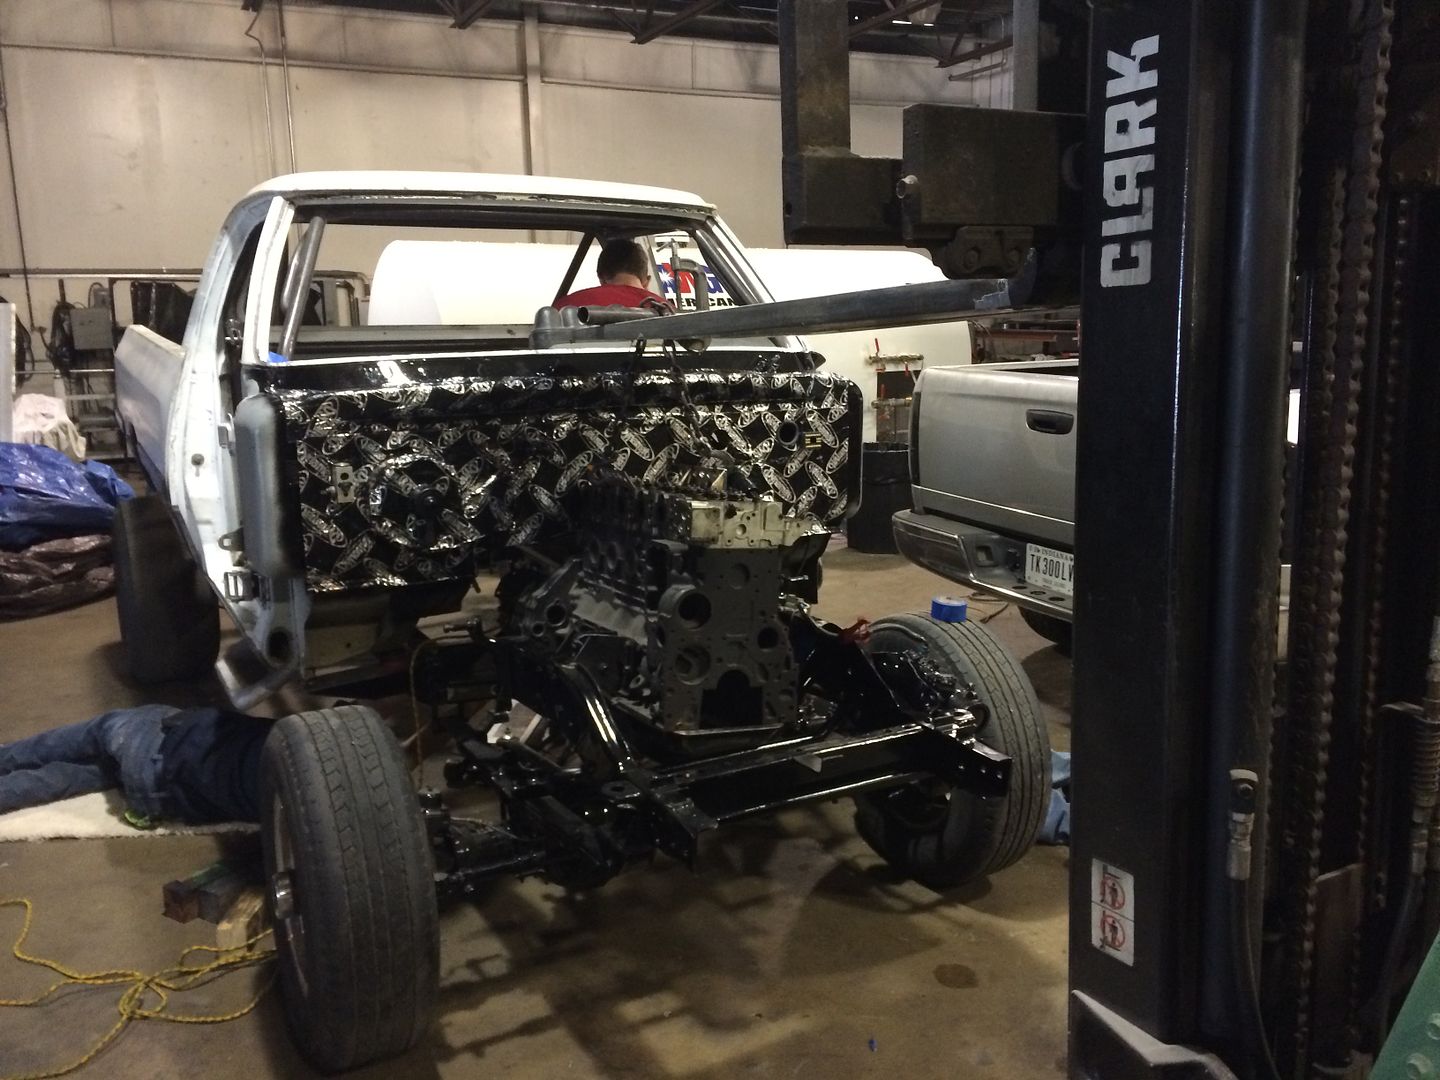
Mockup Motor fabricating new engine mounts and trans mounts.

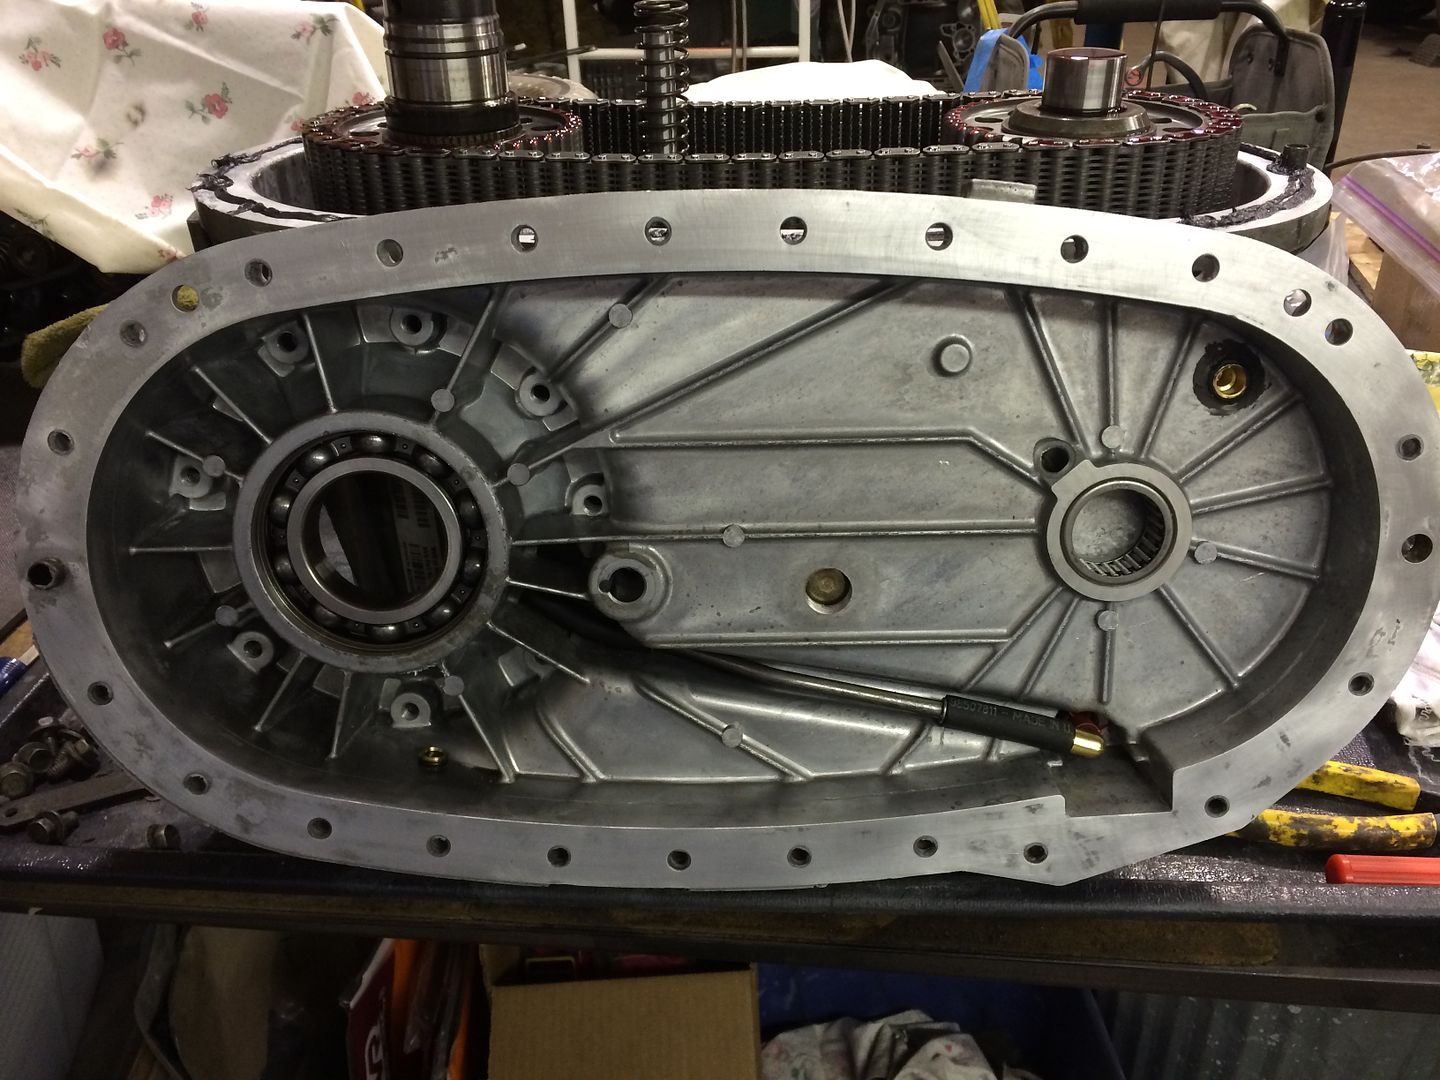
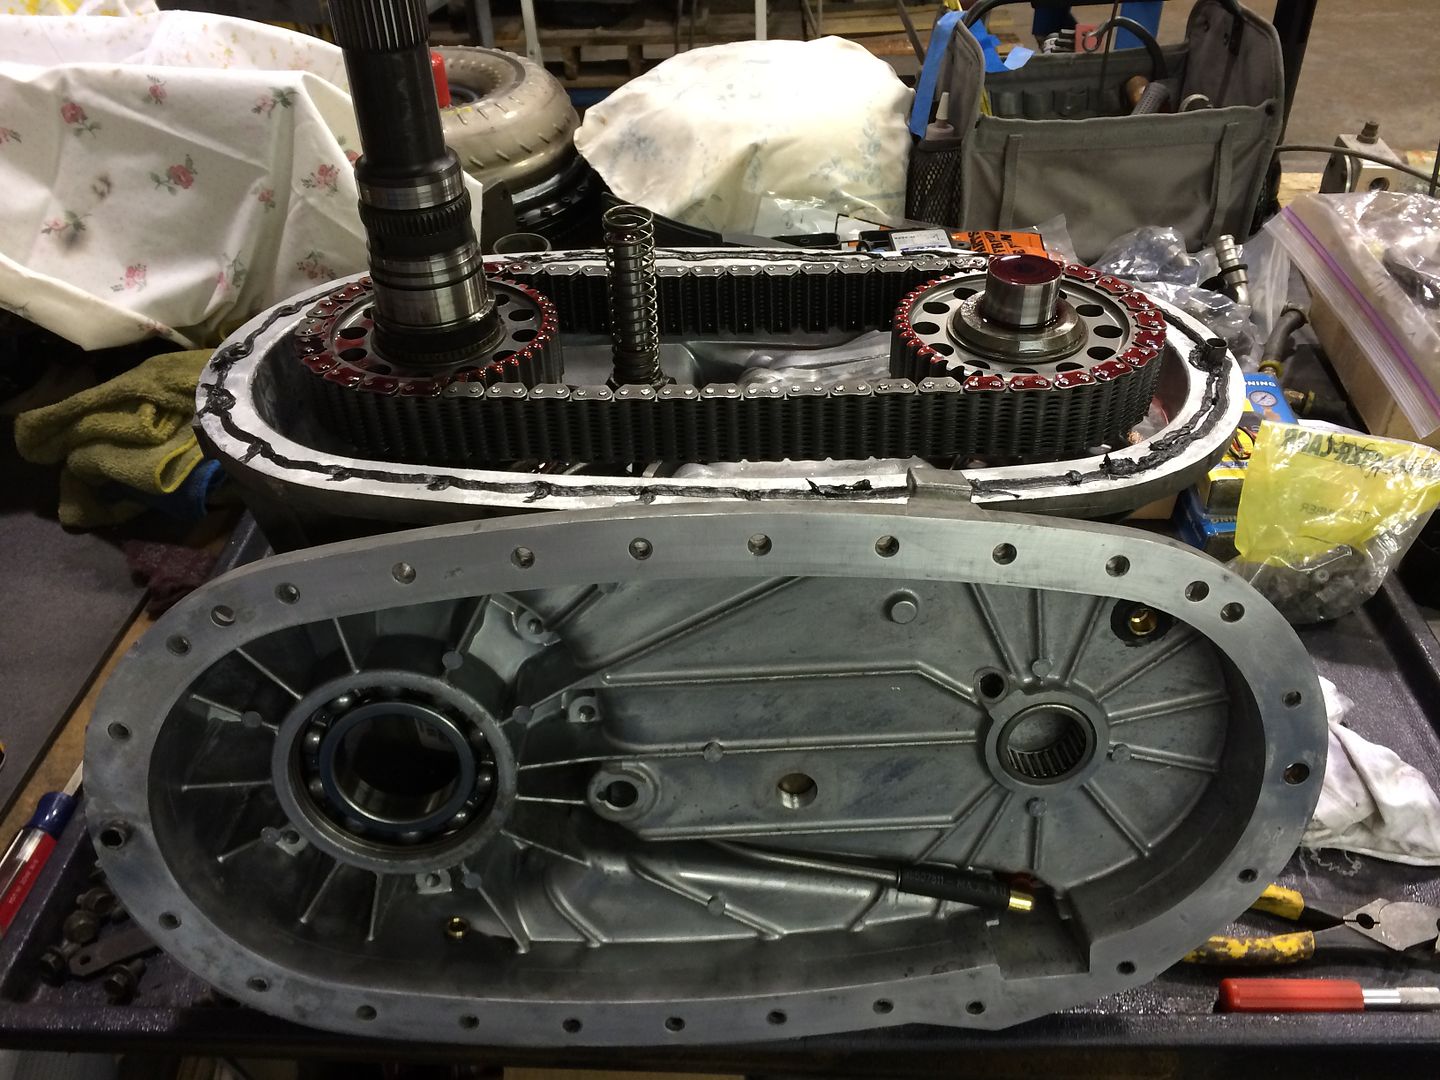
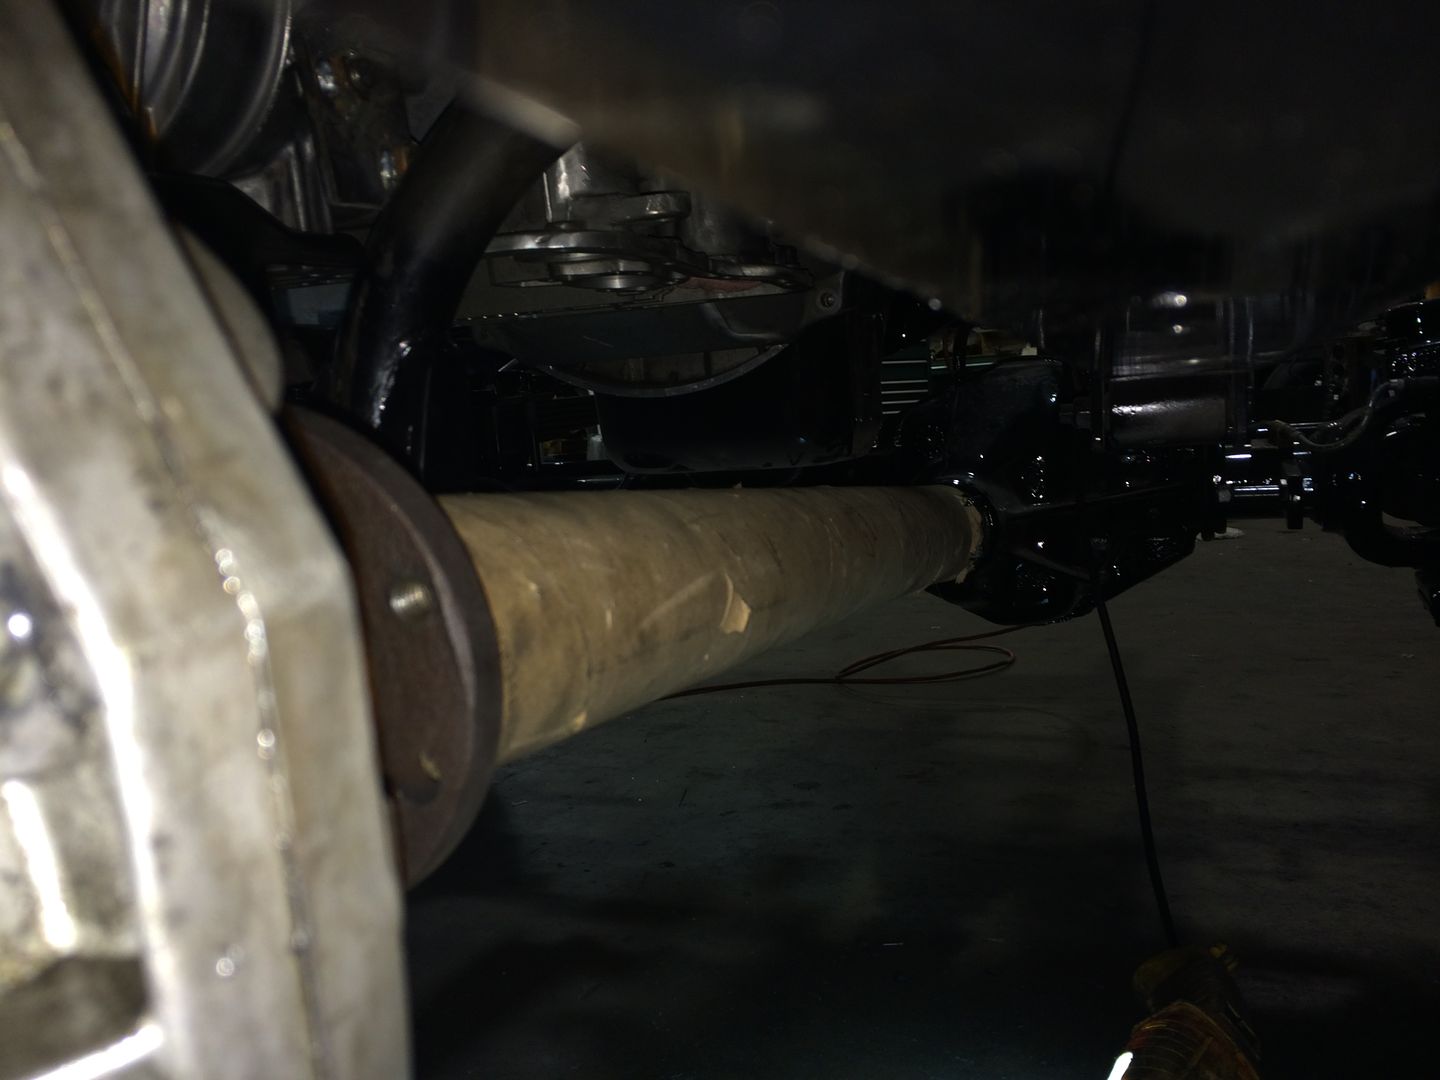
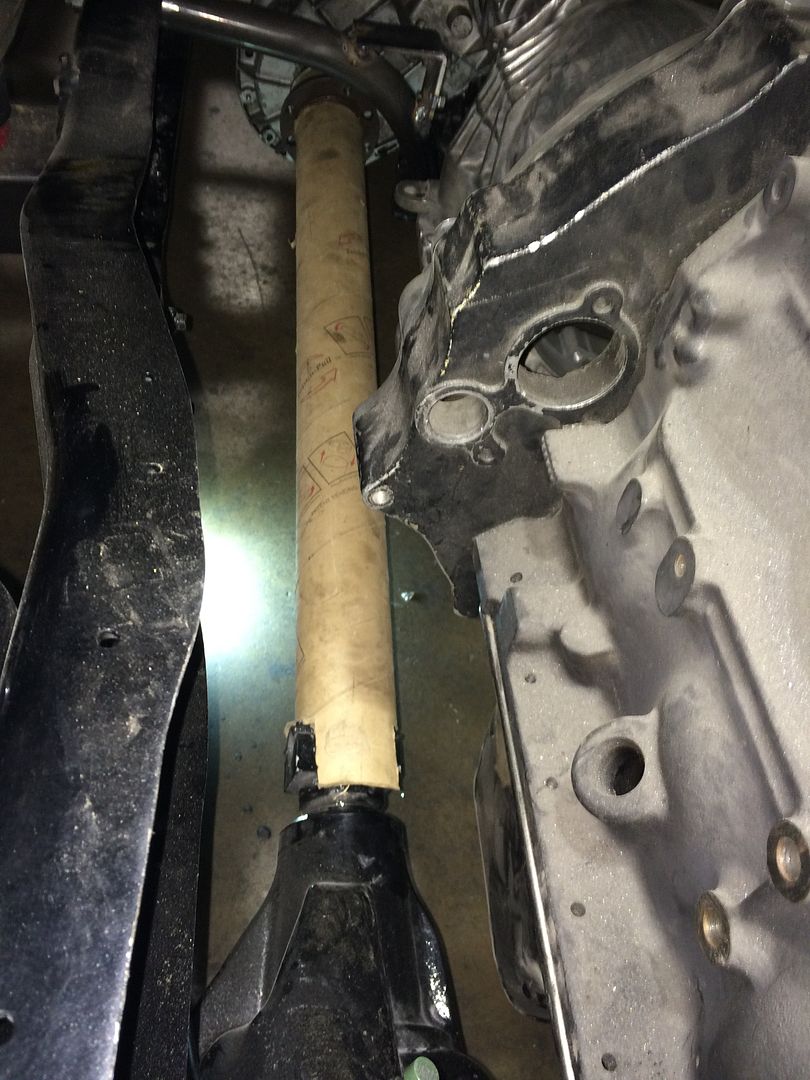
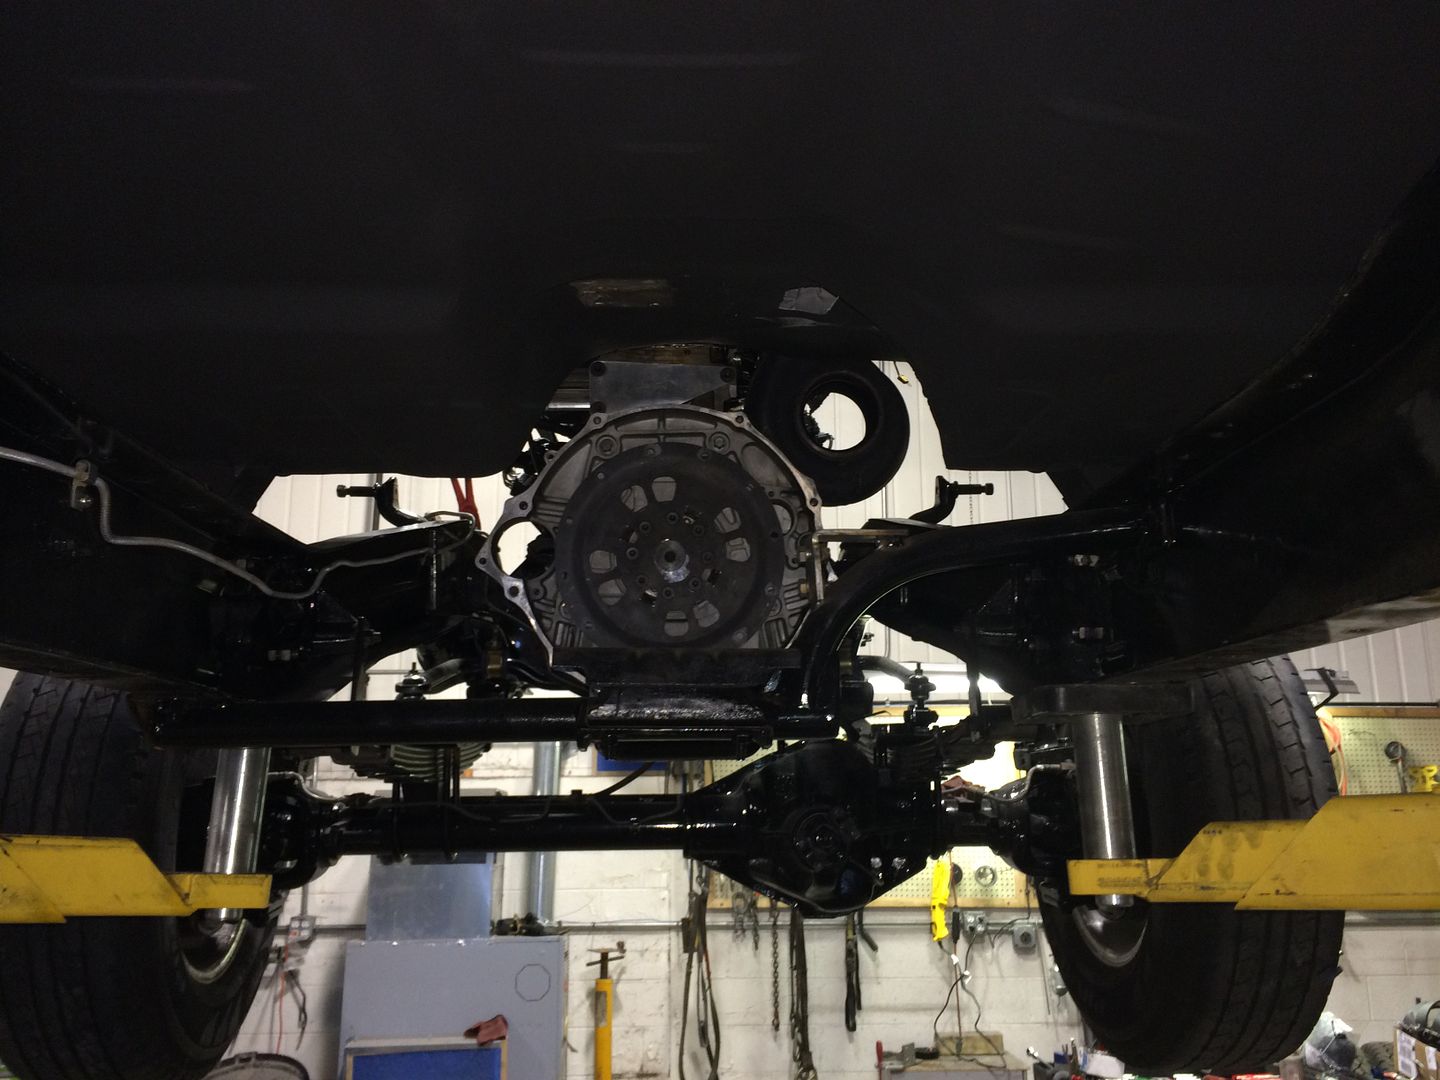
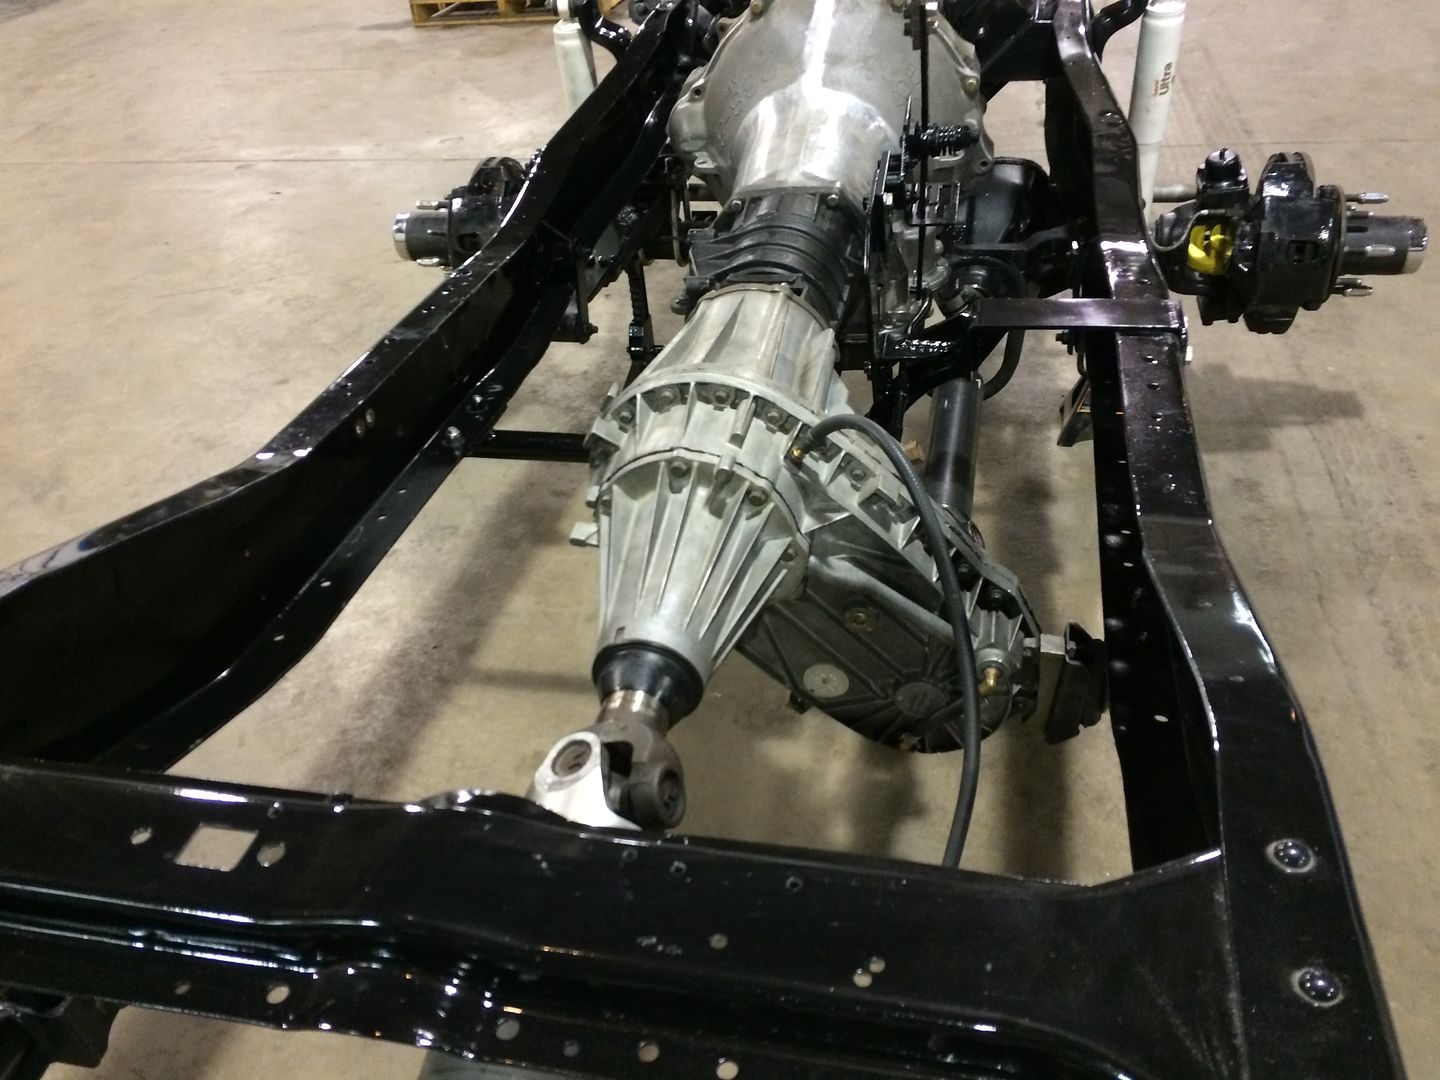
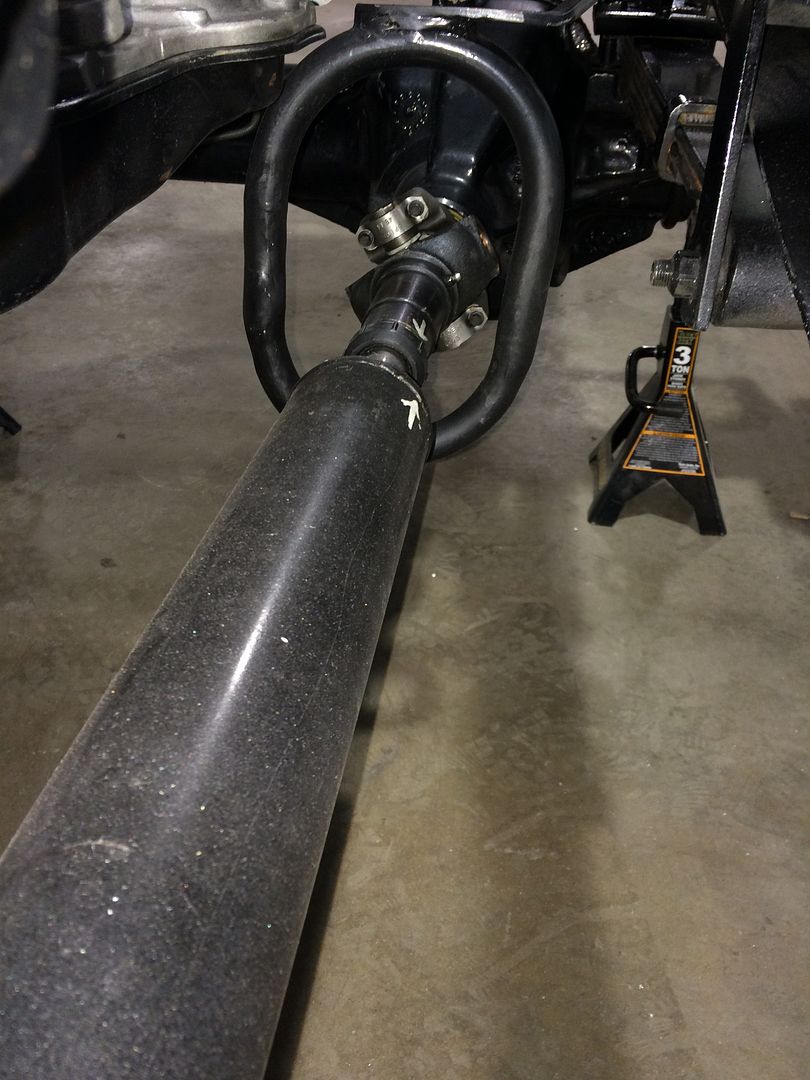
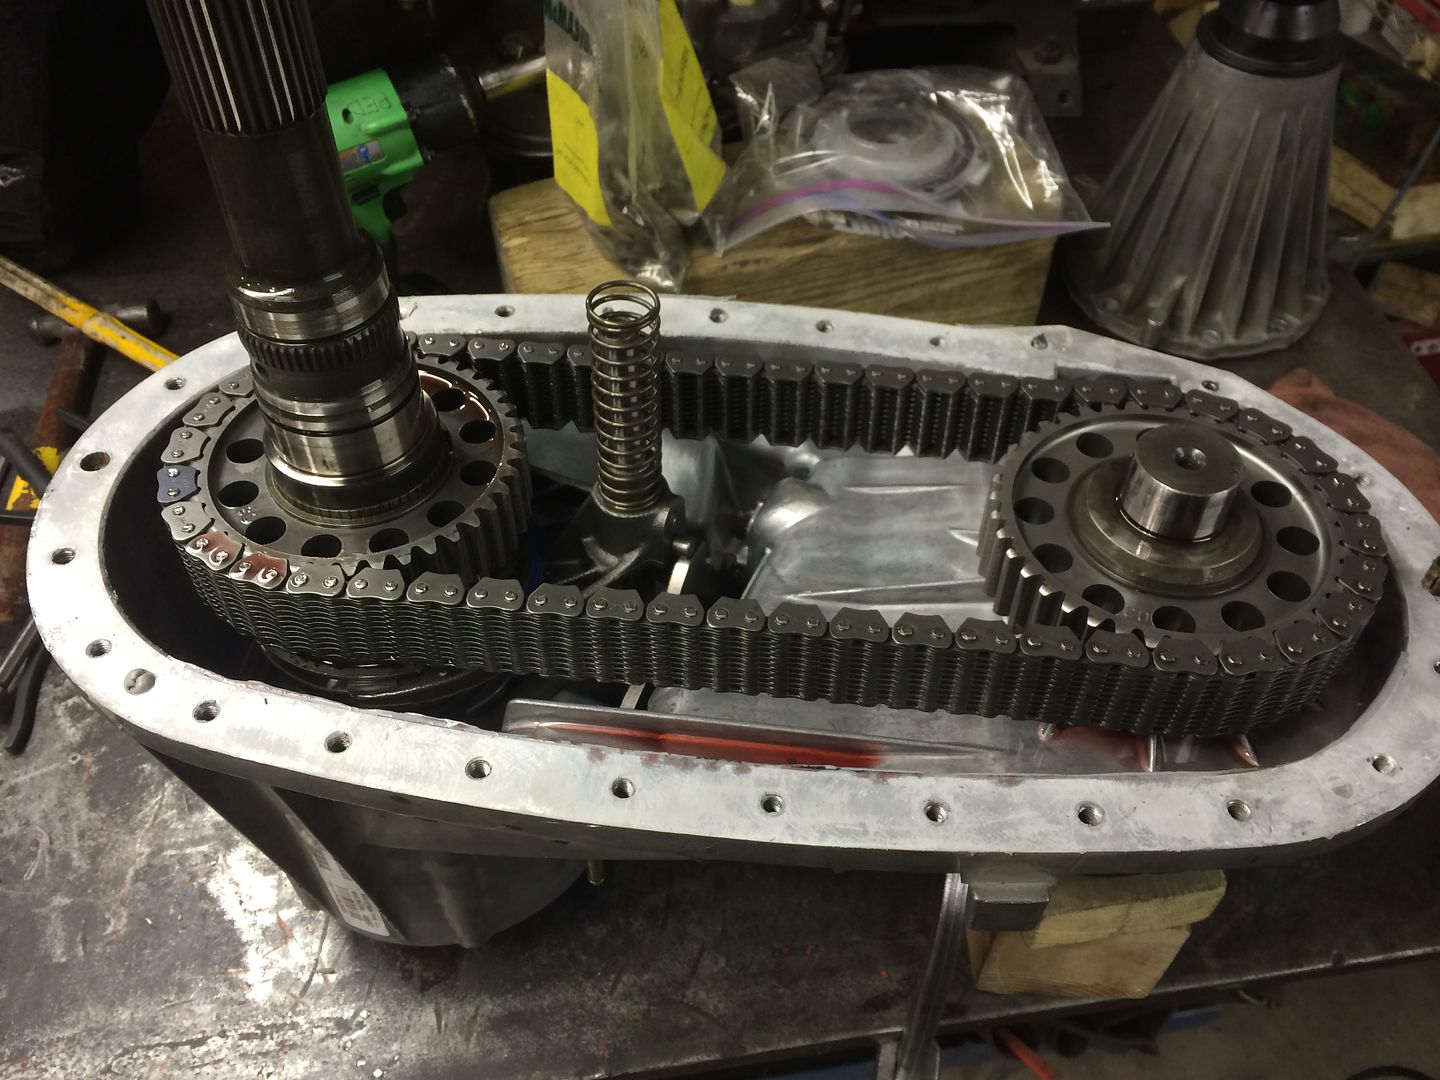
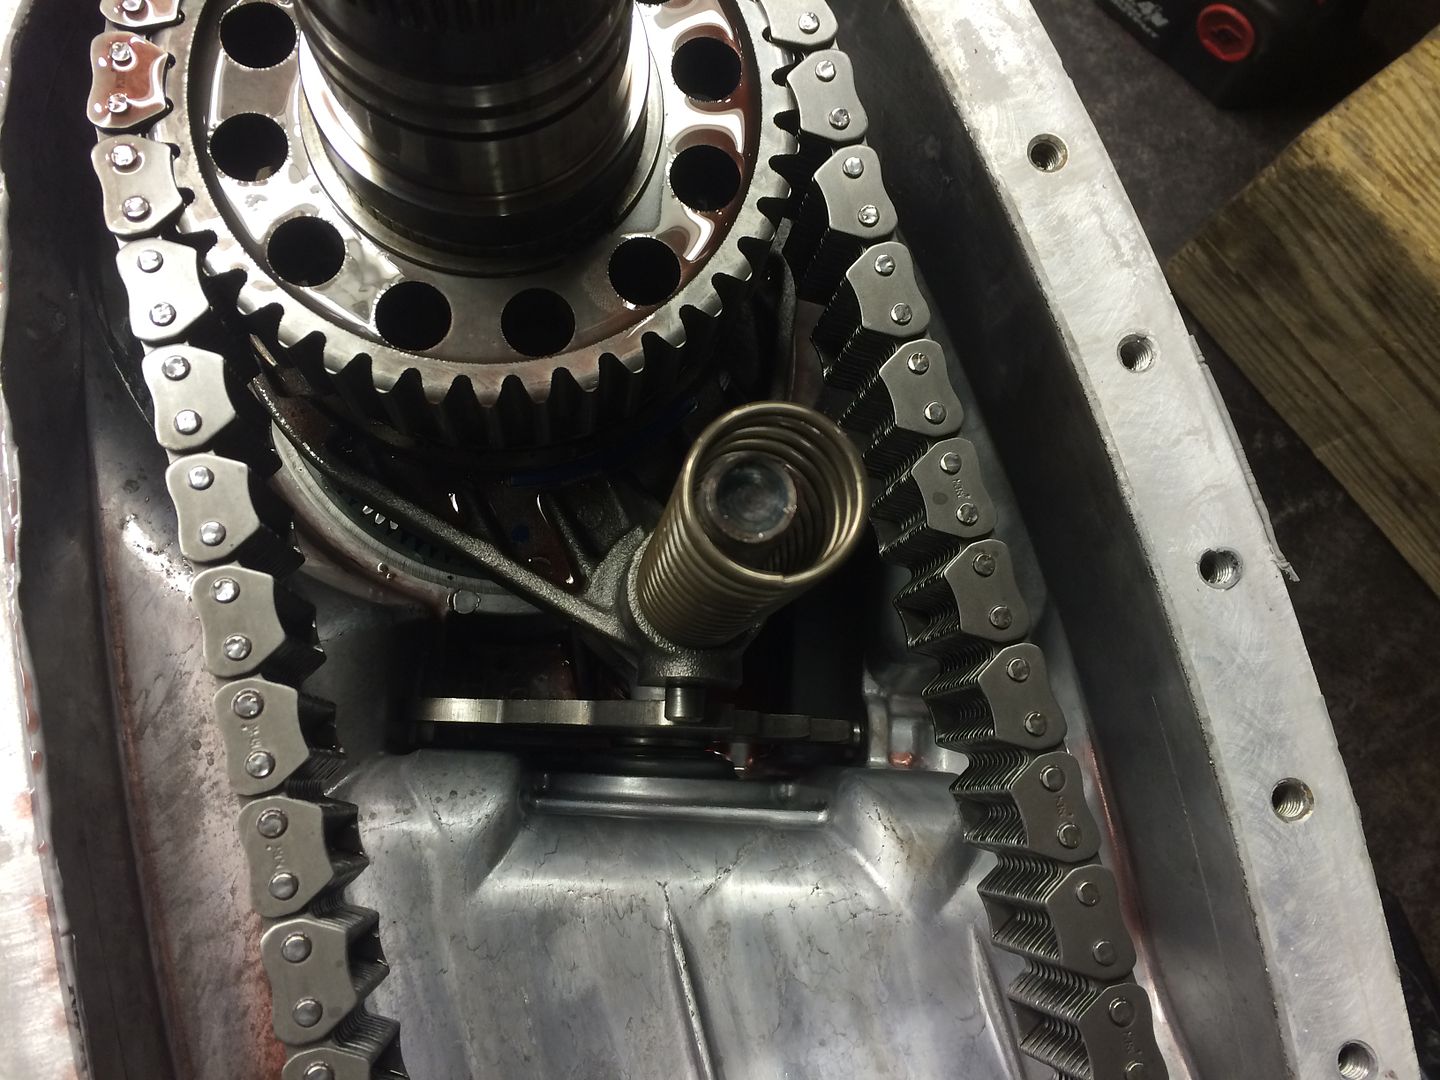
Decided I wanted to use a 48RE manual vb constant pressure trans that I built. Along with a modified 271 transfer case since the 205 is known to spread its gears on boosted launch's.

IMG_0662_zpsfp6ujaqc.jpg
[/URL]

IMG_0663_zpshecixxky.jpg
[/URL]

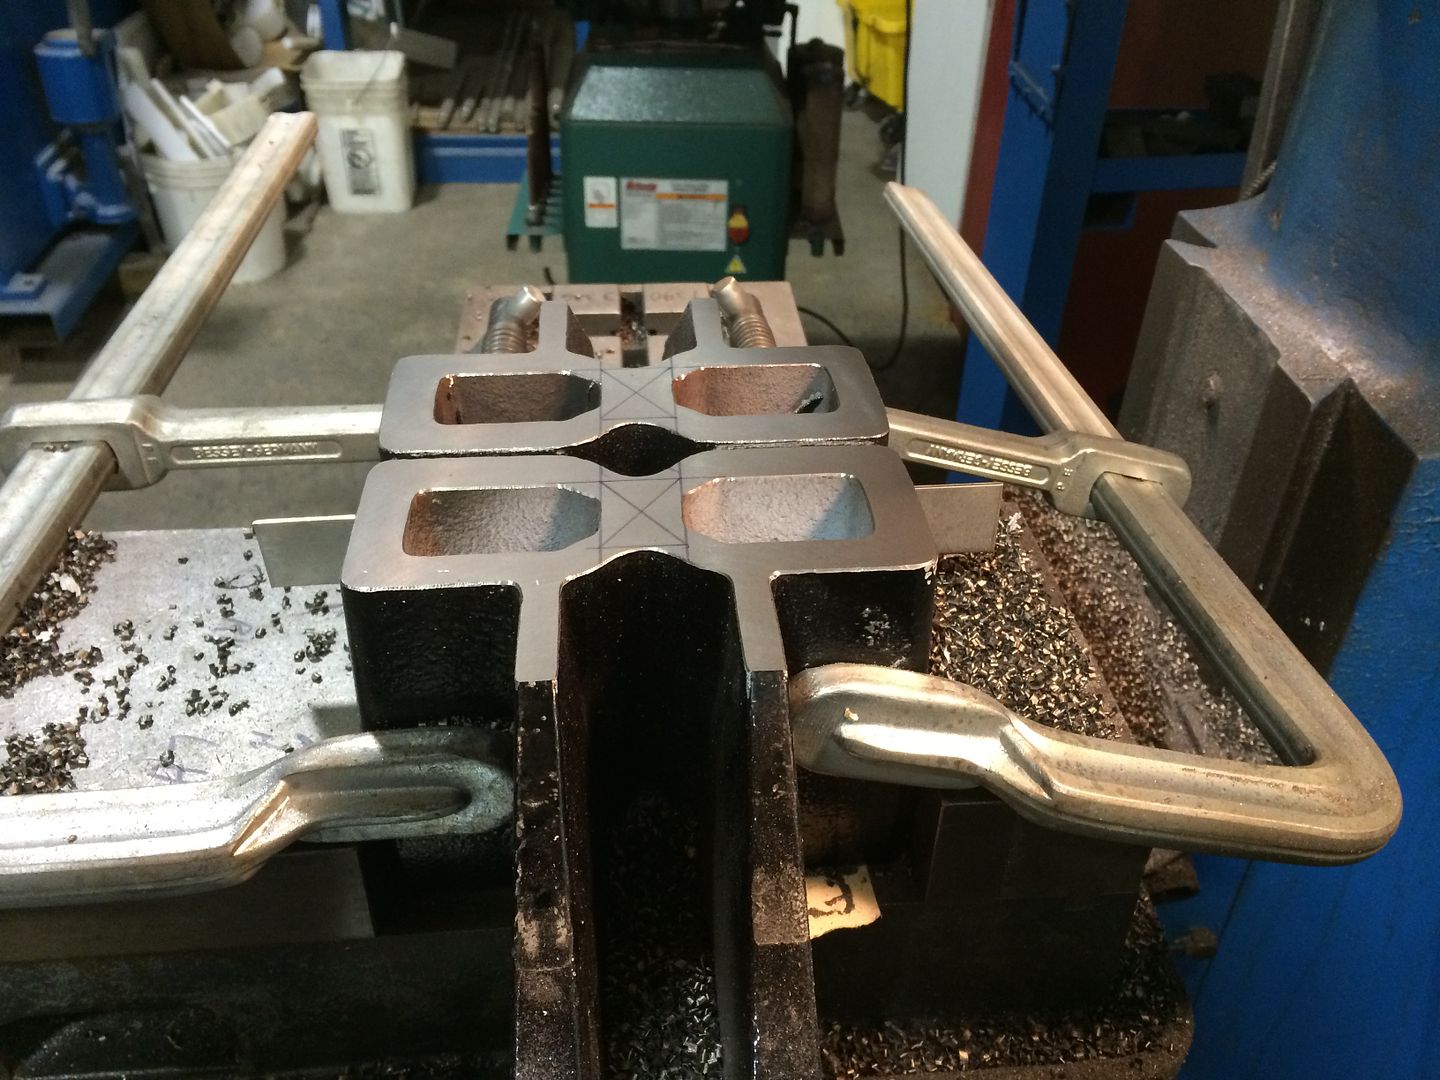
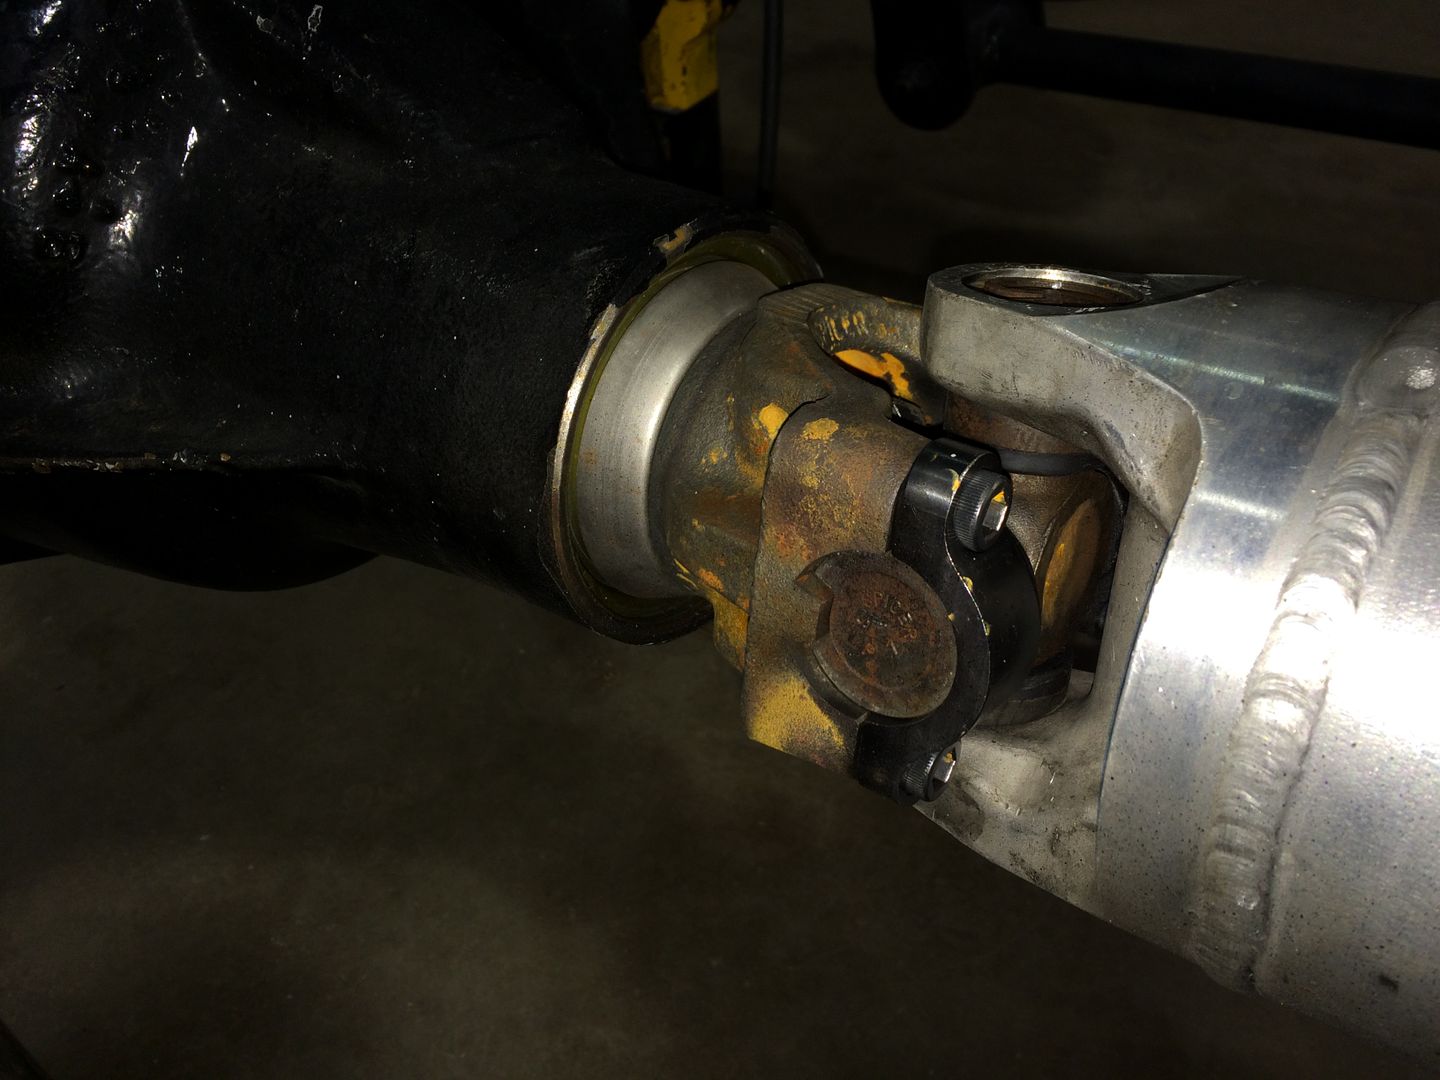
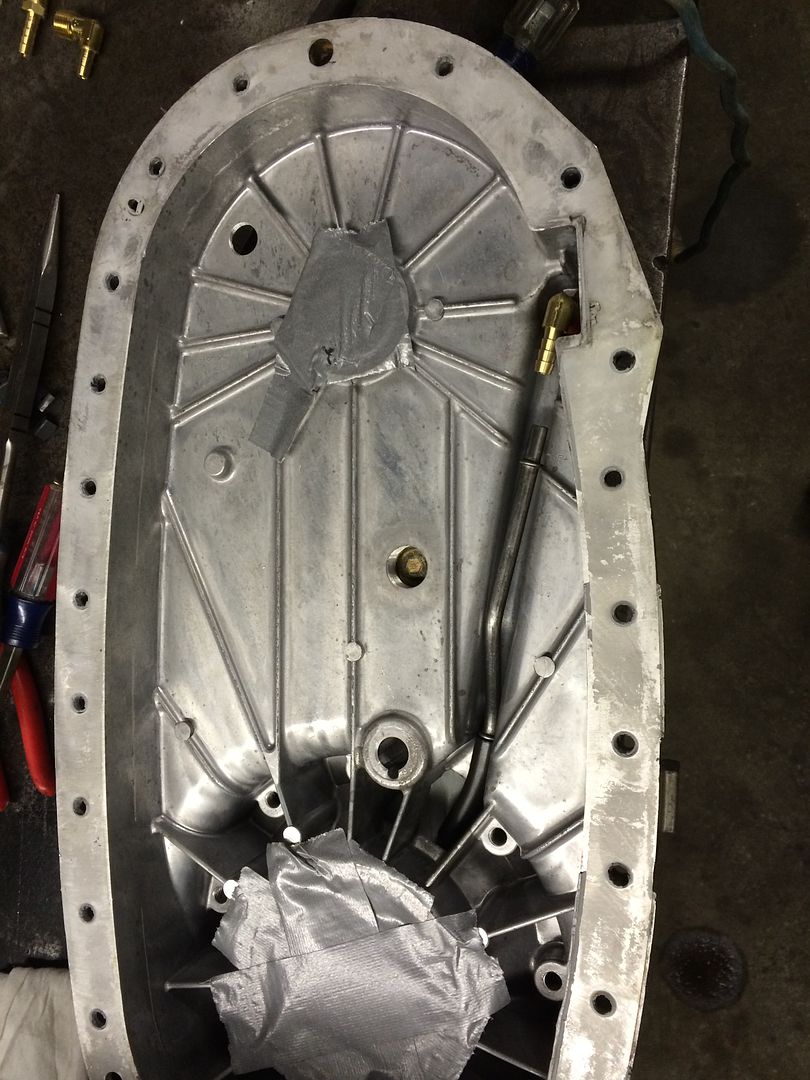
Followed Cory Dow's awesome thread showing the 271 T-Case flip maneuver. The Dow brothers were awsome ansered some PM's I sent to confirm a few things. Thanks again guys. :Cheer:

IMG_0530_zpsoeyoveeg.jpg
[/URL]

IMG_0531_zpslcdrxnbt.jpg
[/URL]

IMG_0657_zpsflremtwc.jpg
[/URL]

IMG_0658_zps46lnaml1.jpg
[/URL]

IMG_0659_zpspagehn0z.jpg
[/URL]

IMG_0660_zpsjytq4a1e.jpg
[/URL]

IMG_0661_zpscohokktc.jpg
[/URL]
 
Meanwhile had the NHRA rep come out to the shop and got me one of these shiny stickers good for 8.5 :rockwoot:

IMG_0670_zpsajjb7qhn.jpg
[/URL]

IMG_0673_zpsdnjtshjn.jpg
[/URL]


IMG_0697_zpsid2mxxuj.jpg
[/URL]

IMG_0698_zpskt4y04jq.jpg
[/URL]


IMG_0691_zpsmztqfhsq.jpg
[/URL]

Shaved the rear blocks down to accommodate better drive line angle and working out the traction bars. They are Glacier bars I removed and modified from my silver bullet to use on this chassis.

IMG_0693_zpsaayhvlpz.jpg
[/URL]

Added Dynamat to help control sound while things are wide open and easy to install.

IMG_0739_zpsrdwrncap.jpg
[/URL]

IMG_0740_zpseyyladqh.jpg
[/URL]


Time to modify the inter cooler for 3.5" inlet for the new spinney things.


IMG_0744_zpsndc2bwo4.jpg
[/URL]

IMG_0746_zpsgldelqnm.jpg
[/URL]

IMG_0748_zpsmswzccma.jpg
[/URL]


The finished pics of the inter cooler upgrade will come in a bit but you can see what a difference 3.5" versus 3" can be. More flow is a good thing!!!
 
IMG_0749_zpskfjmwj5y.jpg
[/URL]

The 5" cardboard tube drive shaft mock up trick :hehe:

IMG_0763_zpsji62pckf.jpg
[/URL]

IMG_0766_zpsb4urmhlx.jpg
[/URL]

Cant forget the front too!

IMG_0768_zpsnwt0ahrh.jpg
[/URL]


Time to wash off some grinding dust and grime from the bottom of the cab.

IMG_0775_zpsfmtqmdz4.jpg
[/URL]

IMG_0776_zpsqqcu3wsd.jpg
[/URL]

Now that's a clean first gen floor!

IMG_0780_zpseuvchckj.jpg
[/URL]


New mounts made and welded in.

IMG_0880_zpsmt20vpdj.jpg
[/URL]

IMG_0881_zps0se3hym3.jpg
[/URL]

IMG_0883_zpsoqwzan6h.jpg
[/URL]


Checking fitment again this time with some accessories.


IMG_0885_zpsmr4ohbvm.jpg
[/URL]


Painted the inside of the cab and cage single stage hot rod flatz grey.

IMG_0889_zps6ctxzgm3.jpg
[/URL]

IMG_0888_zpsvpzzhvo1.jpg
[/URL]
 
IMG_0890_zpstrwlmngs.jpg
[/URL]

IMG_0891_zps36j8meso.jpg
[/URL]

IMG_0892_zpsc1v3dgam.jpg
[/URL]

Sprayed the floor with "Lizard skinz" coatings. Really nice product. Supposed to help with noise, heat and rattle can sounds. For a first gen you can only take what you can get.

IMG_0896_zpsepgolac5.jpg
[/URL]

IMG_0944_zpsnl2d1lsh.jpg
[/URL]

Yes I installed brand new clean carpet. This truck is being built to have fun doing all the events including grocery shopping. I do want to talk on my phone while driving if need be so it helps with sound a wee bit.

IMG_0946_zpsbfbja8ni.jpg
[/URL]

IMG_0948_zpsijvfv42x.jpg
[/URL]

IMG_0949_zpspl9gejg8.jpg
[/URL]

IMG_0973_zpsrc5m4bwz.jpg
[/URL]
 
Here is some pictures of the chassis and new drive shafts I had made. Things get a little foggy as this was after the build for anyone looking closely. That change will come later on in this thread. For now at least anyone looking to modify their first gen with a 47/48RE with a flipped 271 T-case you can see it clearly here.

Rebuilt the front axle new shafts upgraded to 35 spline outer shafts and new 35 spline lockouts. Installed new 1480 spicer universals. Then modified the original first gen rear driveshaft and made it now a front drive shaft new 1410's. Had a new 5" heavy wall aluminum rear shaft made with 1480 rear's and I added Haisley billet universal caps.

IMG_0973_zpsrc5m4bwz.jpg
[/URL]

IMG_4201_zpsvdcat0fb.jpg
[/URL]

IMG_4202_zpsofshzkj8.jpg
[/URL]

IMG_4203_zpsp90s686x.jpg
[/URL]

IMG_4205_zpsqzhcpidn.jpg
[/URL]

IMG_4206_zpsdzltha9b.jpg
[/URL]

IMG_4207_zpshmf3d4xd.jpg
[/URL]

IMG_4208_zpsytvcmuut.jpg
[/URL]

IMG_4210_zpsxiqqtpzk.jpg
[/URL]

IMG_4212_zps8pdchgyn.jpg
[/URL]

IMG_4217_zpszufckfsk.jpg
[/URL]

IMG_4218_zps42wvuxj1.jpg
[/URL]
 
I really like how you ground all the sharp casting marks on the trans. I know that many would argue it's not necessary but every little bit helps, especially when all it's costing you is some time.
 
Pictures out of sequence a bit figured I would add them now. Here are some pictures of the original frame going thru the full rebuild. Notice the frame has less holes and slots in the sides from the facotry. We tig welded and ground all unessary holes to keep a clean frame look. Kinda of a waste but hey looked good :lolly:

IMG_7750_zpspdr1jnmc.jpg
[/URL]

IMG_7754_zpsd74hb4ll.jpg
[/URL]

IMG_7757_zps9zmbsmvv.jpg
[/URL]

IMG_7770_zps3ydb2msr.jpg
[/URL]

IMG_7768_zpsuuzub8mf.jpg
[/URL]

IMG_7782_zpsbbr4qhxs.jpg
[/URL]

IMG_7783_zpsrztislns.jpg
[/URL]

IMG_7775_zps8iozvpiv.jpg
[/URL]

Finally a roller again! New hardware, bolts, spring bushings yada yada.

IMG_7777_zpsedo03pjw.jpg
[/URL]
 
Back
Top