Abridged version of the build (lots of pics, few words)

Brian,

You are SOOOO lucky Dave didn't come down with his truck.

We were gonna take yours and hook tow straps to the front and back of yours and give you that MegaCab you've been wanting via a 1600 HP tug-o-war.

:hehe:

I'm down for that. Hey I trust you and Tom, could you make mine into a Mega?

So YouTube is taking too long, I mean I was watching Tom for like 5 mins and didn't even get to the test drive. How is she running? I wish I was there to see it!
 
Running really good. I don't have any added power on it right and it feels stout.

I have to make one more power cable for the TIPCM directly from the battery.

I was trying to keep it simple and piggyback off the starter solenoid, but the ECM doesn't like that much.

It the starter engages on a compression stroke, the voltage drop is too much for the ECM and it throws and intermittent power to ECM code.

Easy fix.....2 gauge cable from the batteries directly to the TIPCM.

That'll get done today and the rest of the gauges are going in.
 
what did you do for the grid heater solenoid? i took mine off and I get a code..?
 
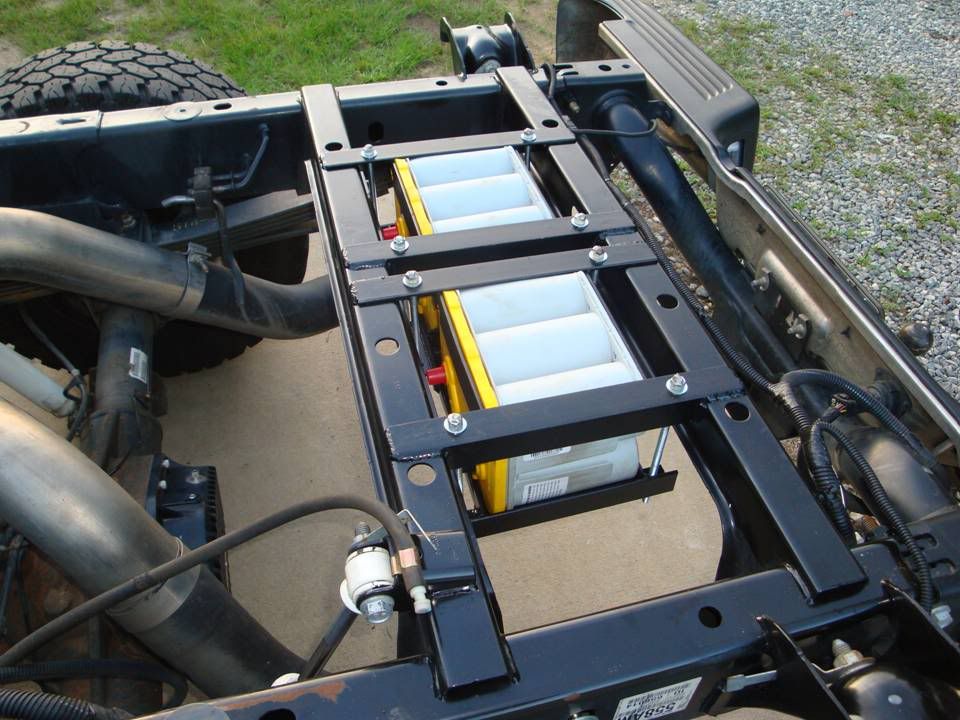
I left the the two wires attached to the soldenoid and hid it under the battery tray. I just removed the wire from the battery and to the grid heater.

I was getting the code without the solenoid there.
 
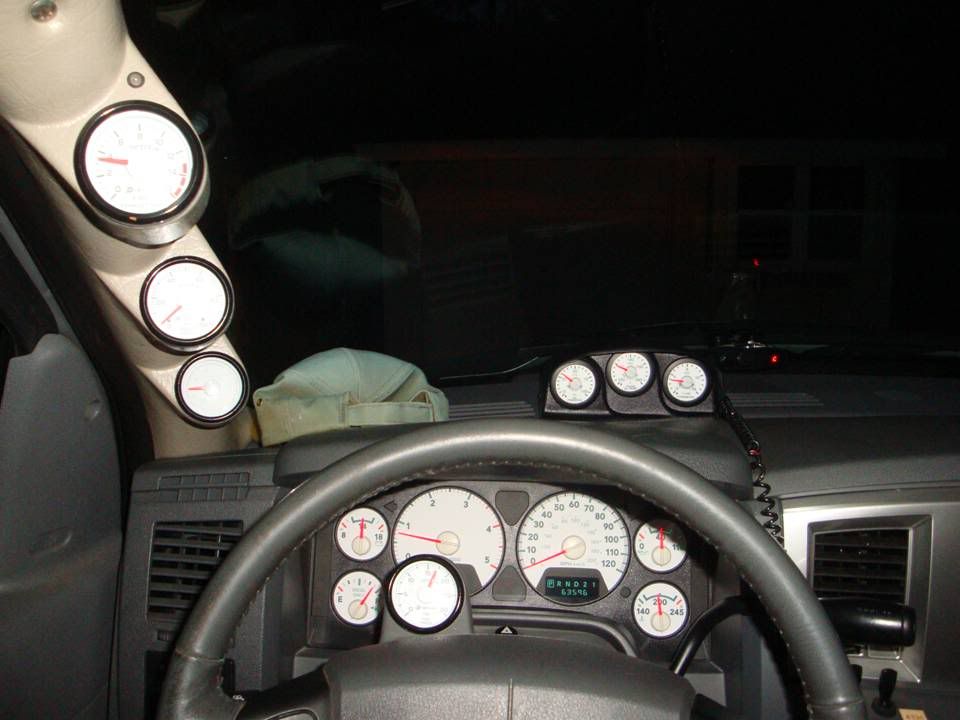
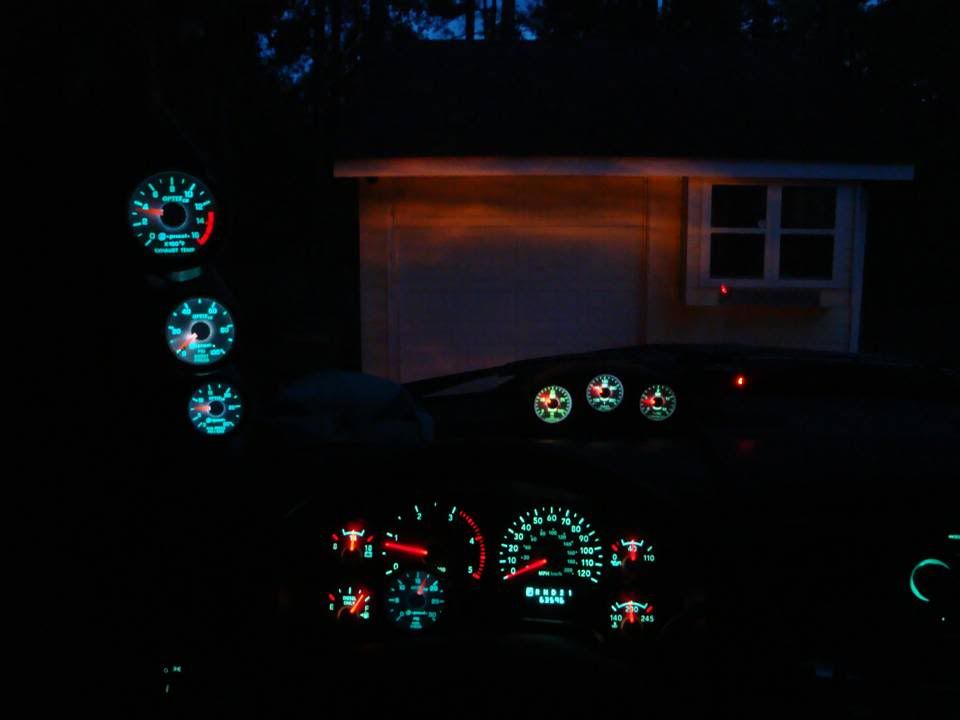
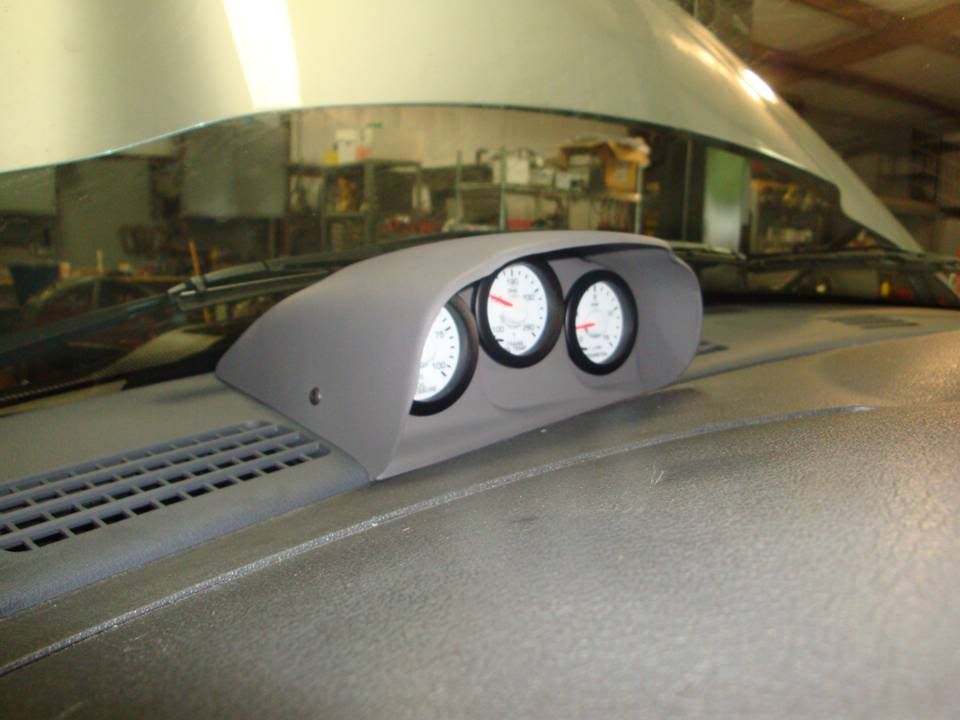
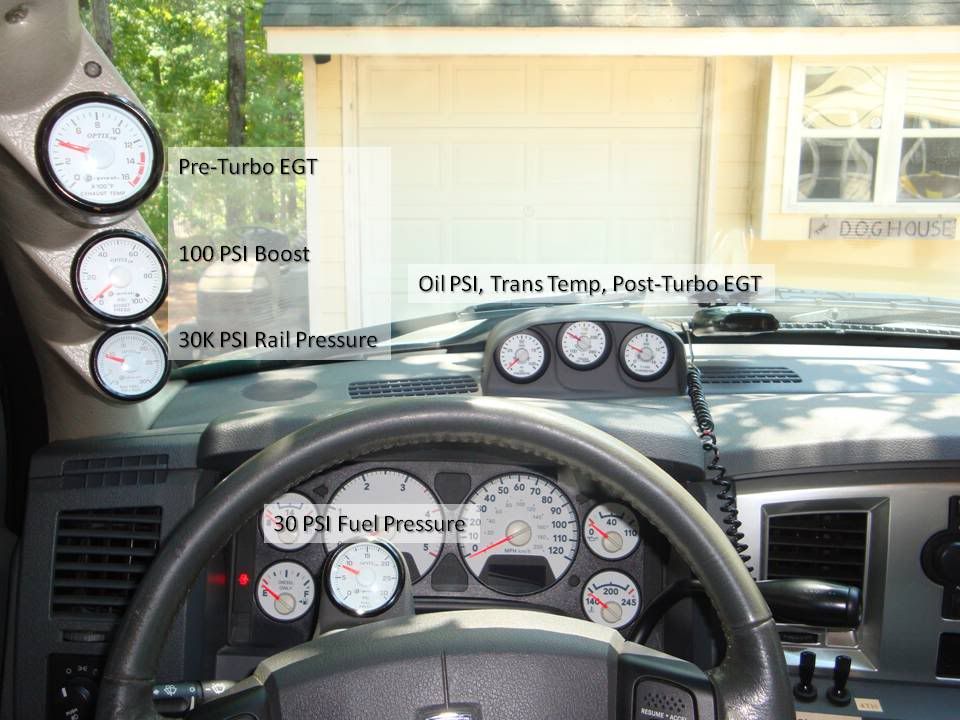
So here's what the cab looks like now.....more like a damn cockpit.

Slide1-129.jpg


Slide2-129.jpg


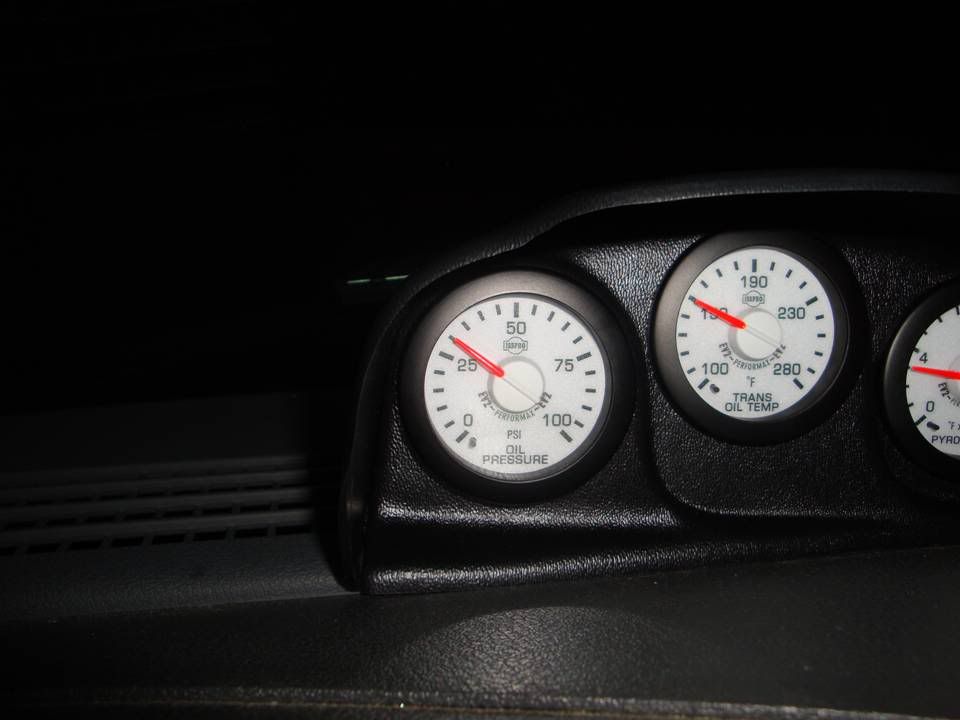
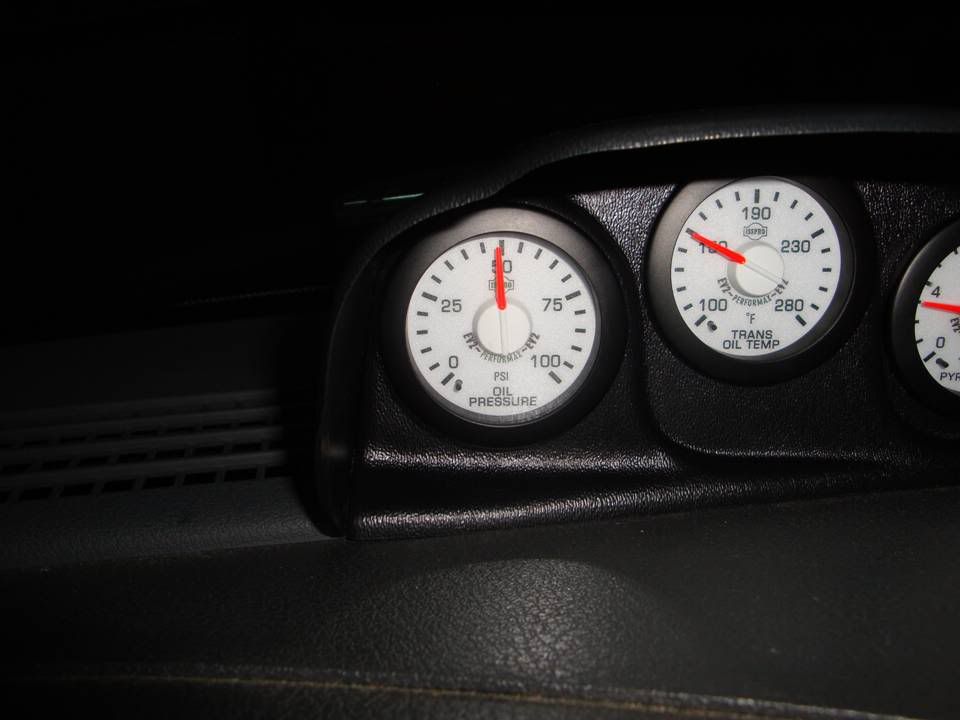
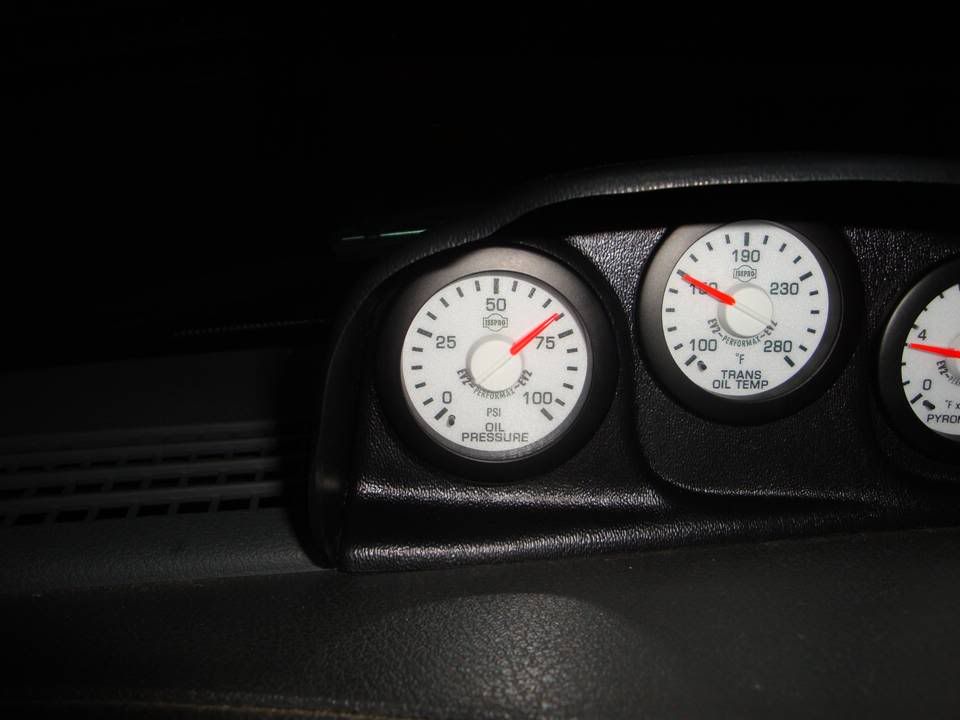
This is why I did the oil pressure gauge. Tells ya a little different story than that dummy gauge on the dash.

PSI at idle.....

Slide3-98.jpg


PSI at 1000 RPM.....

Slide4-67.jpg


PSI at 1500 RPM.....

Slide5-51.jpg
 
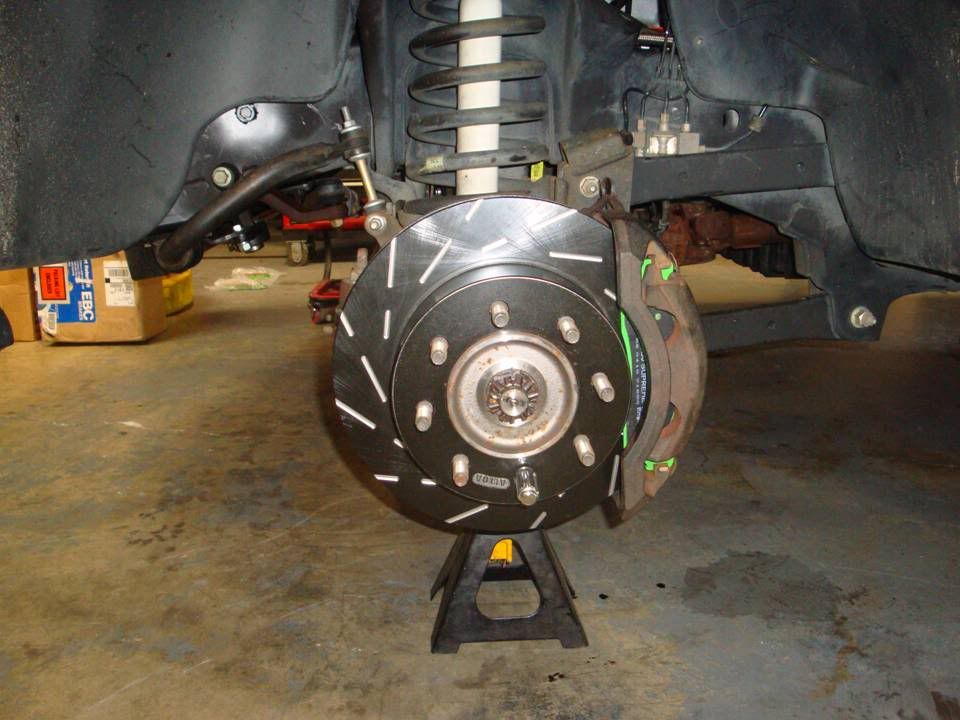
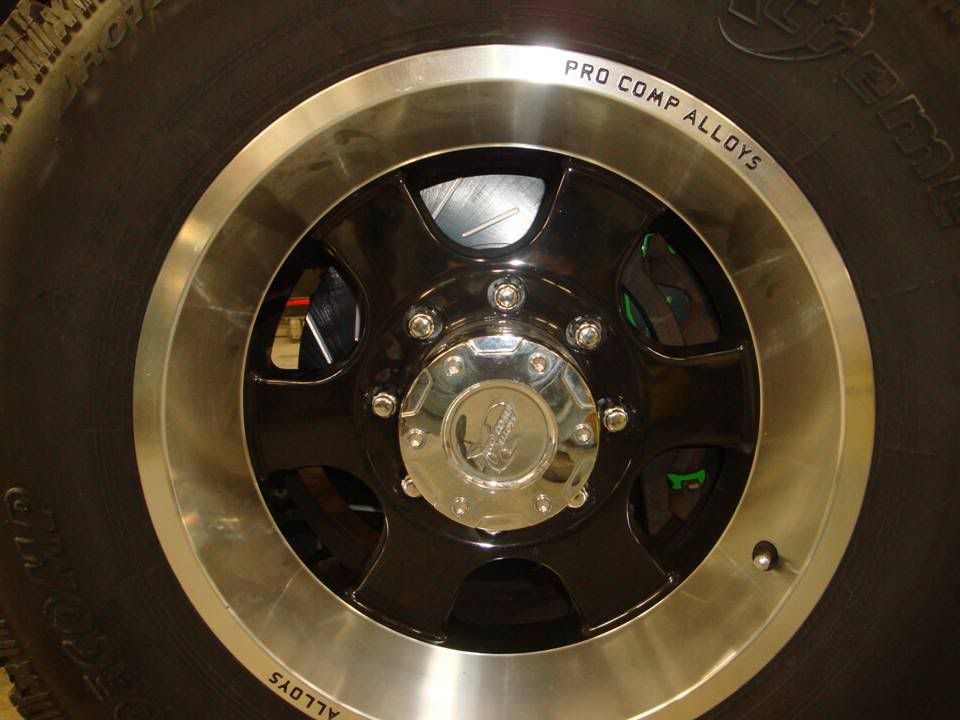
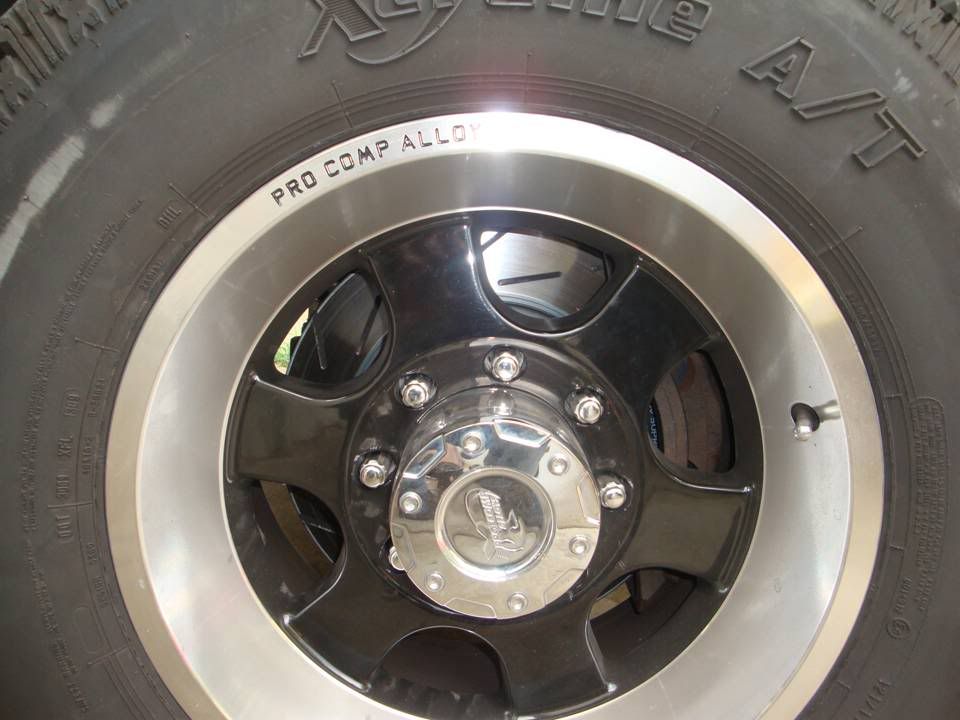
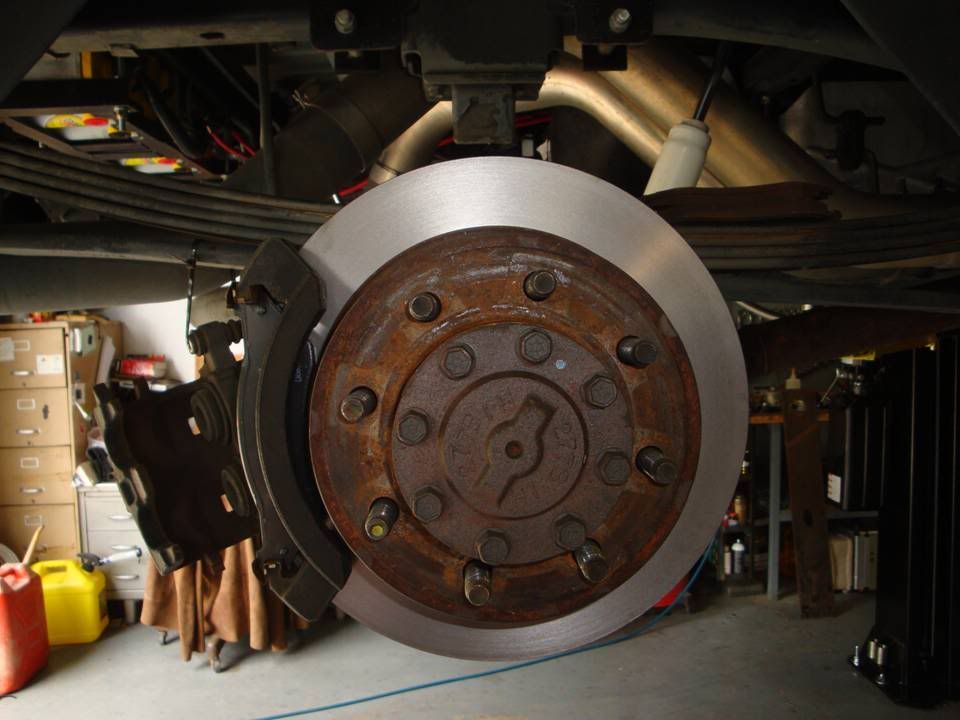
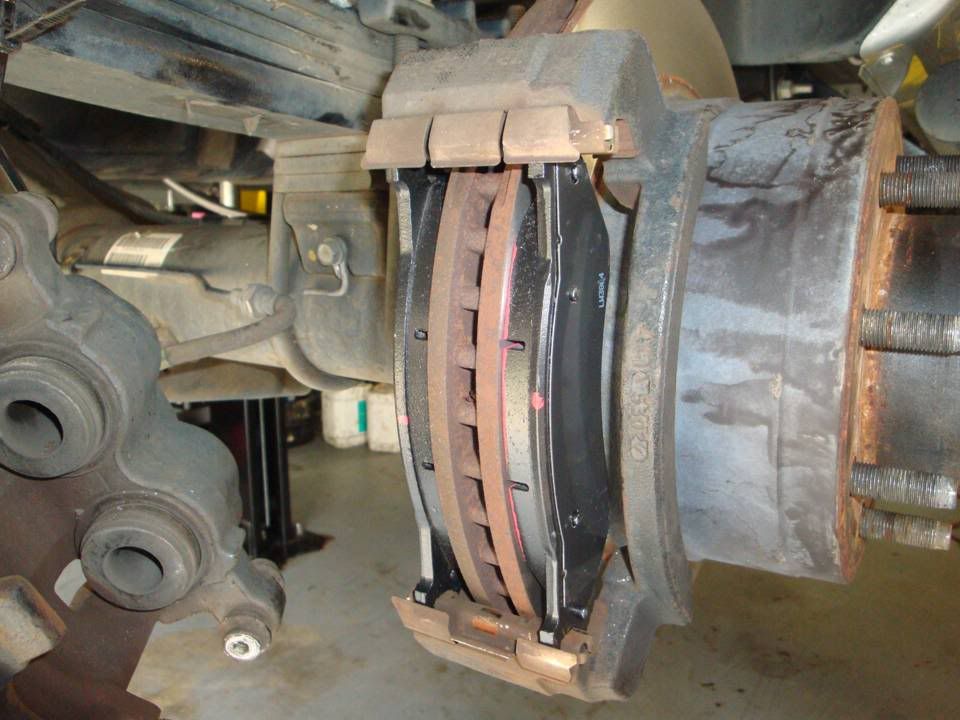
EBC GreenStuff 7000's and USR rotors went on today.

So far I'm impressed. After I got done bedding them in, they are certainly stronger than the stock brakes.....stronger than the tires, that's for sure.

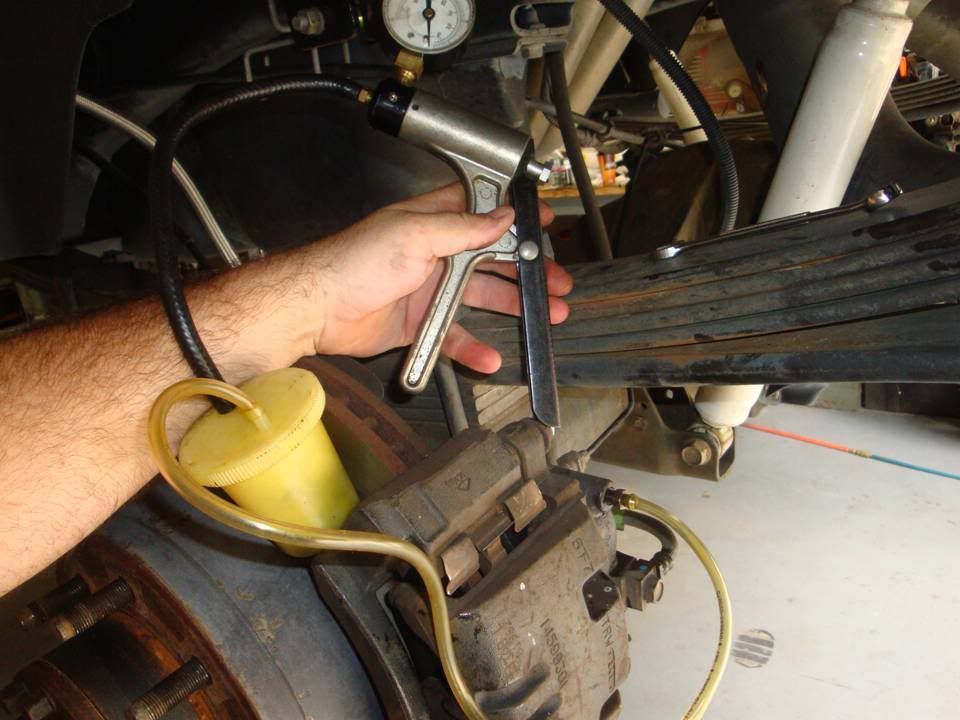
I'll put the Ultimax rear pads on and turn the rotors later this week.

Here's the USR Rotors and GreenStuff pads.....

Slide1-130.jpg


This is before taking it out to bed them in.....

Slide2-130.jpg


This is after bedding them in.....

Slide3-99.jpg
 
Sorry, been busy the last few days.....

She's all buttoned up, 500 mile service was done and no movement on the studs or valve lash, so it'll get one more check at 1000 miles and the final oil change and then on the dyno to tune.

Made one little BS pass at the track last night.....nothing spectacular, just wanted to dust the cob webs off and wind the motor up a bit.

Left it in 2WD and didn't do a boosted launch and all it did was make tire smoke down the track. Backed out and rolled back into the throttle about half a dozen times and just kept wasting the tires and bouncing off the low RPM limiter.

It's all I really wanted to do though....just wanted to open it up a bit and not stress the motor too much.

But otherwise, got the rear brakes buttoned up and the dash pod is finished.

Slide1-131.jpg


Slide2-131.jpg


Slide3-100.jpg


Slide4-68.jpg


StealthBOMBrCockpit.jpg
 
Like the cockpit, i can hear the Top Gun theme song playing. LOL. Let me know how she does on the Dyno. Are you just tuning her or doing to tune and play with the *nx* too.
 
This time up will be motor only.

Next time up (end of Oct) we'll put the bottle on and tune for nitrous.
 
Does that rail guage spike when you get out of it? Where did you get it?

I don't have my rail pressure cranked up.

The MOST I turn the rail pressure up to is 2 on the Smarty.

I usually max at 23,000 with spikes to 24,500 - 25,000.

One thing I try not to do is just jump out of the throttle after it's been wide open.
 
Okay, a question was asked about wiring the remote mount batteries.

THE 2 most important things on this are:

1 - GOOD GROUNDS!
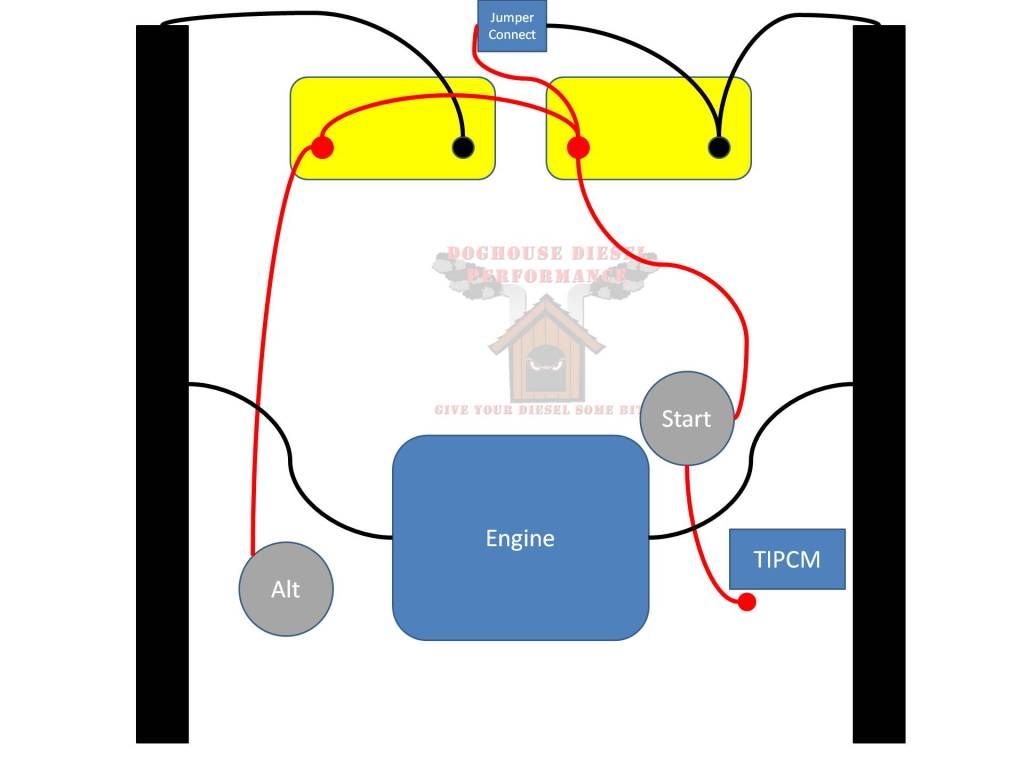
2 - MAKE SURE YOU HAVE THE SLAVE CABLE BETWEEN THE TWO BATTERIES. The alternator charges at the passenger side, but the voltage and charge state is seen by the ECM on the driver side. If that cable is not there and the ECM sees the driver side going dead, it will tell the alternator to ramp up the voltage. This will cause the system to throw aprox 18 volts to the passenger battery, which is still charged and the battery WILL exploded after a VERY short distance.

Here is how this thing is rigged up. I used, 1 gauge wire throughout.

Slide3-65.jpg


RemoteMountBatteryConnections.jpg


Remember, batteries grounded to frame, engine grounded to frame, body grounded to frame, body grounded to block and you won't have ground issues.

The wire from started to TIPCM, Just a jumper wire ?
 
The wire from started to TIPCM, Just a jumper wire ?

I rerouted that cable actually.

That cable to the TIPCM goes directly back to the battery, it does not piggy back on the starter.

The ECM wasn't too happy being powered like that, so I ran a dedicated 2 gauge cable back to the batties.
 
I rerouted that cable actually.

That cable to the TIPCM goes directly back to the battery, it does not piggy back on the starter.

The ECM wasn't too happy being powered like that, so I ran a dedicated 2 gauge cable back to the batties.

What did you do with two small wires, from neg cables
to finders.
 
What did you do with two small wires, from neg cables
to finders.

Those grounded to the body.

I just ran 4 gauge from the body ground in the engine bay, down to existing frame bolts.

Everything is grounded to the frame.
 
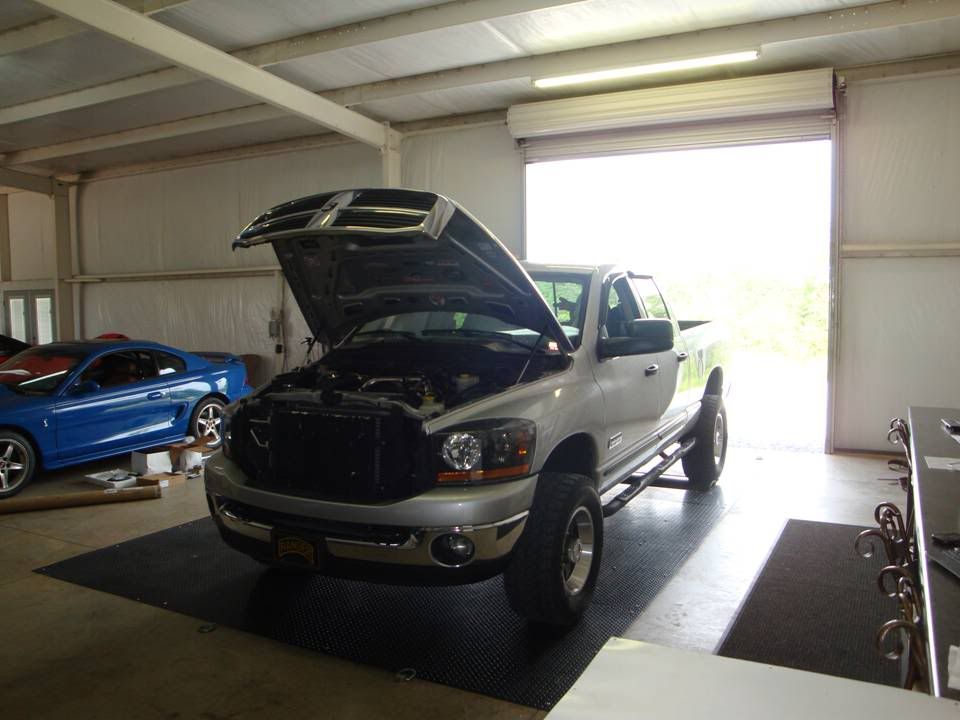
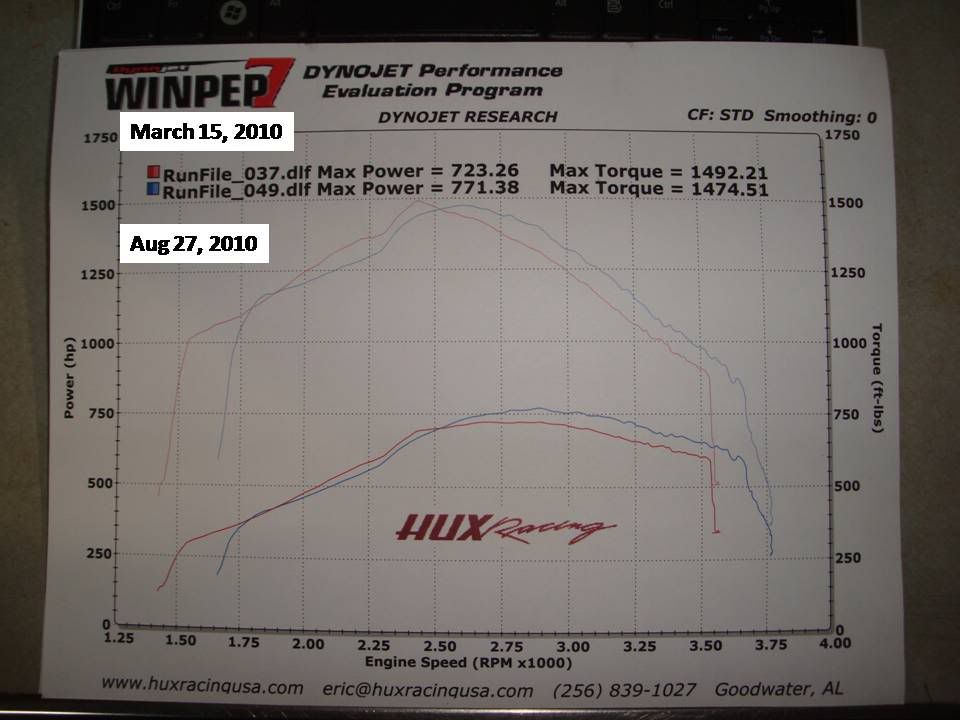
Okay, we got 'er on the dyno yesterday.

Fell a little short of the 800 / 1600 I was looking for.....simply ran out of turbo. She's go no more breath in her.

Ended up putting down 771 HP / 1474 TQ.

On hardware only, with no tuning, it put down 513 HP / 935 TQ.

Fuel is no issue, got plenty to spare there, but I see a bigger set of twins coming this winter.

Overall I'm EXTREMELY pleased with the motor, it didn't miss a beat and was smooth as glass. Couldn't have asked for more in that respect, just need to bump the twins up a bit and it'll be right where I want it.

Anyways, here's the results from yesterday.....

Dyno Runs: http://www.youtube.com/watch?v=K-BWupuxeWQ

Slide1-132.jpg


Slide2-132.jpg


Slide3-101.jpg
 
Back
Top