Project Leftovers: The Rise of Frankenstein

Having gone from boots to vanjen's, I would never do it another way. It is not just the boots, clamps, and braces, it is the possibility of damaging the charger due to overspeed when it lets go at full song. Not to mention not needing tools to pull them apart is convenient too.

Very good points, who are you sourcing them from? they seem like they wouldn't flex very much, but your experience has been they move enough?
 
Last edited:
Just looked those up, damn those are sexy. According to vibrant they can have 12* misalignment. Looks like the 2 halves seal against a collar piece and have a little freedom to move around within?
 
There is a good bit of angular misalignment in them. Although the more misalignment, the less pressure they are capable of holding. I don't think they will tolerate enough on flexible engine mounts and a solid mounted cooler, but if you had them on both ends, you'd have miles of play in the pipes.
 
Very interesting build!

My only concern is that I just don't see those 2 s475's spooling well at all with T6 1.32 housings and 96mm turbines. I would have kept those turbine housings as tight as possible.
 
Very good points, who are you sourcing them from? they seem like they wouldn't flex very much, but your experience has been they move enough?

The vanjen assemblies are vibrant. There are a few that offer these style. Wiggins are most expensive. I believe race part solutions has their own line aswell. I have used the vanjen ones and like them. They arent cheap but work great. I dont like the retaining clip for the clamp that comes with the vanjen assembly.
 
Last edited:
Just looked those up, damn those are sexy. According to vibrant they can have 12* misalignment. Looks like the 2 halves seal against a collar piece and have a little freedom to move around within?

They are basically two vband halfs with an oring on each that seals against a sleeve. Then a clamps goes over the assembly. With the clamp on it takes a bit of force to move them around as its a tight seal.
 
Prssure loss has a bigger effect than an extra 20deg drop of iat temp. So keep that in mind and keep piping to a minimum.
 
Looks like it was all well covered for me.

There is about 1/2" of axial movement, and probably ~12 degrees of angular misalignment possible. There is so much movement with one on each end that the pipes almost become "floppy". I know with the race trucks old secondary to intercooler pipe, people would be pointing at things under the hood and accidentally bump the pipe and it would flop over 3" or 4", and they would step back in horror as they were sure they had just broken something very expensive.

With the single charger we run v-band on the charger / intake manifold ends and Vanjen's on the intercooler ends.

One thing to note though is we have bent the hinge pins on the clamp at around 130psi, but never failed one. When talking to the Vibrant engineer after doing this, he said that was the weak point and the easiest way to get it to hold substantially more pressure was to modify them for a bigger pin and use a better material. However before we got to that point, we switched to a single charger and haven't been back in those boost numbers.
 
Very good points, who are you sourcing them from? they seem like they wouldn't flex very much, but your experience has been they move enough?

We have sourced them through our local auto parts performance shop, but they are made by Vibrant.

Movement has never been an issue with them.
 
T...I don't think they will tolerate enough on flexible engine mounts and a solid mounted cooler...

I know you have been working lots and not out helping me fab, but that is how we have them on the race truck currently.
 
Update: Icebox Waterbox Build

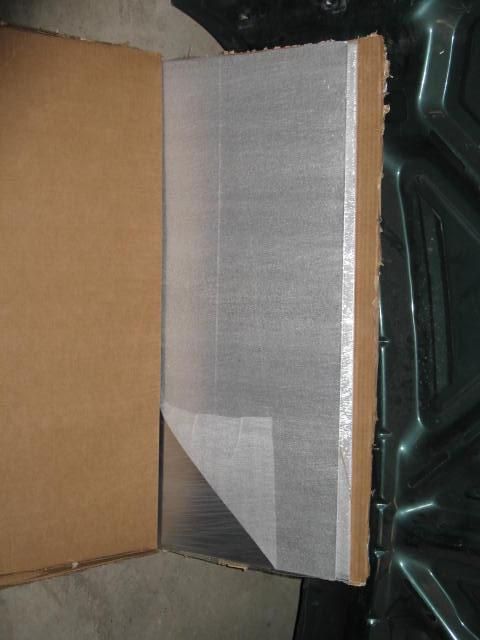
For the ice/water box that will feed cold fluid to the water/air coolers, Todd started out with sheets of raw Alcoa-produced aluminum:

IMG_4254_zps25092ef6.jpg


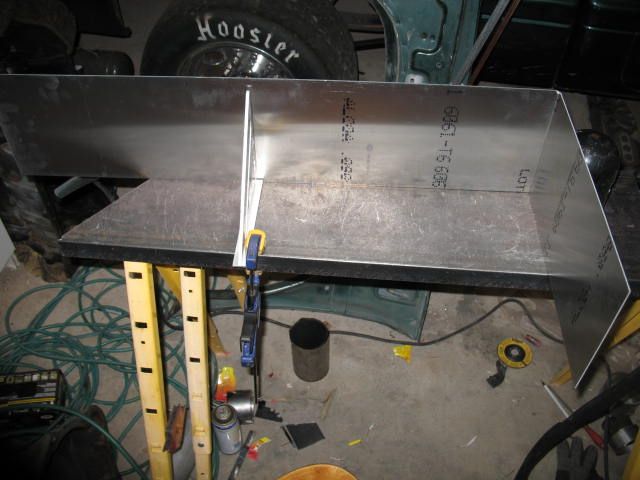
A nice speed square comes in handy when fabricating square shapes:
IMG_4255_zpse0809718.jpg


IMG_4256_zps32c288ca.jpg


IMG_4257_zpsfce3389a.jpg


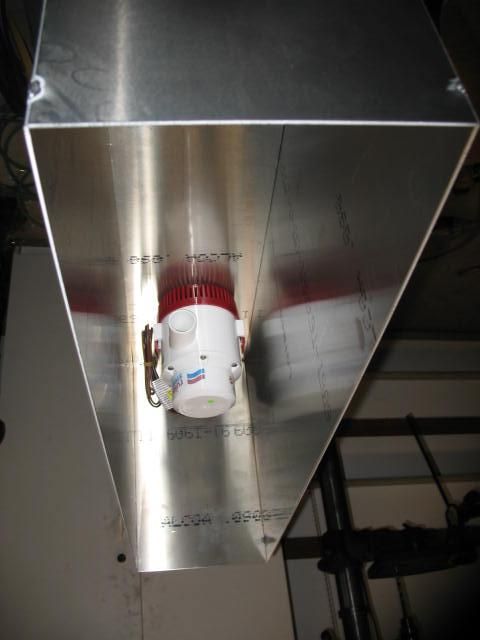
That's a Rule 3700 pump that will be used to push fluid through the air/water coolers. It's rated to flow about 3700 GPH, that's just over 61 gallons per minute!

IMG_4258_zpsc4b9cb34.jpg


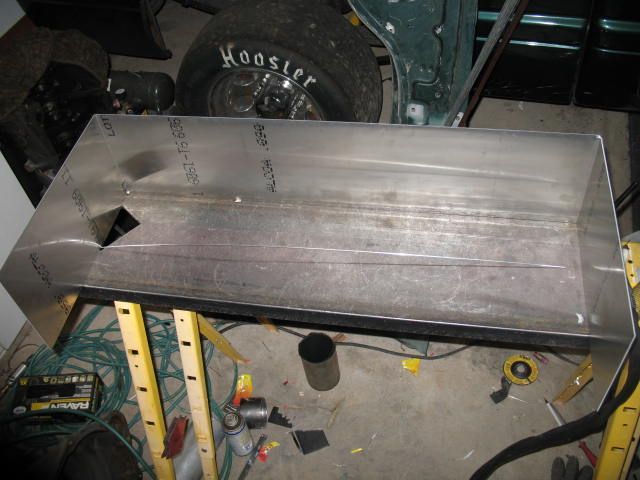
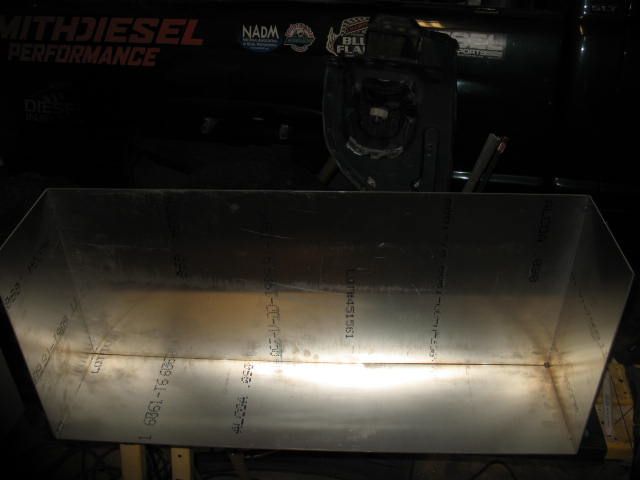
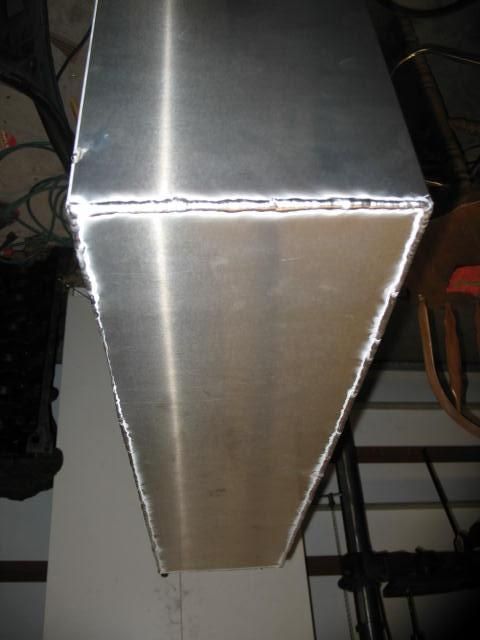
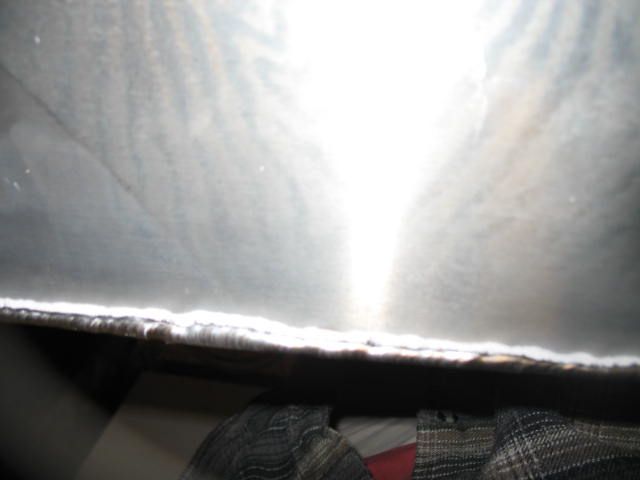
A little more tig practice on those aluminum sheet seams, maybe by the end of the project we'll have that stack of dimes look down.... as long as it doesn't leak, we're happy!

IMG_4259_zps8da44332.jpg


IMG_4260_zps06f6676a.jpg


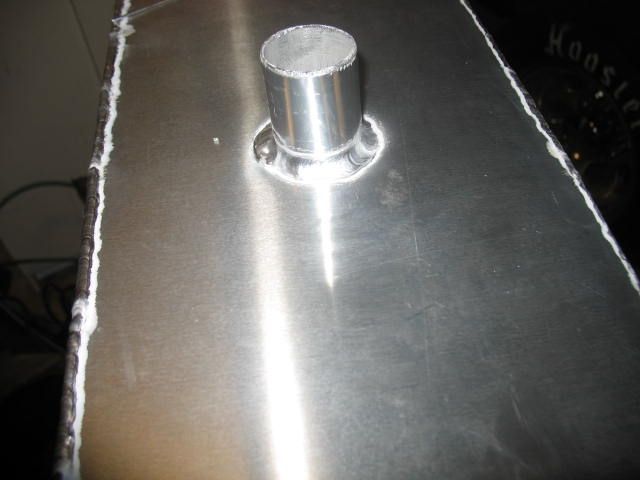
Then Todd finished up adding a port into the 17 gallon water/ice box. What's nice is it fits in the bed right behind the cab and there's still enough space in the stock 8' bed to fit a 4x8 sheet of plywood. This truck is still going to be a frequent street use/ daily driven vehicle so precious bed space will be saved wherever possible.

IMG_4294_zpsd32e5cad.jpg


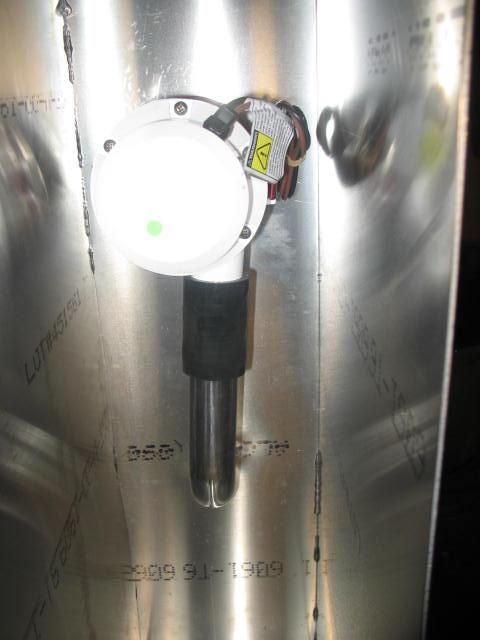
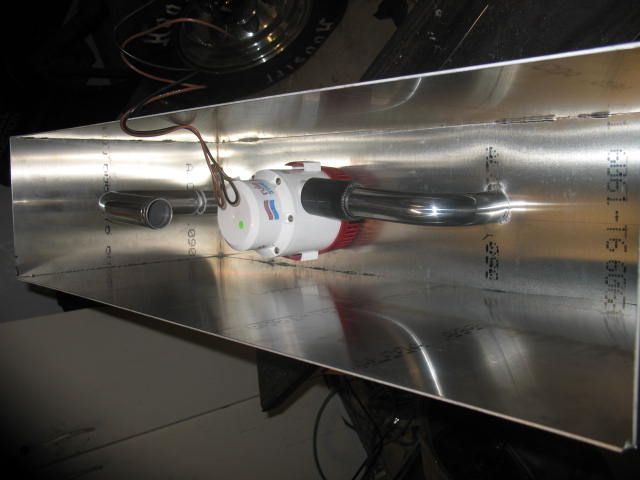
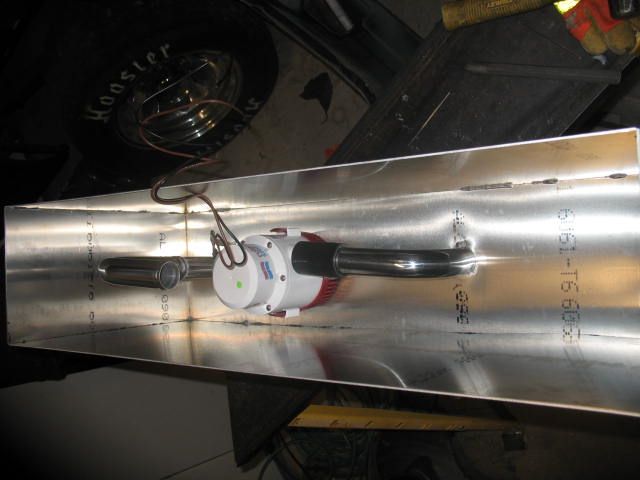
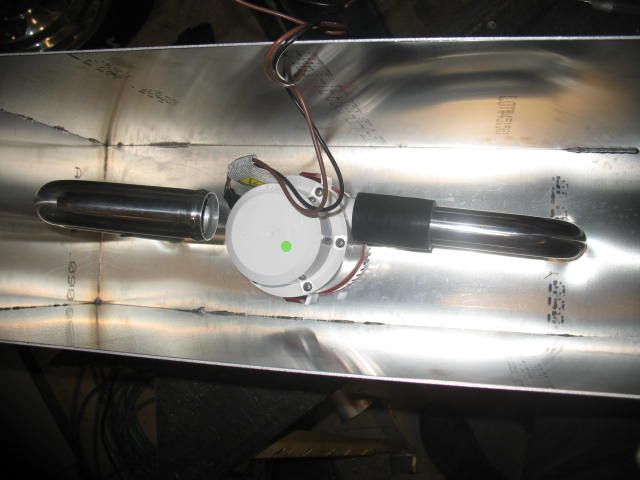
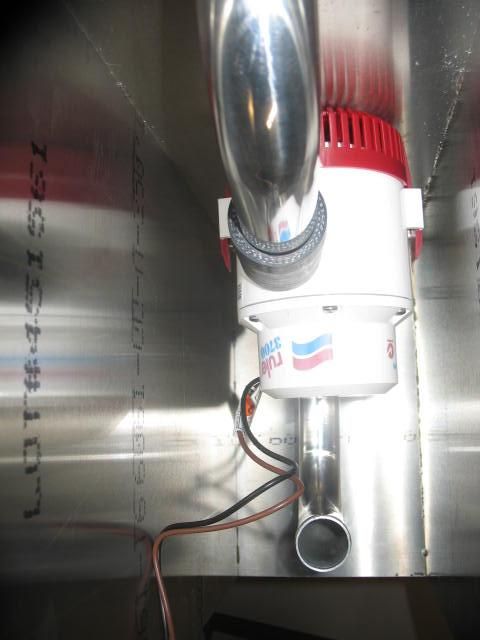
And the Rule 3700 pump is mounted and the cooling outlet and return circuits are plumbed in/out of the box:
IMG_4295_zps2dc71a13.jpg


IMG_4296_zpsead1c35e.jpg


IMG_4297_zps38a374a5.jpg


IMG_4298_zps1c1c0d92.jpg


Closeup of the Rule 3700 pump, after adding a radiator for long term street use and the cooling lines, we figure the total system capacity will be right at 20 gallons:
IMG_4299_zpsa170557c.jpg


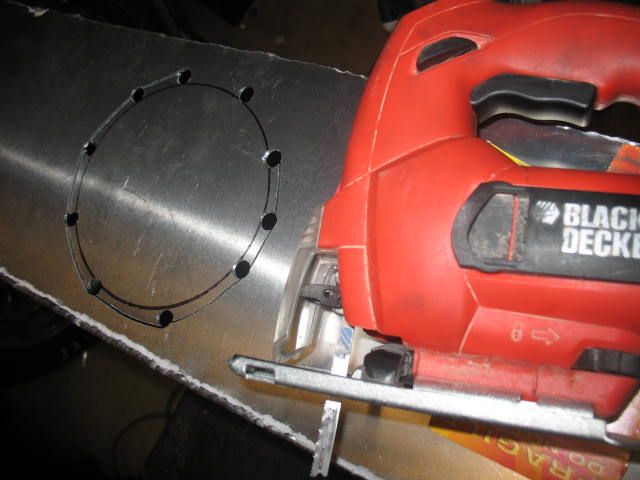
As amazing as it may sound, this little Black and Decker jigsaw did all of the aluminum sheet cuts and has been an important part of the fabrication process, who knew a cheap tool would ever hold up to cutting metal!!

IMG_4301_zps59994b16.jpg
 
Last edited:
All that work to get thumped by a common rail.......LOL....:poke: Great thread, work's done and starting to get the itch to get back in the shop.
 
All that work to get thumped by a common rail.......LOL....:poke: Great thread, work's done and starting to get the itch to get back in the shop.

I'd like to see your truck in the dpc. Everybody else would be fighting for third if his truck and yours stayed in one piece. :rockwoot:
 
It would be a hoot but just an impossible time for us. Surely CompD can muster enough votes to get Todd's truck in.
 
Ya i believe we can, it'll be nice seeing a ppump in it putting those common fails in there place. :lolly: :stab:
 
All that work to get thumped by a common rail.......LOL....:poke: Great thread, work's done and starting to get the itch to get back in the shop.

As long as that beast of yours stays in canada I like my chances. :D


Thanks again everyone for all the positive feedback, I am really hoping to do the 12v justice as I don't think there has ever really been a strong one in the dpc. at least none that I know of.
 
Update: Cylinder Head

This DPC candidate truck wouldn't be complete without a worked-over cylinder head. At this time, Todd and I have decided to run this used hotrodded cylinder head that has had a few 1/4 mile passes from a different racing project. It utilizes stock diameter valves with some added swirl profiling and valve stem shaping. It was originally built for a maximum effort race engine and includes extensive porting that required the intake shelf be milled off and replaced with an aftermarket intake shelf. This head flowed 236 cfm on the intake side so it should be a good performer on this project. As with the theme of the build, Frankenstein is getting a left over cylinder head!!!

IMG_4013_zpsaa8a08d3.jpg


Closeup of the intake porting and custom shaped valve stems.

IMG_4014_zps7487b18e.jpg


IMG_4015_zps95cb0925.jpg


Intake shelf bolted on. Notice this head has had fire ring receiver grooves milled into the deck surface. Fire rings will be used on this truck along with ARP 625 head studs to eliminate head gasket issues.

IMG_4017_zps48a25fe3.jpg


IMG_4018_zps738a11cf.jpg
 
Back
Top