You are using an out of date browser. It may not display this or other websites correctly.
You should upgrade or use an alternative browser.
You should upgrade or use an alternative browser.
1967 RS Duramax Camaro
- Thread starter dslhtrdr
- Start date
DieselWrencher
6cyl Vette
- Joined
- Dec 4, 2006
- Messages
- 2,886
It looks and sounds awesome! Great job!
b4ctrooper
Anger Issues
- Joined
- Aug 19, 2008
- Messages
- 180
First off, awesome build. :woohoo: Car looks amazing. I did want to ask though, why did you go with the 47RH instead of the Allison that was behind the Dmax? Did you delete the TCM totally since there is no Allison? Most importantly, how much was that flexplate and adapter combo? I was actually considering a similar Dmax swap into a car (instead of a 12V Cummins I bought). I already have a 47RH and bought the upgrade parts for it (including converter). Wasn't sure if I should get a donor truck and $upgrade$ the Allison, or should I use the RH I already have.
whitetrash21
der sparky
- Joined
- May 10, 2009
- Messages
- 496
Allison is big....mighta been a lot more tunnel work to stuff it in there .
dslhtrdr
Always learning...
- Joined
- Sep 2, 2009
- Messages
- 677
Sweet build fella.
It looks and sounds awesome! Great job!
First off, awesome build. :woohoo: Car looks amazing. I did want to ask though, why did you go with the 47RH instead of the Allison that was behind the Dmax? Did you delete the TCM totally since there is no Allison? Most importantly, how much was that flexplate and adapter combo? I was actually considering a similar Dmax swap into a car (instead of a 12V Cummins I bought). I already have a 47RH and bought the upgrade parts for it (including converter). Wasn't sure if I should get a donor truck and $upgrade$ the Allison, or should I use the RH I already have.
Allison is big....mighta been a lot more tunnel work to stuff it in there .
:thankyou2:
Whitetrash21 is correct. There would have been much more tunnel work to get it to fit. Also, the oil pan on the allison is deep, deep enough to make me think I would have needed to raise the motor up to reclaim lost ground clearance, and would have made me need to remote mount the turbo so a hood would fit.
I had plans to put a Duramax in my Camaro when I was 20, and always wanted to run a 47rh/re behind it. I have a built 47rh in my 12v and really like it, and Suncoast had recently started building the Duraflite's and had success with it at the time.
There is no tcm in my harness, it was completely deleted, so the Duramax thinks it has a manual transmission behind it. It's perfect for an auto with a full manual valve body.
The adapter plate, converter, and billet flexplate was expensive. IIRC, the adapter plate was $1200, the converter (which is a Chrysler converter with a billet Allison front cover) was $1300-$1500, and I think the billet flexplate was about $600. These are not accurate prices, I would recommend calling Ron at Suncoast to get a better idea, it's been awhile since I bought everything.
There is a lot to consider with a motor swap (obviously). The cost of the adapter plate and converter makes most people shy away, but I think there are more advantages to running it.
The size of your vehicle and what you want to do with it plays the biggest role in what motor/tranny you can or will use. I can tell you that I am very happy with my choice so far.
dslhtrdr
Always learning...
- Joined
- Sep 2, 2009
- Messages
- 677
On a side note, I did the first small burnout and half-donut in our shop driveway yesterday after work. No cameras caught it unfortunately, but it was so fun, I cannot wait for more! I've been spending all my spare time restoring 1 1930 Model A on the side and hope to finish it next weekend so I can get the Camaro on the road.
DieselWrencher
6cyl Vette
- Joined
- Dec 4, 2006
- Messages
- 2,886
Small burn outs lead to more air and fuel and turn into really big burn outs! LOL
j.stanton2009
New member
- Joined
- Sep 11, 2012
- Messages
- 34
I can't wait for MOAR updates!
dslhtrdr
Always learning...
- Joined
- Sep 2, 2009
- Messages
- 677
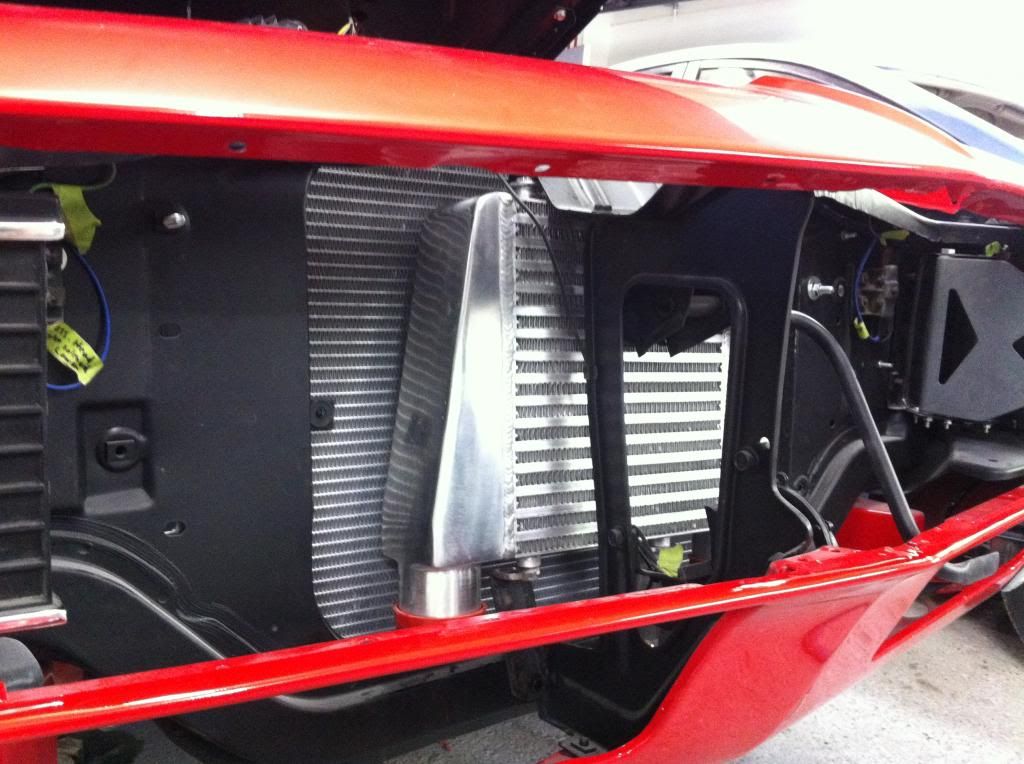
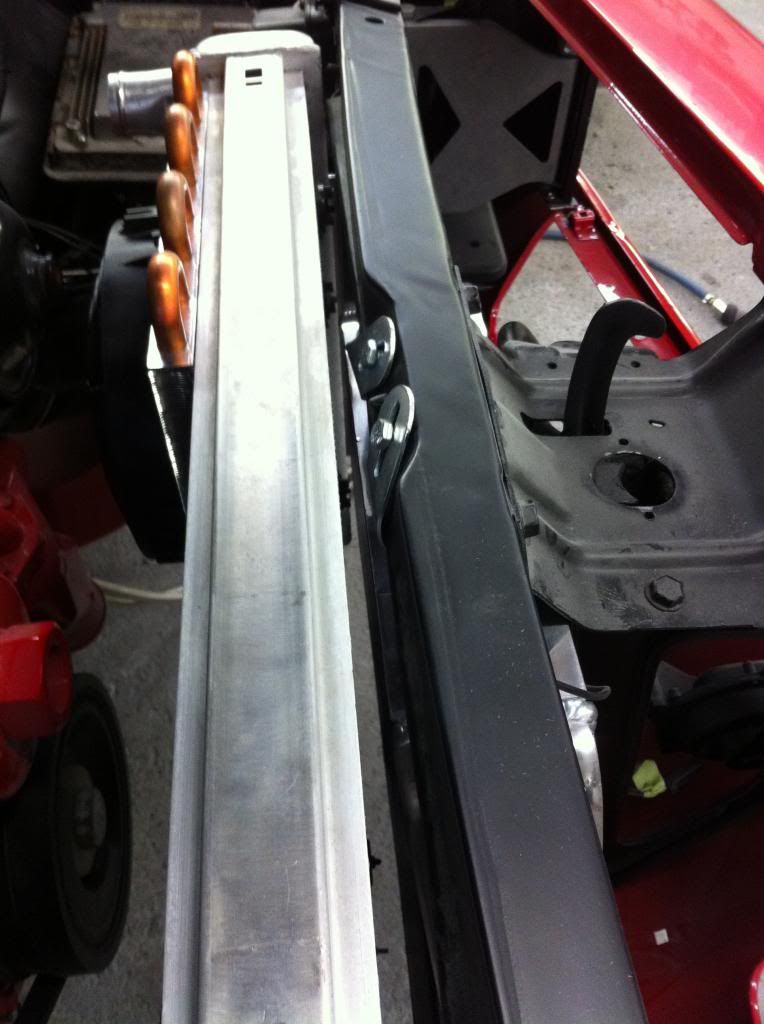
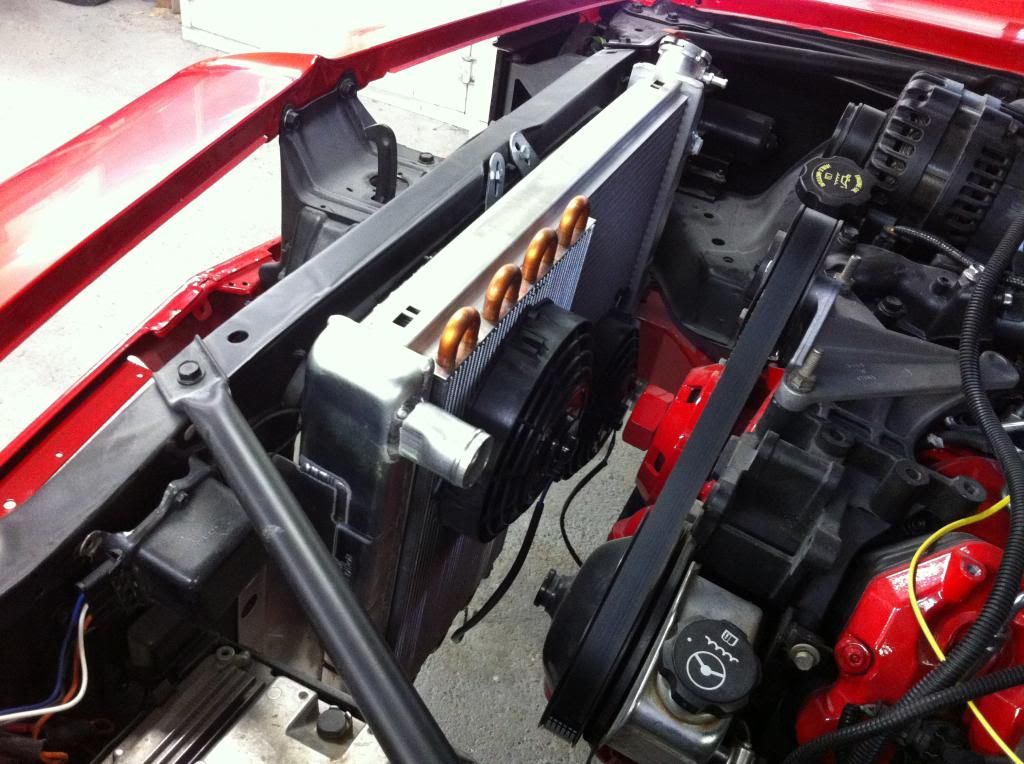
Haven't posted pics in awhile, so I figured you guys would like to see something new. I haven't taken as many pics as normal (sorry) but these are some random ones from the last couple months.
It's amazing how well a bent clothes hanger makes it easier to figure out the proper bends for brake lines.
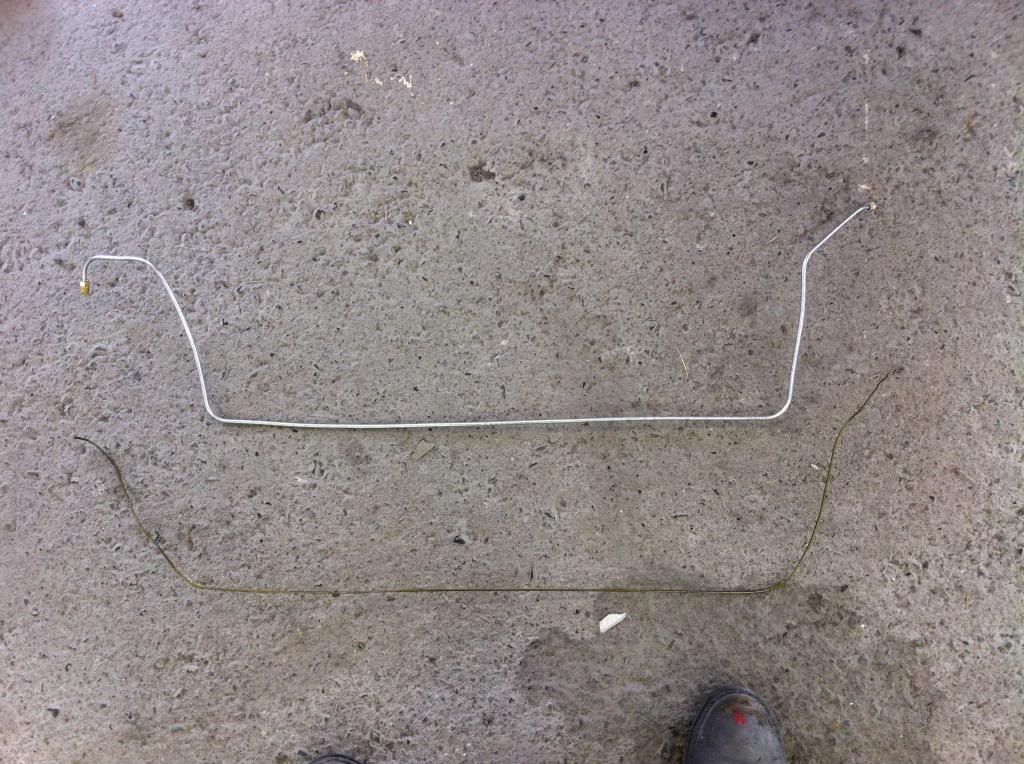
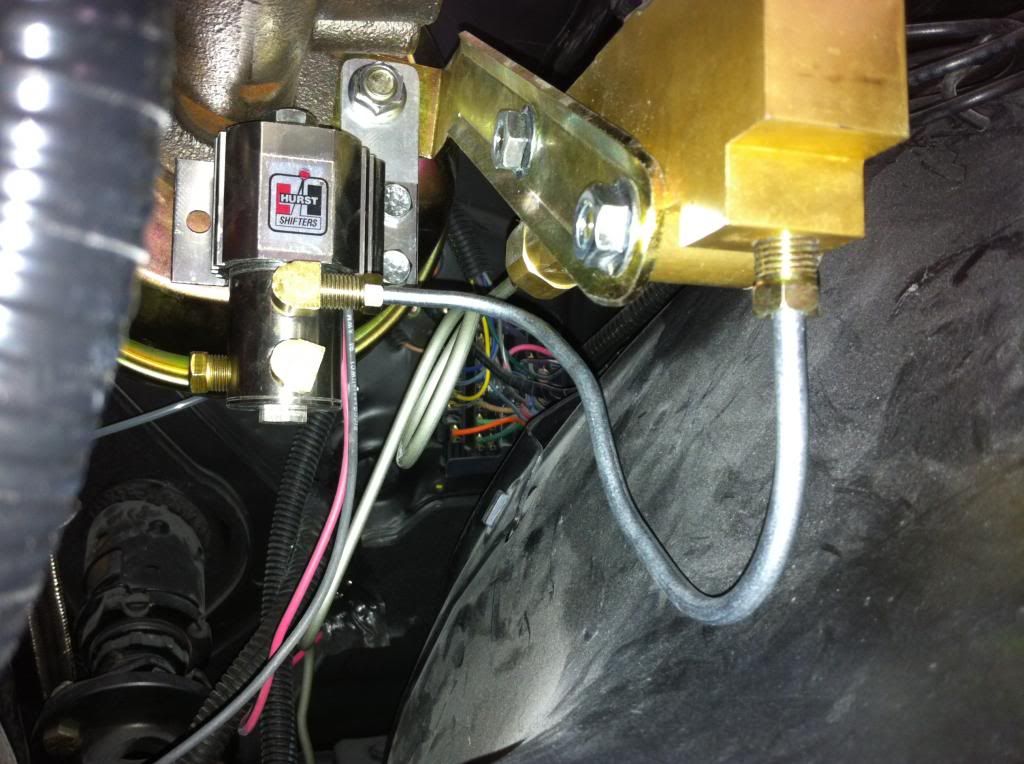
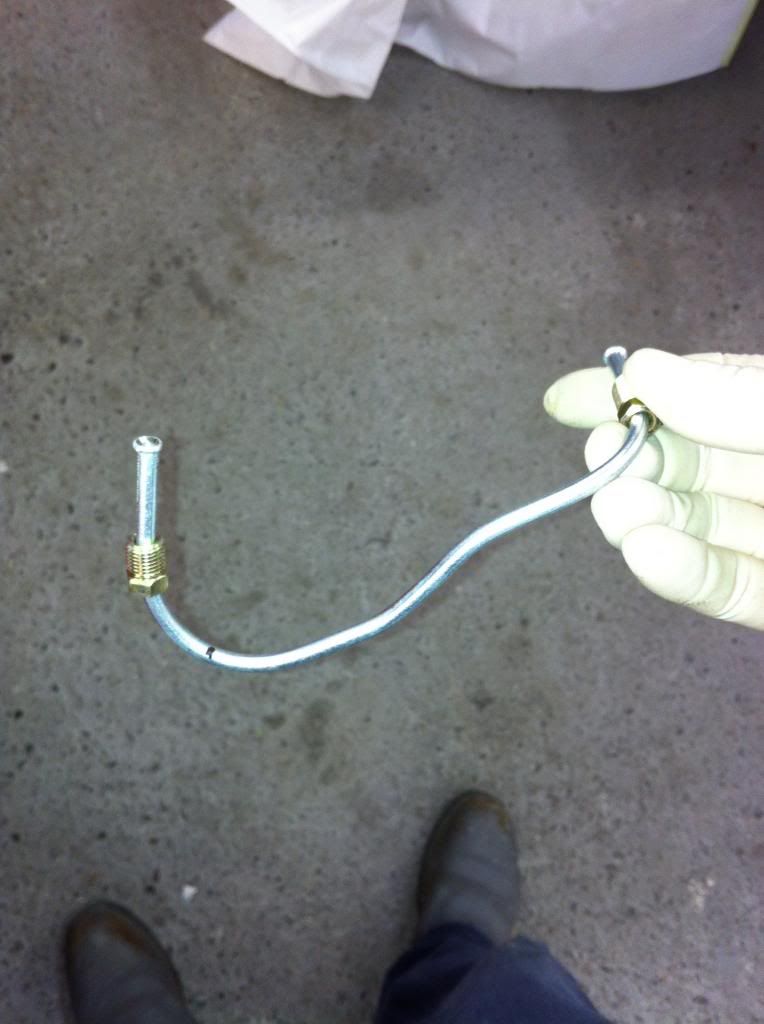
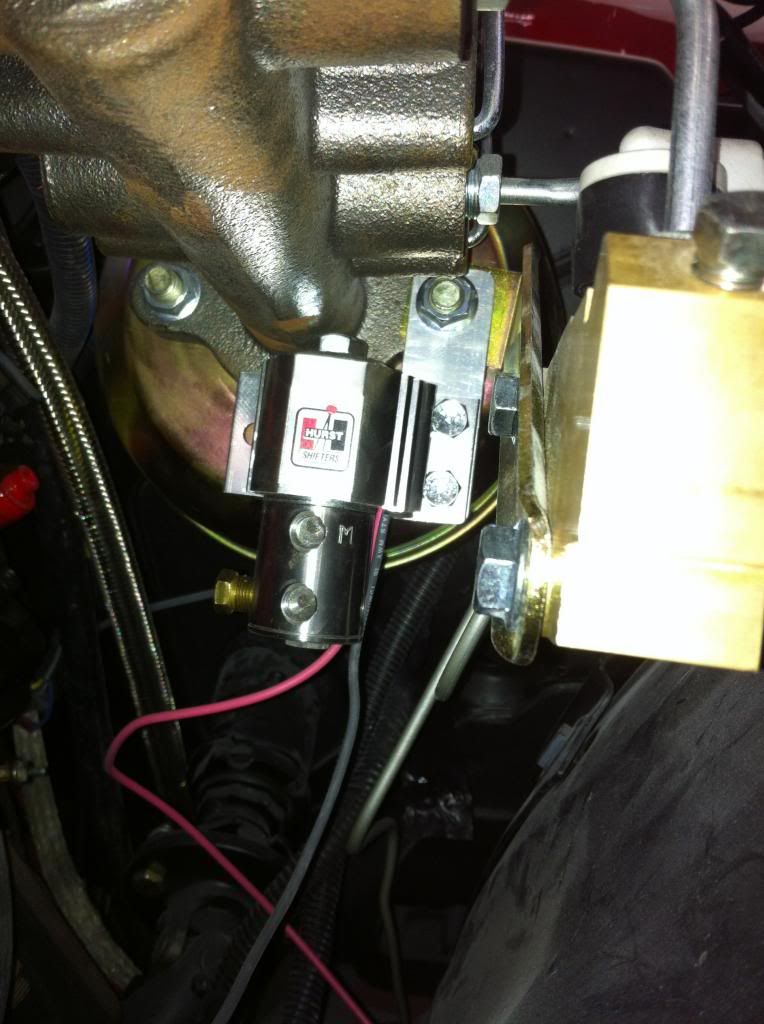
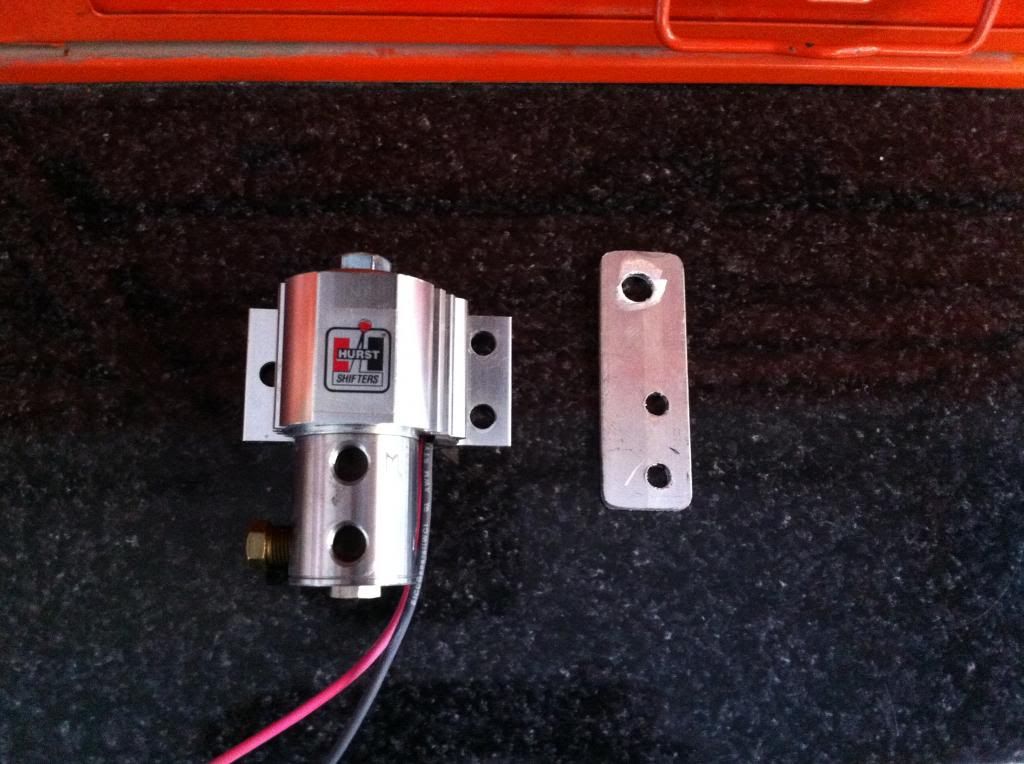
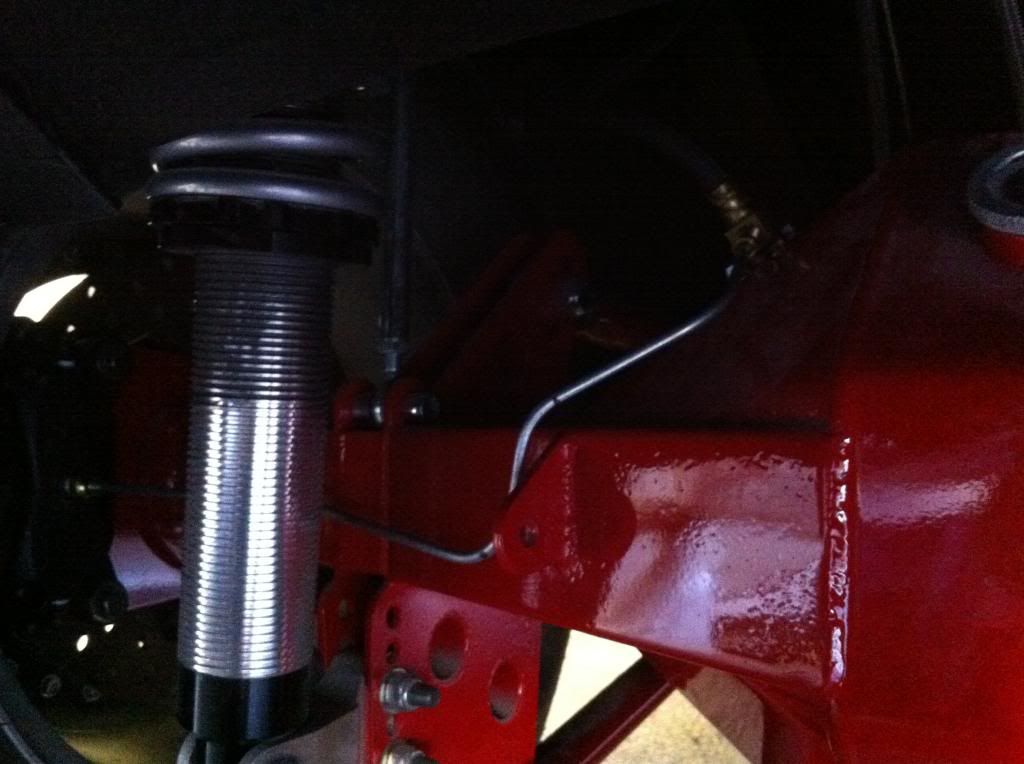
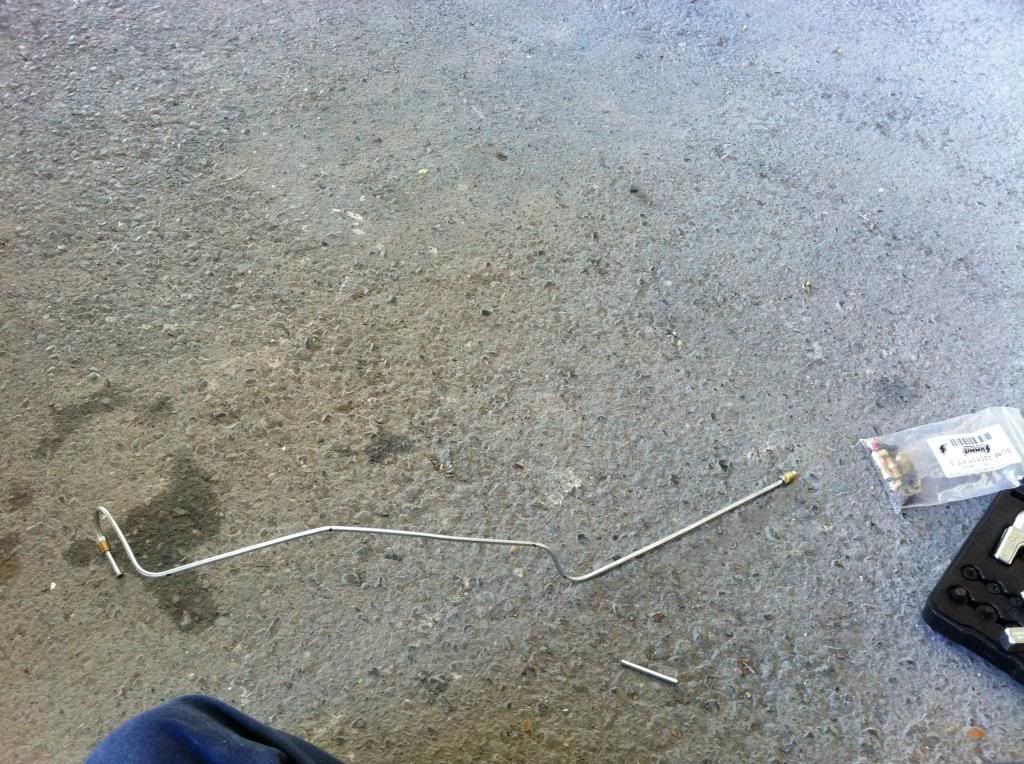
It's amazing how well a bent clothes hanger makes it easier to figure out the proper bends for brake lines.


oldestof11
Drag racer
- Joined
- Jul 17, 2007
- Messages
- 9,084
Looking great!
Have a couple questions...
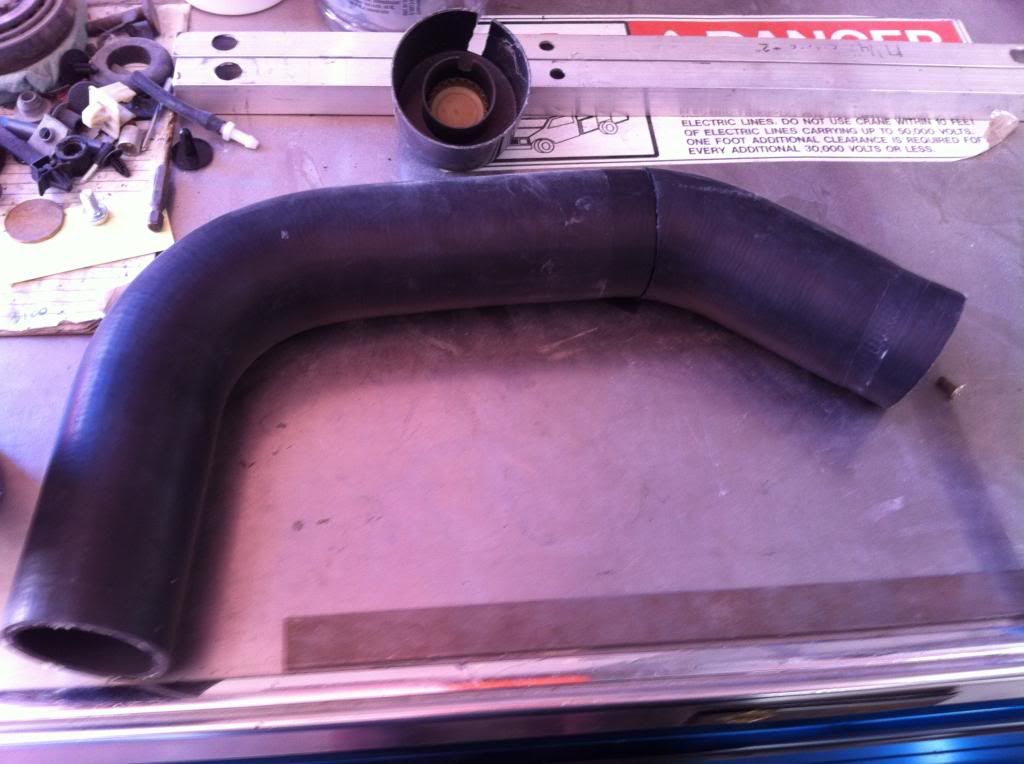
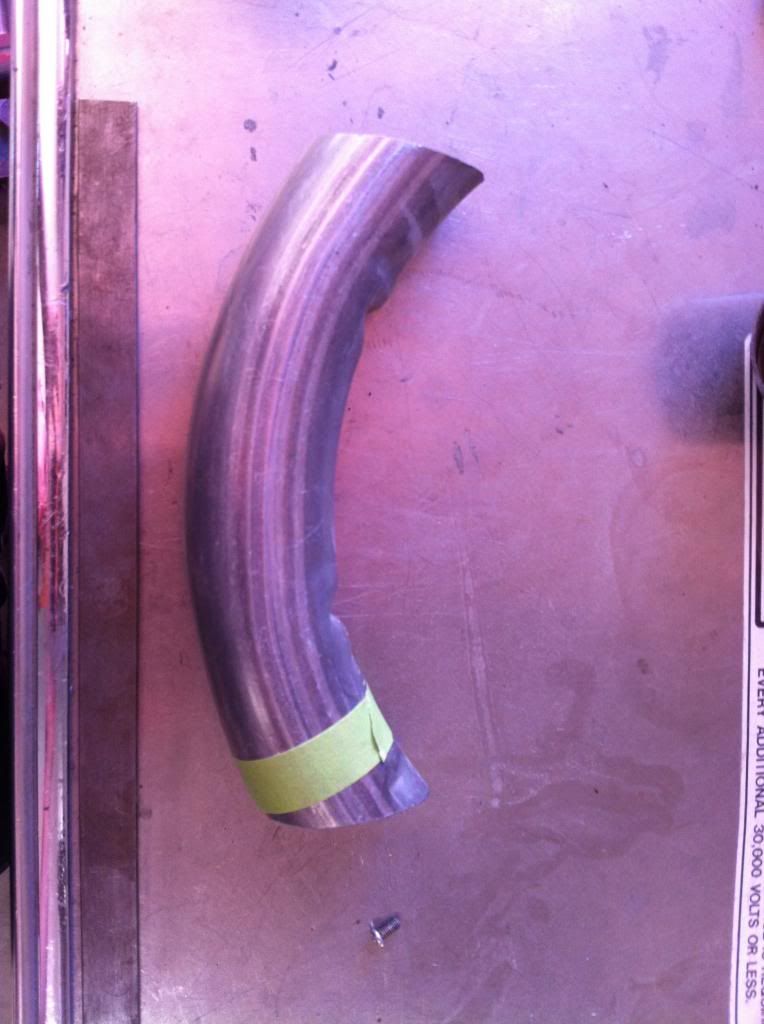
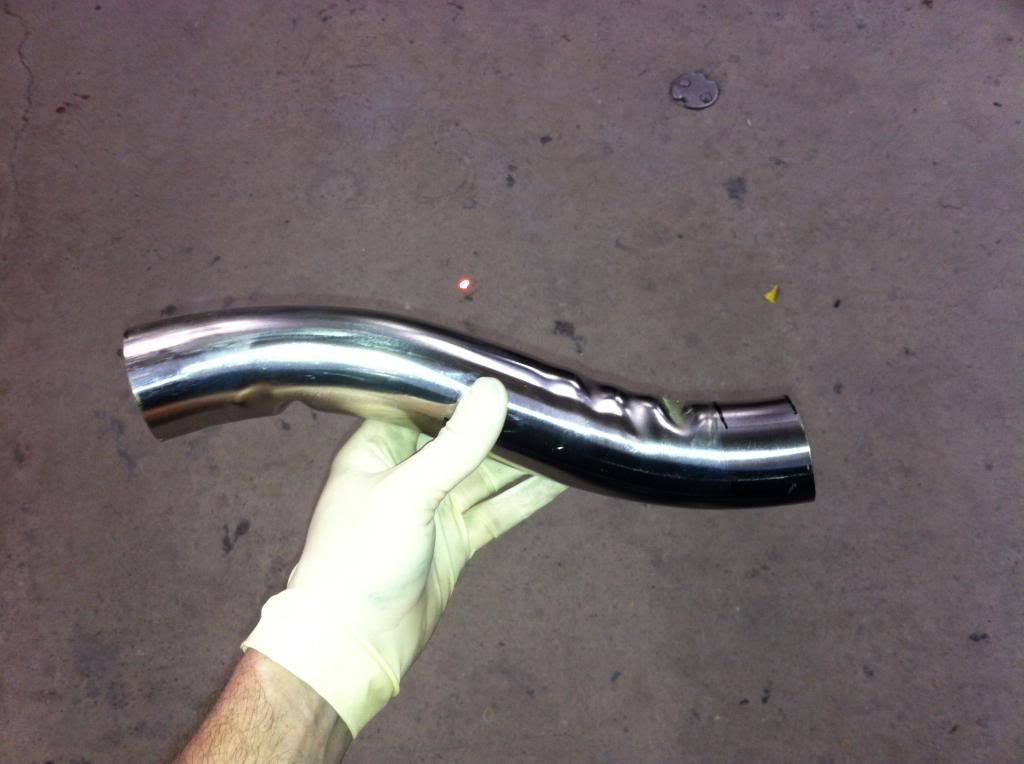
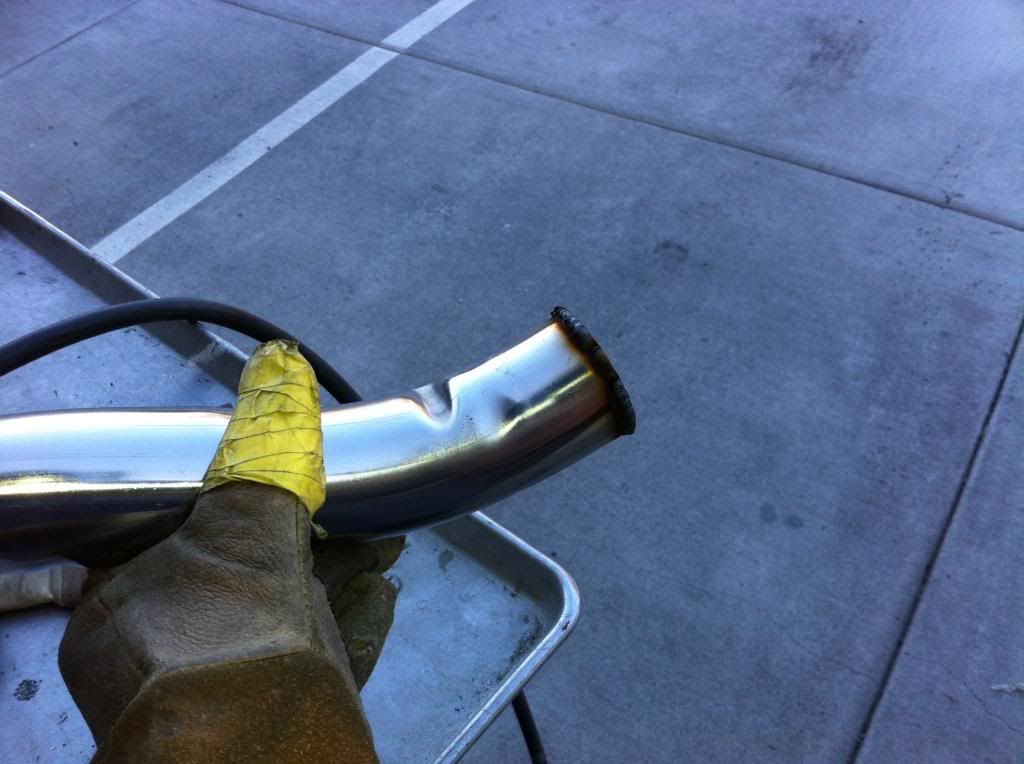
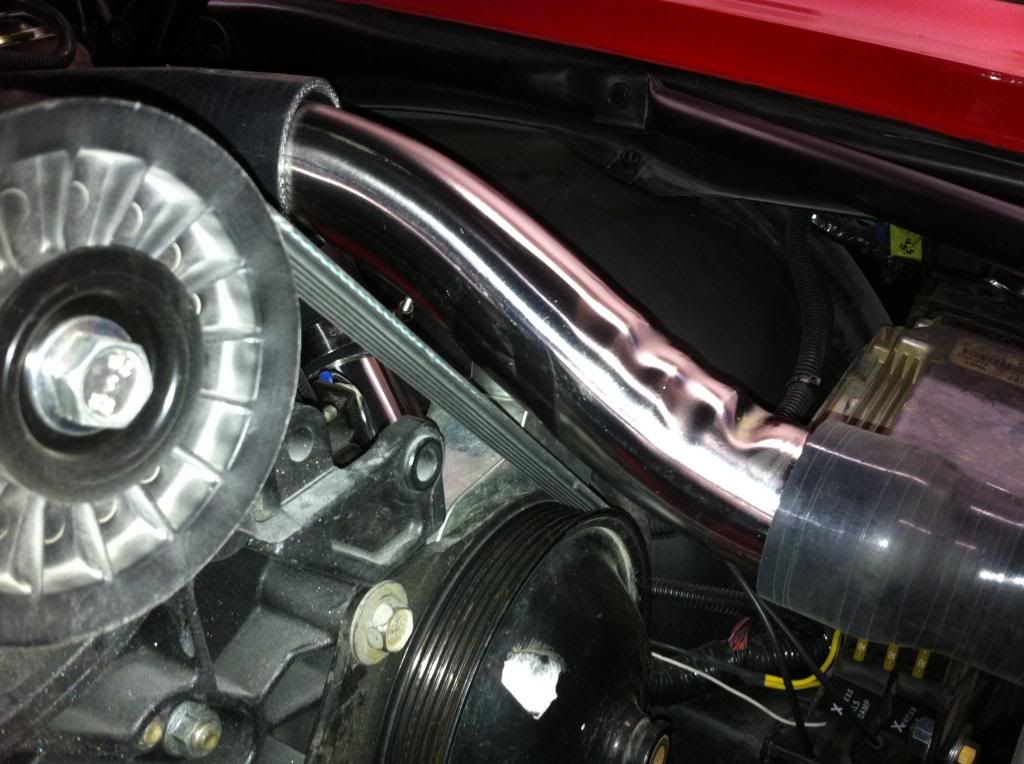
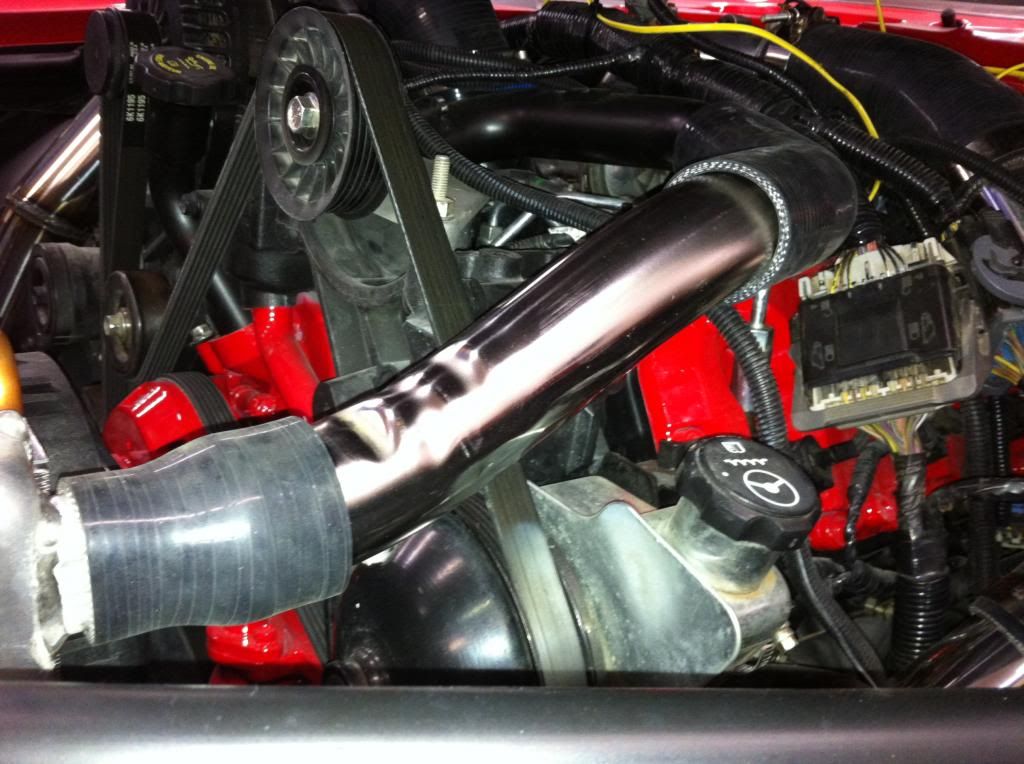
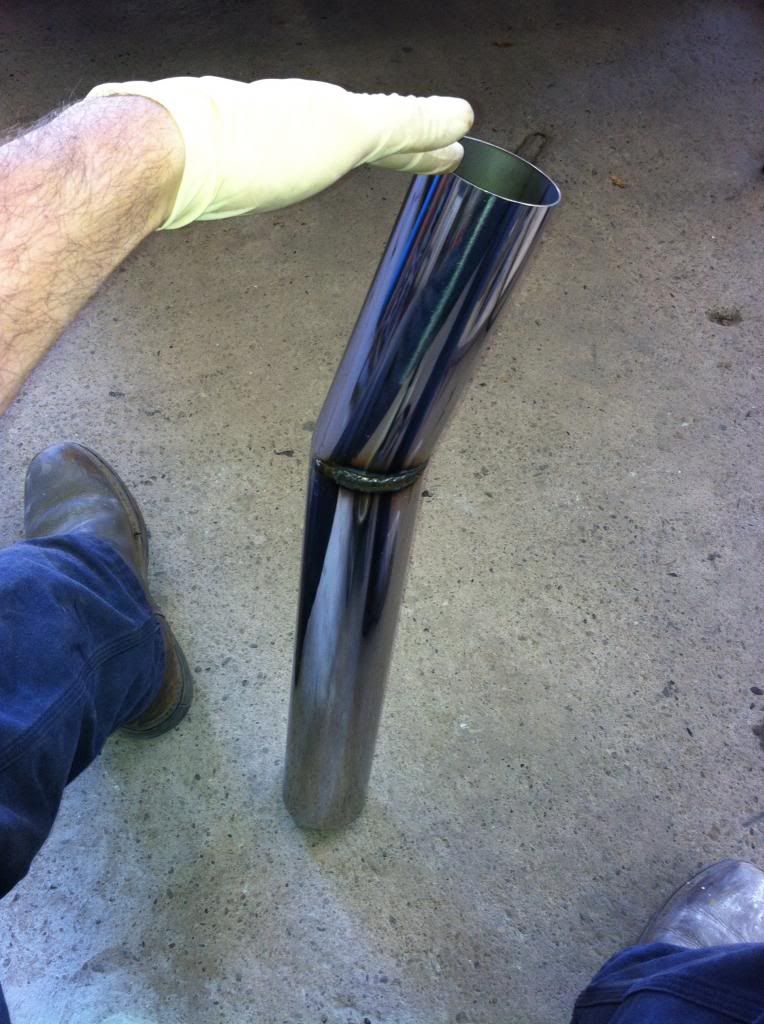
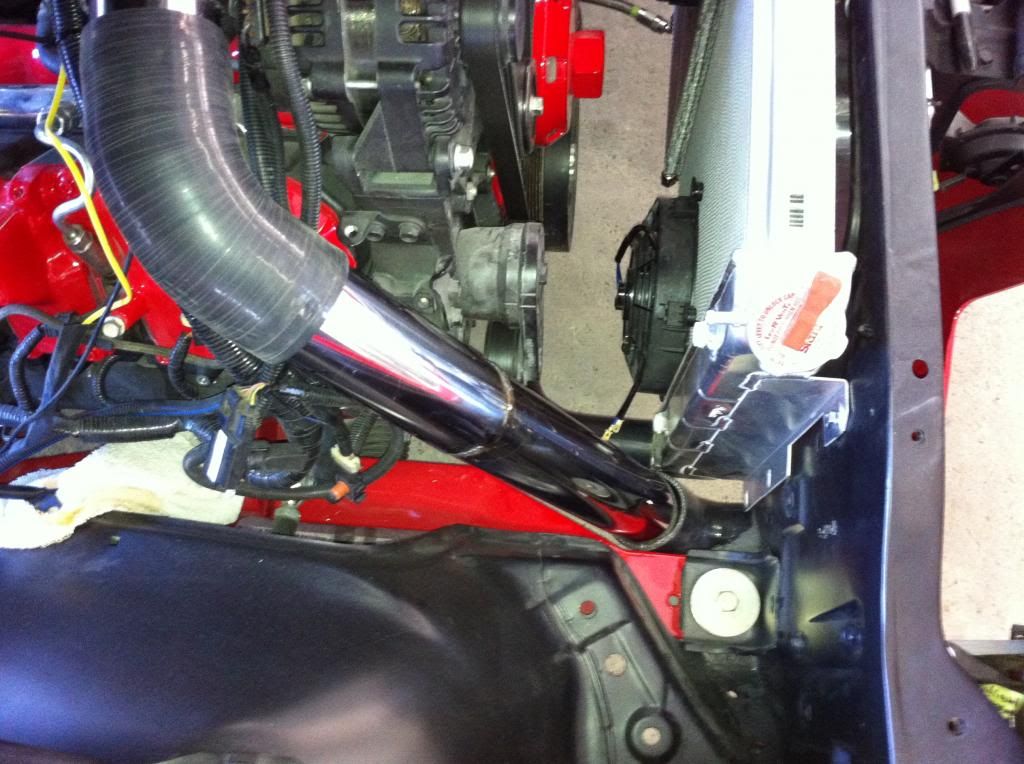
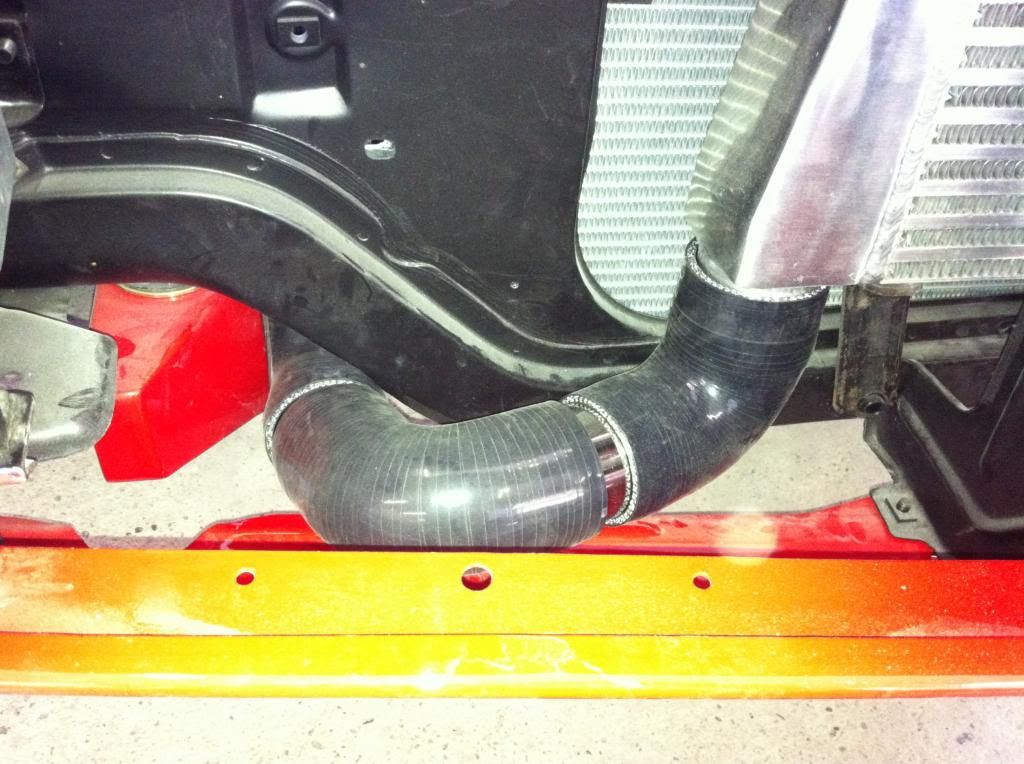
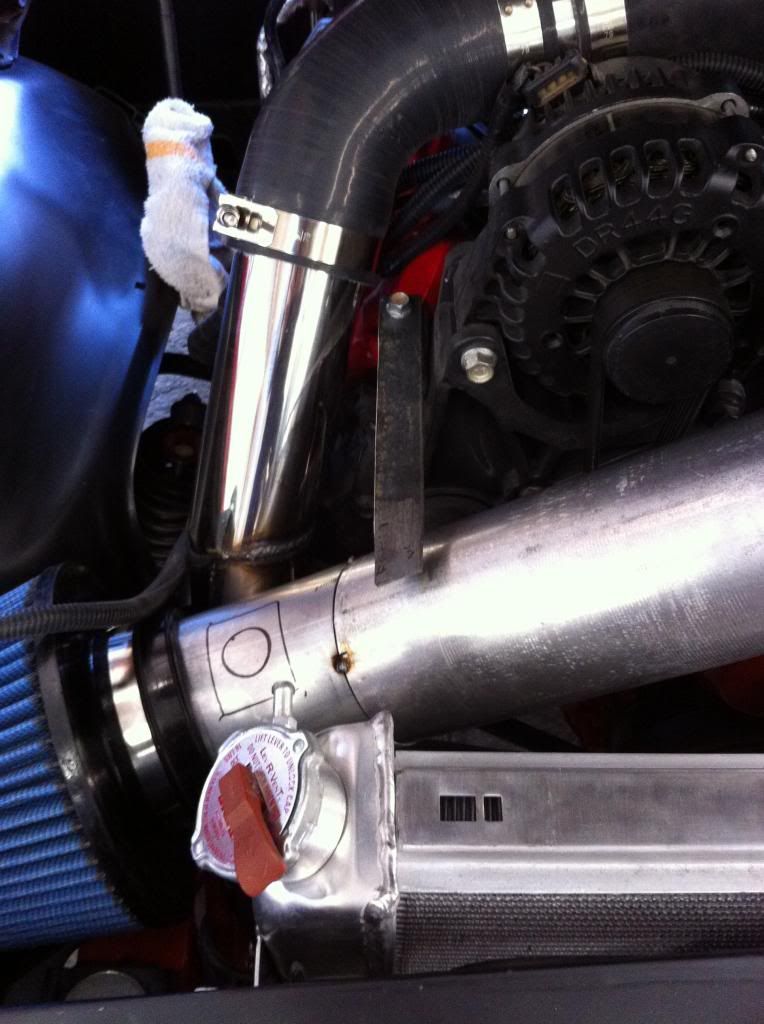
Why the crinkle bend piping? And why the 90* silicone boots?
Have a couple questions...
Why the crinkle bend piping? And why the 90* silicone boots?
dslhtrdr
Always learning...
- Joined
- Sep 2, 2009
- Messages
- 677
Looking great!
Have a couple questions...
Why the crinkle bend piping? And why the 90* silicone boots?
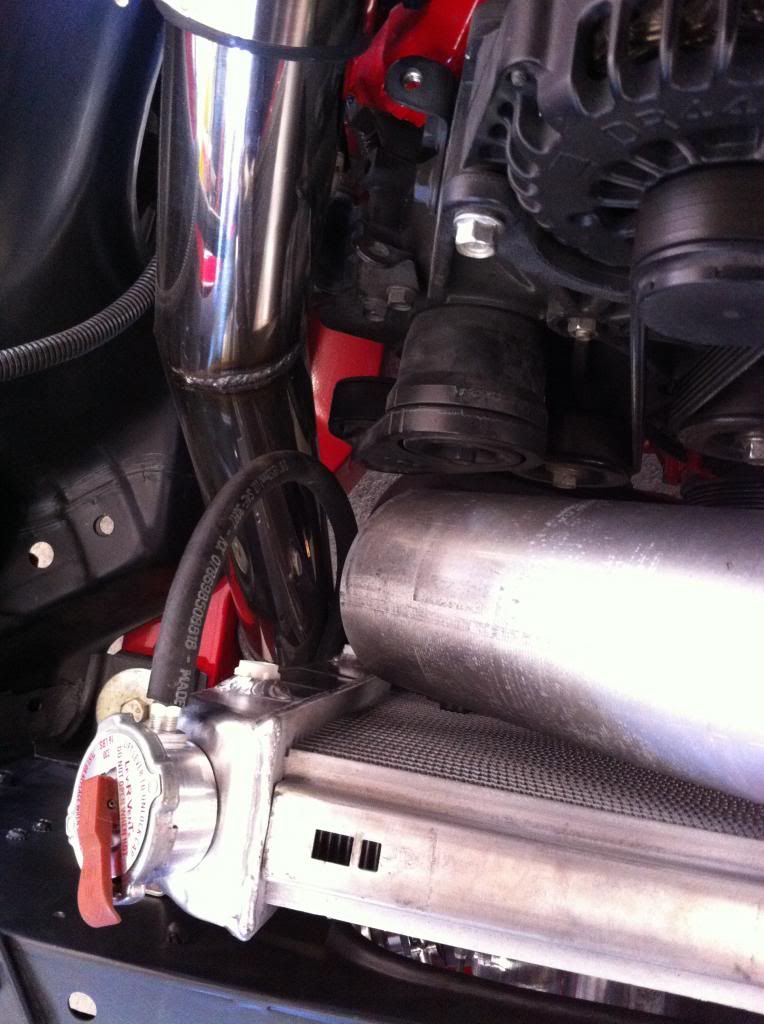
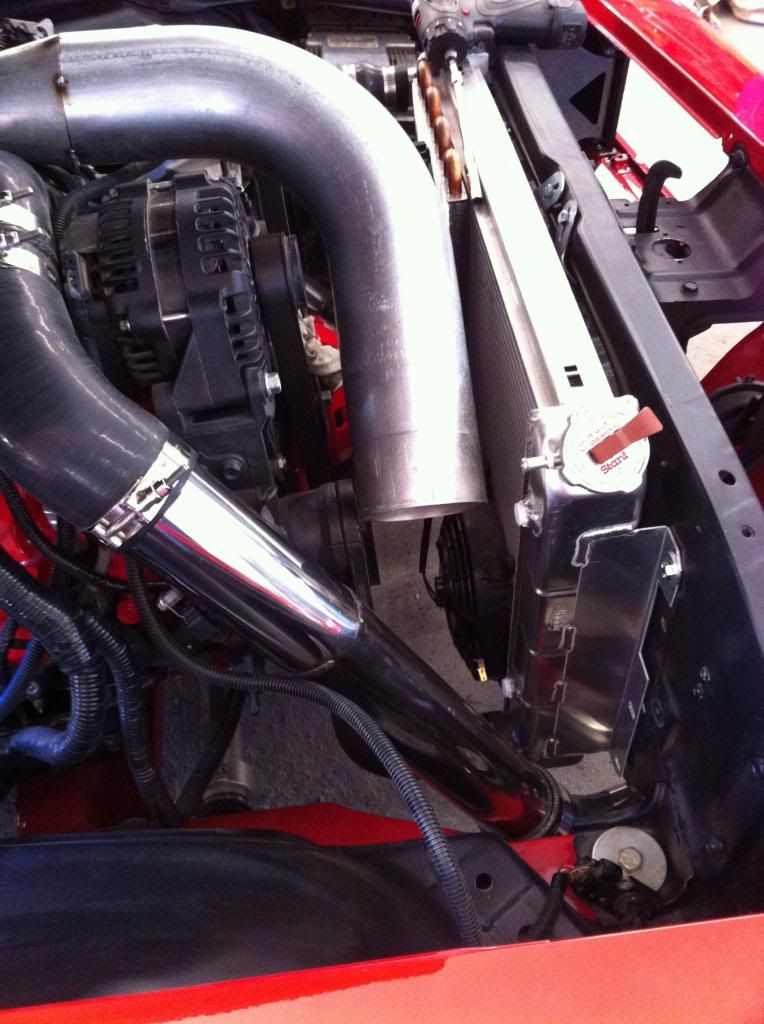
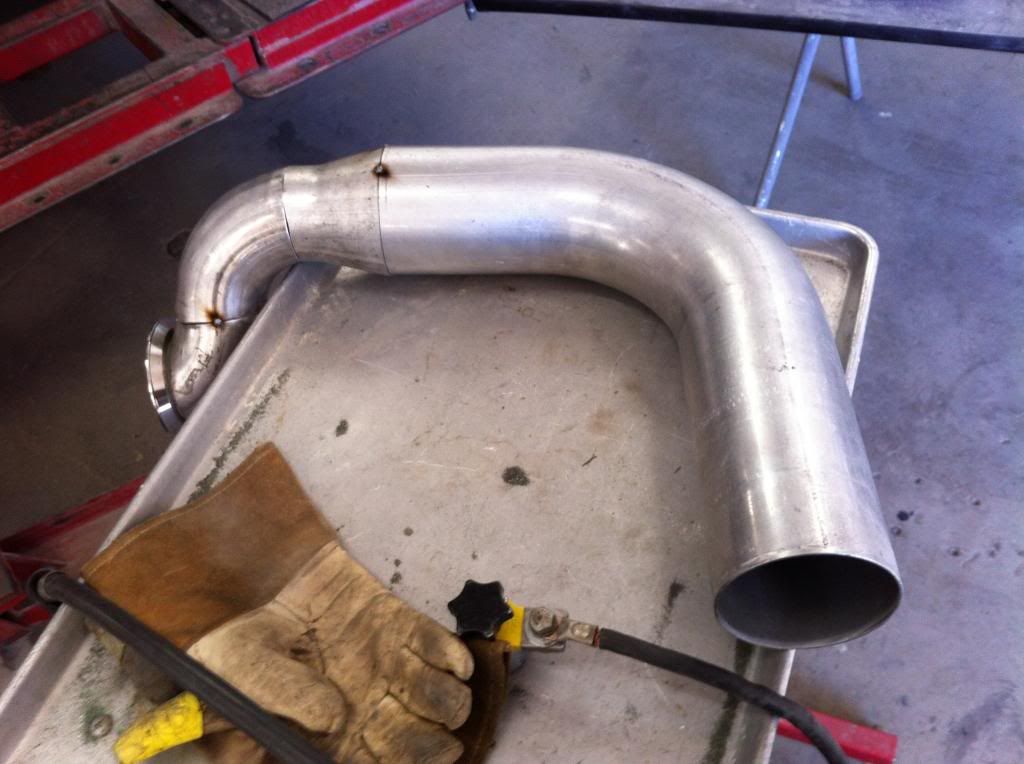
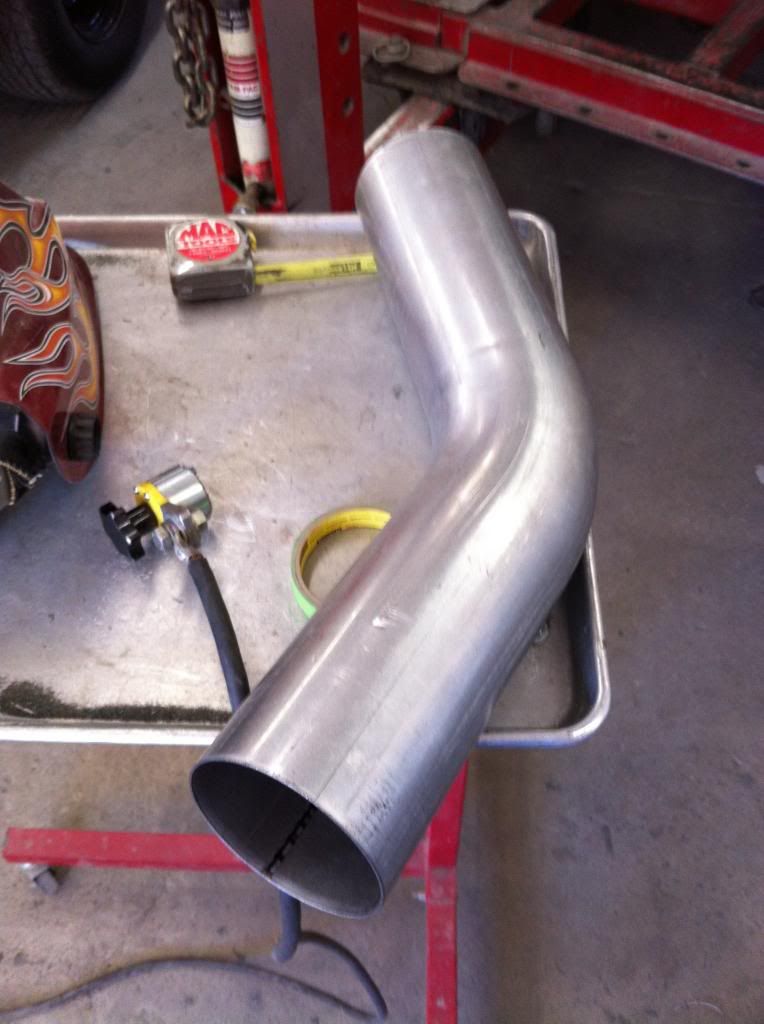
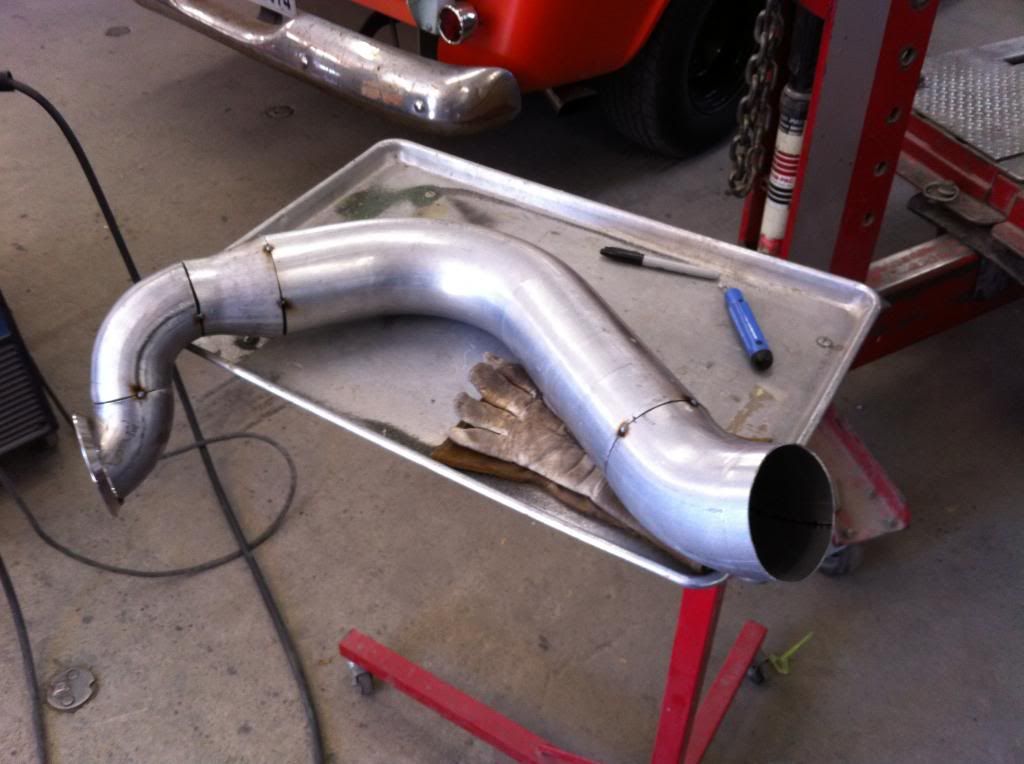
#1: The upper radiator pipe was a straight piece of 2" stainless pipe. It had to make 2 bends to make the transition from the radiator inlet to the coolant pipe coming off the thermostat housing. My buddy Ed helped me bend it with his tubing bender, but his bender is meant for thicker wall tubing, so the small kinks were the result. My first upper hose wasn't up to par, so this was my revised version, and trust me, it looks much better.
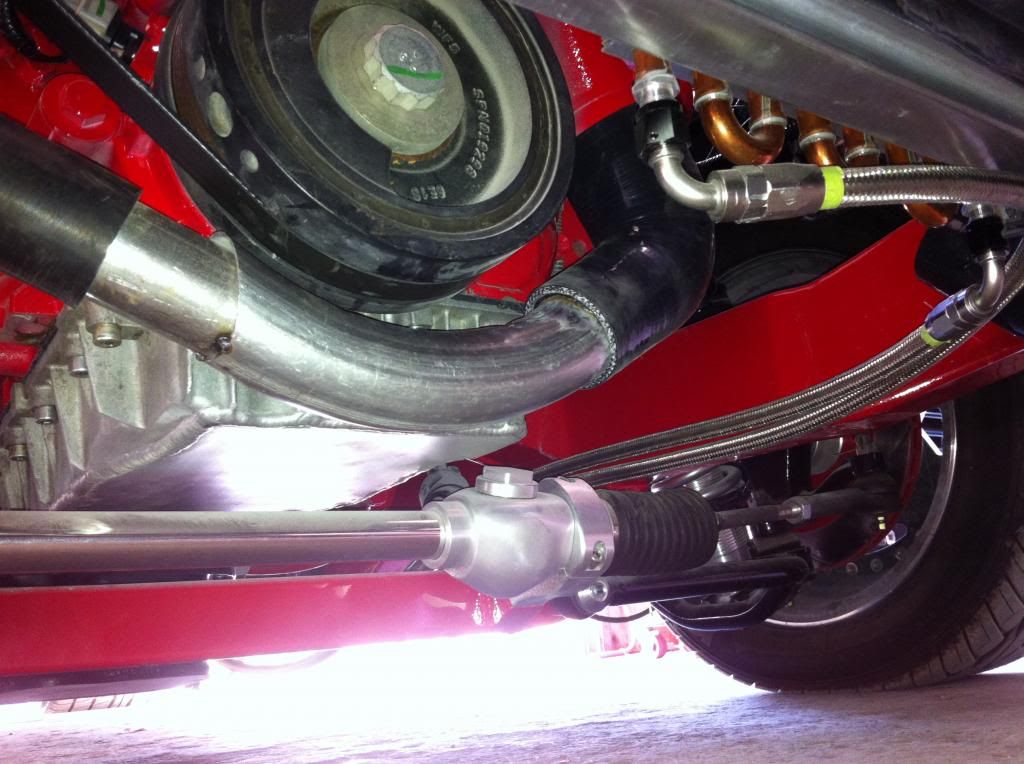
The lower radiator pipe was a scrap piece of aluminized exhaust pipe leftover from my boss's 3.4l swap in his 4runner. It happened to be the correct radius to loop under the balancer and connect to the old Camaro radiator hose that I trimmed the excess off of.
#2: I needed a simple way to connect the intercooler piping to the intercooler, so I used the 90* boots. At some point I may replace them with regular piping, but it's a pretty tight fit so I would have to most likely jack the front end up to sneak the pipe up from under the car. It all fits pretty good though the way it currently is.
dslhtrdr
Always learning...
- Joined
- Sep 2, 2009
- Messages
- 677
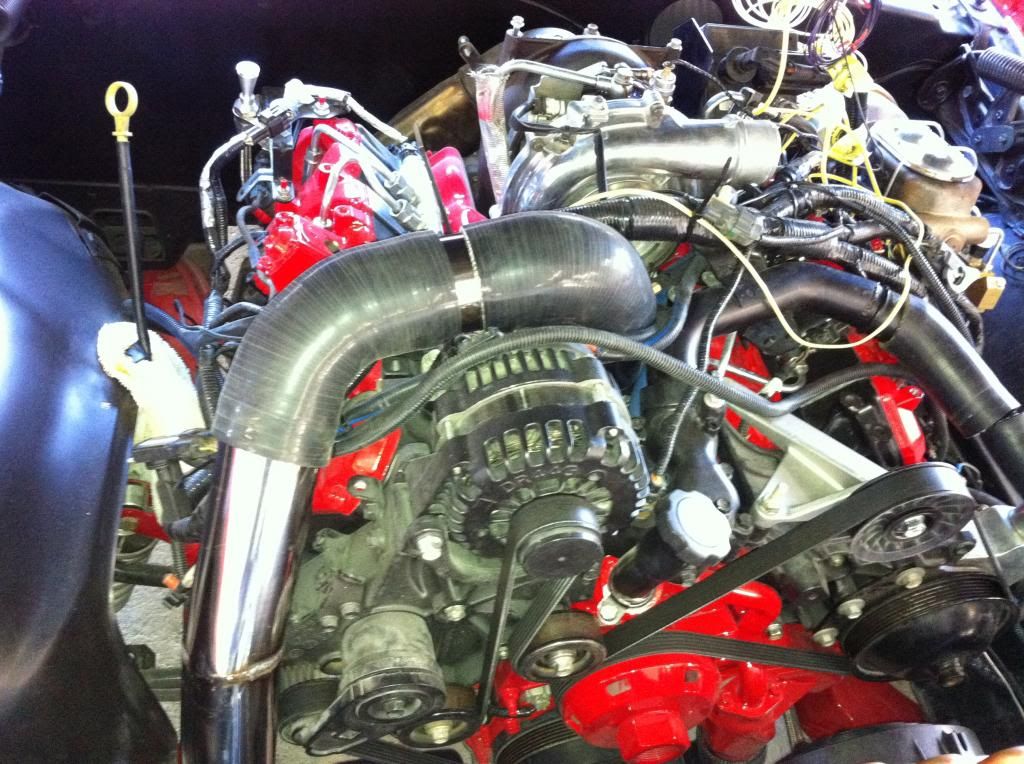
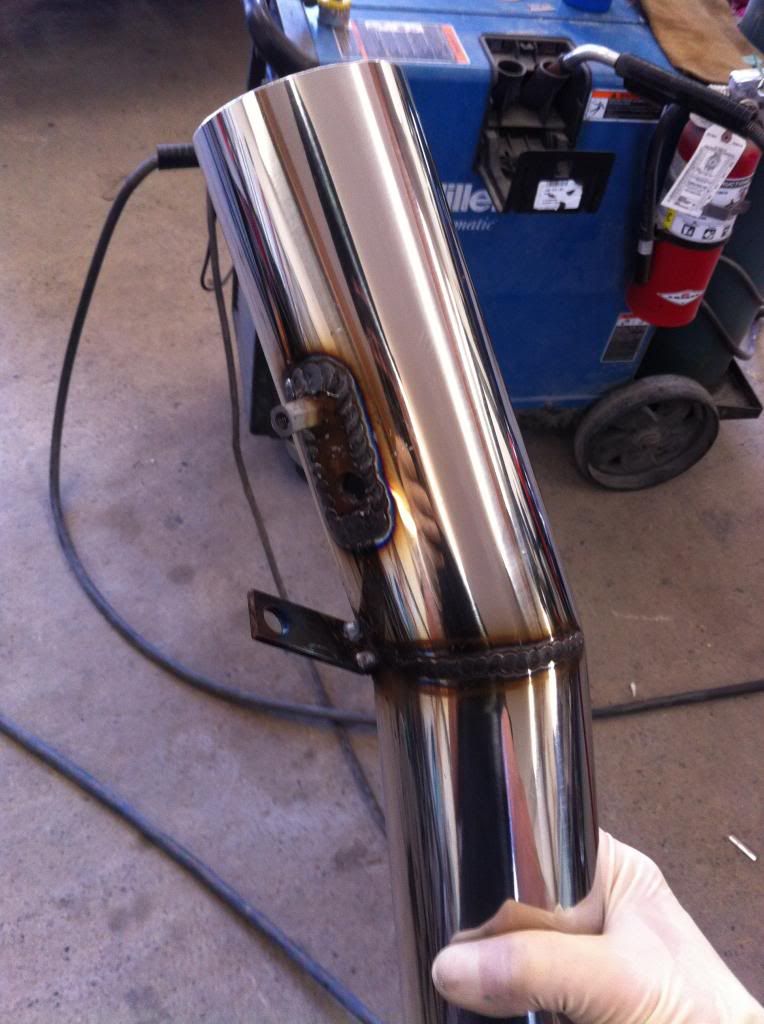
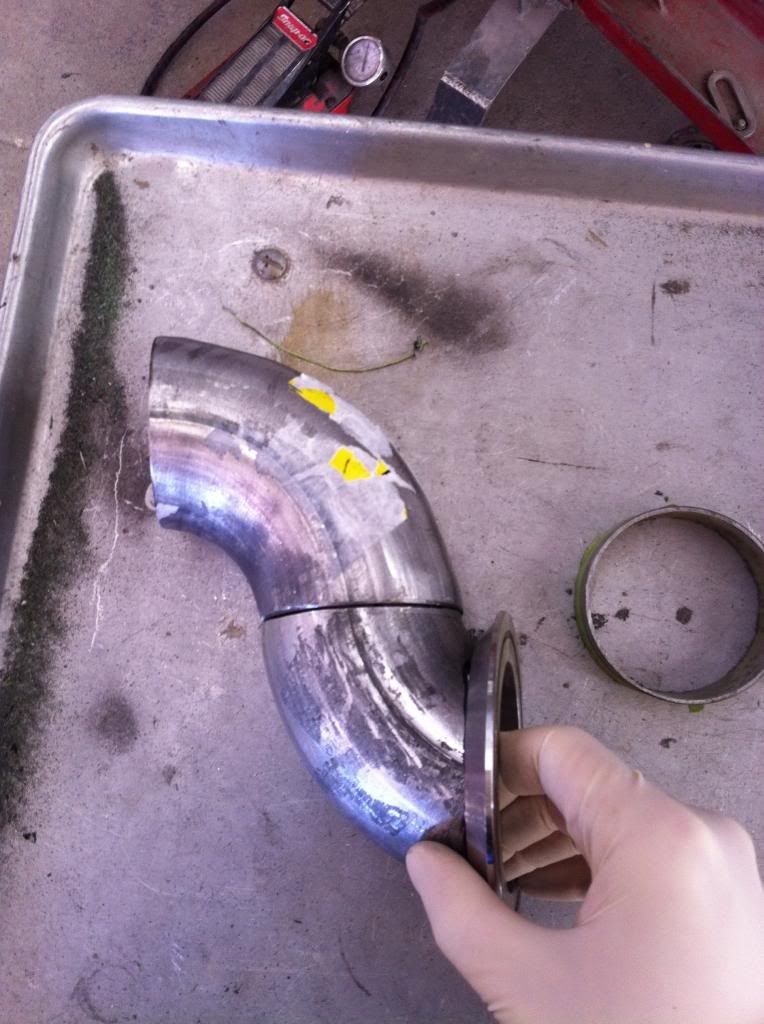
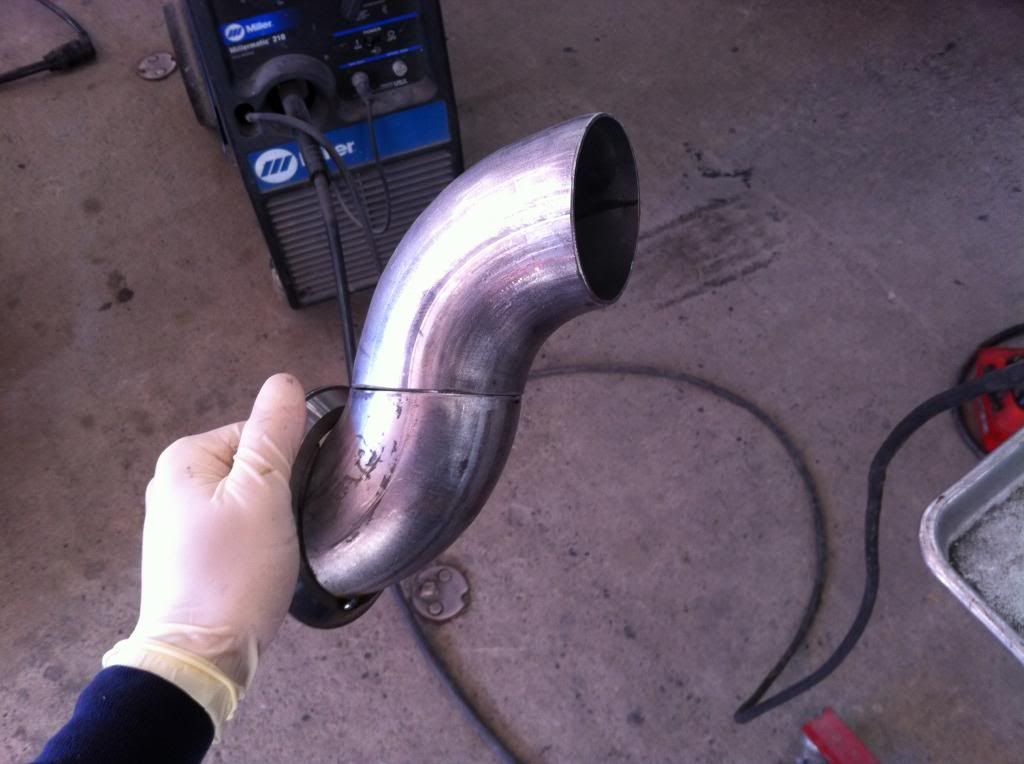
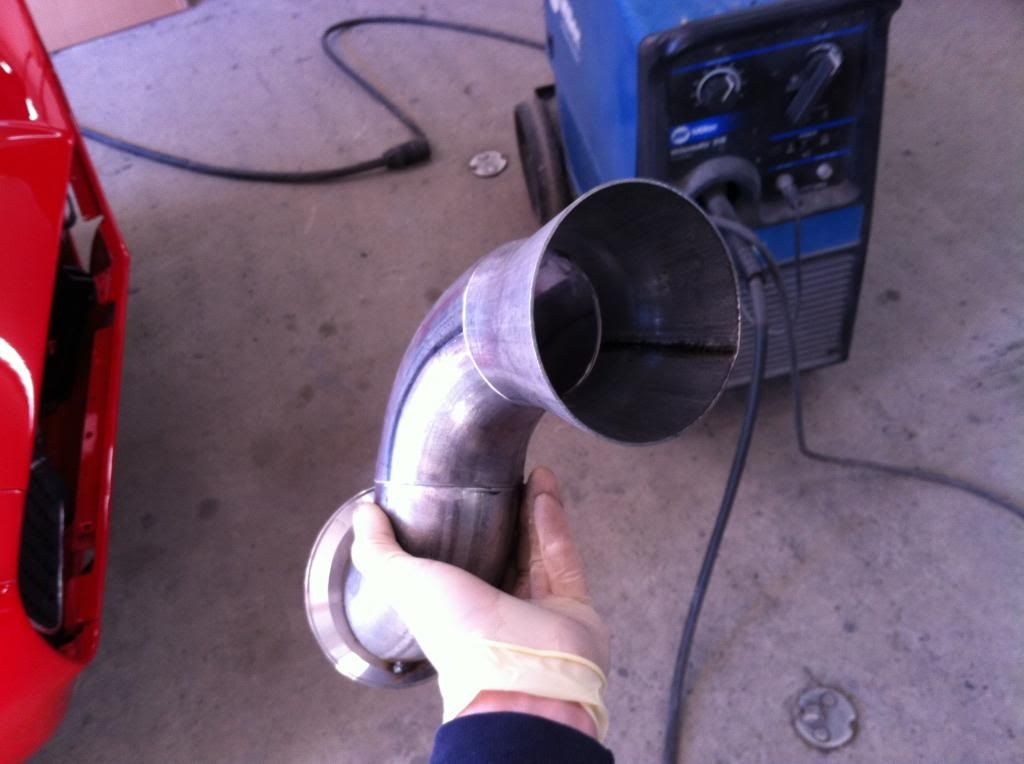
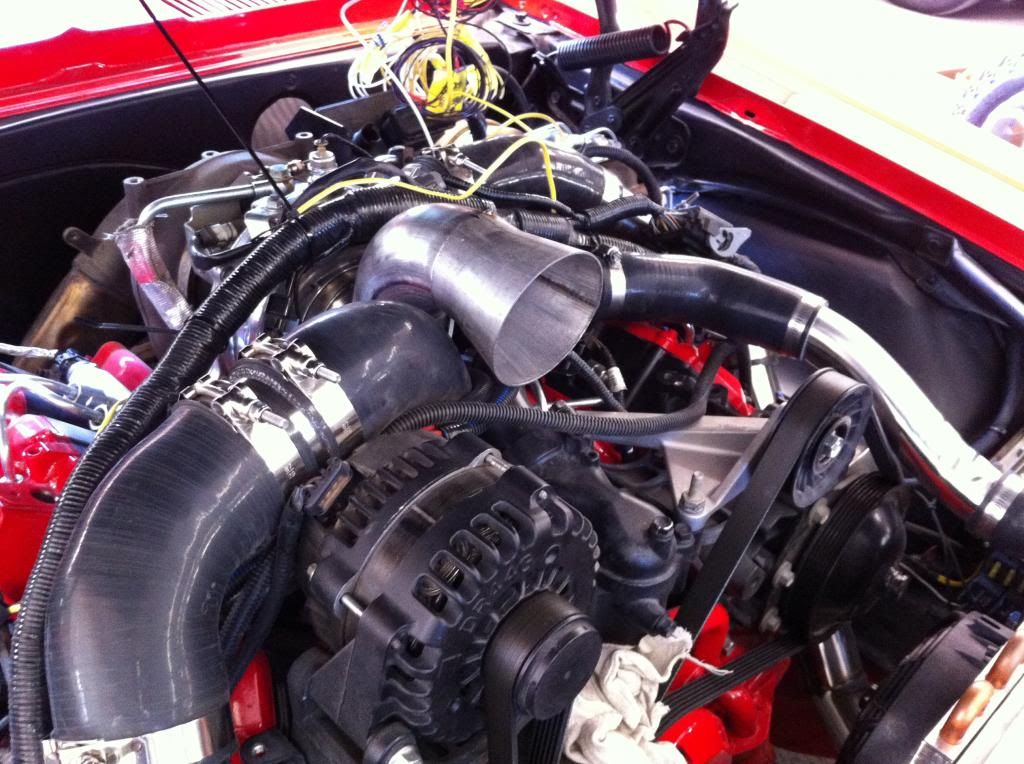
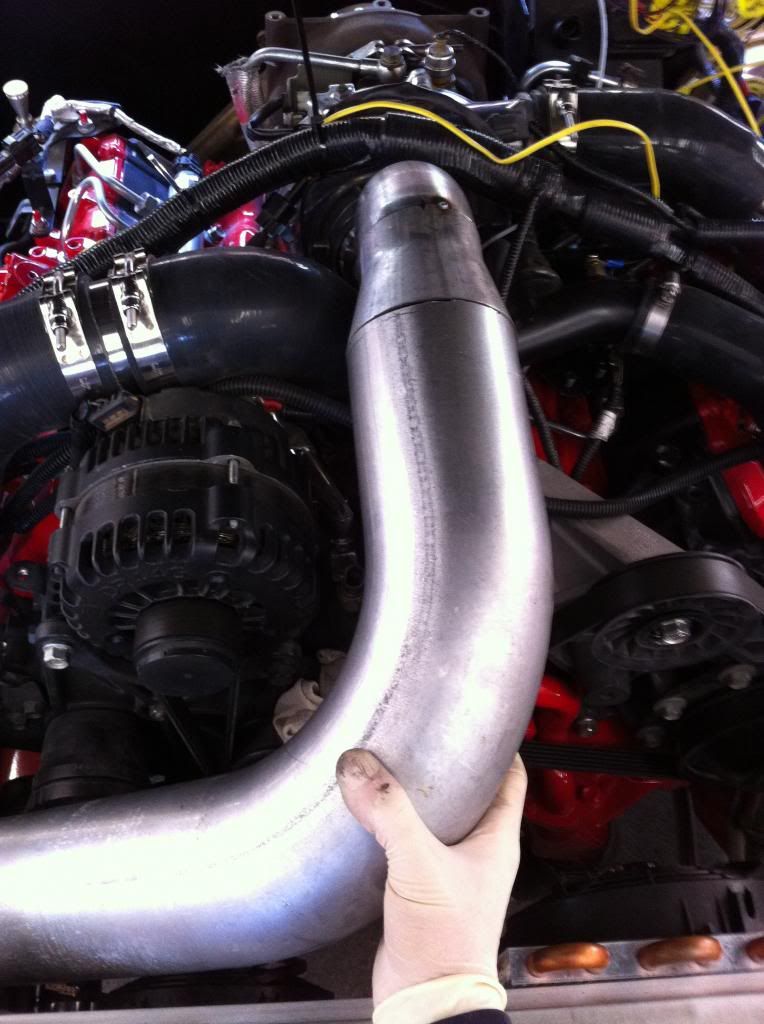
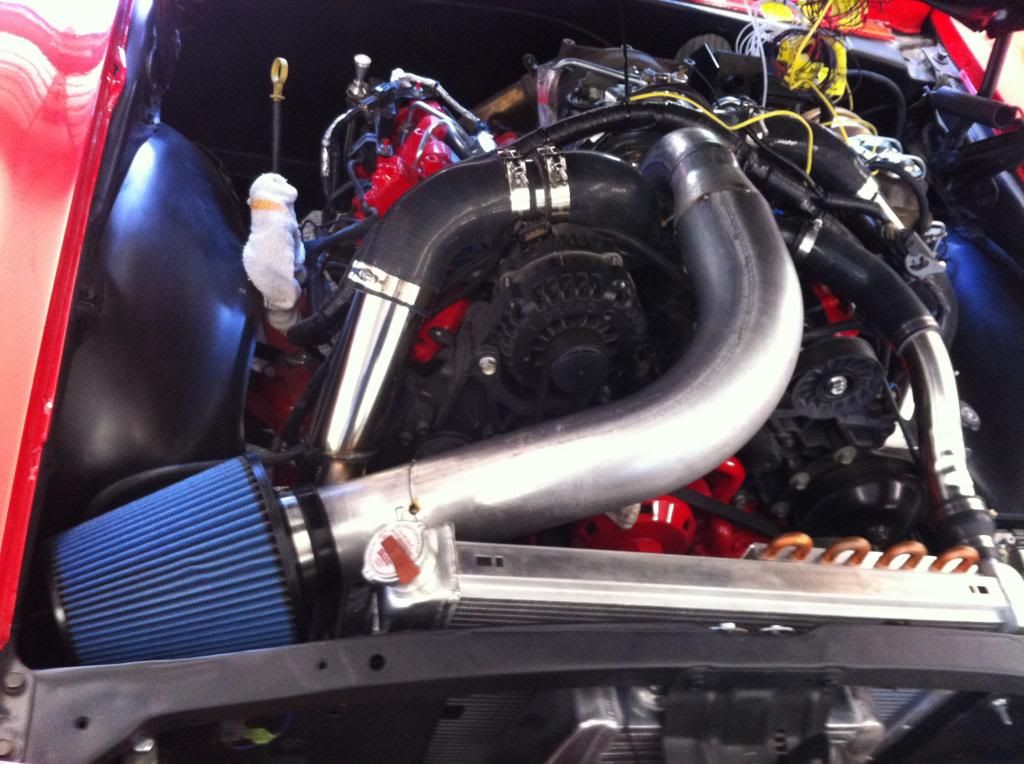
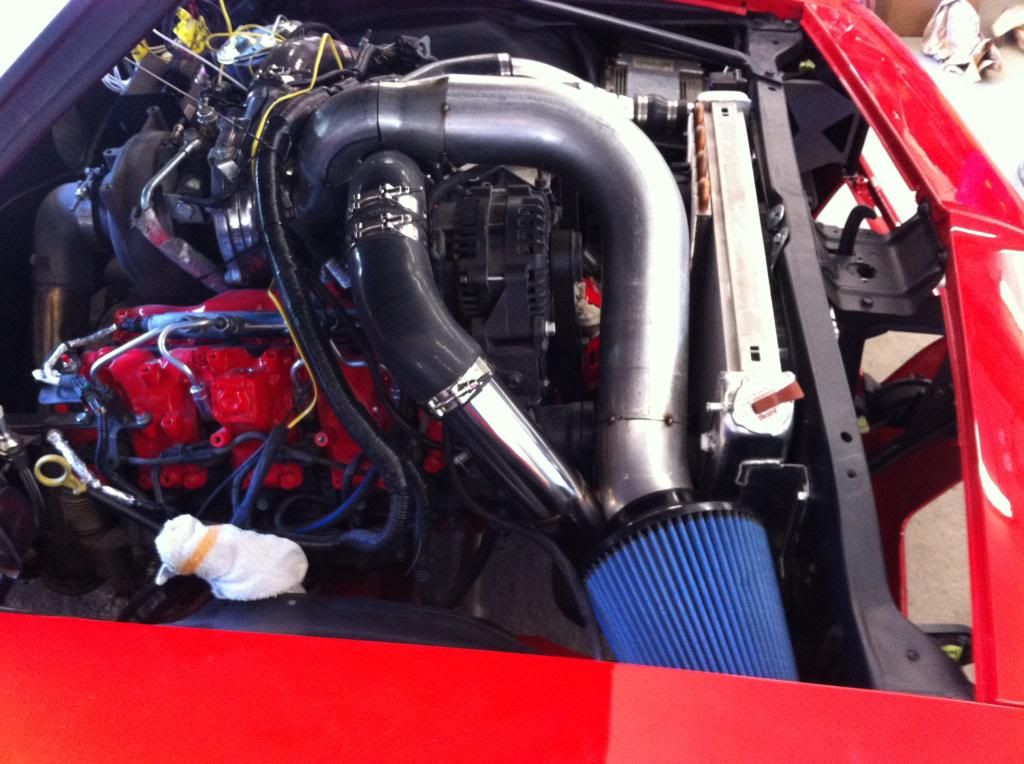
I had to shorten the oil filler neck another inch to clear the intake.
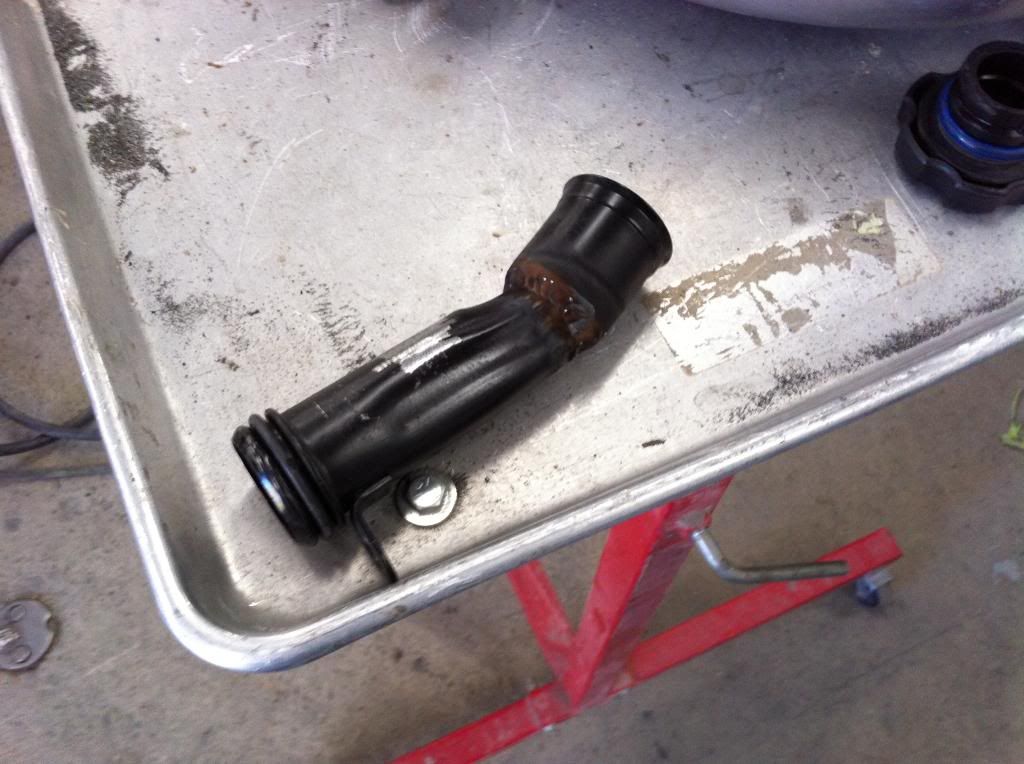
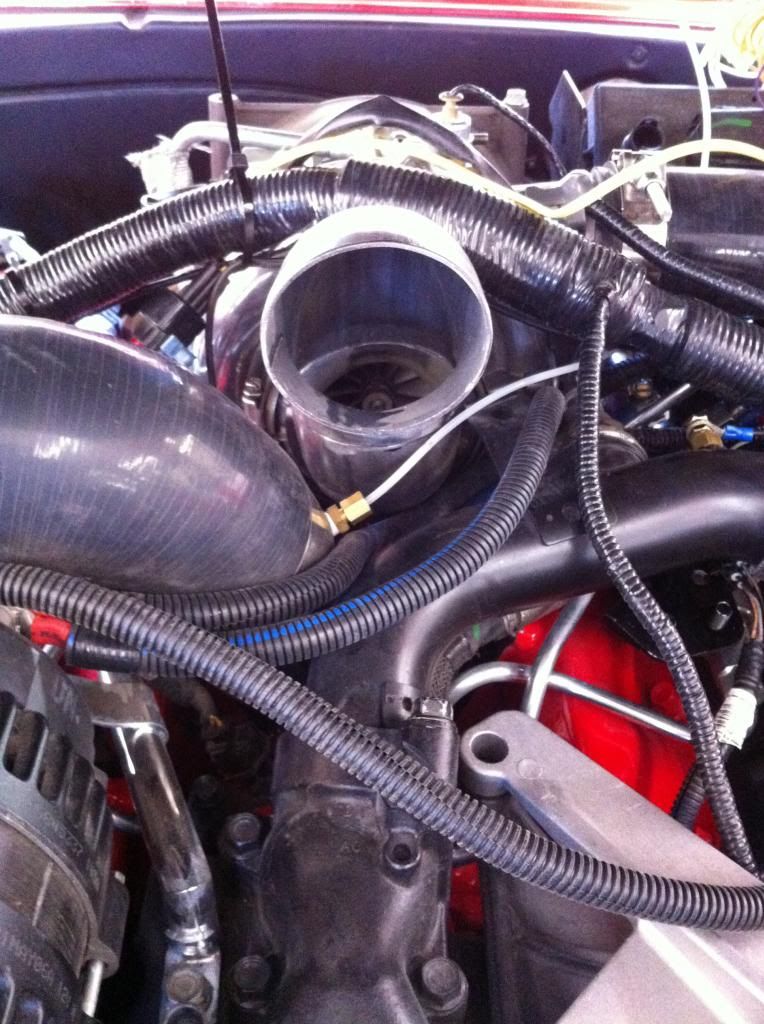
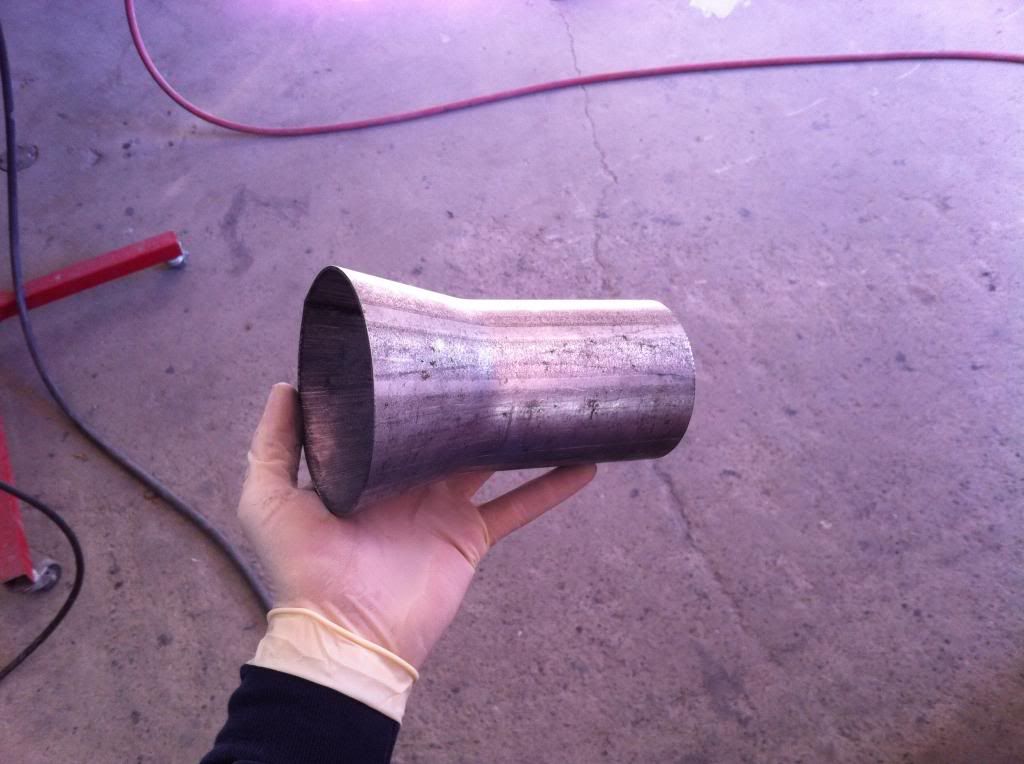
I'm a little on the fence about the intake. Sometimes I like it, sometimes I don't. It pretty much had to come over the top of the motor because it didn't have enough space to go over the passenger side of the motor, otherwise I would have had to cut a hole in the hood...
I did put the gill on though.
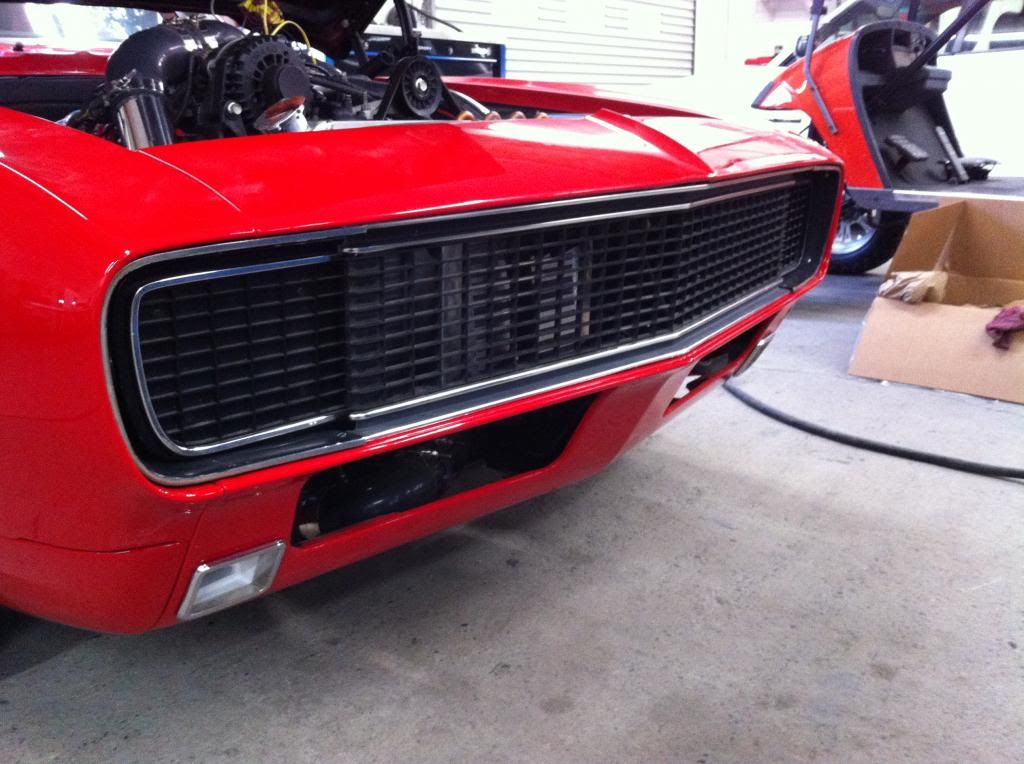
I took the car for a short drive this afternoon. I got some fuel at the gas station around the corner and gave it some hell when I left. Burned the tires through 3rd gear and kept it straight the whole time.
So far, daddy likey LOL

I'm a little on the fence about the intake. Sometimes I like it, sometimes I don't. It pretty much had to come over the top of the motor because it didn't have enough space to go over the passenger side of the motor, otherwise I would have had to cut a hole in the hood...
I did put the gill on though.

I took the car for a short drive this afternoon. I got some fuel at the gas station around the corner and gave it some hell when I left. Burned the tires through 3rd gear and kept it straight the whole time.
So far, daddy likey LOL

