
Cummin-a-long
Big Angry
- Joined
- Jul 24, 2008
- Messages
- 787
Okay, here's today's work.
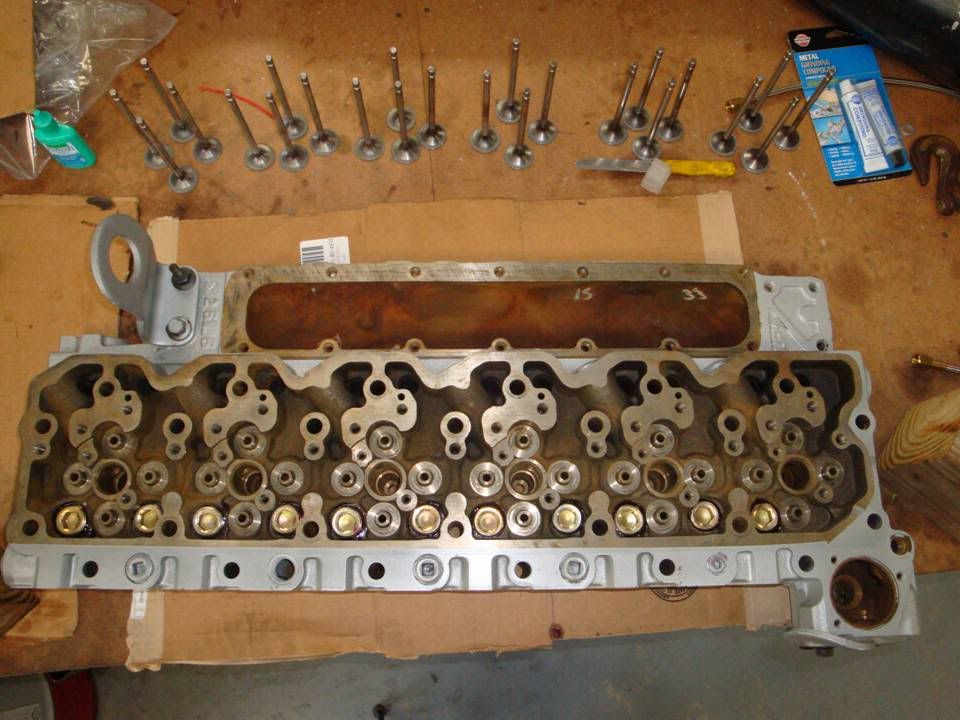
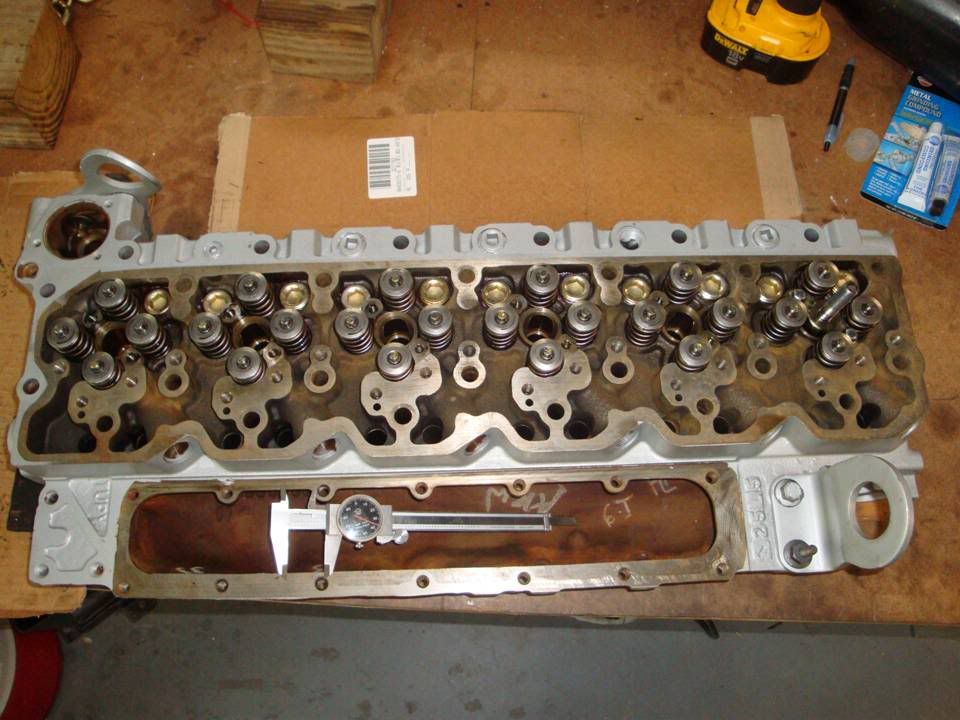
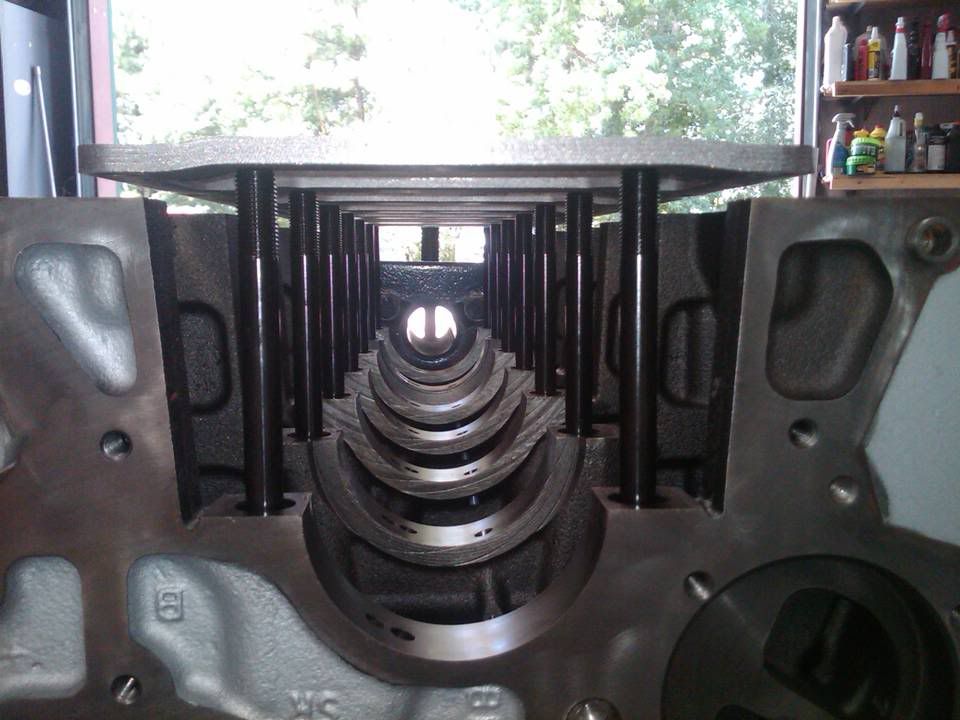
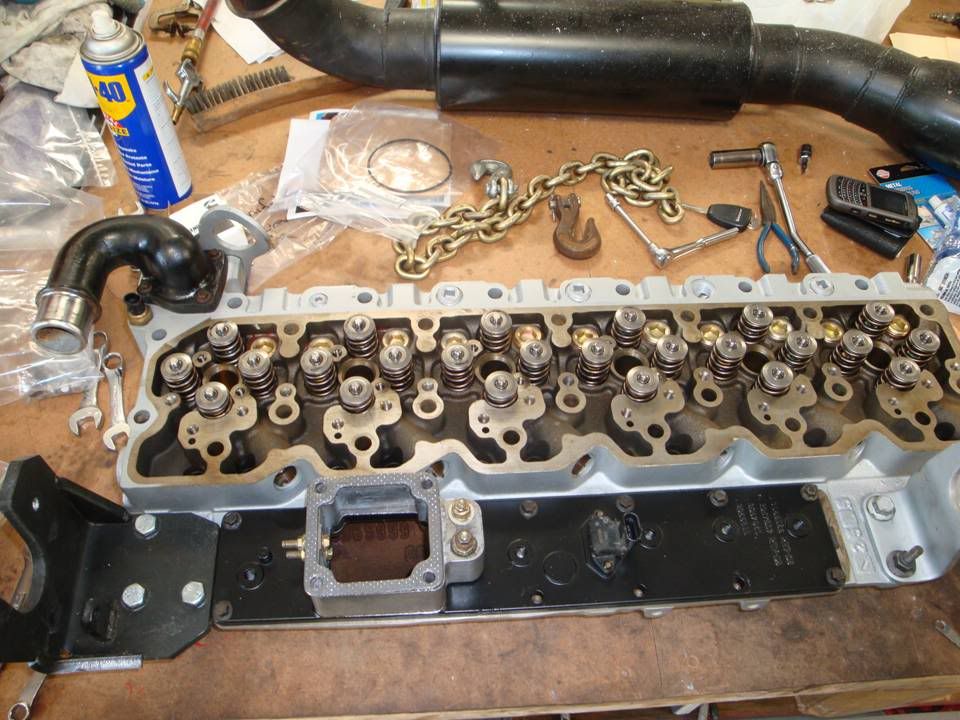
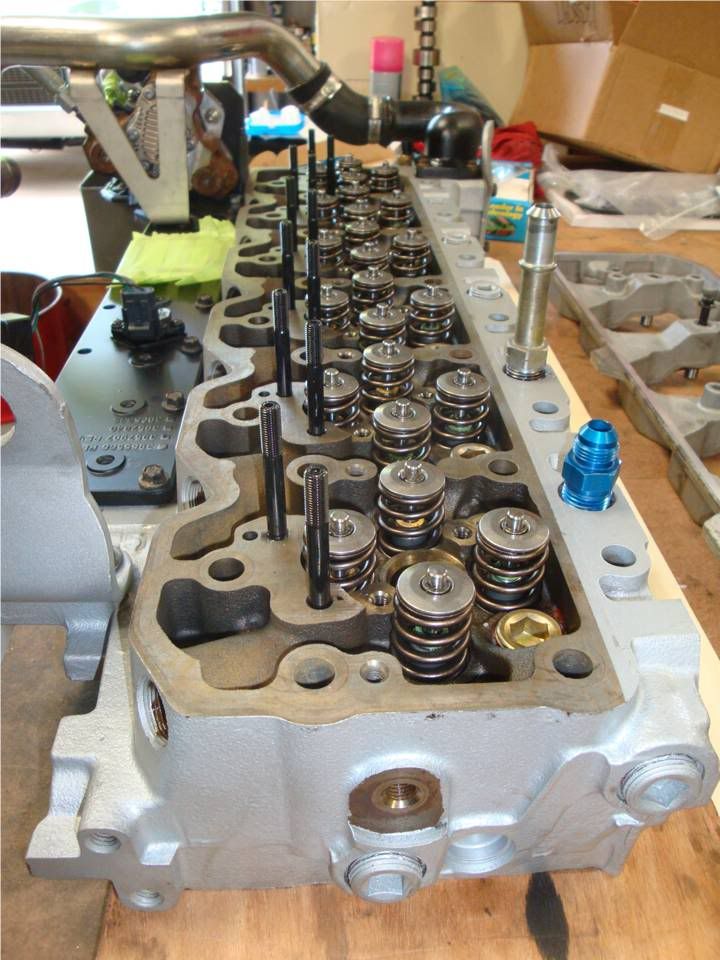
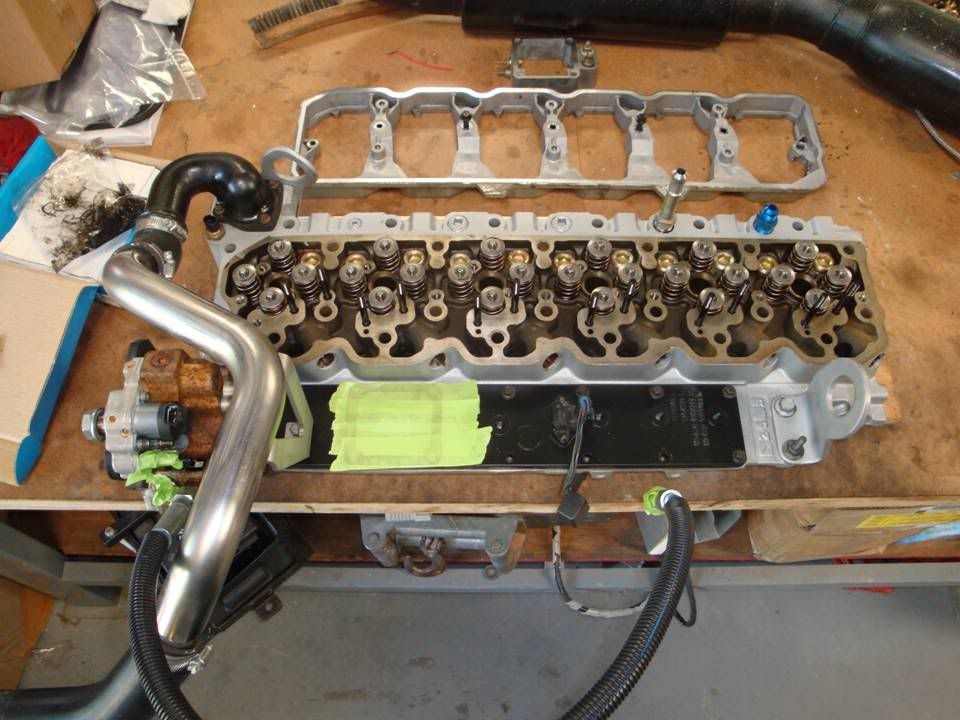
Got the head all cleaned up, the new plugs are in, got the valves polished up a bit and got the head put back together.
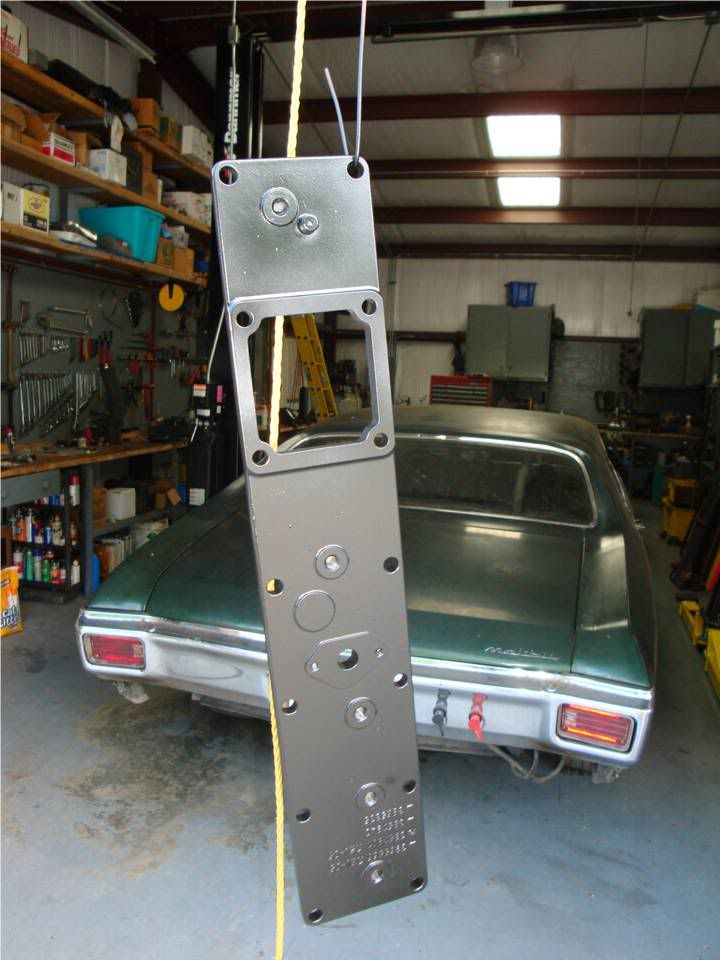
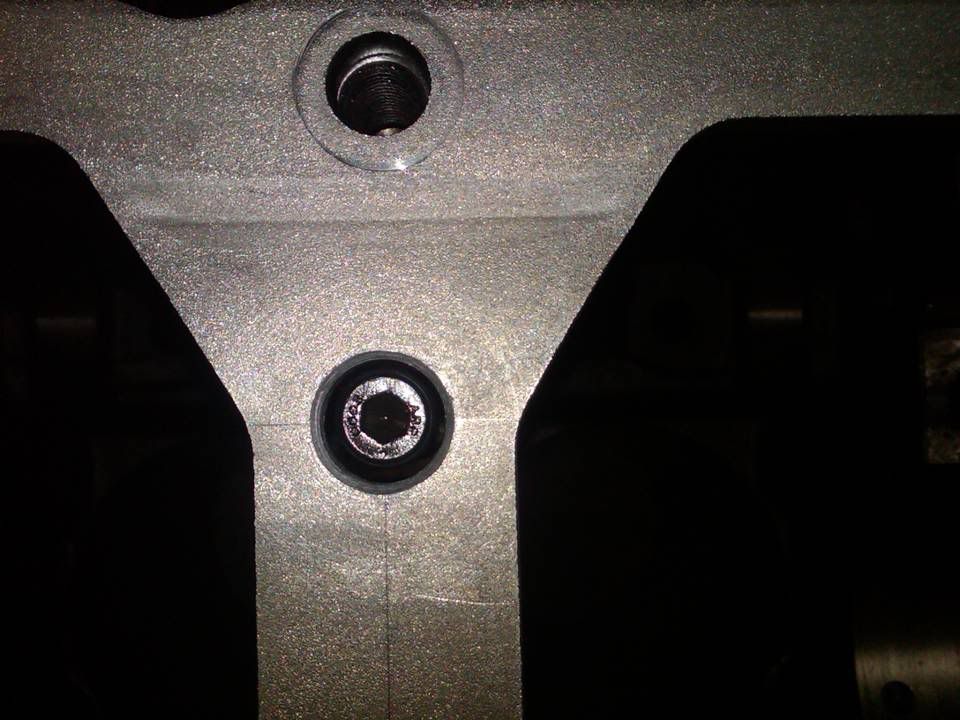
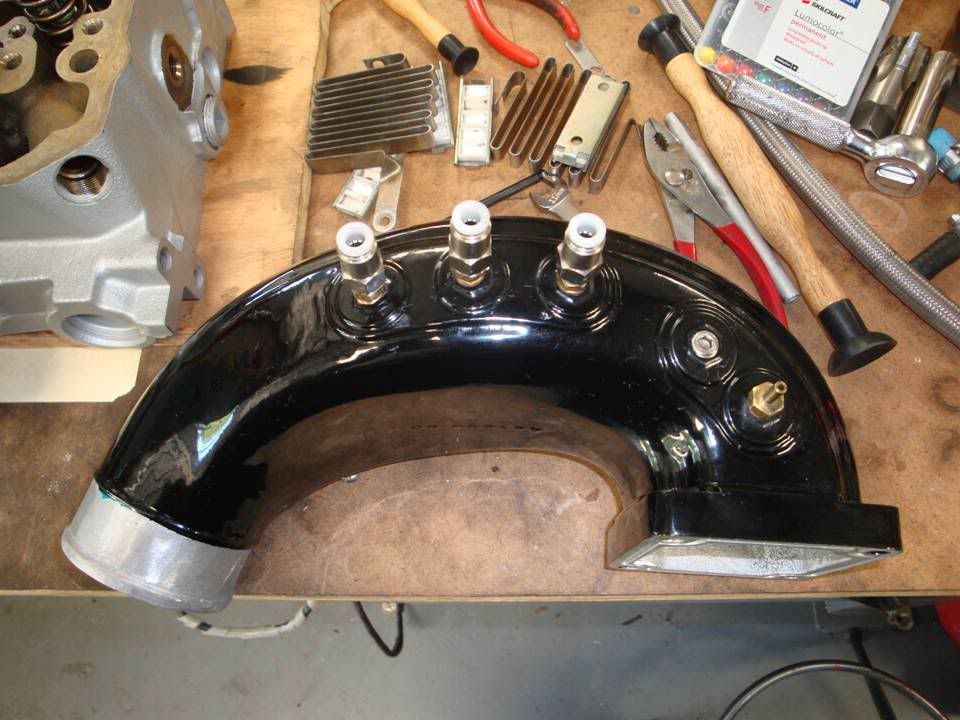
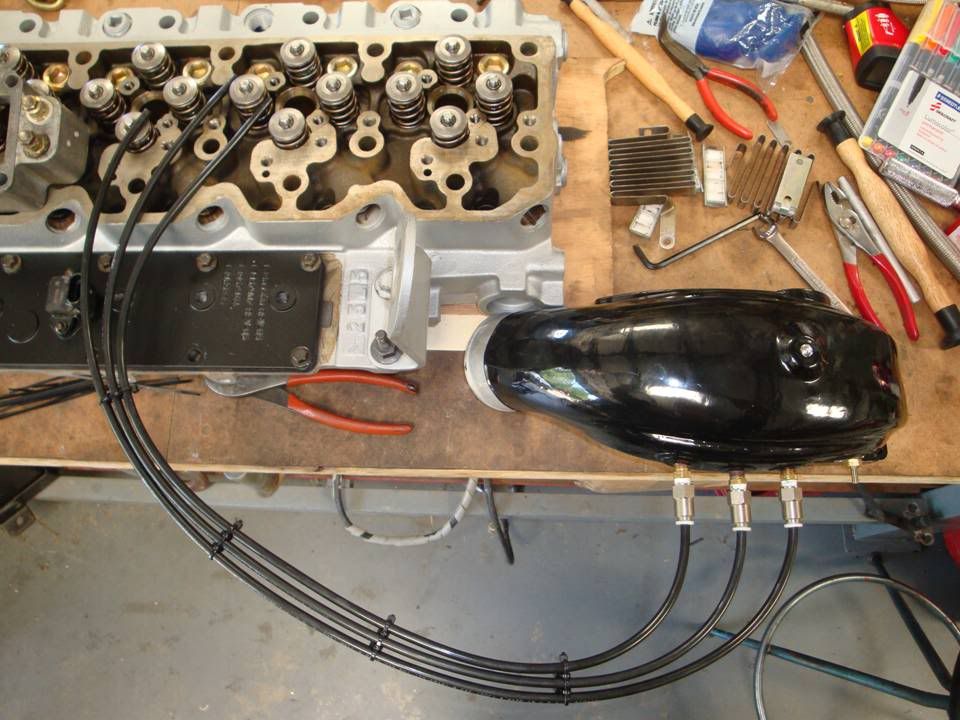
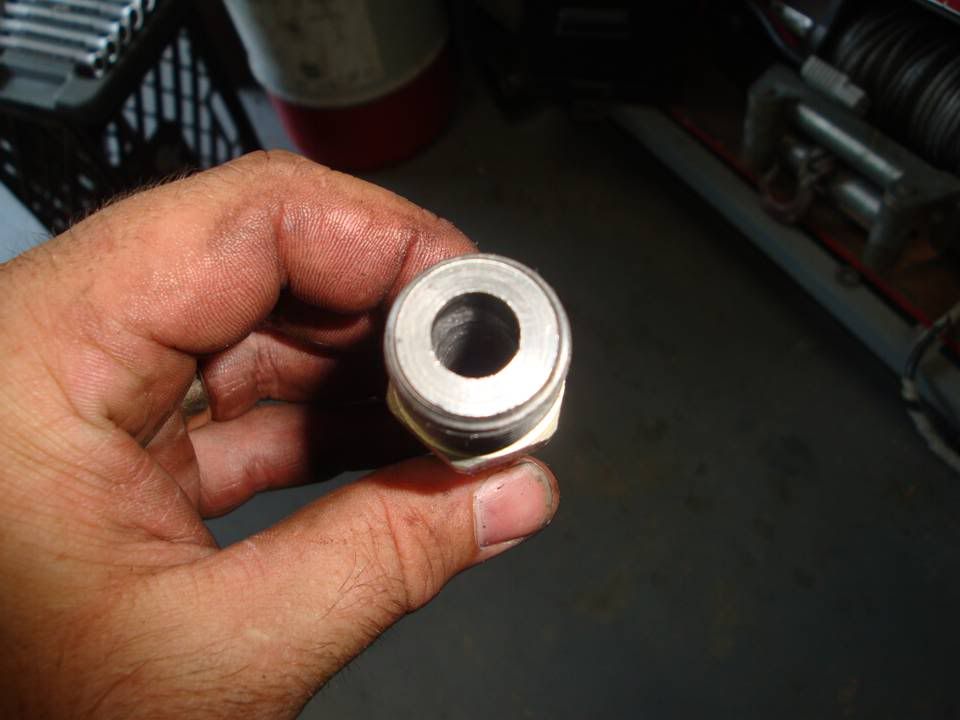
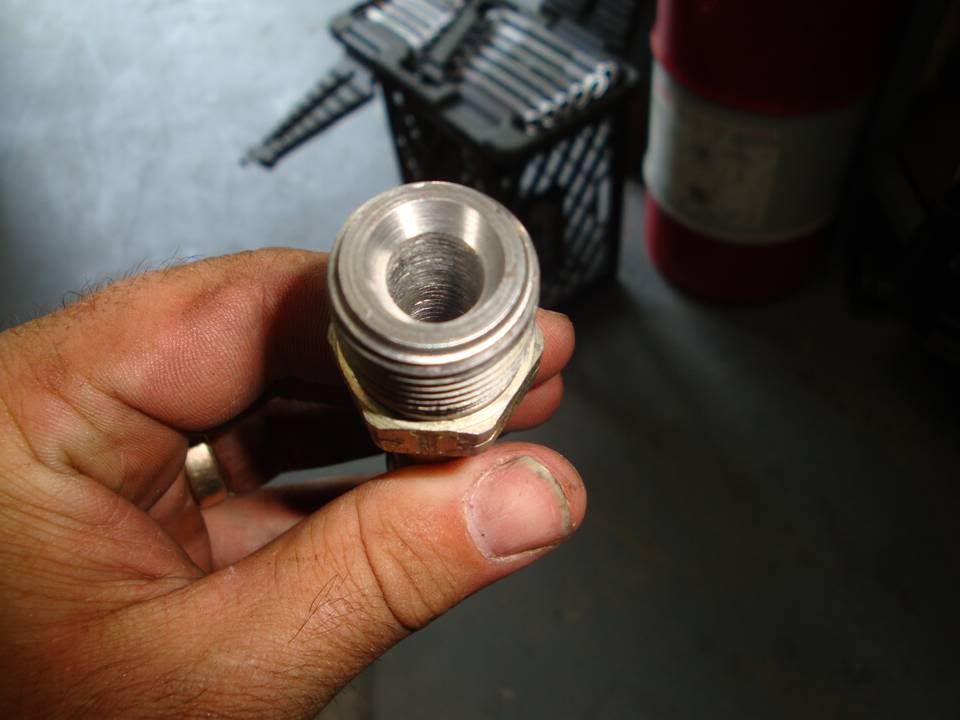
New pipe plugs installed instead of the freeze plugs.....
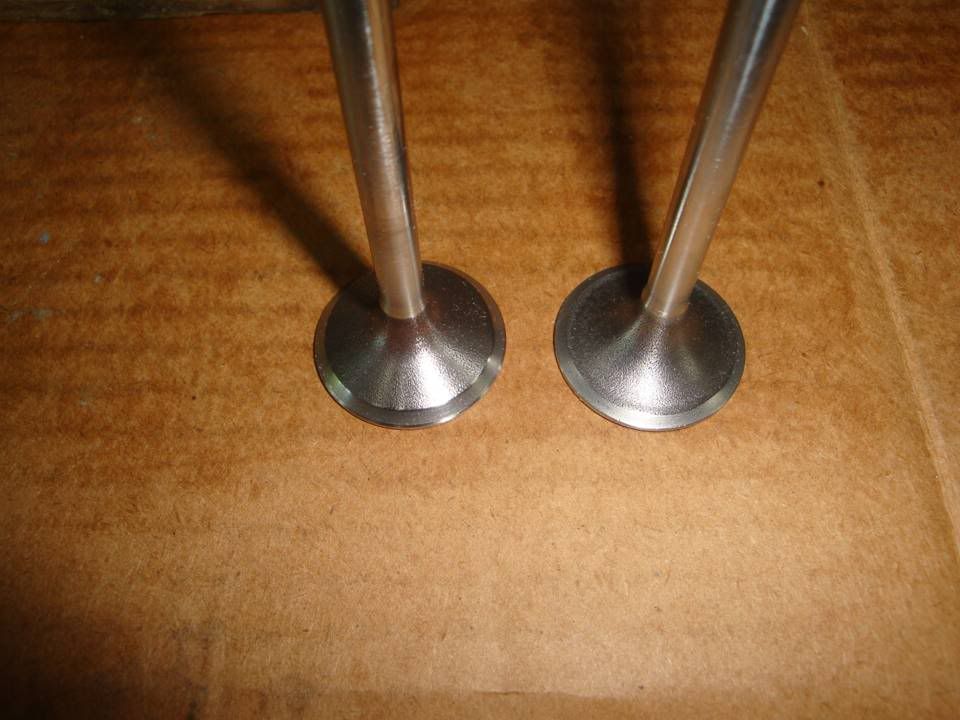
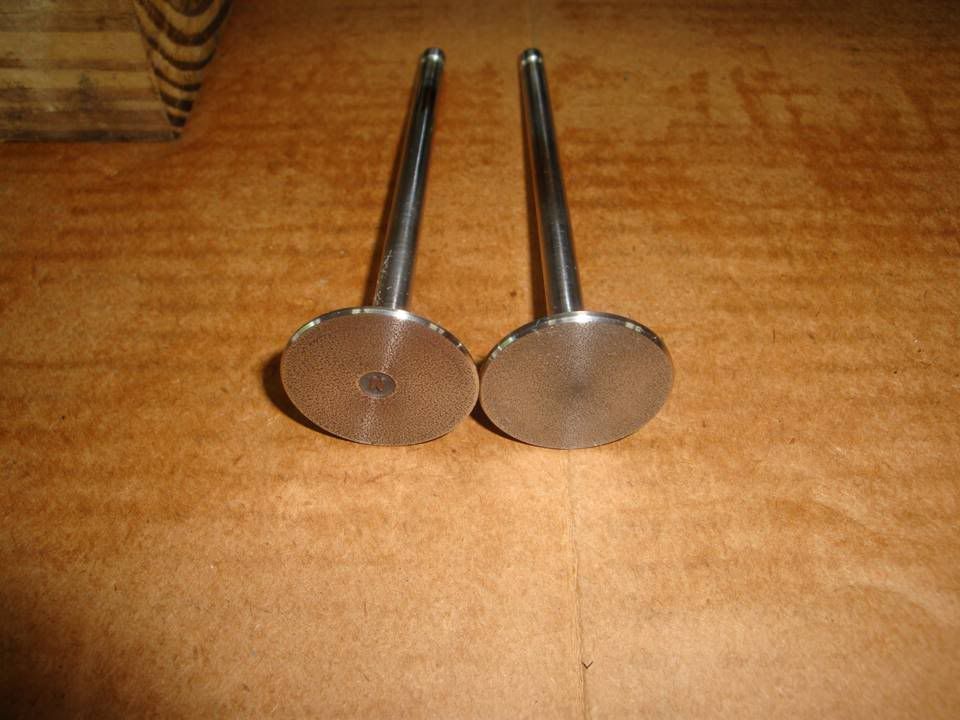
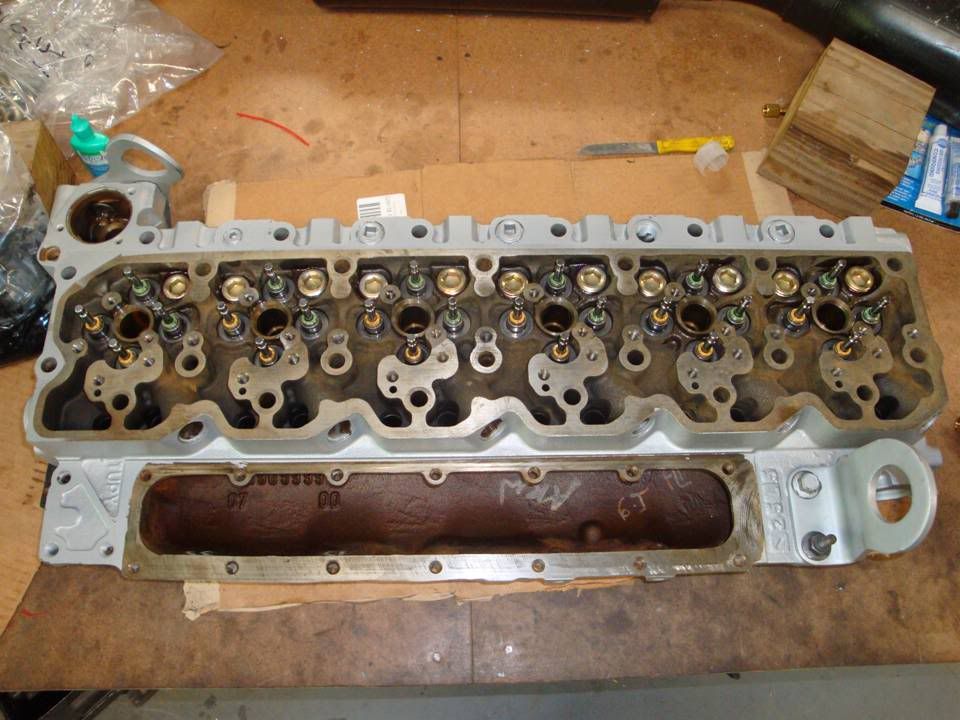
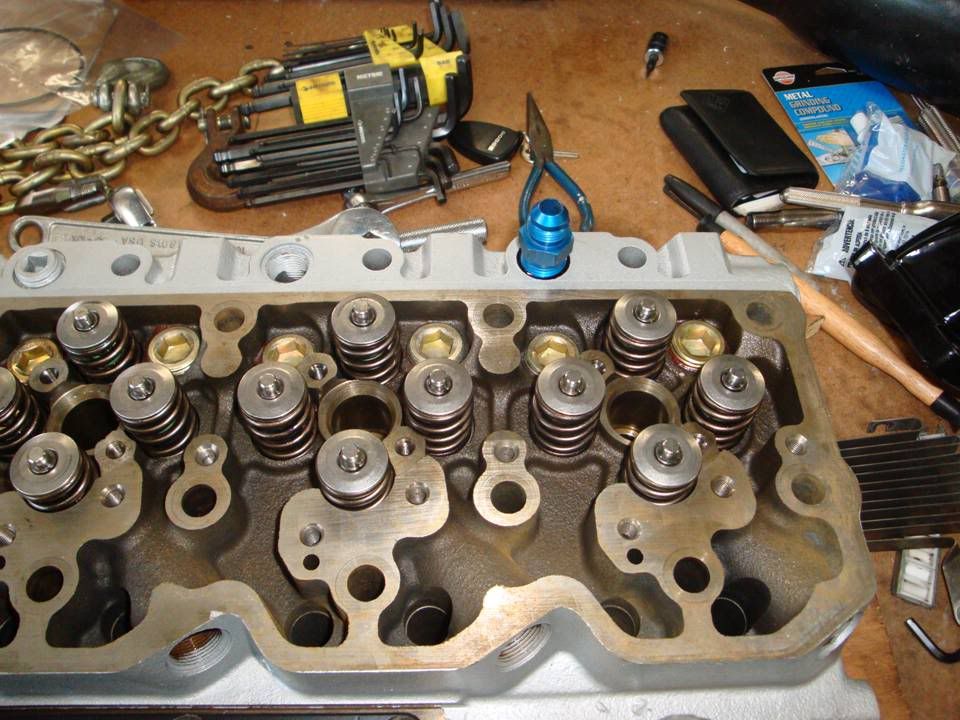
Intake and exhaust valves.
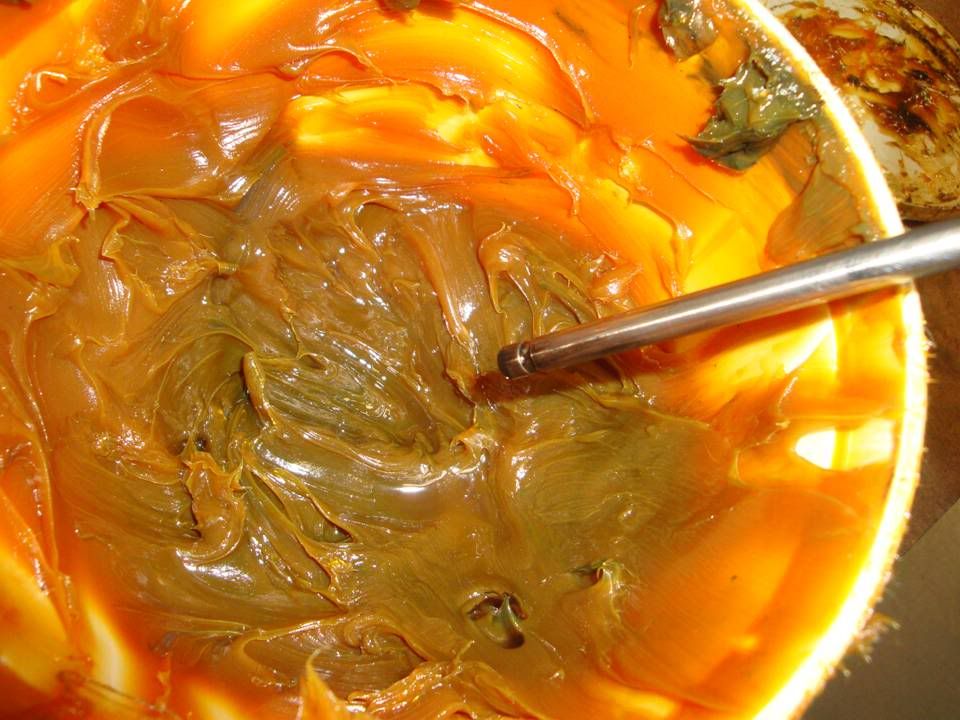
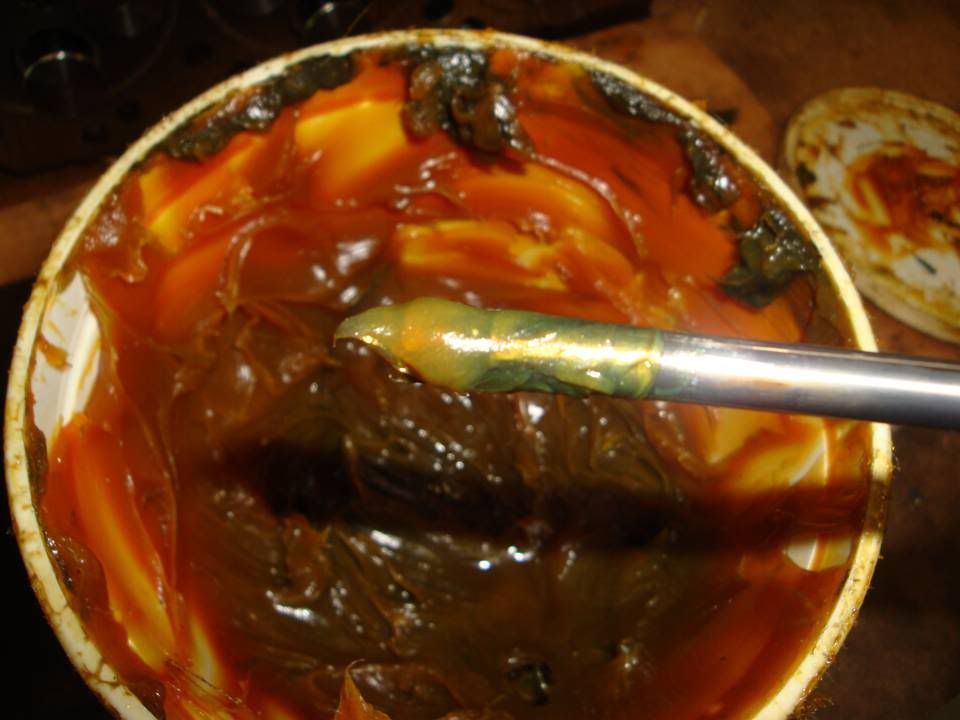
Grease the upper valve stem before inserting to lube the valve guides.....
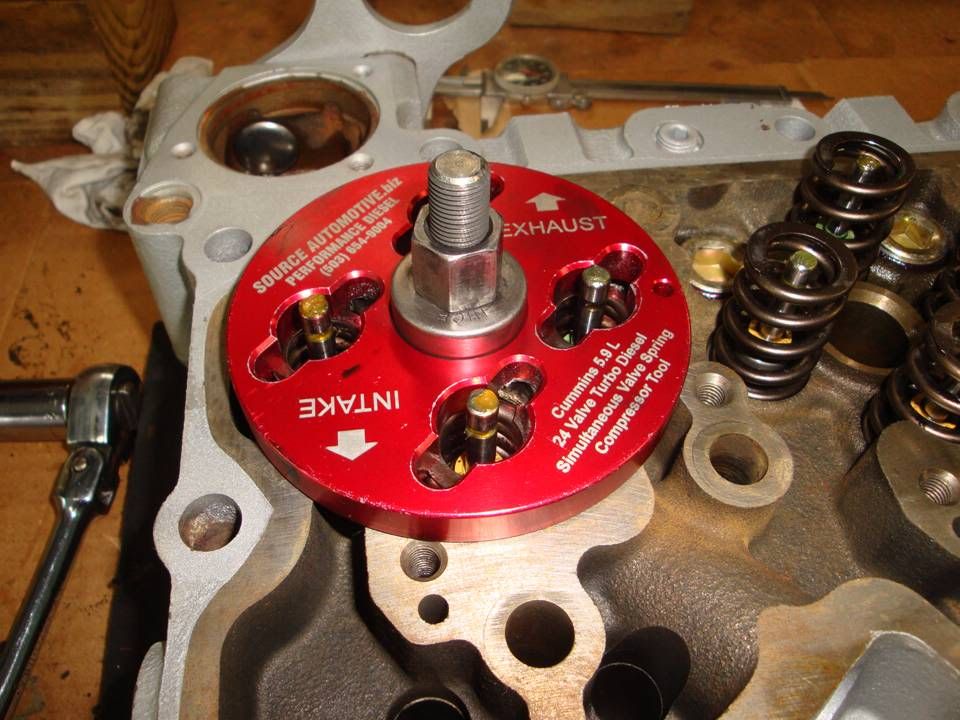
Time to assemble the head.
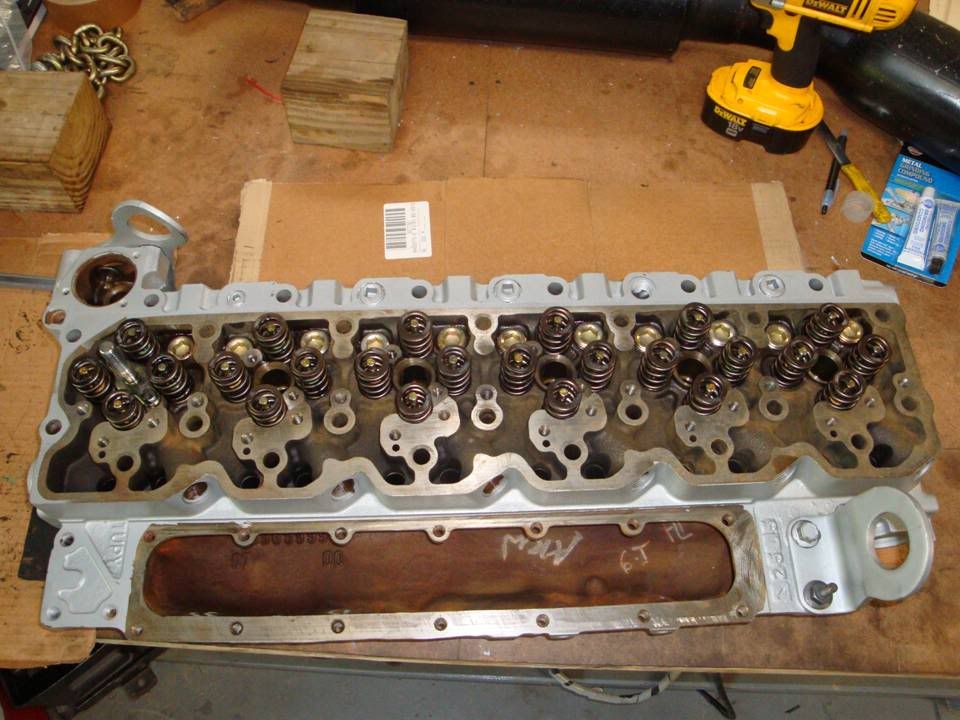
Got the head all cleaned up, the new plugs are in, got the valves polished up a bit and got the head put back together.
New pipe plugs installed instead of the freeze plugs.....
Intake and exhaust valves.
Grease the upper valve stem before inserting to lube the valve guides.....
Time to assemble the head.
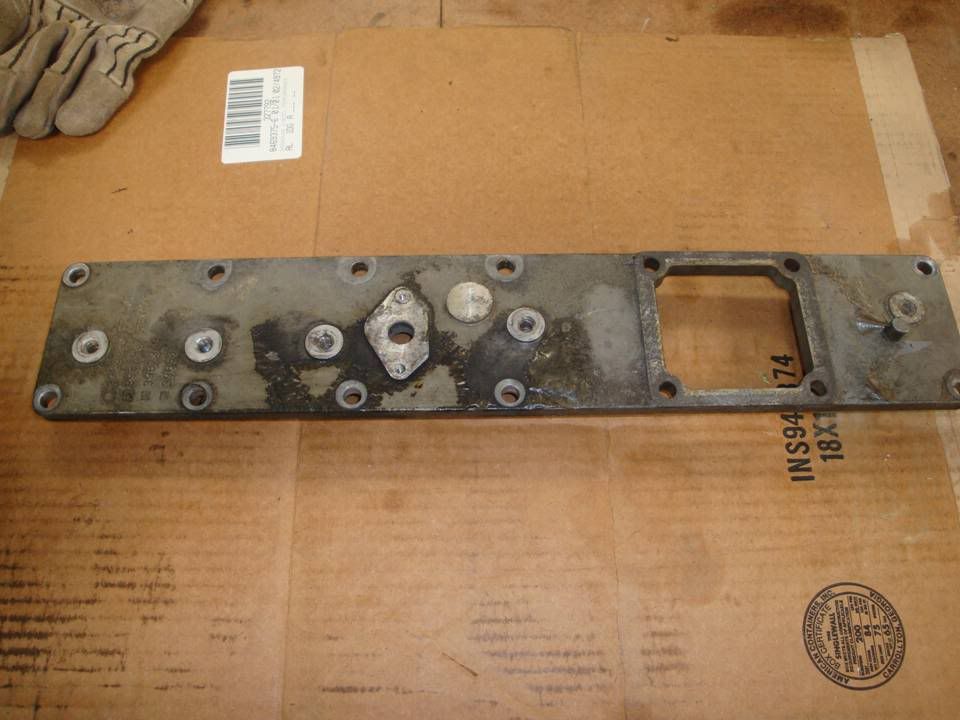

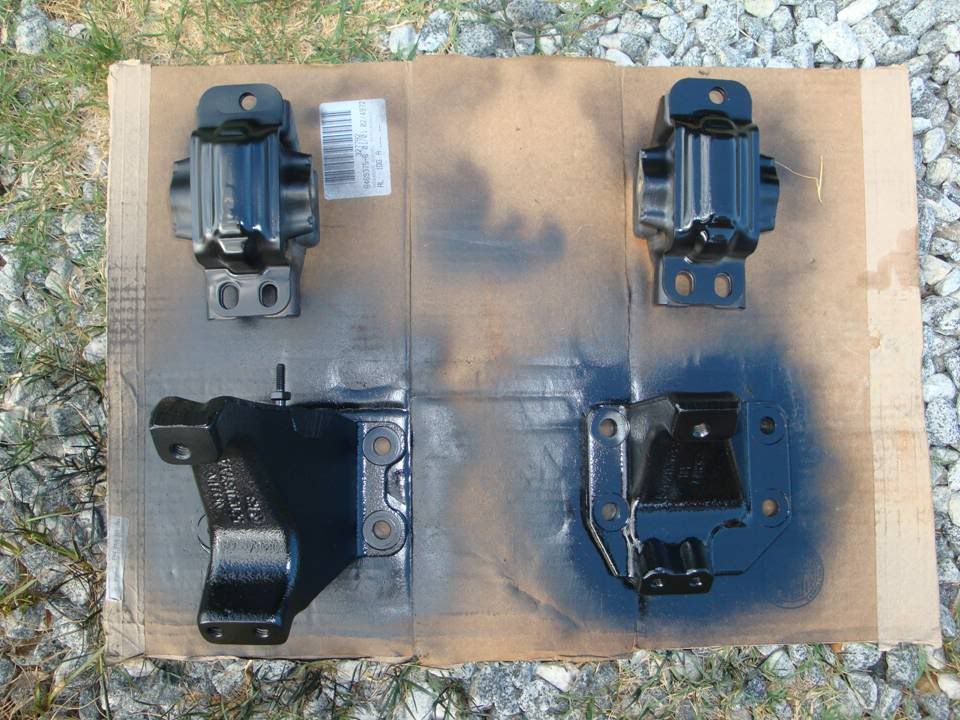

 oke: I hate how those things rust up.