You are using an out of date browser. It may not display this or other websites correctly.
You should upgrade or use an alternative browser.
You should upgrade or use an alternative browser.
Rebirth of Monster Mudder
- Thread starter NakeDiesel
- Start date
NakeDiesel
Smoke'n in the Mud
- Joined
- Jan 20, 2010
- Messages
- 1,116
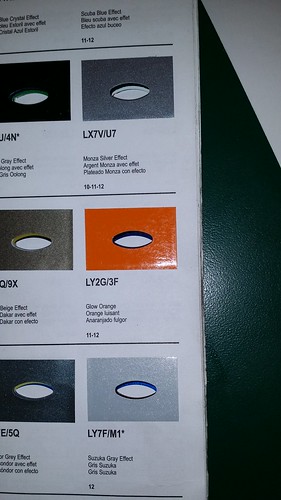
the body is going to be Glow Orange with black fenders. I need to pick me up a pin stripping brush so I can paint the bars on the grill black after I get it painted orange.
Dad thinks I need to put a confederate flag on the roof and call it the general mudd with the color I'm painting it.
Dad thinks I need to put a confederate flag on the roof and call it the general mudd with the color I'm painting it.
CorneliusRox
Seasoned Rookie
- Joined
- Dec 13, 2012
- Messages
- 4,154
the body is going to be Glow Orange with black fenders. I need to pick me up a pin stripping brush so I can paint the bars on the grill black after I get it painted orange.
Dad thinks I need to put a confederate flag on the roof and call it the general mudd with the color I'm painting it.
I thought you were doing a crazy purple? Or was that a joke?
NakeDiesel
Smoke'n in the Mud
- Joined
- Jan 20, 2010
- Messages
- 1,116
Well, it was going to be plum crazy purple, but the wife didn't like the color. Then I wanted it to be bright yellow. The kids didn't like that, so we spent an hour at the paint place looking through colors and 75% of us agreed on the glow orange....

CorneliusRox
Seasoned Rookie
- Joined
- Dec 13, 2012
- Messages
- 4,154
Solid! I like that better personally.
NakeDiesel
Smoke'n in the Mud
- Joined
- Jan 20, 2010
- Messages
- 1,116
Last coat of primer has been shot and just finished wet sanding it with 600 grit paper. Going to go out in a little bit and start cleaning the cab so I can start getting it painted this evening after I pick my son up from the votech bus.
NakeDiesel
Smoke'n in the Mud
- Joined
- Jan 20, 2010
- Messages
- 1,116
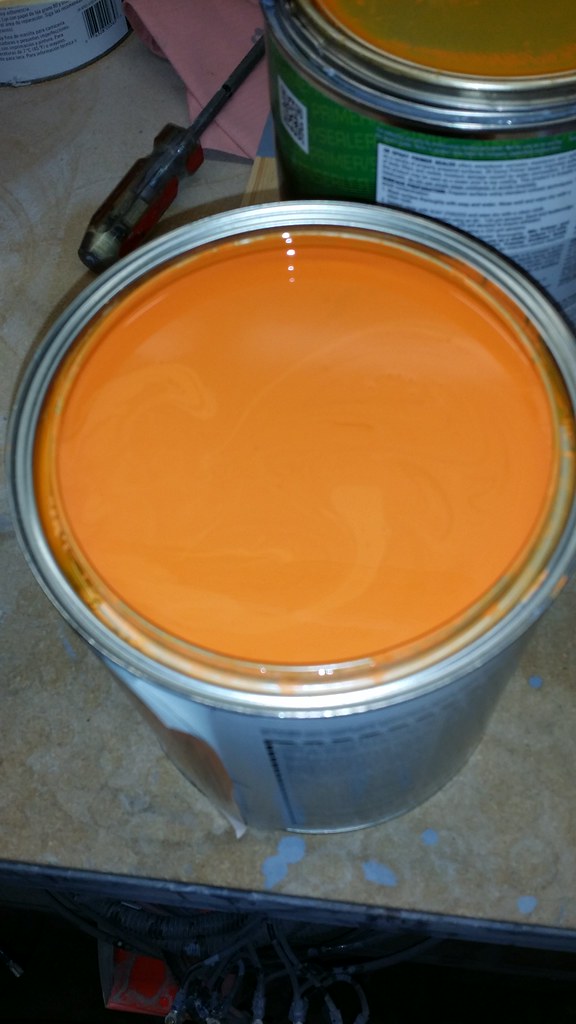
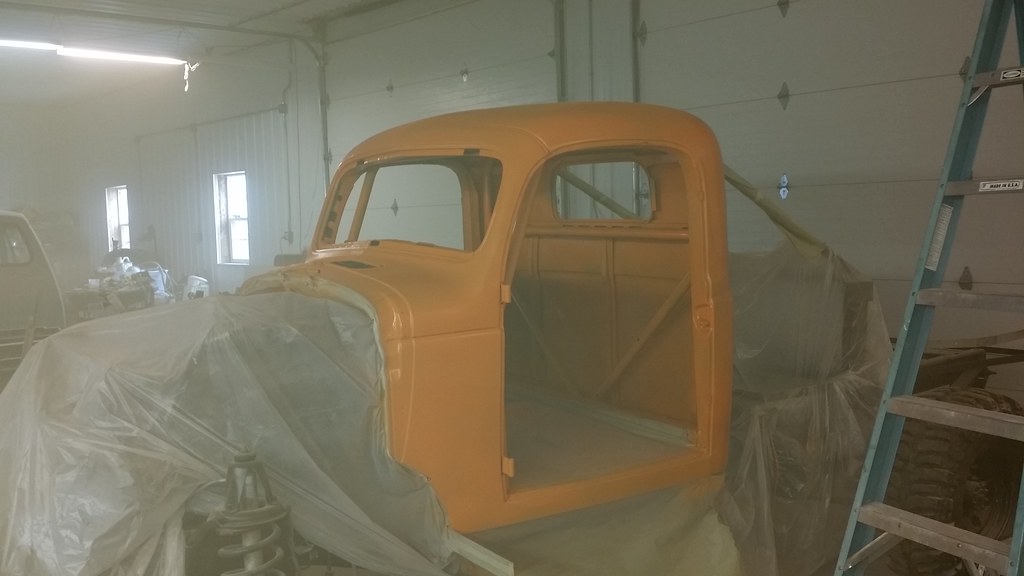
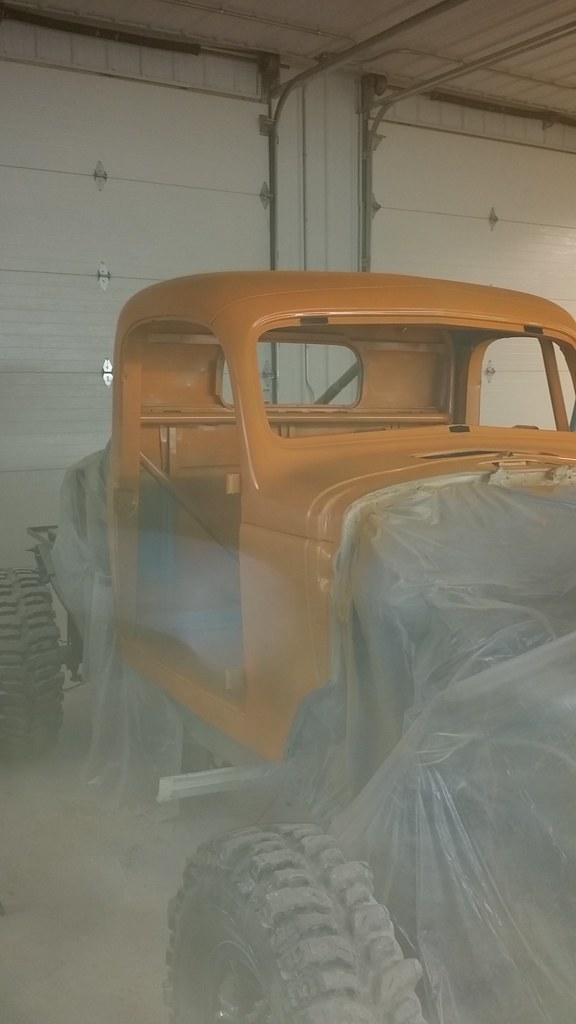
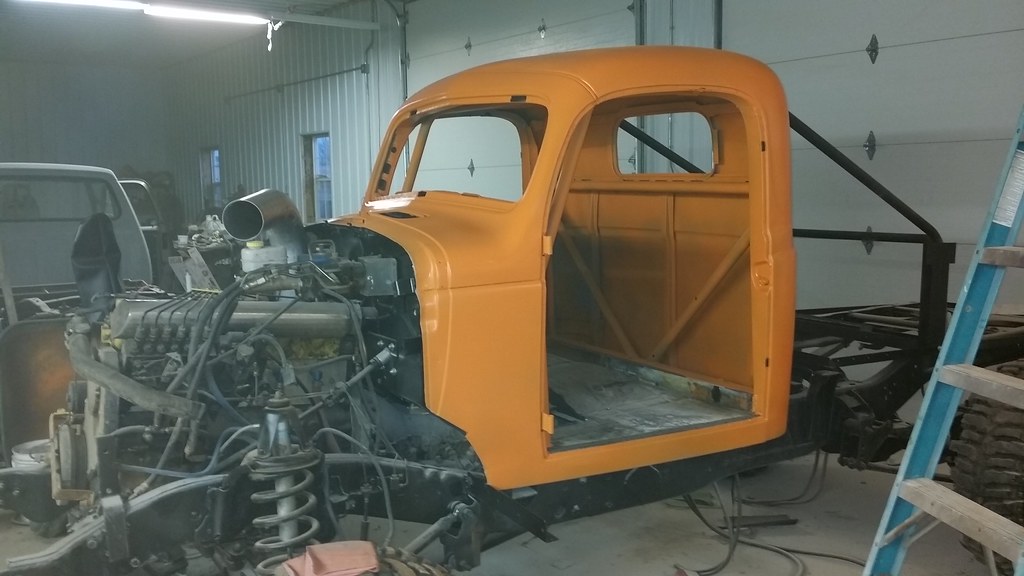
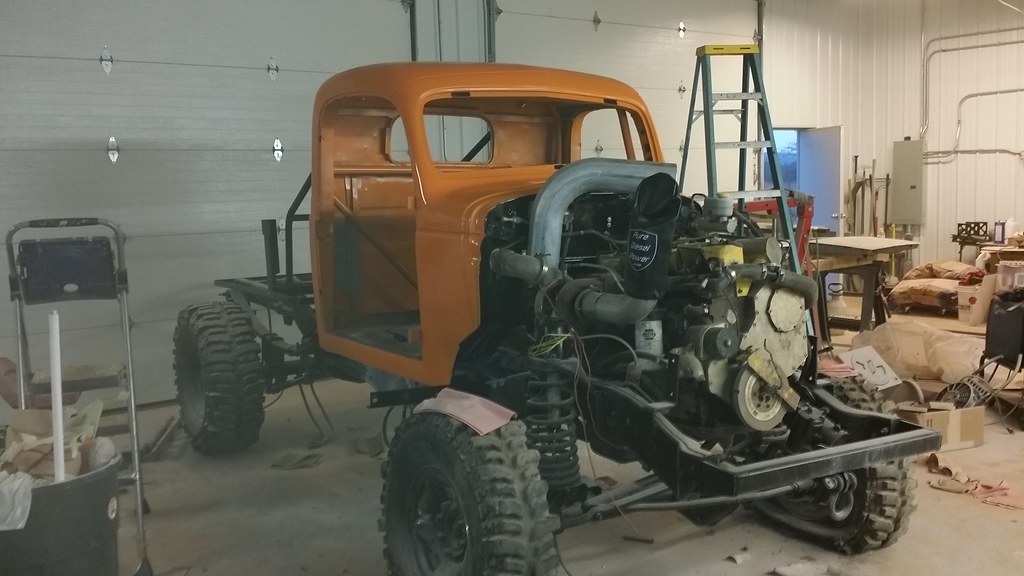
And we have color... 2 coats of glow orange
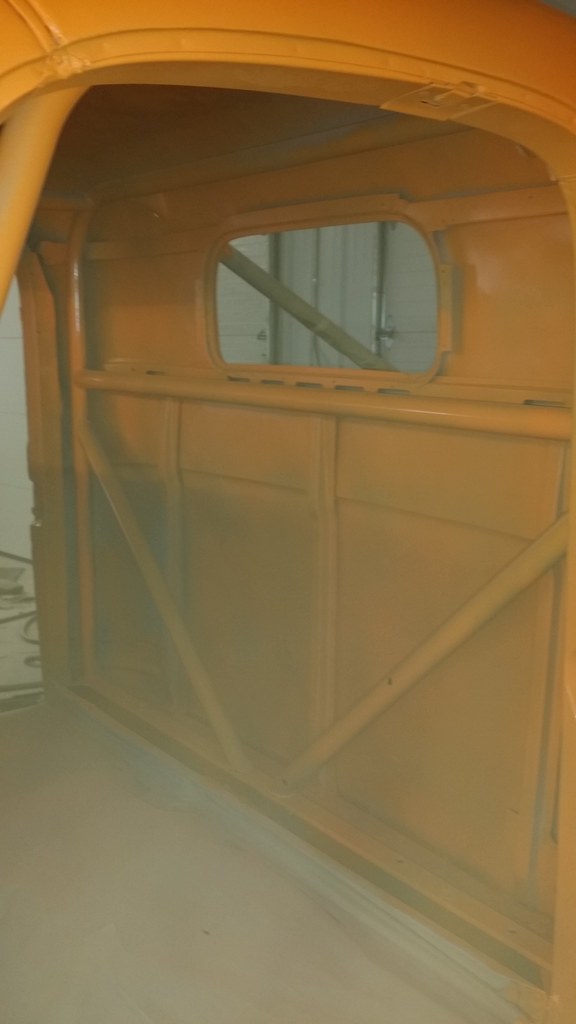
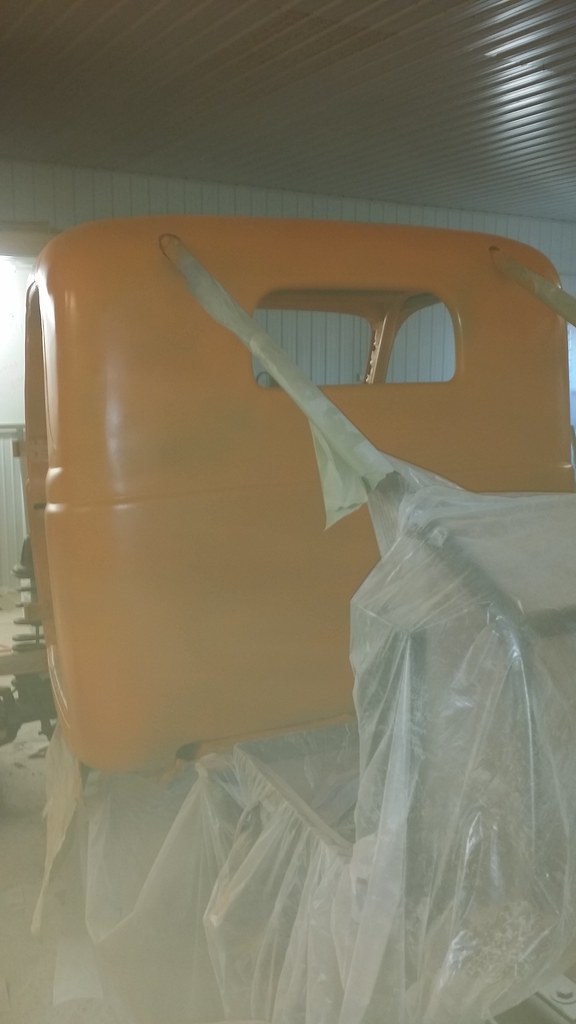
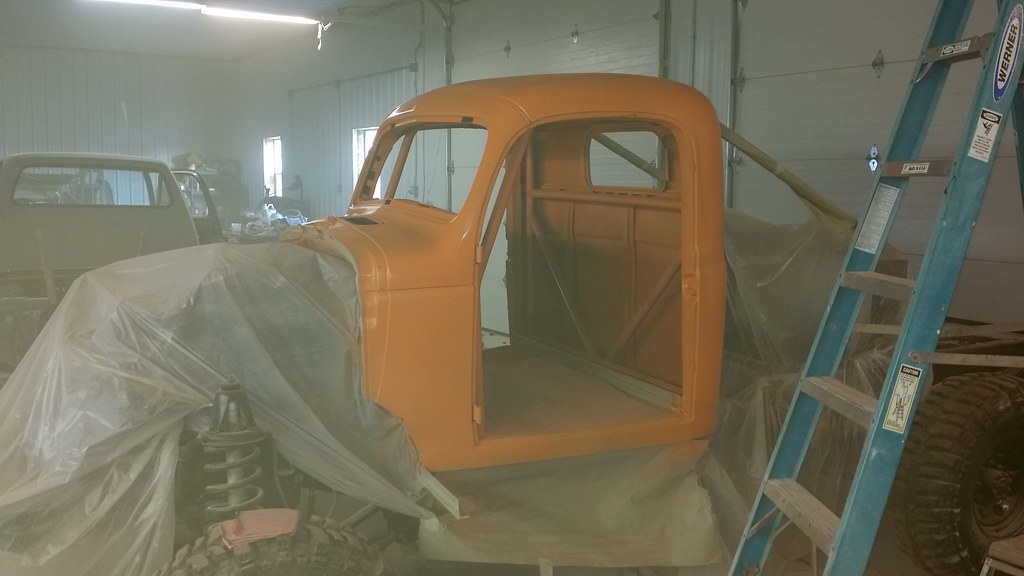
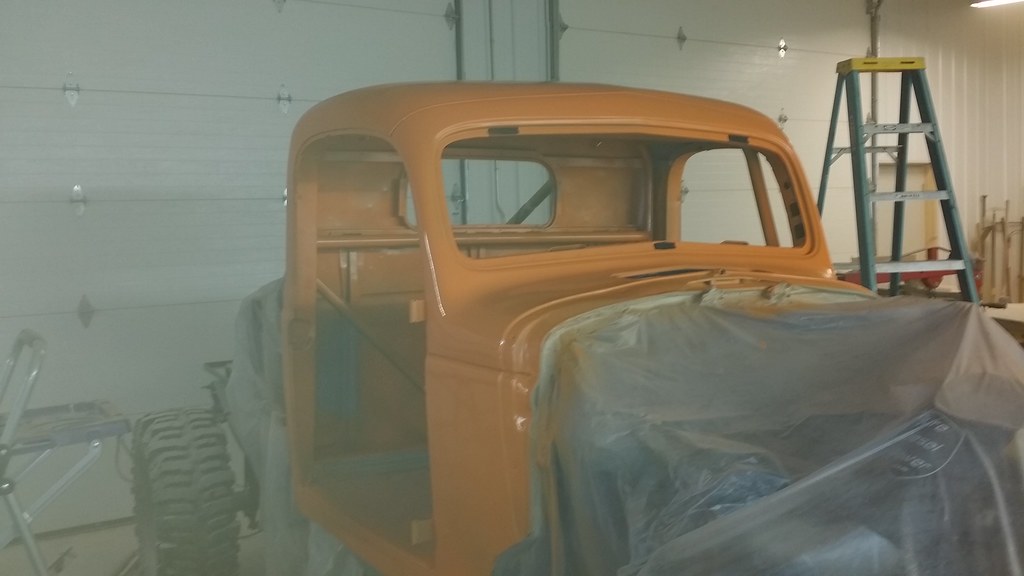


NakeDiesel
Smoke'n in the Mud
- Joined
- Jan 20, 2010
- Messages
- 1,116
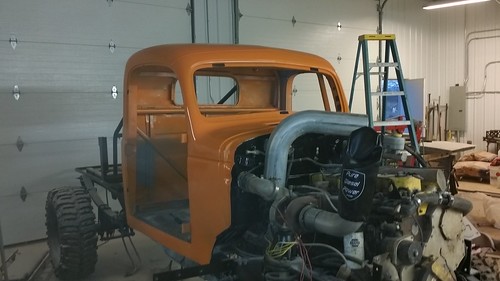
Here are some better pictures after the fog cleared some and the tape was removed


NakeDiesel
Smoke'n in the Mud
- Joined
- Jan 20, 2010
- Messages
- 1,116
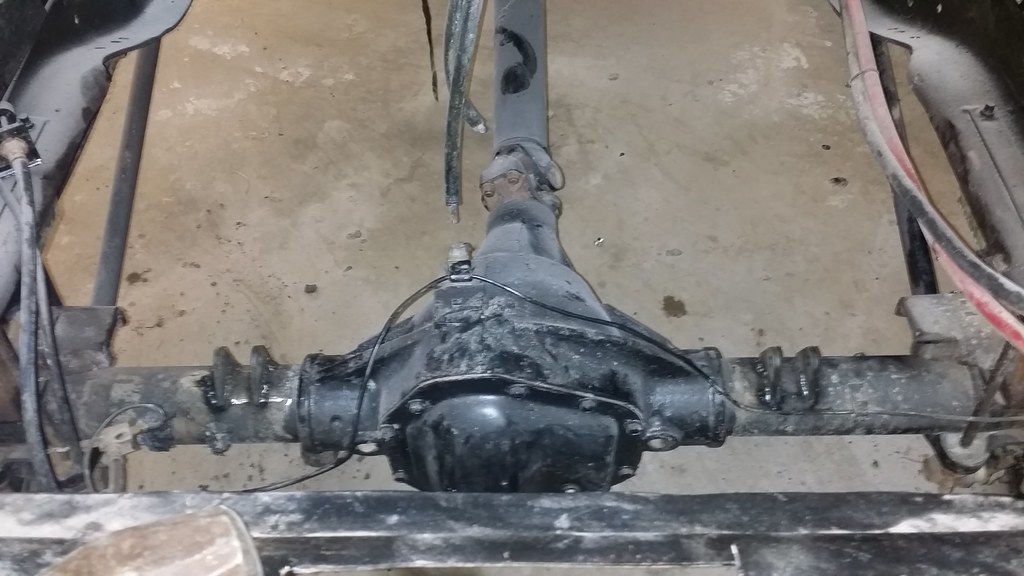
Tonight, I spent most of my time cleaning up the big mess I had created over the last couple of weeks and hauled off the trash cans to our dumpster. But I did get the old shock brackets cut off with the cutting torch and the new tabs welded onto the axle and the cage cross bar. It's going to be a ***** getting those shocks compressed to fit in there.
I'm planning on getting the floor of the cab and the outside part of the roll bar coated in POR 15 tomorrow and work on the passenger side door as well. Tomorrow is the last day of work, then I'm on vacation through the 13th.
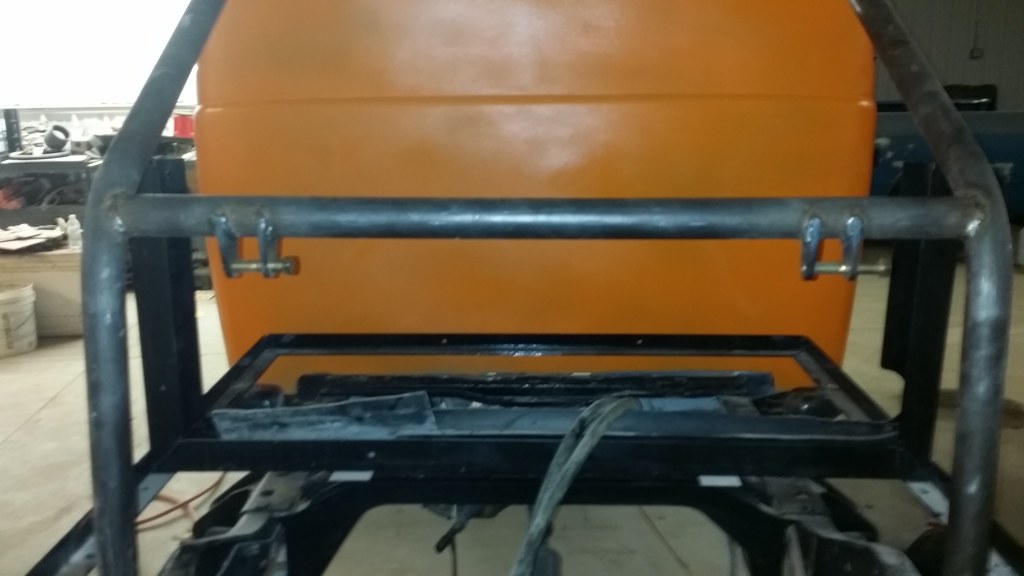
I'm planning on getting the floor of the cab and the outside part of the roll bar coated in POR 15 tomorrow and work on the passenger side door as well. Tomorrow is the last day of work, then I'm on vacation through the 13th.


NakeDiesel
Smoke'n in the Mud
- Joined
- Jan 20, 2010
- Messages
- 1,116
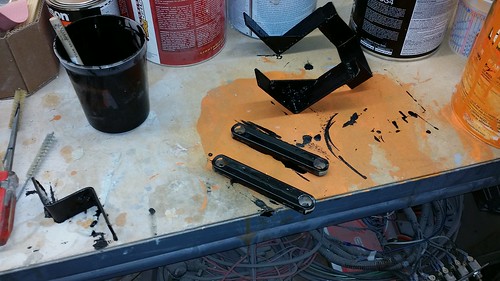
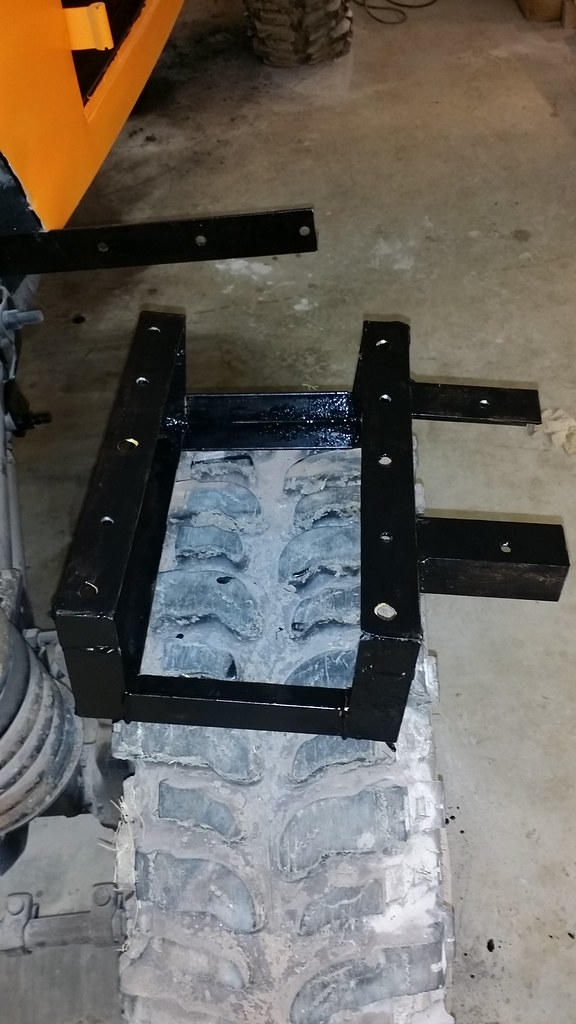
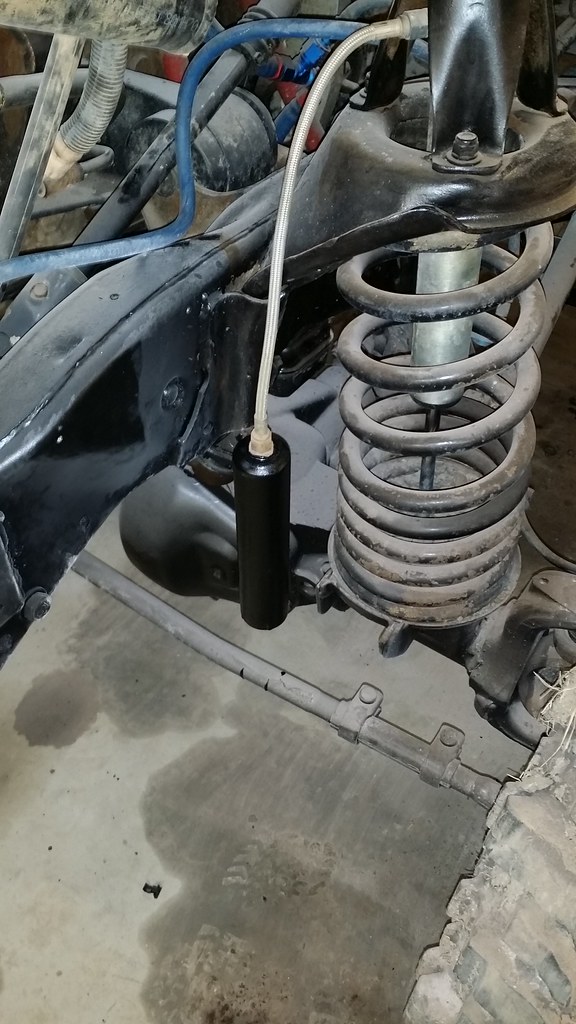
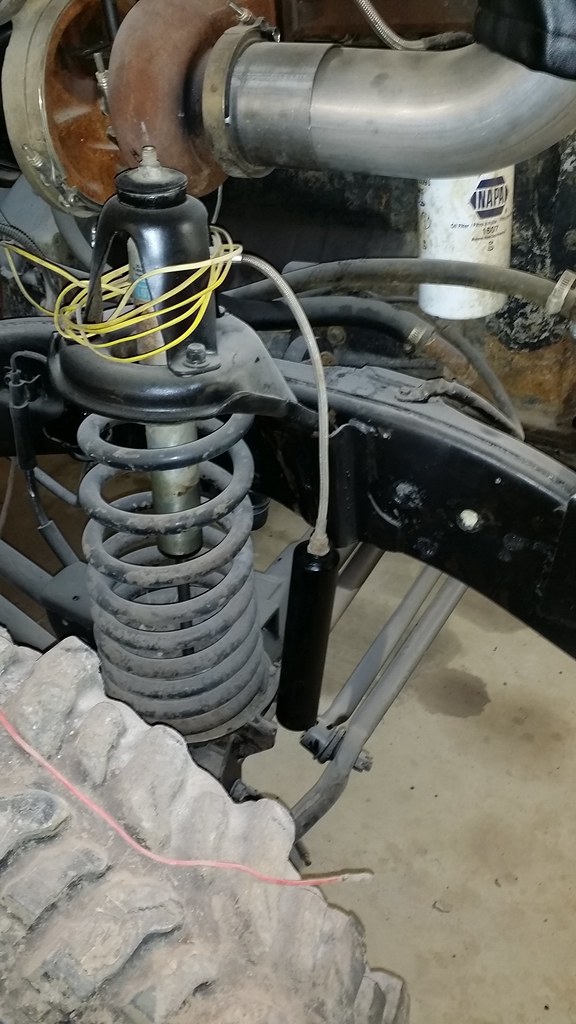
Today, I washed and prepped the floor of the truck, the outside part of the roll bar and the axle part of the rear differential and got them coated in POR 15 and then a second coat on the outside pieces with Chassis black on the top of it. I also painted the remote reservoirs for the front shocks black and their holders, along with the last few pieces that needed coated like my seat mount and the radiator hold down brackets.
Worked some more on the passenger door and need to apply some more filler to get it finished out.
Also measured and marked the first piece of diamond plate aluminum for the bed. Will get it cut out somehow tomorrow.
The cab is ready to get things started on installing stuff in it at this point.
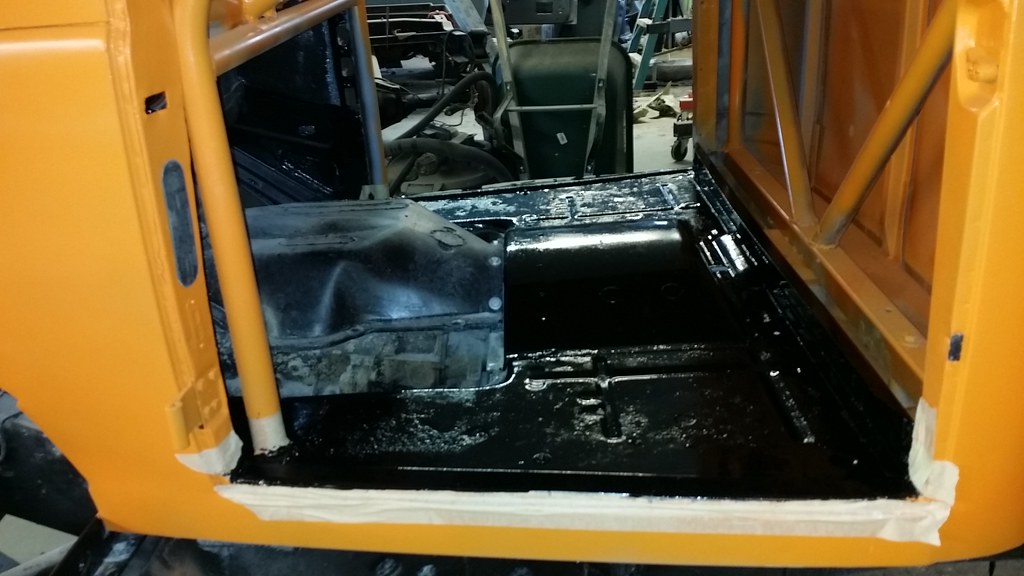
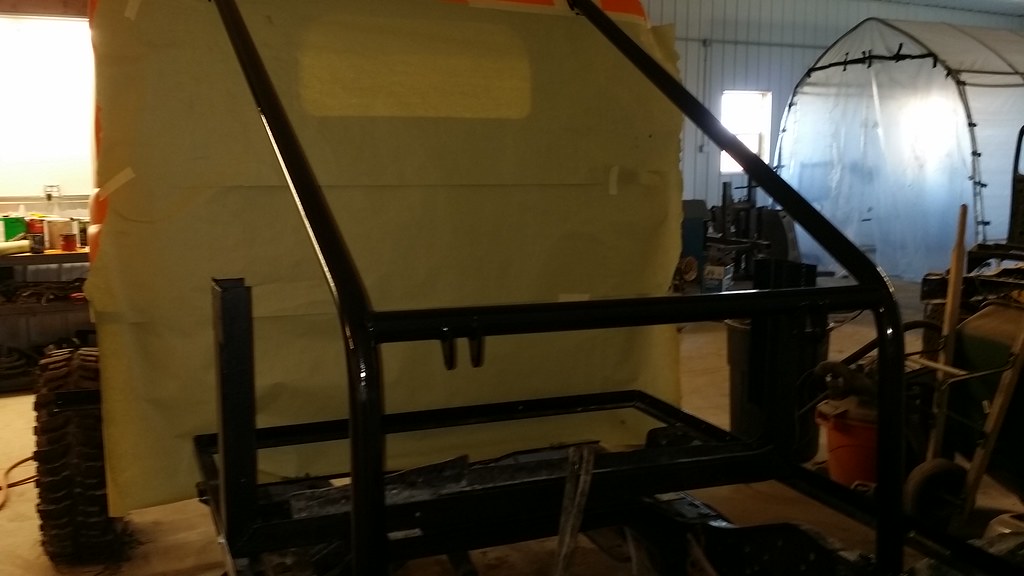
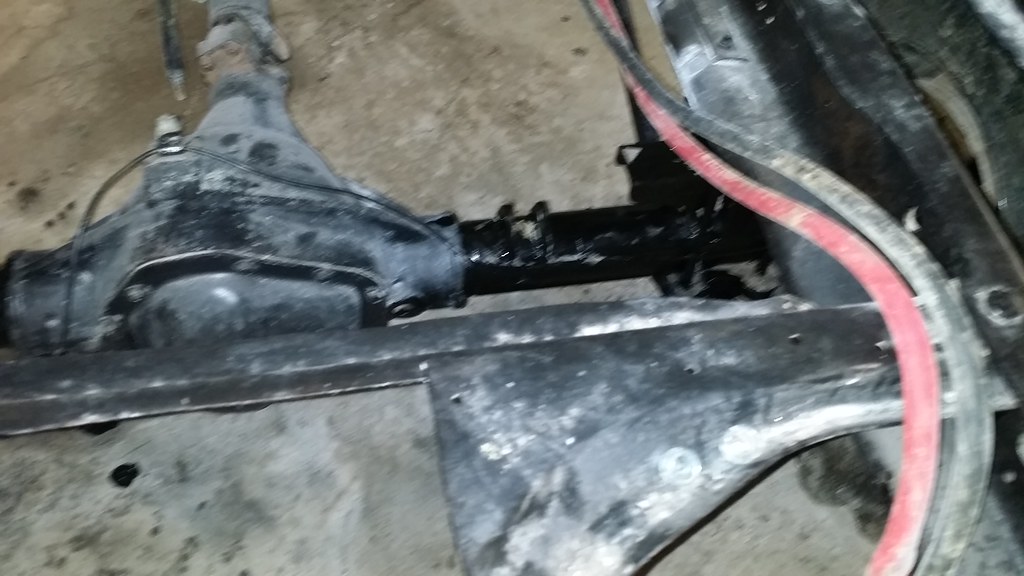
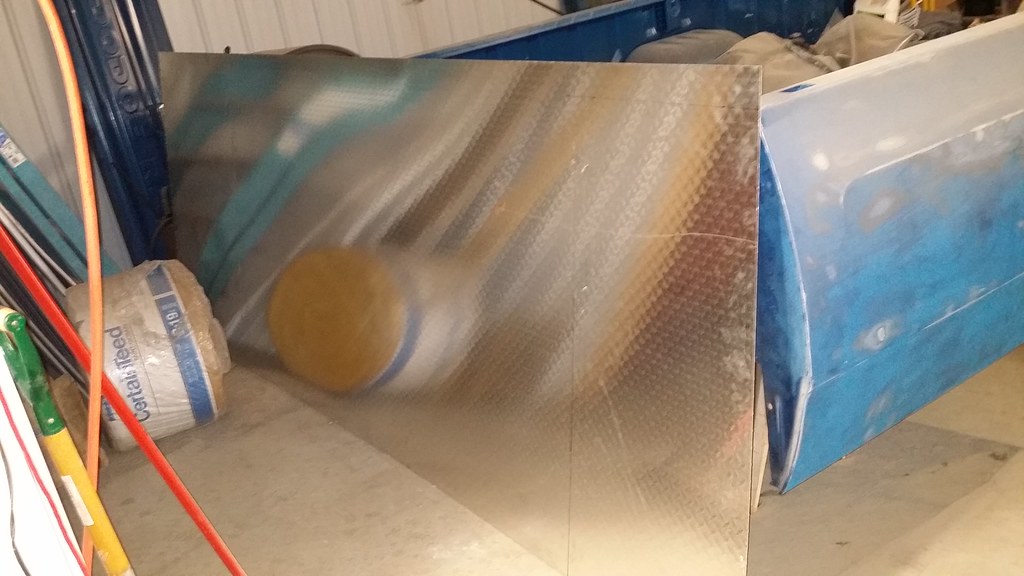
Funny thing about the sheet of diamond plate, it's 4' x 10' x 1/16". I called a couple of places in Tulsa looking for atleast a 4x8 sheet of it to make the floor of the truck. I called one place and said they would have to check to see if they had any. So I called another place that was just 2 blocks away from that place, they had a 4x10 piece for 130.00 About an hour later the other place called me back and said they had it, that it was 230.00 for a 4x10 sheet. Talk about a slight difference in price from two places within blocks from each other.
Worked some more on the passenger door and need to apply some more filler to get it finished out.
Also measured and marked the first piece of diamond plate aluminum for the bed. Will get it cut out somehow tomorrow.
The cab is ready to get things started on installing stuff in it at this point.


Funny thing about the sheet of diamond plate, it's 4' x 10' x 1/16". I called a couple of places in Tulsa looking for atleast a 4x8 sheet of it to make the floor of the truck. I called one place and said they would have to check to see if they had any. So I called another place that was just 2 blocks away from that place, they had a 4x10 piece for 130.00 About an hour later the other place called me back and said they had it, that it was 230.00 for a 4x10 sheet. Talk about a slight difference in price from two places within blocks from each other.
NakeDiesel
Smoke'n in the Mud
- Joined
- Jan 20, 2010
- Messages
- 1,116
Today was spent running errands with just a little bit of time working on the truck. Tried putting one shock on by myself and that didn't work. Will have to get my son to help tomorrow evening. I worked on both doors, beat out the dent on the drivers side and started in with the filler on it. Passenger side is starting to look better, but still needs some work on it.
NakeDiesel
Smoke'n in the Mud
- Joined
- Jan 20, 2010
- Messages
- 1,116
Spent most of the day working out in the shop when I wasn't watching all the fires around us. I will be really glad when we get some rain and puts all these fires out.
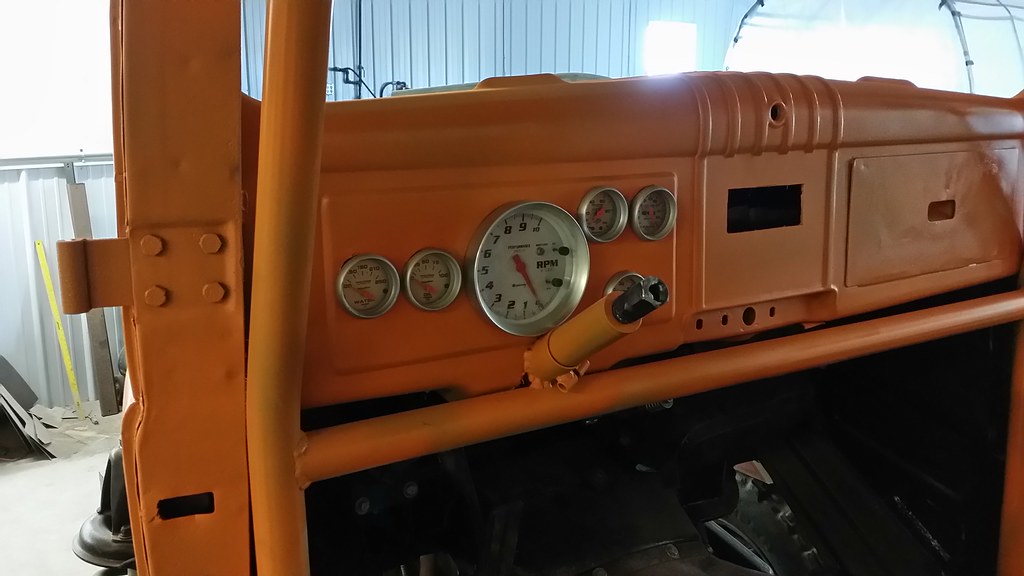
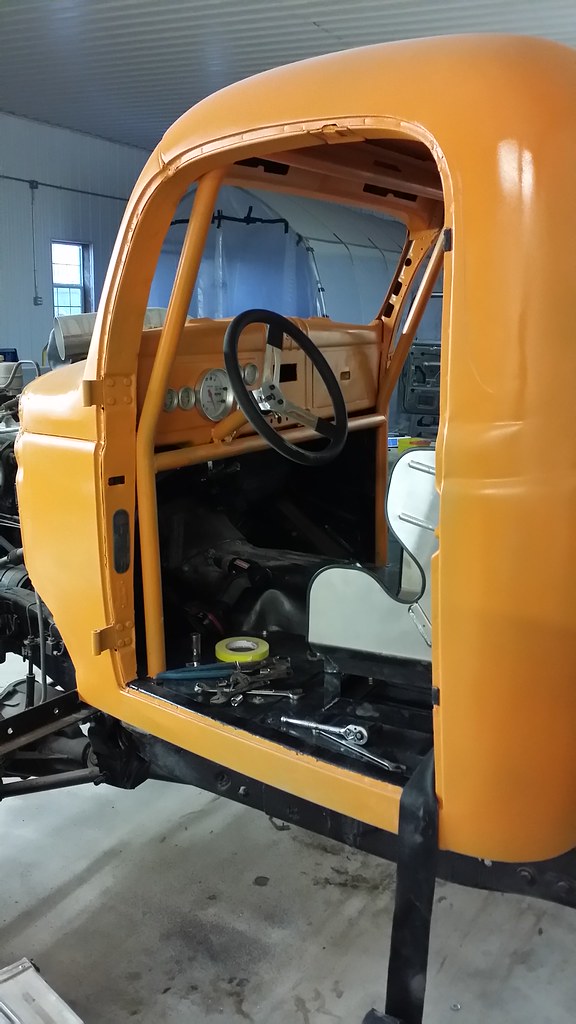
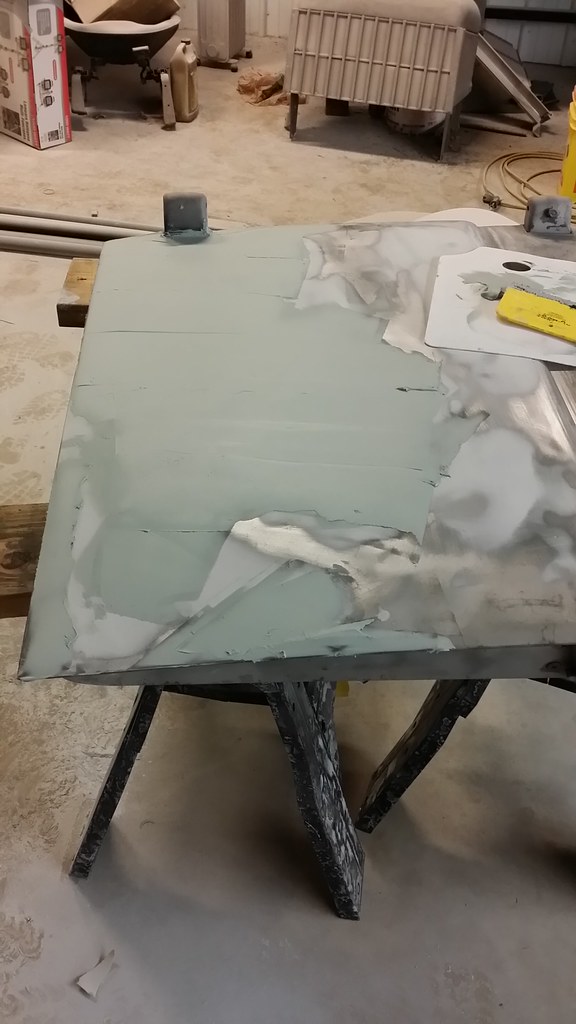
So today, while out there, I drilled the holes for the gauges in the dash. Then taped off the floor and touched up the dash where I drilled the holes and some spots I missed from when I painted the cab.
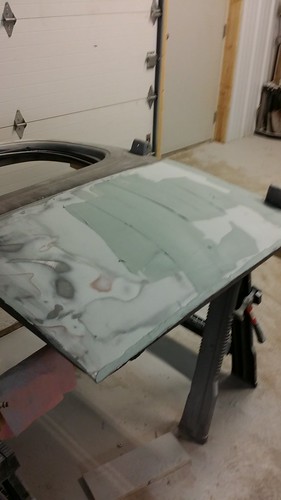
While I was waiting on that to dry, I worked on the doors, sanding them down and then added more filler to them. So I alternated between working on the doors and working on the truck.
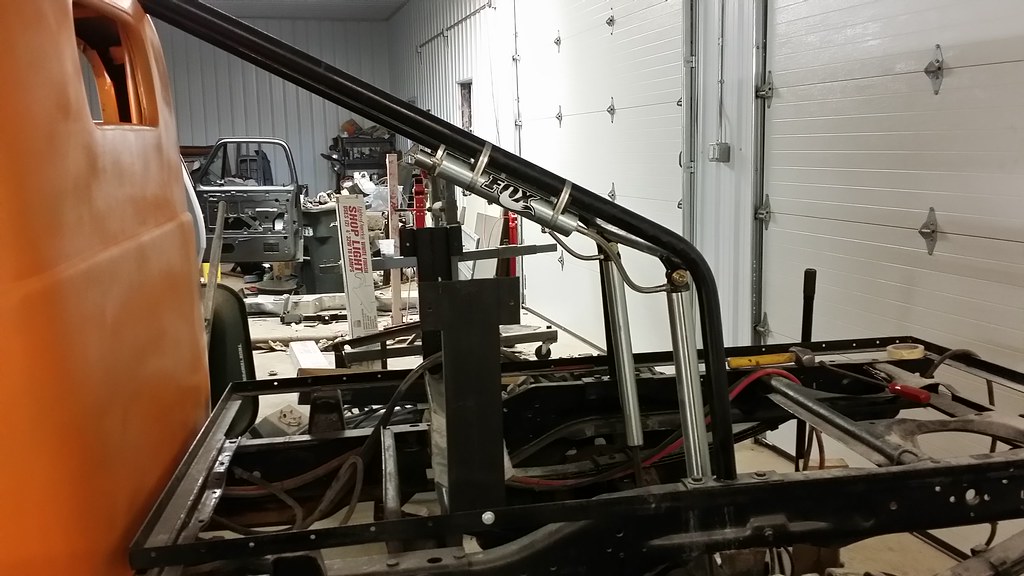
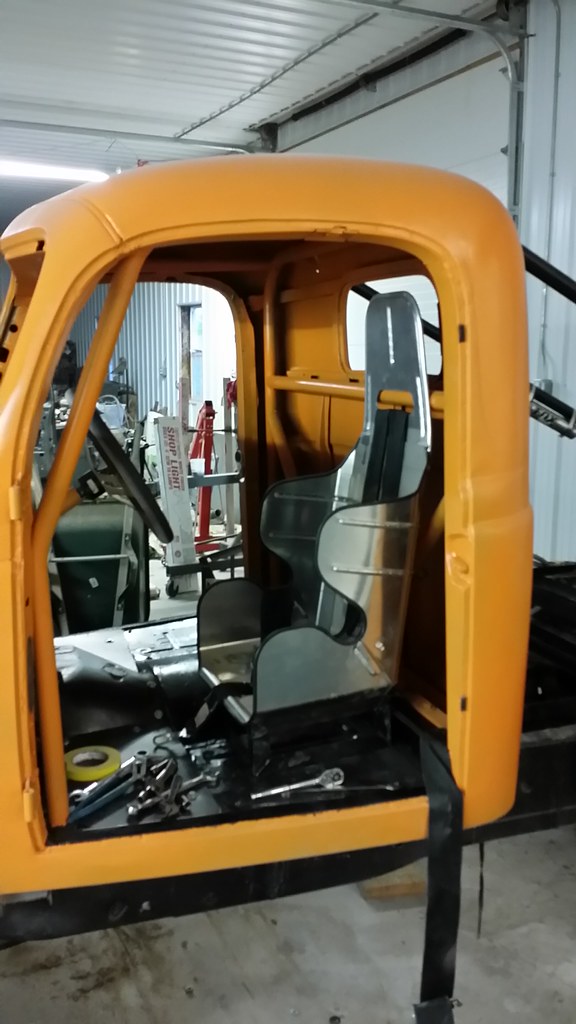
Put the gauges in the dash, they still need to be wired. Installed the rear shocks (those were a pain to get compressed and the bolt inserted with the misalignment washers).
Installed the seat belts and the seat. As well as the floor pans for the truck.


NakeDiesel
Smoke'n in the Mud
- Joined
- Jan 20, 2010
- Messages
- 1,116
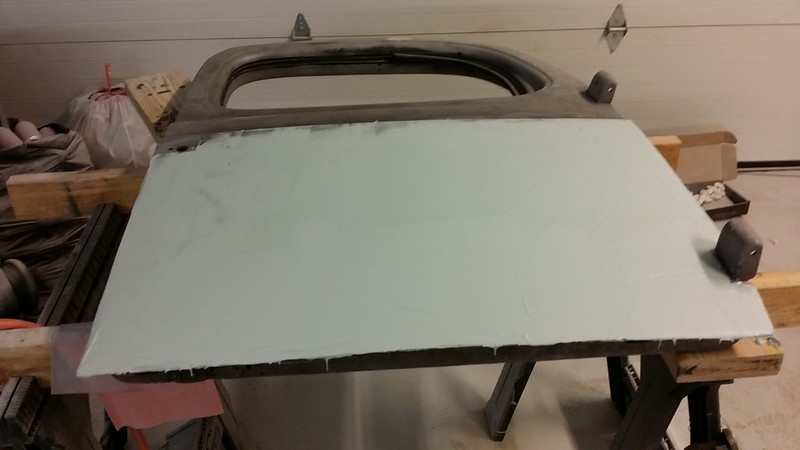
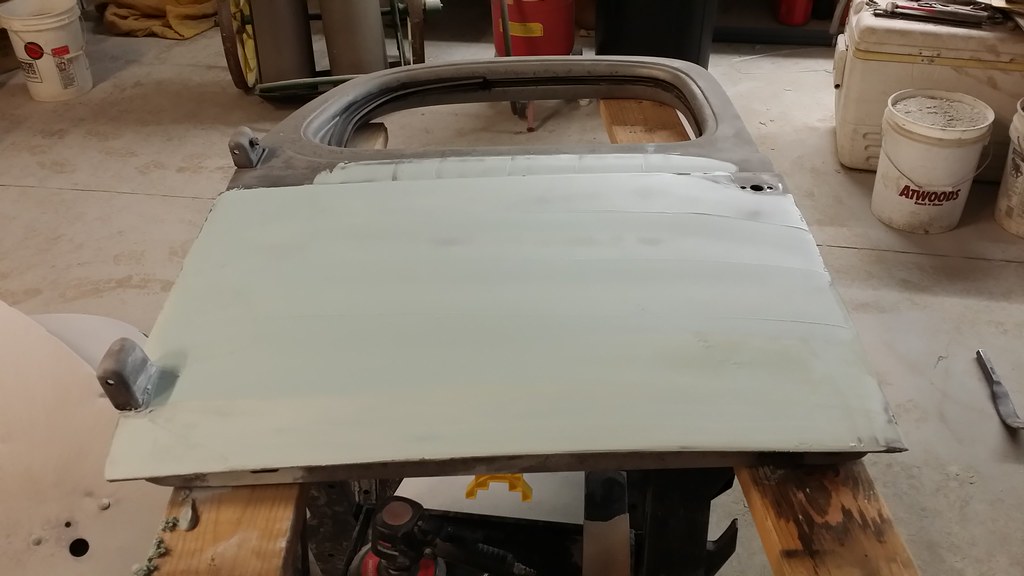
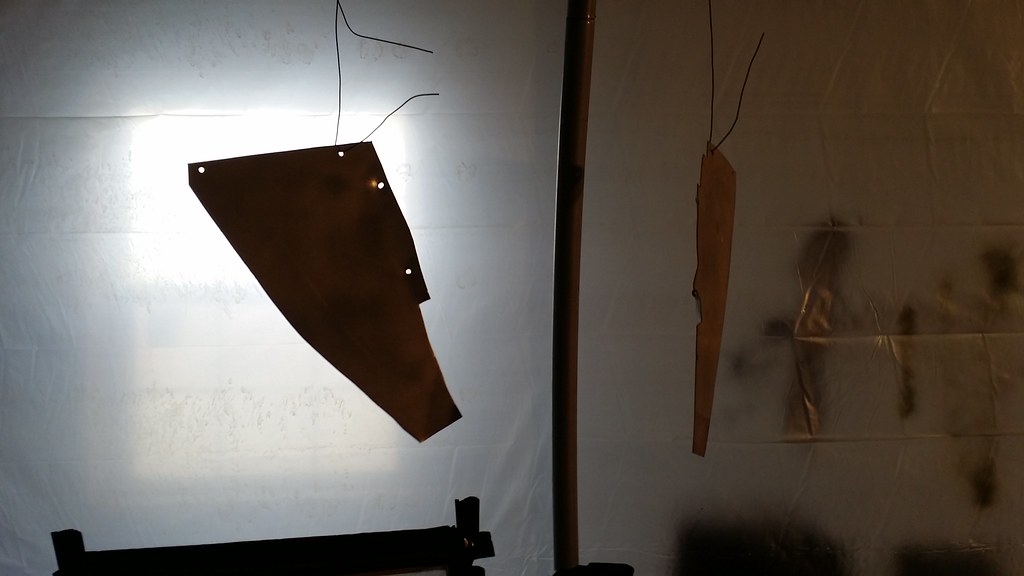
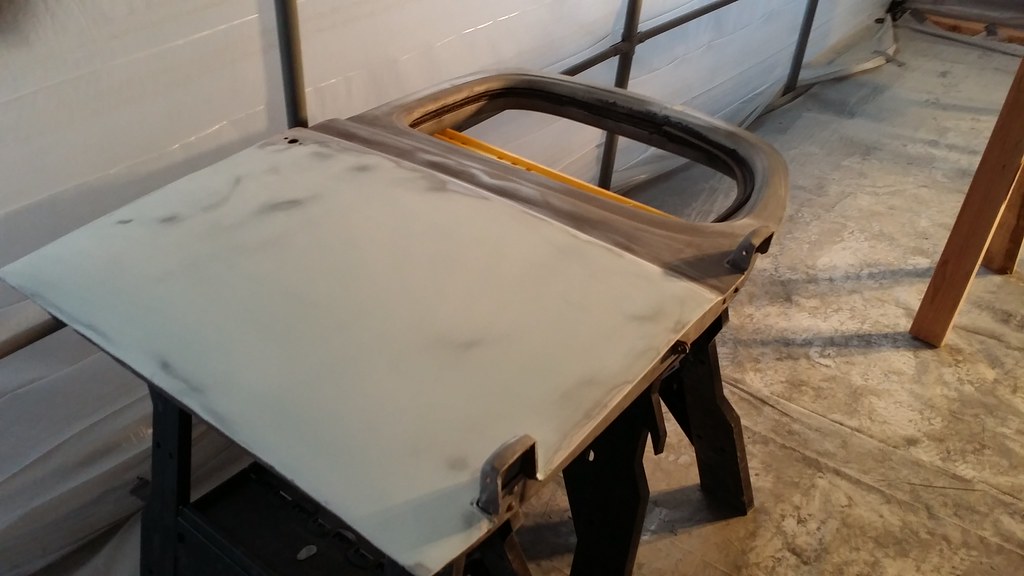
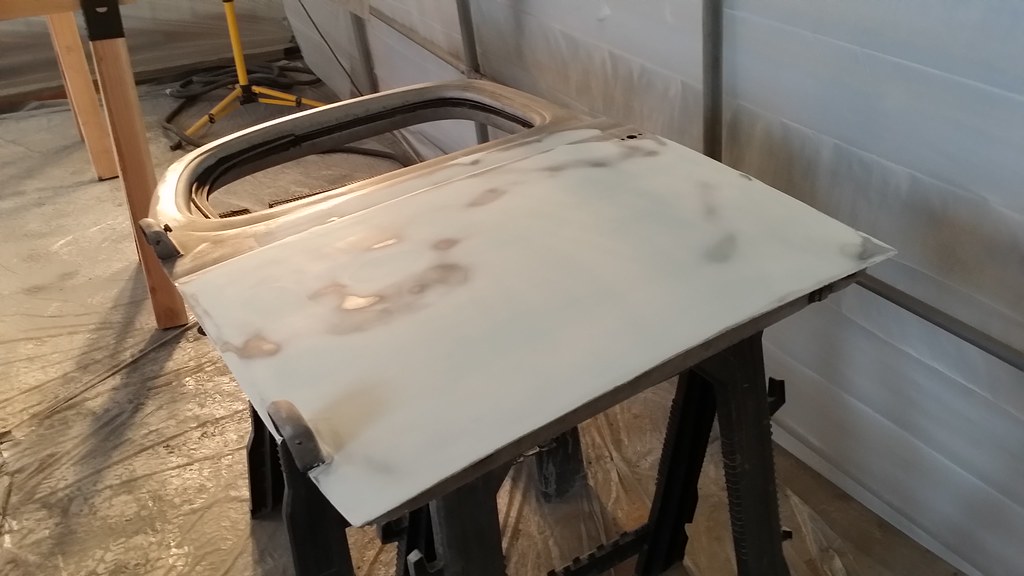
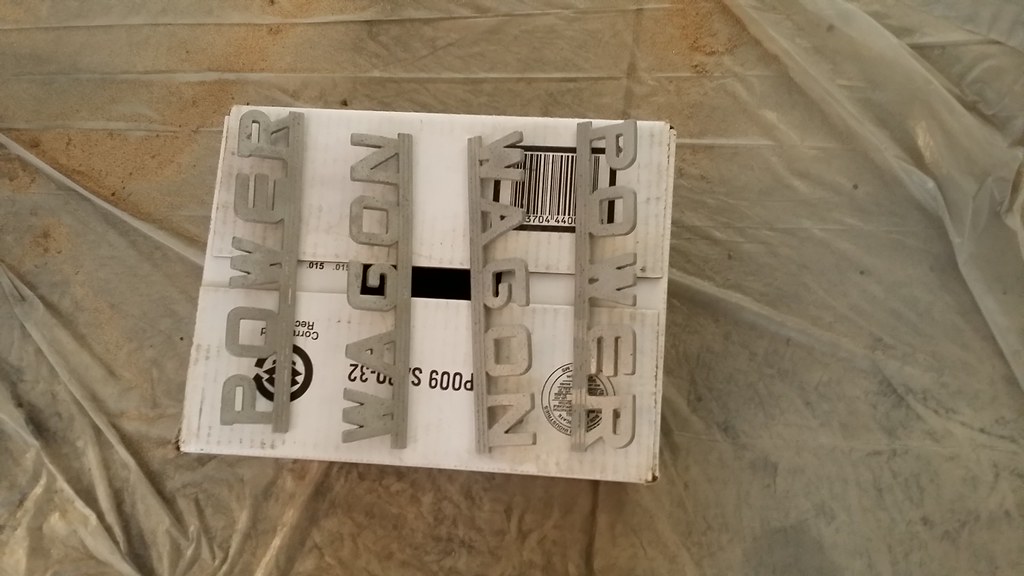
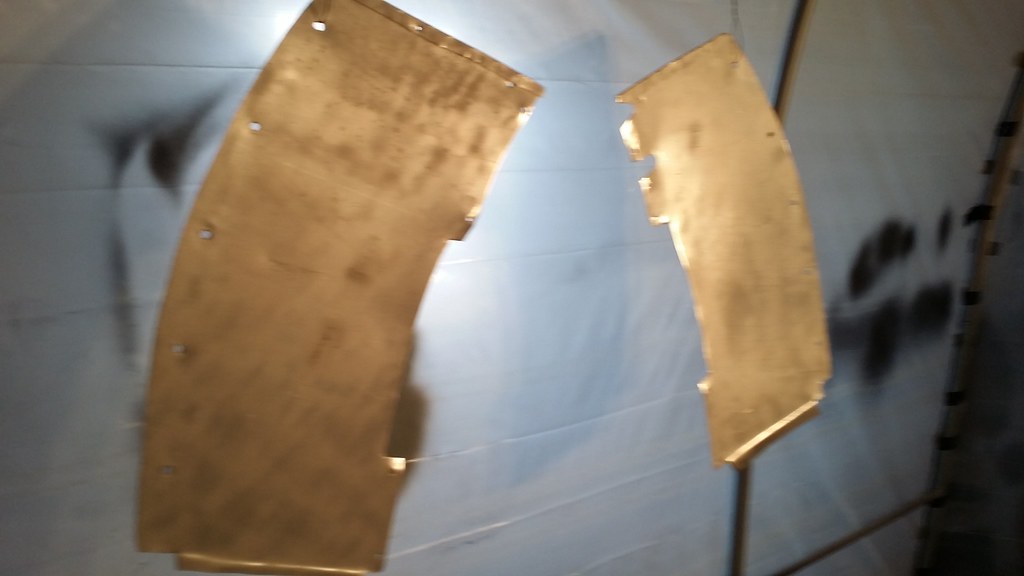
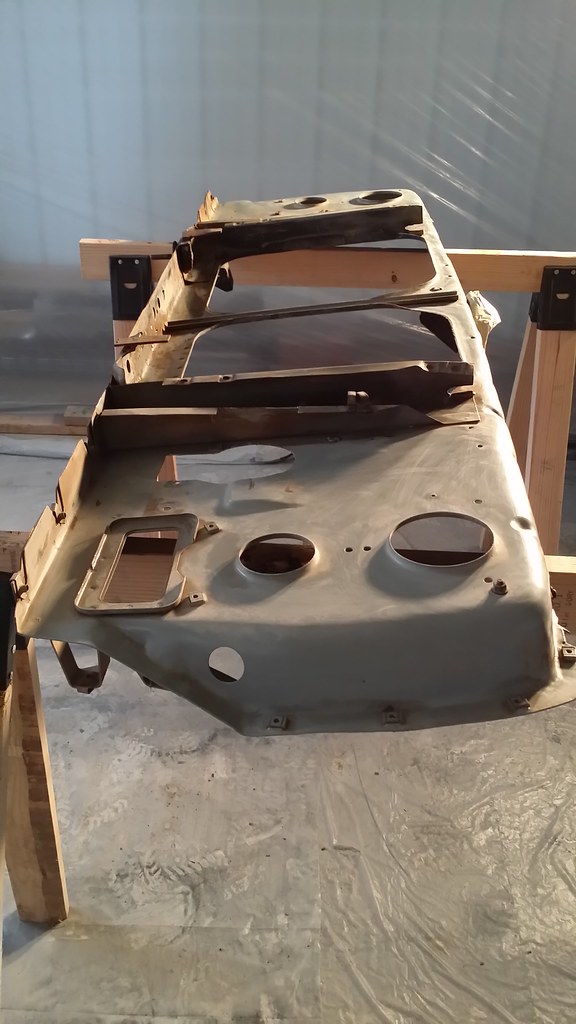
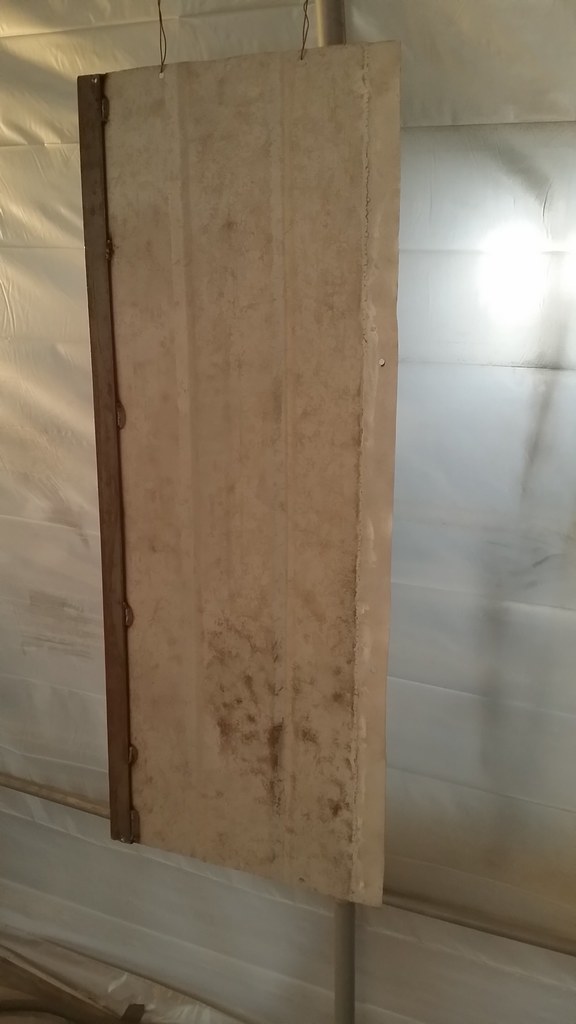
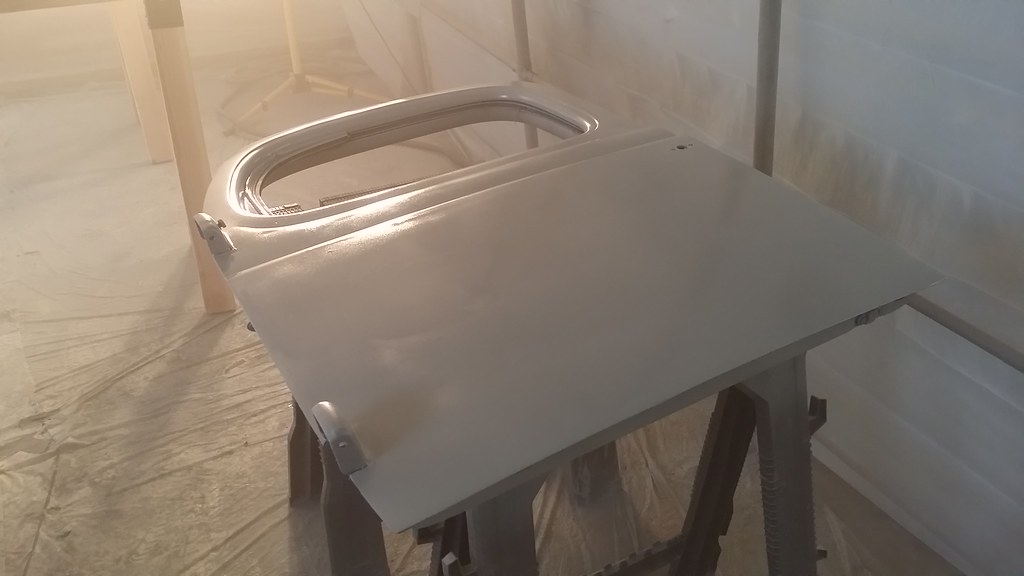
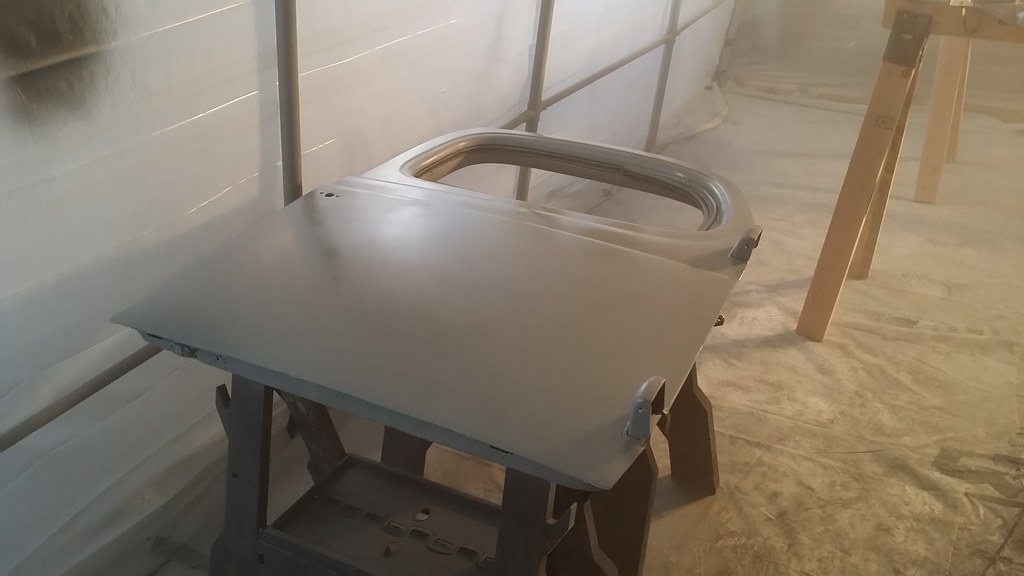
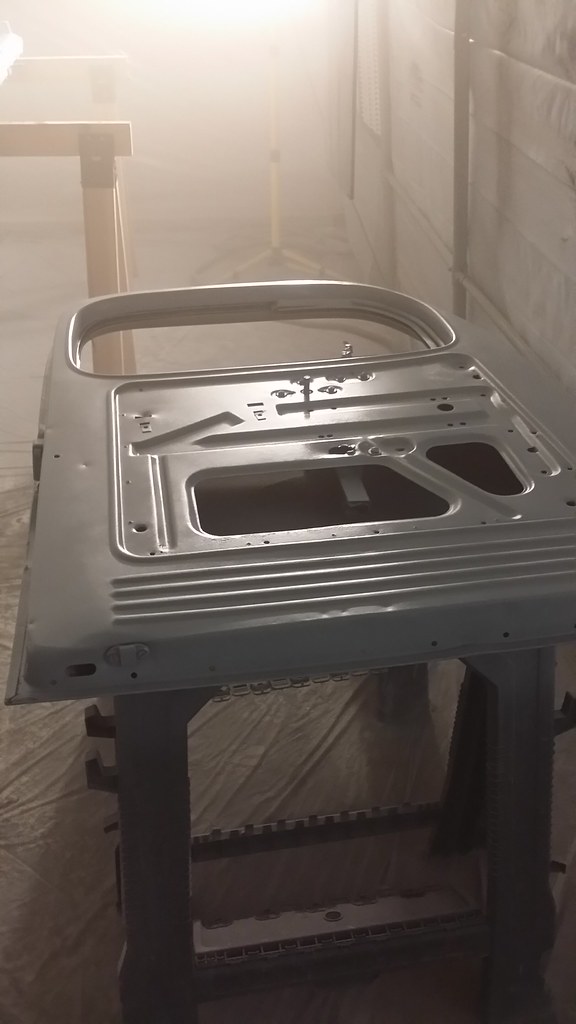
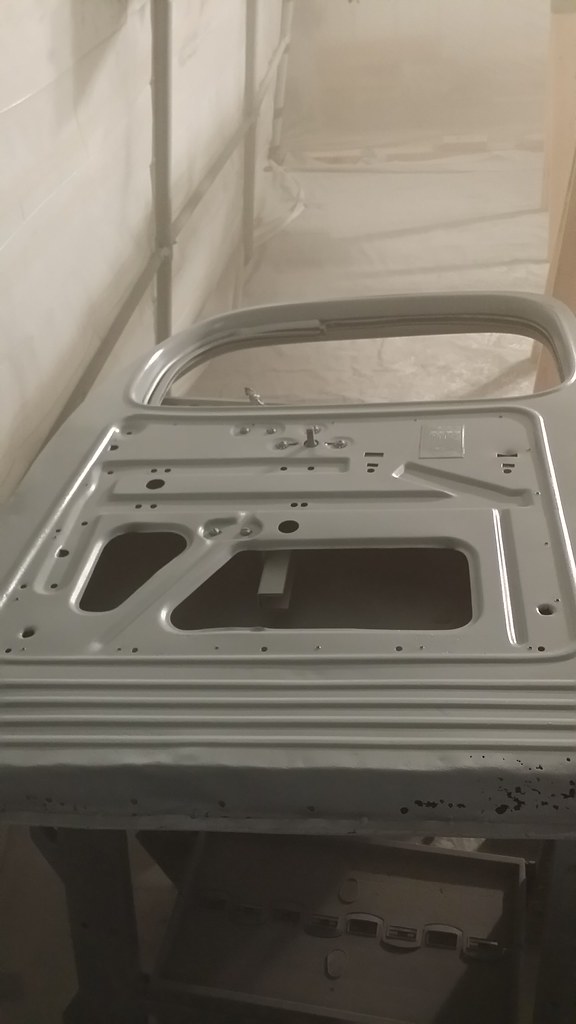
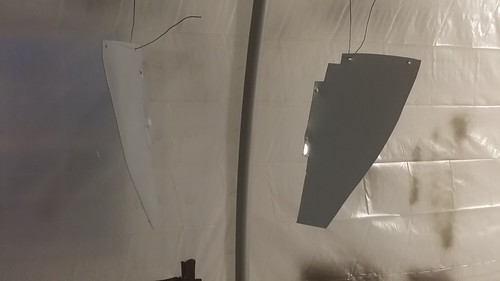
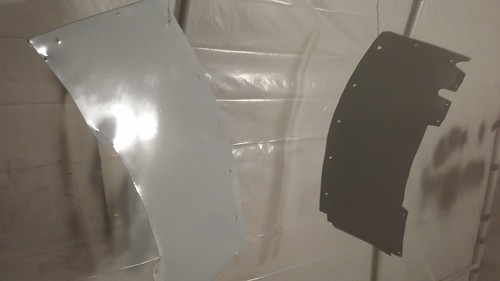
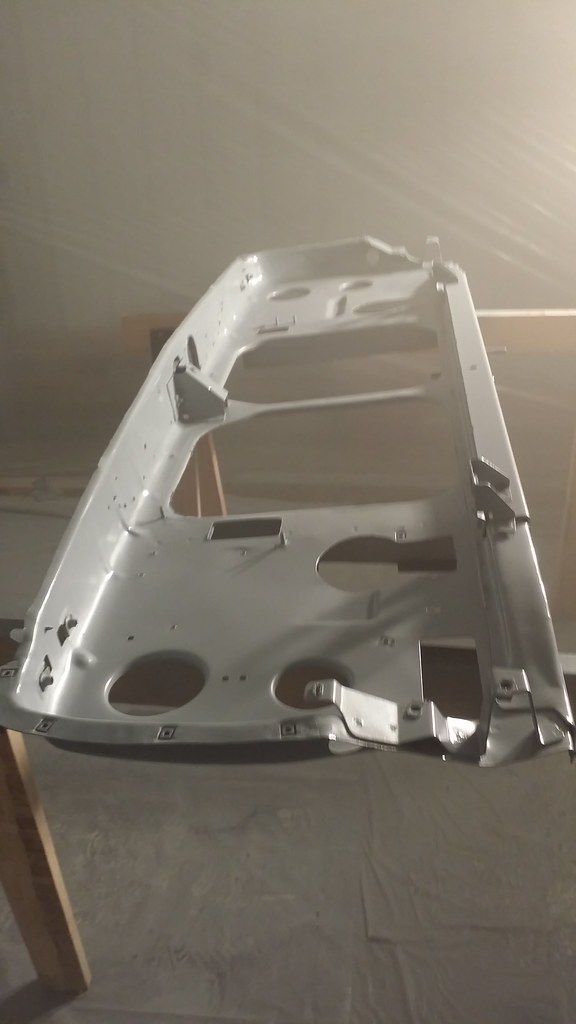
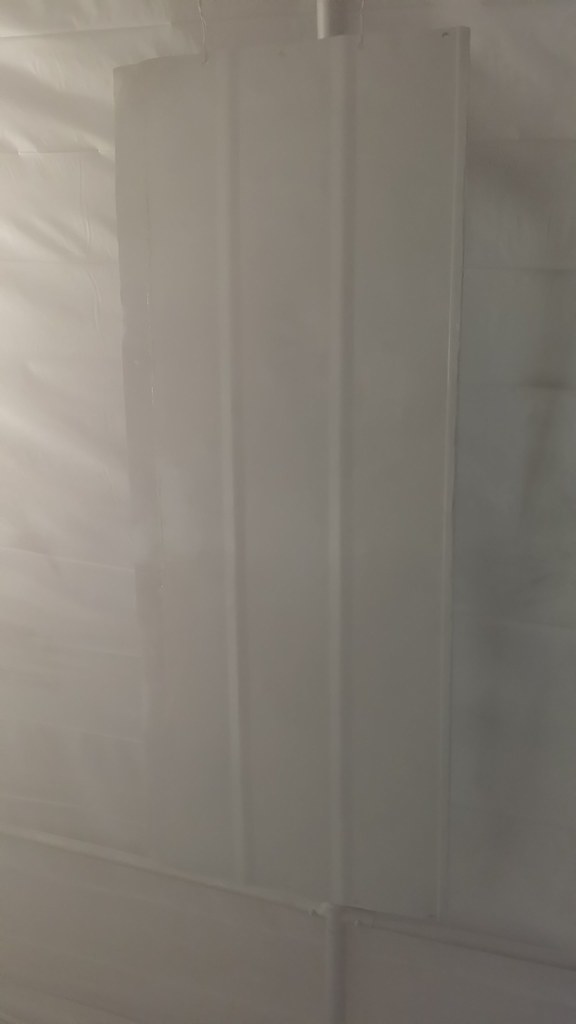
Finished up with the filler on both of the doors today and applied the finish glaze to them. They look much better now. Managed to get both sides of the doors primed, the header to the bed, all 4 pieces of the inner fenders I made and the power wagon emblems. While I was at it, I primed my son's radiator support for his truck as well.
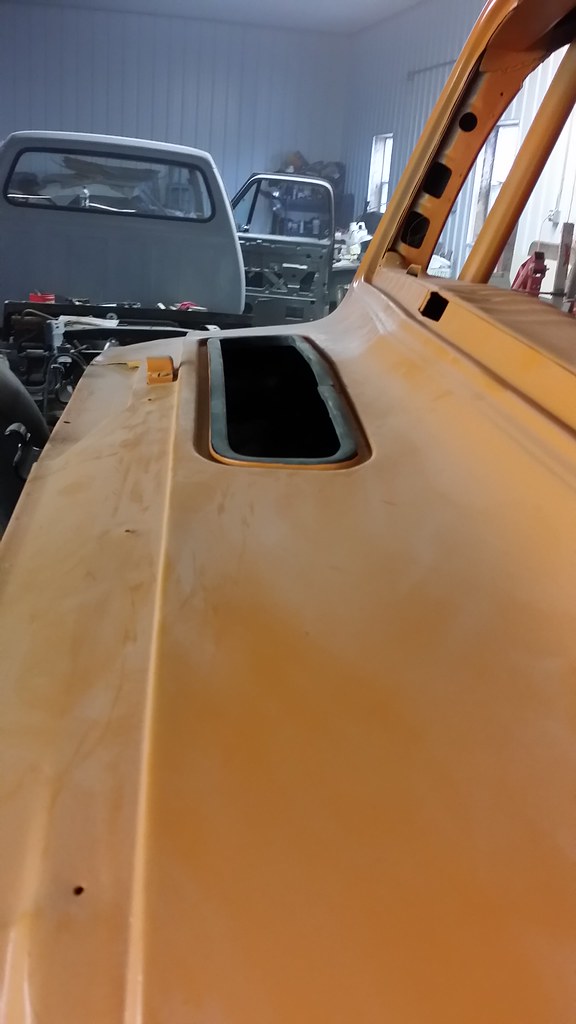
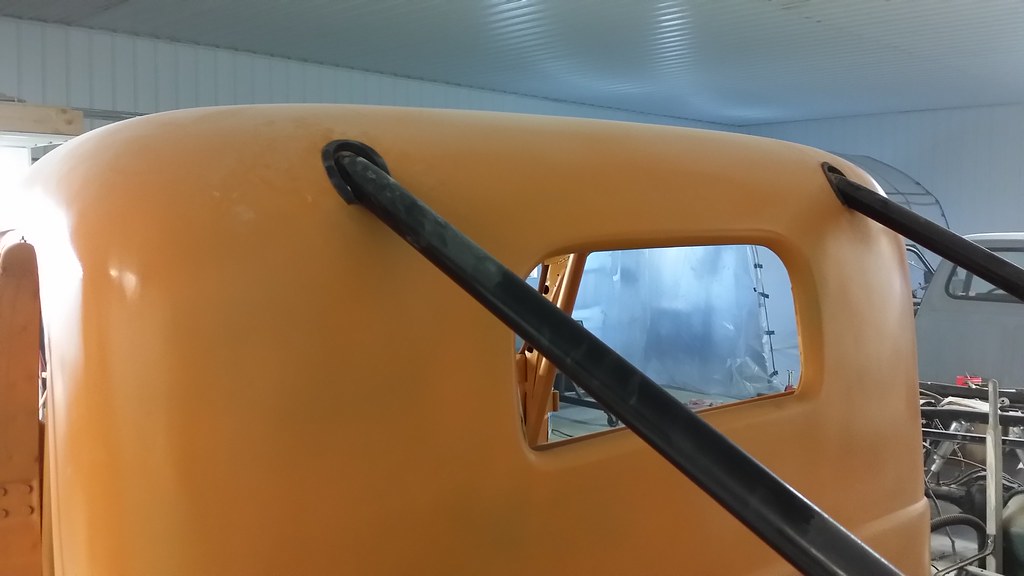
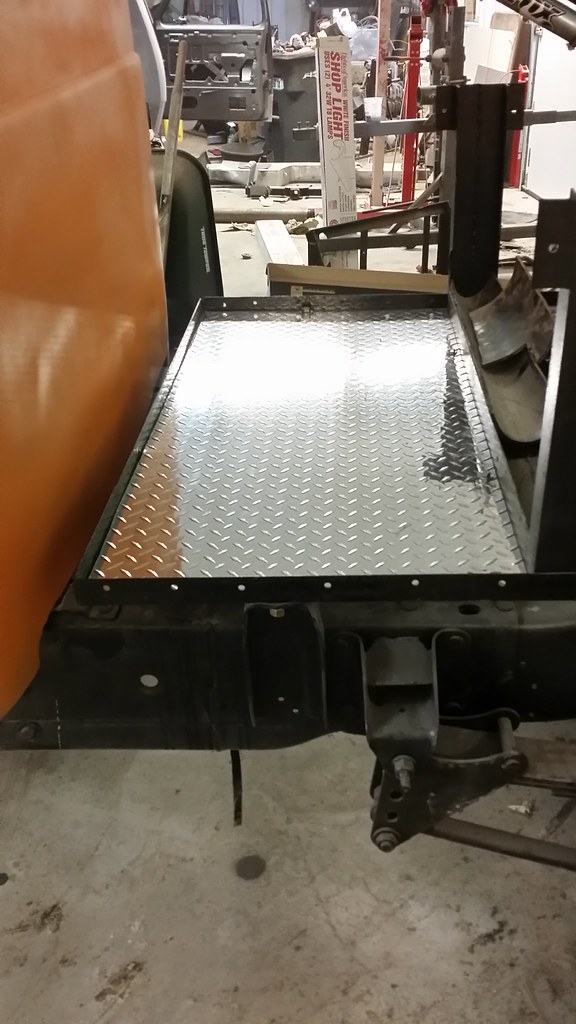
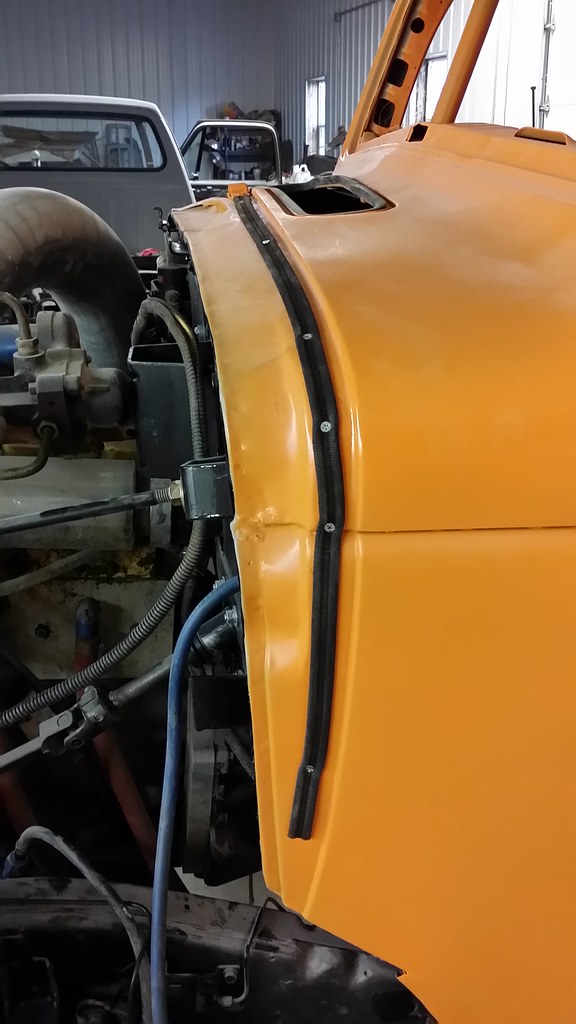
In between doing all of that, I cut out the first piece of flooring for the bed and have it partially installed. I need to put a few more fasteners in to firmly hold it in place. I put the rubber molding in place for the front cowl vent and cut the pieces of welting or whatever it's called, need to figure out how to install it with the split nails to hold it. I had some left over rubber molding for the vent, so I repurposed it to cover the cutouts around the roll bars.
Tomorrow I plan on wet sanding the doors and the other parts and get them painted orange.


NakeDiesel
Smoke'n in the Mud
- Joined
- Jan 20, 2010
- Messages
- 1,116
It's one of the most photographed trucks that races in this part of the country. It's the only diesel which makes it unique and then it surprised people what the old fat pig can do. There are some guys that run total pieces of crap and you wonder how many parts they left in the pit after they went through it.
I just like trying to do things right and make a nice looking truck with weight kept in mind. That's why I went with 1/16th inch Aluminum diamond plate flooring for the bed. That was the lightest thing I could think of to put a floor in the bed with as I had to have one.
I just like building ****
The paint is single stage machinery paint.
NakeDiesel
Smoke'n in the Mud
- Joined
- Jan 20, 2010
- Messages
- 1,116
There are tach's that have a smaller range, but they don't have shift lights either. My shift light will be mounted on the top of the dash where I can see it without looking down. I use my go pro to record the gauges during a race to help see what's going on during a run as a post analysis. I've also used the video's to determine I had a boost leak getting gradually worse over time.
NakeDiesel
Smoke'n in the Mud
- Joined
- Jan 20, 2010
- Messages
- 1,116
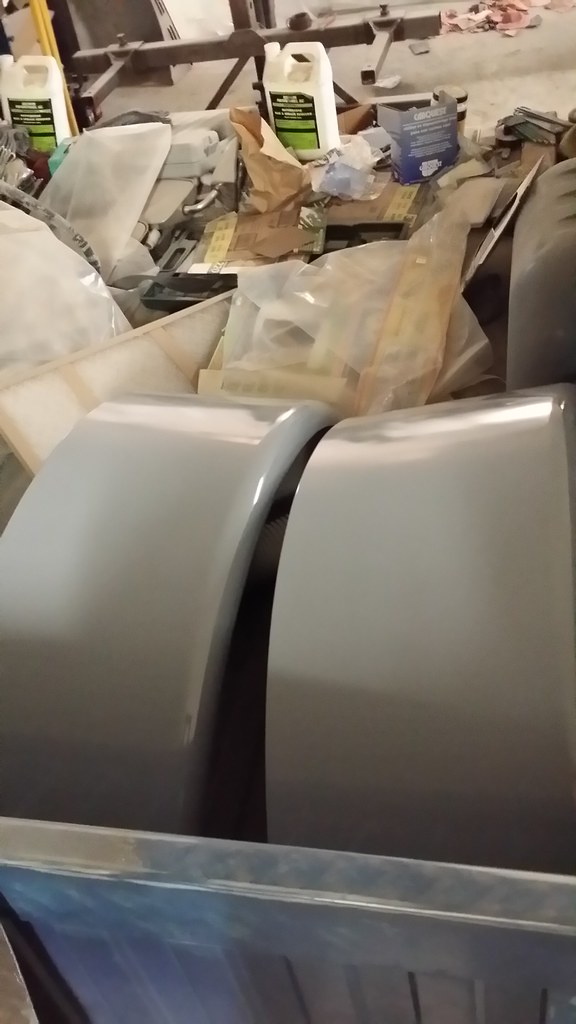
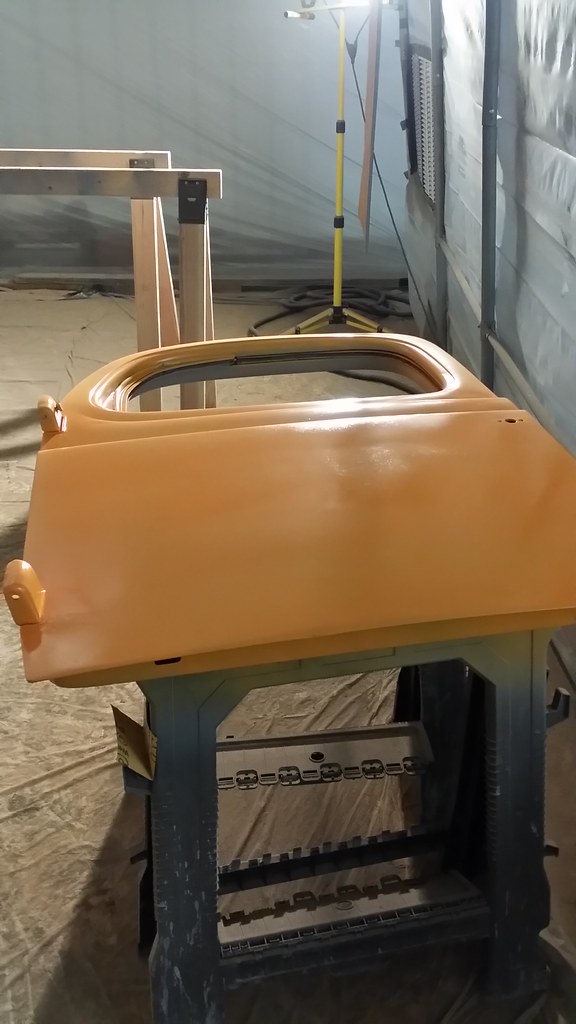
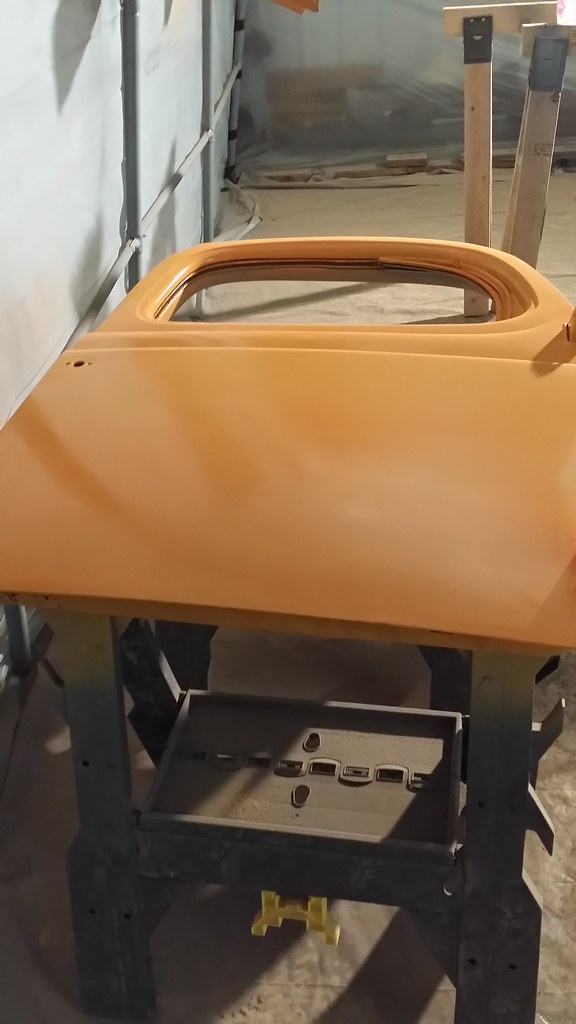
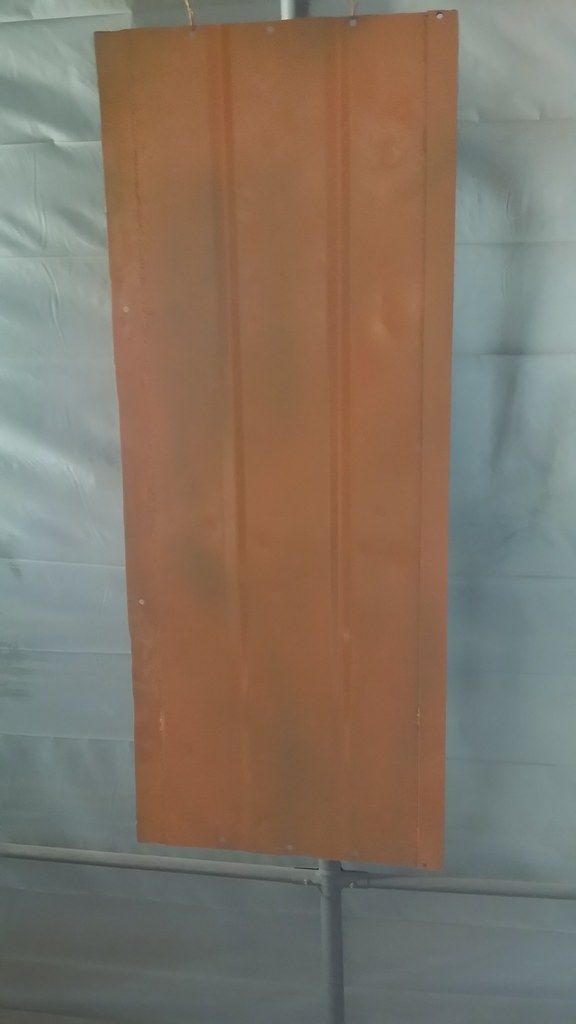
Spent the day sanding and painting the doors and a few other odds and end while I was at it. My paint gun has been driving me nuts with the drips it was causing on what I'm painting. Think I have finally gotten that taken care of finally. I spent most of the day sanding out the drips that were on the doors and then putting two coats of epoxy on them and then two coats of orange on the top side tonight. After they dry and harden over night, I will flip them over and shoot a coat on the inside tomorrow morning.
Also started bending my brake lines to connect my master cylinder to the lower connections down on the frame to get the brakes working. Should get those finished up tomorrow.
Installed the molding around the front of the cab today, when I was in town picking up the brake lines, I picked up some small screws and used those to install the molding instead of those split nails.
I have the rear fenders primed and ready for the black once I wet sand them. The emblems are primed as well and ready for paint too.
Once I get the doors done and on the truck then I can get started on the rear bed sides. Hoping they won't take a long time, but the way everything else has gone, I'm not betting on it. I have to pick up another gallon of epoxy tomorrow, I've almost used the gallon I had.
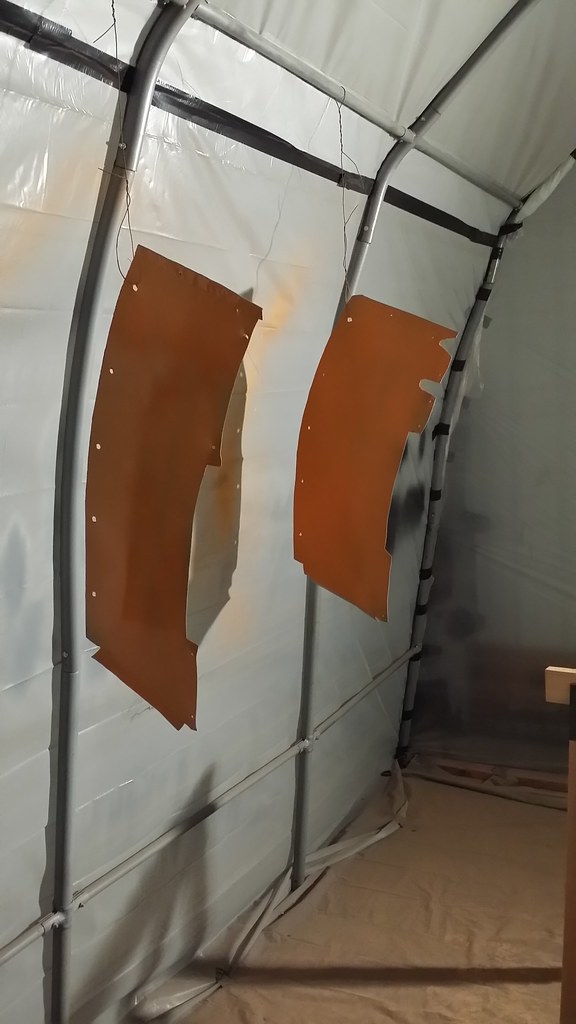
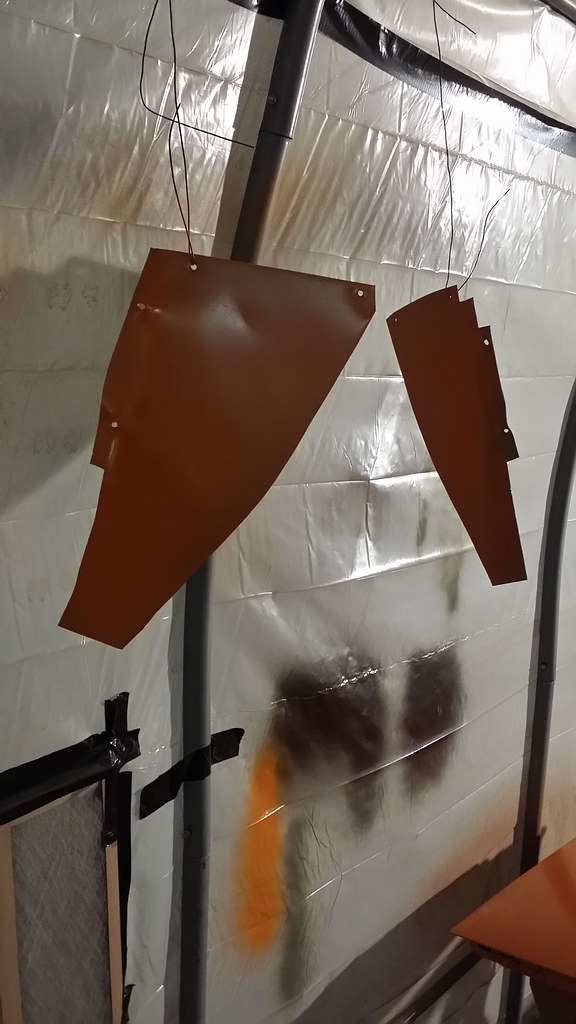


NakeDiesel
Smoke'n in the Mud
- Joined
- Jan 20, 2010
- Messages
- 1,116
Started the day off with painting the inside of the doors and the opposite side of the flat panels I had been painting too. Once they dried, I put them on the truck, had to chase down some new screws for the door handles and then tap the holes to clean them out. Passenger side door shuts good. The driver side still needs some more work. It will shut and latch most of the time, but it's still not 100%.
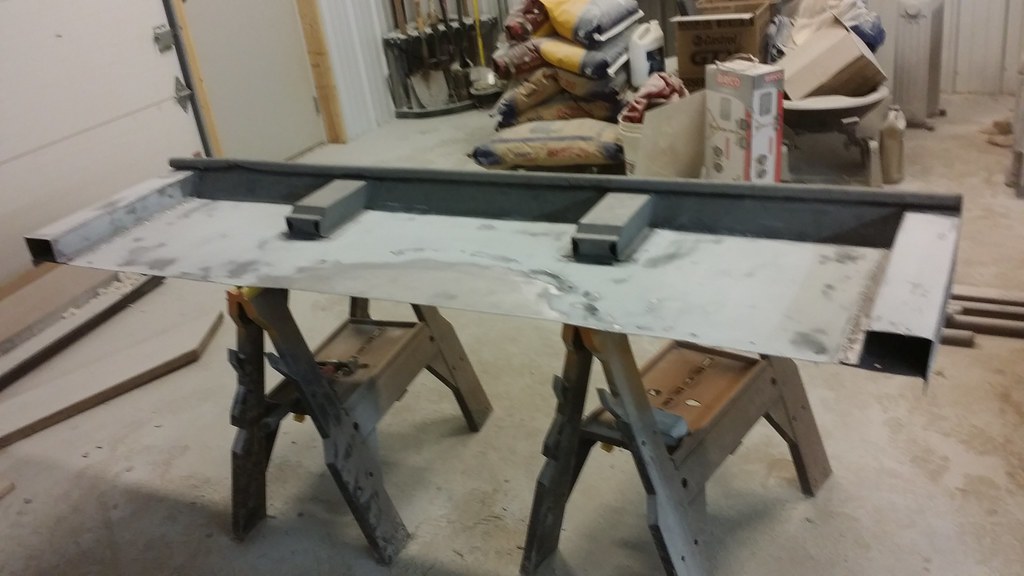
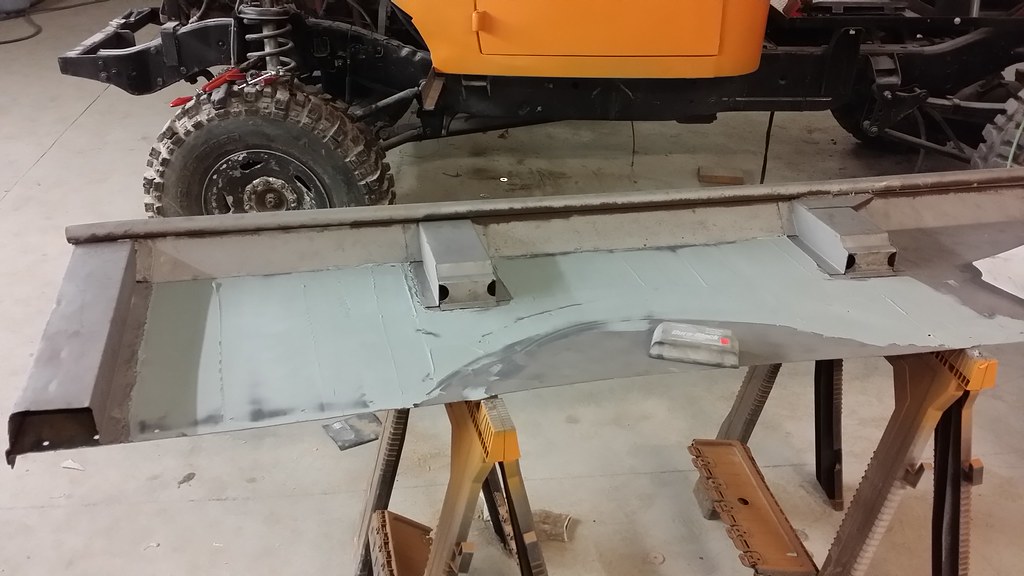
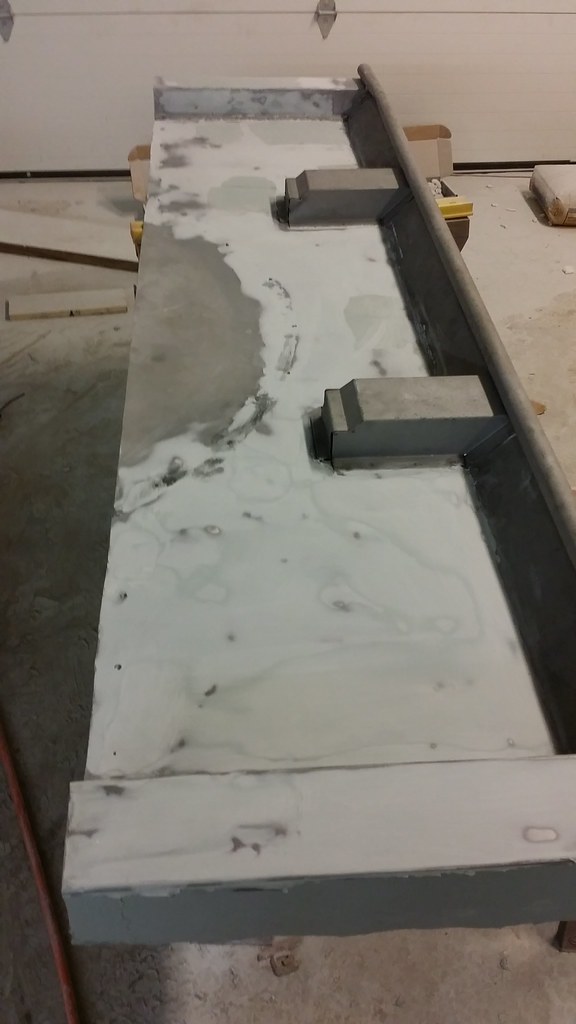
Started working on both of the bed sides, worked out some of the high spots and started in with filler on the outside portion to give it an overall smooth over. The drivers side is looking good and doesn't need much more work. The passenger side I just started on it, so it will be most of tomorrow working on it to get it finished. Hoping to shoot primer on them tomorrow evening.
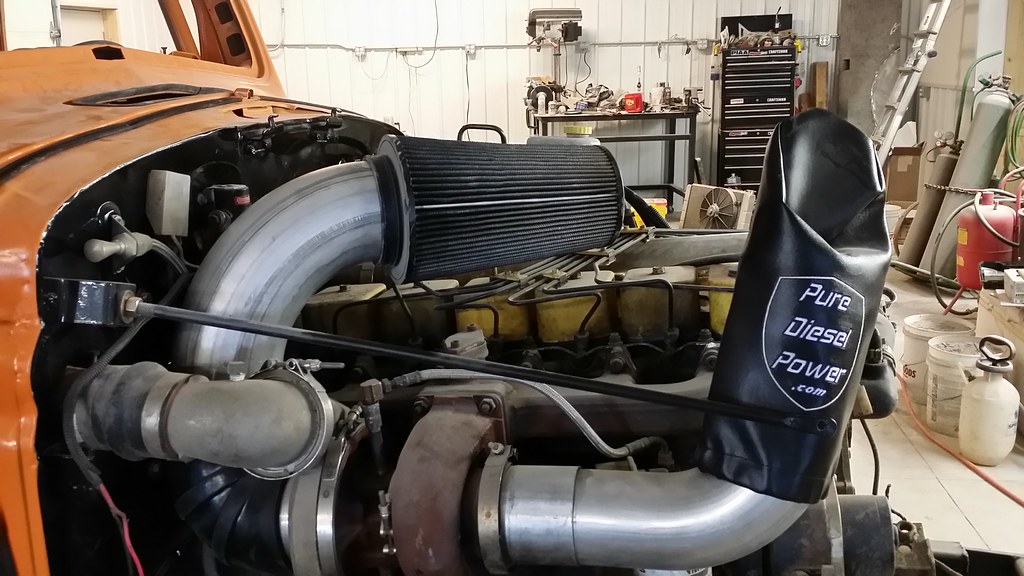
Also today, I finished up the brake lines, and put together my air intake. I think it will work out good and also started working on the water lines to the back of the truck.
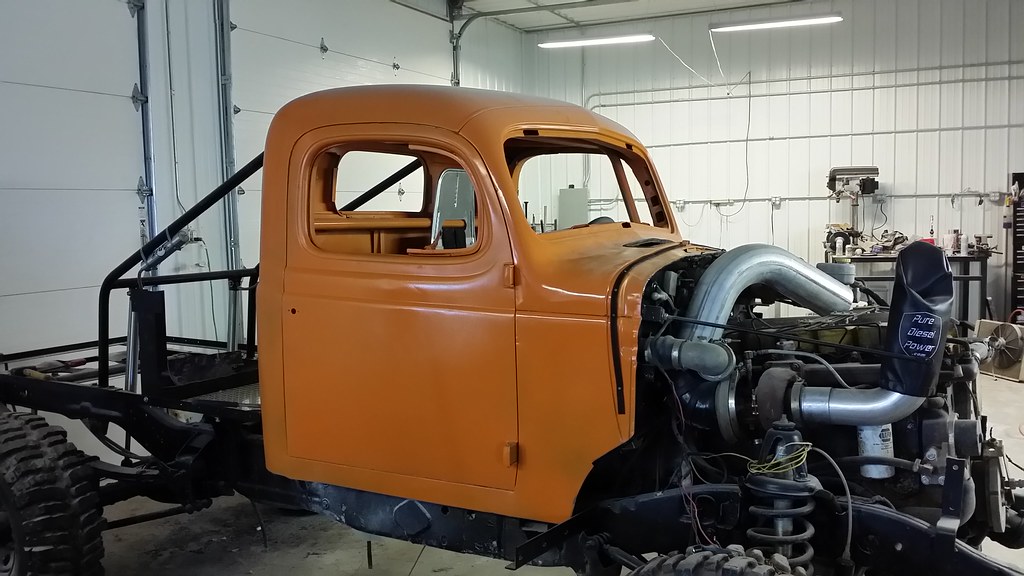
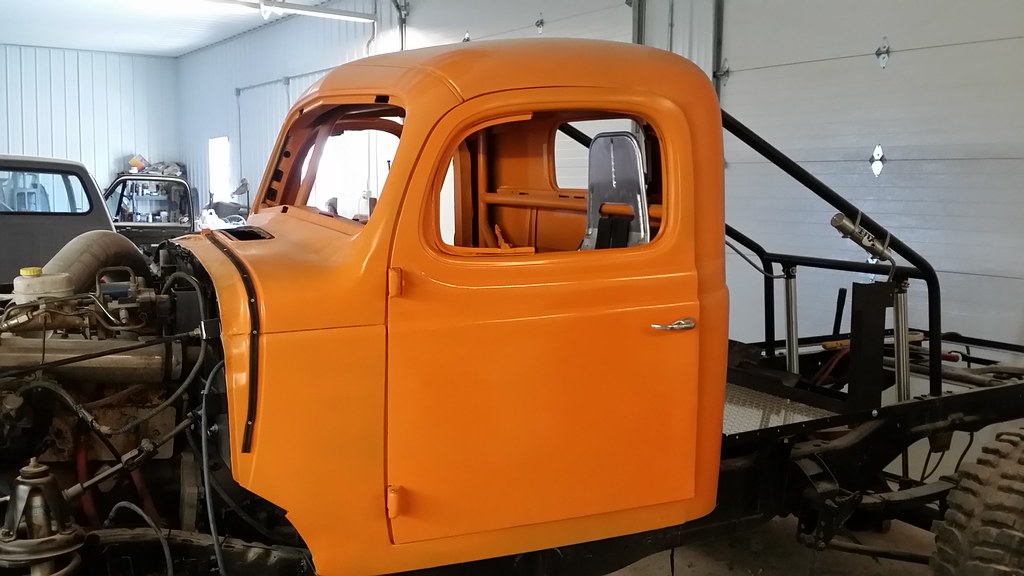


NakeDiesel
Smoke'n in the Mud
- Joined
- Jan 20, 2010
- Messages
- 1,116
Spent the whole day just sanding on the bed sides. Finally finished both of them and was able to get the back sides primed tonight. Picked up some steel balls where my dad works rebuilding oil pumps and grabbed 4 old ones while visiting him and welded them on the ends of the rolled tops of the bed sides so that they don't fill up with mud.
Tomorrow I plan on getting the outside of the bedsides primed, wet sanded and in color. While waiting on each of those steps, I'm going to work on running the water lines and start working on the front frill section for body work. It won't take a hole lot on it to get it ready. Then all I will like is the hood and the front fenders to do body work on.
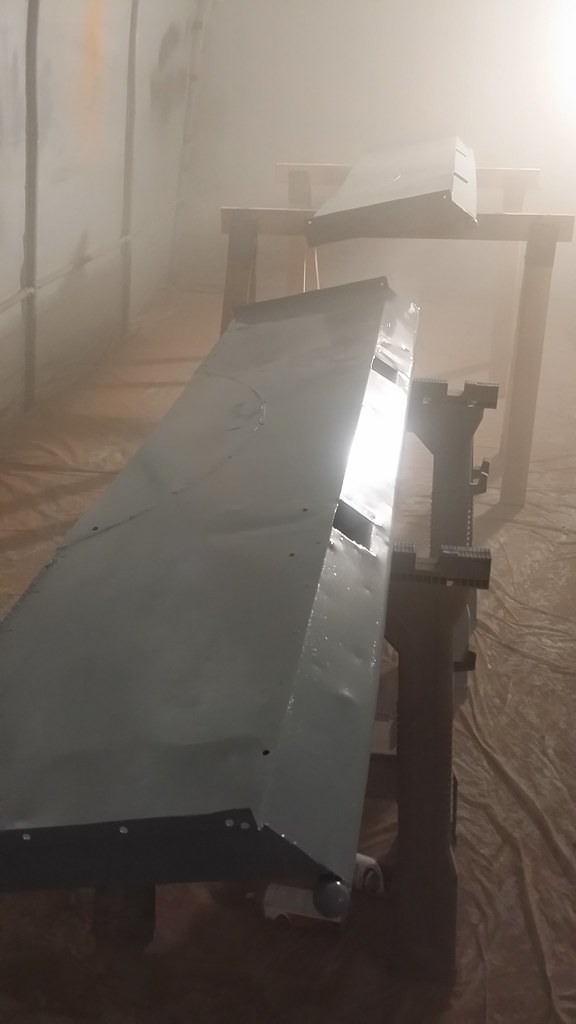
Tomorrow I plan on getting the outside of the bedsides primed, wet sanded and in color. While waiting on each of those steps, I'm going to work on running the water lines and start working on the front frill section for body work. It won't take a hole lot on it to get it ready. Then all I will like is the hood and the front fenders to do body work on.

