BC847
New member
- Joined
- May 14, 2006
- Messages
- 851
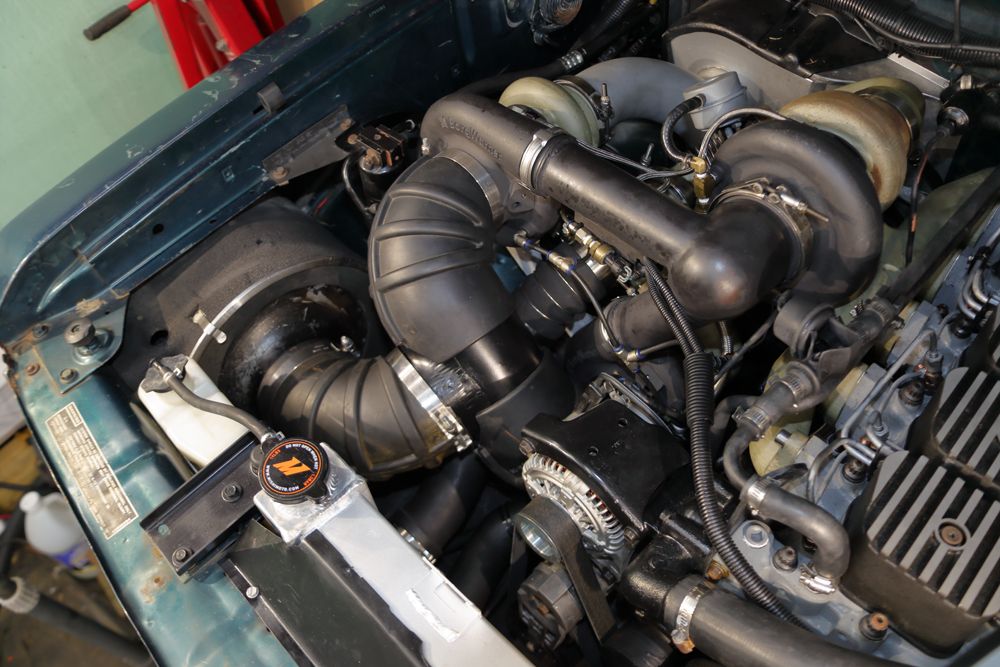
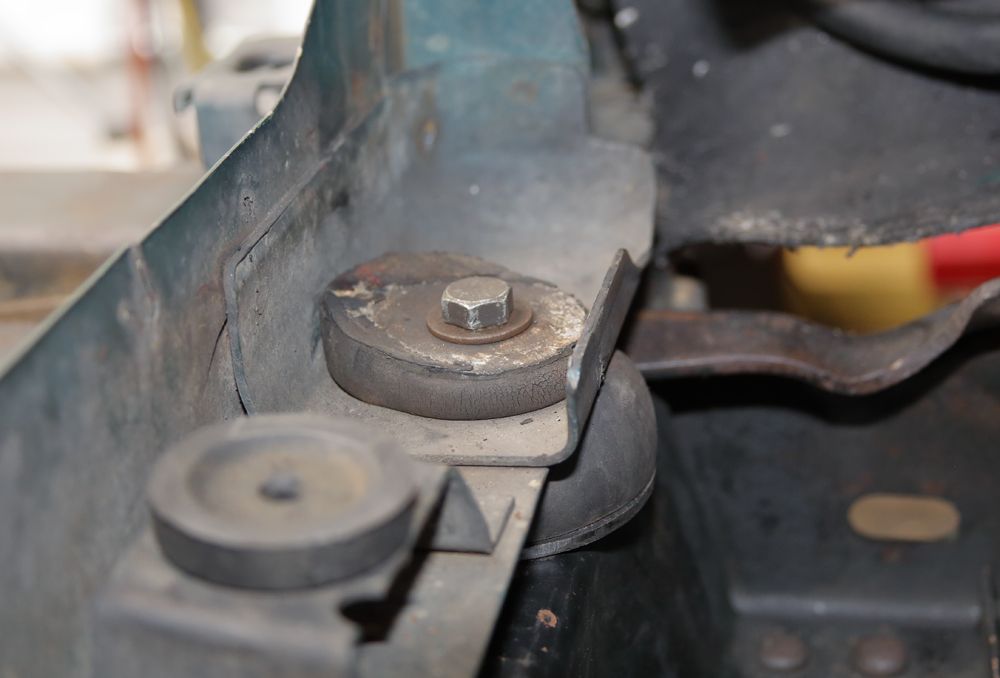
So, the OEM front body-mount rubber isolators I replaced/installed 15(+) years ago were found presenting as distressed. The bottom washer was too small in diameter such that the installed/compressed rubber isolator was being extruded past and around the washer. Those stock/OEM rubber isolators are no longer available.
Meh.
I'm not into the hard Polyurethane stuff typically available so, after asking around, I found that my rubber-headed mallet has the ideal profile and a similar Durometer hardness. (All things considered, it's a bargain. I can readily get a new mallet).
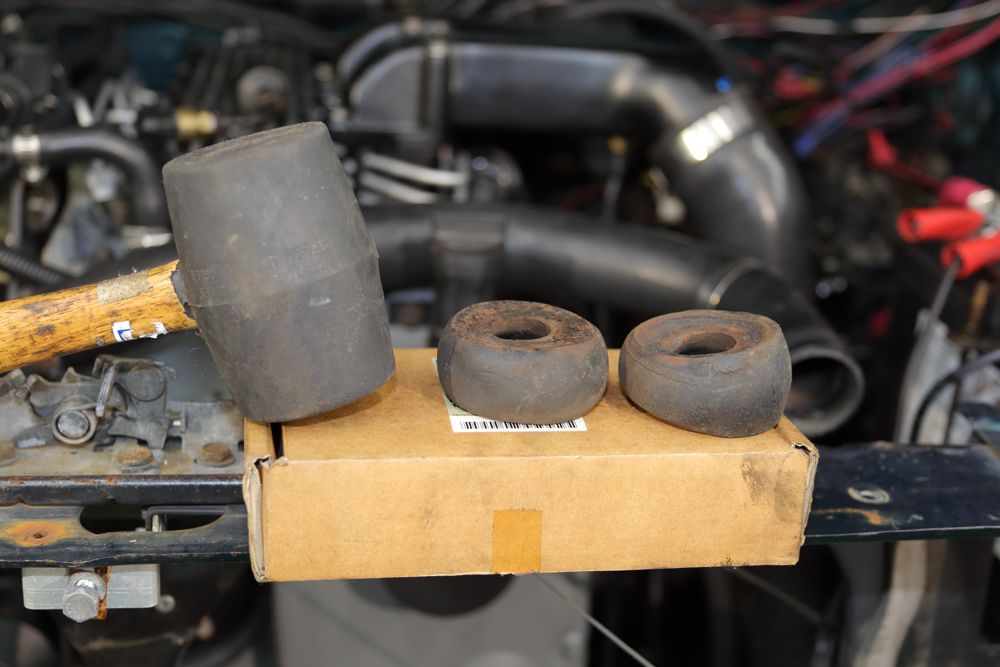
I cut the appropriate thickness discs and using a hole-saw, cut the appropriate hole in the center.
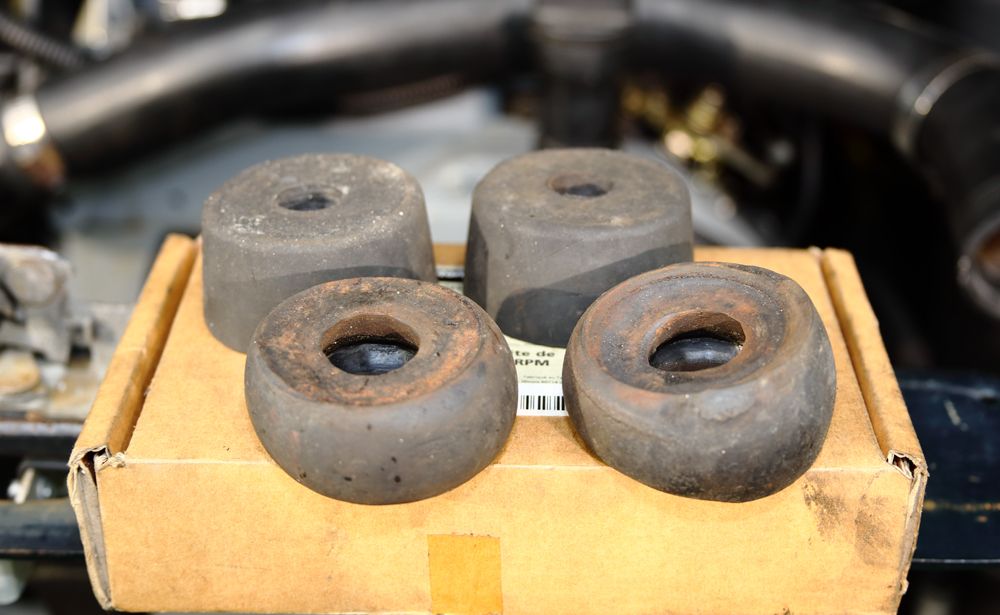
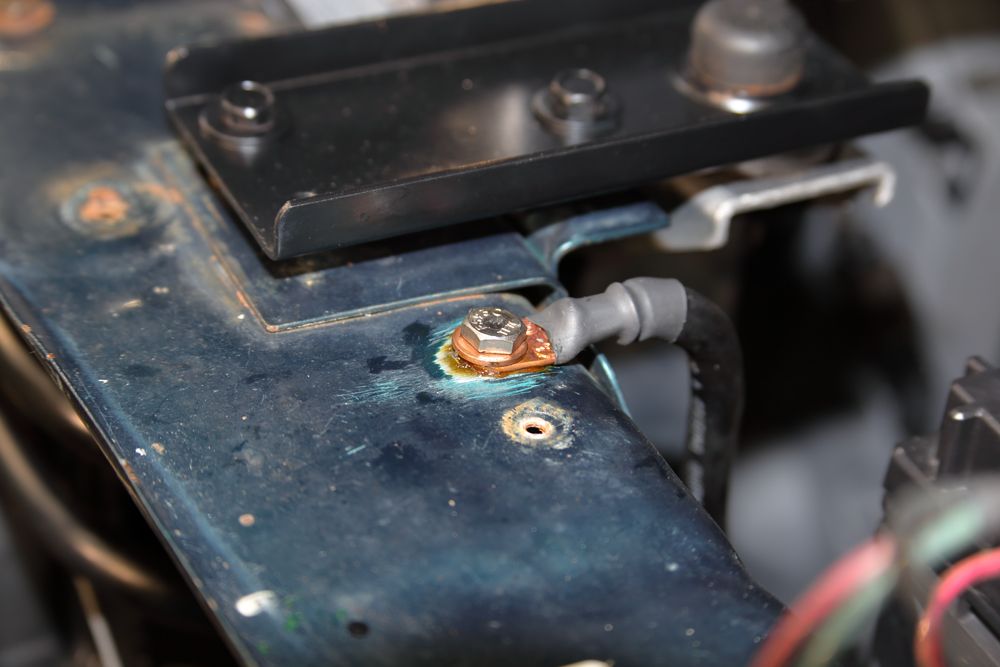
I also made new, larger in diameter, 1/8" thick washers for the isolators to rest on. Installing the stuff and torquing the bolts to 50ft/lbs, the discs were compressed to that allowed by the assembly's inner spacer-tube. It looks like I cut those new washers the right diameter.
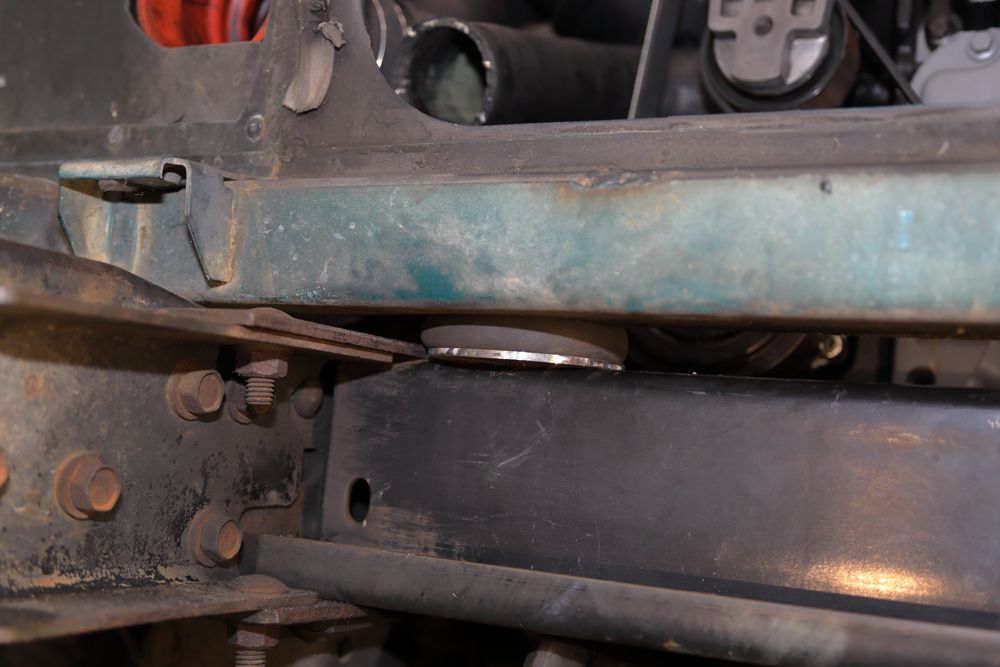
Looking at it from the engine's point of view:
Cool.
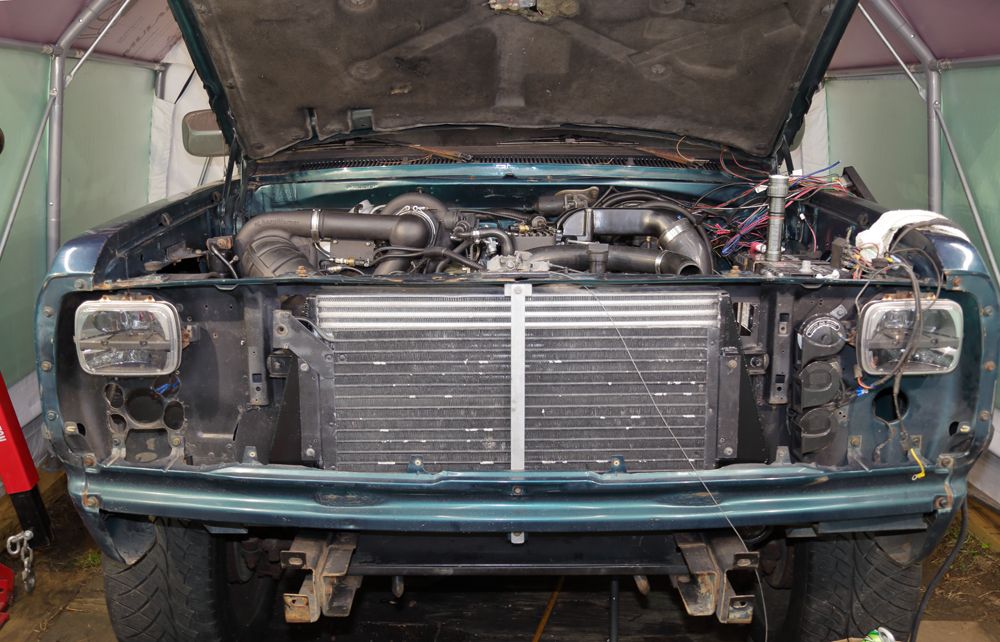
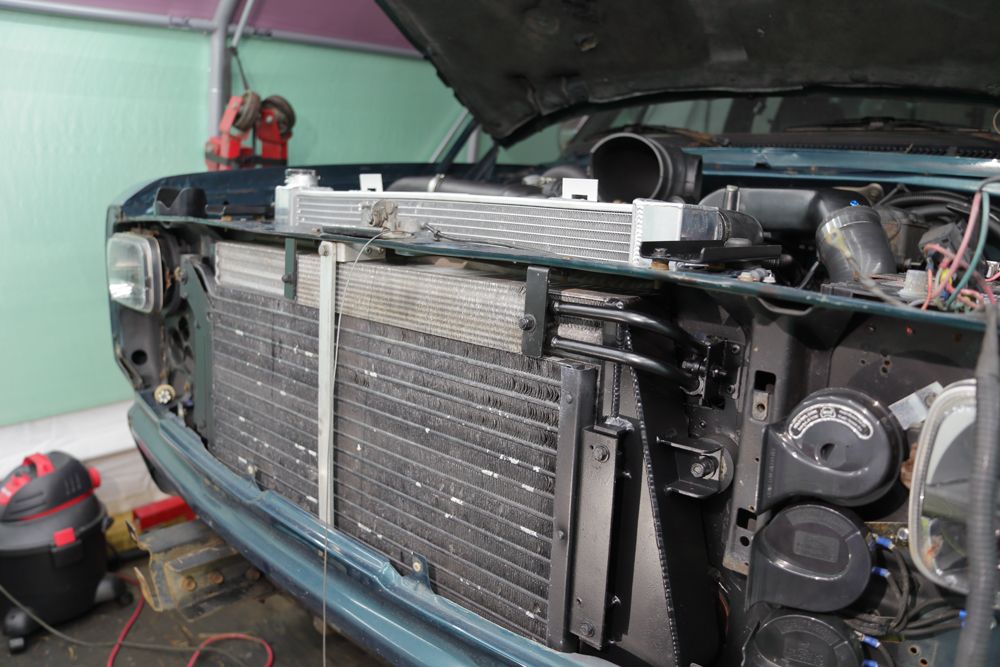
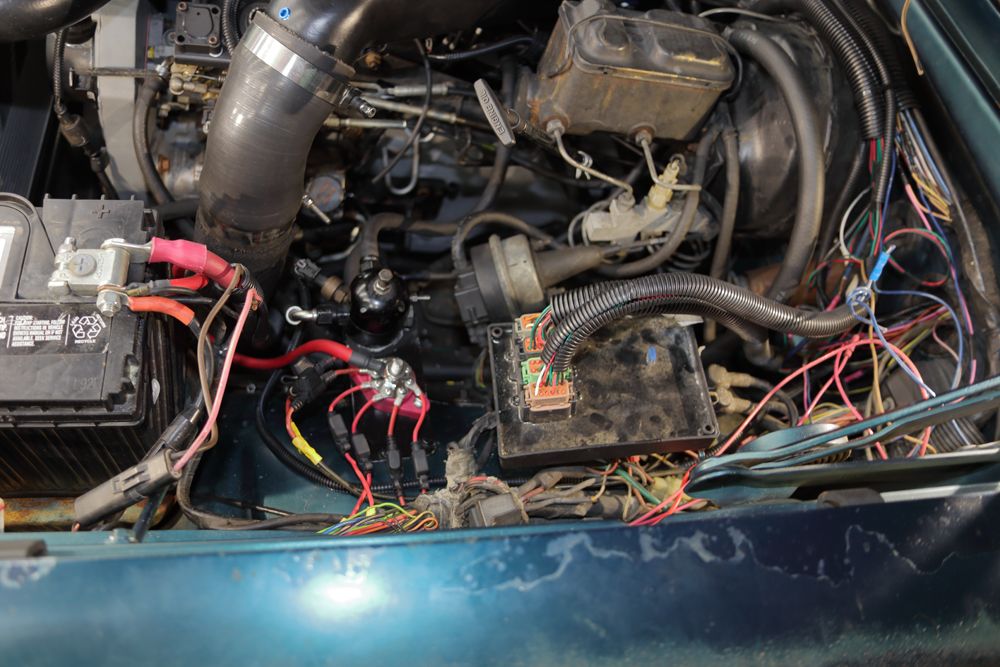
With that, I got on with snugging-up the fenders to the radiator-support (may have to tweak them a little), replaced the IC-to-radiator-support gasketing, installed the IC, HVAC condenser and that lower valance thing.
I've still a number of loose ends to wrap up. I guess I need to quit dicking-around and get on with it. oke:
oke:
Meh.
I'm not into the hard Polyurethane stuff typically available so, after asking around, I found that my rubber-headed mallet has the ideal profile and a similar Durometer hardness. (All things considered, it's a bargain. I can readily get a new mallet).
I cut the appropriate thickness discs and using a hole-saw, cut the appropriate hole in the center.
I also made new, larger in diameter, 1/8" thick washers for the isolators to rest on. Installing the stuff and torquing the bolts to 50ft/lbs, the discs were compressed to that allowed by the assembly's inner spacer-tube. It looks like I cut those new washers the right diameter.
Looking at it from the engine's point of view:
Cool.
With that, I got on with snugging-up the fenders to the radiator-support (may have to tweak them a little), replaced the IC-to-radiator-support gasketing, installed the IC, HVAC condenser and that lower valance thing.
I've still a number of loose ends to wrap up. I guess I need to quit dicking-around and get on with it.
oke: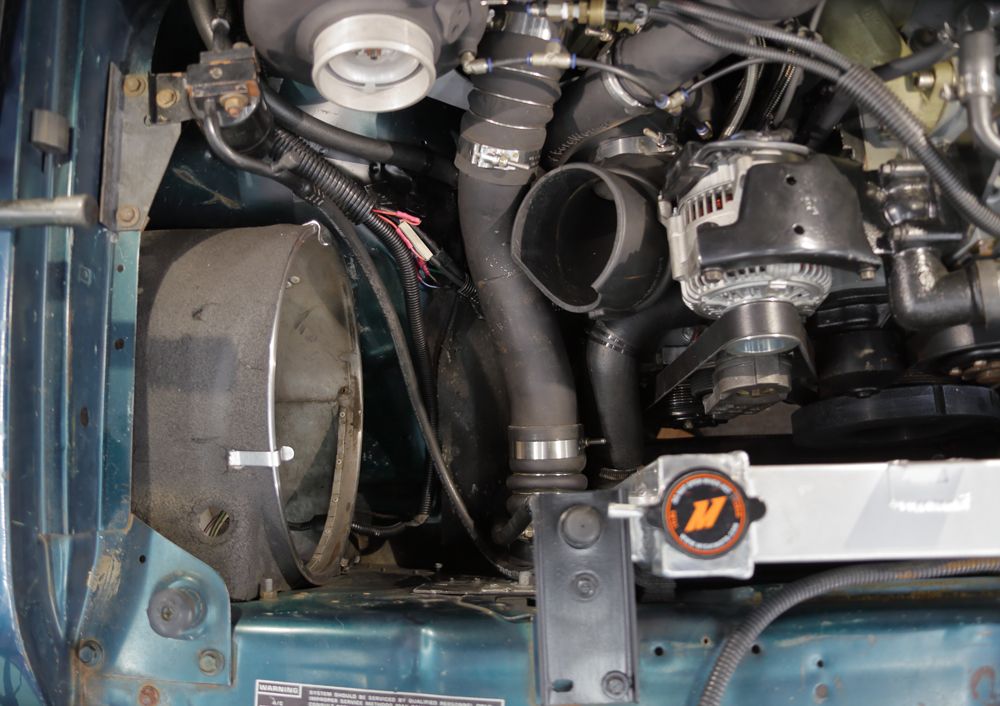

.jpg?width=1920&height=1080&fit=bounds)