Cobra 19 & 54
slacker extrordinaire
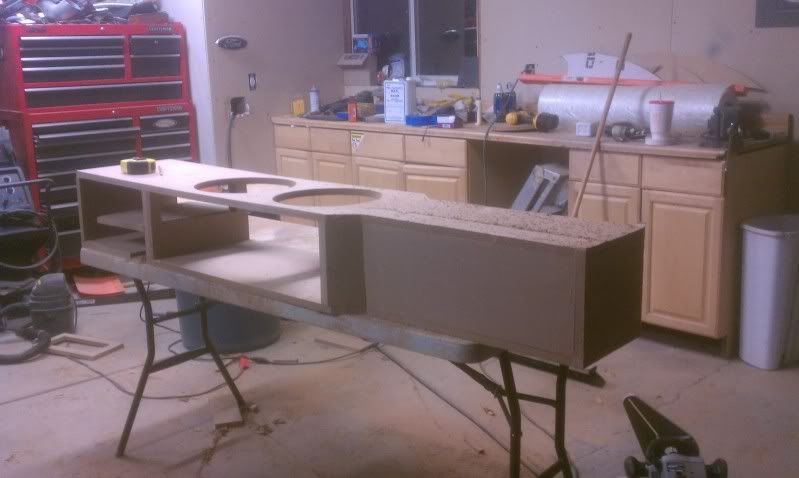
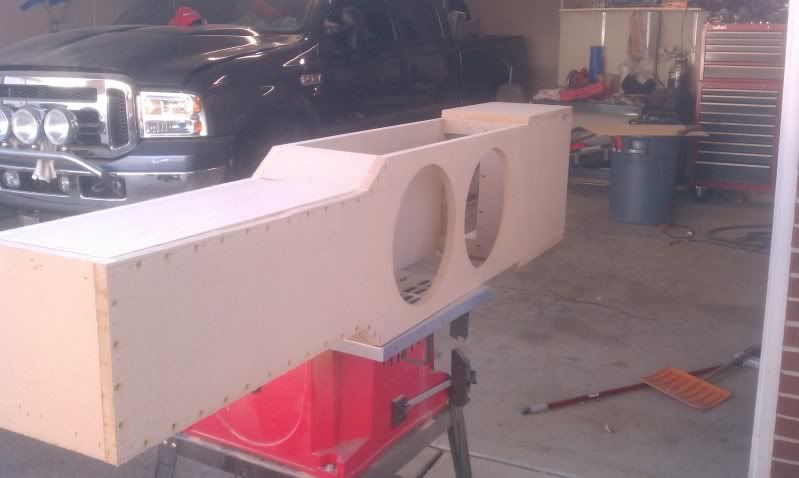
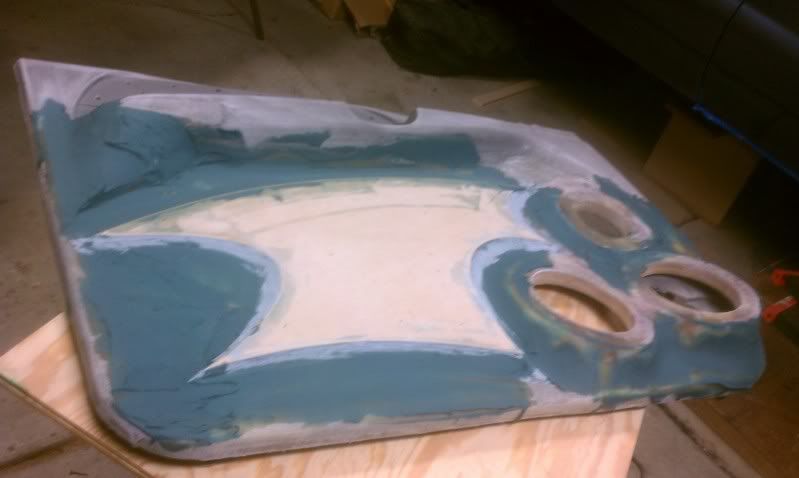
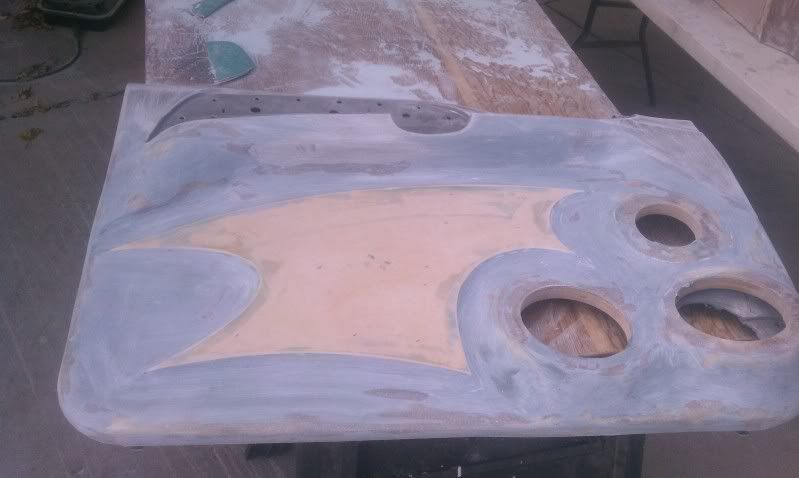
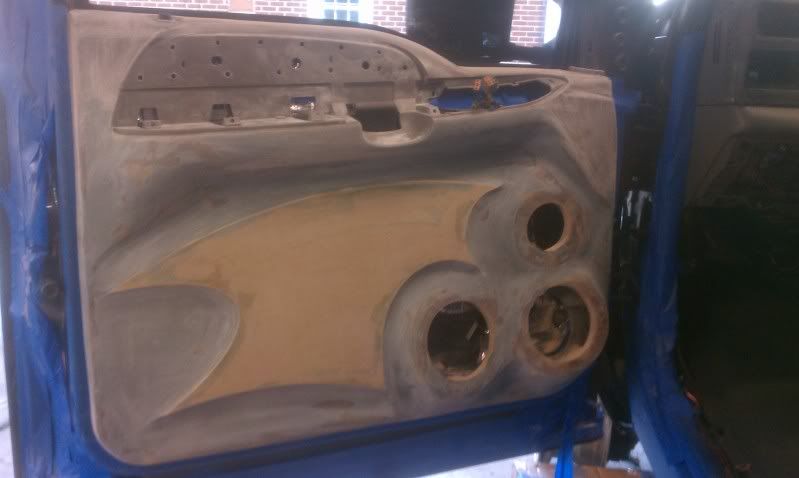
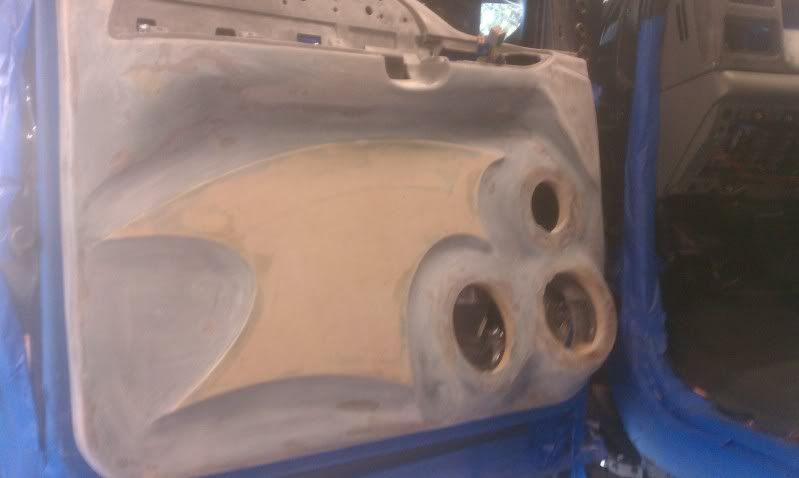
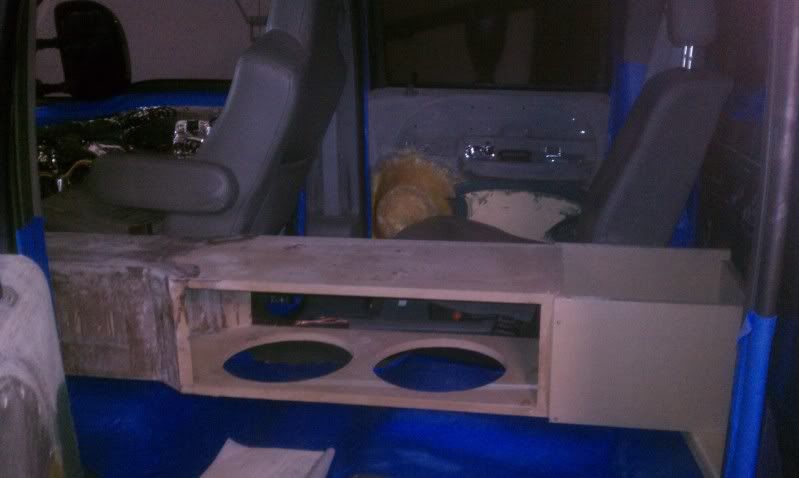
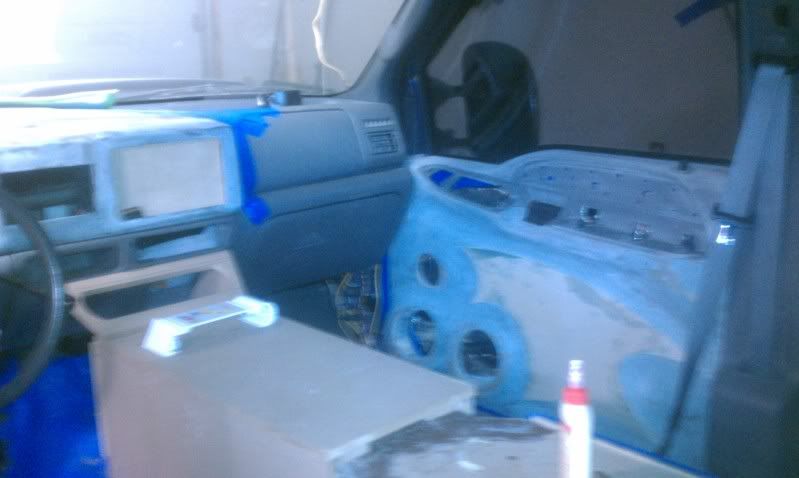
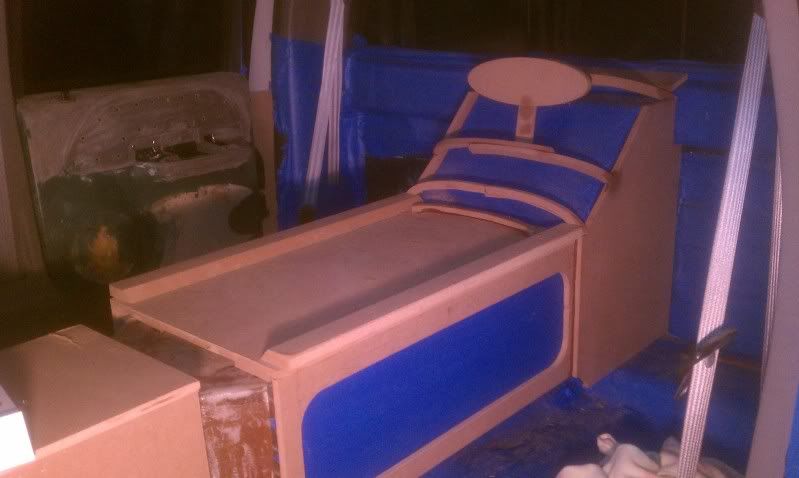
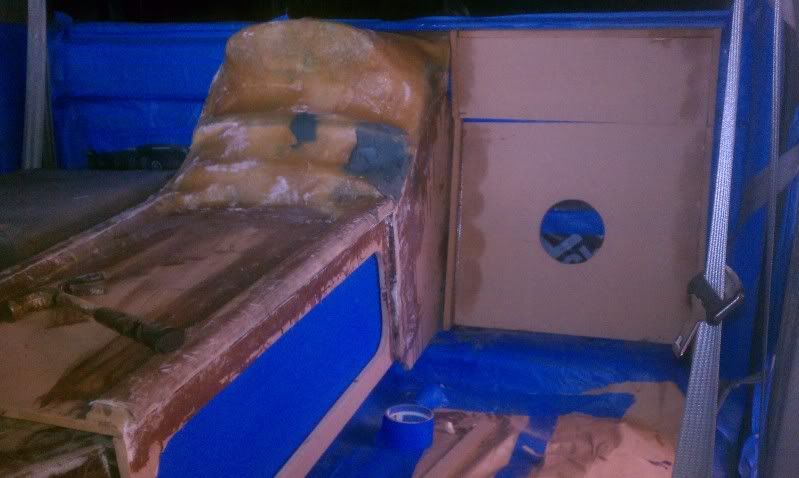
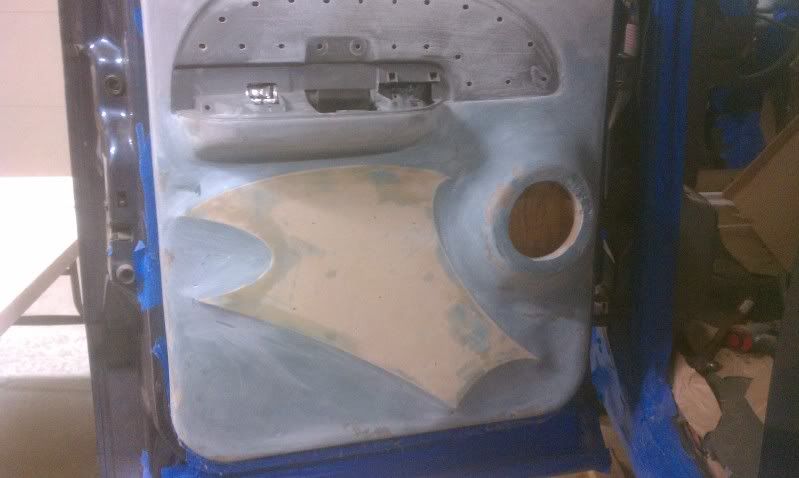
Please realize I'm not critiqueing your work, just some honest questions ( being that I'm an amateur Audiophile ). In your seventh photo down, your rear most driver appears to be aiming forward. Won't that really screw with the imaging? Muddying the sound. If my MECP classes were right don't you want the drivers to all focus on one point in the vehicle, i.e. the rear most dome light? Mind you I took these classes over ten years ago and things may have changed. But it looks good as far as the fab work. I like the idea's. Only one last item to offer. Have you thought of making the screen a touch screen? That is all, carry on breathing in the bondo dust.
Last edited: