
You are using an out of date browser. It may not display this or other websites correctly.
You should upgrade or use an alternative browser.
You should upgrade or use an alternative browser.
Robts 2011/12 Stereo redone.....AGAIN
- Thread starter Robts
- Start date
THATpreston
Brush your teeth.
Mmmmmmm. Art Series goodness.
Robts
Proud Fummins Owner
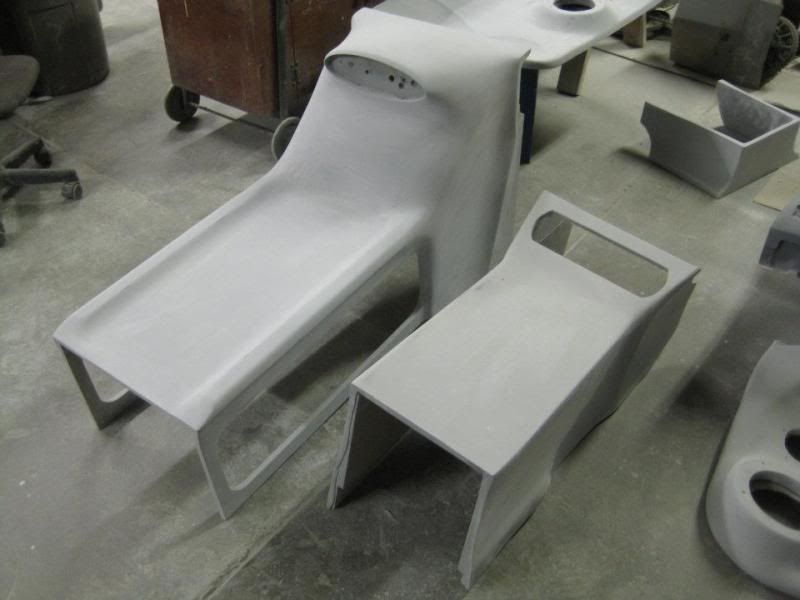
OK…..I have stuff at Denz Place Auto restoration in Fenton Mi. Working with them I went out there the other day and spent a day blocking and sanding. We have the front doors, rear back pods, front center section and center primed and blocked. Still trying to decide on color and style. I think I am doing factory no floss or light gloss finish sort of like factory. The rings in the door and center piece will be the darker color of the door/dash. It will be a high gloss finish.
Here is a picture of three costs of sandable primer. Its pretty thick and it looks amazing once sanded. Here is a picture with it applied and once sanded
Before
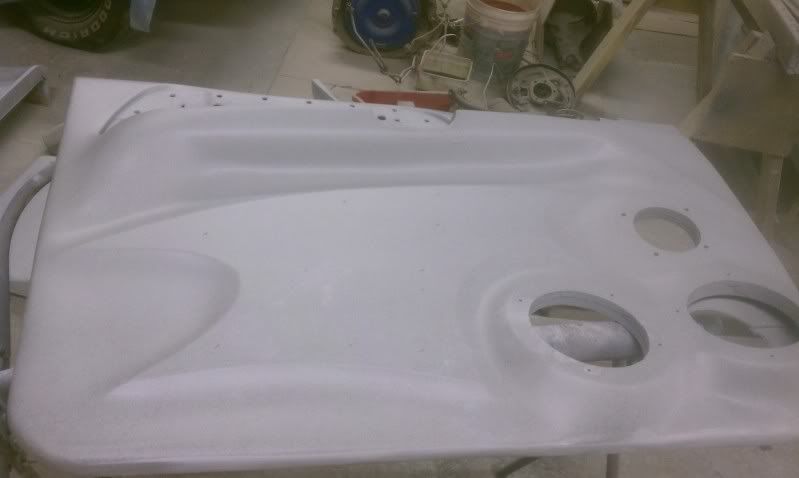
After
Here is a picture of three costs of sandable primer. Its pretty thick and it looks amazing once sanded. Here is a picture with it applied and once sanded
Before
After
ShootinBlankz
New member
any progress? Looks amazing by the way.
Cobra 19 & 54
slacker extrordinaire
and, and!!!!
Robts
Proud Fummins Owner
Sorry guys,,,,I have full custody of my daughter and been busy with her.
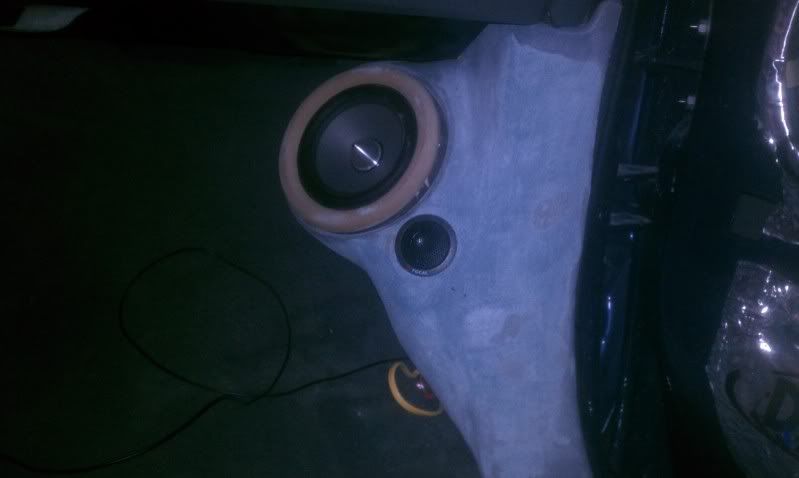
I got the kick panels done and ready for vinyl. Again the will have a lighted ring under the speaker lit blue
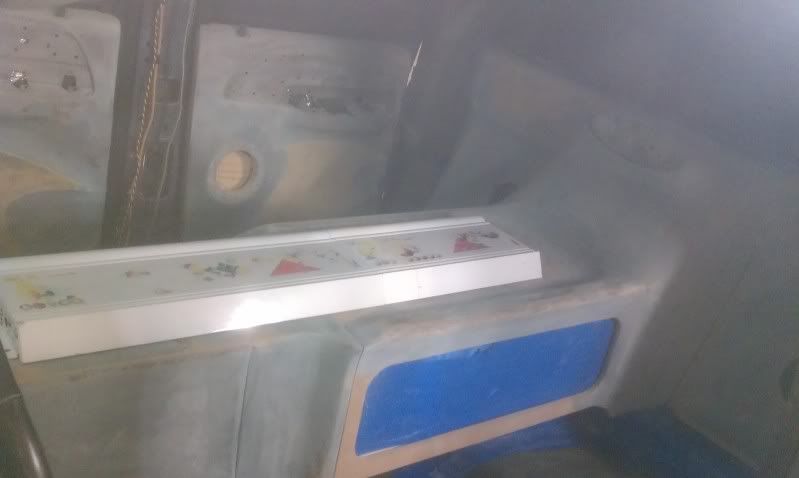
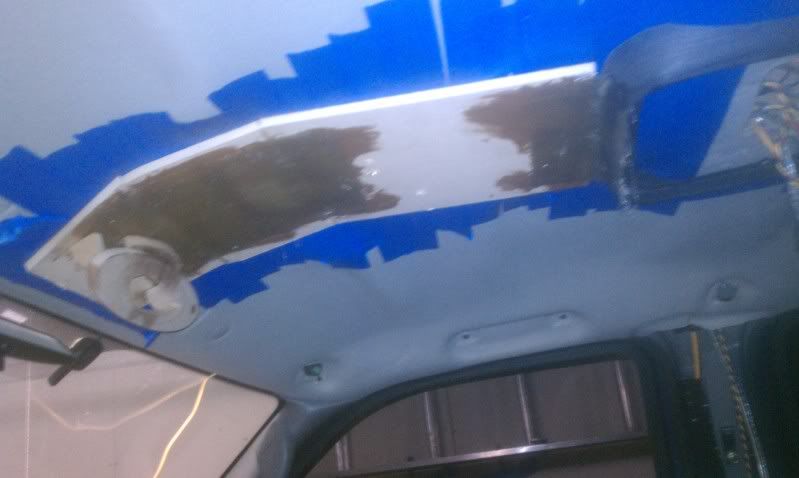
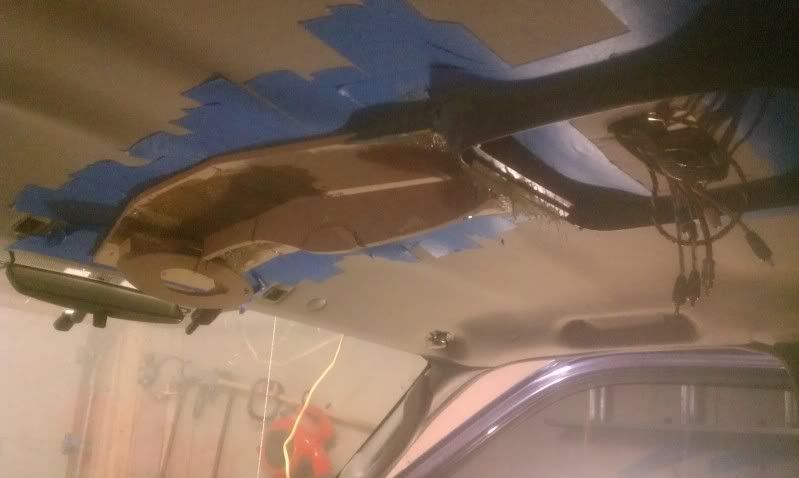
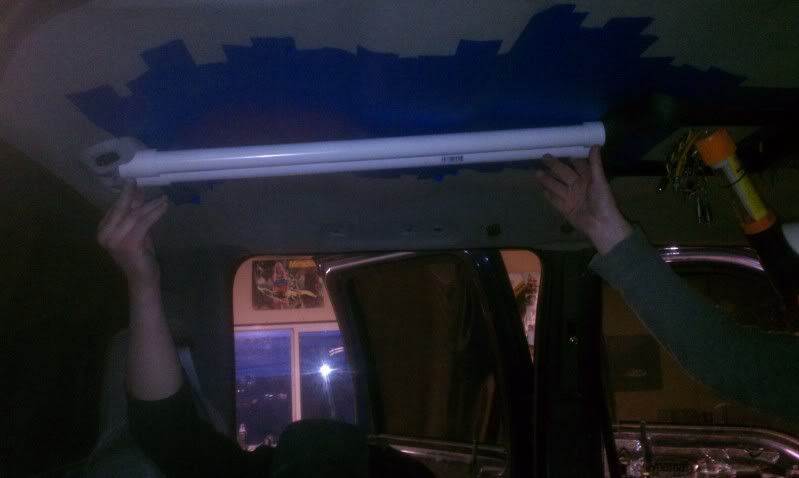
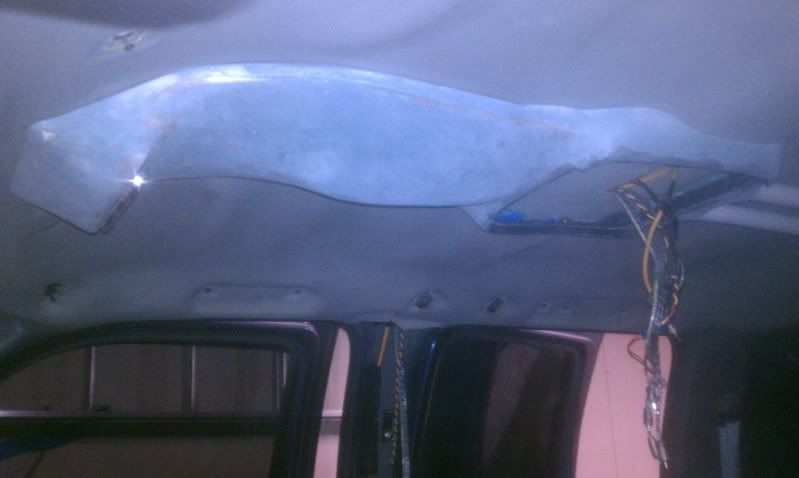
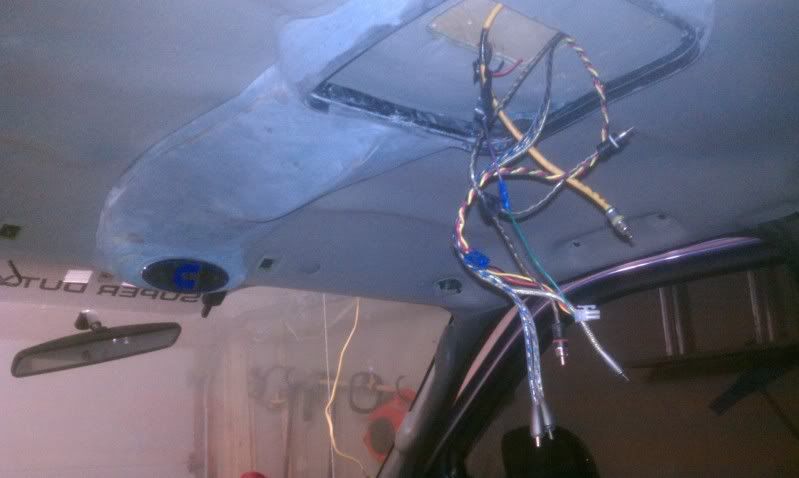
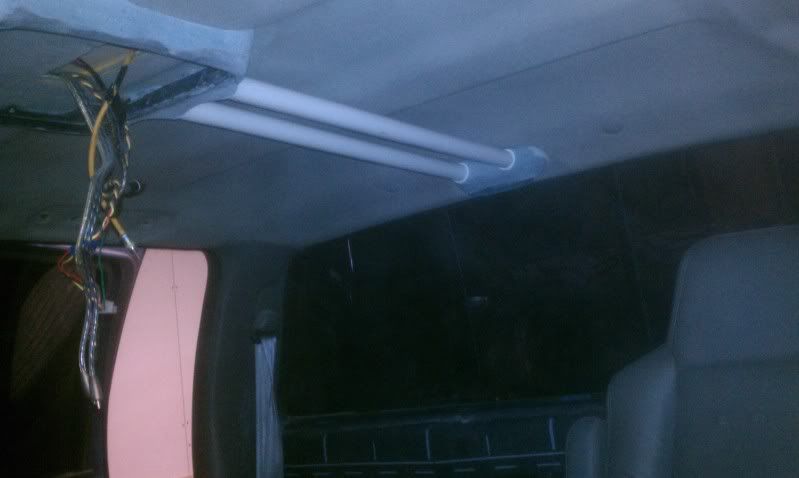
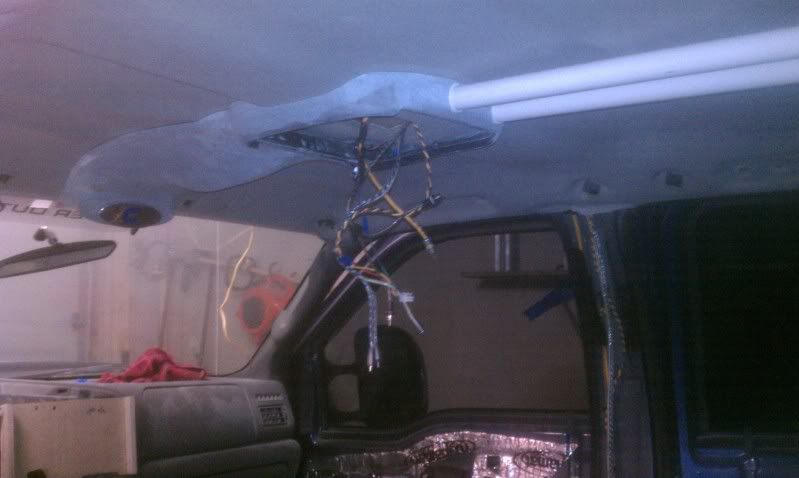
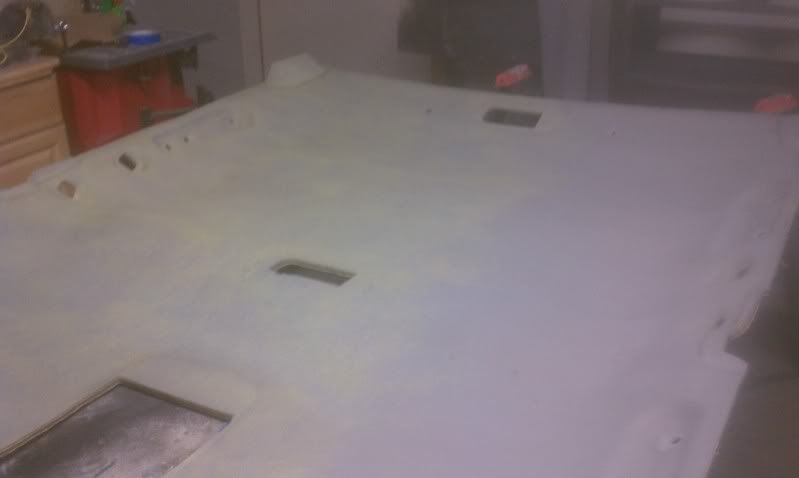
I started the over head. The front near the windshield will have a billet ford elblem with the Cummins “C” in the center. Very similar to the rear center console shape. All my switches for lights inside and my procomp lights will be mounted in the center with some billet push button switches. The rear Alpin DVD will be in the center with (2) 1” plexi rods going to the back. They will also be lit blue. This is in a rough stage in this picture but you see the shape taking place. Had to get some extra hands in there to show you whats going on

As for the rest of the panels. Finished block sanding everything and the primer is getting touched up. Plan is to spray one piece Next Saturday to see the color and finish. Most of the stuff will have some flatness to the color except the rings and panel inserts. They will be darker with a lot of gloss.
Sorry so long for the update
I got the kick panels done and ready for vinyl. Again the will have a lighted ring under the speaker lit blue
I started the over head. The front near the windshield will have a billet ford elblem with the Cummins “C” in the center. Very similar to the rear center console shape. All my switches for lights inside and my procomp lights will be mounted in the center with some billet push button switches. The rear Alpin DVD will be in the center with (2) 1” plexi rods going to the back. They will also be lit blue. This is in a rough stage in this picture but you see the shape taking place. Had to get some extra hands in there to show you whats going on
As for the rest of the panels. Finished block sanding everything and the primer is getting touched up. Plan is to spray one piece Next Saturday to see the color and finish. Most of the stuff will have some flatness to the color except the rings and panel inserts. They will be darker with a lot of gloss.
Sorry so long for the update
Robts
Proud Fummins Owner
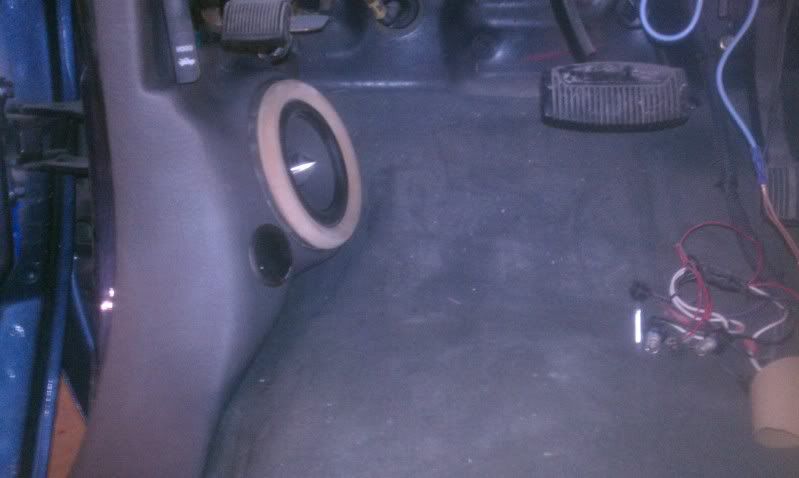
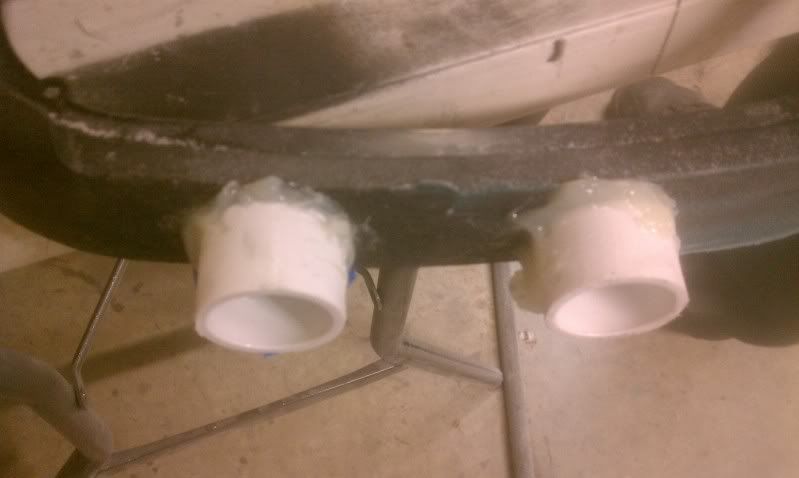
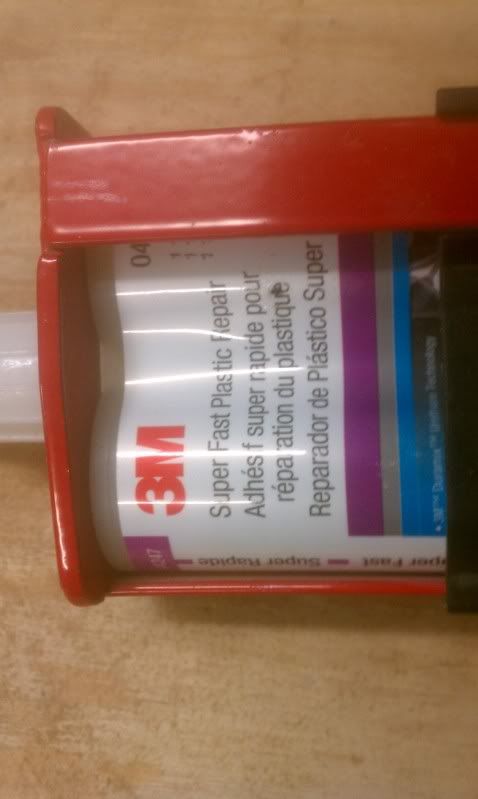
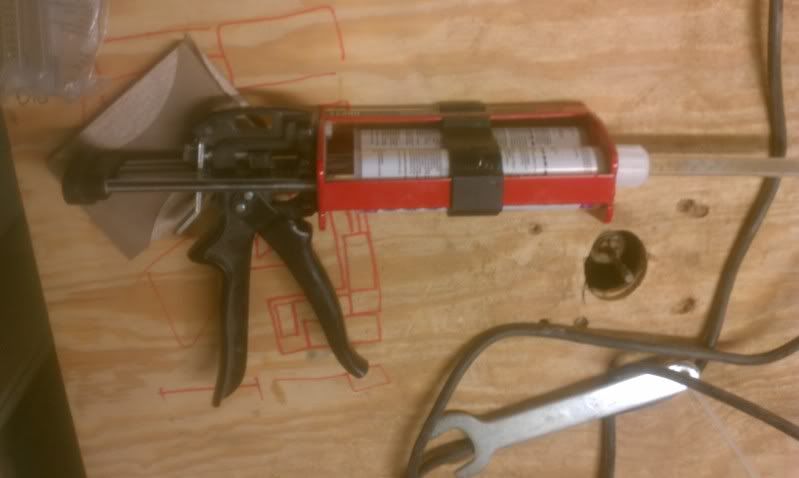
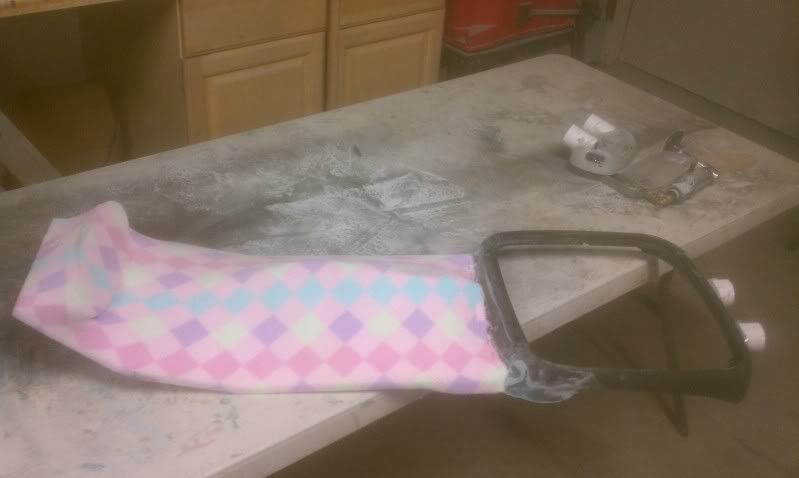
Well last night we knocked out both kick panels. The are all Wrapped in vynal and ready for install. Next we focused on the over head console. Here are some pics. I also posted some glue we used to quickly hold the Plexi rod holders. This is basically used in a body shop for plastic repair....Ill post the two part glue/repair stuff. Its back to the shopping list. I need to get swade for the head liner and over head. Also need to start purchasing LED strips lighting . These lights are super thin and will be going inside the plexi to light the plexi up
Image Detail for - http://image.made-in-china.com/4f0j00PemTaEyWHLuN/Blue-LED-Flexible-Strip-Lights-3528.jpg
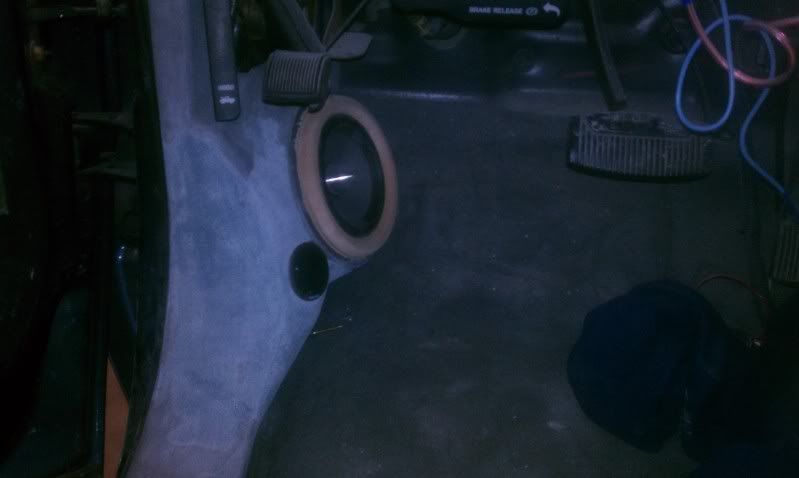
Kick panels . Notice the plexi ring under the speaker. That will be lite up blue
Rod holders glued in
Glue used
Sweat glue gun for two part
Pre Glassed. I have used all my daughters old fleece baby blankets. This way she is a part of the build
Where it sits this morning. I am going inthe garage after lunch for another round

Image Detail for - http://image.made-in-china.com/4f0j00PemTaEyWHLuN/Blue-LED-Flexible-Strip-Lights-3528.jpg
Kick panels . Notice the plexi ring under the speaker. That will be lite up blue
Rod holders glued in
Glue used
Sweat glue gun for two part
Pre Glassed. I have used all my daughters old fleece baby blankets. This way she is a part of the build
Where it sits this morning. I am going inthe garage after lunch for another round
Robts
Proud Fummins Owner
how many hours are in this truck?
Hours for this stereo install, the 6l days including twins, cummins swap or entire truck
All in all...Lots
Robts
Proud Fummins Owner
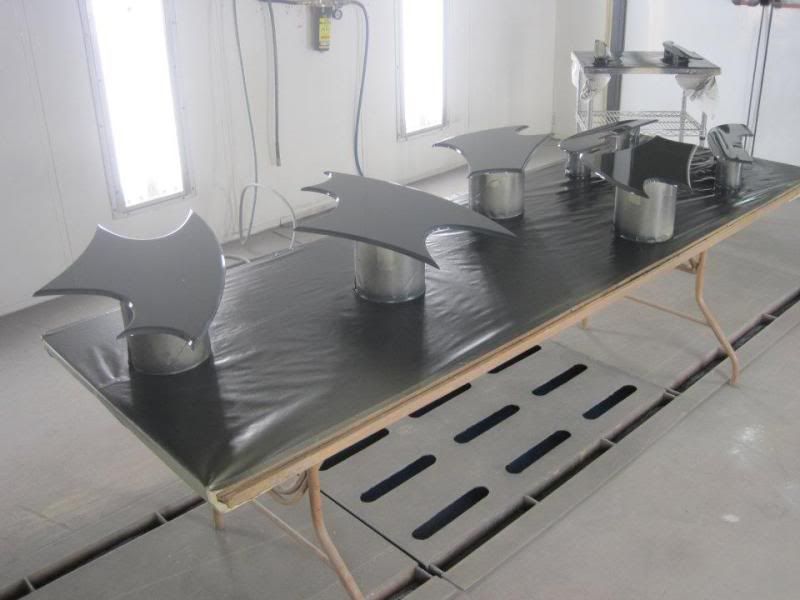
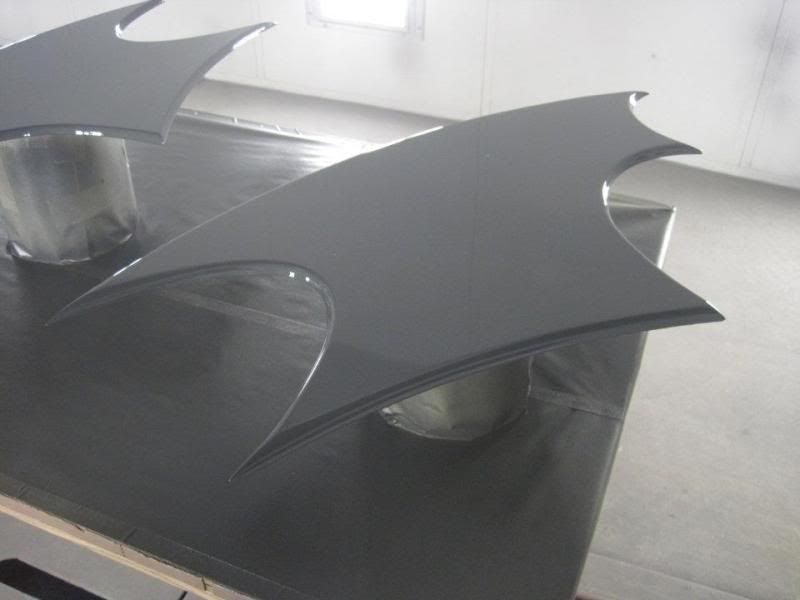
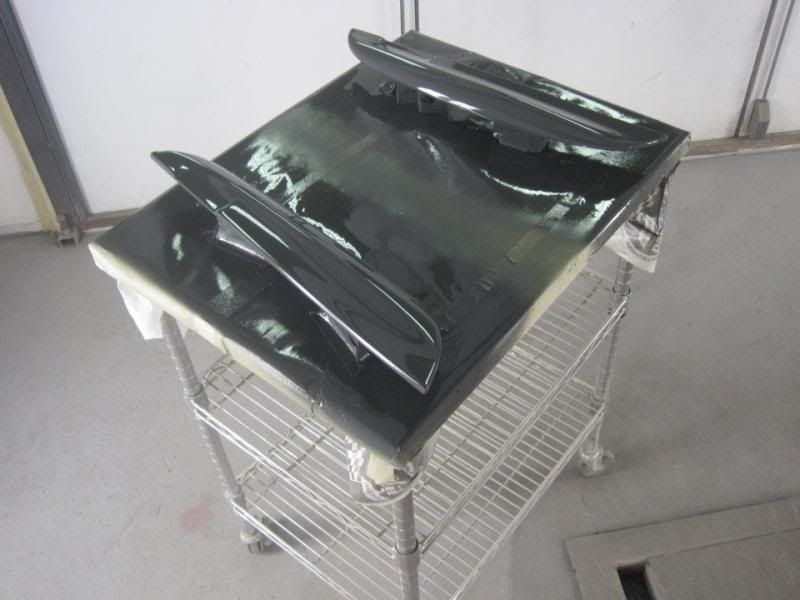
Here are some pics of the stuff prior to paint. I am finally at the point where we are laying paint. We are starting the headliner and wrapping the overhead console. I switched to more of a sporty look on the headliner.
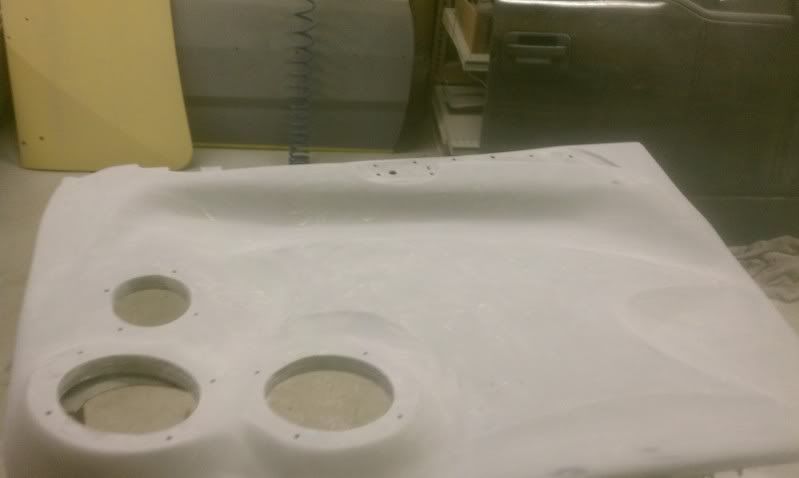
Here are some final prime and also the inserts painted FINALLY
Final Primed
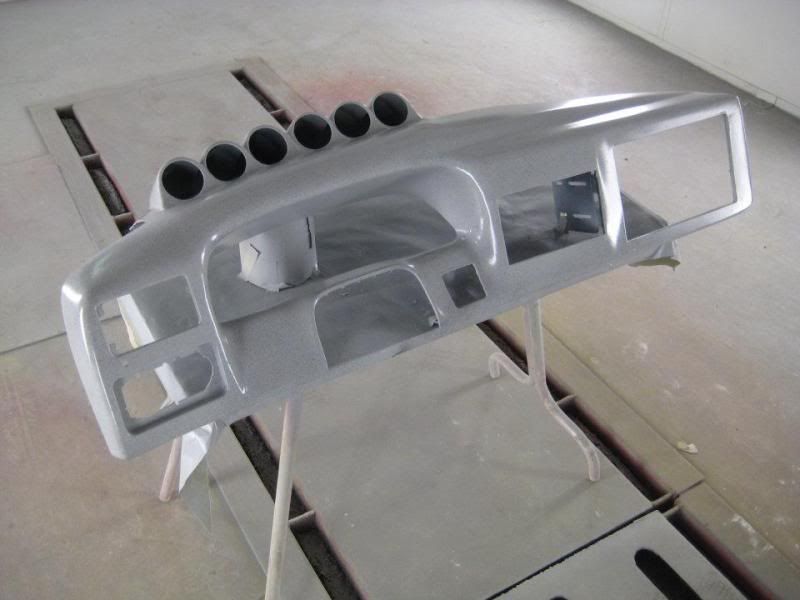
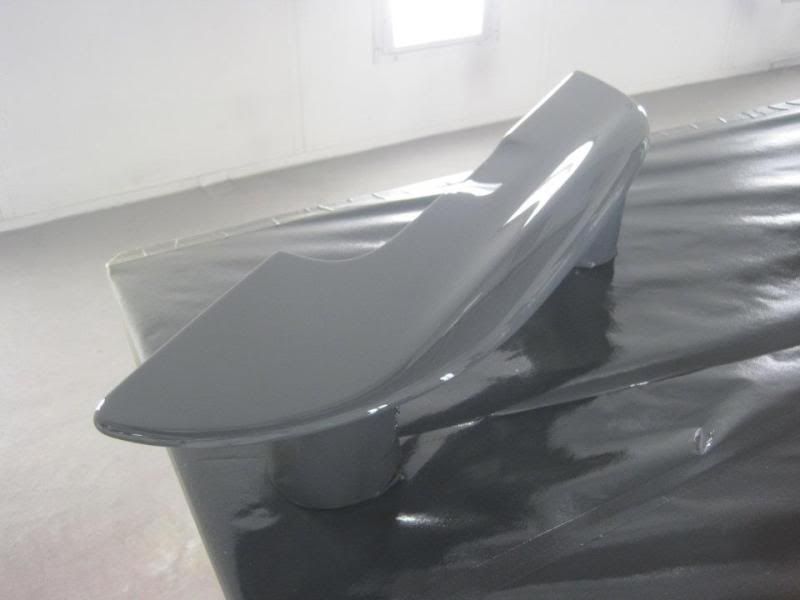
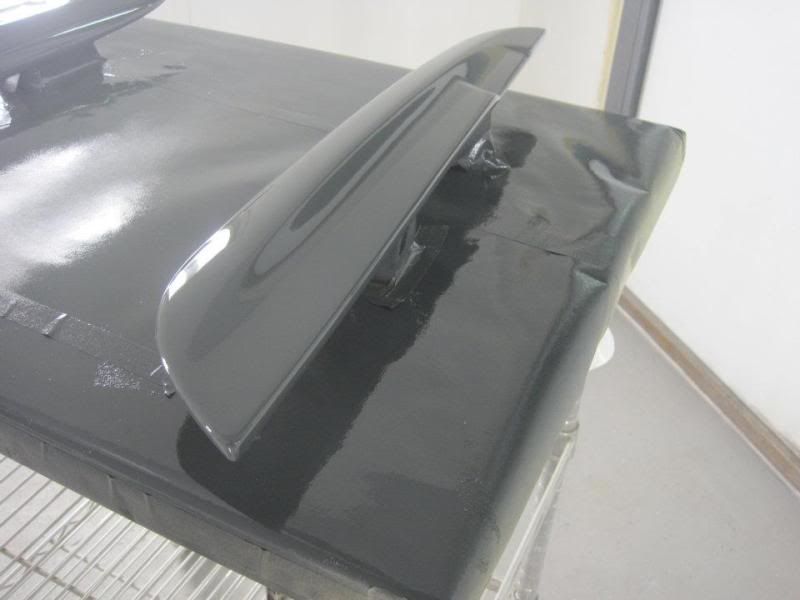
Final painted. The inserts and rings are all shiney Dark grey.
http://i34.photobucket.com/albums/d103/robts1972/409010_301752213
218275_119270014799830_823294_1878431642_n.jpg
No more WoodGrain
Its finally going together
Here are some final prime and also the inserts painted FINALLY
Final Primed
Final painted. The inserts and rings are all shiney Dark grey.
http://i34.photobucket.com/albums/d103/robts1972/409010_301752213
218275_119270014799830_823294_1878431642_n.jpg
No more WoodGrain
Its finally going together
Robts
Proud Fummins Owner
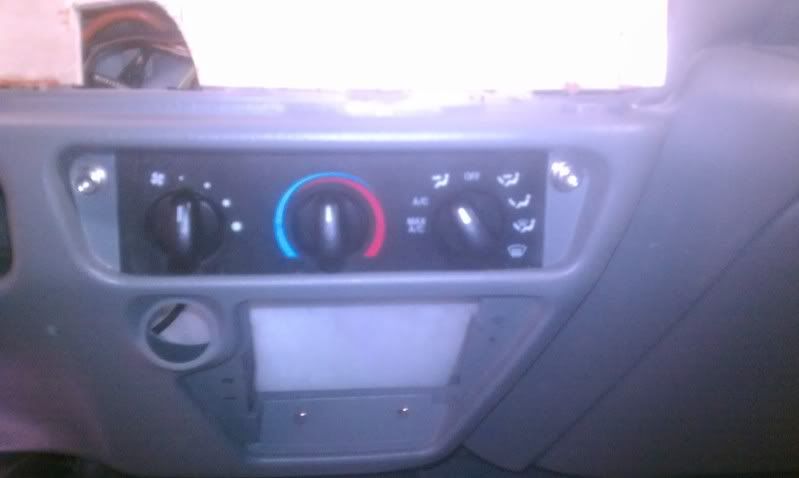
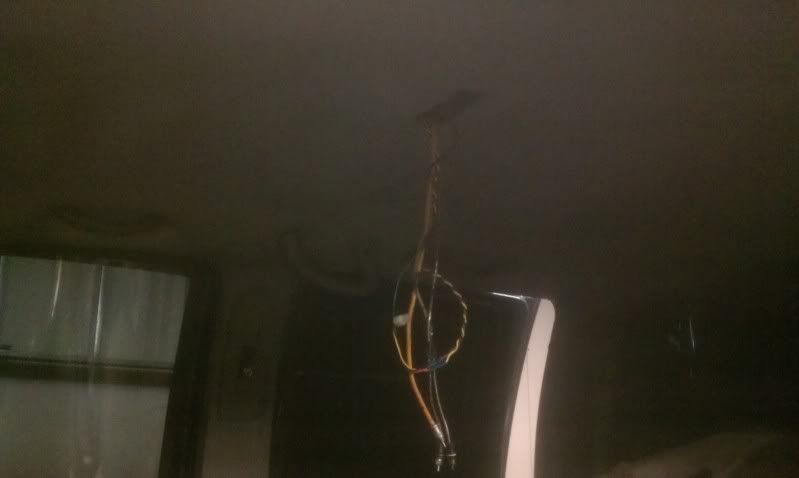
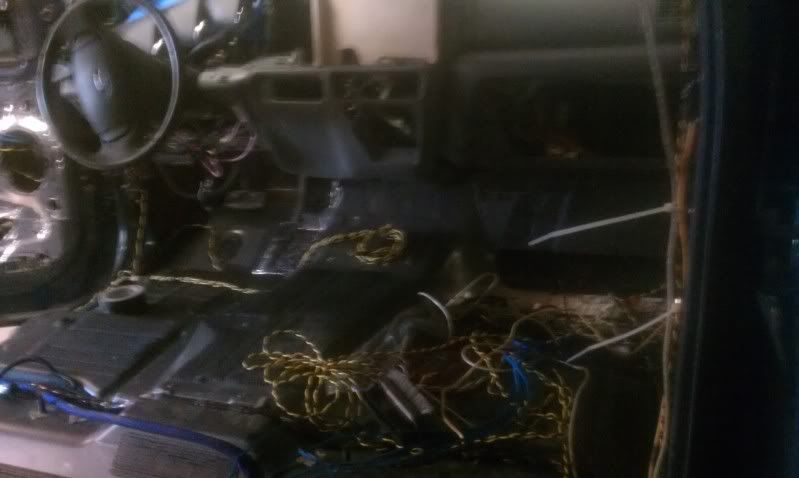
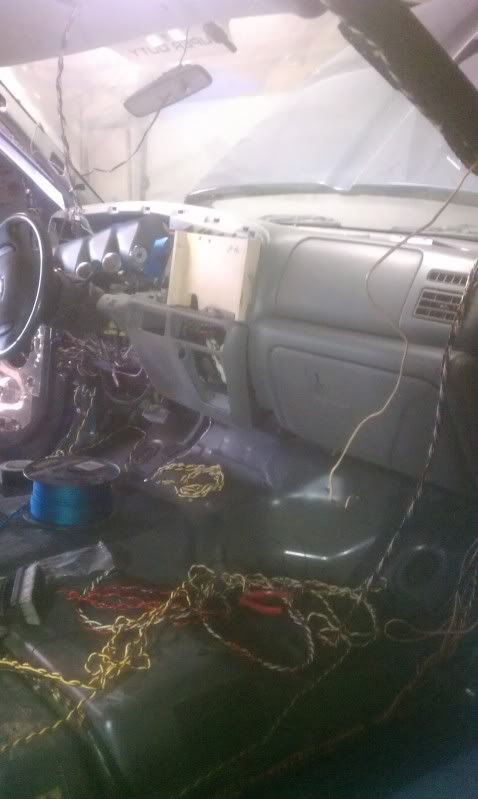
Well, got some progress done. Sprayed the existing headliner with glue and put new headliner over the existing. I always hated the old one once soot got on it. Yes....my truck smokes a lot. So, switched the material and then started wiring. I also move the heater controls where the old cup holder was. Here are some pics. Noticed all the wire that is going on for the lights. Wiring has began so that means I am past the half way point. Now the fun begins. All wire is spun to make it neater. Next weekend everything comes back from Paint.
98.5_24valve
New member
Cant wait for this to get done. Top-shelf work!
crzycowboy
Comp Diesel Sponsor
Rob...I'm diggin that dark grey color man...
Robts
Proud Fummins Owner
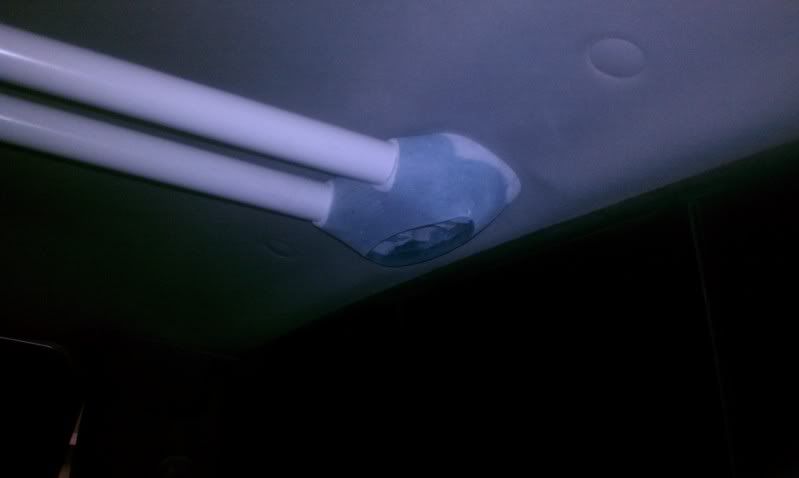
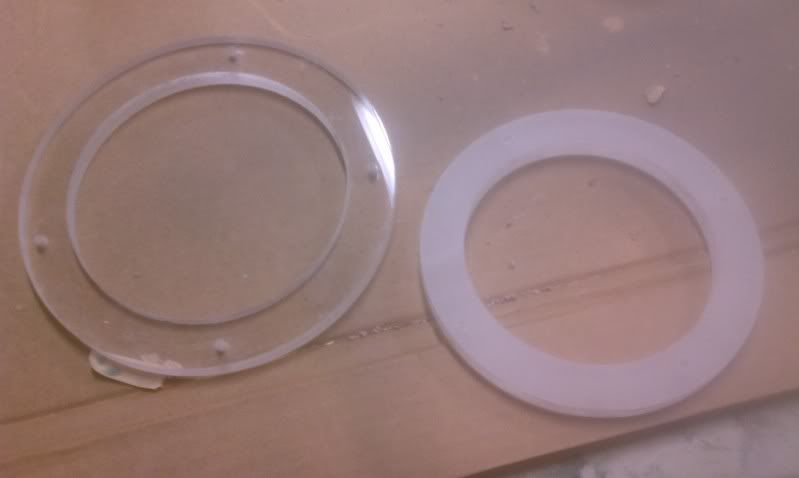
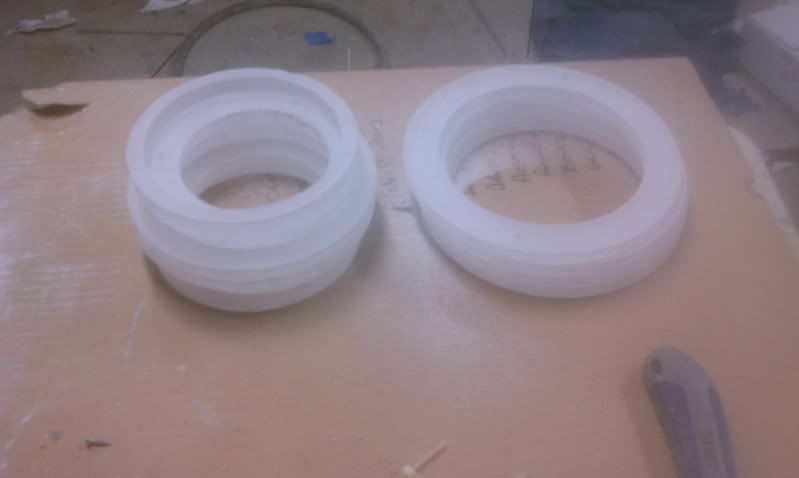
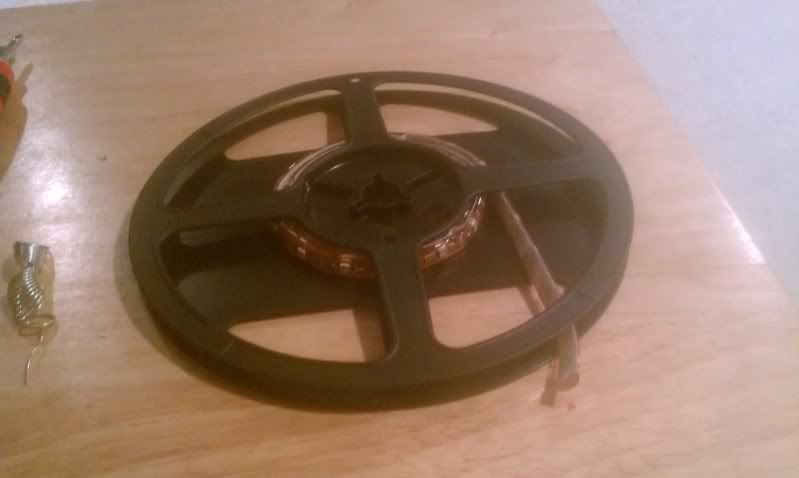
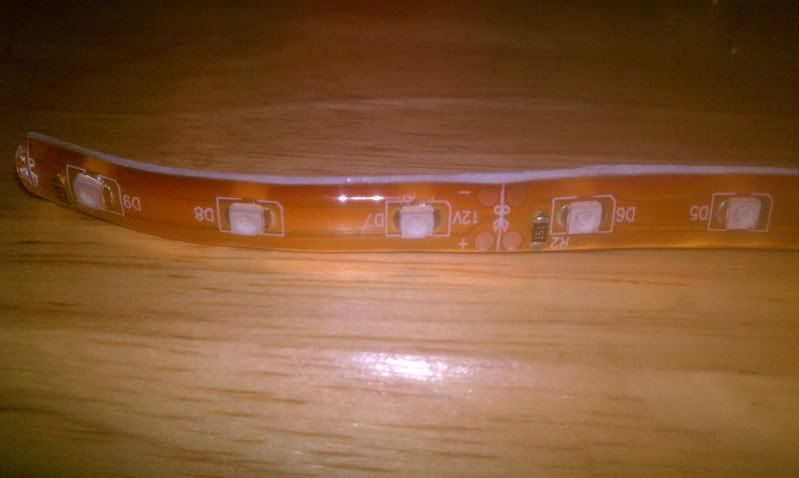
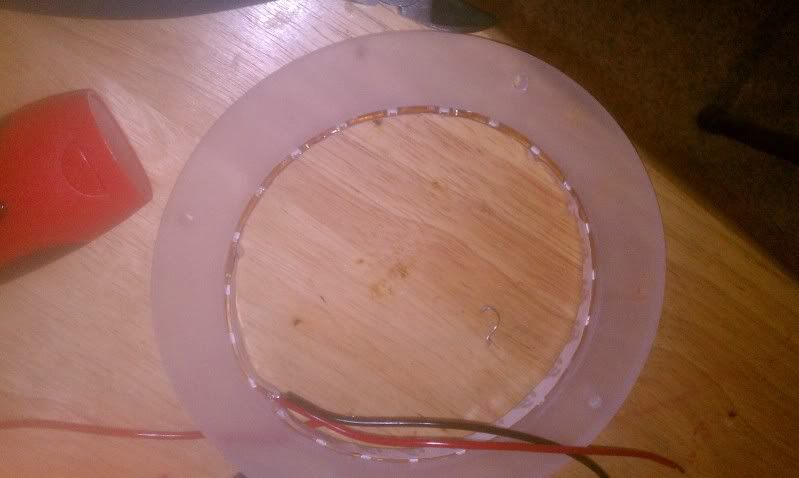
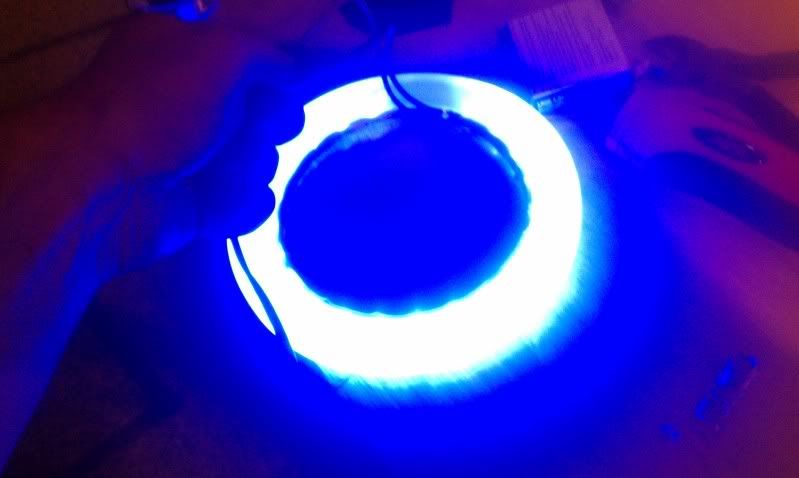
Ok…Started working on the speaker rings. I lightly sanded them with 150 grit to make a frosted look. Then I used the LED waterproof strip lights. As you can see I have to cut the strip lighting right at the breaking point with the line thru the LED. I then had to solder some wire on them so I can wire each ring separate. After this I glue the lights on the inside of the ring so the outside will glow blue. See he picture of the finished lighted ring
OnVacation
New member
sick. Totally sick. I wonder if you could sell the design to someplace like MTX for mold production. I can't help but imagine that if they made a mold for your door panels they'd sell like hotcakes. of course, then yours wouldn't be unique...
bbbxcursion
traitor
Great work!