Robts
Proud Fummins Owner
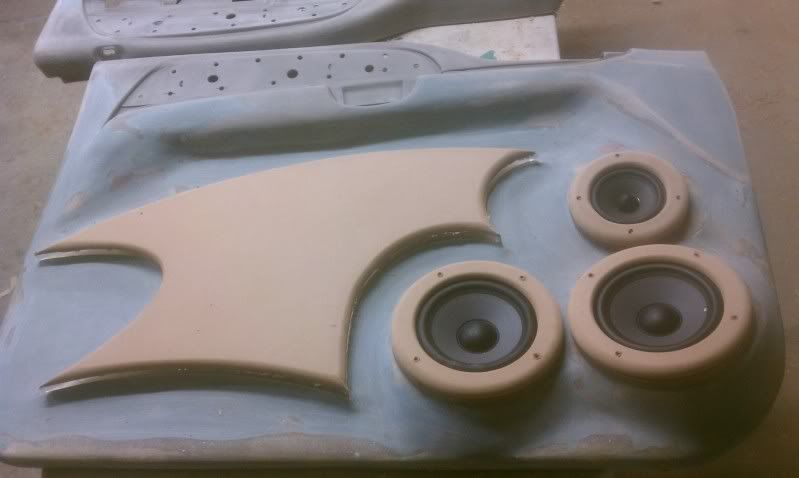
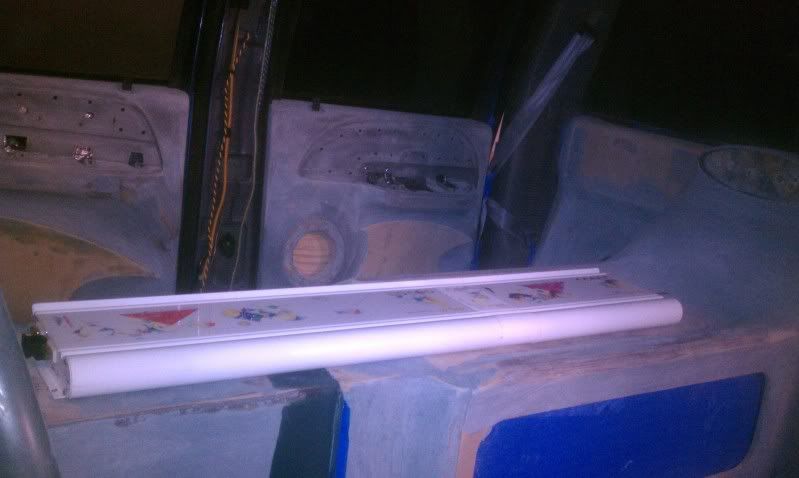
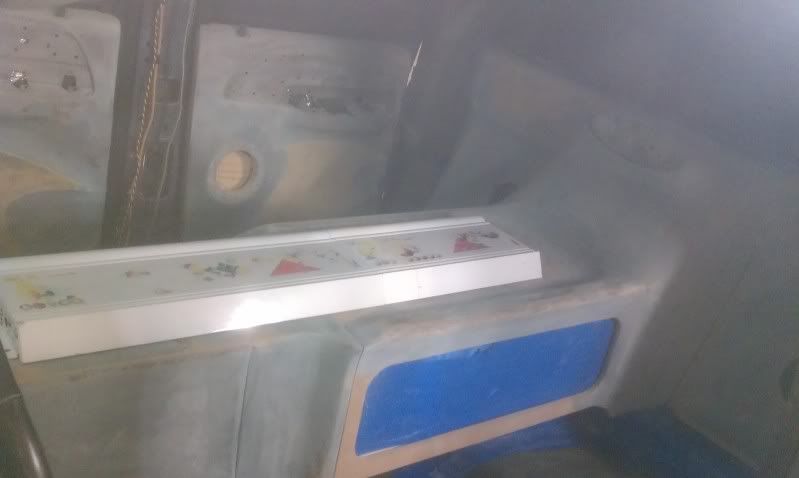
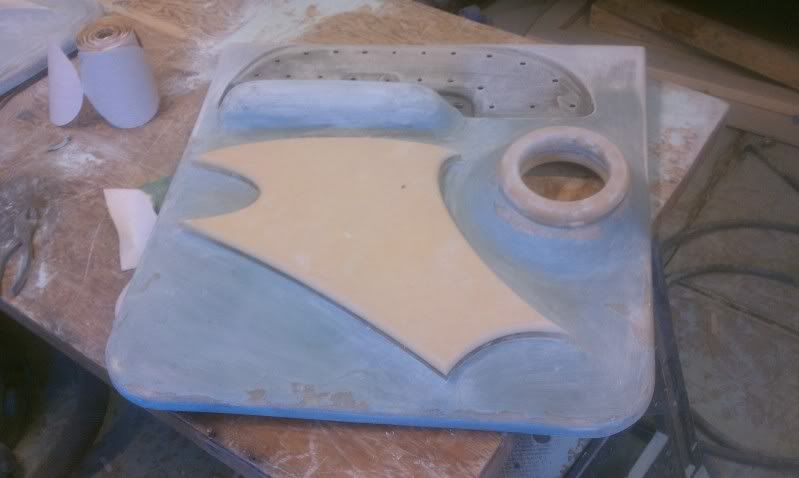
Well,,,,the doors are ready for primer. The plexi is done and the also the rings. The plan is to mount the speakers to the plexi and the door. The rings will go over the speakers so you wont see the speaker screws. The door will be painted the stock color and the rings and outer design panel will be painted the color of the arm rest which is a little darker. I still got to put in screw sets in the door. They will be ¼-20 screws. Onces the speakers are mounted…we will then silicone the outer sings on…Trust me..they wont move
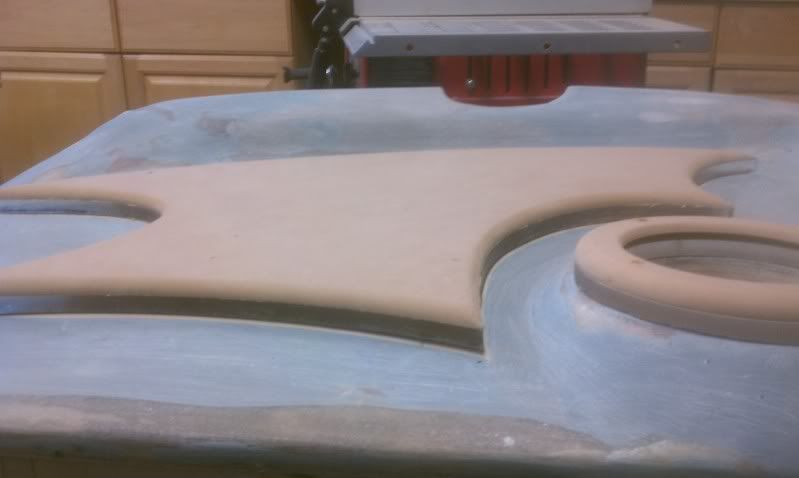
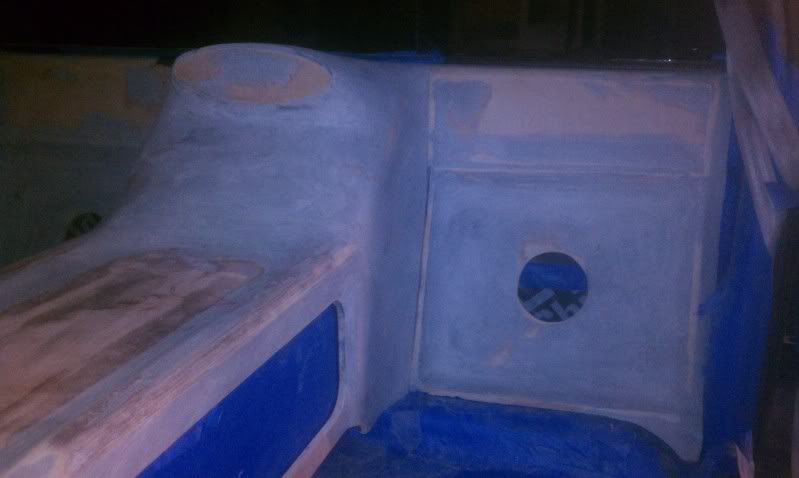
Here are some pre-primed panels. I will do 2 coats of thick primer before I start block sanding it.
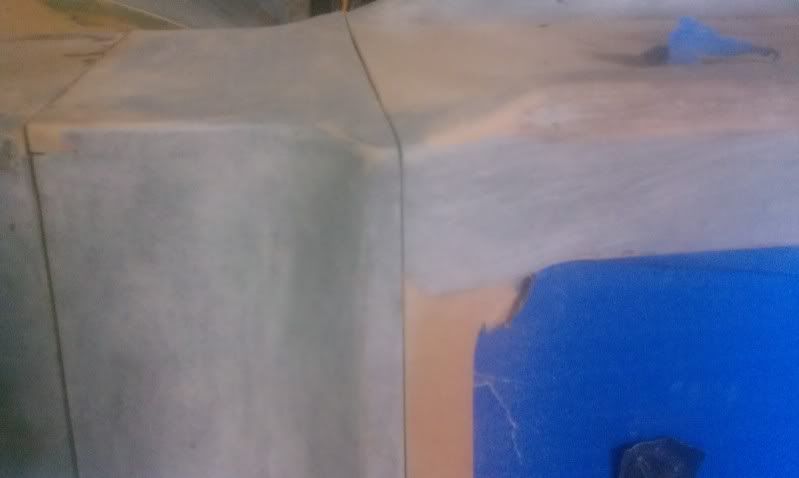
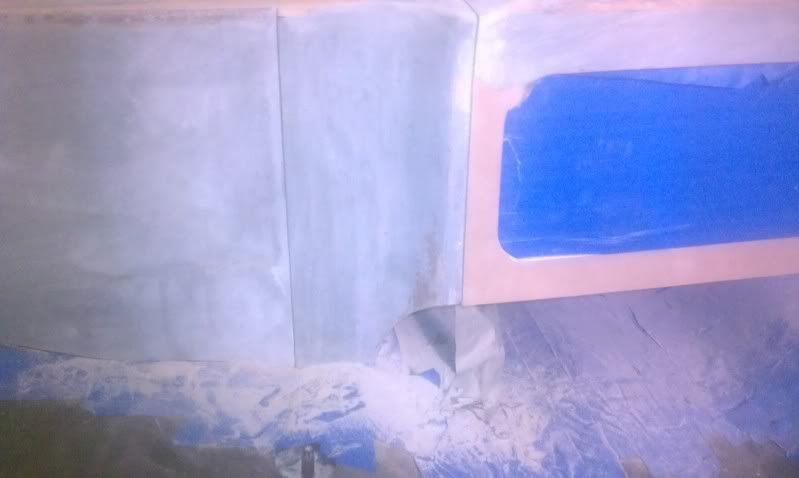
Noticed the plexi underneath the rings and center section. This edge will be lit up blue from mounting blue led inside the rings. you have to look real close to see it now
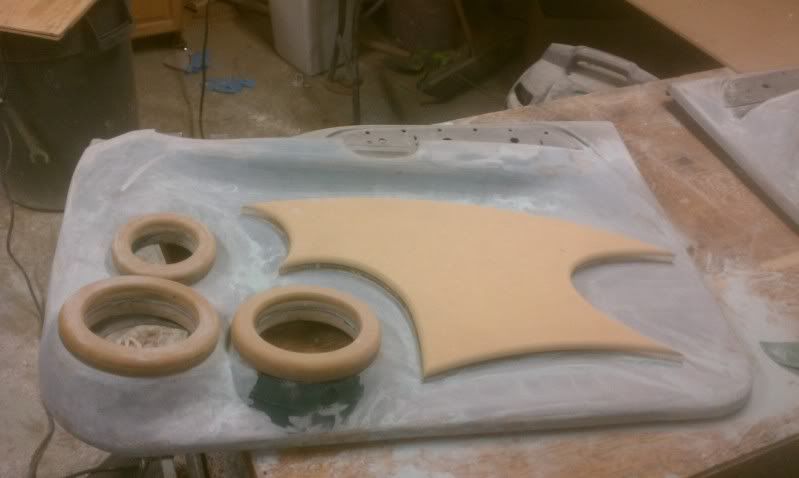
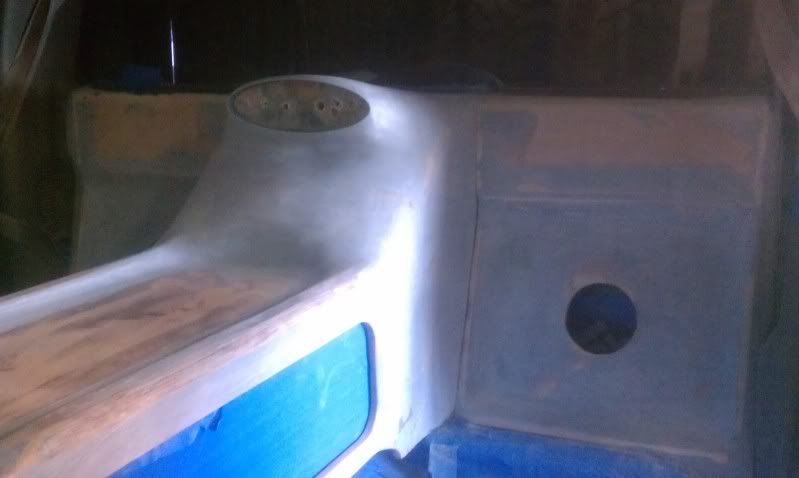
Here are some pre-primed panels. I will do 2 coats of thick primer before I start block sanding it.
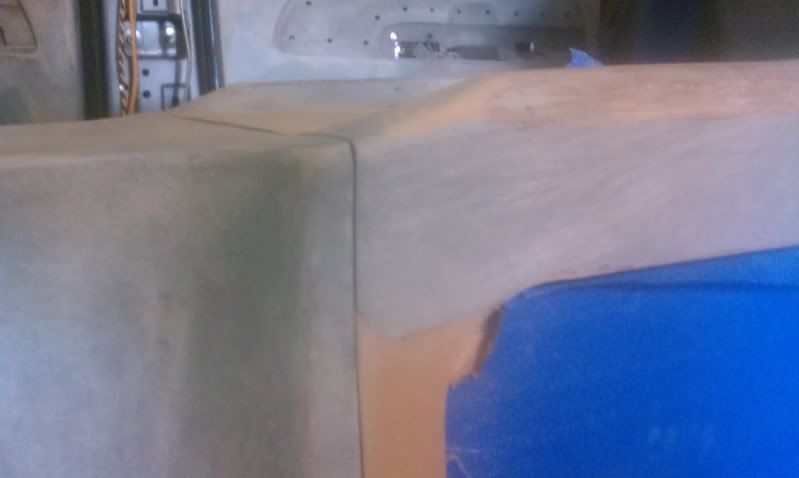
Noticed the plexi underneath the rings and center section. This edge will be lit up blue from mounting blue led inside the rings. you have to look real close to see it now