1967 RS Duramax Camaro

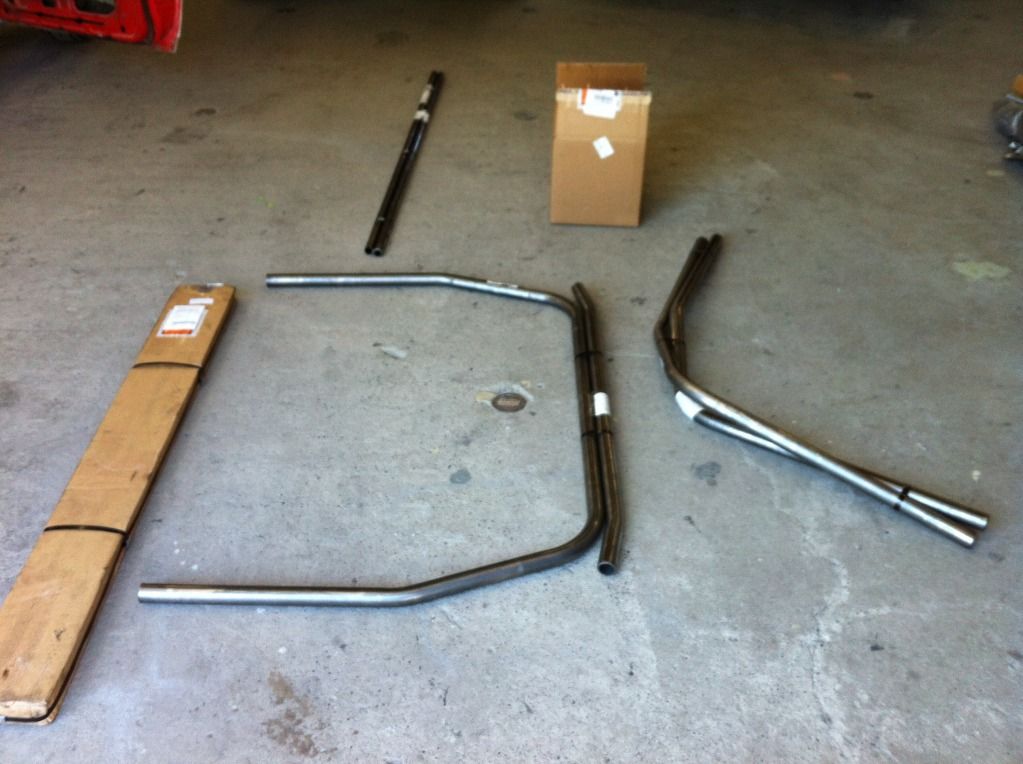
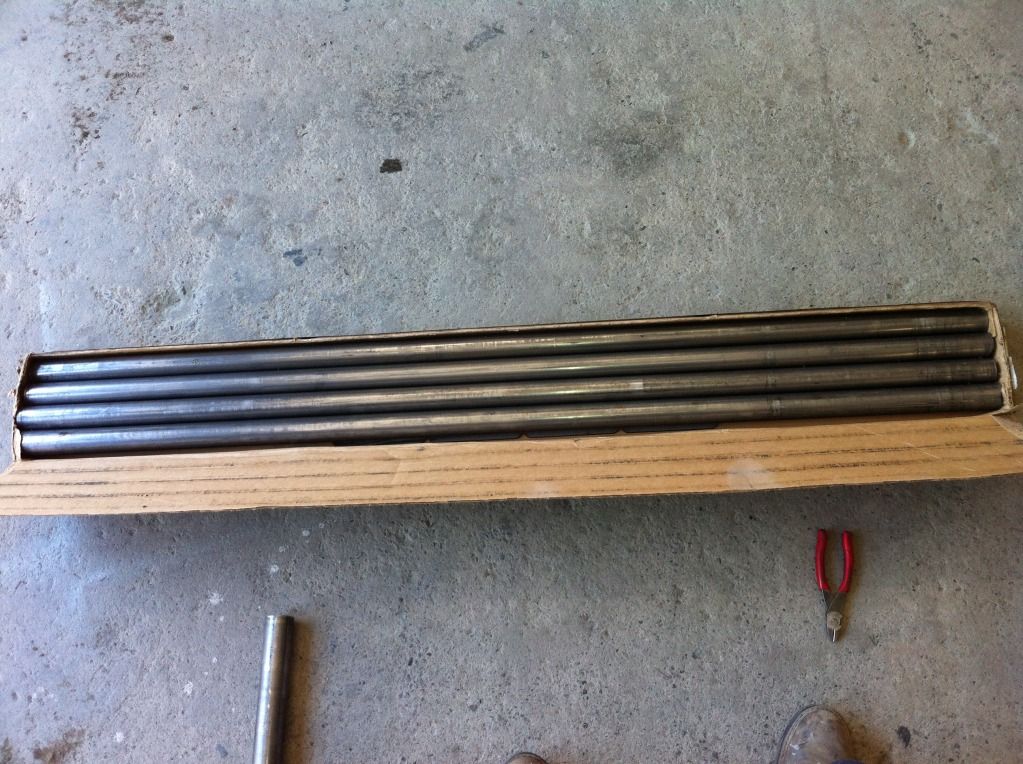
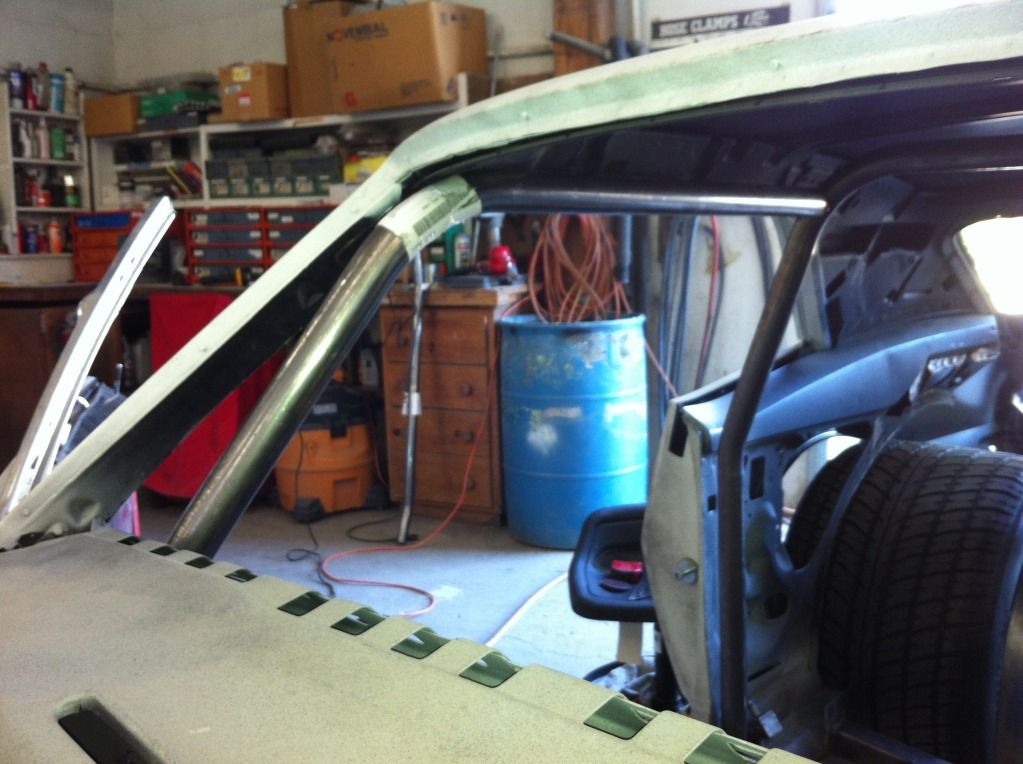
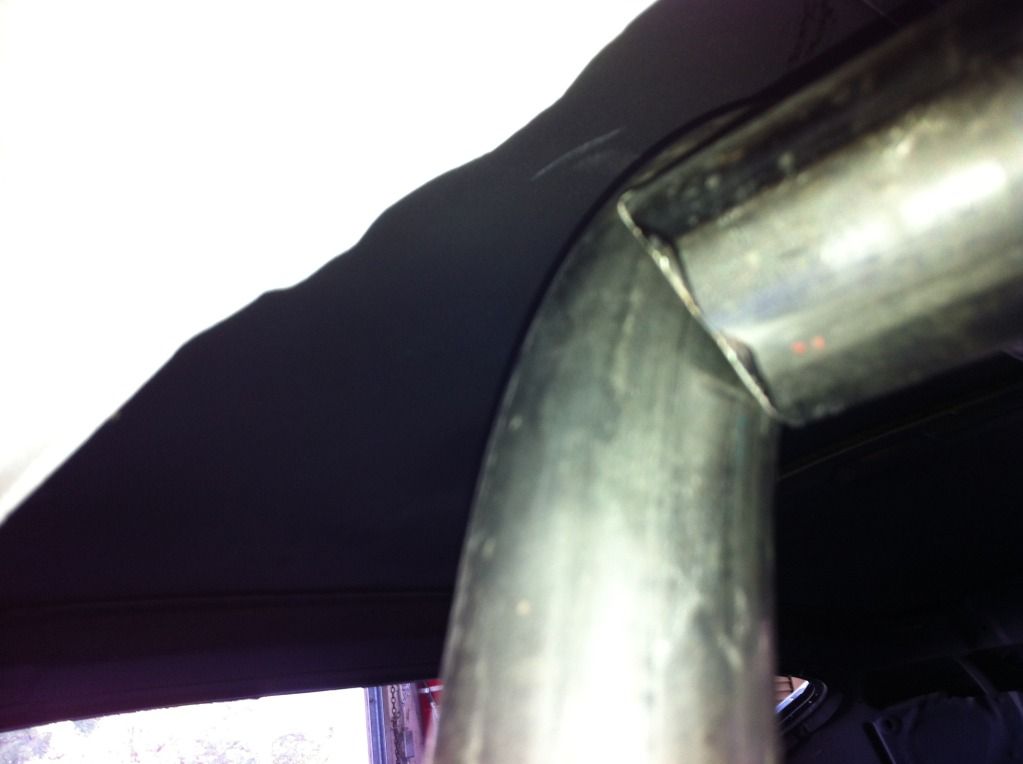
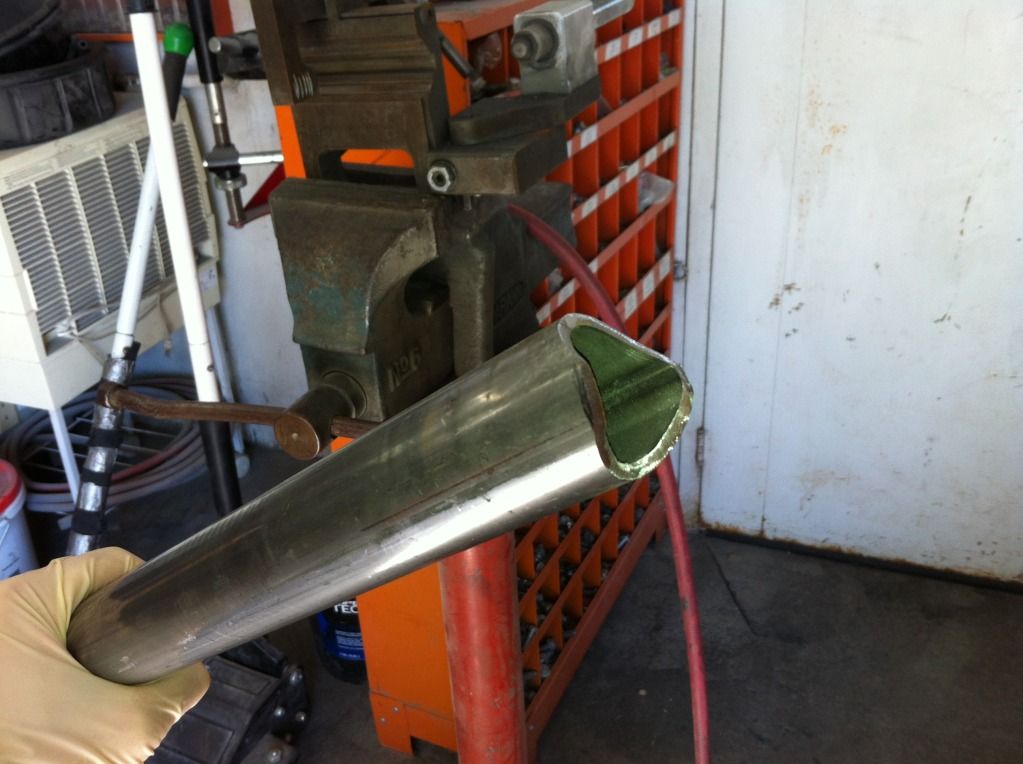
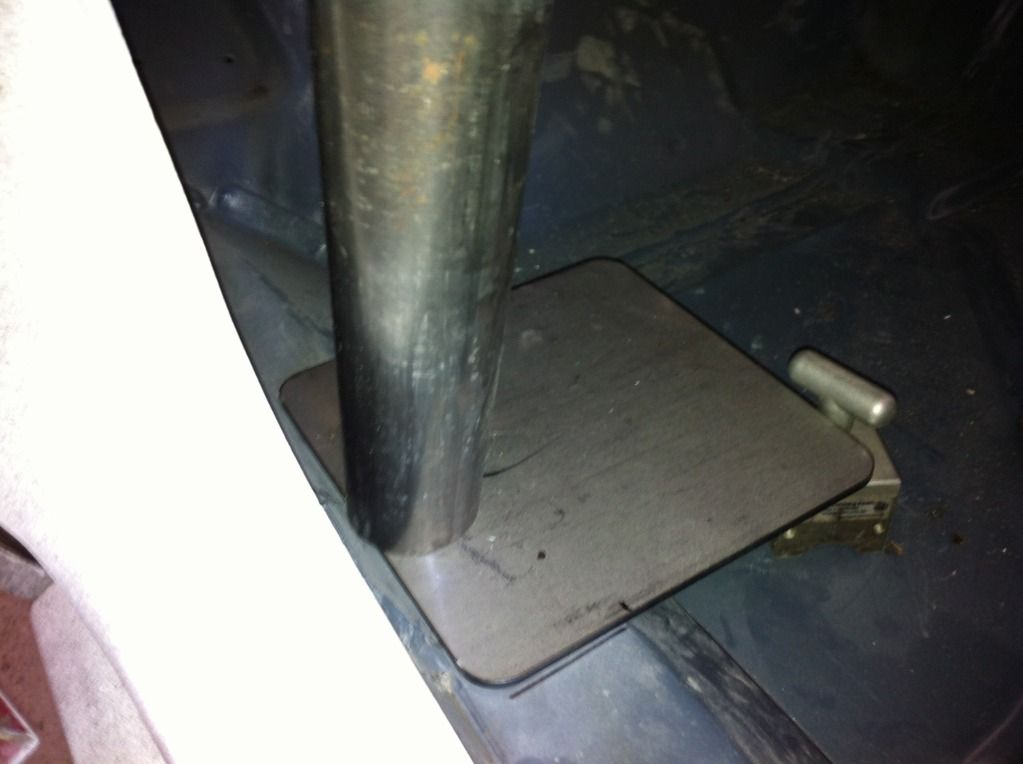
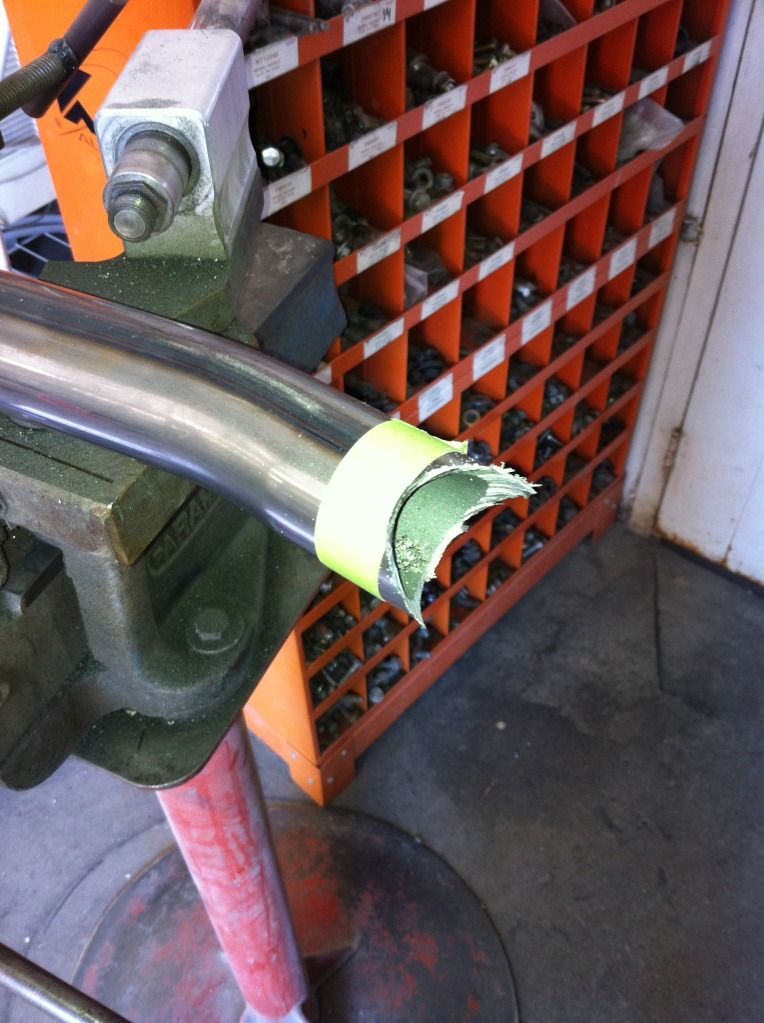
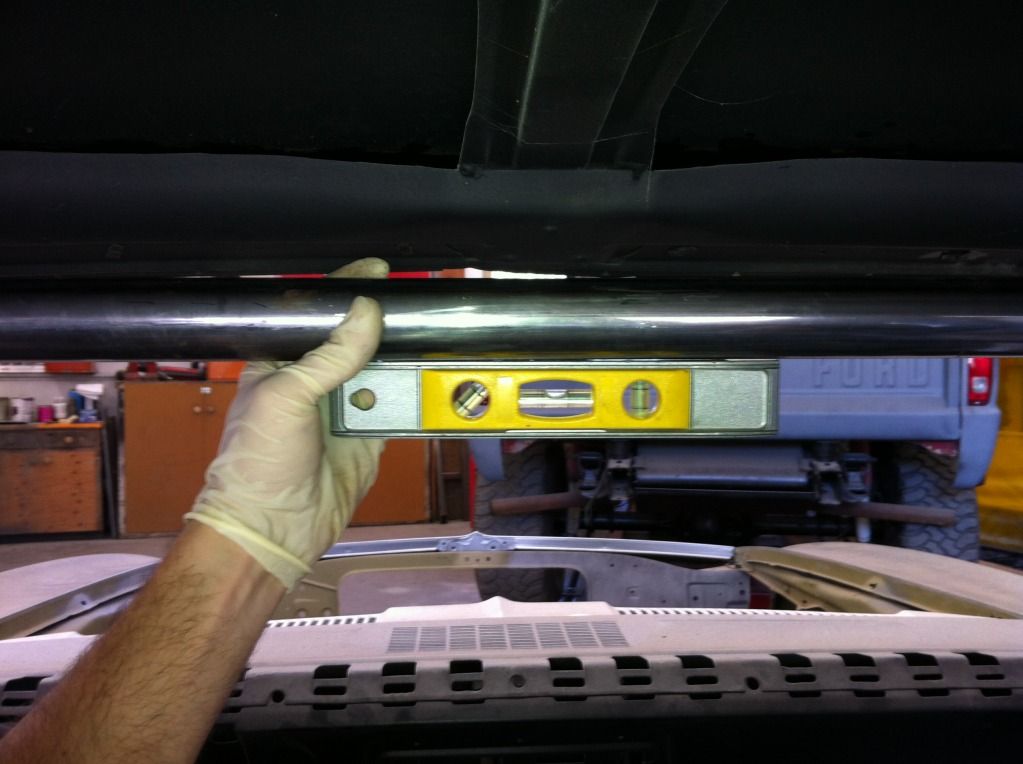
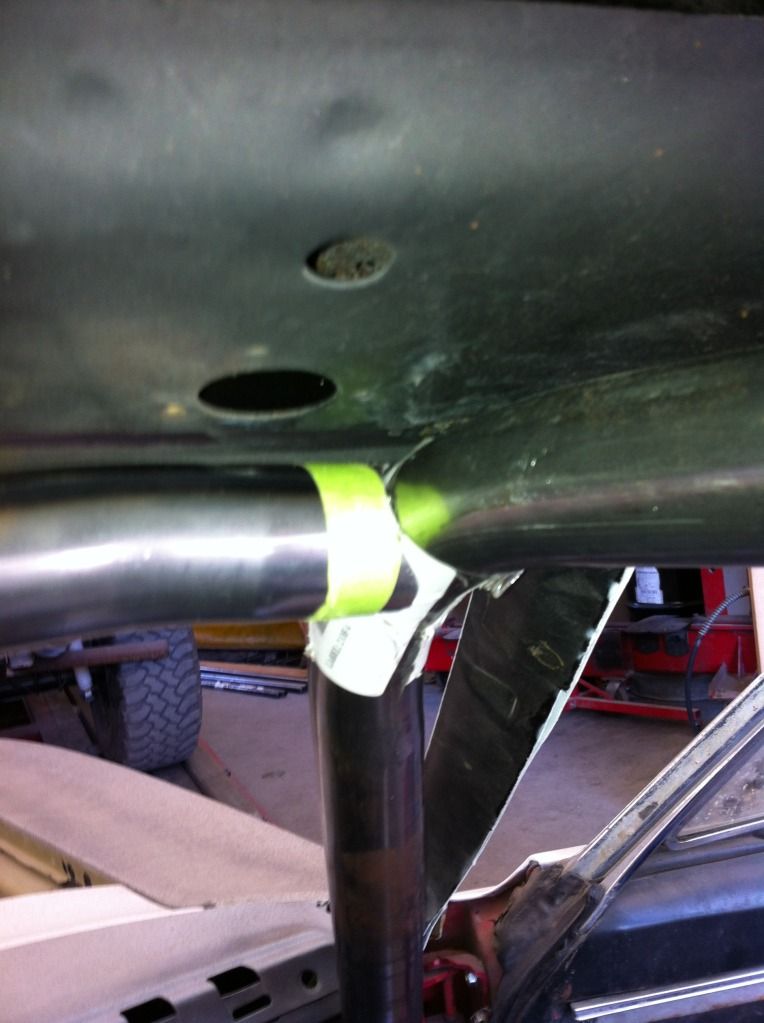
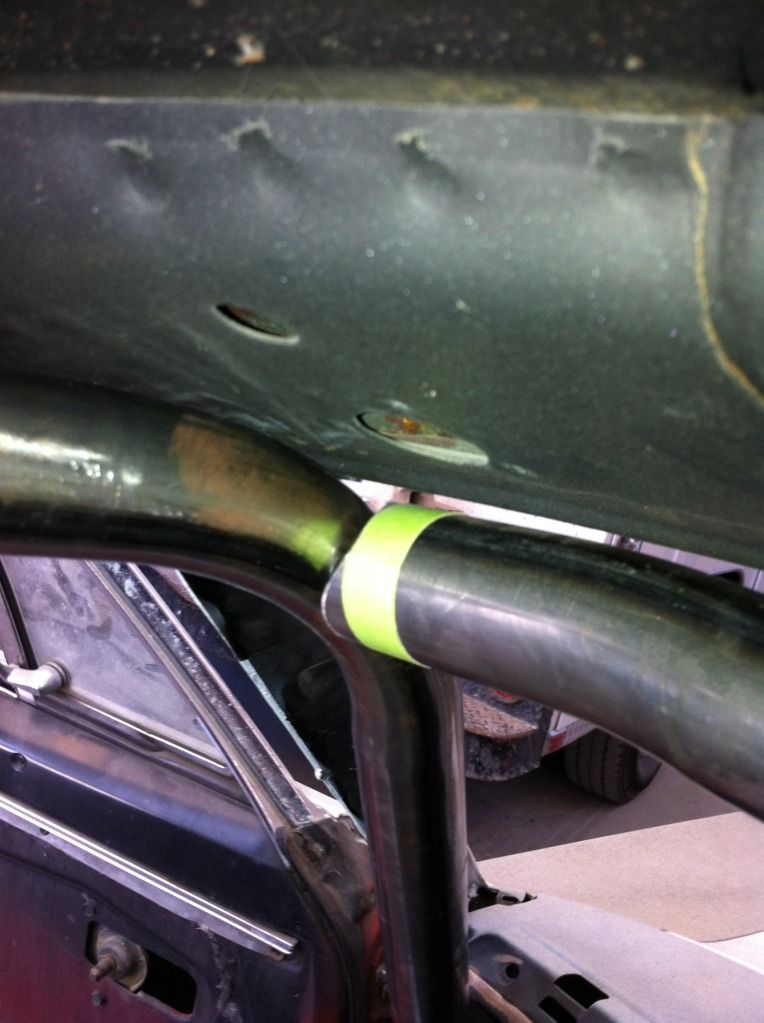
Thanks again for all the compliments guys. I wish I was further along in the build, but I can't complain with how well everything has turned out so far. The next tasks on the to do list is the roll cage and mock up the motor and tranny.

I'm not sure if I'll get anything done on it this weekend. Rainy weather will be here before I know it so I might have to work on getting things around the property organized and put away for fall/winter.

First off cool build. I'm doing something very similar with a 55 Bel Air that was my father first car. Except on a much slower timeline.


Why the 47rh why not a 4L80E?

I'm running the 47rh because I already had a 2wd one sitting in my garage. I have a built 47rh in my 12v and I like it a lot. I recently installed a suncoast valve body in it and now I love it.

I know a very good tranny guy and talked to him about building a 4l80e to hold up to a duramax a couple years ago. It seems that they are more complicated and can be more expensive to build. I'm not sure if anyone builds a reverse manual valve body for them (some company probably does). I basically want to run a reverse manual valve body with a trans brake, and control converter lock up and overdrive myself.

It will also p!ss off a lot more people when they hear my camaro is not only powered by a duramax diesel, but has a chrysler transmission and a ford rear end LOL And I know it will because it already has.
 
TCI and hughes make forward/reverse man VB with working TC and 06-07 vans came with 4l85s factory fwiw
i have a 79 malibu wagon that will be getting a LBZ along with the t56 that is already in it.. and a pro touring stance 275 up front and 315 out back.

isint part of hotroding taking what you have and making it work?
hands down a nice build!!!!!!!!
 
Very sweet build. I tried talking my uncle into putting a Duramax in his Chevelle and he laughed at me saying his big block will beat any Duramax. A month ago he raced his buddy with a ext. Cab long bed 4x4 Duramax and got beat. He wont talk to me right now since i laughed at him.
 
TCI and hughes make forward/reverse man VB with working TC and 06-07 vans came with 4l85s factory fwiw
i have a 79 malibu wagon that will be getting a LBZ along with the t56 that is already in it.. and a pro touring stance 275 up front and 315 out back.

isint part of hotroding taking what you have and making it work?
hands down a nice build!!!!!!!!

I was aware that the duramax vans had the 4l85's, which to my understanding is more like a heavier duty version of the 4l80; not much different. I haven't paid much attention to what's out there for the 4l80's in the last couple years.

Good luck with the '79 Malibu. I look forward to seeing it on here if you make a build thread on it.

Very sweet build. I tried talking my uncle into putting a Duramax in his Chevelle and he laughed at me saying his big block will beat any Duramax. A month ago he raced his buddy with a ext. Cab long bed 4x4 Duramax and got beat. He wont talk to me right now since i laughed at him.

LOL Sounds like sweet redemption on your part. Maybe he understands what you were talking about now.

Looks good so far. Keep up the good work

Thanks again for all the compliments!
 
Small update:

I spent last weekend working on the roll cage. I'm building it by myself, and it's my first time ever cutting/fitting/notching tube, so needless to say it's taking some time to figure out, but it's turning out well so far. I have about half of it completed right now, and hope to finish it this coming weekend. I've taken a lot of pictures and need to upload them to photobucket still, so have some patience with me.

Suncoast also called me this afternoon and informed me that my adapter plate and billet flexplate were done and shipping out to me today. I'm hoping that they will show up before next weekend so I can mock up the motor and tranny in the car.

Work has been very busy lately so Saturdays and the occasional Sunday is all the time I'm able to put into it for now. We'll see how the coming holiday season will affect the work flow... I also have some parts on the way for my 12v so the next few months will be interesting to say the least.
 
Time for more pictures. Here's the 10 point roll cage kit that I bought from Chassisworks. A very nice quality kit IMO.

1349405443.jpg

1349405416.jpg

1349405388.jpg

1349405362.jpg
1349405466.jpg


The main hoop needs to be test fit first. It is supposed to be mounted on top of the rocker, but the seam for the inner and outer rocker panels was in the way.

1349405338.jpg

1349405320.jpg

1349405304.jpg


So I cut the seam off the width of the floor plate and welded it closed. Then it was ready for the new floor plate.

1349405501.jpg

1349405482.jpg

1349405257.jpg

1349405211.jpg

1349405194.jpg

1349405233.jpg
1349405153.jpg
 
The floor plates need to be formed to the floor of the car. So I clamped the 2 main hoop floor plates in a vise and beat them to the proper shape. Then I cut off the excess and grinded a nice new round edge.

1349405134.jpg

1349405114.jpg

1349405002.jpg

1349404973.jpg

1349404947.jpg

1349404925.jpg

1349404905.jpg

1349404885.jpg

1349404858.jpg

1349404829.jpg

1349405568.jpg


I had to cut the main hoop down a little because it was too long and tacked it in place. It needs to be even with the forward edge of the B post. It's also pretty important that everything is level.

1349405092.jpg

1349405072.jpg

1349405053.jpg

1349405026.jpg

1349404801.jpg

1349404781.jpg

1349404758.jpg
 
The cage sides were next to be installed. These took me a helluva long time to notch and fit. My buddy Ed let me borrow his tubing notcher that you clamp into a vise, but I didn't have the proper style hole saw, so I had to notch each tube free hand with my 18v dewalt drill.

The cage sides determine where the front floor plates mount. I had to keep the cage sides level, as high as possible, and close to the dash.

1349404728.jpg

1349404703.jpg

1349404658.jpg

1349404638.jpg

1349404615.jpg

1349404591.jpg

1349404570.jpg

1349404546.jpg

1349404523.jpg

1349404514.jpg

1349404483.jpg

1349404464.jpg


Decided to snap a picture of my drill after my battery went dead. Not too long after I took this I was notching that tube and the hole saw caught an edge, whipped around and smacked me in the face, giving me a minor black eye and a cut on my cheek. I felt like a friggin idiot.

1349404441.jpg

1349404417.jpg
 
Next was the windshield tube. It needs to be mounted high and forward enough to not obstruct vision. I want to be able to use my sun visors when the build is done so I took that into account. I mounted the gussets on the lower corner of the cage sides, and they don't get in the way of my vision anymore than the triple pod in my 12v.

1349404386.jpg

1349404360.jpg

1349404333.jpg

1349404310.jpg

1349404276.jpg

1349404241.jpg


When it's all tacked together, you are unable to weld the top of the tubing (the roof side), so I cut the tack welds holding the cage sides to the main hoop and folded the cage sides with the windshield bar down onto the floor, and welded up the top side of the tubing and the gussets. I'm pretty proud of those welds :rockwoot:

1349404192.jpg

1349404176.jpg

1349404141.jpg

1349404113.jpg

1349404090.jpg
 
Last edited:
That's pretty much it for now. The rest of the cage that I still need to do is the x-brace, rear struts, side struts, back brace, and door bars. Hopefully it will go as good or better than what I've completed so far.
 
Looks like you're making some good progress. Am I correct in assuming the cage is mild steel? Those welds do look pretty. Are you trigger welding? Planning to get the chassis certified?
 
Looks as though you've figured that out just fine, looks good.
Those drills have good power!
 
Looks like you're making some good progress. Am I correct in assuming the cage is mild steel? Those welds do look pretty. Are you trigger welding? Planning to get the chassis certified?

Yes the cage is mild steel. The majority of the tubing is 1 5/8"x.120 wall and the rear struts are 1 1/4"x.134 wall. If I bought the 4130 chromoly 10 point cage kit it would have been twice as expensive.

All my welds are stitch welds, if that's what you meant by trigger welding. I'm still not that hip on all the terminology for welding yet. I'm getting better though!

I'm not sure if I have to get the chassis certified. I'm hoping that when it's done I'll be able to take it to the track and pass tech inspection, but that's probably wishful thinking at this point.

Looks as though you've figured that out just fine, looks good.
Those drills have good power!

I love that drill. It's better than any other cordless or air drill I've ever used. And the lithium batteries do last quite awhile.
 
All my welds are stitch welds, if that's what you meant by trigger welding. I'm still not that hip on all the terminology for welding yet. I'm getting better though!

I think we are talking about the same thing. It's just a difference in terminology. I always called alternating short beads and short spaces a stitch weld. Trigger welding is when you squeeze the trigger to start a puddle then release it and move forward to the edge of your weld and repeat until you have a bead by pressing and releasing the trigger or "triggering". At least that's how I was taught. Either way, keep up the good work. I'm enjoying following along. If you need any help or advice with the Duramax, I'll be glad to provide my input. I don't know it all, but I'm pretty familiar with them (especially the LBZ/LMM).
 
Top