1967 RS Duramax Camaro

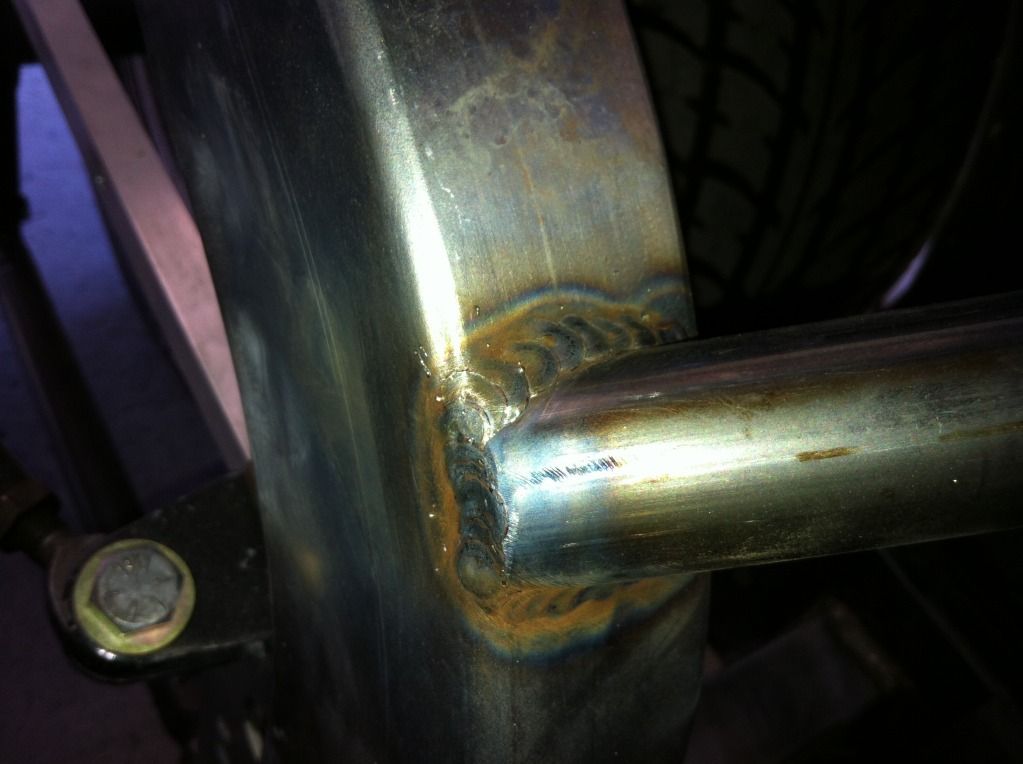
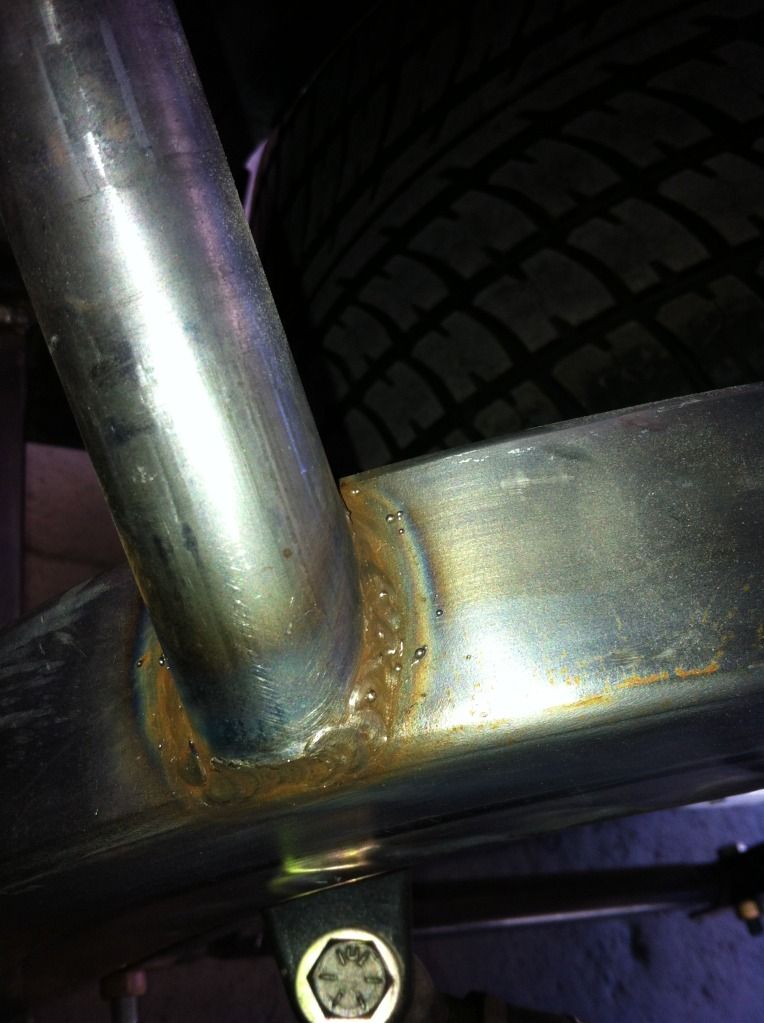
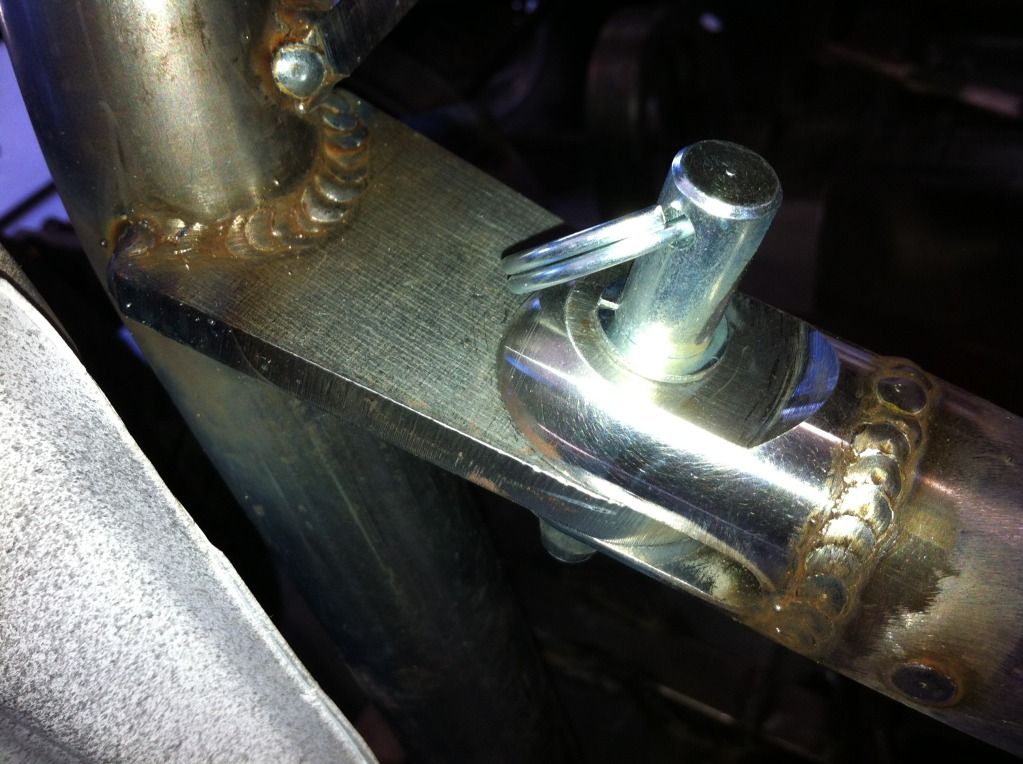
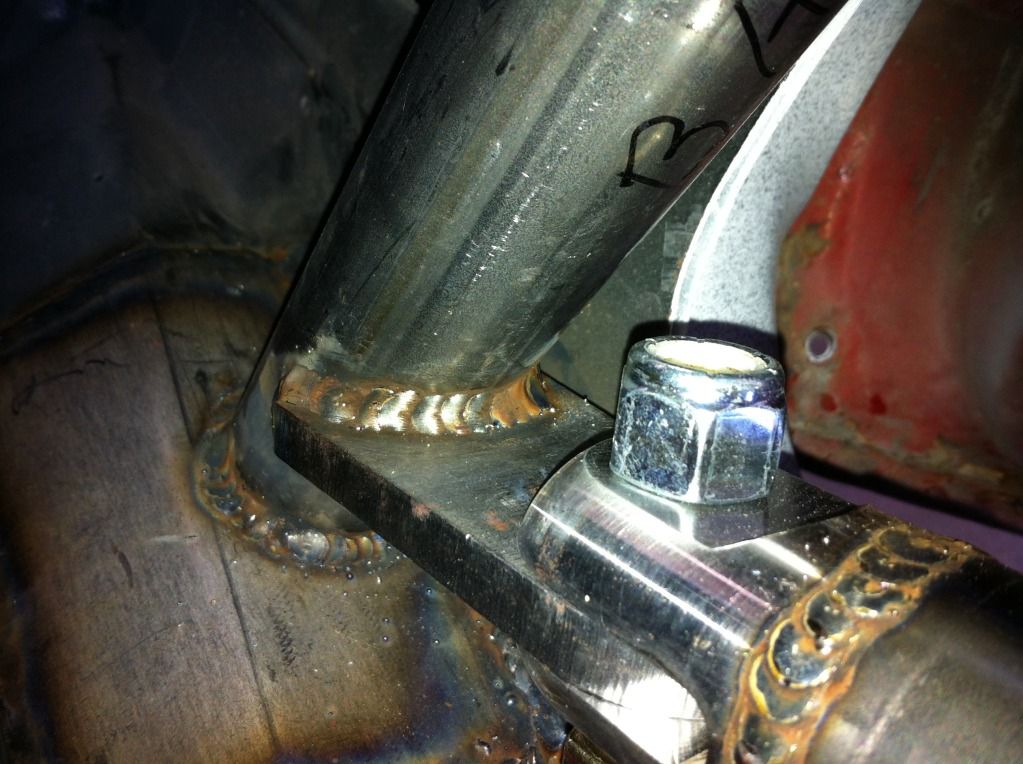
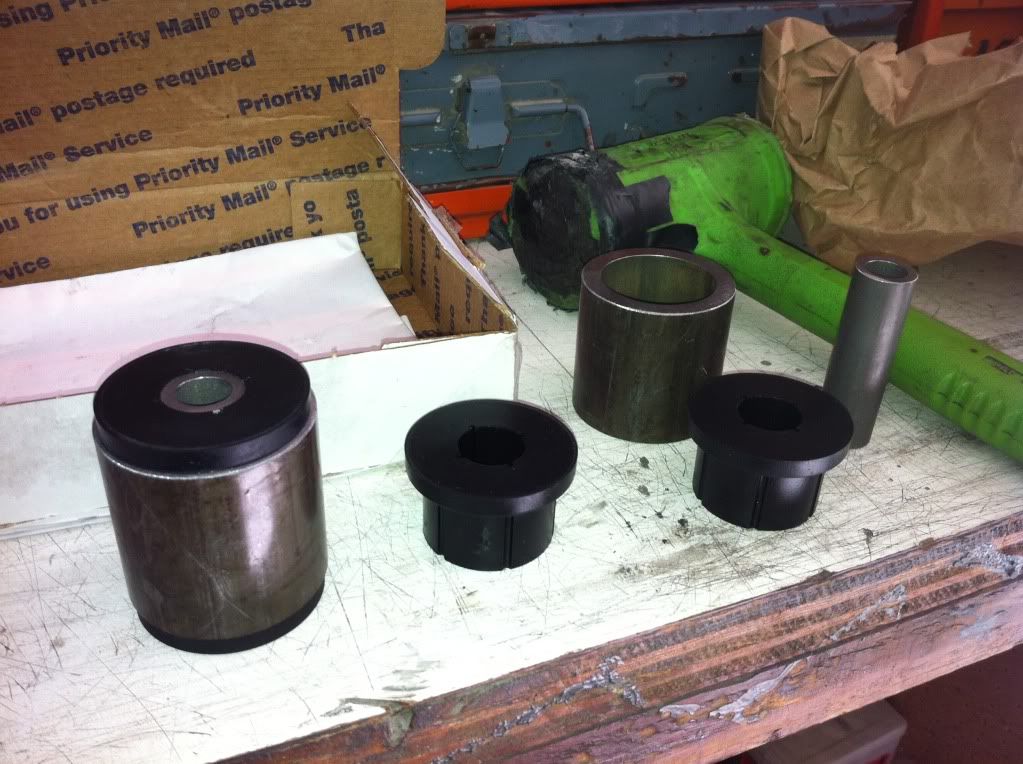
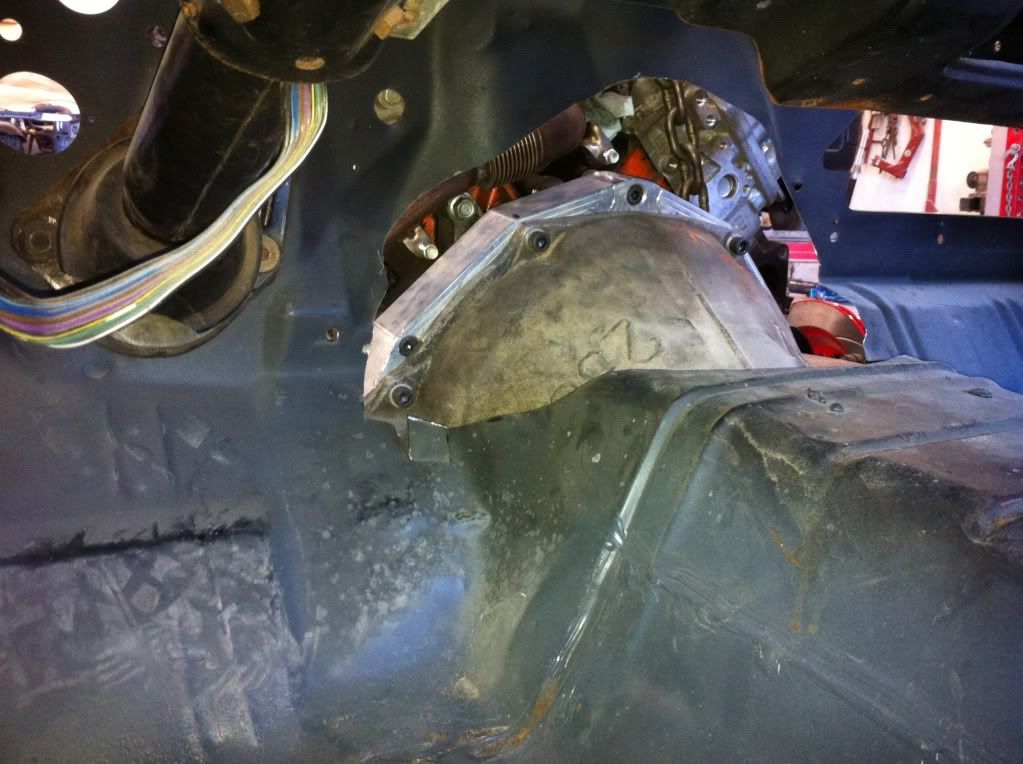
Wow, Suncoast did a nice job on those pieces!

I agree!

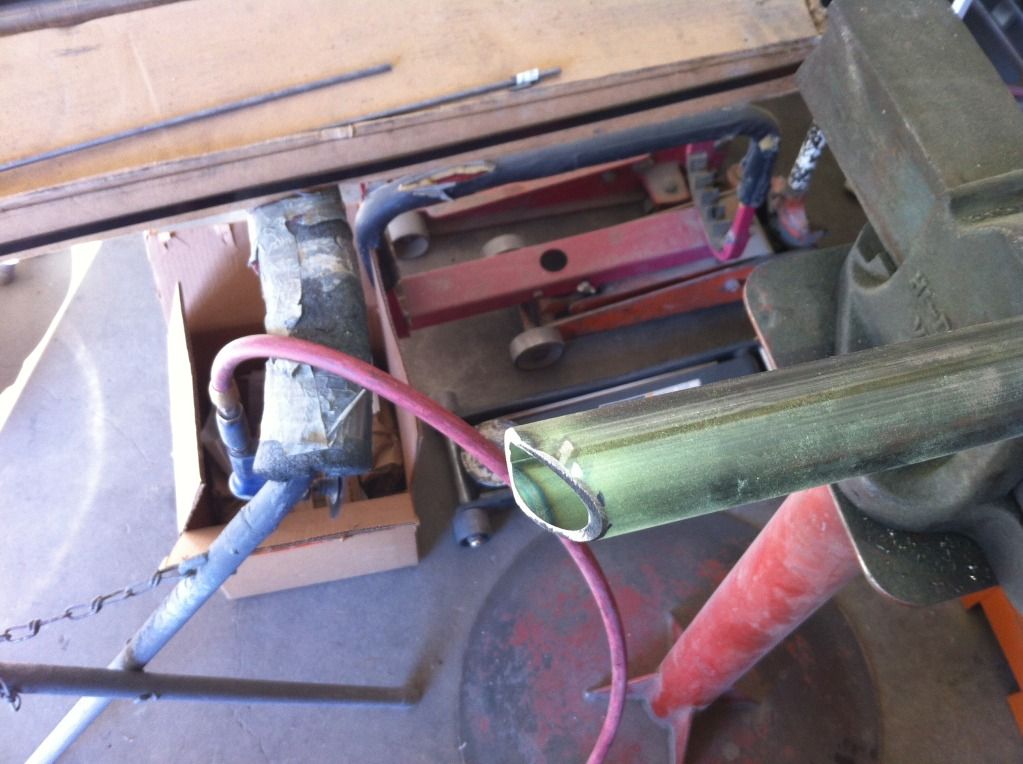
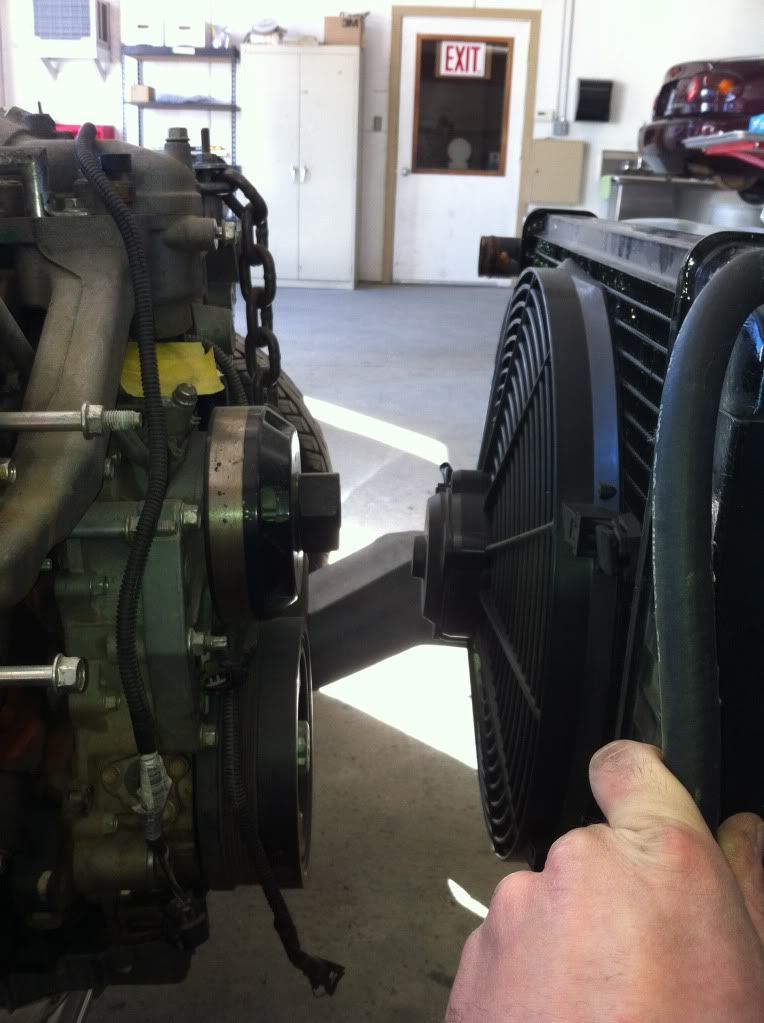
Oh, I took the measurements on that pump the other day. These are all rounded up to the nearest half inch, but I didn't round far on any of them. Height is 5.5", length is 6" (not counting the fittings), and width is 3" (the bracket sticks out another inch making it 4").

Cool, thanks for doing that. I'm keeping that pump in mind. Hopefully sooner than later I'll be able to have the trunk floor installed, get a fuel cell, and decide if that's the one I'll get. If you're having good success with it, I don't see why I wouldn't.
 
Finished the roll cage today.

I started off with the side struts that mount from the main hoop to on top of the subframe above the 4 link brackets.

1350181014.jpg

1350180991.jpg

1350180952.jpg

1350180933.jpg

1350180905.jpg
 
Then I moved onto the door bars. I bought a swing out door bar kit from chassisworks for both sides to make getting in and out of the car much easier.

1350180875.jpg

1350180847.jpg

1350180819.jpg

1350180801.jpg

1350180781.jpg

1350180751.jpg

1350180732.jpg

1350180716.jpg

1350180697.jpg

1350180671.jpg

1350180651.jpg

1350180625.jpg

1350180601.jpg

1350180583.jpg

1350180551.jpg
 
As you can see from the pictures, unless you are looking almost directly down through where the door glass would be, you can't even tell that it has door bars. I had to file a small amount of material out of the mount tab where the clevis slides onto for the fast pins to slide in and out smooth, yet be firm enough to not rattle around.

I mounted my drivers seat and sat down in the car and I'm very satisfied with how the cage doesn't make the car feel cramped on the inside. The only down side to it so far is that the arm rests on the door panels will no longer work, but the door bar itself acts like an armrest anyways.

The next step in the build is to mock up the duramax and the tranny. That will be exciting :rockwoot:
 
i dont know what you have planned for mounts but this is what i did for my dmax abotu 5 months ago..
Fabricators set (Type 2) with out the grease zert.. 2"od .25 wall 2.5" long
154570_3654676359093_1040072946_3244153_857683798_n.jpg

drilled hole for the common 3 bolt clam shell with 9/16 bolt vs the 3/8"-1/12" that are normall found in them
576894_3657022297740_1040072946_3245393_3595947_n.jpg

PS
enigne mount i did notch for the block heater.. and swapped out the dipstick form van to truck..
35902_3621332965529_1040072946_3230620_1635857098_n.jpg

DS final produst on this is different there are 2 or 3 boss you can you forward of the current four shown.
292649_3621333805550_1040072946_3230621_308647641_n.jpg


used 1/4" plate on the engine side and tabs.. only need 1/4" of room for movement.. mine moved Less then 1/8" from engine hoist to frame.

the frame is 3/16 verticle and 1/4" on the horizontal.

all in all i was able to lower the mounting hieght by almost 1.25" under then ome clam shell style

hope that make sense

looking good
 
I was planning on making motor mounts very similar to that. I saw how Rick Fletes built the mounts for his duramax Chevelle using 1/4" plate and small block chevy mounts, and was going to try that first. I have some nice billet aluminum mounts from Chassisworks that are made for my front subframe so hopefully I can make those work.

We're going camping next weekend so I won't be able to test fit the motor and tranny until the following weekend most likely. Not to mention my new o-ringed head for my 12v showed up on Friday, and my girlfriends 24v needs a tranny now. I have some prioritizing to do...
 
Well it took me a little while, but here's what I've been up to. Went camping one weekend, then the next weekend I attempted to test fit the motor and tranny, which didn't go as well as I had hoped. I ended up getting the motor sitting in there without the tranny, and had to scrap my first plans for motor mounts, because they simply wouldn't work. Last weekend I flew down south for a training course for work, and now today, I got down to business.

I bought a custom width pivot bushing kit from Ruff Stuff to take the place of my billet aluminum small block mounts.

1352600217.jpg

1352600157.jpg

1352600175.jpg


I brought my old radiator and electric fan setup to help me determine how far forward/backward I could set the motor.

1352600201.jpg


I had some stainless steel plates that I got for free so I decided to make my motor mount plates out of them. My previous attempt with these plates ruined 6 of my drill bits in 4 holes. Needless to say stainless steel is hard as ****ing hell. Today I ran my drill much slower and it worked much better.

1352600142.jpg

1352600124.jpg
 
I cut out some of the firewall and tranny tunnel to get it to fit better.

1352600110.jpg

1352600091.jpg

1352600074.jpg

1352600056.jpg

1352600037.jpg

1352600019.jpg

1352600006.jpg

1352599971.jpg

1352599959.jpg
1352599940.jpg
 
1352599569.jpg

1352599530.jpg

1352599513.jpg

1352599486.jpg


And there it is. Still needs to be finish welded and I need to make a mount plate for the tranny crossmember, but it's in there.
 
I will be adding some gussets to the motor mount plates. I used some of my leftover roll cage tubing to bridge the gap between the pivot bushing and the stainless steel plate. Besides the finish welding, tranny mount and some knick knack cleanup and grinding, the next step is to finish the interior sheet metal and paint the interior/roll cage.
 
2" cowl and one would never know!!!!!!!!


awesome

That's exactly right. I have a 2" and a 4" cowl induction hood in my garage. I'm going to try as hard as I can to run the 2", and I think I can do it. I was also surprised that the 4 speed crossmember fit as well as it did. I'm looking forward to the next couple weekends working on it.
 
Nice build.

Its extremely unsafe to weld with a MIG welder like that. Very cold welds.

Tobin
 
Nice build.

Its extremely unsafe to weld with a MIG welder like that. Very cold welds.

Tobin

Unless you pre heat your welding area with a torch for better heat penetration. I recently learned about this and will be doing that with the motor mounts. I have our welder turned up pretty hot so I'm not worried about it. I doubt any of the welds on the subframe or the roll cage will break.

Bernie is a very good welder and built his rock crawler using this style of welding. With 10+ years beating the hell out of it and not one weld failure. So knowing this I trusted this method enough to adopt it. I agree in some cases stitch welding would not be the best choice but I see no problem with it in my application.

Those aren't structural welds. For your sake, I hope you don't have to rely on them. They would never pass a weld test.

Not trying to be a A$$ but for safety stuff.............

Is a removable harness bar NHRA legal? I don't think I would want that removable. That has severely weakened the bar in compression. Your diagonal needs to pass through the harness bar. How are you going to pull that off?

Tobin
 
Last edited:
Top