DieselWrencher
6cyl Vette
- Joined
- Dec 4, 2006
- Messages
- 2,886
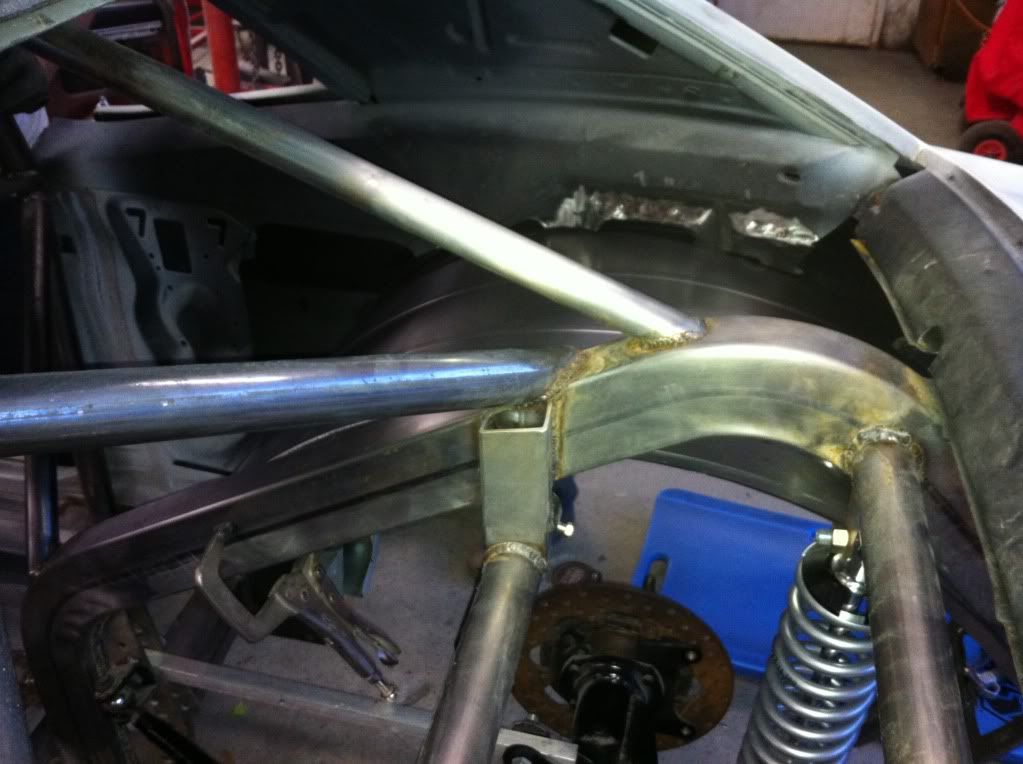
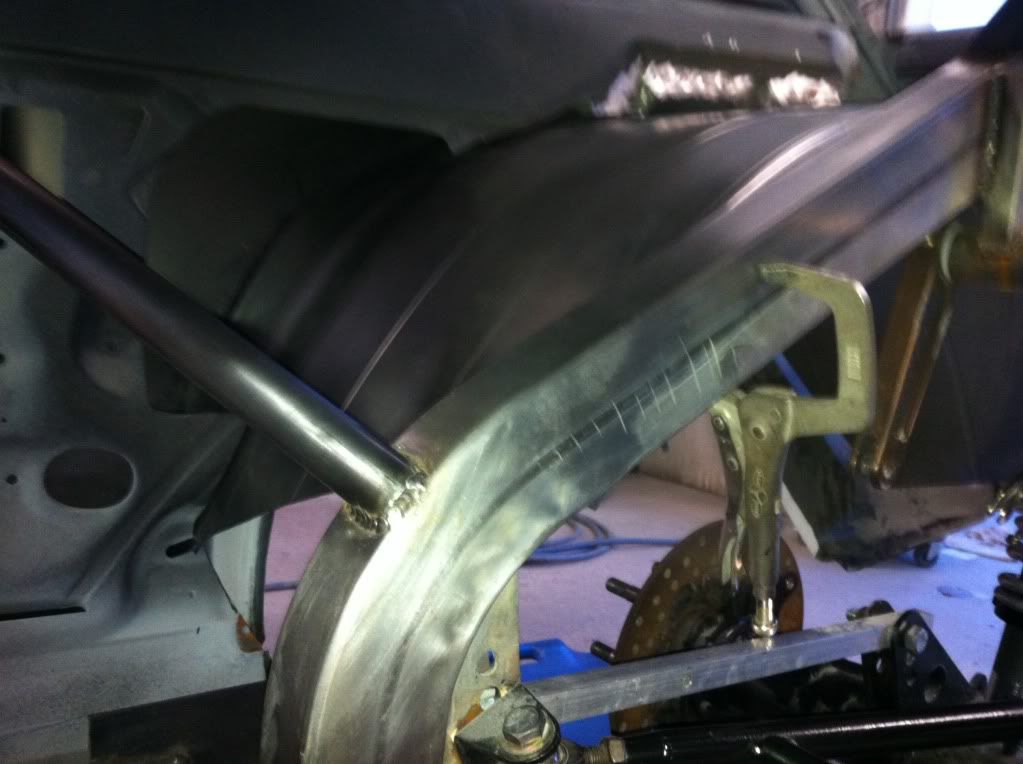
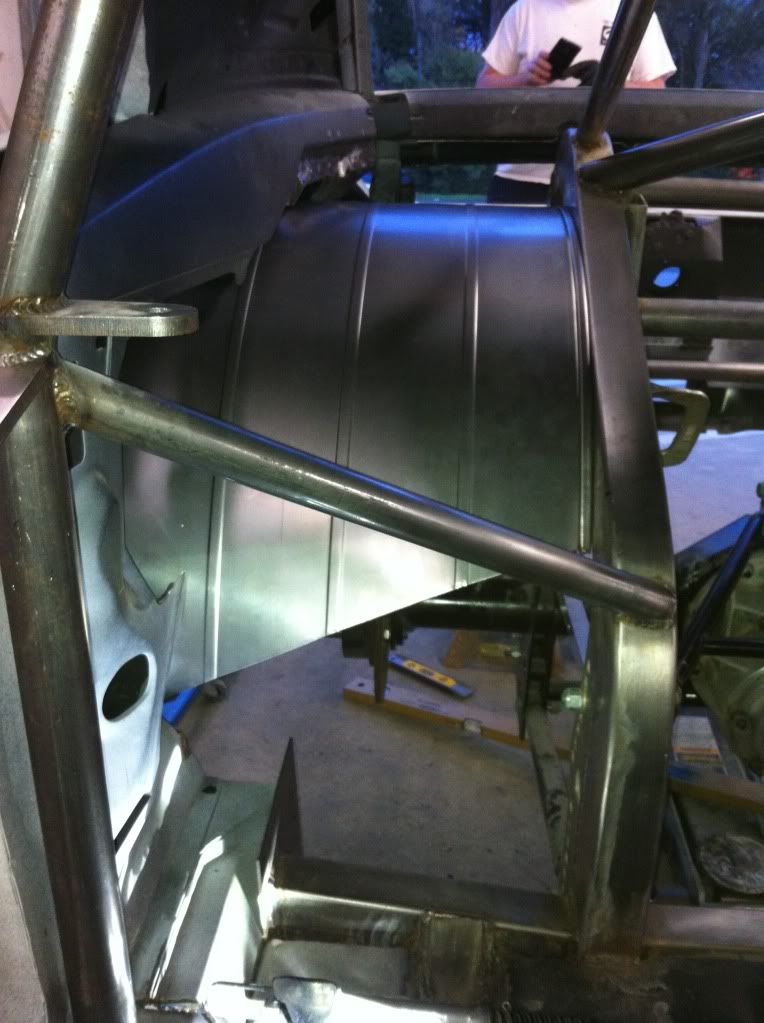
Great work, it looks awesome. The only thing I think that may not pass NHRA is your removable hoop cross bar. I'm pretty sure that has to be welded solid in there. Make sure you have the chassis inspected before you paint it if you plan on racing it. I have to redo the back portion of mine because we did what the book said, but it isn't exactly how they wanted it. Maybe I'll save you some time. LOL