You are using an out of date browser. It may not display this or other websites correctly.
You should upgrade or use an alternative browser.
You should upgrade or use an alternative browser.
1967 RS Duramax Camaro
- Thread starter dslhtrdr
- Start date
Chris Tobin
Active member
- Joined
- Jun 20, 2008
- Messages
- 2,664
I am sooooo Jealous!!!! I have a '67 Camaro sitting in the basement that has been sadly neglected for far too long and I have been wanting to put a Duramax in it. My build, if I ever do it would be more pro-touring than pro-street drag race like yours but man you have done some great work and really inspired me to get back to work on the car!!!
Keep up the good work and the updates. I hope you don't mind me stealing some ideas and solutions for my build as well...
Keep up the good work and the updates. I hope you don't mind me stealing some ideas and solutions for my build as well...
dslhtrdr
Always learning...
- Joined
- Sep 2, 2009
- Messages
- 677
lookin good! sheetmetal work like that takes some serious skill!
Thanks Spence. It has really helped me refine my skills. BTW, I like what you did with your dads CR. I guess you will no longer have injector issues LOL
dslhtrdr
Always learning...
- Joined
- Sep 2, 2009
- Messages
- 677
Looks awesome, nice to watch.
Thanks, there's lots more to come.
I am sooooo Jealous!!!! I have a '67 Camaro sitting in the basement that has been sadly neglected for far too long and I have been wanting to put a Duramax in it. My build, if I ever do it would be more pro-touring than pro-street drag race like yours but man you have done some great work and really inspired me to get back to work on the car!!!
Keep up the good work and the updates. I hope you don't mind me stealing some ideas and solutions for my build as well...
Thanks for the compliments! I originally started it as a pro touring build years ago, but once I really dug into it, so much needed to be replaced that the structural integrity was compromised, so it made more sense to go this route, and I have no regrets.
Also, you can only take some of my ideas for your car if you can get mine in Diesel World magazine! J/k use anything you need. I hope I can help some people with this thread. Sometimes it's difficult to get ideas on how to do or fab something without seeing someone else's work.
I can't believe I missed this thread.. Great fab skills!! Can't wait to see the video of it running!
There's a few people that have said that. As soon as it's ready, I will take videos.
Just finished getting my 12v running about 30 minutes ago. So now I can finally concentrate on the camaro again.
Chris Tobin
Active member
- Joined
- Jun 20, 2008
- Messages
- 2,664
Thanks for the compliments! I originally started it as a pro touring build years ago, but once I really dug into it, so much needed to be replaced that the structural integrity was compromised, so it made more sense to go this route, and I have no regrets.
Also, you can only take some of my ideas for your car if you can get mine in Diesel World magazine! J/k use anything you need. I hope I can help some people with this thread. Sometimes it's difficult to get ideas on how to do or fab something without seeing someone else's work.
I don't see any reason why we couldn't run a feature on your car once it is finished. The only issue I do see is shooting the feature. I'm in Tennessee, and we have staff guys in Phoenix and LA, so someone will probably have to take a flight to shoot it, or meet up with you at an event. I'd love to shoot it myself, but I would guess that someone out that way will probably end up doing it...
I can't wait to see it done.
I know my Camaro has some rust issues as well, hopefully not too bad, but time will tell. We've even thought about putting one of the V6 VM Motori diesel engines in it, which might be the way to go especially to make it still handle well in the twisties... Who knows??? It takes time and Money and I don't have a lot of either these days!!!:doh:
dslhtrdr
Always learning...
- Joined
- Sep 2, 2009
- Messages
- 677
I don't see any reason why we couldn't run a feature on your car once it is finished. The only issue I do see is shooting the feature. I'm in Tennessee, and we have staff guys in Phoenix and LA, so someone will probably have to take a flight to shoot it, or meet up with you at an event. I'd love to shoot it myself, but I would guess that someone out that way will probably end up doing it...
I can't wait to see it done.
I know my Camaro has some rust issues as well, hopefully not too bad, but time will tell. We've even thought about putting one of the V6 VM Motori diesel engines in it, which might be the way to go especially to make it still handle well in the twisties... Who knows??? It takes time and Money and I don't have a lot of either these days!!!:doh:
Cool, whatever works. It would be awesome to see it in a magazine. We'll see how it goes in the next 3 months...
Most Camaro's have rust. The good thing is there's lots of parts available to fix it. I don't know much about those VM Motori diesels, but it would be pretty cool to see it.
Time and money were my biggest obstacles also. Now that I have a little more of each, I'm just going for it. Sometimes flying by the seat of my pants.
Turbo Performance
Comp Diesel Sponsor
- Joined
- Sep 15, 2008
- Messages
- 2,300
I may have missed it but have you had a chance to scale it or get weight bias on it yet? Great build!
dslhtrdr
Always learning...
- Joined
- Sep 2, 2009
- Messages
- 677
I may have missed it but have you had a chance to scale it or get weight bias on it yet? Great build!
I have not been able to weigh the car yet. I'm thinking it will be somewhere between 3300 to 3500 lbs, but that's just speculation at this point. The weight bias is not that great, it's pretty nose heavy. If I would have cut out a bunch of the firewall and changed the steering to move it back about 6" from where it currently sits it would be better, but I feel that it will be fine for what I plan on doing with it.
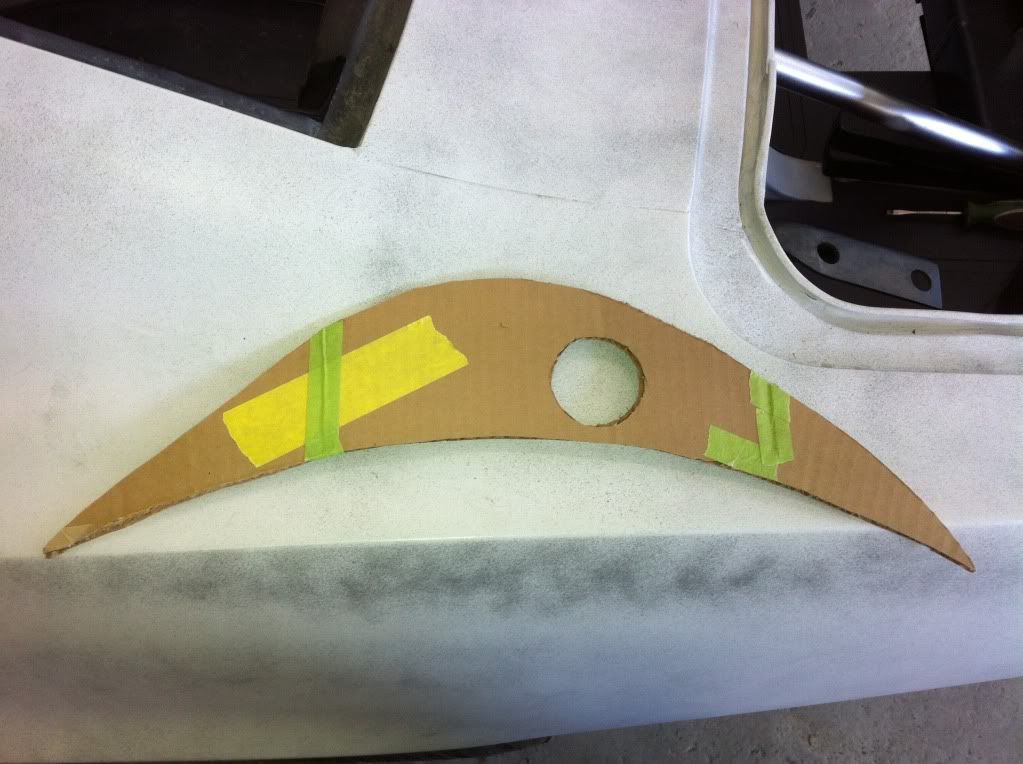
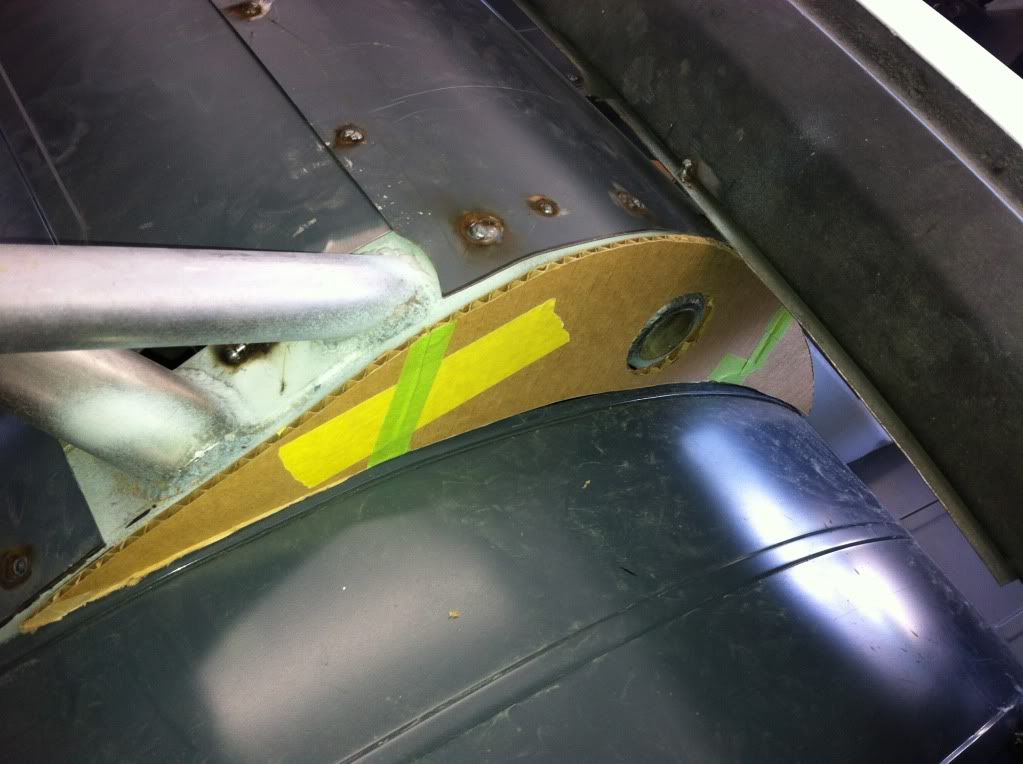
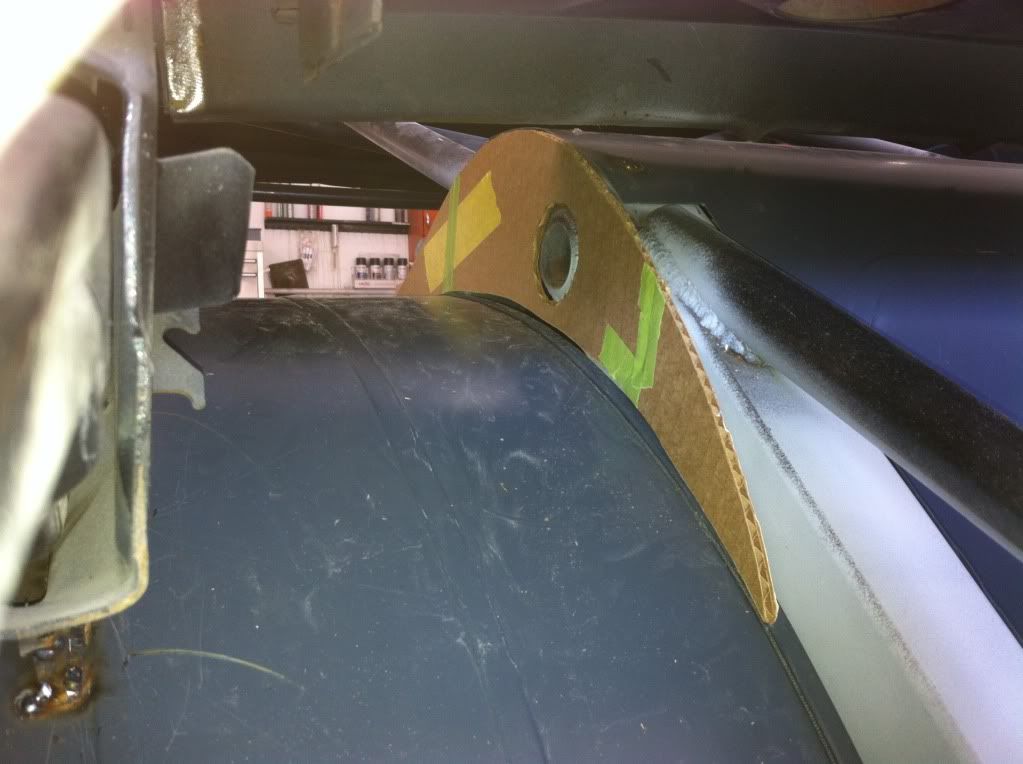
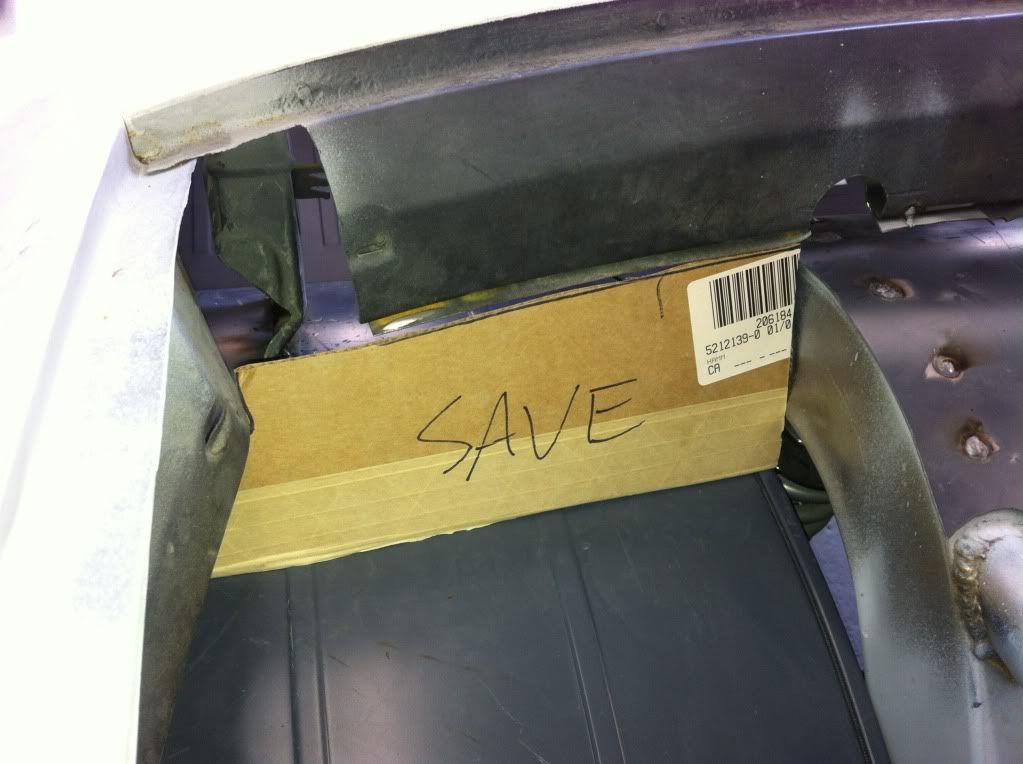
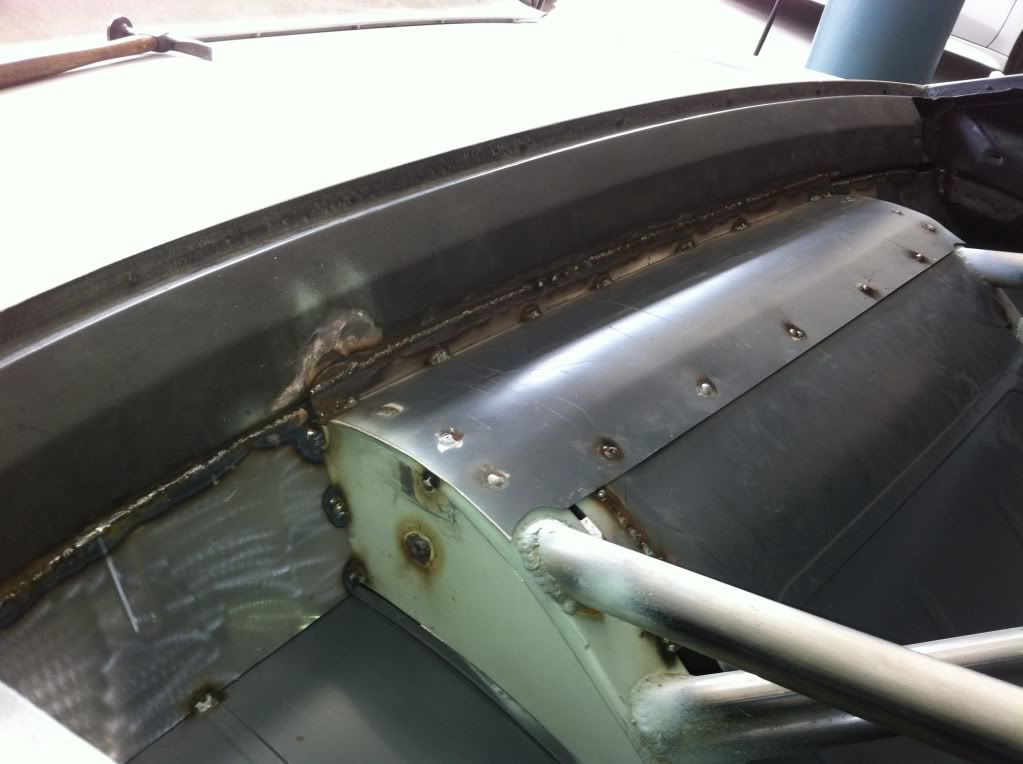
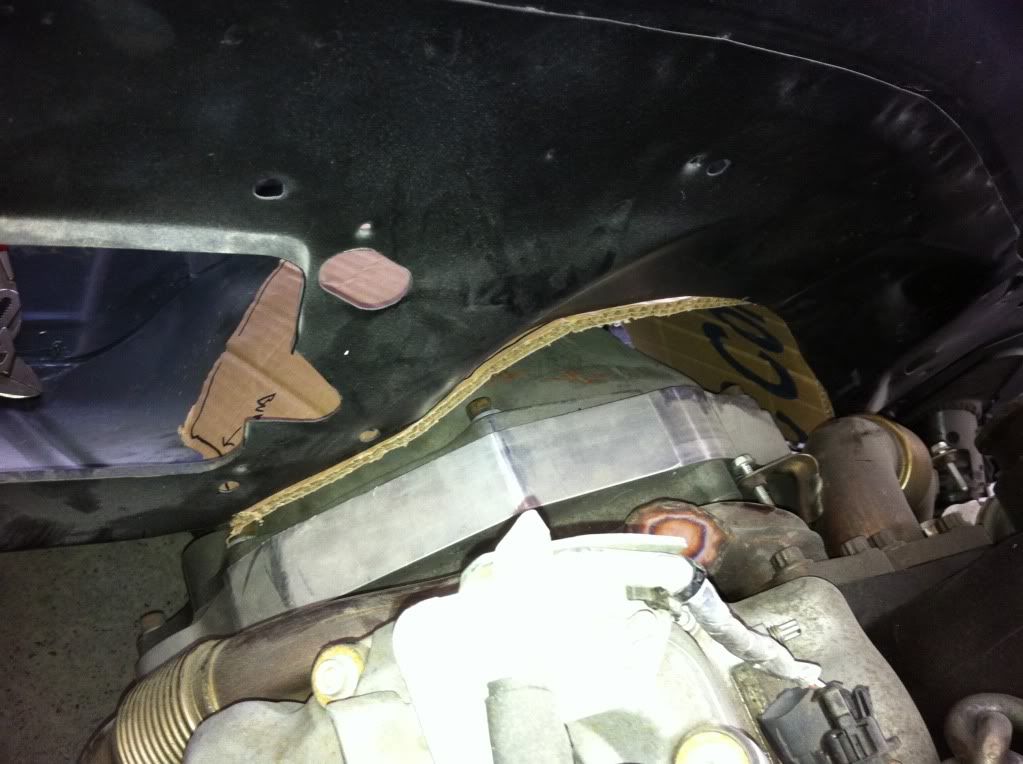
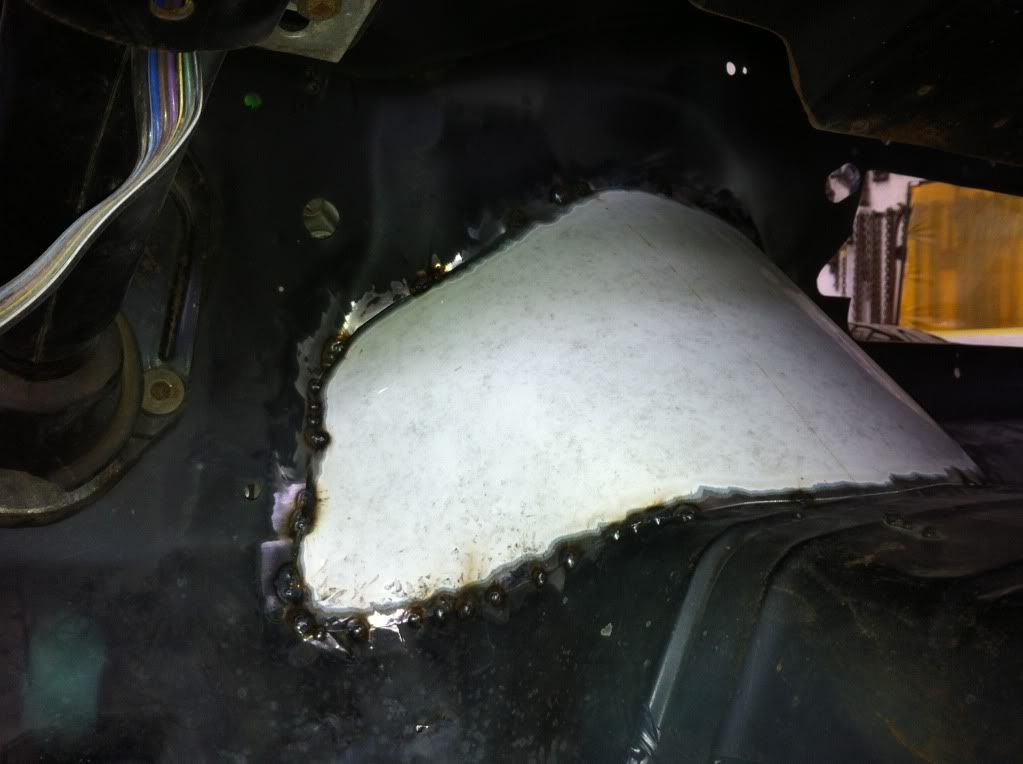
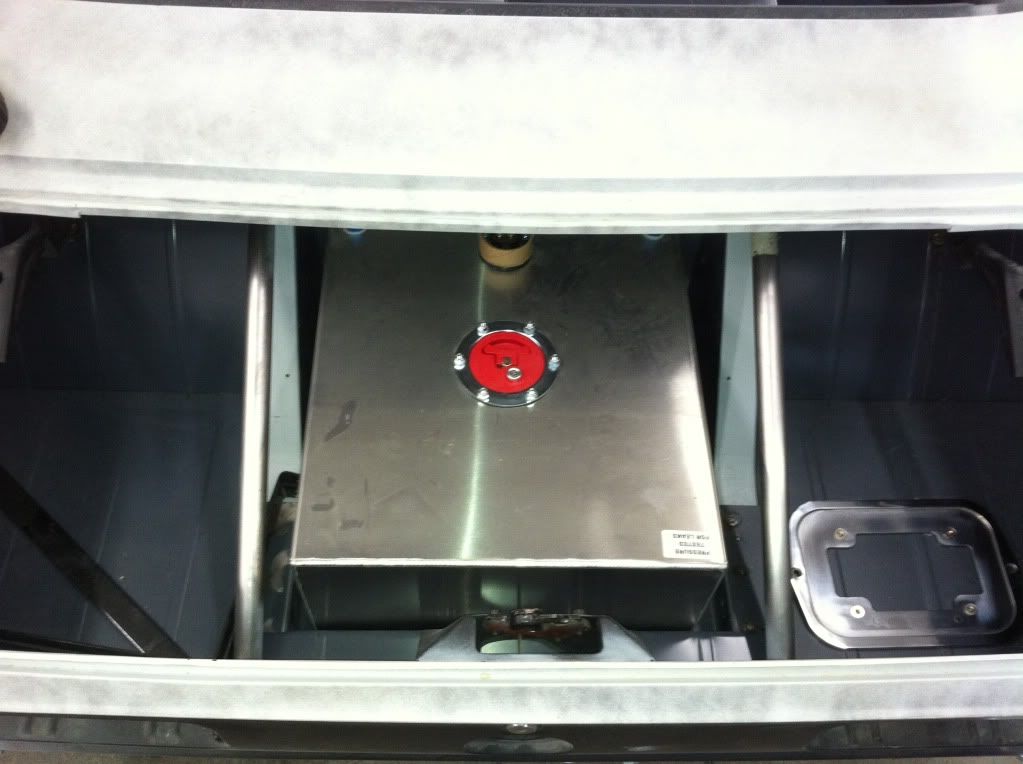
I did get to work on it a little bit today. I made some close out panels to block the trunk area off from the drivers compartment. I'll have to upload those later when I'm not posting on my phone...
EasternAggie
Back from the dead!
- Joined
- Oct 1, 2010
- Messages
- 1,233
Just read through this whole thing, awesome job man!!!
dslhtrdr
Always learning...
- Joined
- Sep 2, 2009
- Messages
- 677
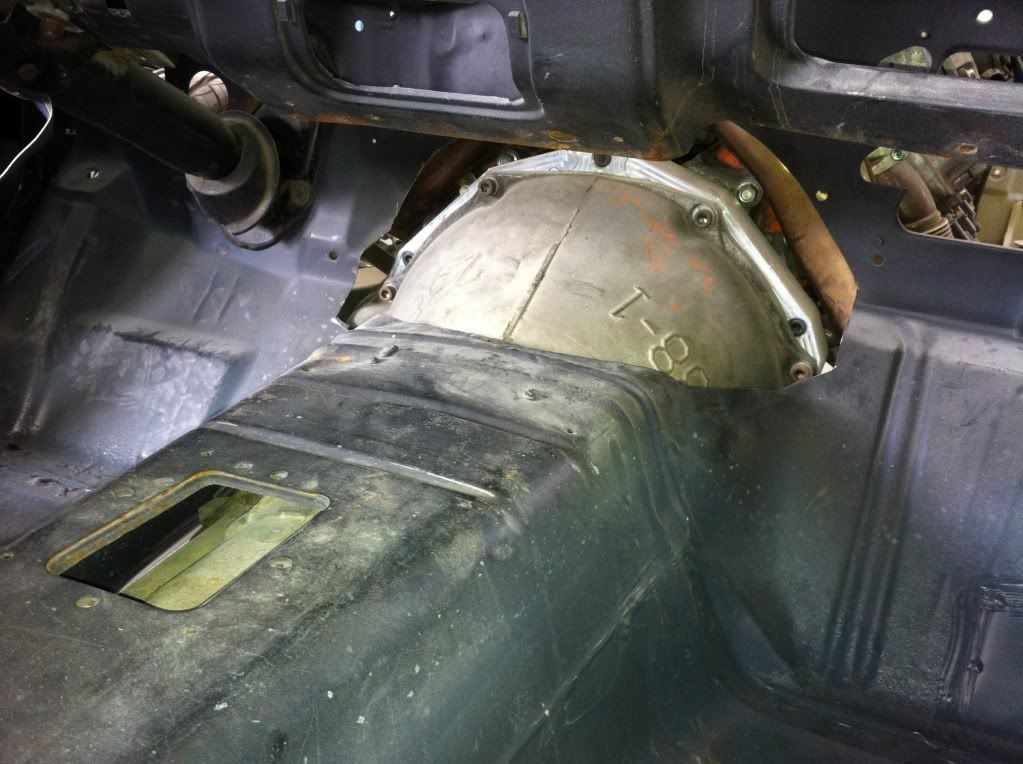
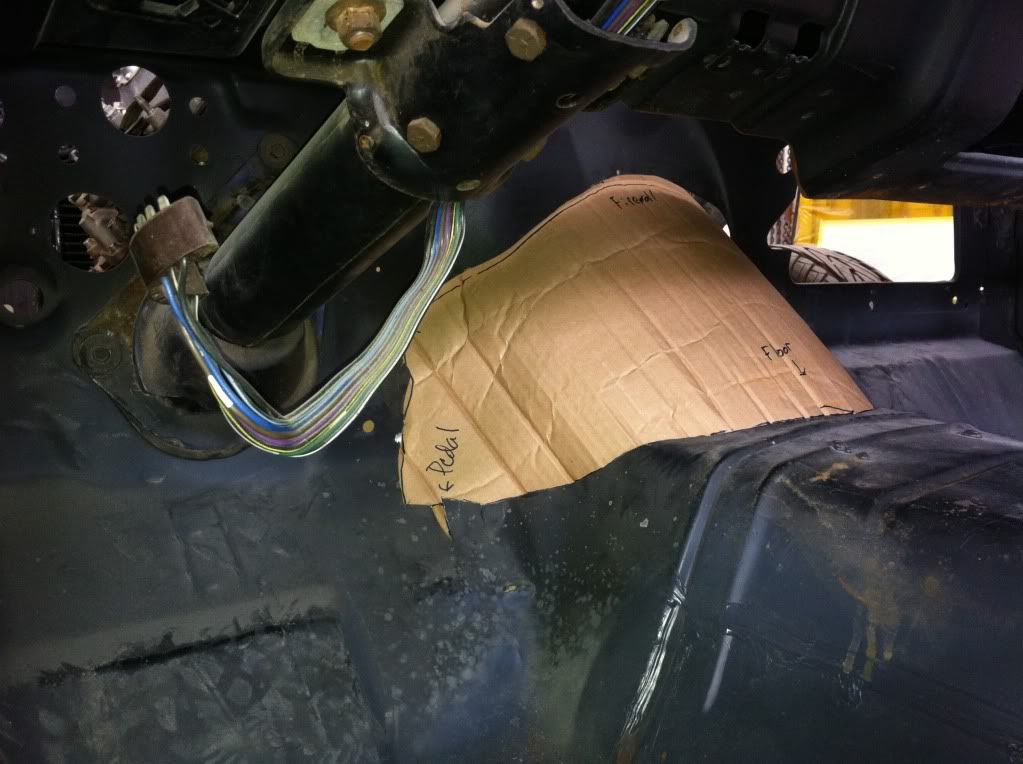
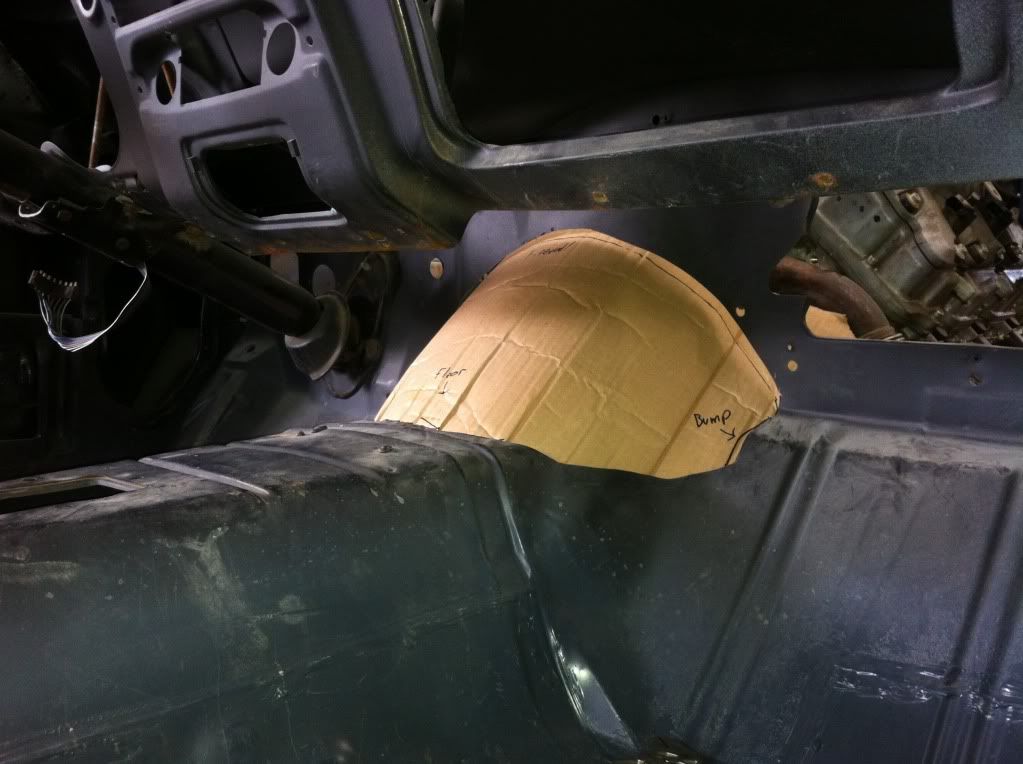
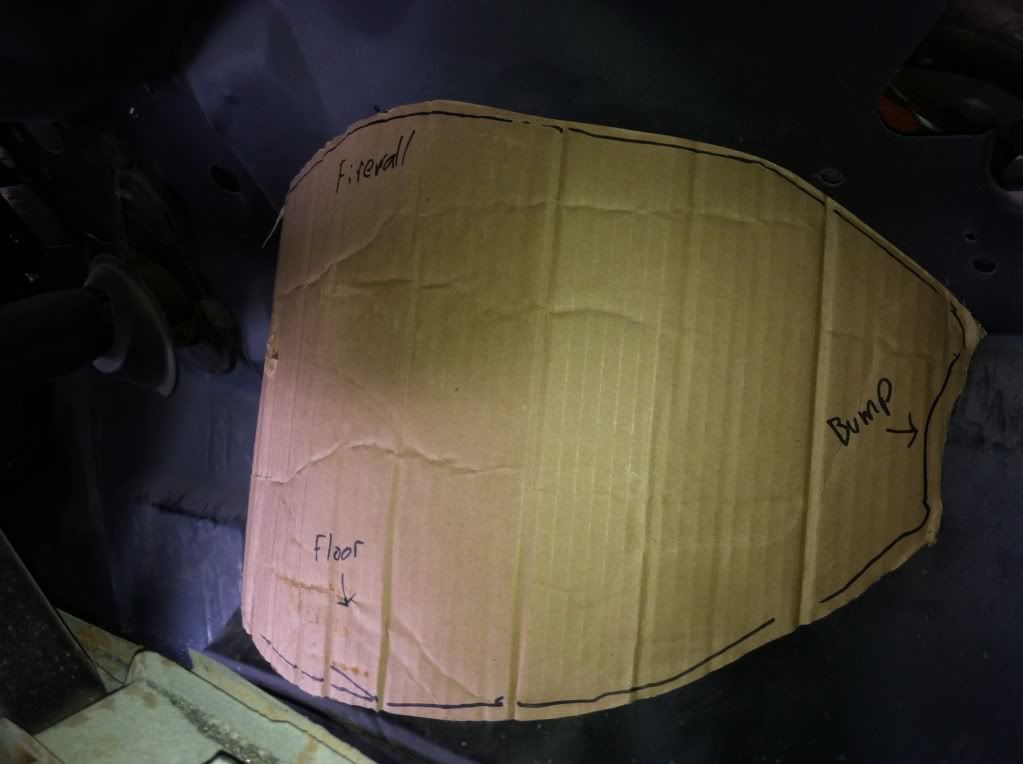
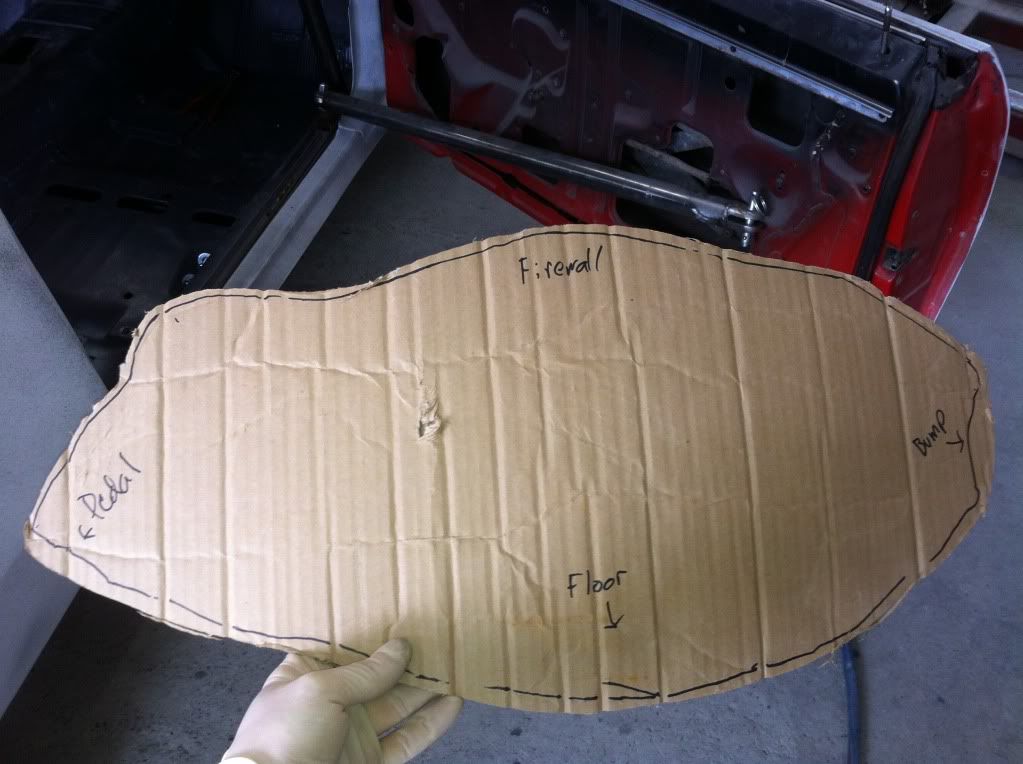
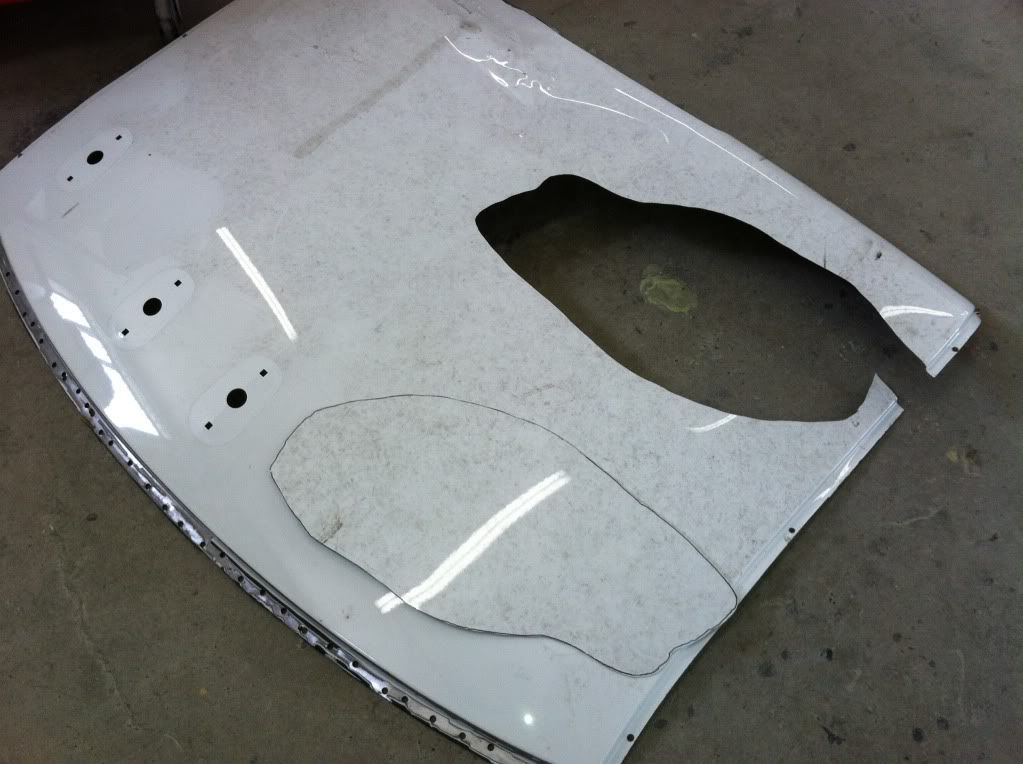
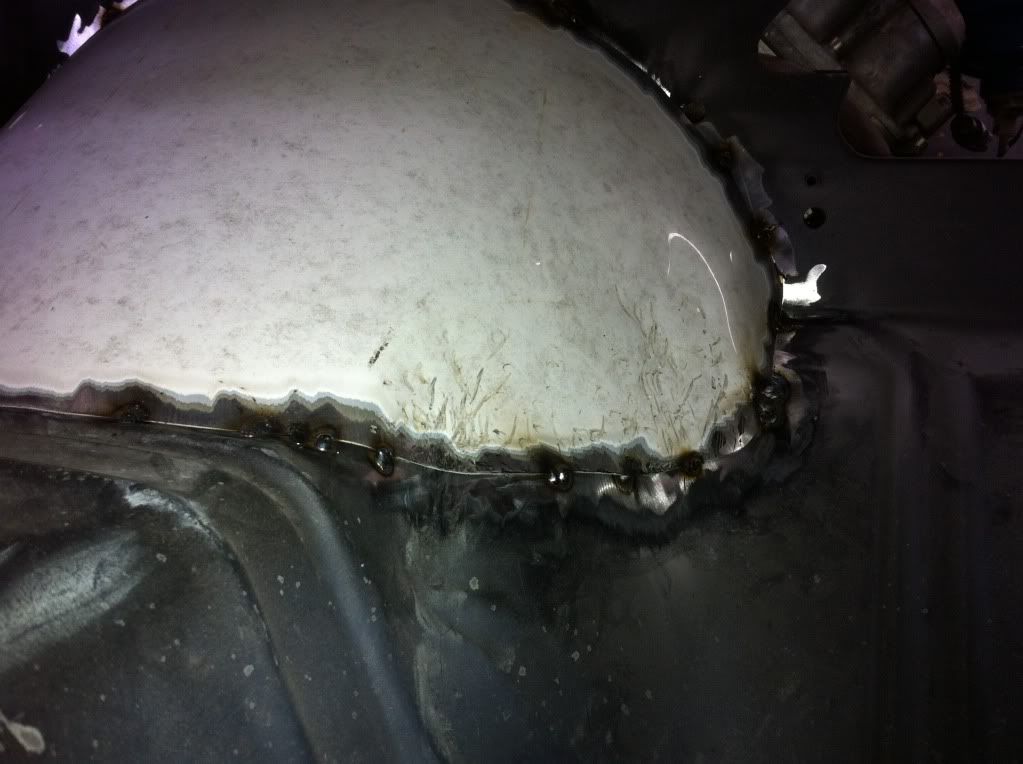
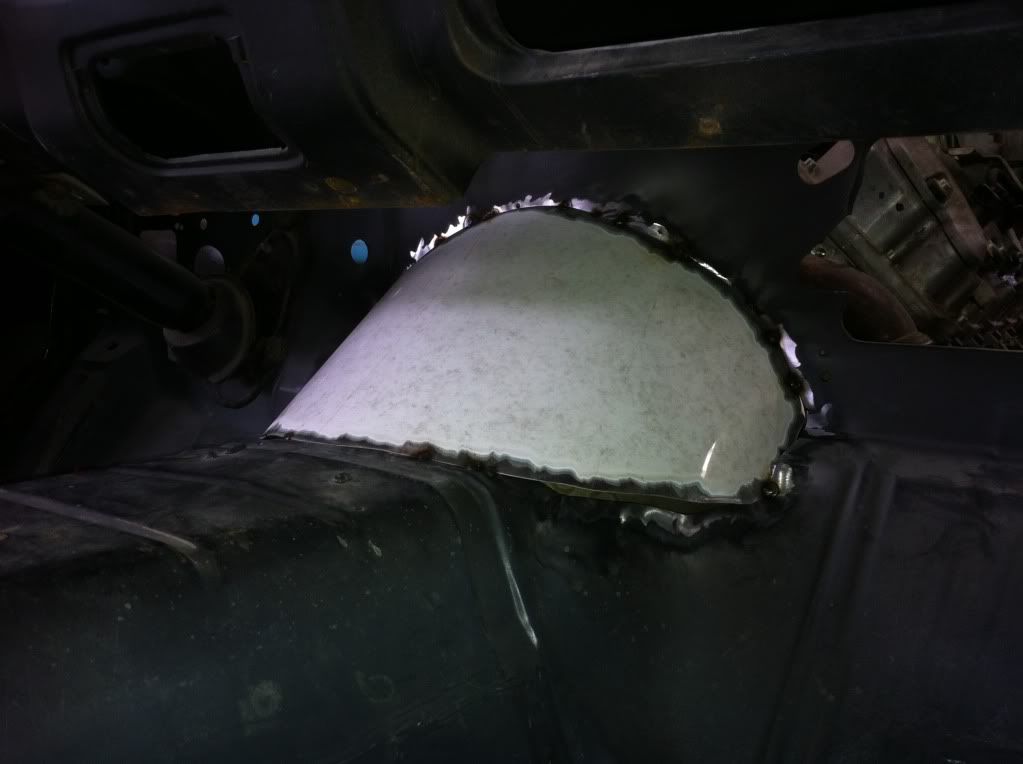
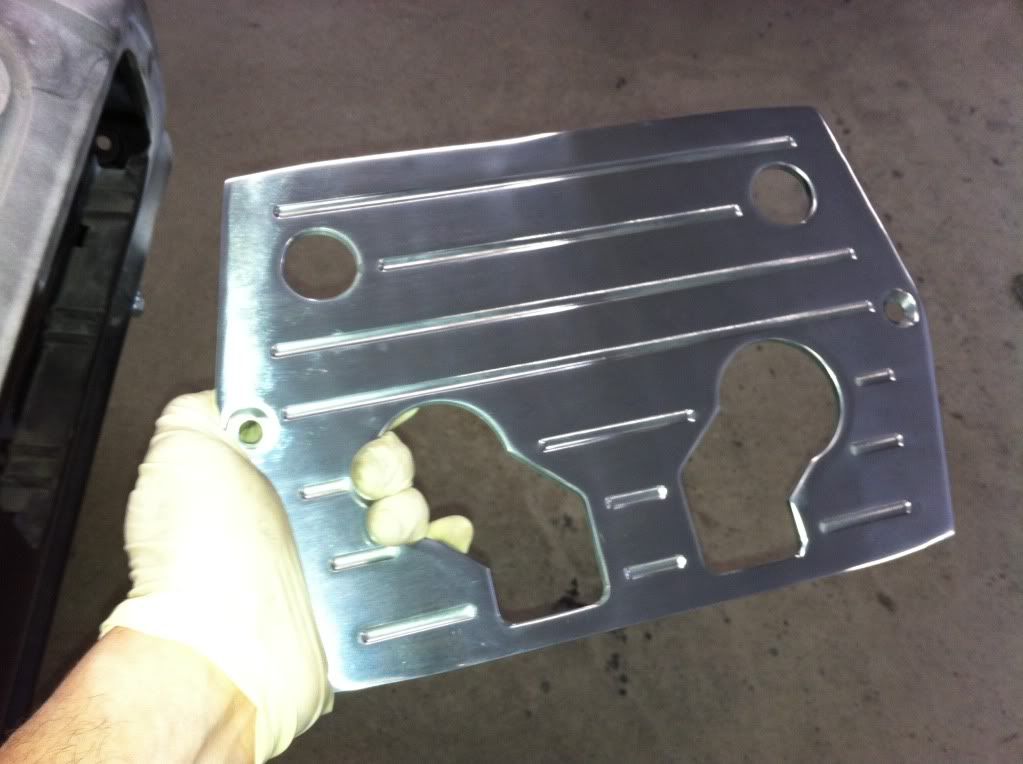
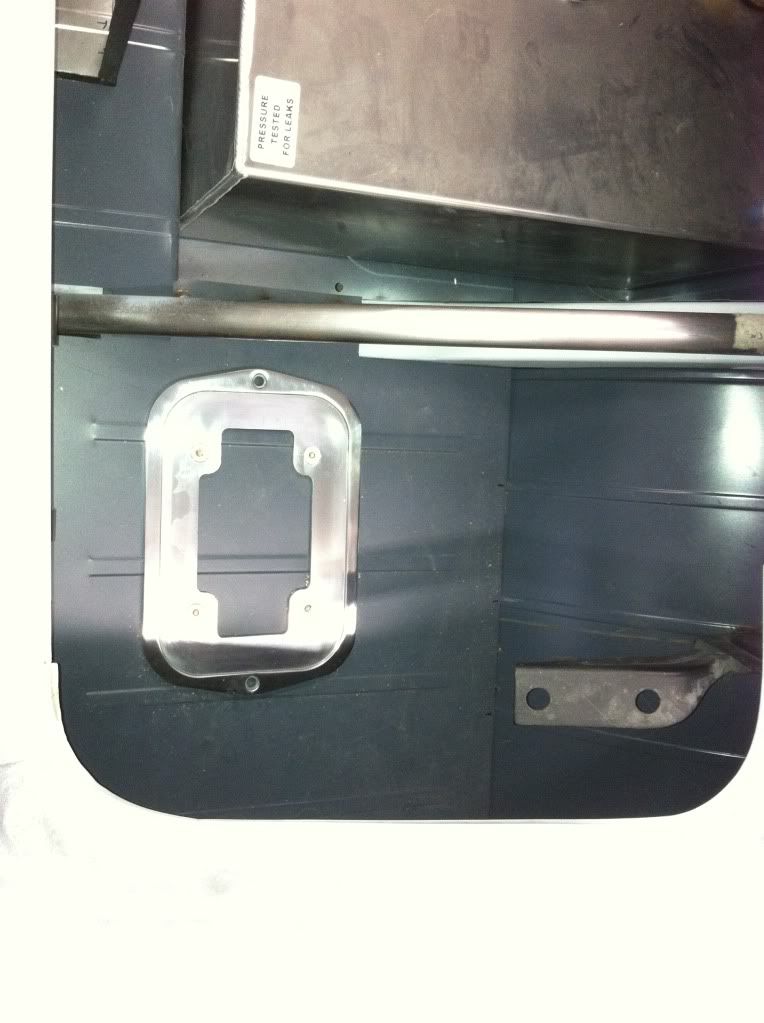
Thanks, I got some more work done on it last weekend. Finished the close out panels going into the trunk and made a new tranny tunnel cover. I need to upload pictures tonight so I can post them on here. I'm also going on a trip this weekend so I won't be able to work on it Saturday. But, with the time change on Sunday, I think I'll be able to start working on it after work during the week.
dslhtrdr
Always learning...
- Joined
- Sep 2, 2009
- Messages
- 677
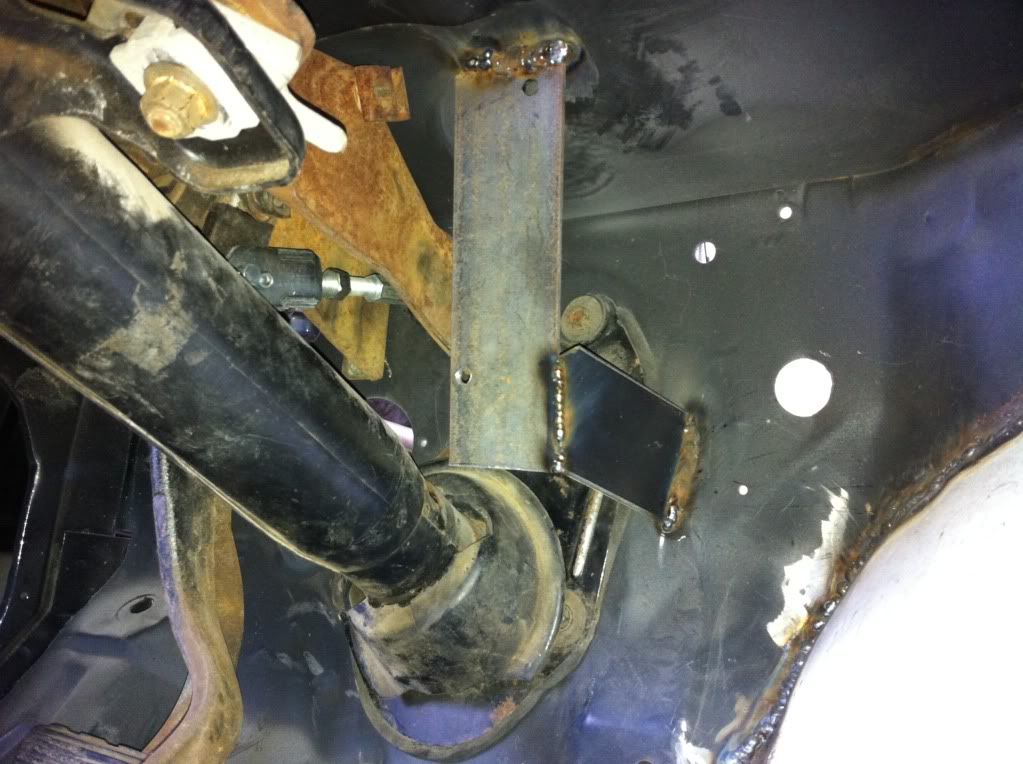
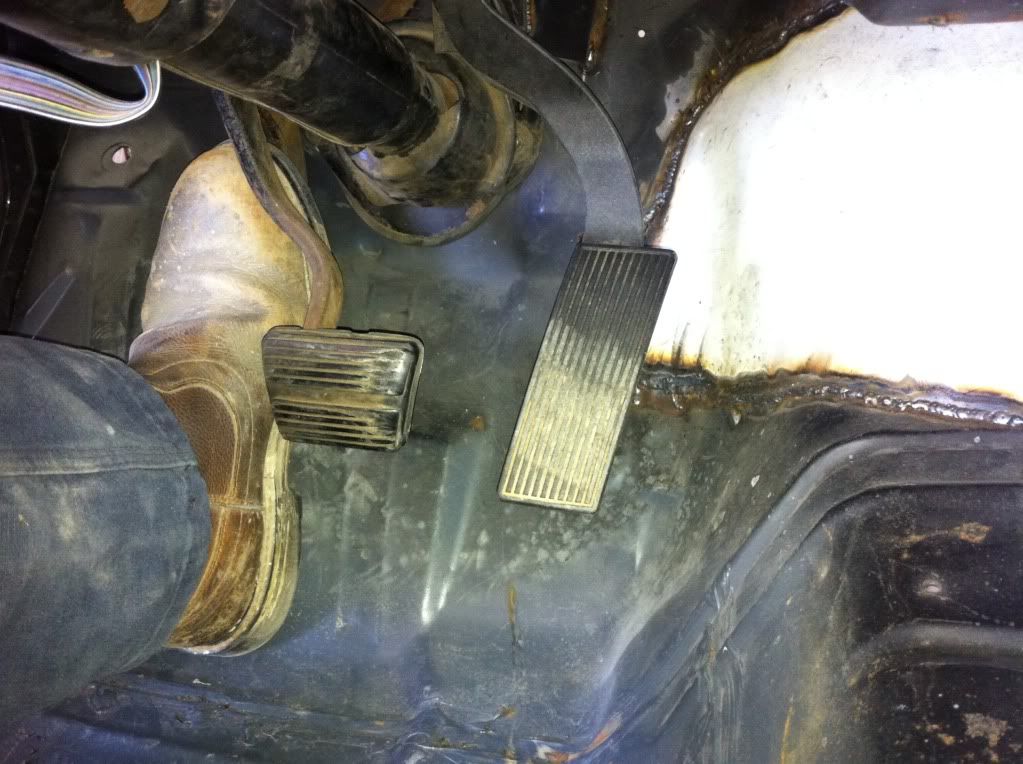
Then I mounted my pedals to get an idea where I can mount the go pedal. Ignore the clutch pedal, it will be removed.
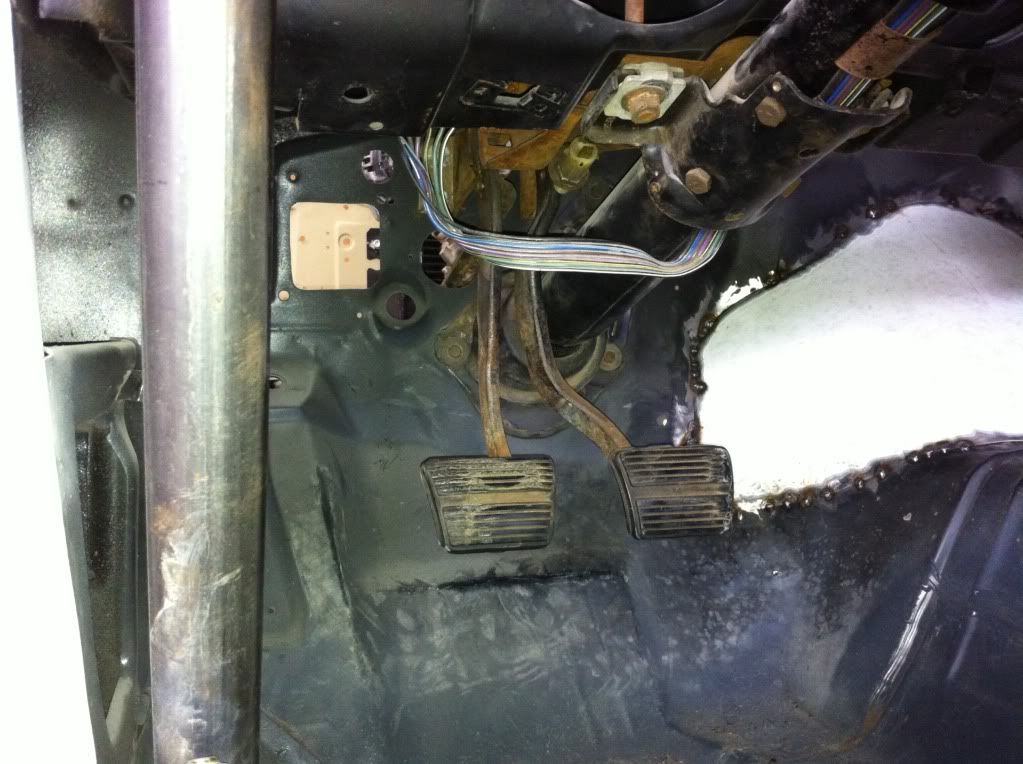
I made a small mounting plate for the pedal to bolt to. Still needs to be finished, because I need to get a master cylinder and booster to get the brake pedal at the right spot/depth so I can properly position the throttle pedal.
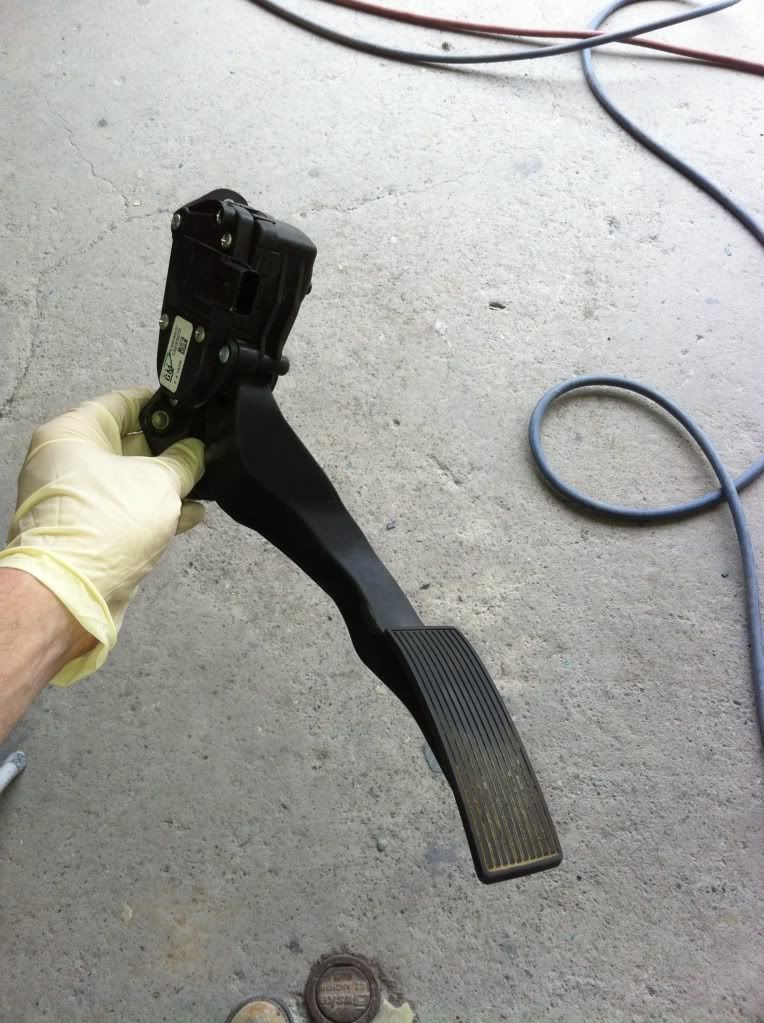
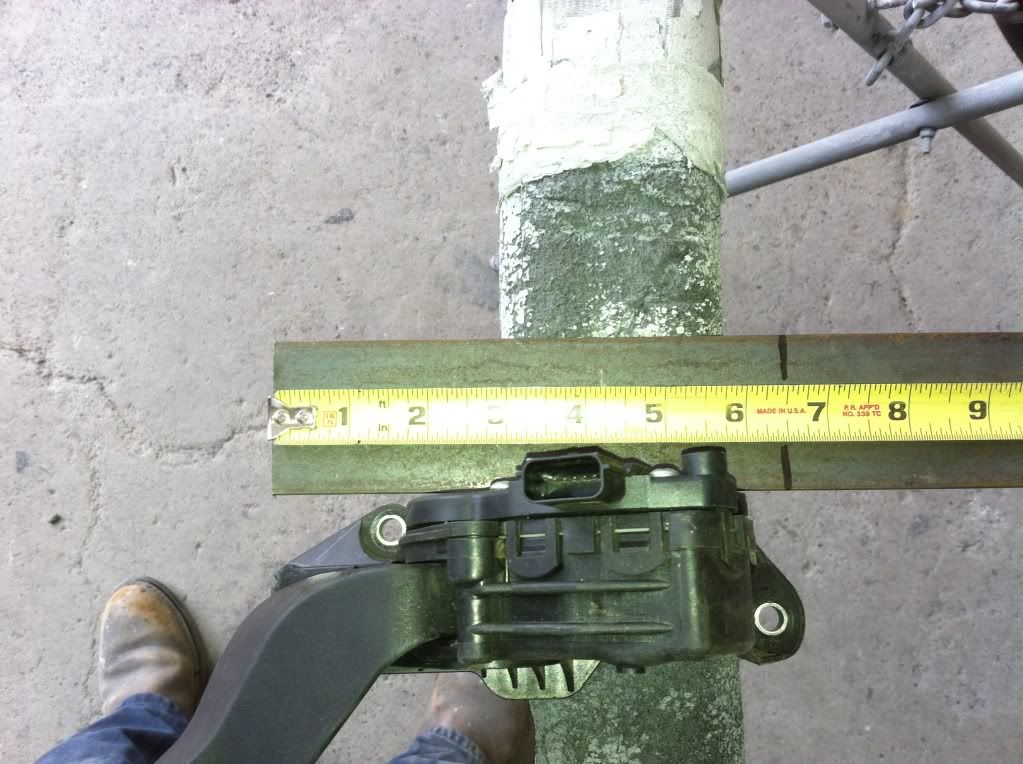
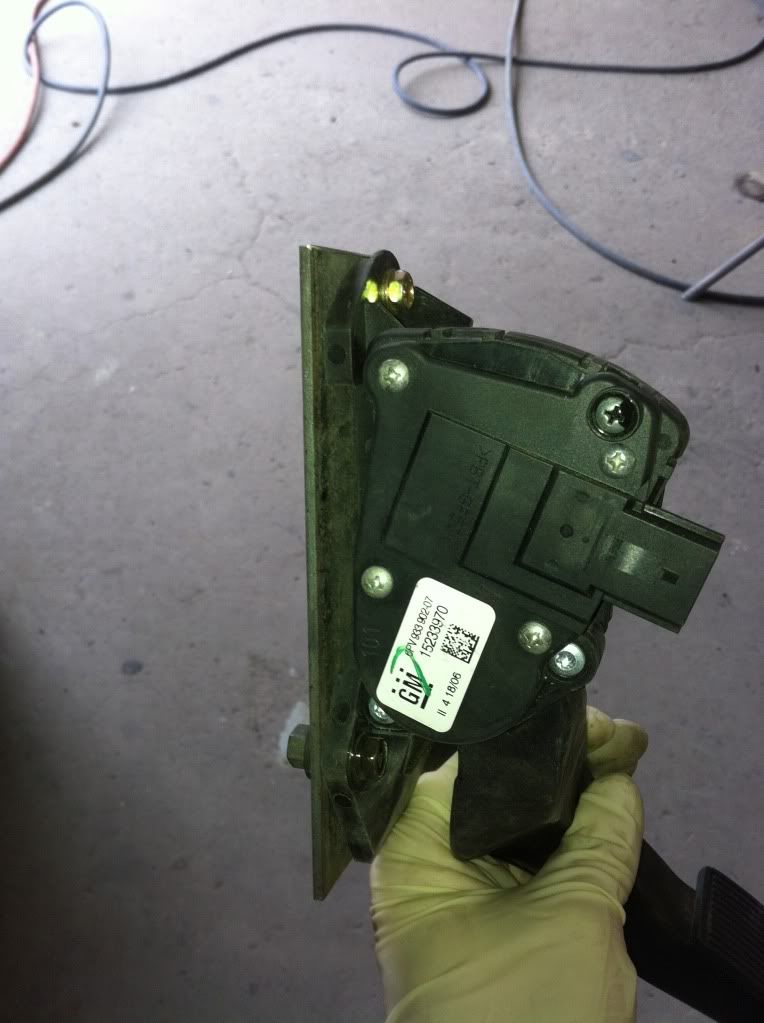
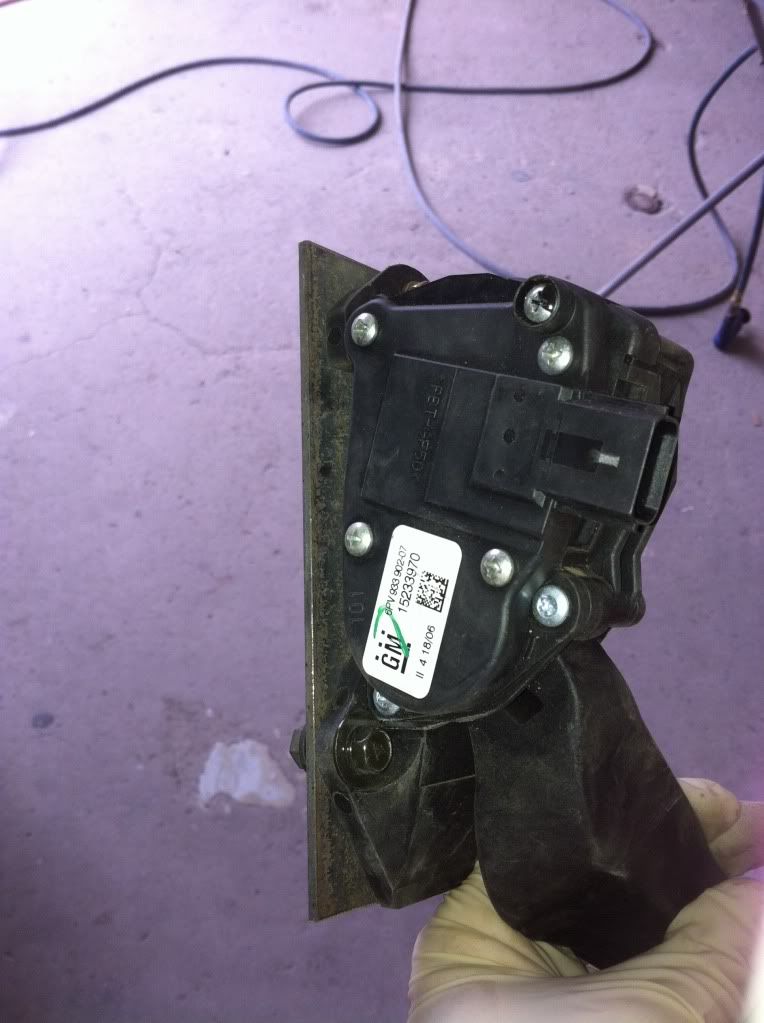

I made a small mounting plate for the pedal to bolt to. Still needs to be finished, because I need to get a master cylinder and booster to get the brake pedal at the right spot/depth so I can properly position the throttle pedal.


dslhtrdr
Always learning...
- Joined
- Sep 2, 2009
- Messages
- 677
its getting closer.. looking good
More nice work! :Cheer:
I think this is H.A.M.B. worthy!!!
Great work, I can only hope to be at this level some day.
Thanks guys, been really really busy over the last month and have lots to post :evil
dslhtrdr
Always learning...
- Joined
- Sep 2, 2009
- Messages
- 677
Finally got a brake booster and master cylinder setup for 4 wheel disc brakes, and just as I was hoping, it clears the motor.
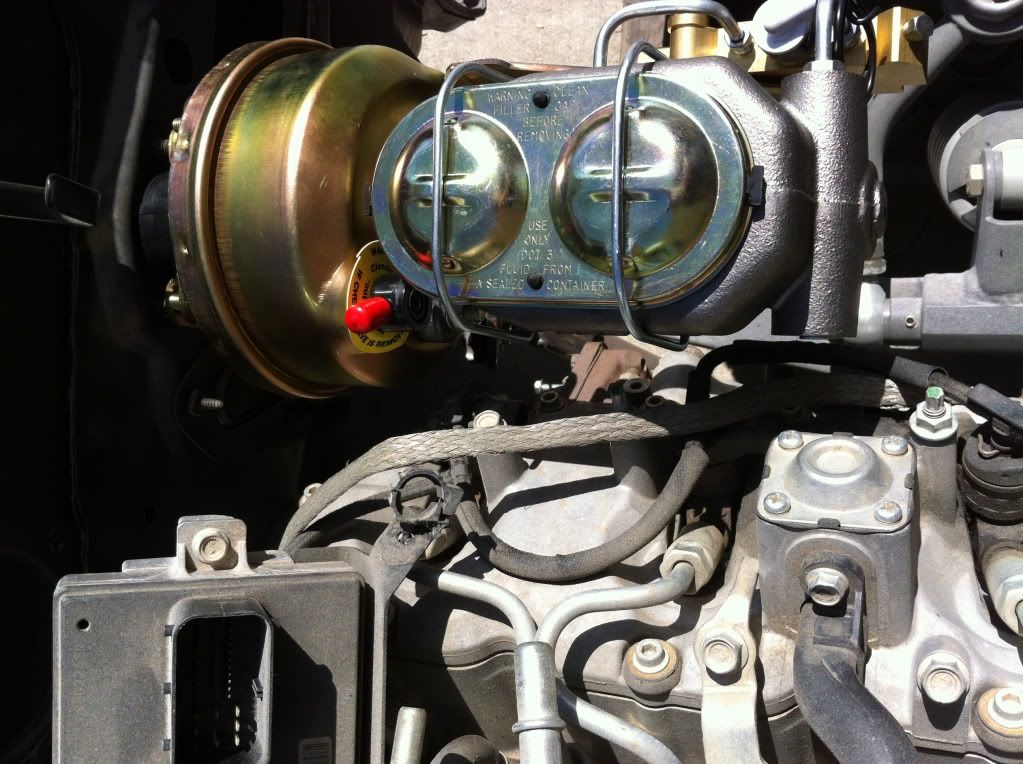
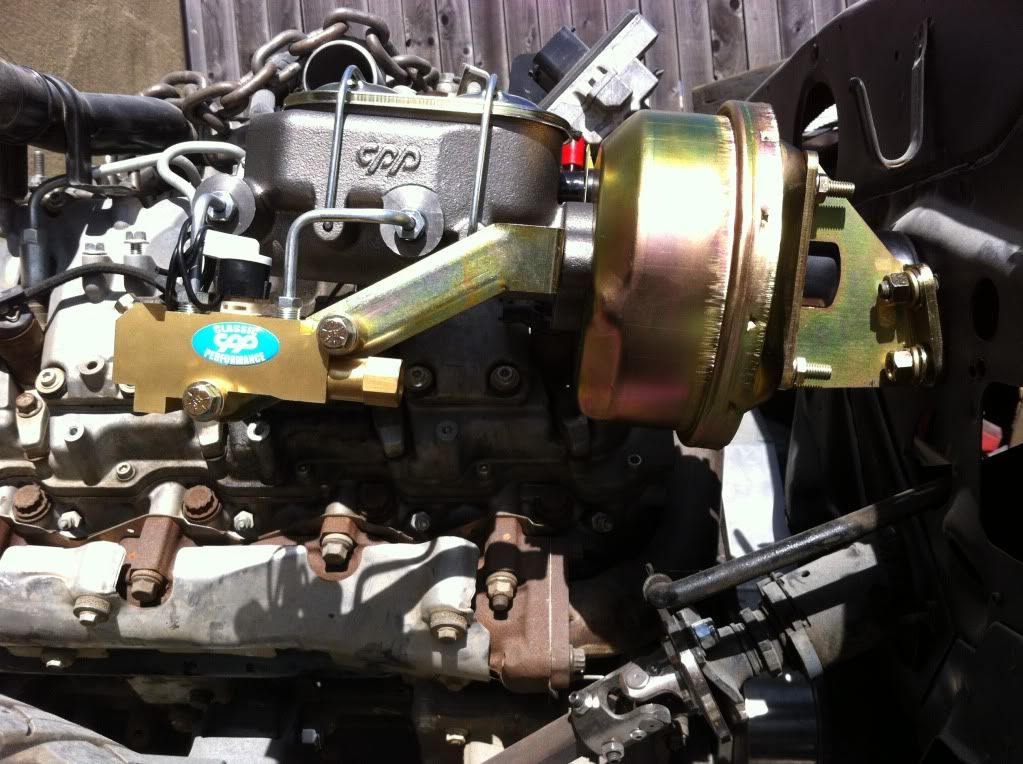
So since that was squared away, I was able to hook up the brake pedal to get the proper pedal position so I could mount the go pedal.
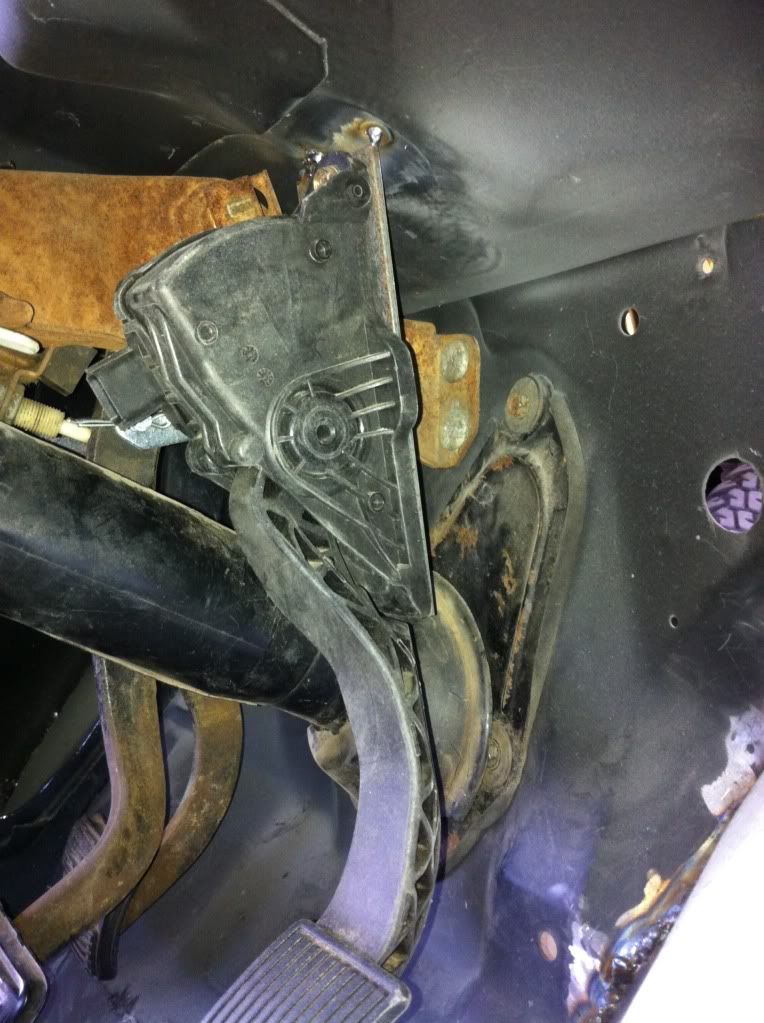


So since that was squared away, I was able to hook up the brake pedal to get the proper pedal position so I could mount the go pedal.


