84 Chevy Crew Cab 12v Conversion

I'm actually close to weir, just we Pitt cause most people know where it is and I spend a lot of time there. I am using a Chevy transfercase with the 8 bolt race track pattern with the dodge adaptor and 23 splined output. Dieselwrencher is the one that sold me it an did the modification. He would be able to tell you better.
 
This whole time I never realized you were so close!! Things are lookin better and like always ill be keeping up on the work.
 

They are pricy!

Yep, Joplin/Neosho area.

Thats cool man. I tend to have to go to joplin to buy stuff for my truck because I cant find stuff over here.

See ya got a camaro on the trailer in your avatar, you ever go up to mokan any? Keep it up matman!

Trying to. Still trying to figure out what I am doing in some places so its taking some time.
 
Yes they are, mine has a stuck turnover in it and I have a good one, so I'll probably just swap it for now. But I'd like to do b&w when I have more time and since there's already channel welded in I'll probably do it like you are.
 
Yes they are, mine has a stuck turnover in it and I have a good one, so I'll probably just swap it for now. But I'd like to do b&w when I have more time and since there's already channel welded in I'll probably do it like you are.

Well if you have any questions on how I did it just let me know, Ill be glad to help.
 
Well tonight I was going to start on welding all of the nuts for the bolts that hold on all of my rear suspension brackets but started looking at some things that i should probably get done before I start doing the boxing.

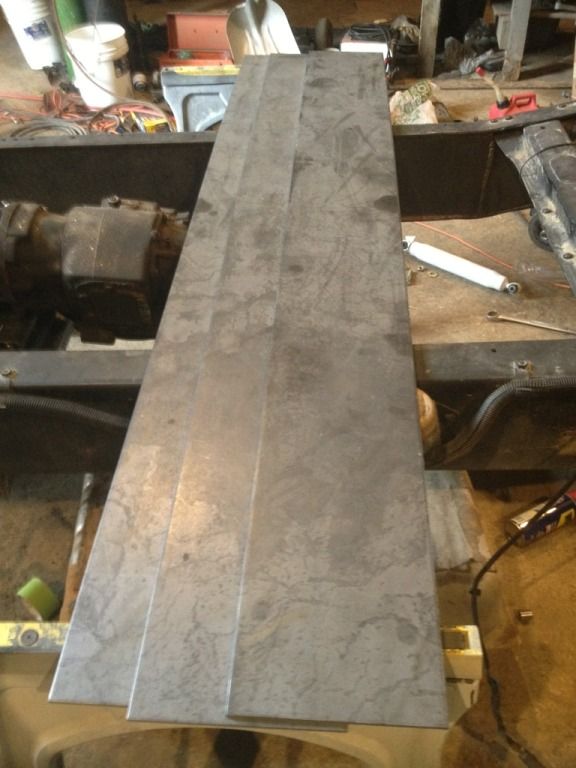
First off here is a picture of the steel that I will be using
34124015-68E4-43CD-9816-5968F08F19F8-9287-00000740048CAE89_zps2d7e5dd3.jpg


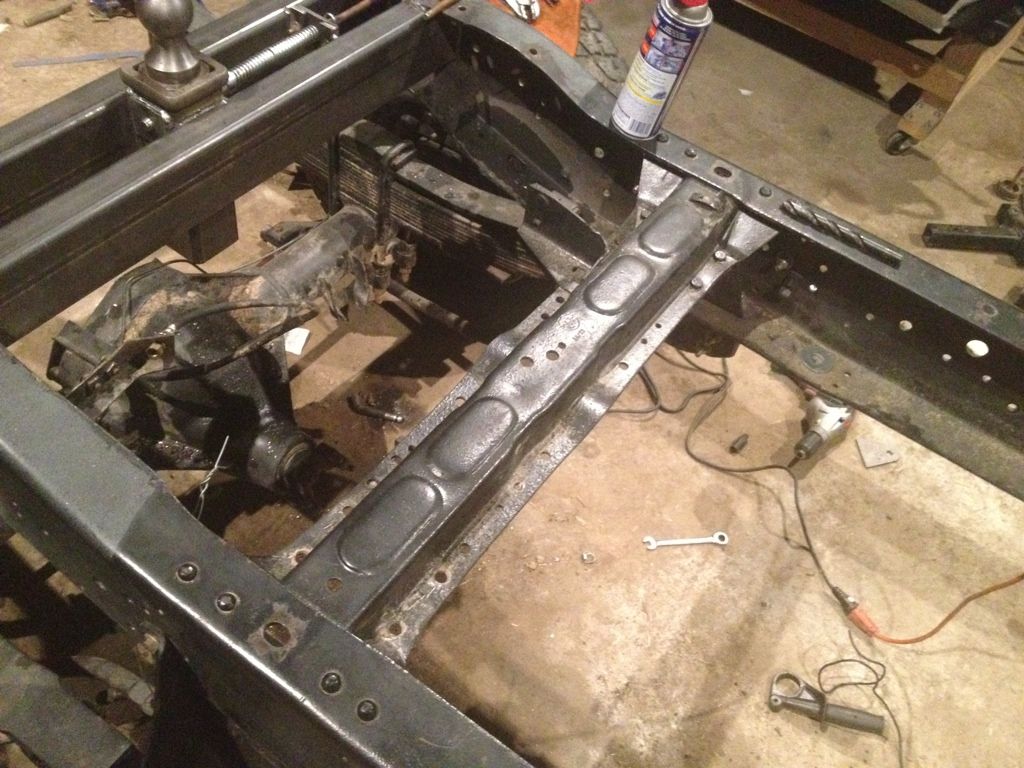
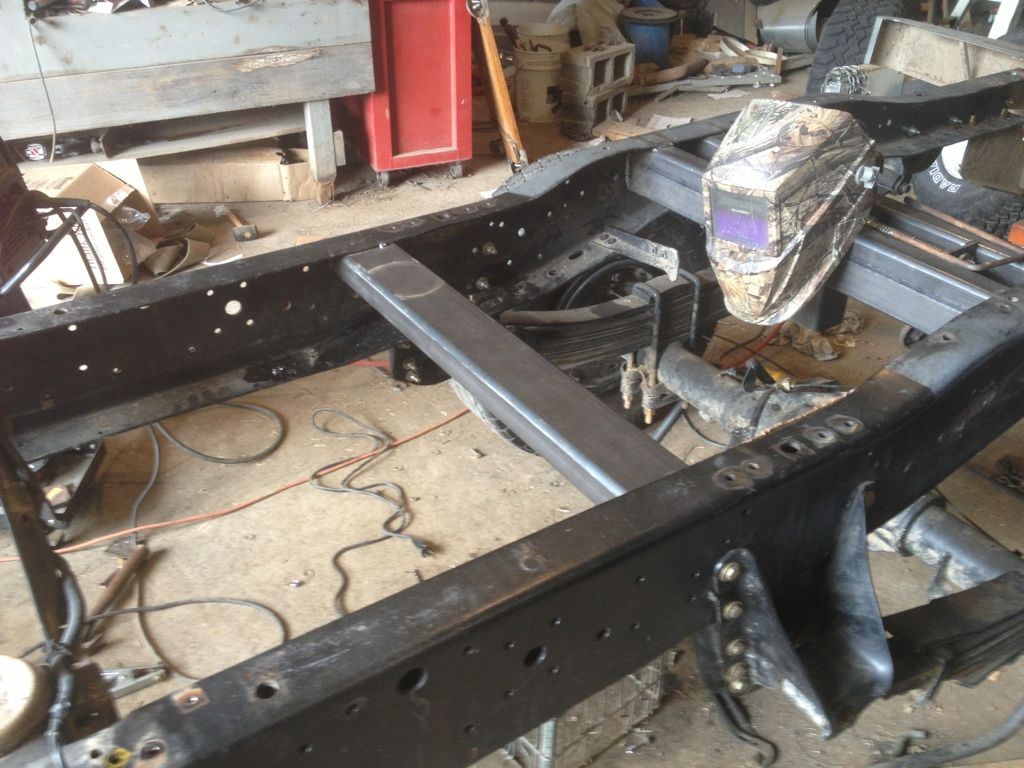
The first problem I noticed was one of the cross members in the truck. The way it is factory made is really going to make it hard to go about boxing in that part of the frame. So I am going to cut it out and replace it with some 2x1/4.
8FA82D6A-B8E0-40C7-B730-C25D99AAF201-9287-0000073DE4182F3C_zps5913e360.jpg


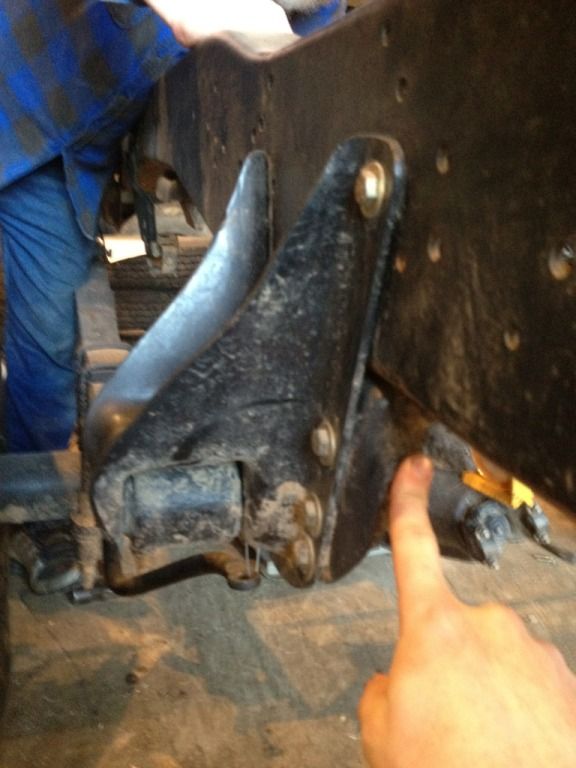
I then also have to push my front rear spring hangers in toward the frame some. When I first mounted them they I did not notice that they where not flat against the frame and so I need to fix that and probably going to add 2 more bolts into the bracket to the frame.
336A3E41-8405-4E96-BF89-AE519B5BC6EC-9287-0000073CE9A7987D_zpsc83359c7.jpg


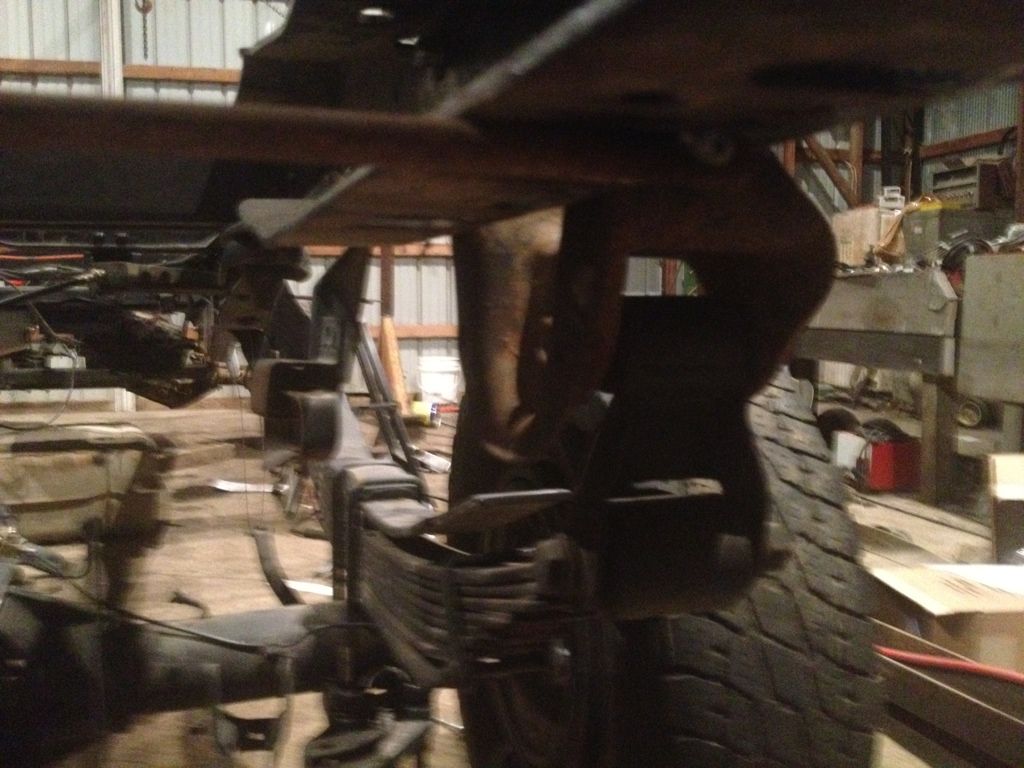
The last thing I need to do is add some support for the bottom of the shackle flip bracket to the bottom of the frame.
9E93BC6B-3563-4BF8-AD17-75D6793107E4-9287-0000073D2F5FA027_zpsf85b5c32.jpg


One step forward three steps back it seems. Just gotta keep plugging along!
 
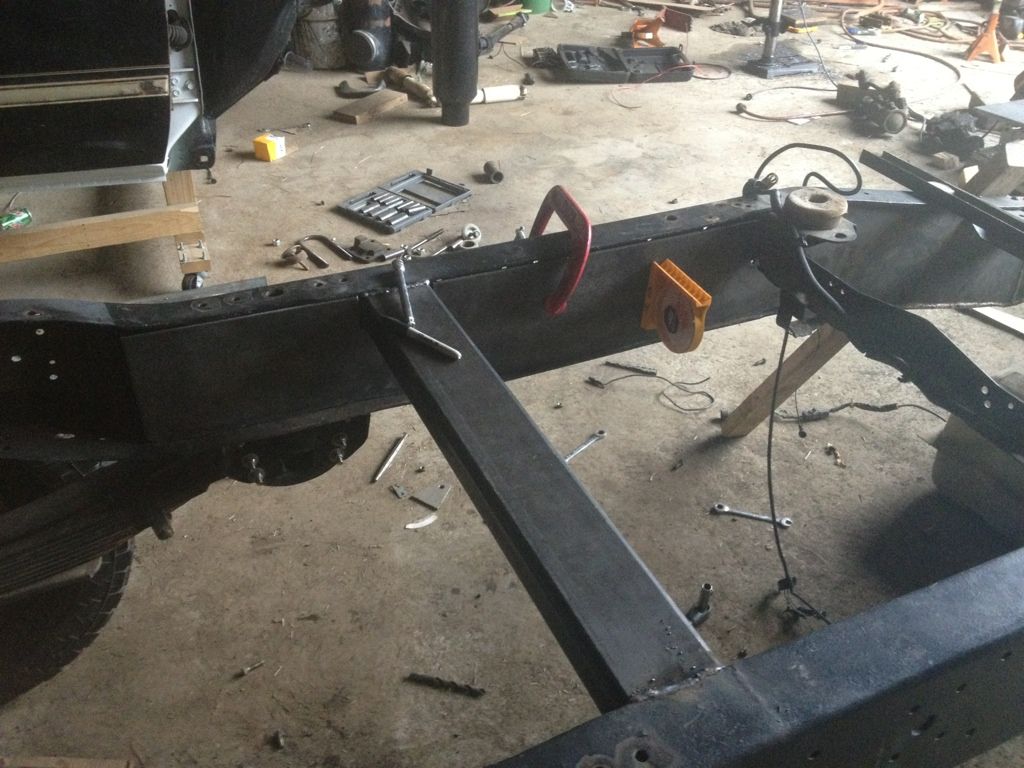
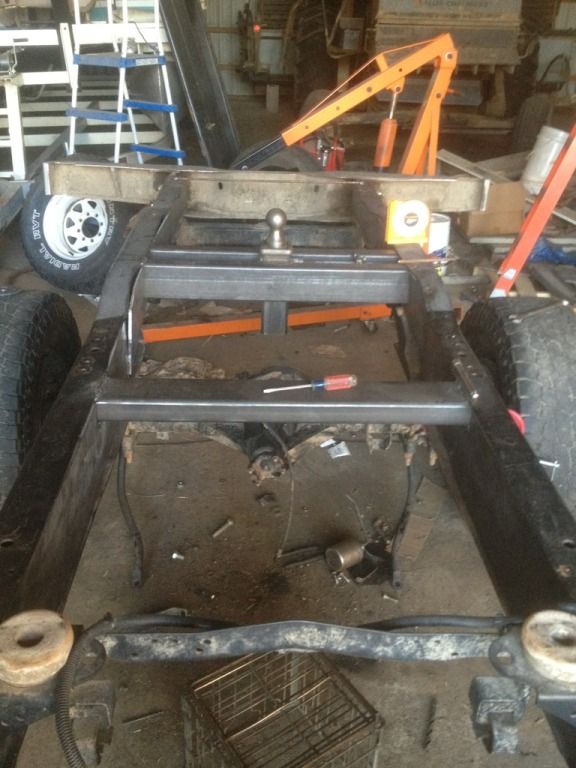
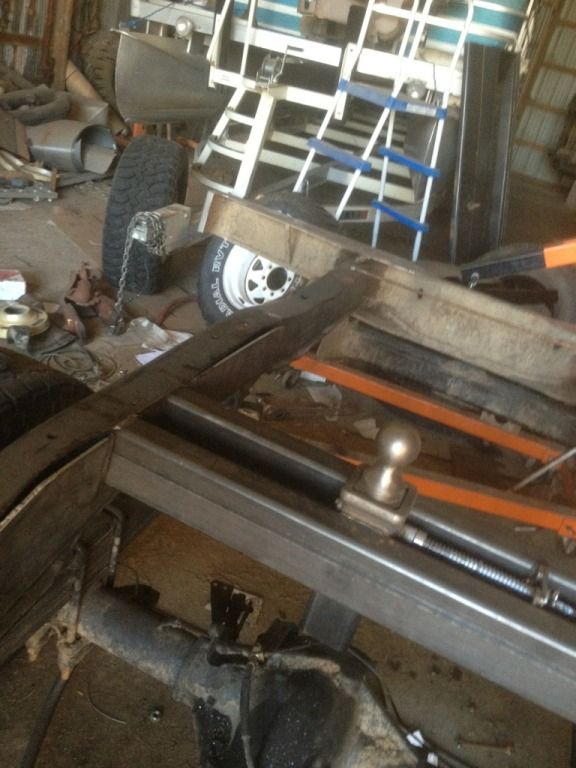
Well today I got the cross member cut out and got a new one tacked in place. I seemed to have forgoten to take pictures of it. I will tomorrow. I also added 2 more bolts to my front rear spring hangers and got them all pulled up tight to the frame so they are now correctly mounted. Should hopefully have all the templates I need made tomorrow so I can start cutting some steel!
 
Here is a picture of the new cross member tacked into place.

DC553F01-2CE4-4705-A11B-B3920783BEE4-569-00000024A24B6679_zps830137df.jpg


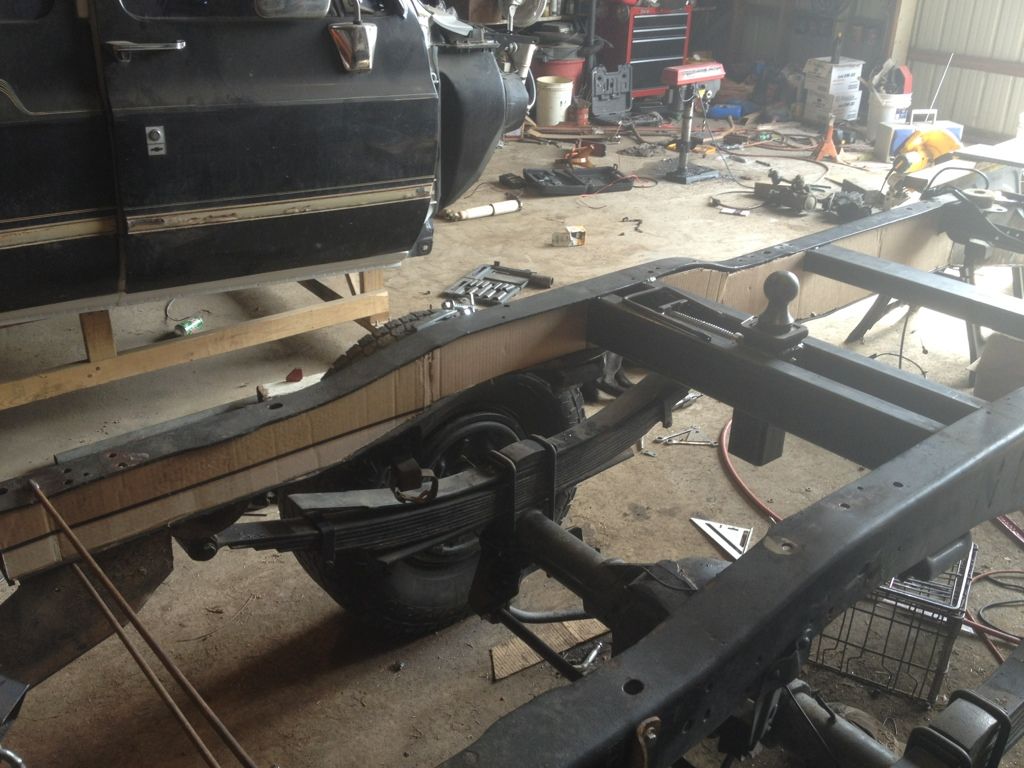
I was also able to make the templates for the steel for the rear part of the frame.

BBABB9D4-9F4D-422C-BEA7-F5D949212329-569-00000024957B7F9C_zpscec32b69.jpg
 
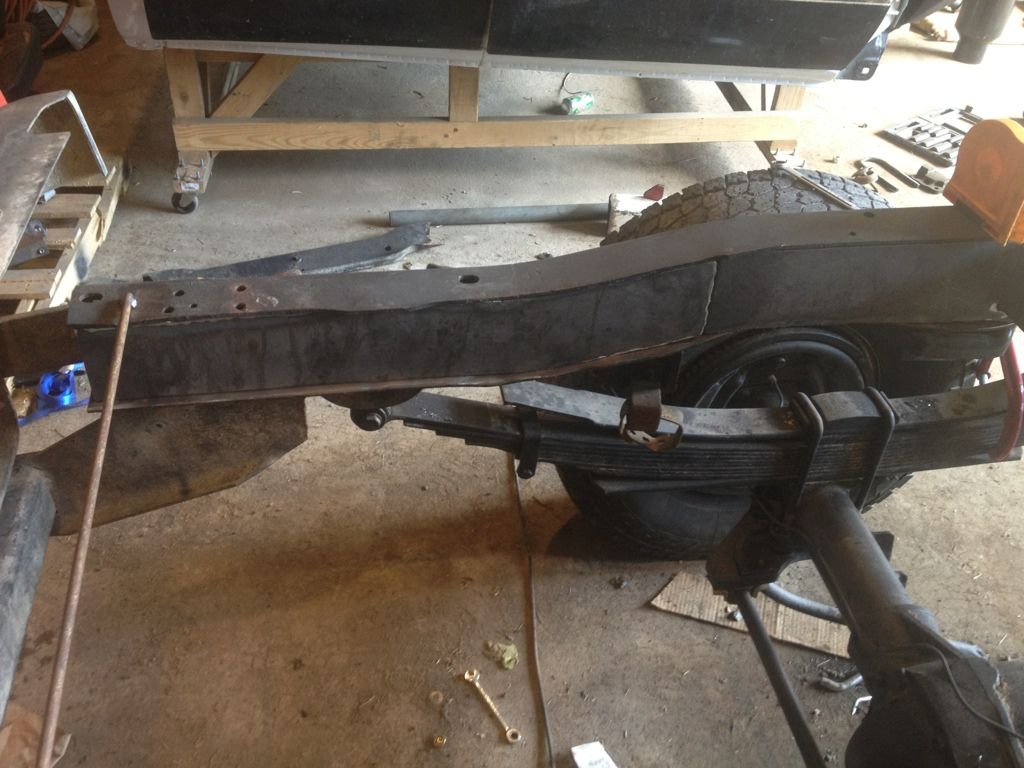
Well I started cutting out the steel for the rear. I hate using card board as templates as it flexes to much so when you transfer it to steel its usually to big. But it is probably better to have to grind it to fit so that it is a tighter fit.

3C6E254F-6621-4D37-9913-E73CB173570A-5517-0000034550CE4FCC_zps65c36941.jpg
 
The guy that runs the body shop behind my work showed me a trick when making cardboard templates. Draw and cut out the rough shape of what your making then take masking tape and put it around the edges, you can keep adding tape to fill in gaps, and when you go to transfer the template to steel you have a smoother surface to trace against.
 
Got the two other pieces cut that I need to cut for the driver side of the frame.

863BB4E1-0943-4298-89EB-74459582B4B4-7568-000004E0284CD091_zps4a5460ec.jpg


78447B0D-6418-4901-B77A-605E199EE725-7568-000004E037C968C5_zpsba674bb0.jpg


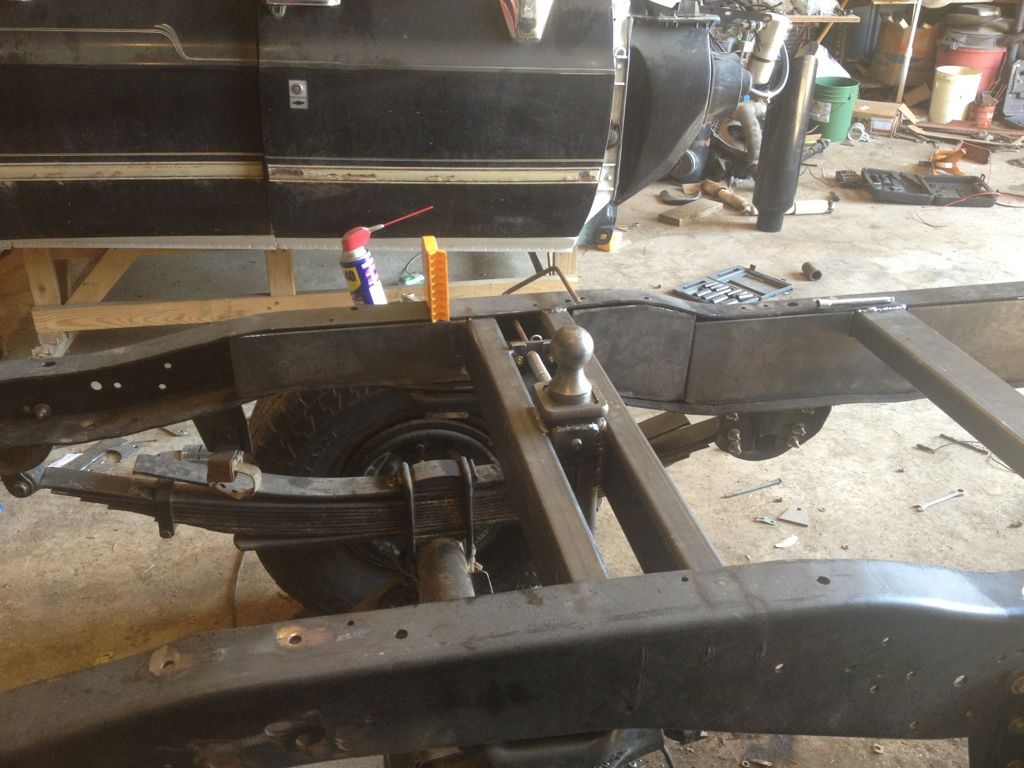
Got one on the passenger side cut and fitted into the frame, have one more cut out for the passenger side still needs fitted and the last one still needs cut out and fitted. Going to head back to the shop here soon.
 
Top