84 Chevy Crew Cab 12v Conversion

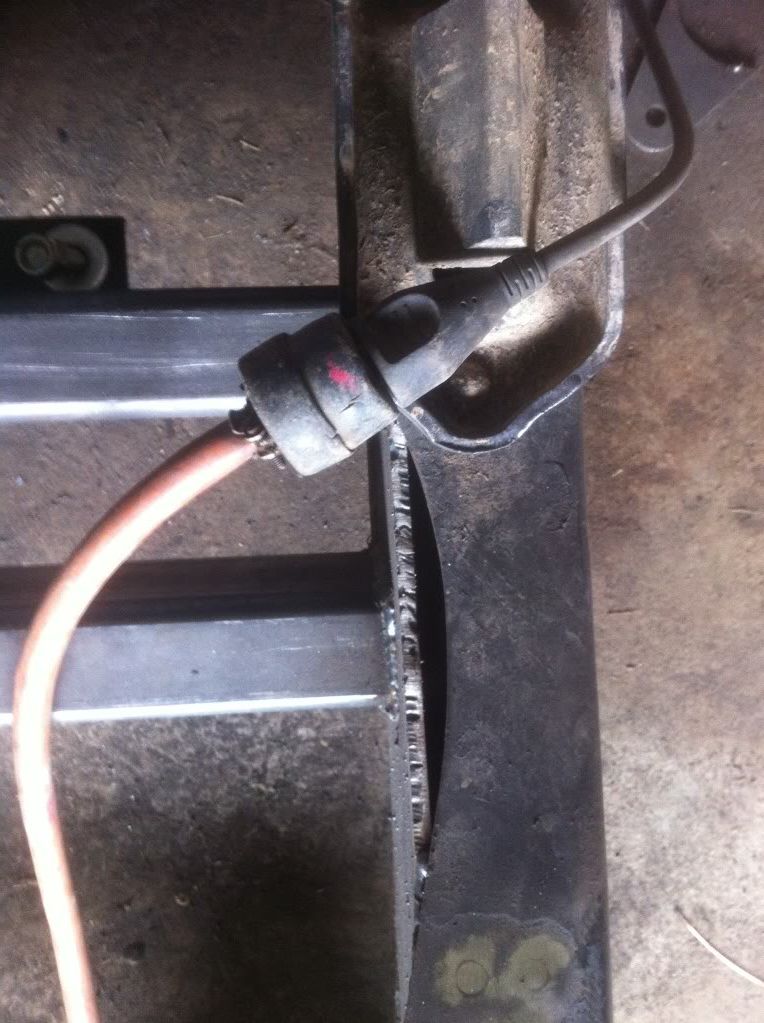
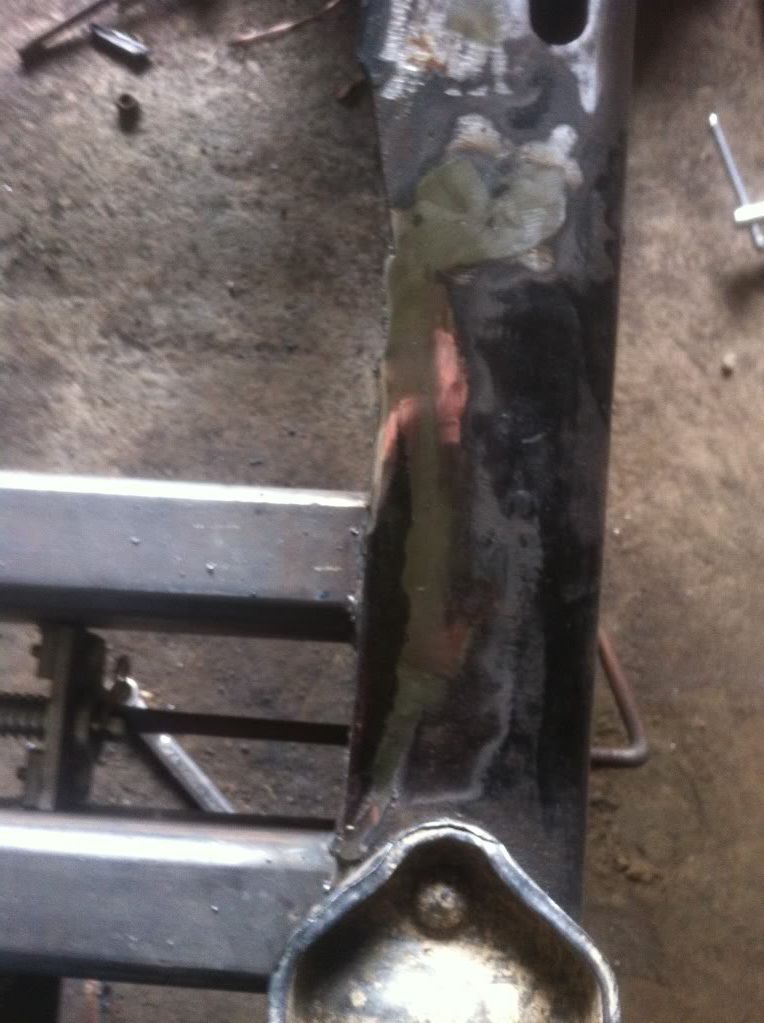
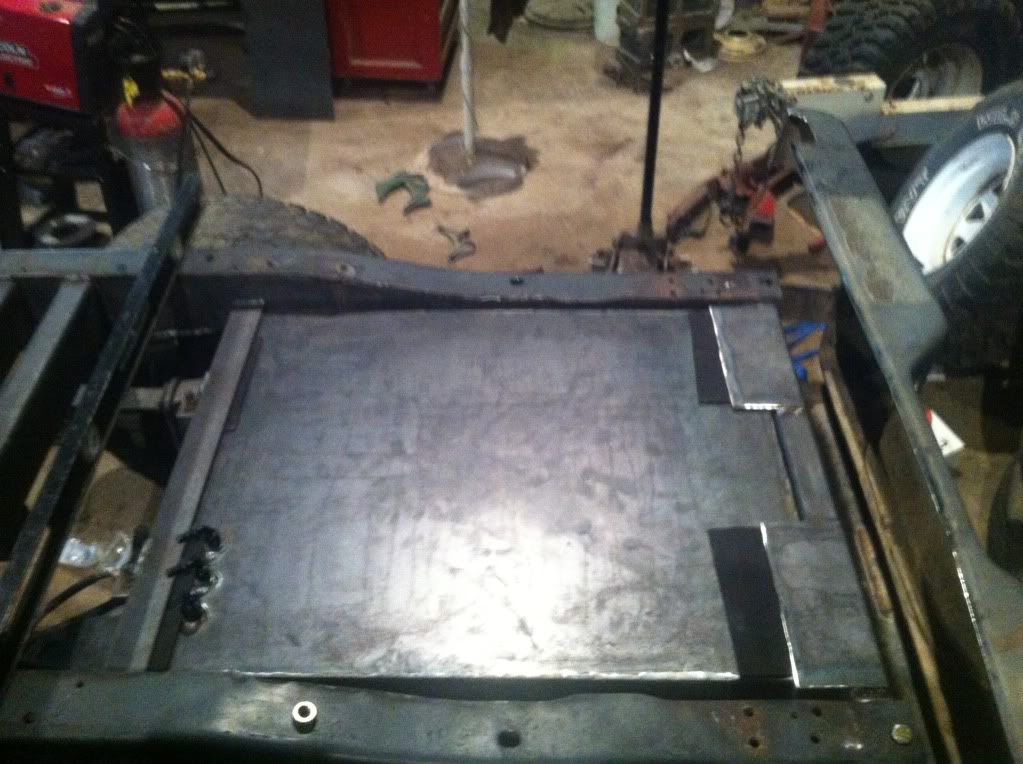
Great work. Just look over the welds on the tank very thoroughly. I know you grinded them down, but you can still spot a potential leak. Better now than after it's filled up..... KAPOYYYAAA!
 
That's exactly what I am doing. The bottom half is welded both inside and out and the top will only be welded on the outside but I have all the fittings I need to pressure check the tank. I wanted the welds ground down before I welded the tank so that griding them would not create any kind of leak later on. If I do find a leak it will get welded and ground down before I test it again. I want it to be leak free the way I want it to look so its best grind down the welds before testing for leaks.
 
Also thanks for the complement! I will also be putting a liner in the tank as well to help keep the tank from rusting and it should keep any leaks from happening as well. But it will be air tight before I do that.
 
Gentlemen...just a few tips from a manufacturer of liquid storage tanks.

Fill the tank with water first...then apply just 1 to 2 psi over the top to test. That is the most safe way.

If you find a leak...use a center punch to pee the leak shut, dry the wet spot with a torch and weld over the peen mark. If its a laarger leak...drain the tank...grind the weld out an inch either side of the leak and then reweld....then retest.

If you are in a hurry...use just air...no more than 3 psi in a tank that shape and gauge and check for leakss with a squirt bottle with a couple ounces of dish soap and a hhalf aan oz of corn syrup. It will make make the leak REALLY obvious.

If one is found...release air...and fix as stated above.


Btw...you can weld all day on a tank full of diesel...as long as the leak is peened shut and the repair is submerged by diesel on the inside. No kaboooomy.

That's for the advice man! I found some of this information on the web but its good to hear it from someone who made tanks.

great advice.cquestad Iused to make alot of stainless fuel tanks.


Dale

Yes he does

Any idea how much fuel you can carry? looks awesome BTW keep up the good work.

By my calculations it will hold 43 gallon completely full. So it will hold a safe 40. I also welded a fitting to allow for me to have an extra tank in the bed that will probably hold another 40 gallons or more and it would gravity feed into this tank. Thanks man! I'm proud of how this is coming together.
 
Got the tank all welded up and got it pressure tested. Did some more work on the tank straps and wanted to make sure everything fit good so I stuck the tank in the truck.

93A2C8D0-DDEB-47E7-847B-42E0821F7C80-1007-00000119C47BD7EB_zpsc8eff2b2.jpg


4500E8C9-C5E0-43CA-BB2E-3002F6A8339A-1007-00000119F36F4169_zpsa0496580.jpg


1AC011E8-E73C-4805-A225-528D769EBD57-1007-0000011A245B5124_zps71546cd1.jpg


Looks like everything fits just the way that I wanted it to. Going to start working on the filler neck some time soon and get the brake lines made and I should be able to start tearing the truck back down so I can finish up some welding and start spraying some paint.
 
Well I started relocating my rear shocks but I am not sure exactly where I should mount them. I have two places that I think will work best, but not sure which is better.

I first started making them mount here. It will clear everything with new top mounts.
427d12cb-64f1-4f9a-b02a-08d692c4b361_zps02064d6b.jpg


3aec32e5-2da3-4c16-9cd1-8db136a351eb_zps3f03a5cd.jpg


But after making the lower bracket for mounting there I decided to look at mounting them back inside the frame.
381649bd-8deb-4ec2-8c0e-6053d323b1bb_zps9820468a.jpg

Now on this setup the top bolt would be turned to match the bottom one.

One reason why I like them behind the axle and on the outside of the frame is that it will allow for me to have more room to make an anti-wrap bar.
 
Got the shocks for the rear mounted.

DBB5E57F-0B09-4517-A849-0D1939CBE816-3014-00000399031E936D_zps17e41314.jpg


74F511C0-22A8-402F-932E-BCF906A8601C-3014-000003995071EC8E_zpsc0225928.jpg


Next is to work on getting the proportioning valve mounted and getting the brake lines made for the frame. Then I should be about ready to tear it apart and finish a lot of welding and paint the frame.
 
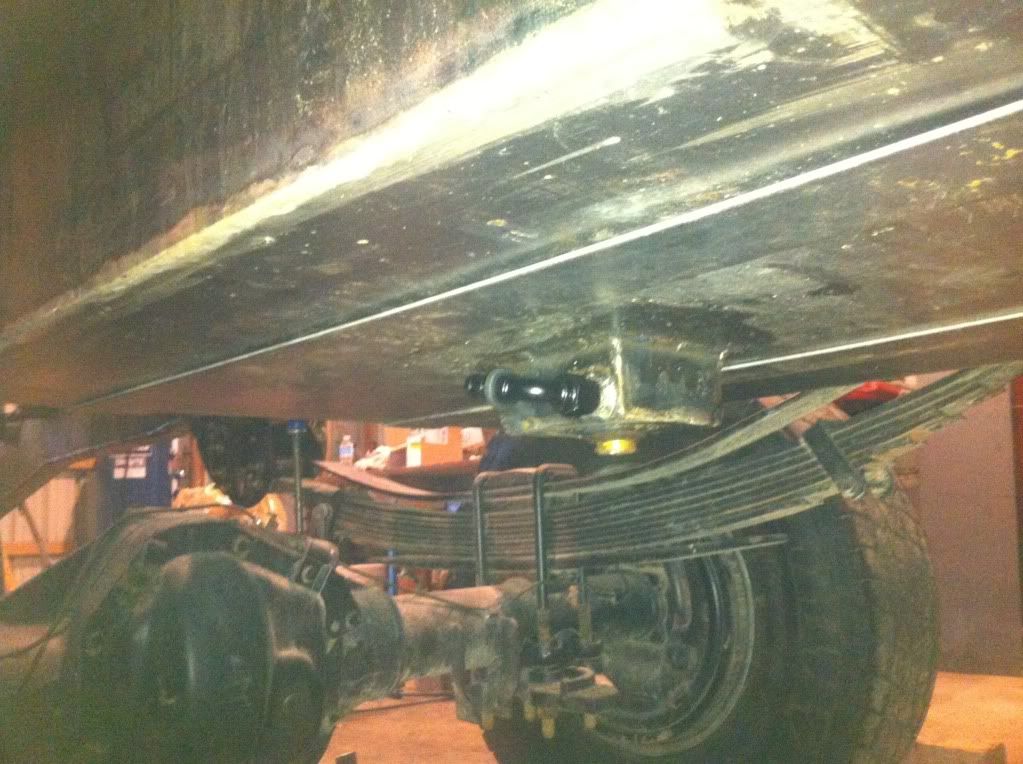
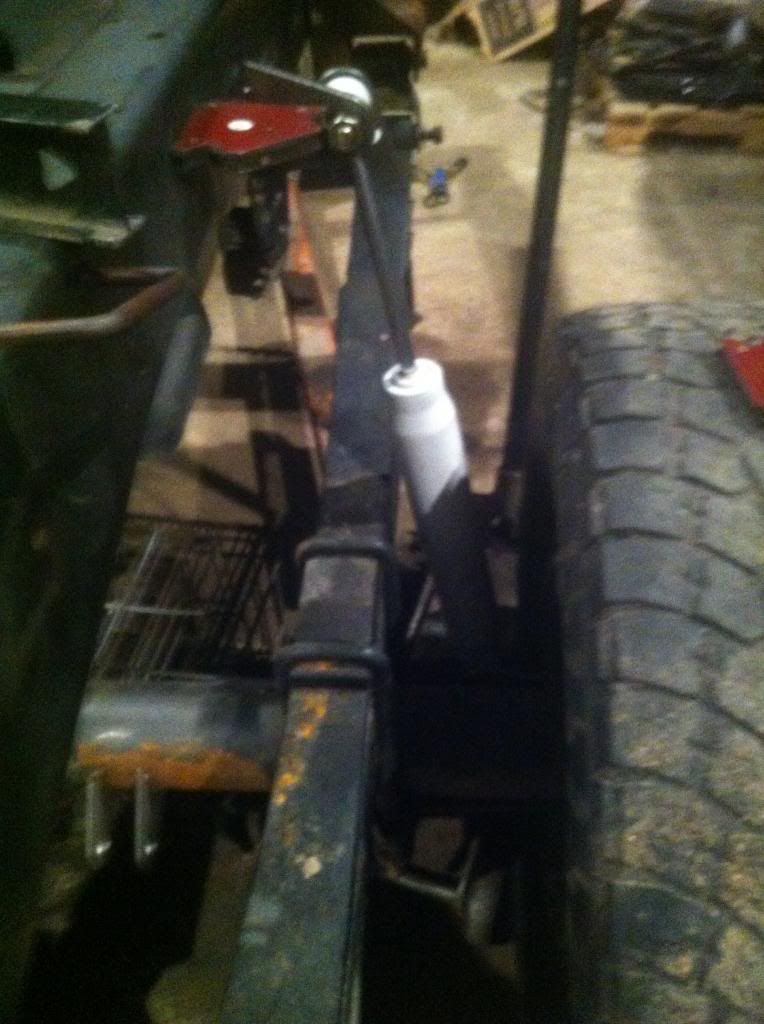
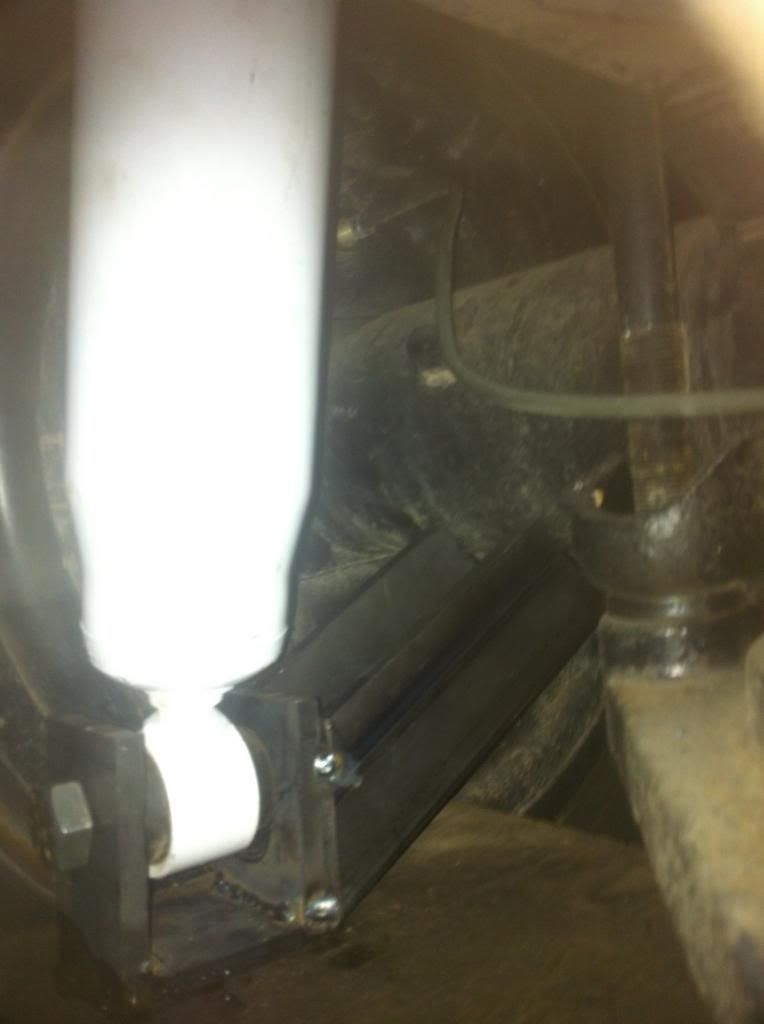
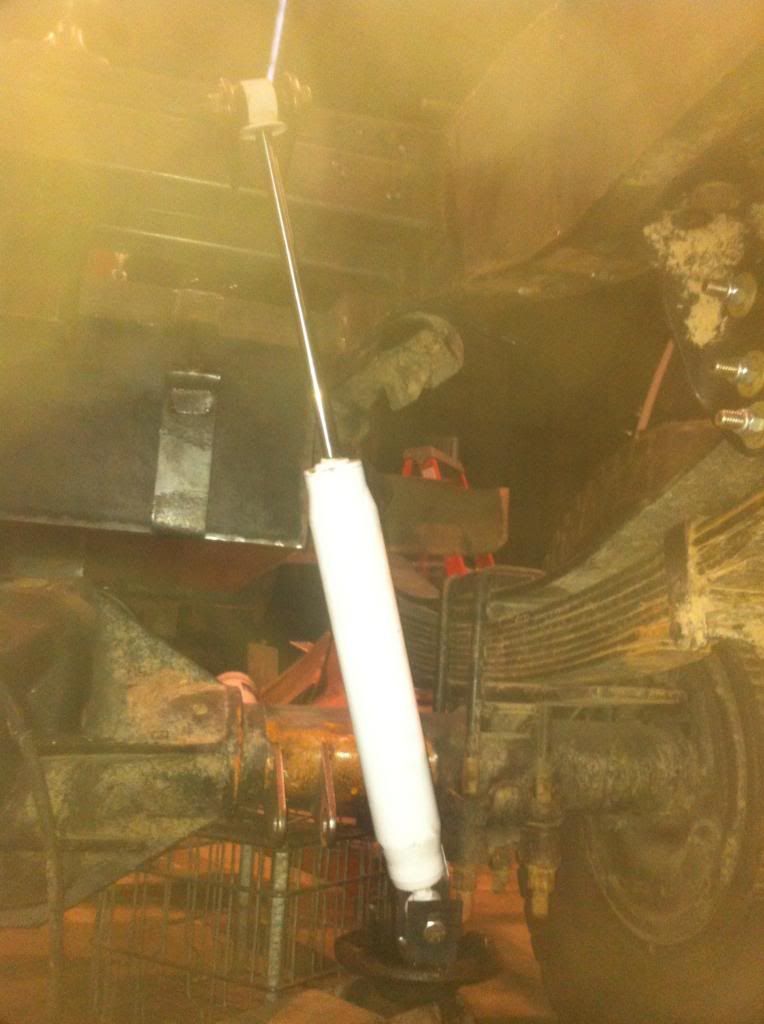
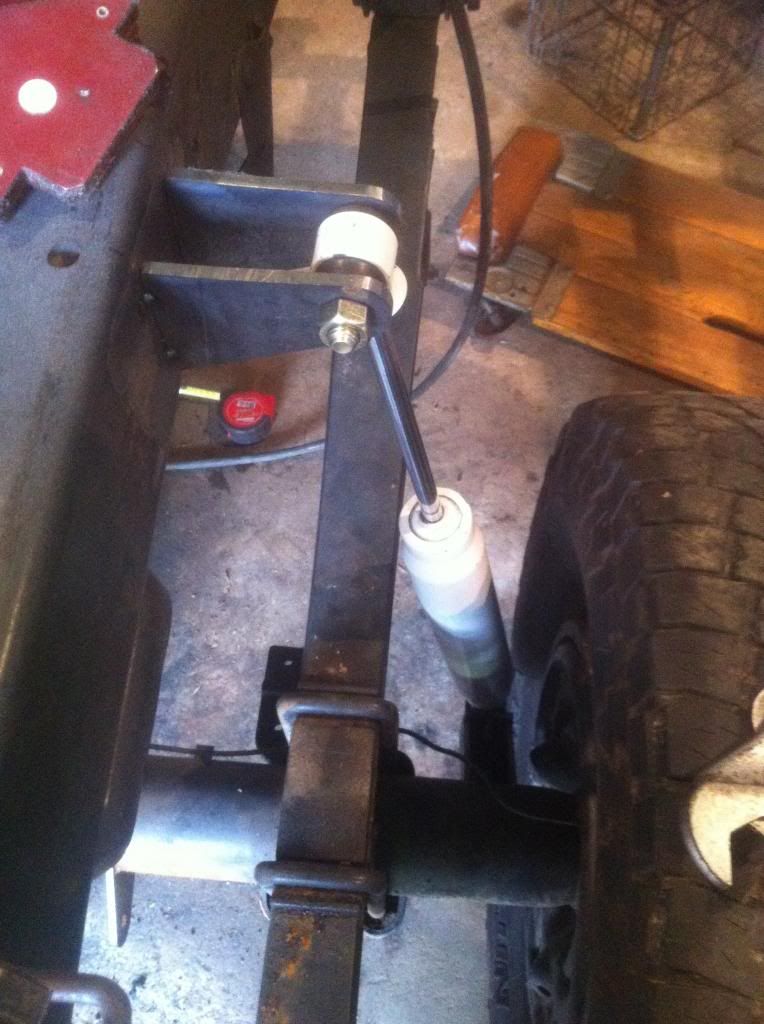
F150s mount the shocks outside the frame supposed to make the ride better! keep up the good work

Did not know that maybe its a good thing I did that then.

Started on the brake lines yesterday.

Rear
49C37DC4-5FD4-4988-8EDE-36E58EB9BF4F-5612-0000068DBB90D43F_zps8944f628.jpg

3CF08197-27EB-4268-A311-FA25F56F9880-5612-0000068E4452DF93_zpsc52afc89.jpg


Front passenger side.
6C36DC23-D4E0-460B-AB32-353897F036B0-10529-00000960FBD05C6A_zps90a383c8.jpg


Need to buy some extended lines so that I can figure out where I want my front brake lines to hook up. Once this is done its tear down time.
 
Got my extended brake lines and also started making the mounts for the front and rear lines. Having trouble getting my flares to even look right so I cant finish up the brake lines just yet.

Brake lines
73F8358E-3CCB-49D5-9626-FE18222EC2AE-6345-000006DBF2327794_zpsd3a51e5f.jpg


Front brake line mount
9860406A-7A4F-438B-A982-4B1C60D7D7A8-6345-000006DC55DCF8D7_zpsbc3a89a1.jpg


Rear brake line mount.
1FEC72B7-F294-468C-9BCF-A4EA5E2FF746-6345-000006DC7F971DE0_zps423bec18.jpg


Also started looking at ideas for my safety chains on the gooseneck hitch.
62813ECF-FAA5-4D51-B05B-62C1FD5F9F1F-6345-000006DCA827CA8C_zps11b311e2.jpg
 
Got my gooseneck safty chain hooks up started. Just need to gusset them and finish welding.

6CAE61AC-BF49-47A4-8CA2-C5E2AF7DDA74-9509-000009212F1E0E9D_zpsf85dec49.jpg


Also started tearing the frame down again so that i can finish up some welding and then start prepping the frame for paint.

Motor and tranny out
3715D6E1-B6FA-494B-B8D3-646B046C1403-9509-0000092156ABCC81_zps5615aa03.jpg


Started finishing some welding and also started welding all the factory holes in the frame up.

48E447A3-CE04-4B39-9134-B137F6D9DCF1-9509-0000092189D5D410_zps045f335e.jpg
 
Well the past two days I have spent probably about 16 hours in the shop. Trying to get the frame painted soon so that I can make it a roller again because its getting warmer outside and if you have noticed there is a pontoon boat stuffed behind my truck and I am sure my uncle is going to want to get it out at some point.

First I rolled the frame on the side so that welding all of the holes in the frame would be easier and to also finish some welding in hard to get parts that I was not comfortable welding upside down.
F3476FA7-D3F5-4EB8-8D7D-513404655890-168-00000006BAD7DD11_zpsf86a831f.jpg


A whole bunch of holes I was welding up.
8D576C46-1D47-4934-96B2-28DE1D04B67A-168-00000006EF41E4FD_zpsc41f69e1.jpg


Some of the holes were really big so I made a couple plugs to make welding them easier.
378F93BC-8A92-4B9D-B3AD-775DAB1F2A6A-168-0000000724C8AA4C_zps3c48dc42.jpg


After I got all the holes welded and ground down I flipped it over and did the same to the holes on the bottom and also finished some more welds.
748DD379-6324-443C-B41B-E4AB7E711FF6-168-0000000754C2E978_zpsc9be1abc.jpg


When I boxed the frame I had places in the frame that where not even with the top of the frame and there were some big holes left. (Pics are of opposite sides because i forgot to take before and after pics of both sides)
5462CBA0-8C26-41B4-AB50-28F1C02DEA0E-168-000000078D9B9085_zpsac0e778a.jpg


And here it is with a plate welded in.
38E0B222-8940-4DCD-B29F-BFE6CFA6EA4A-168-00000007D2EEA2F2_zpsadcb4aa3.jpg


I then needed to build some braces for the poor man shackle flip that I did. Started out with a piece of steel c-clamped to the back of the bracket so that I could use the bracket to act as an outline for my cutting torch and grinder.
03BEF588-68EA-46AA-B071-5B95885D227A-168-00000008047CBCC5_zpse3630184.jpg


I then drilled the holes and created some gussets.
E644D1B5-F966-4D23-8B0D-BF094333F272-168-00000008441528D4_zps823154c3.jpg


All I have left to do on the bottom end is grind down some welds, cut the receiver tube for the goose neck hitch down some and then I should be able to flip the frame on its other side and weld on the holes on that side.
 
Back
Top