You are using an out of date browser. It may not display this or other websites correctly.
You should upgrade or use an alternative browser.
You should upgrade or use an alternative browser.
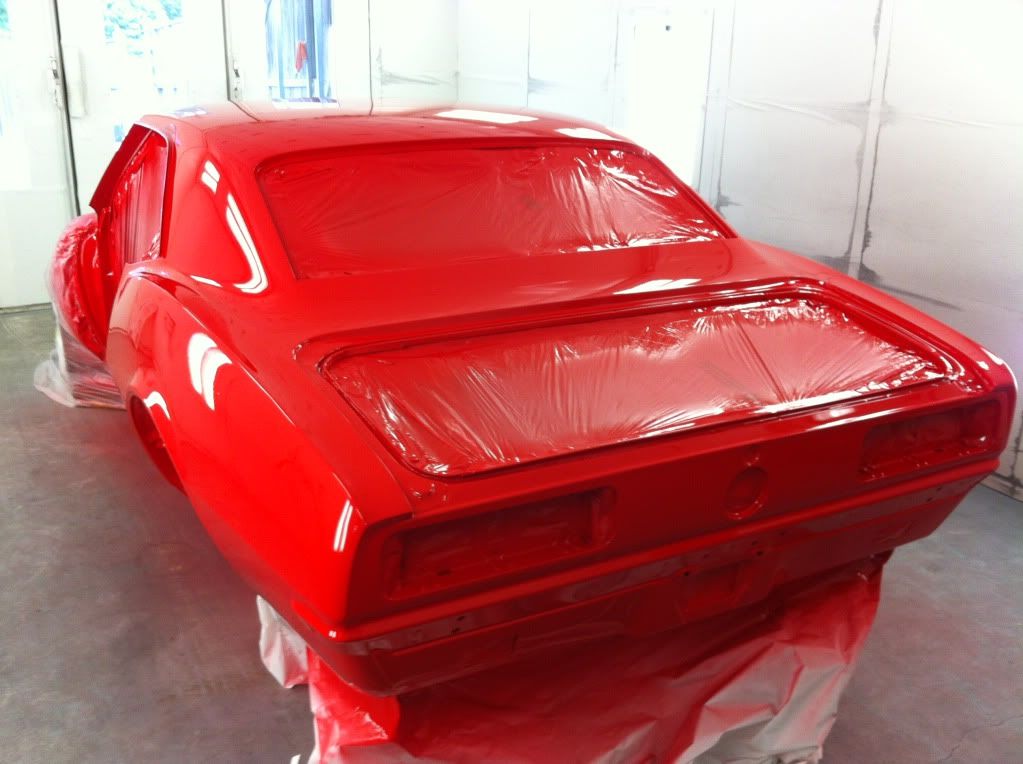
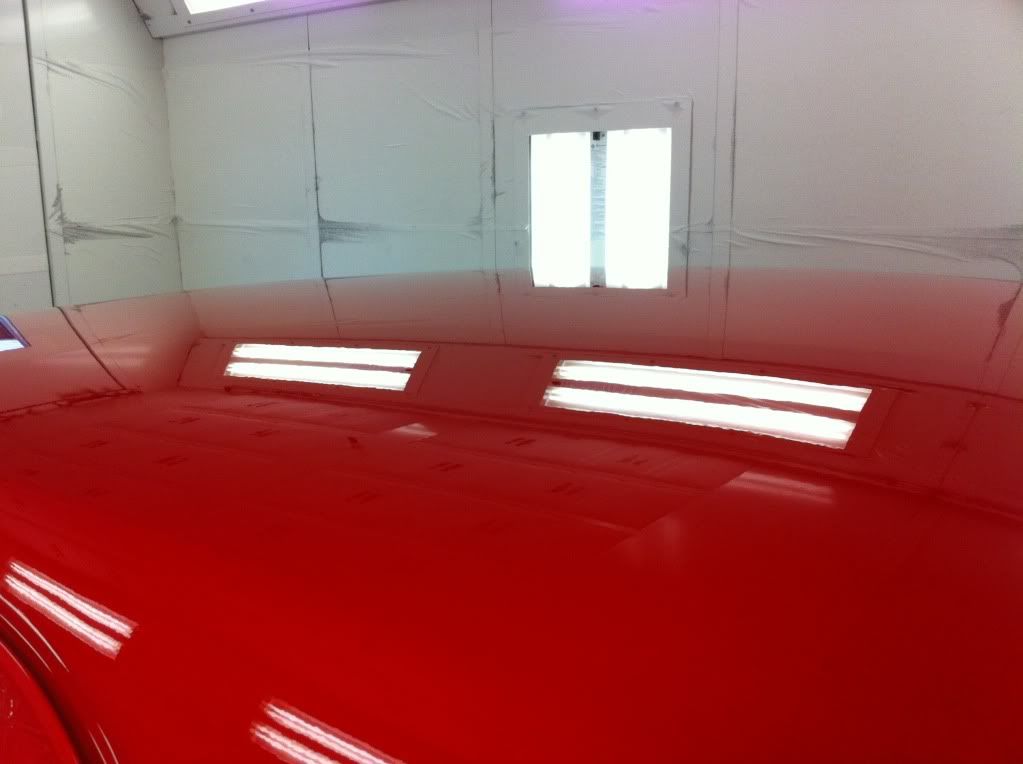
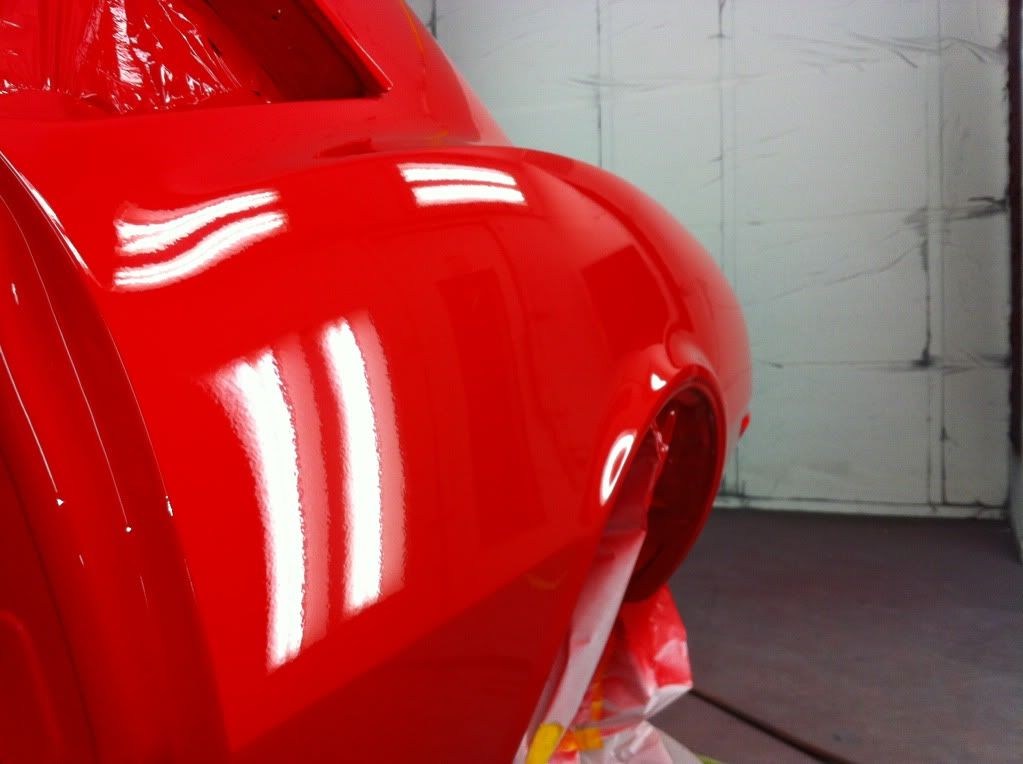
1967 RS Duramax Camaro
- Thread starter dslhtrdr
- Start date
Flatblack79
Just Ignore Me
- Joined
- Jun 23, 2012
- Messages
- 276
I cant wait to see this thing finished! Its going to be awesome!
dslhtrdr
Always learning...
- Joined
- Sep 2, 2009
- Messages
- 677
Looking great!!! The red and black really pops well on the engine!!!
:thankyou2: I'm anxious to get it back in the car and reassemble it!
What did you use to polish the fuel lines and rails? Looks good man!
I used Blue Magic Metal Cream Polish. I find it in every autozone, napa and o'reilly auto parts stores I've been to. Metal Gloss works really well too, but I've only seen it for sale online.
dslhtrdr
Always learning...
- Joined
- Sep 2, 2009
- Messages
- 677
Breath taking! This is beyond awesome!
I cant wait to see this thing finished! Its going to be awesome!
:thankyou2: I haven't seen a lot of duramax's painted so I was wingin' it the whole way. I'm pretty happy with it.
12vriviera
That Guy with that car
- Joined
- Mar 31, 2009
- Messages
- 6,846
That blue magic is the best metal polish i have found as well... Looks great!
dslhtrdr
Always learning...
- Joined
- Sep 2, 2009
- Messages
- 677
I had some time after work today to sand and polish the compressor housing (cover) for the stock turbo. It's not perfect, but it will get the job done I think. The nooks and crannies were virtually impossible to sand all the imperfections out...
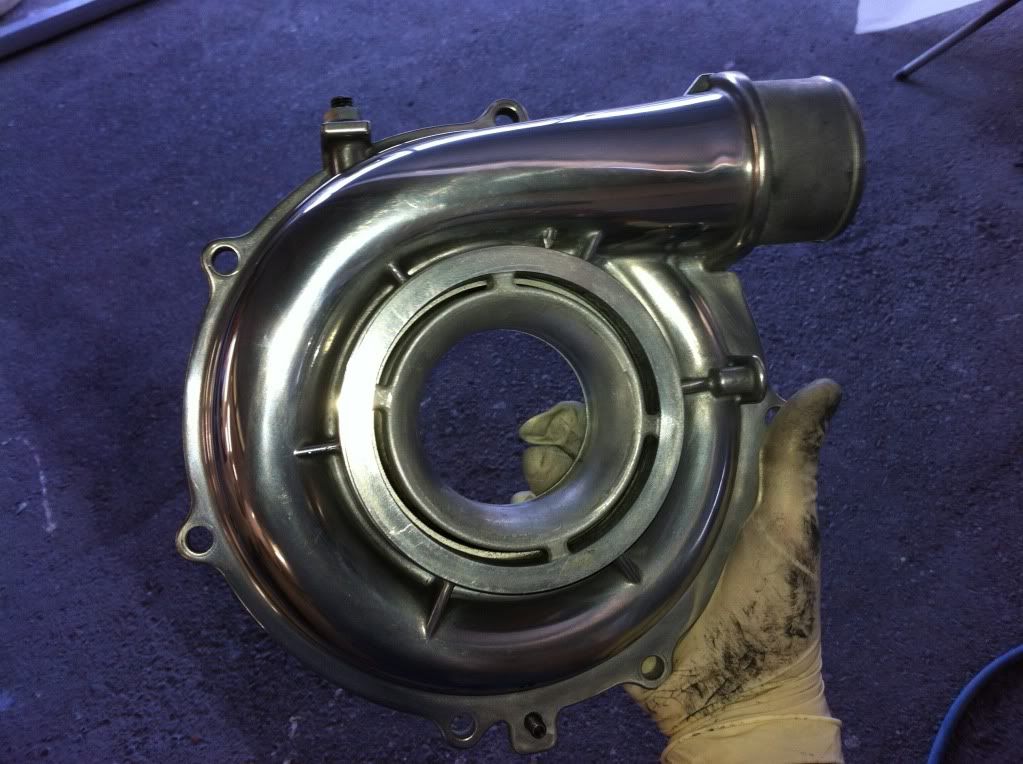
But it the shiniest stock VVT I've seen... :lolly:
I also made a custom remote master battery disconnect using the gas cap and a moroso master battery disconnect switch.
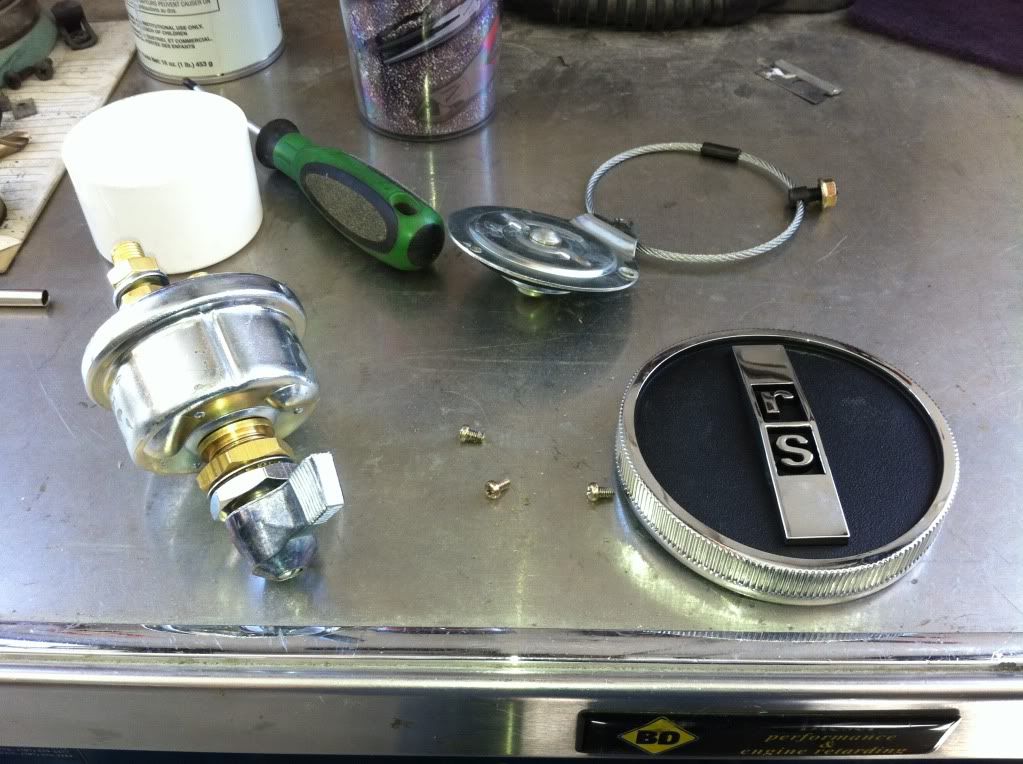
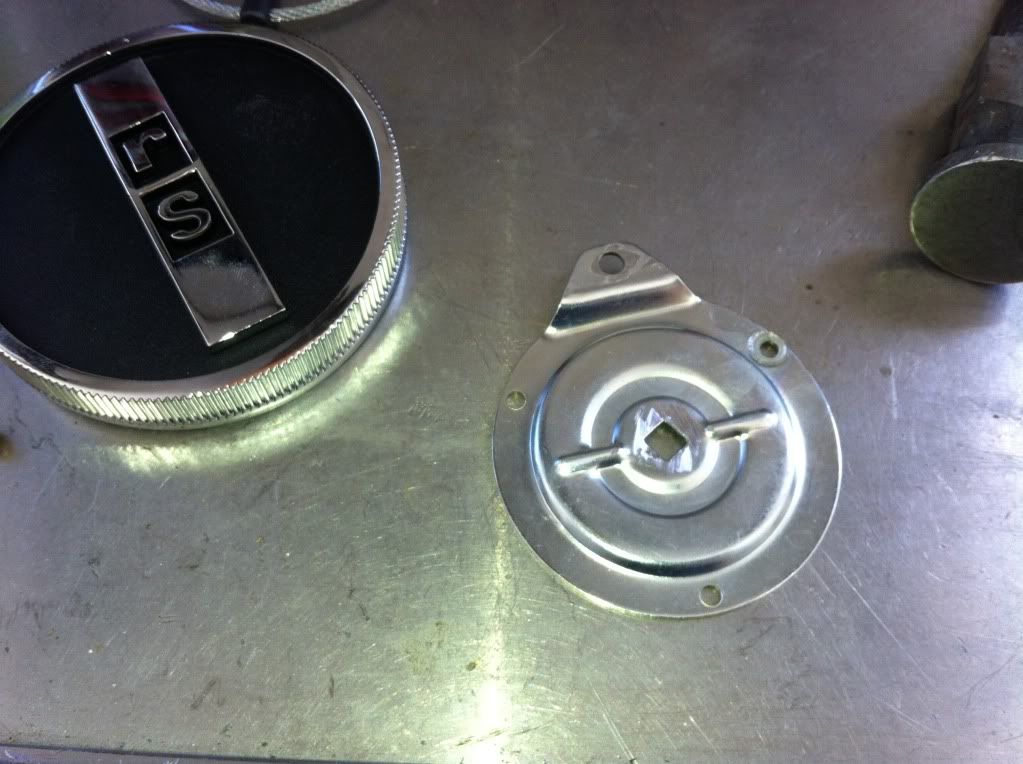
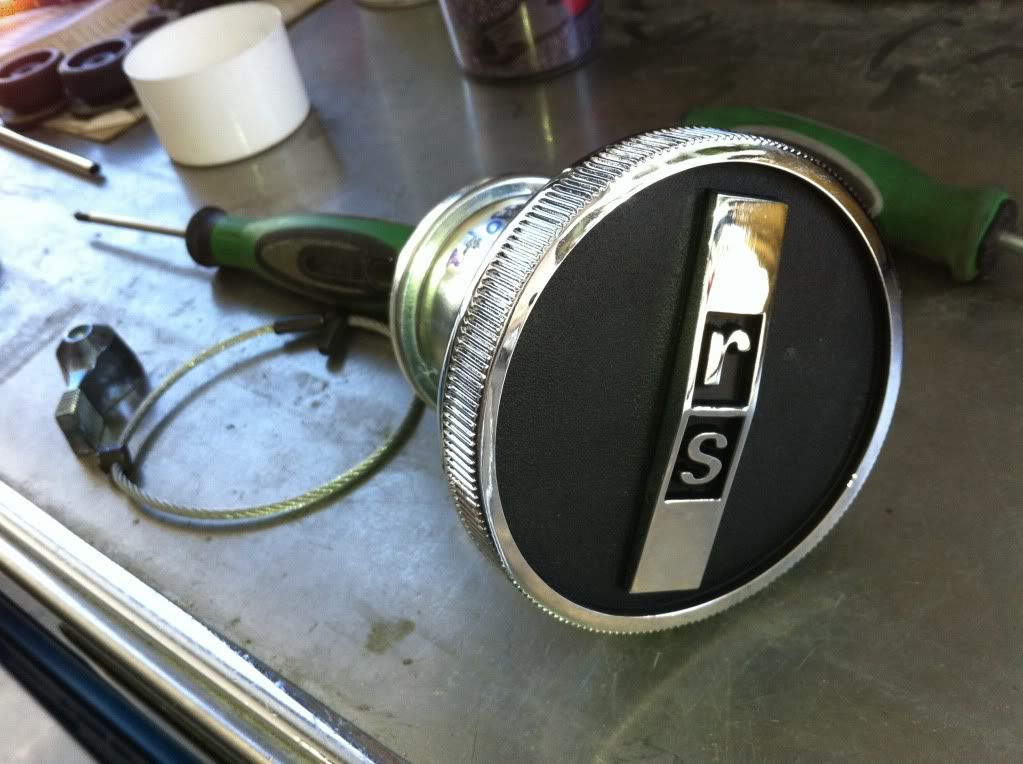
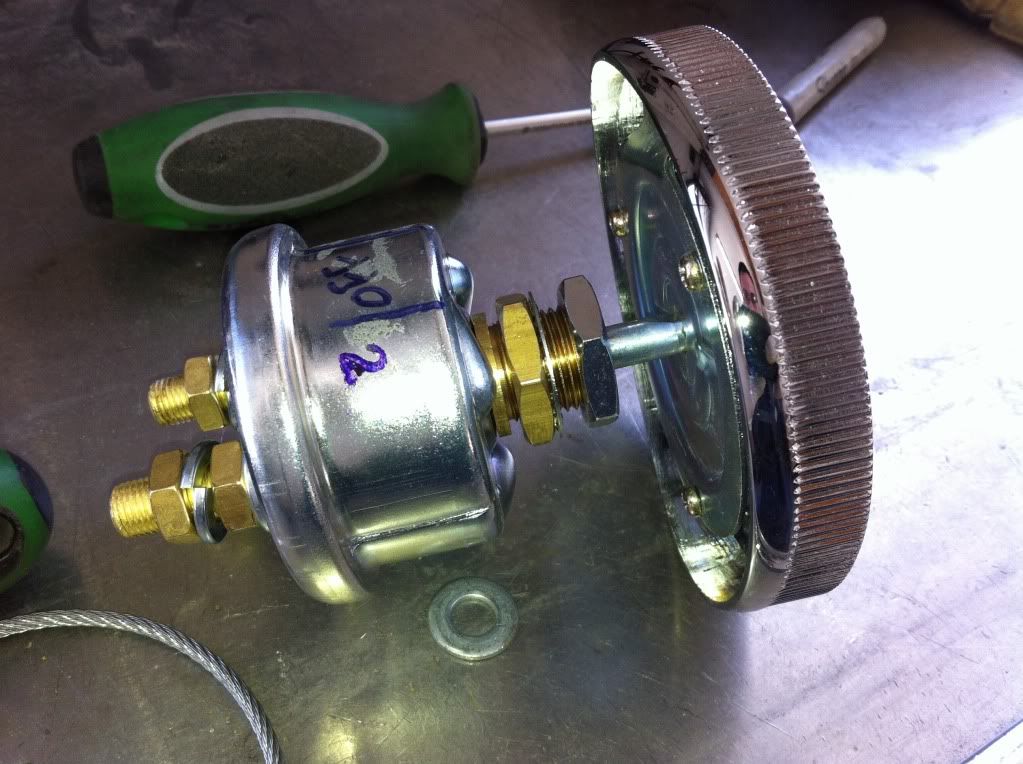
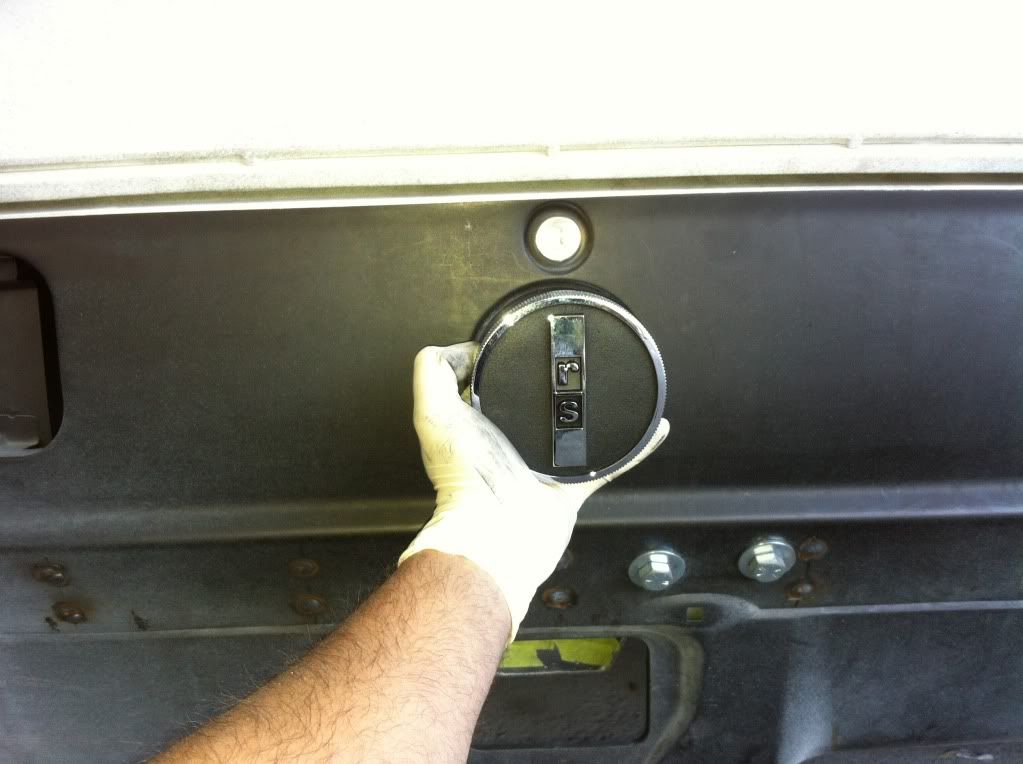
Still needs to be finished, but pretty trick if you ask me.

But it the shiniest stock VVT I've seen... :lolly:
I also made a custom remote master battery disconnect using the gas cap and a moroso master battery disconnect switch.


Still needs to be finished, but pretty trick if you ask me.
Chris Tobin
Active member
- Joined
- Jun 20, 2008
- Messages
- 2,664
I had some time after work today to sand and polish the compressor housing (cover) for the stock turbo. It's not perfect, but it will get the job done I think. The nooks and crannies were virtually impossible to sand all the imperfections out...

But it the shiniest stock VVT I've seen... :lolly:
I also made a custom remote master battery disconnect using the gas cap and a moroso master battery disconnect switch.


Still needs to be finished, but pretty trick if you ask me.
That's slick, but I bet the tech inspectors won't like it... You will probably need to have a standard cover/switch plate for the track then you can run the fuel cap all other times... Might be able to get away with a decal and the cap though...
Wow. Nice work.
Agreed - crossy
JWJohnson
Doin' Man Chit.
- Joined
- Jun 29, 2012
- Messages
- 30
Right on. I haven't done any polishing but I have been told by numerous that these things are the bee's knees when it comes to polishing. I have seen photos of some stainless that wasn't prepped as in no sanding, not even removal of the mill scale from the hot roll process. Just used their polishing blocks, I think the red ones, then when ran against these wheels, came out a mirror finish.
Airways : Busch Enterprises, Headquarters for Premium Shine-Zone Products
Airways : Busch Enterprises, Headquarters for Premium Shine-Zone Products
Last edited:
DieselWrencher
6cyl Vette
- Joined
- Dec 4, 2006
- Messages
- 2,886
Awesome work! Your engine looks awesome! I'm sure that was a masking nightmare! Your rails and lines look awesome too! I agree, they look stainless to me too.
OnVacation
New member
- Joined
- Apr 26, 2011
- Messages
- 381
I would look at this at work from time to time, but photo sharing sites are blocked, so I couldn't see anything. this is gorgeous. I can't wait to see more.
oldestof11
Drag racer
- Joined
- Jul 17, 2007
- Messages
- 9,084
Been following thus since day one. Awesome work!
m880cummins
New member
- Joined
- Apr 29, 2013
- Messages
- 142
I'm not a big GM guy but this thing is AWESOME!
Very nice fab work!
Very nice fab work!
dslhtrdr
Always learning...
- Joined
- Sep 2, 2009
- Messages
- 677
That's slick, but I bet the tech inspectors won't like it... You will probably need to have a standard cover/switch plate for the track then you can run the fuel cap all other times... Might be able to get away with a decal and the cap though...
I'm going to have off and on pinstriped on the tail panel to label the switch positions. I hope I can get away with it, I put a decent amount of effort into making it.
dslhtrdr
Always learning...
- Joined
- Sep 2, 2009
- Messages
- 677
Awesome work! Your engine looks awesome! I'm sure that was a masking nightmare! Your rails and lines look awesome too! I agree, they look stainless to me too.
Agreed - crossy
Thanks guys, all the work I put into the painting the motor was worth the effort.
Right on. I haven't done any polishing but I have been told by numerous that these things are the bee's knees when it comes to polishing. I have seen photos of some stainless that wasn't prepped as in no sanding, not even removal of the mill scale from the hot roll process. Just used their polishing blocks, I think the red ones, then when ran against these wheels, came out a mirror finish.
Airways : Busch Enterprises, Headquarters for Premium Shine-Zone Products
I have heard of this method for polishing metal and have never tried it. Thanks for the link, I may order one of their kits and see how much of a difference it makes.
dslhtrdr
Always learning...
- Joined
- Sep 2, 2009
- Messages
- 677
I would look at this at work from time to time, but photo sharing sites are blocked, so I couldn't see anything. this is gorgeous. I can't wait to see more.
I'm glad you like it, there's more to come.
Nice work!
Been following thus since day one. Awesome work!
I'm not a big GM guy but this thing is AWESOME!
Very nice fab work!
:thankyou2:
dslhtrdr
Always learning...
- Joined
- Sep 2, 2009
- Messages
- 677
I've been pretty busy the last couple weeks. Work has been crazy, and been fitting in as much time as I can on the Camaro.
I was able to finish the battery disconnect switch.
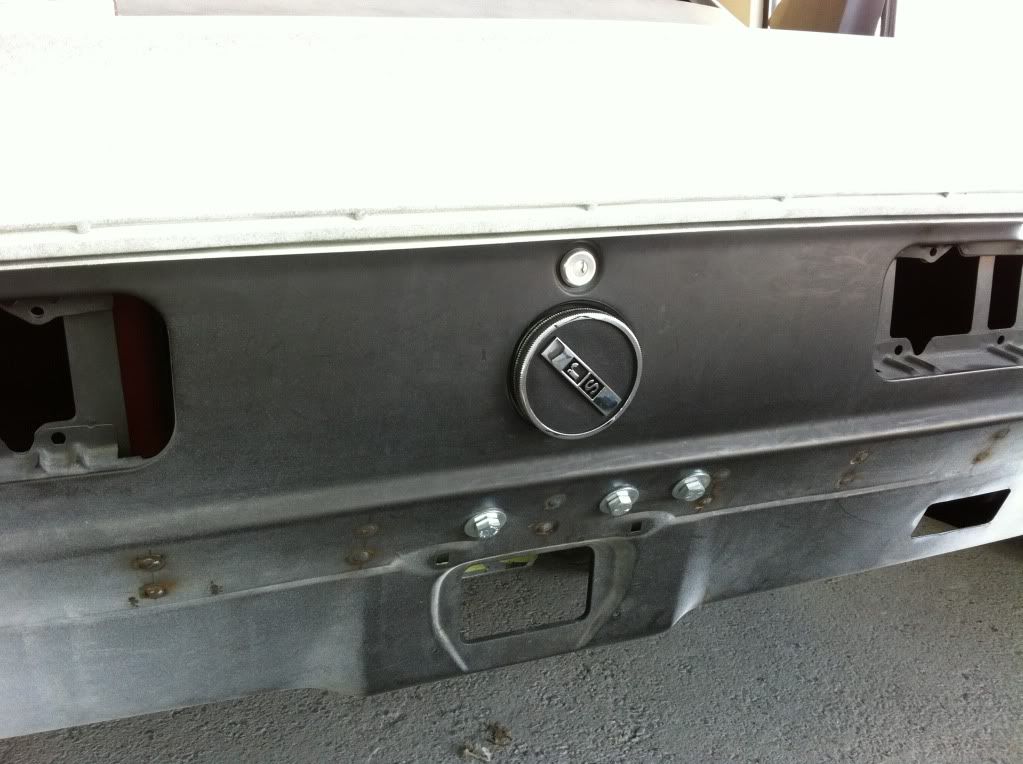
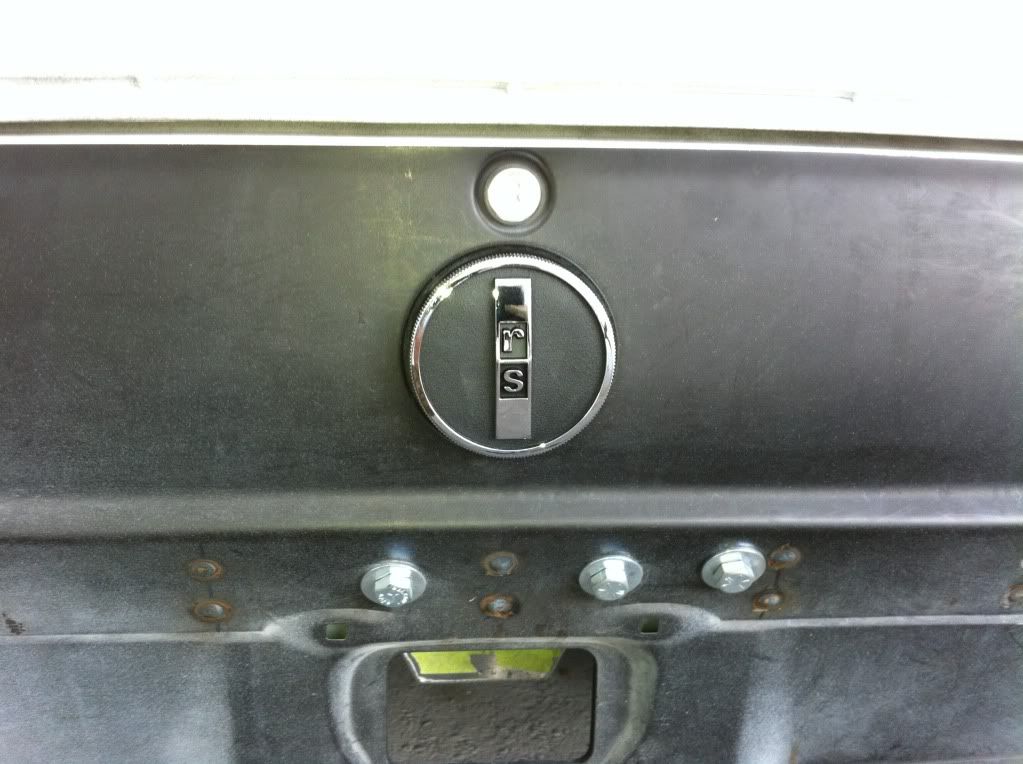
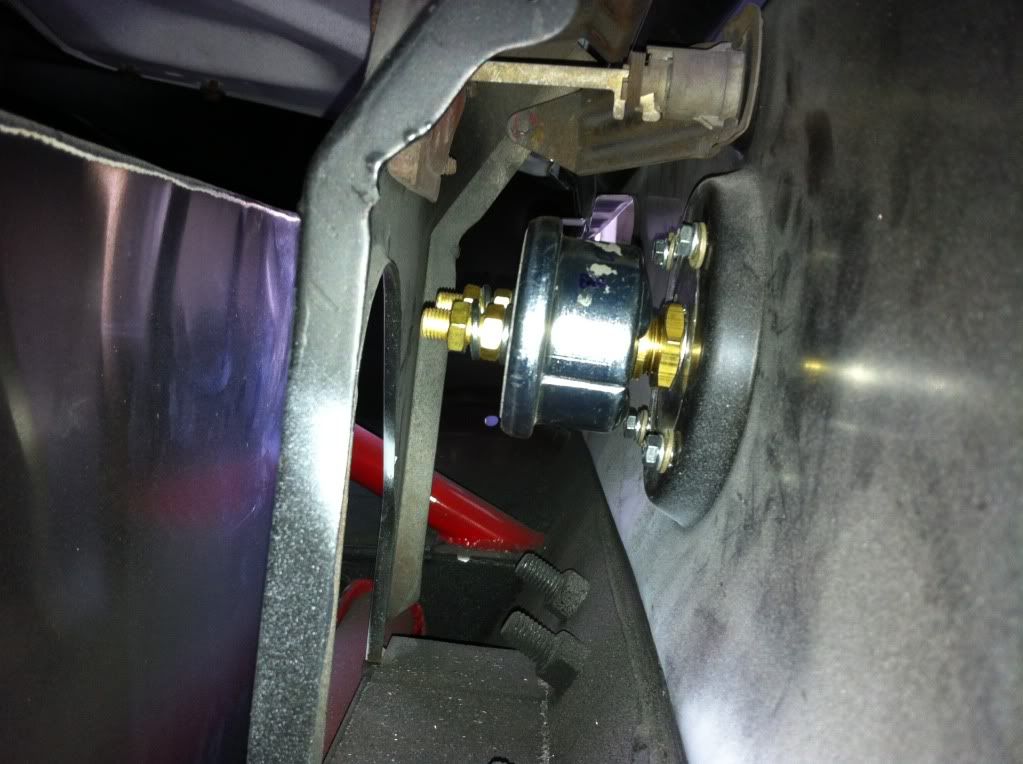
I also bought some head studs and installed those.
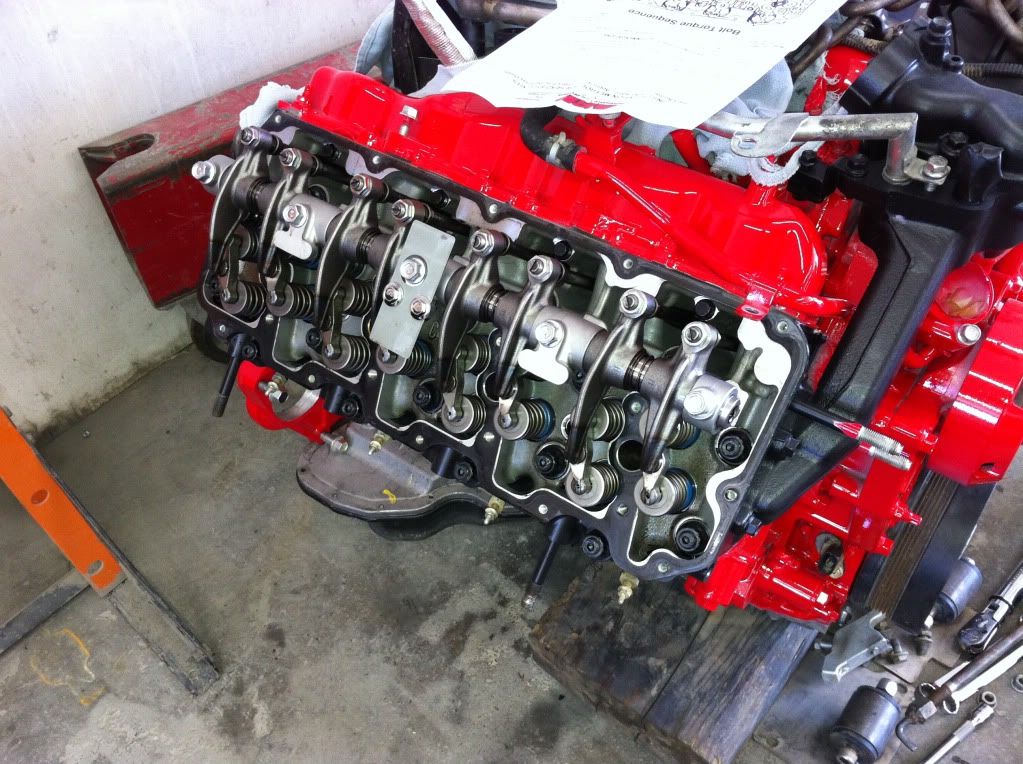
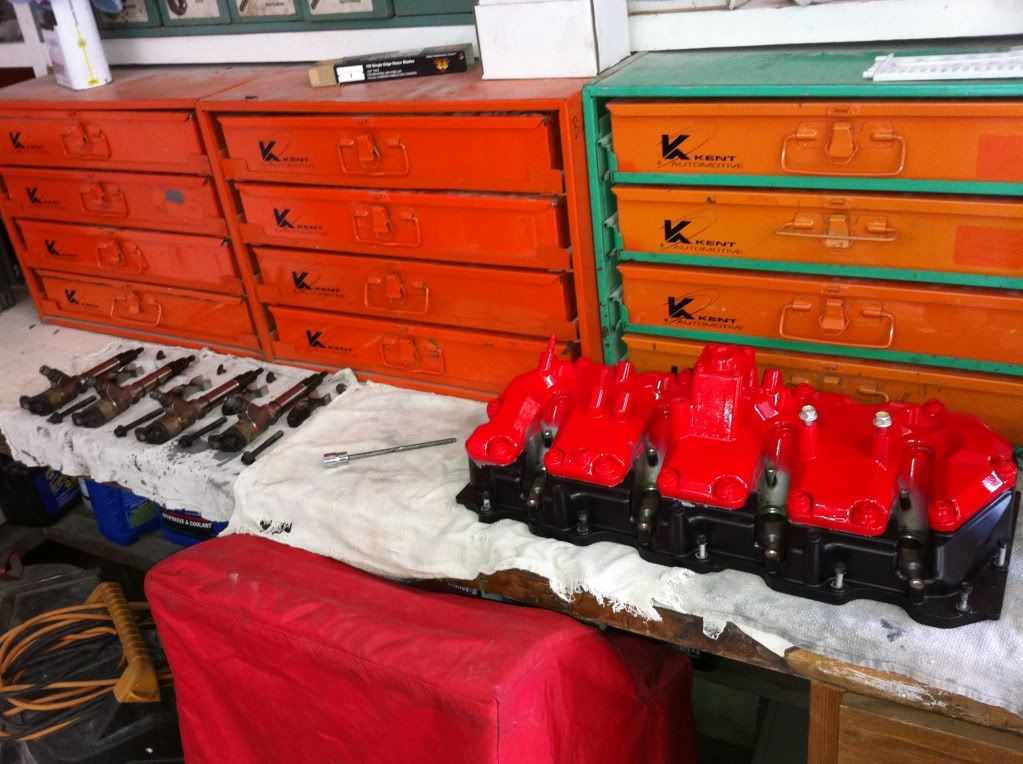
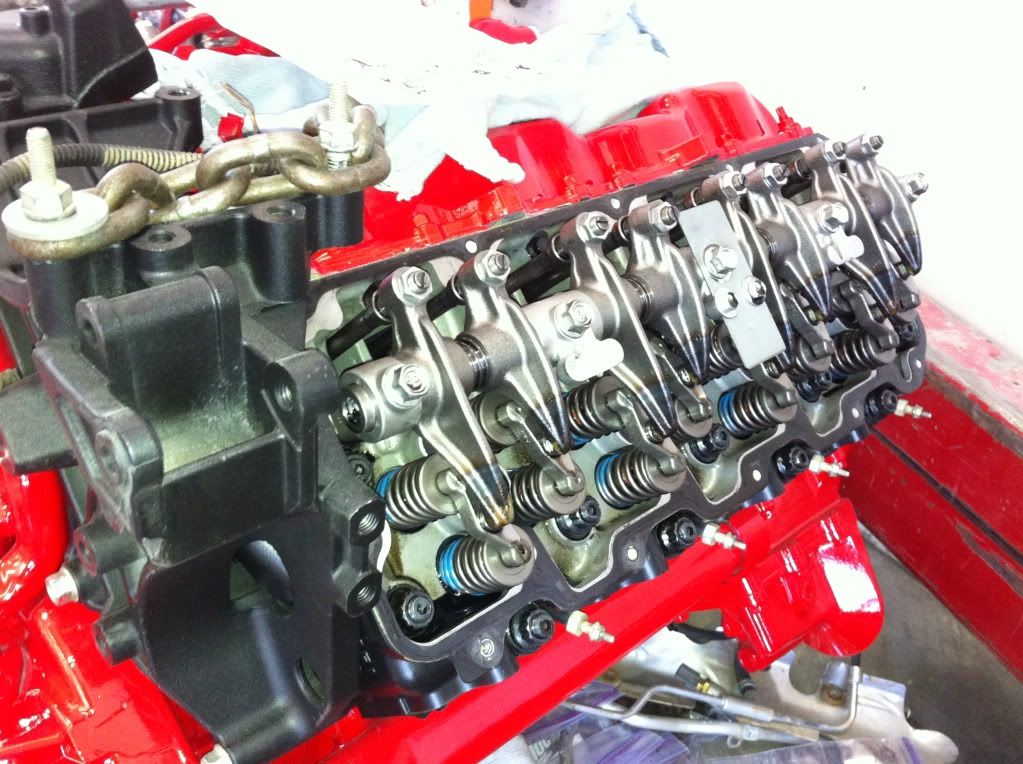
I reassembled most of the motor to see how it looks.
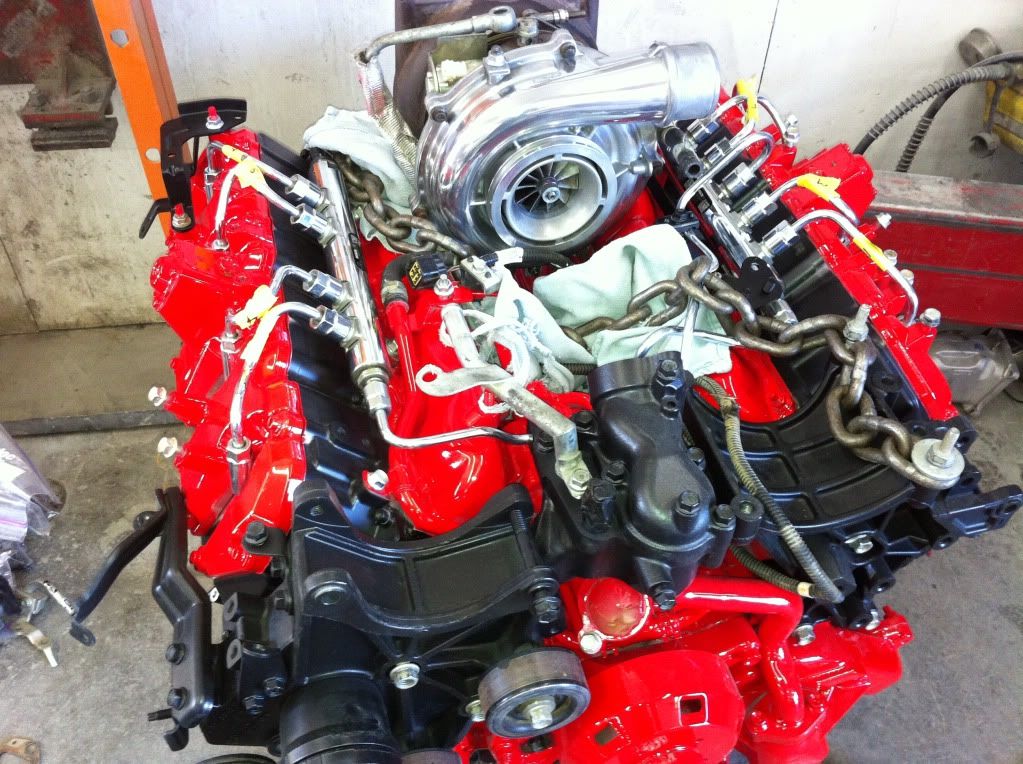
I was able to finish the battery disconnect switch.


I also bought some head studs and installed those.


I reassembled most of the motor to see how it looks.


